
Blue Mound Golf & Country Club – Played Fall 2021
- Rankings: None of my four lists
- Location: 10122 W North Avenue, Wauwatosa, Wisconsin
- Year: 1926
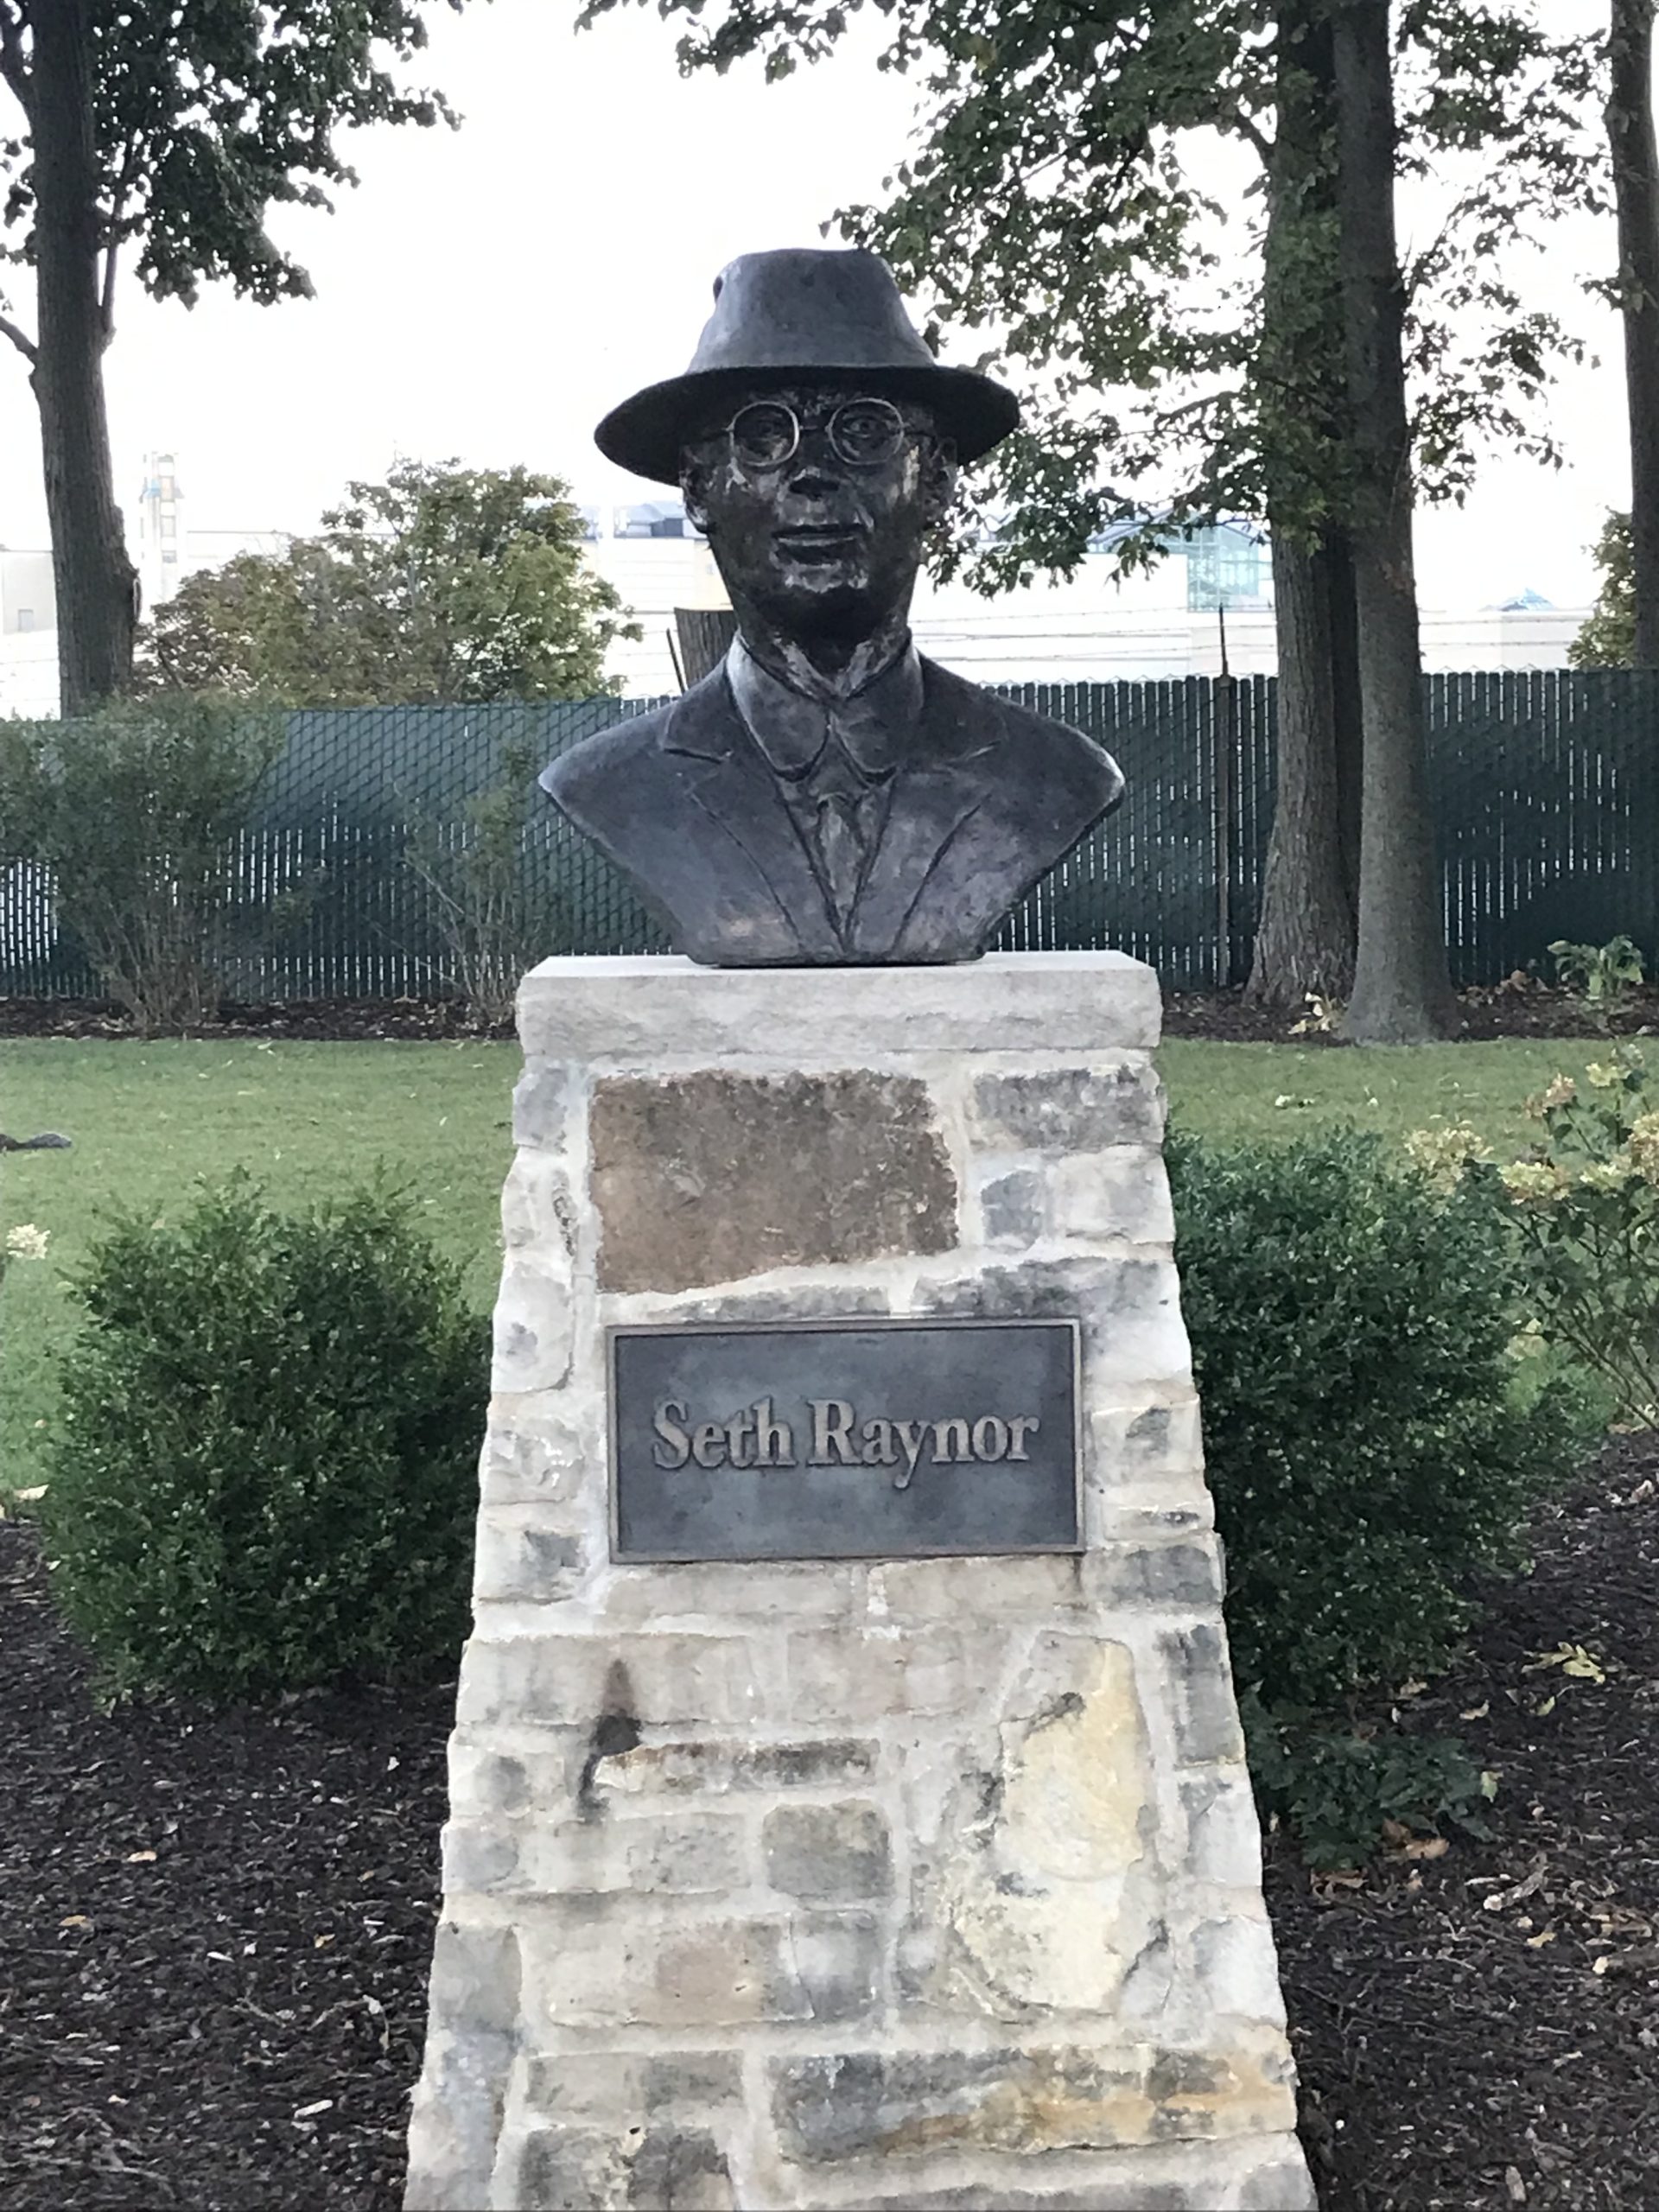
- Original Architect: Seth Raynor
- Additional Work By: Bob Lohmann, Dick Nugent, & Bruce Hepner
- Course Access: Private
- Walking Rules: Carts & Caddies Available
Score Card Information:
- Black: 6,743 yards, Par 70, 72.4 Rating/132 Slope
- Blue: 6,335 yards, Par 70, 70.6 Rating/127 Slope
I get legitimately excited any time I can play a Seth Raynor golf course. Blue Mound Golf & Country Club was no different. There is something about his courses (like other Golden Age greats) that you just don’t see on more modern courses. I always have a feeling of timelessness when I play his routings.
Add in the fact that I got to play Blue Mound with a good friend who I’ve gotten to know through Zoom meetings throughout the pandemic and this was a really solid day!
Blue Mound has plenty of history, both tournament and architecturally speaking.
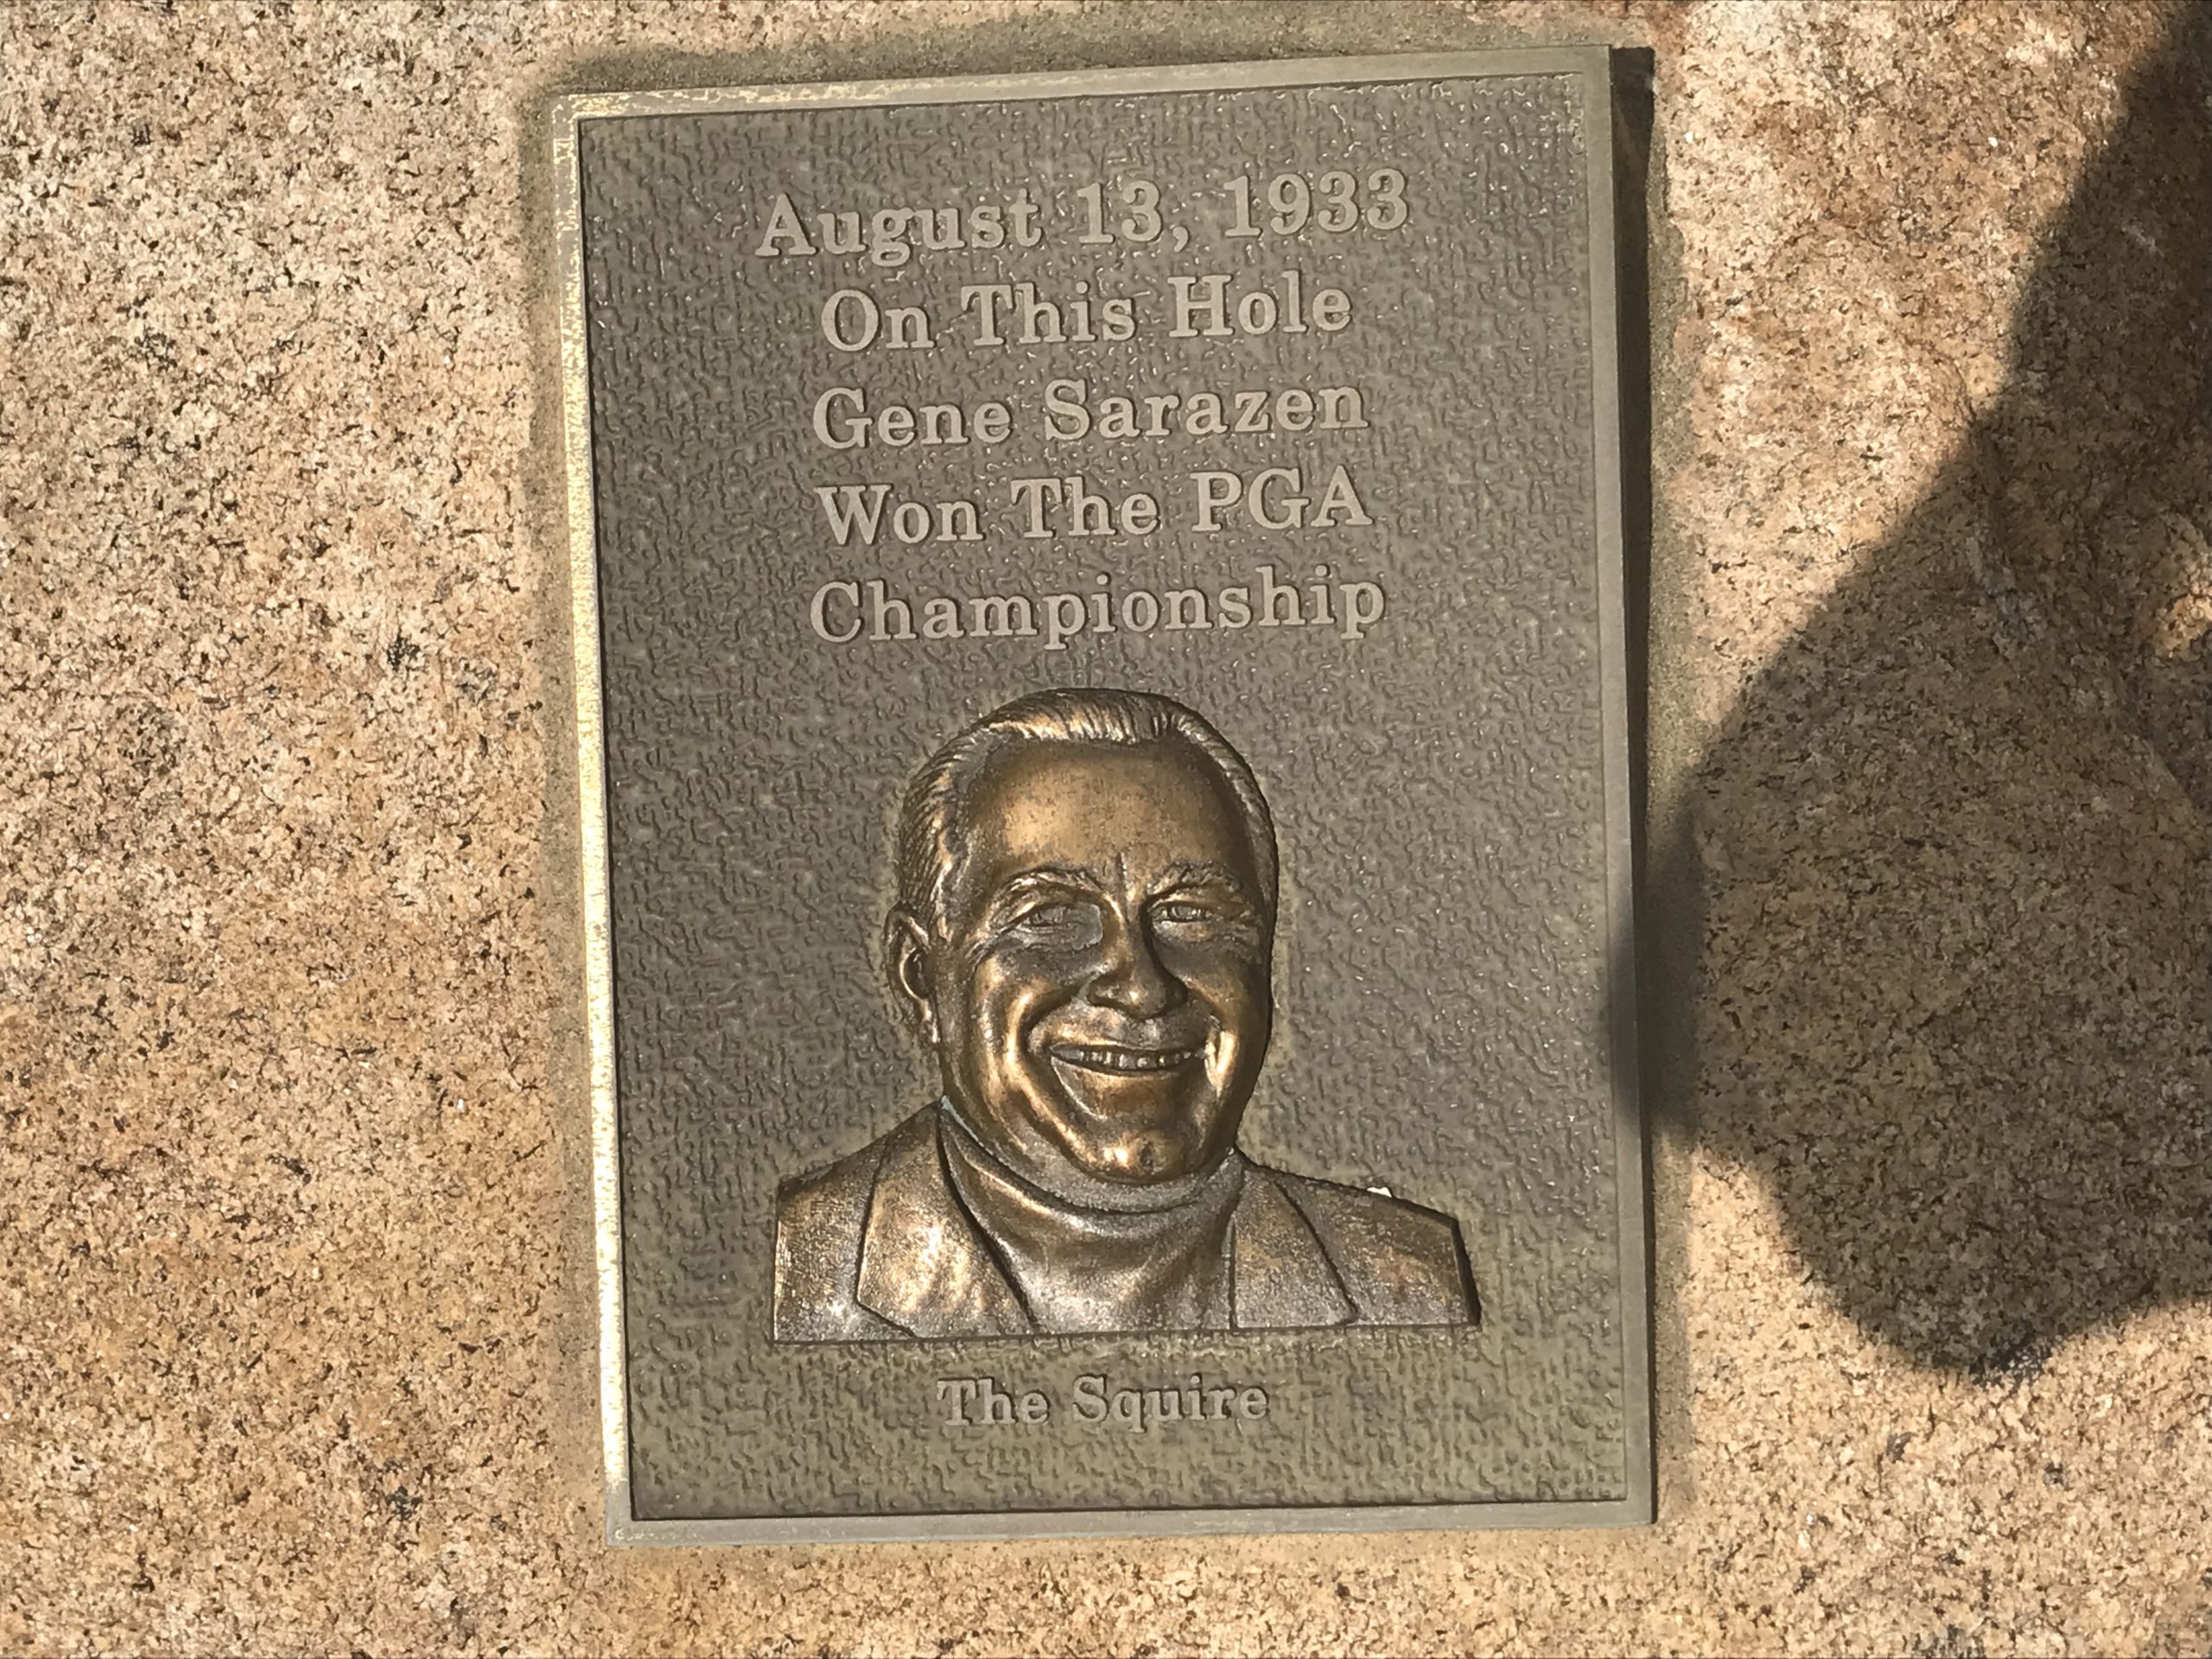
From a tournament standpoint, the club has hosted the 1916 Western Open, 1933 PGA Championship (see photo below), 1940 Women’s Western Open, multiple Wisconsin Opens, and other elite amateur events. The winners include Walter Hagen, Gene Sarazen, Babe Didrikson Zaharias, Cary Middlecoff, and Patrick Rodgers.
On the architecture side, Seth Raynor always gets the publicity and rightfully so. He was not an avid golfer and took up playing later in life. His courses are what define his legacy in the game. Blue Mound went through a lifecycle similar to many Golden Age designs. Trees were planted, green sizes shrunk, bunkers vanished, and course alterations sapped the original character of the course.
Thankfully, many courses are recognizing this and are restoring their courses to their roots. Blue Mound brought in Bruce Hepner to do the work and I believe he delivered. Expanded views from tree removal improve the property and so many great Raynor template holes are recognizable throughout the round.
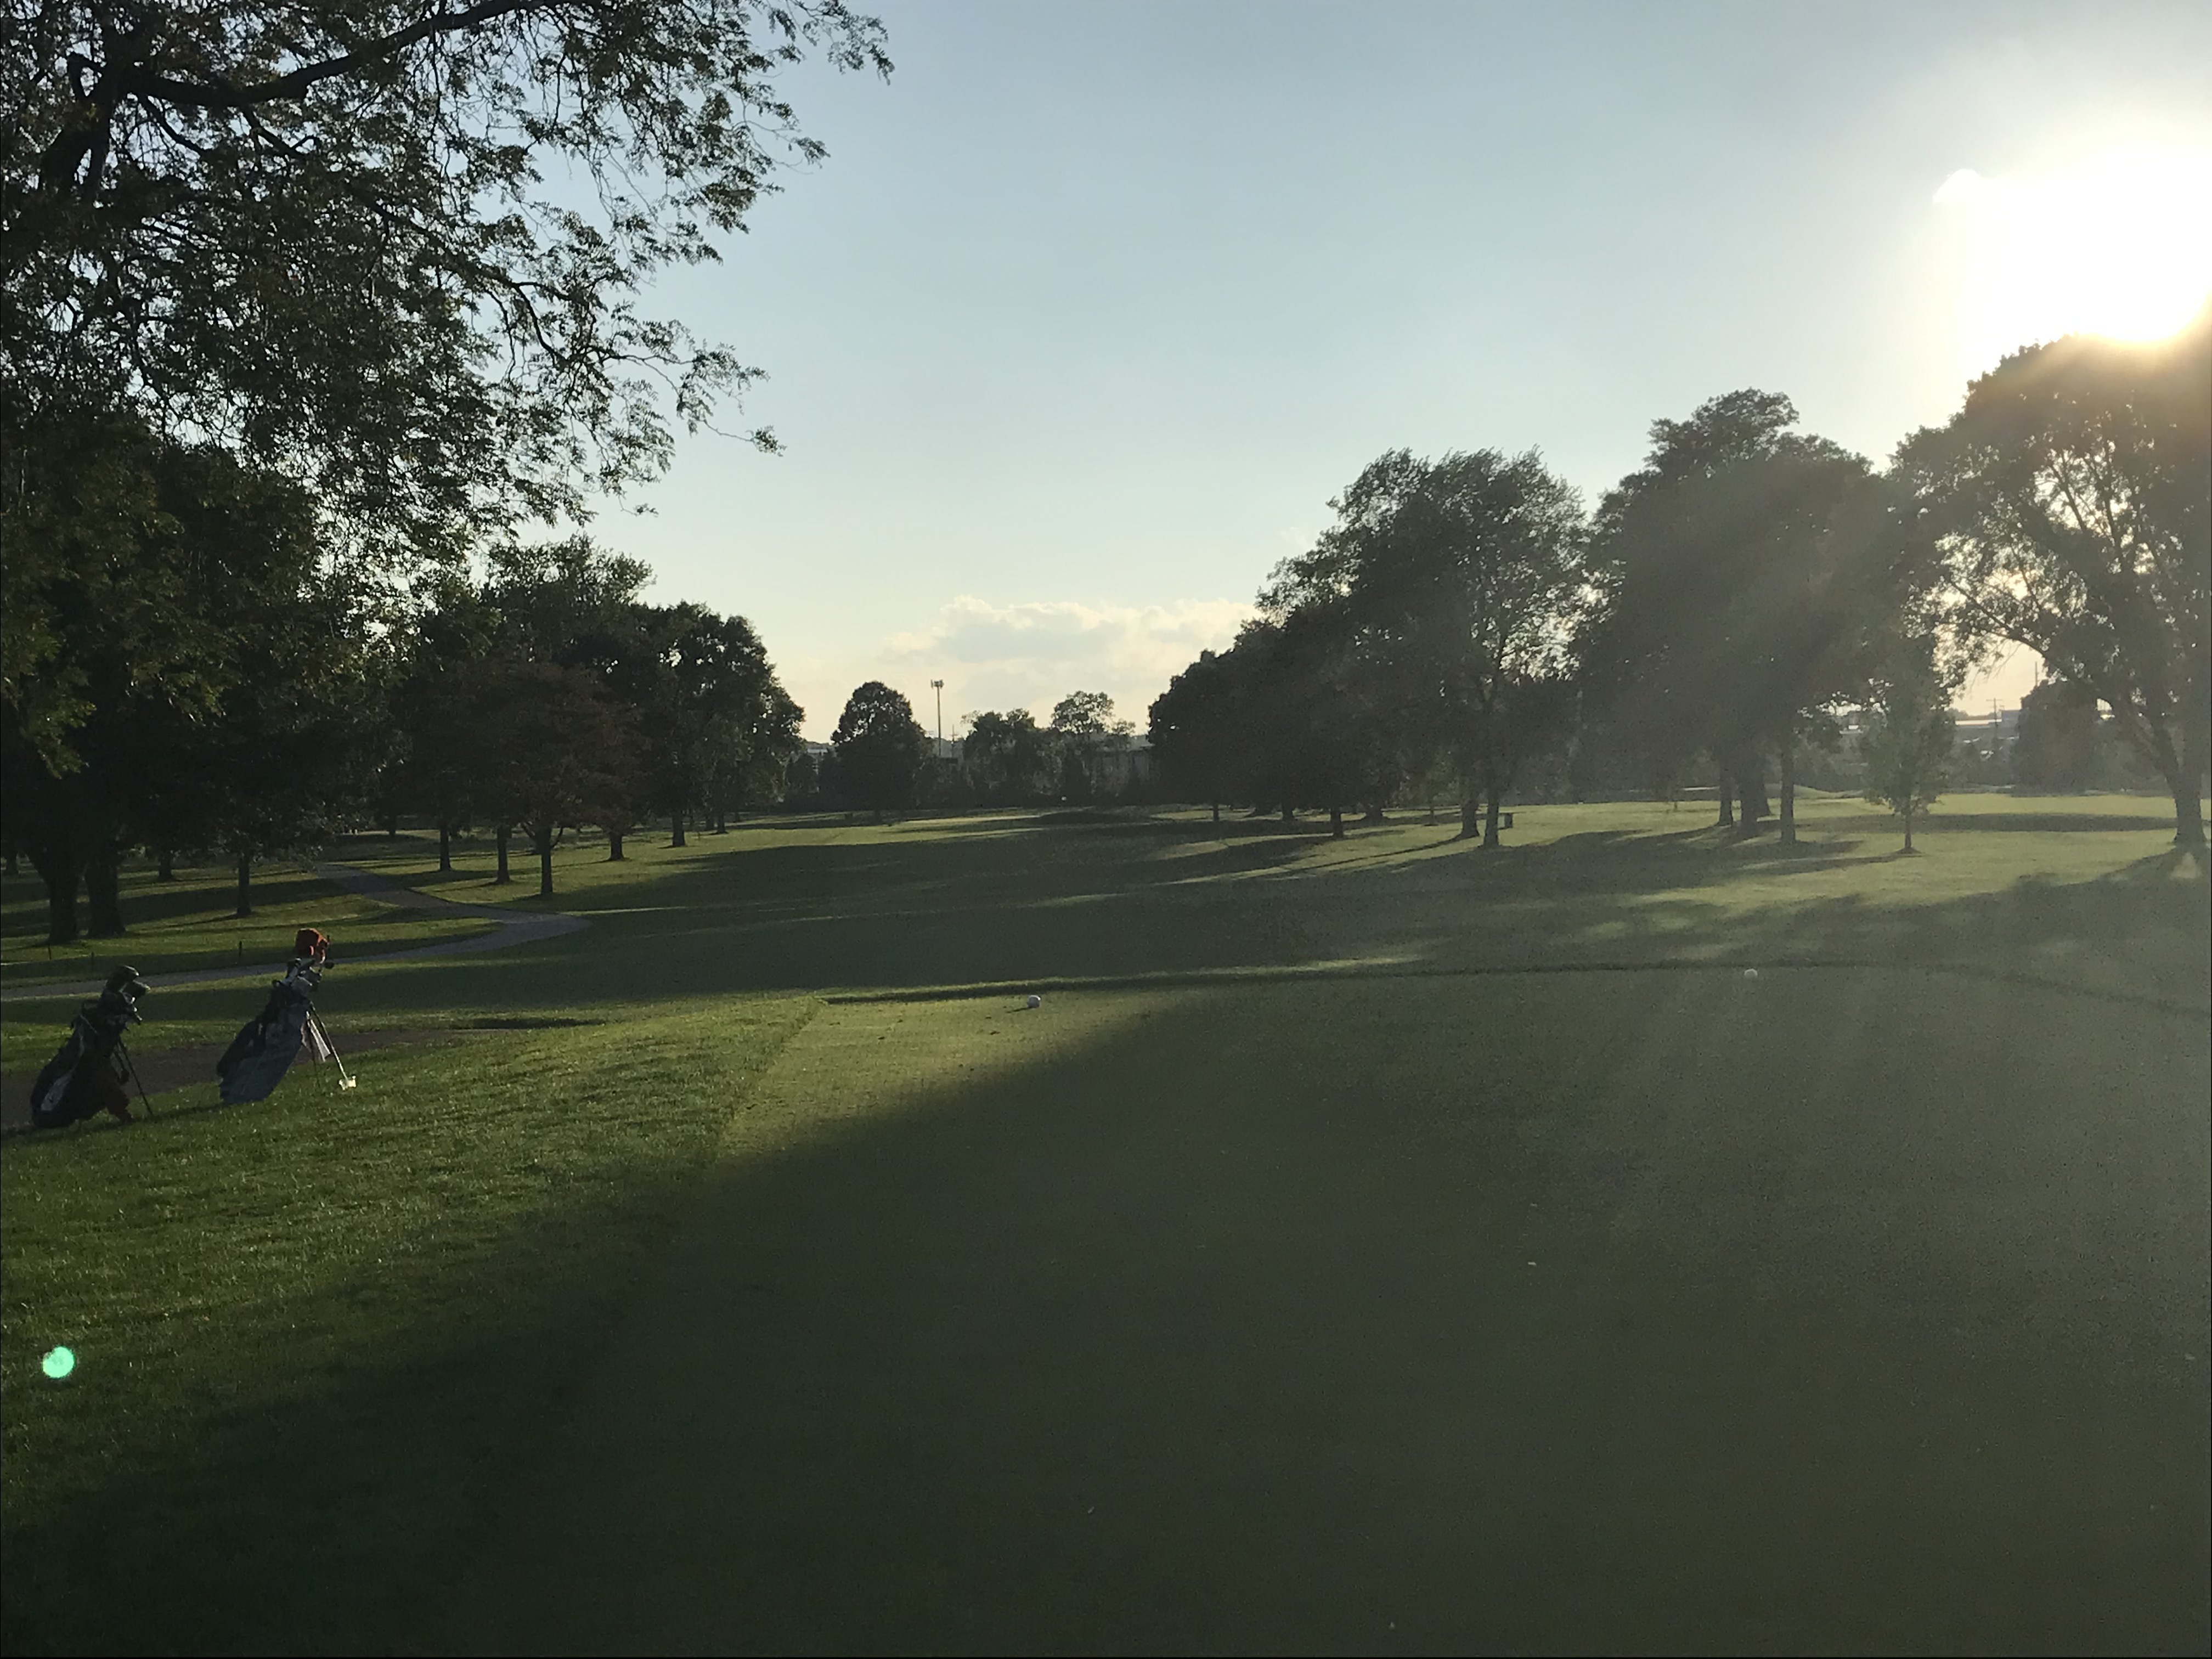
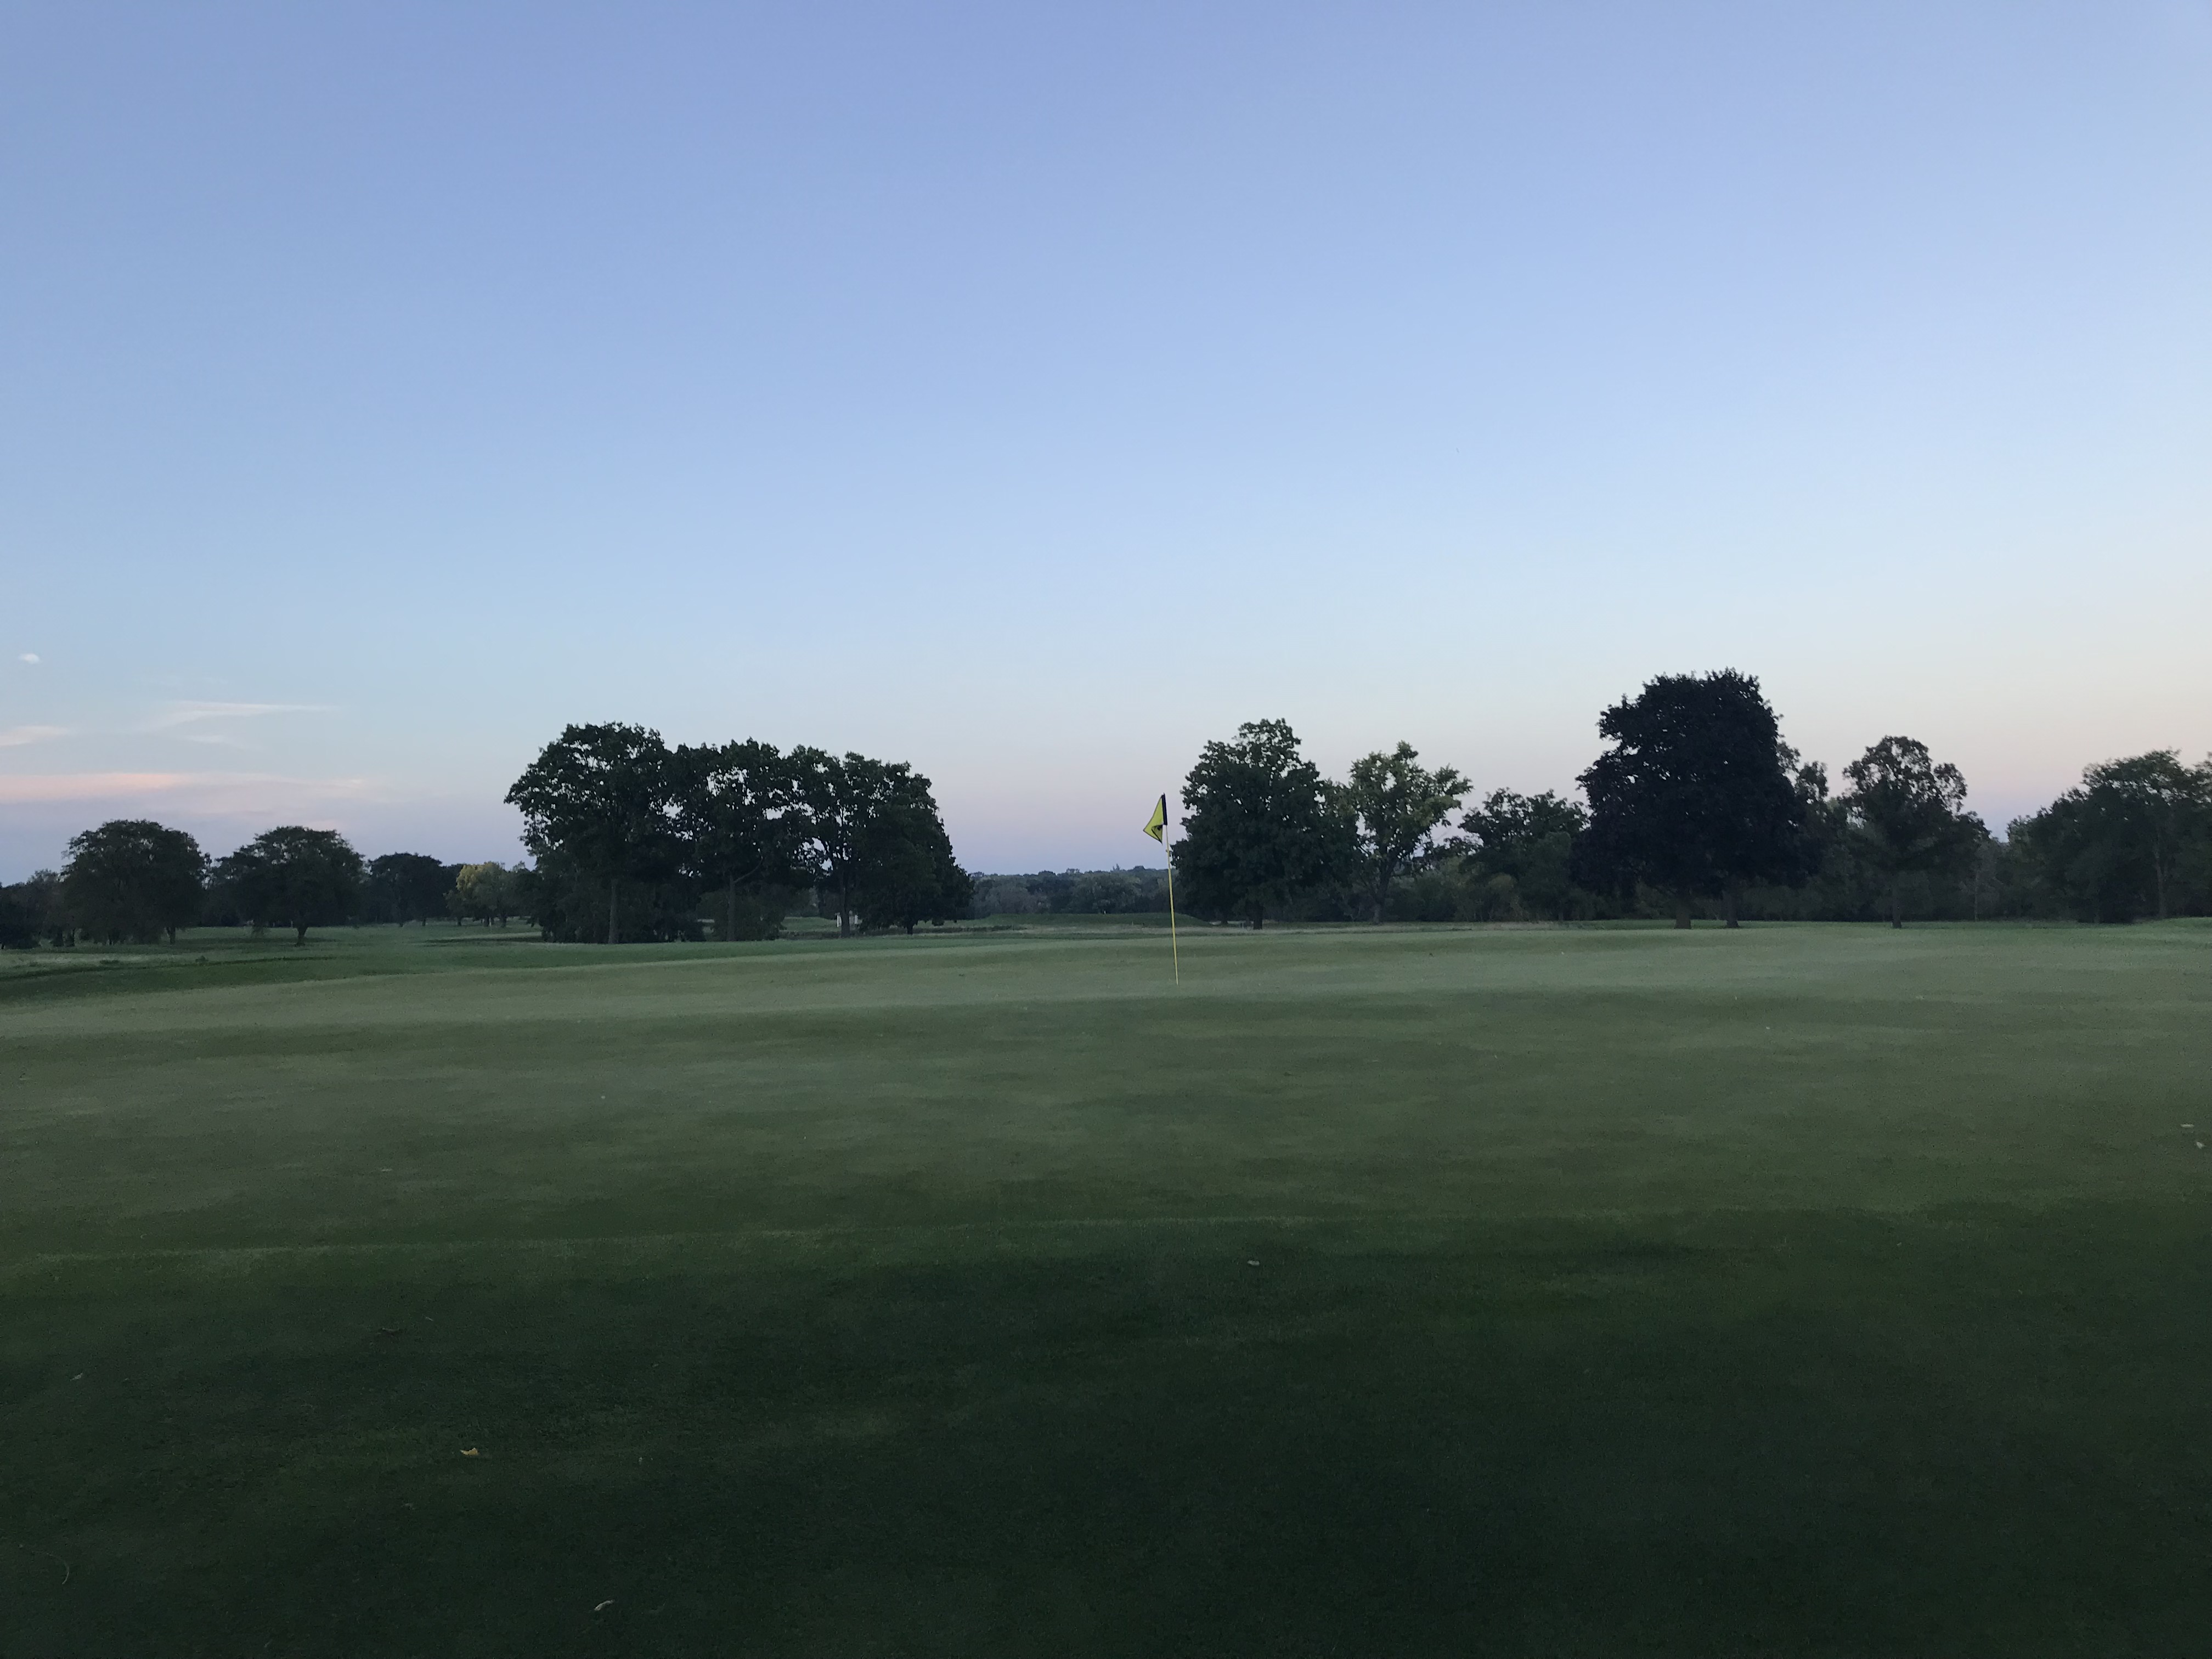
I am ready to get into this course tour! I got the walking scorecard so only two tees are listed in the information above. We chose the blue tees and all yardages reflect that. As with most Raynor courses, each hole has a name. Let’s go!
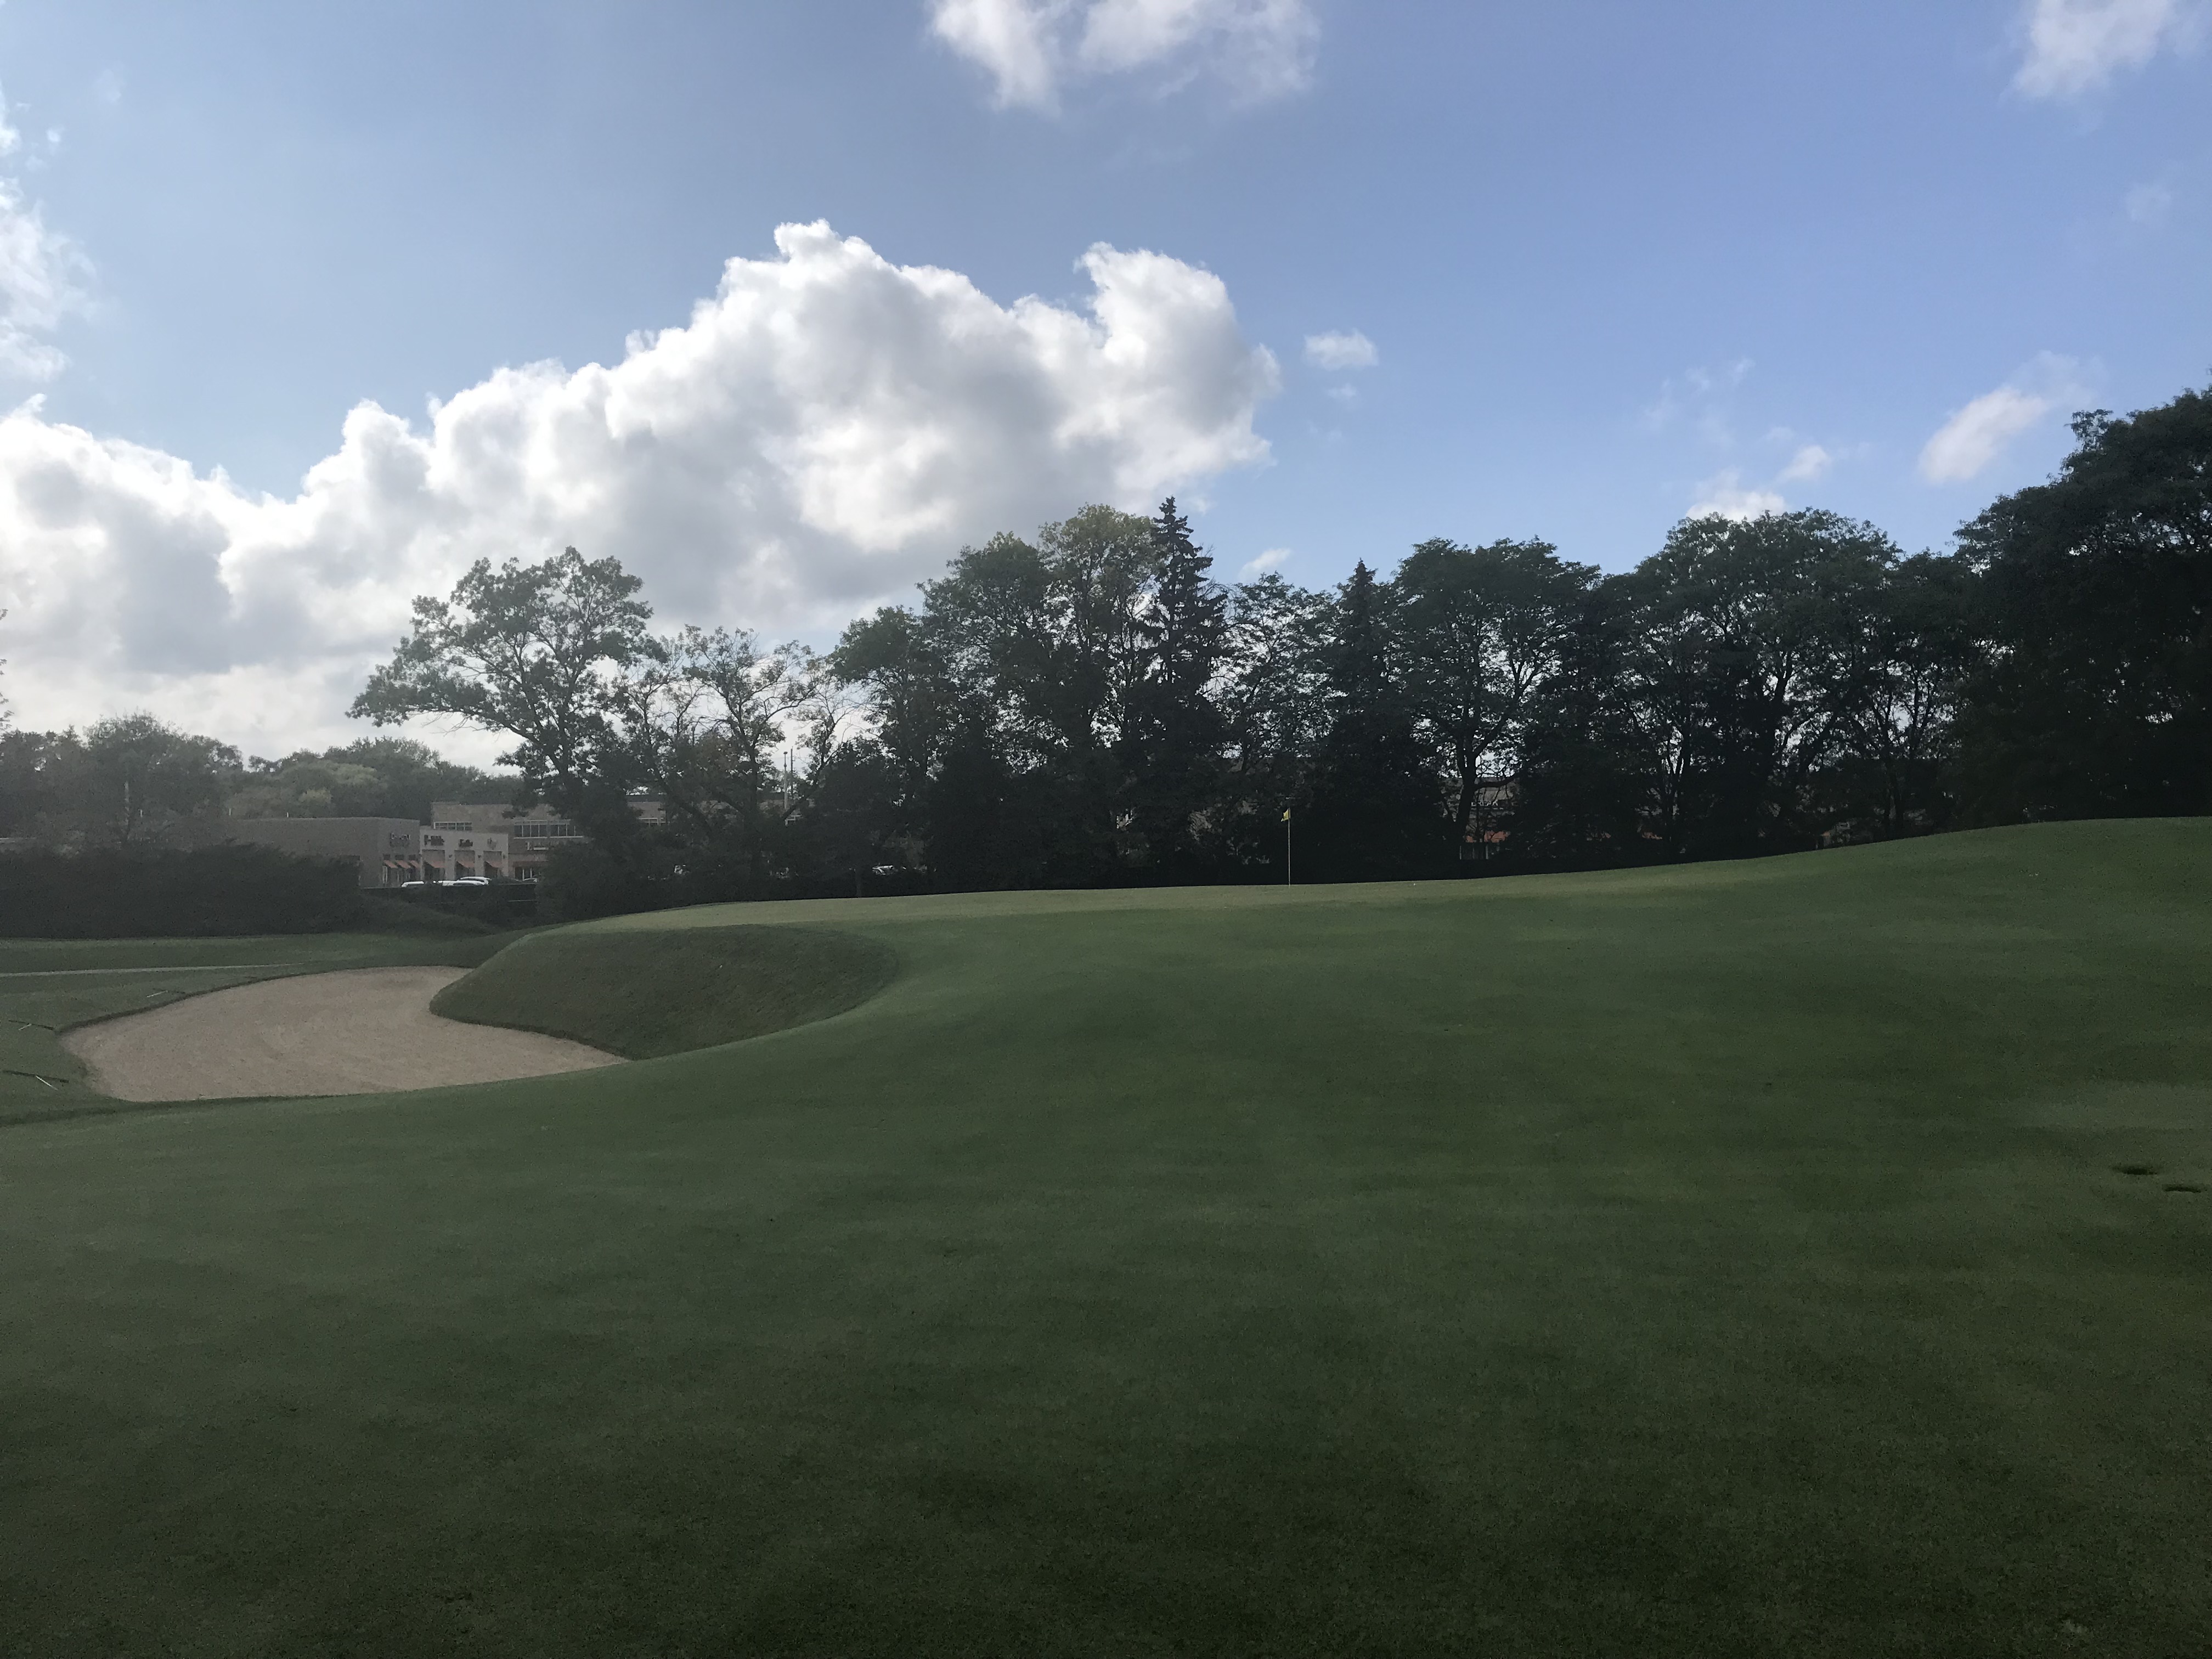
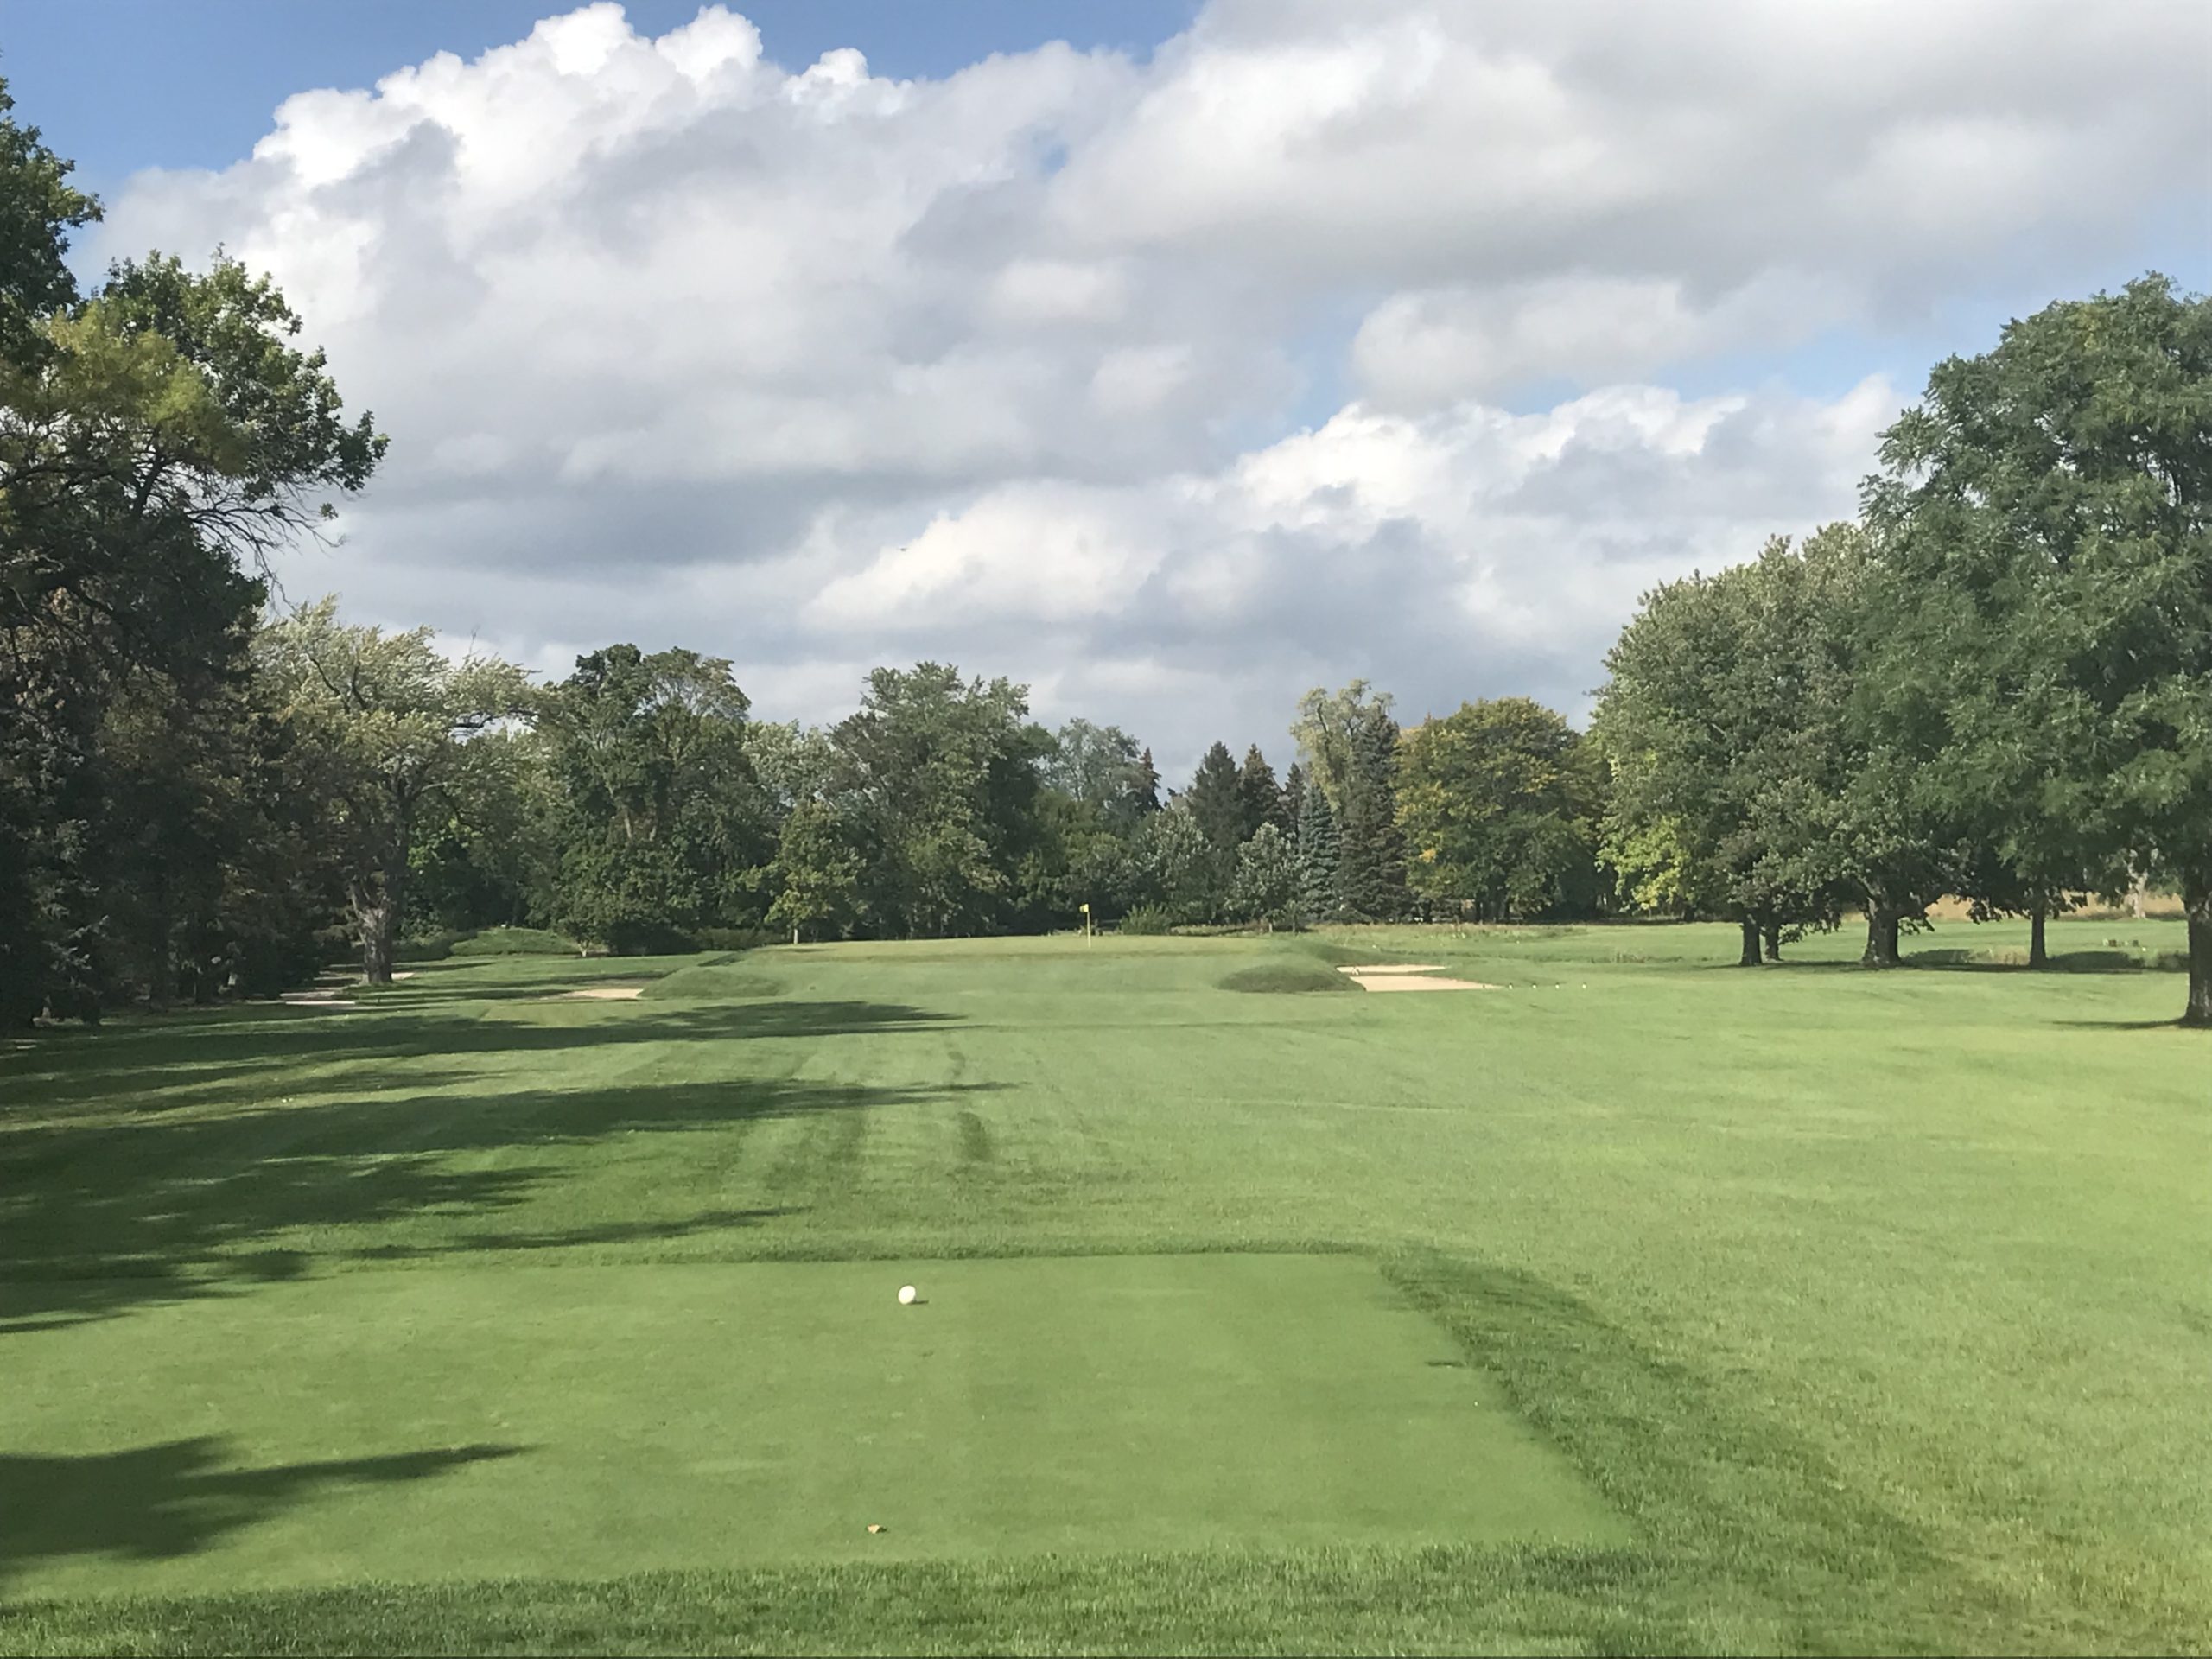
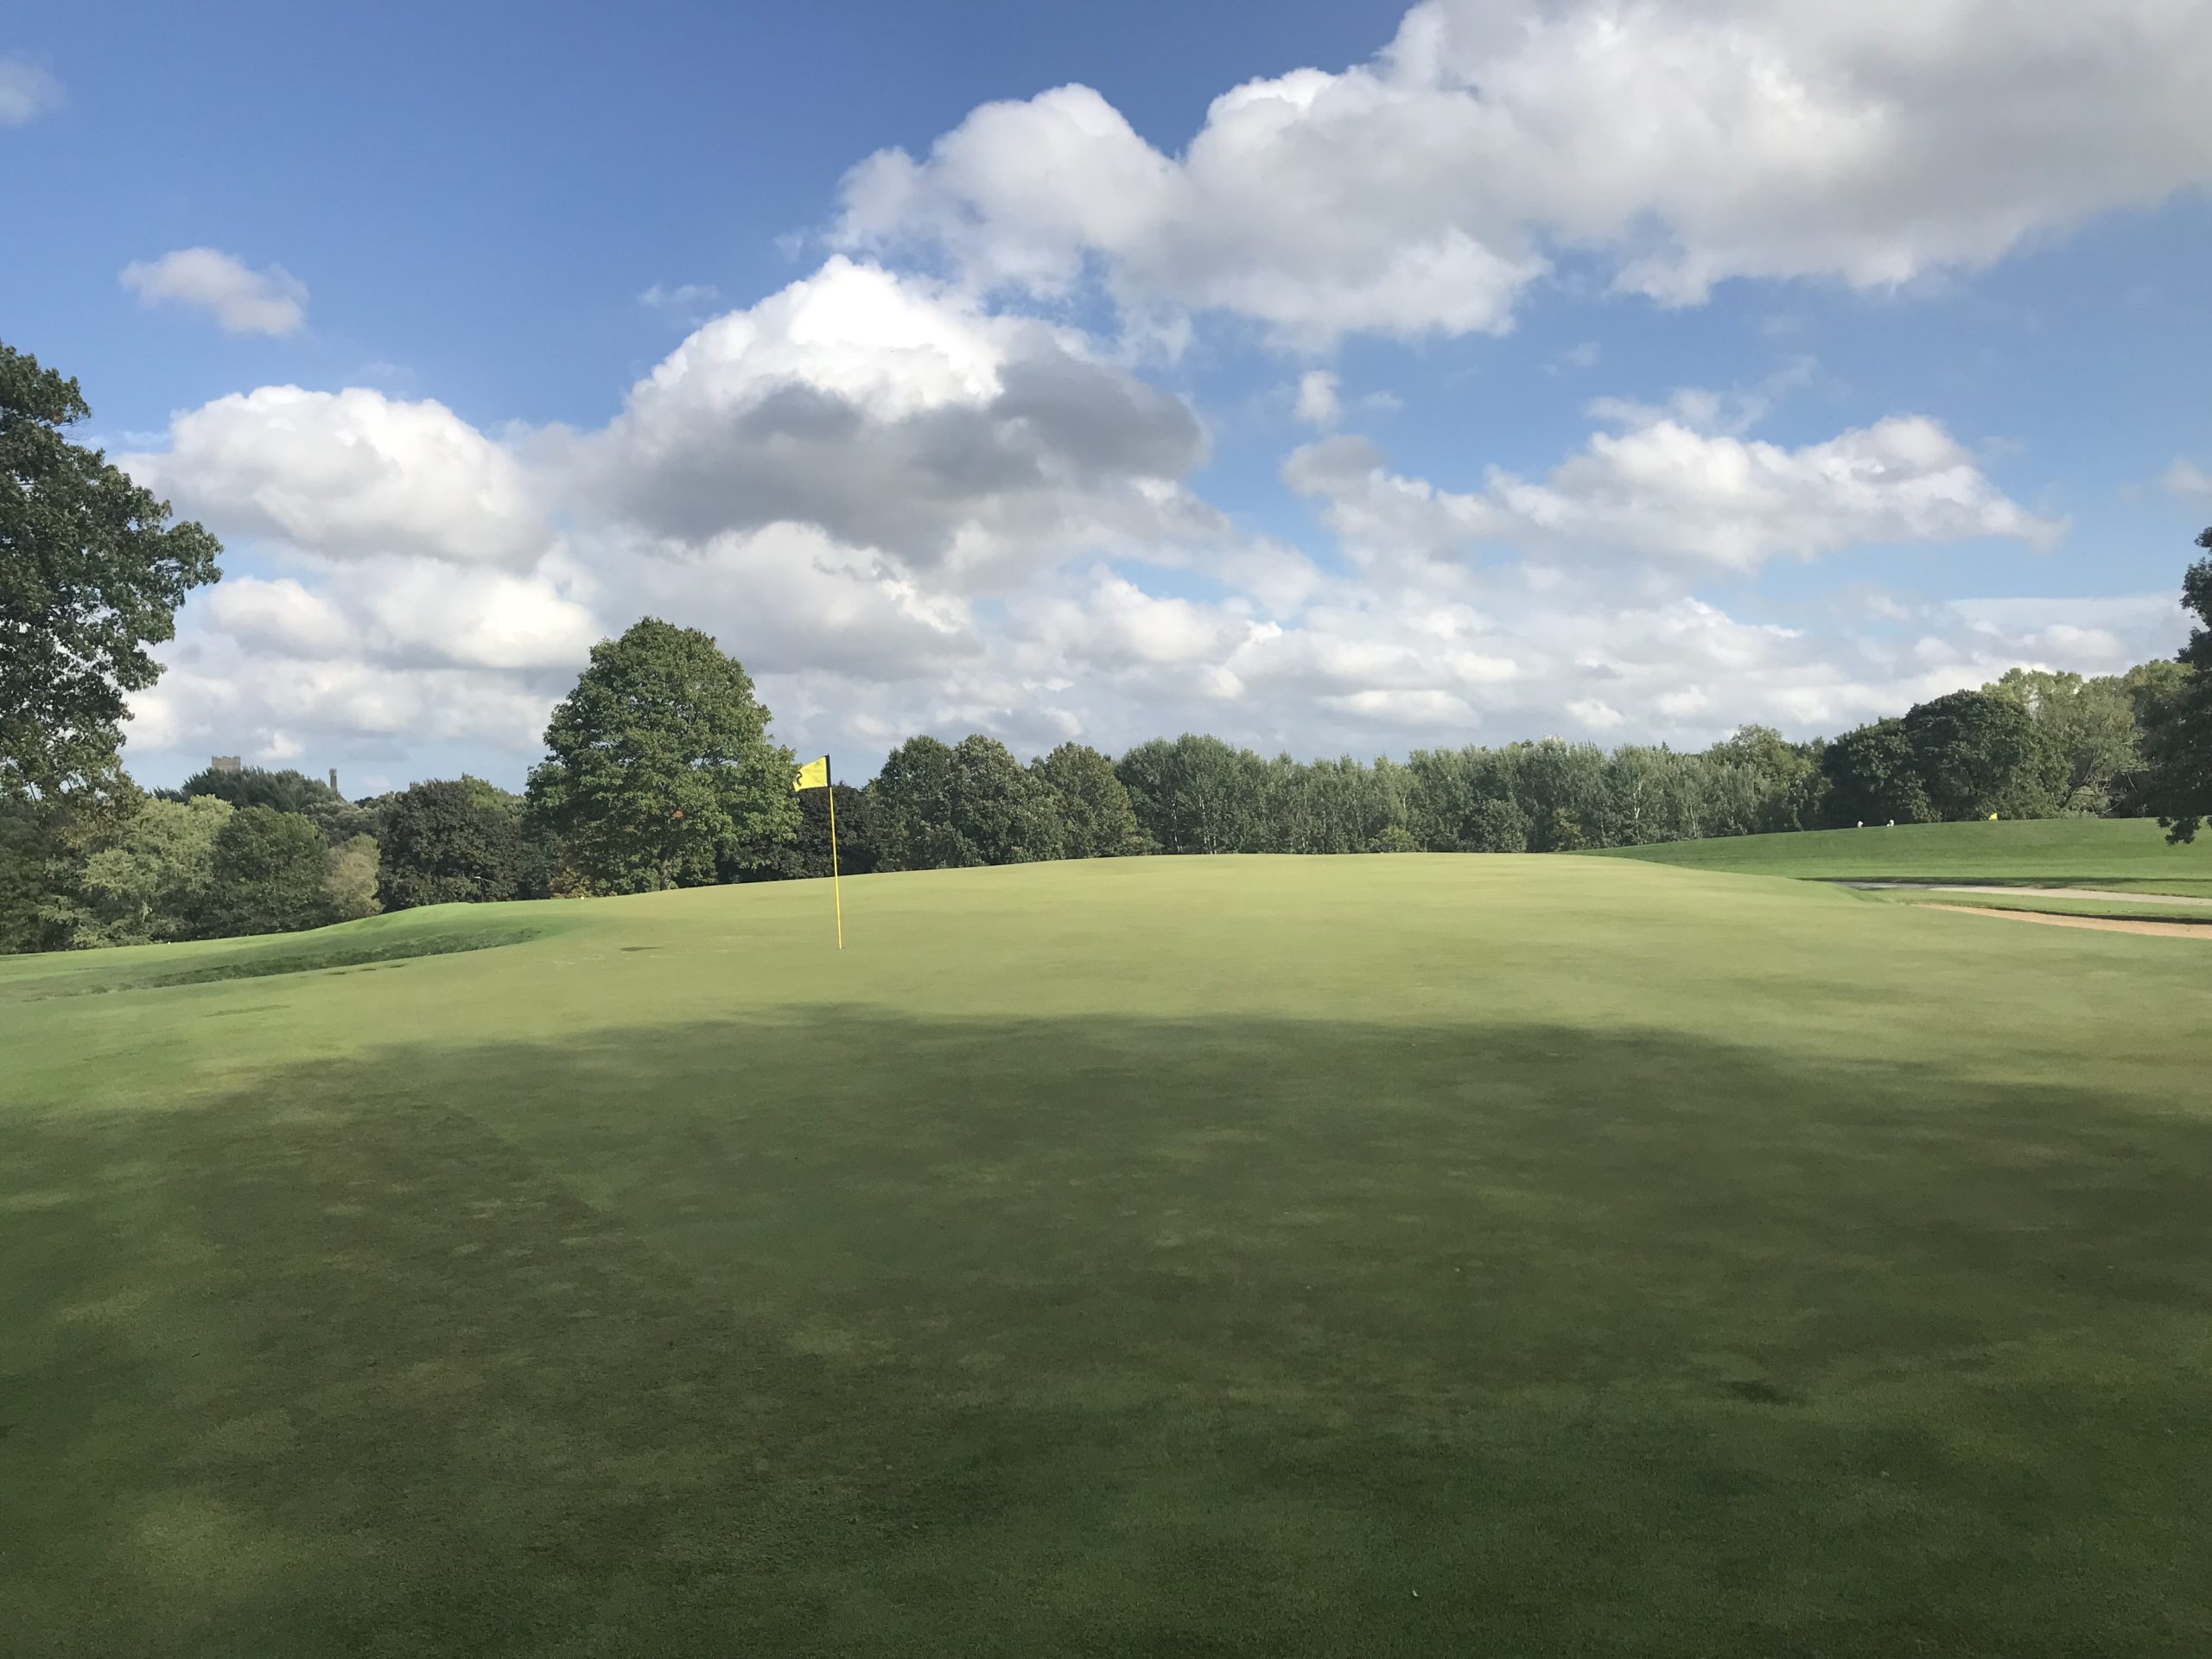
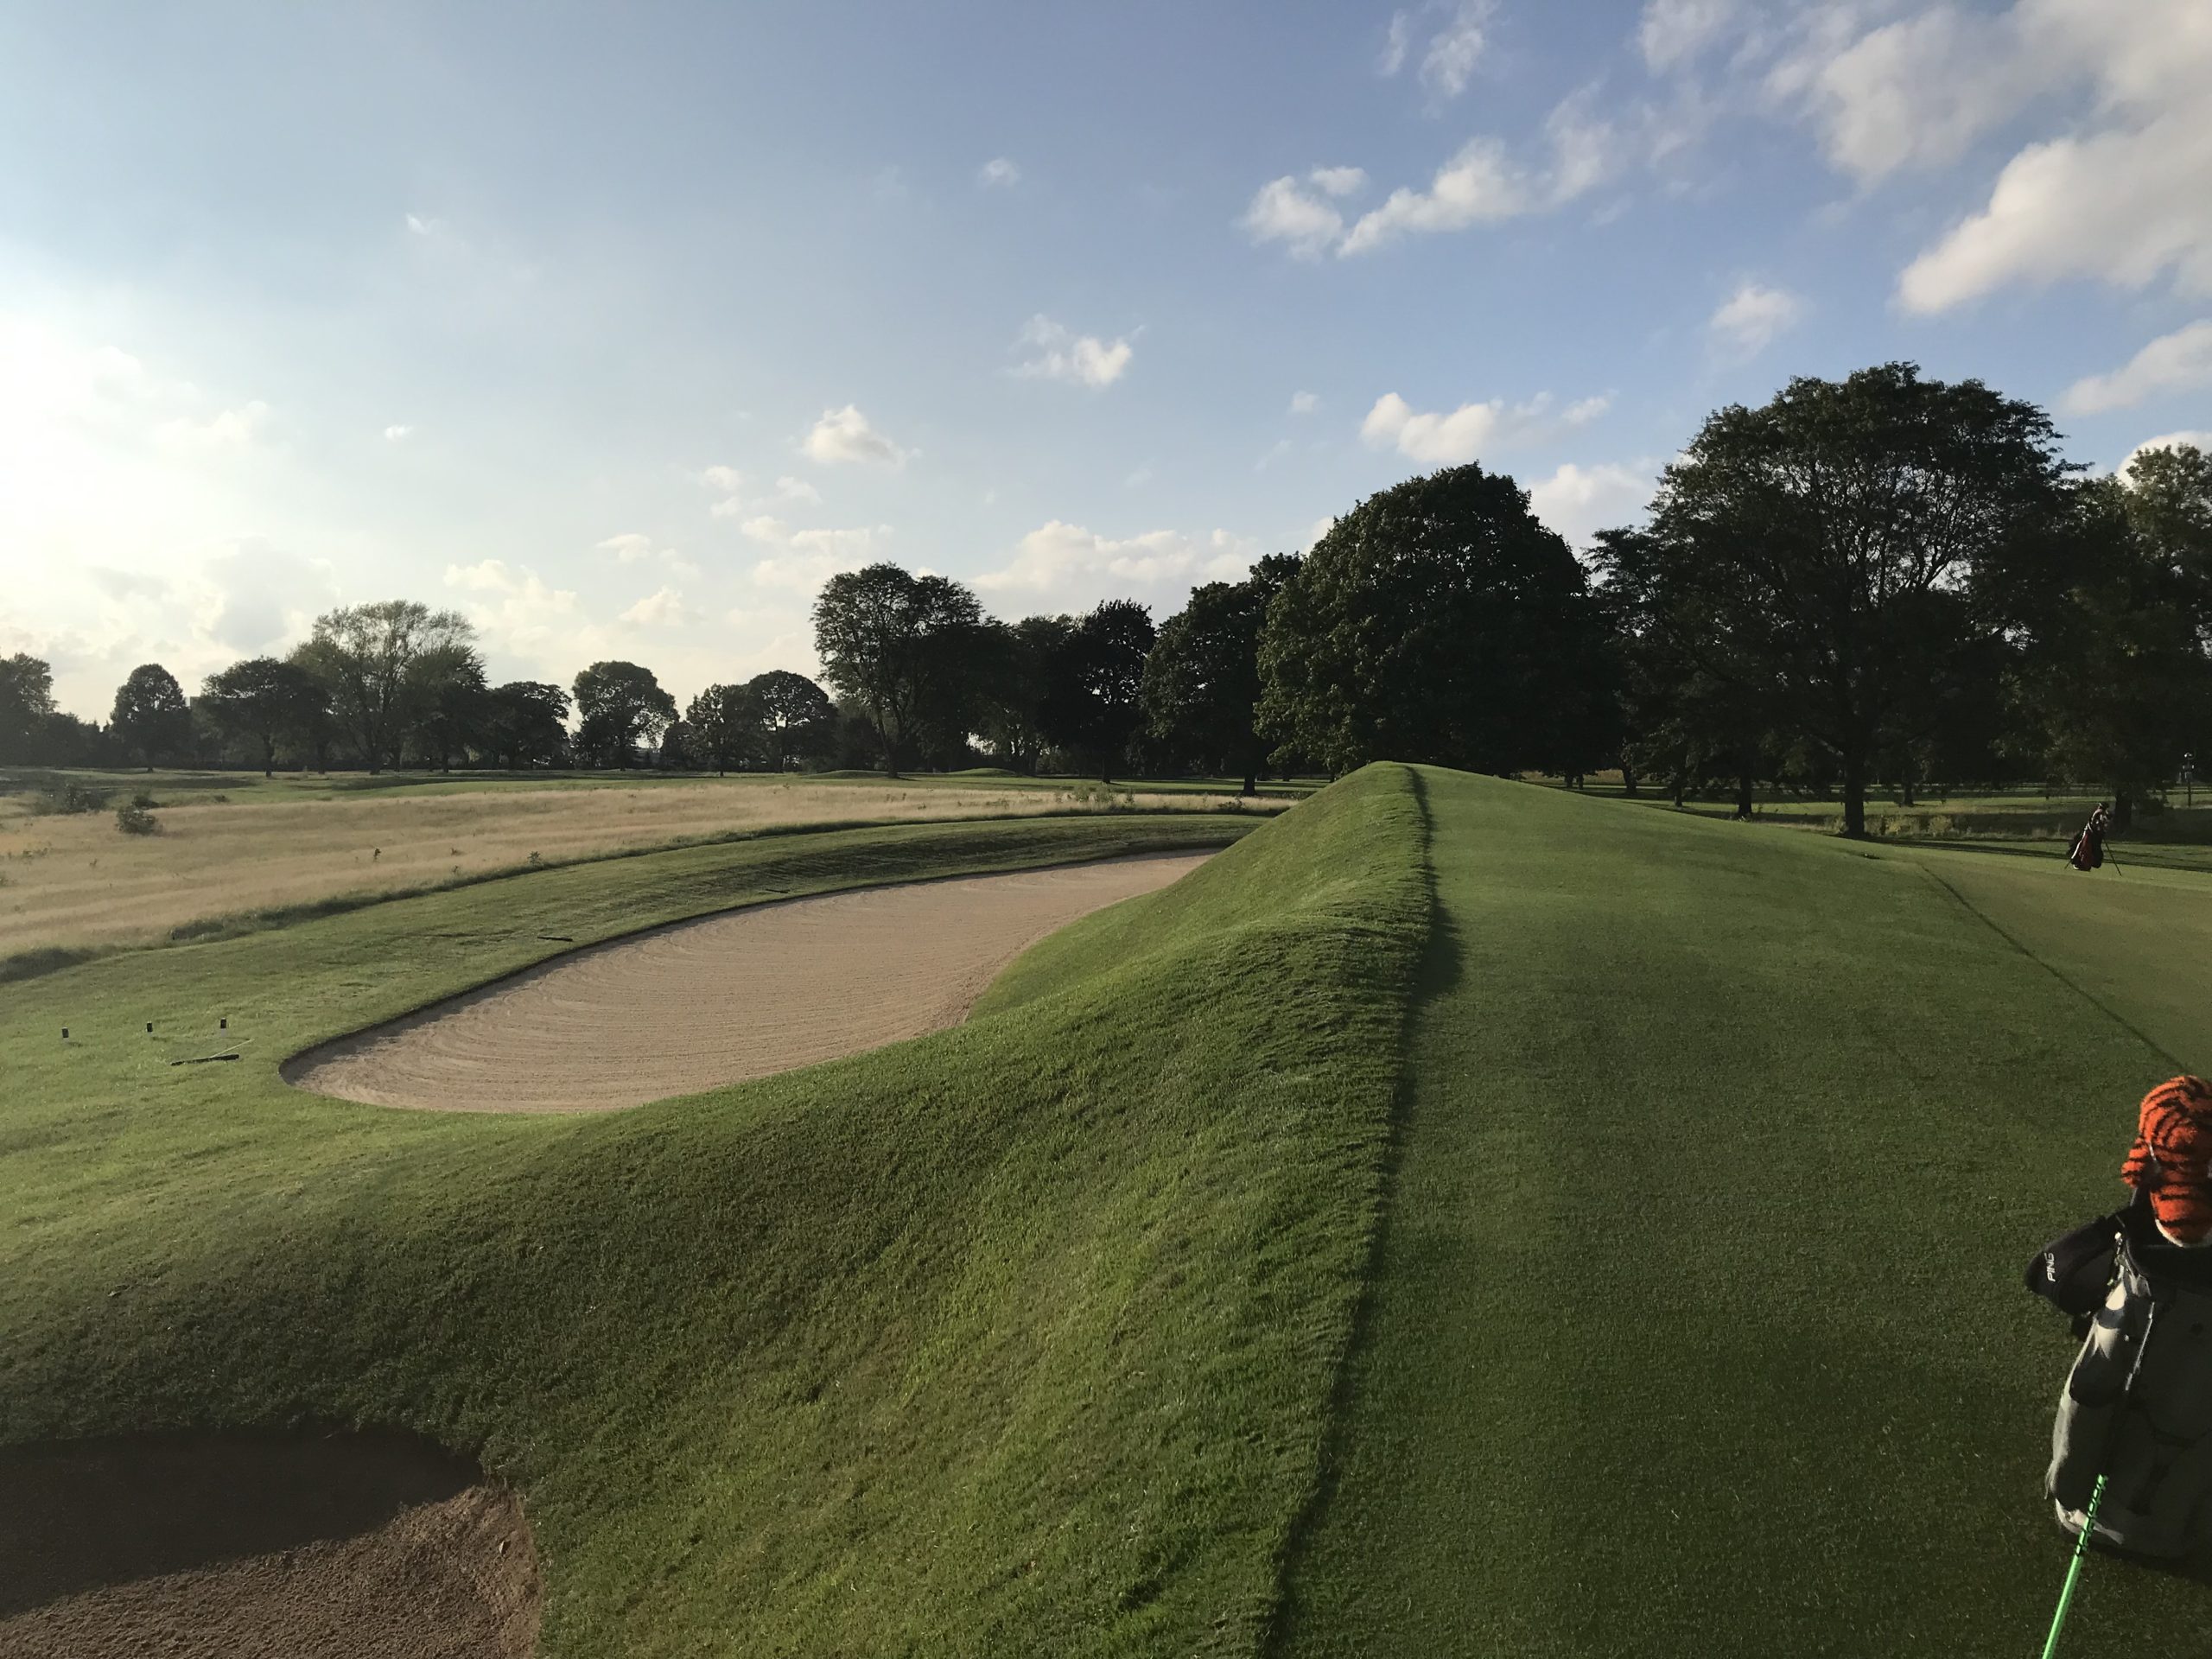
Hole 1 – 385 yards – Par 4 – Two Shot Redan
The redan template is quite popular, but is usually found on par threes. The first photo below is of the approach shot to this par four version. It’s the opening salvo of an awesome day for template holes and wild greens.
Look at the angles and shapes of the bunker below!
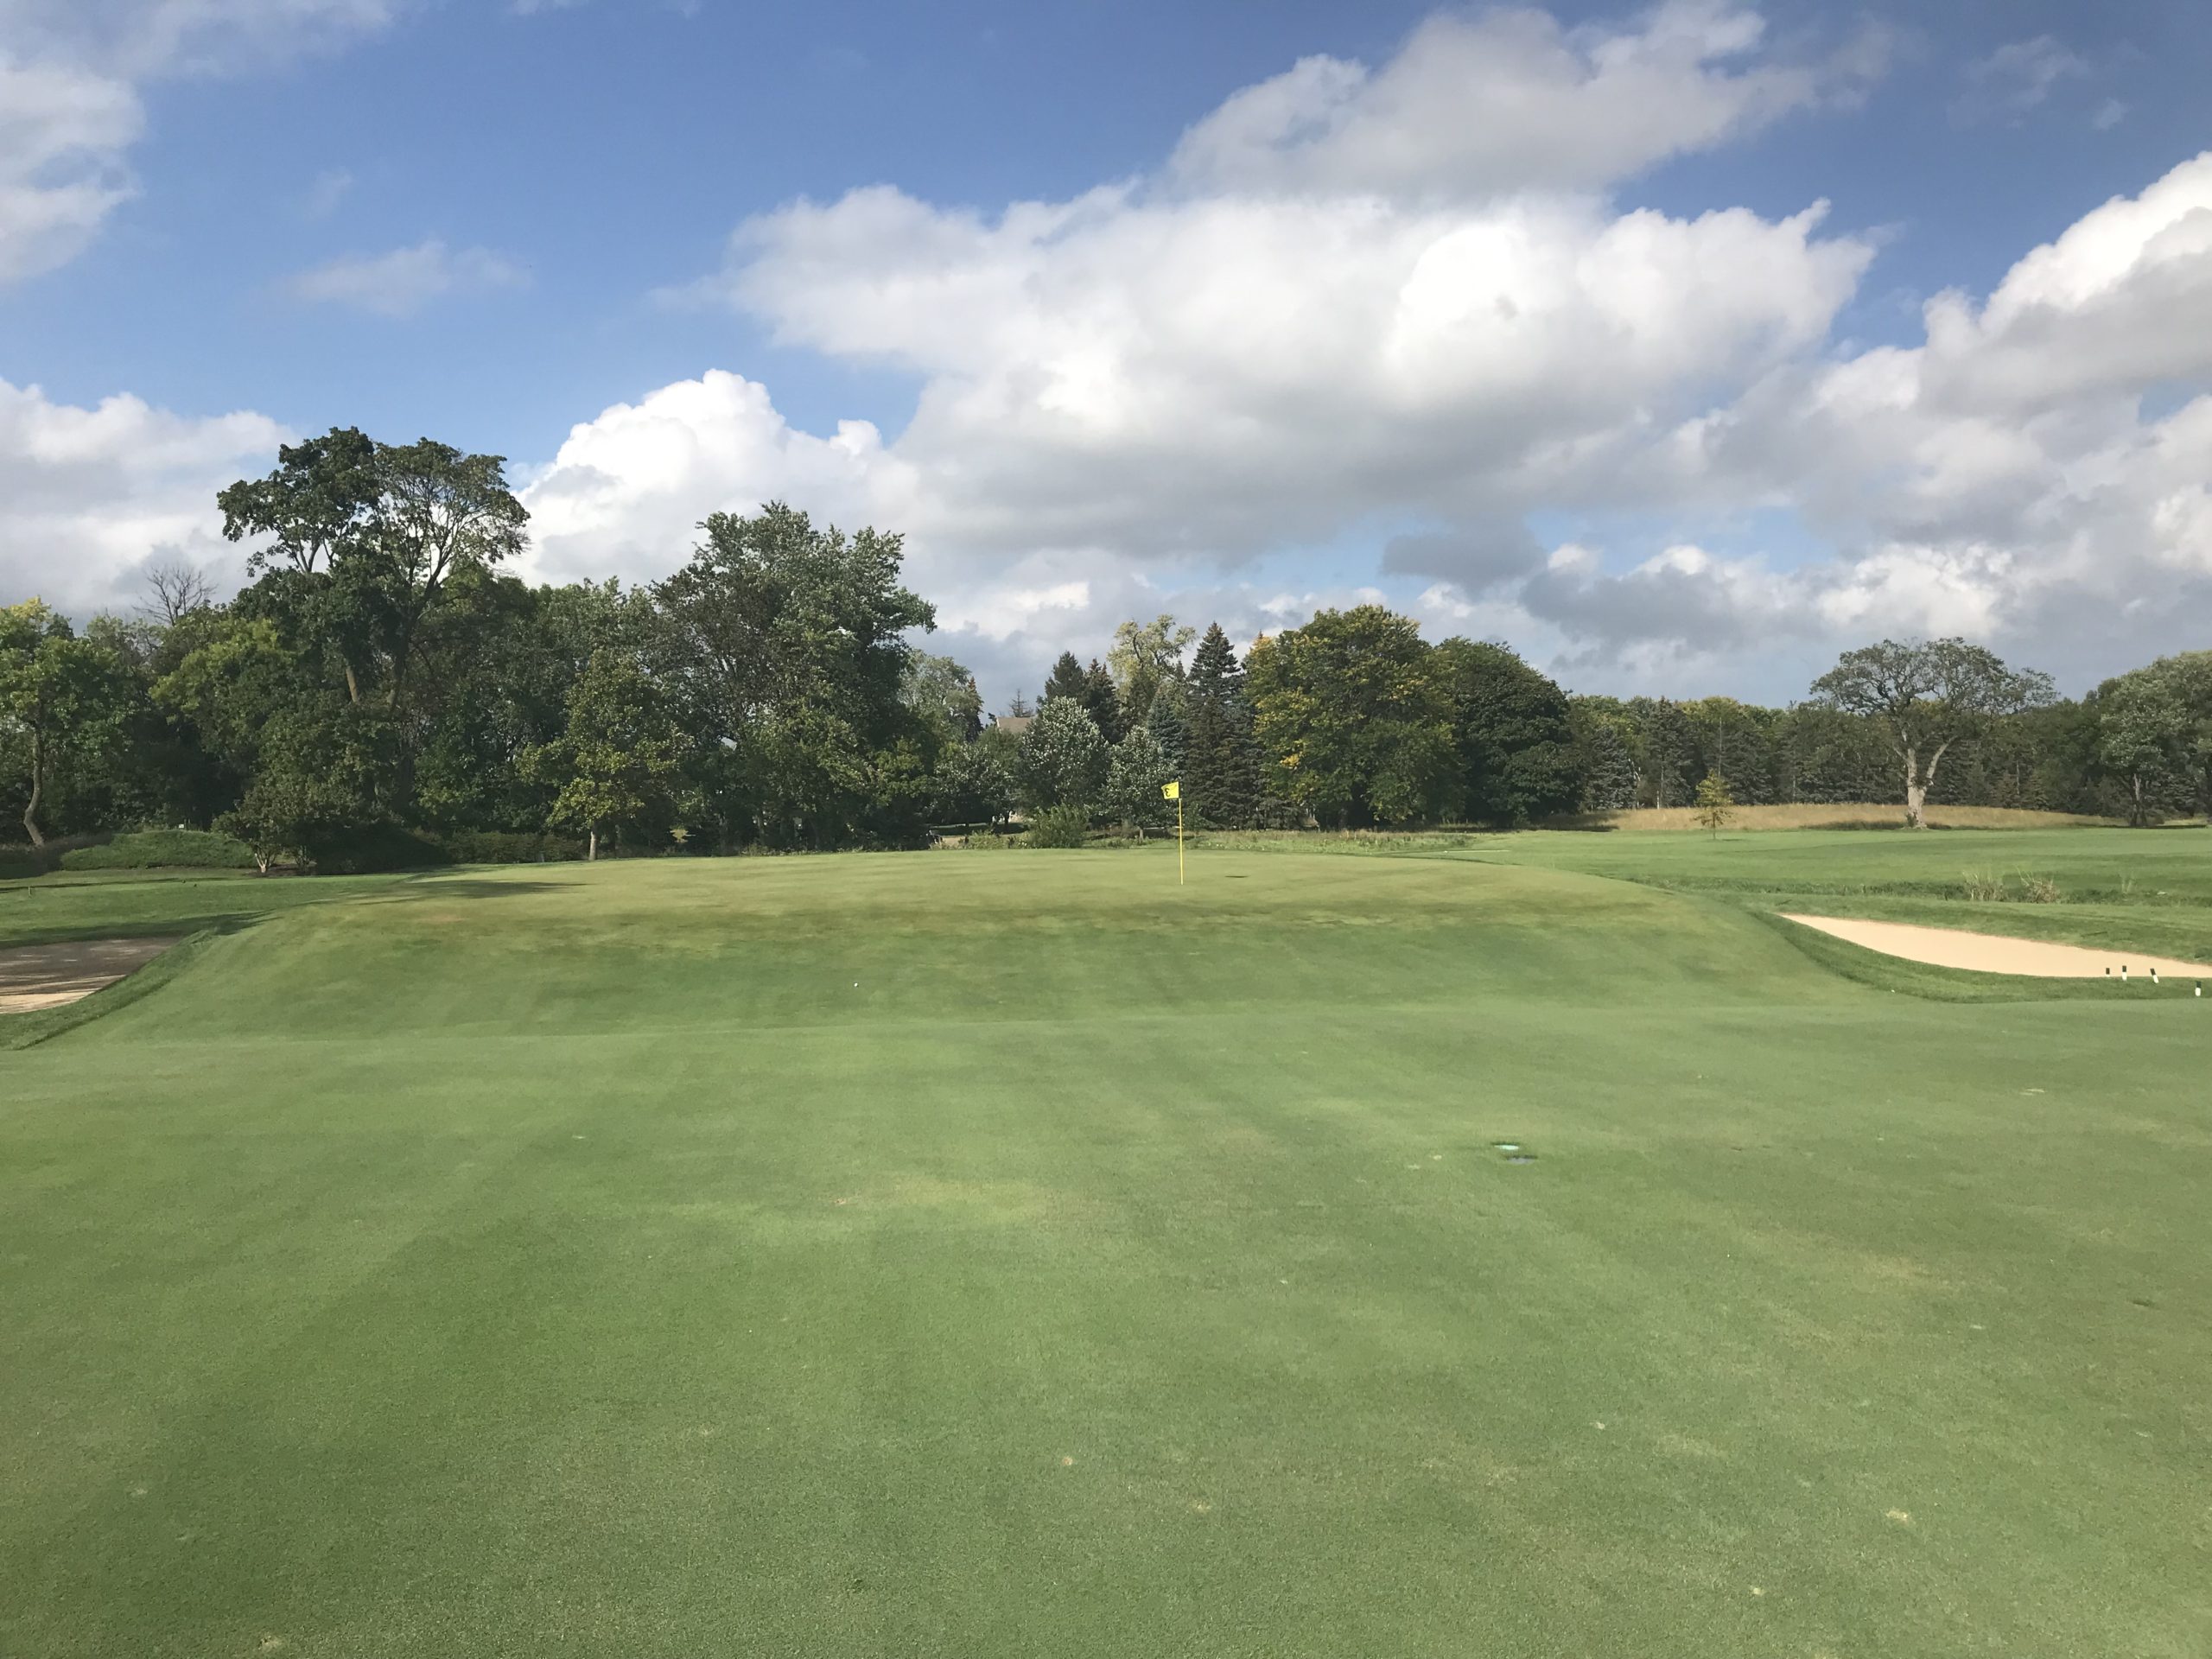
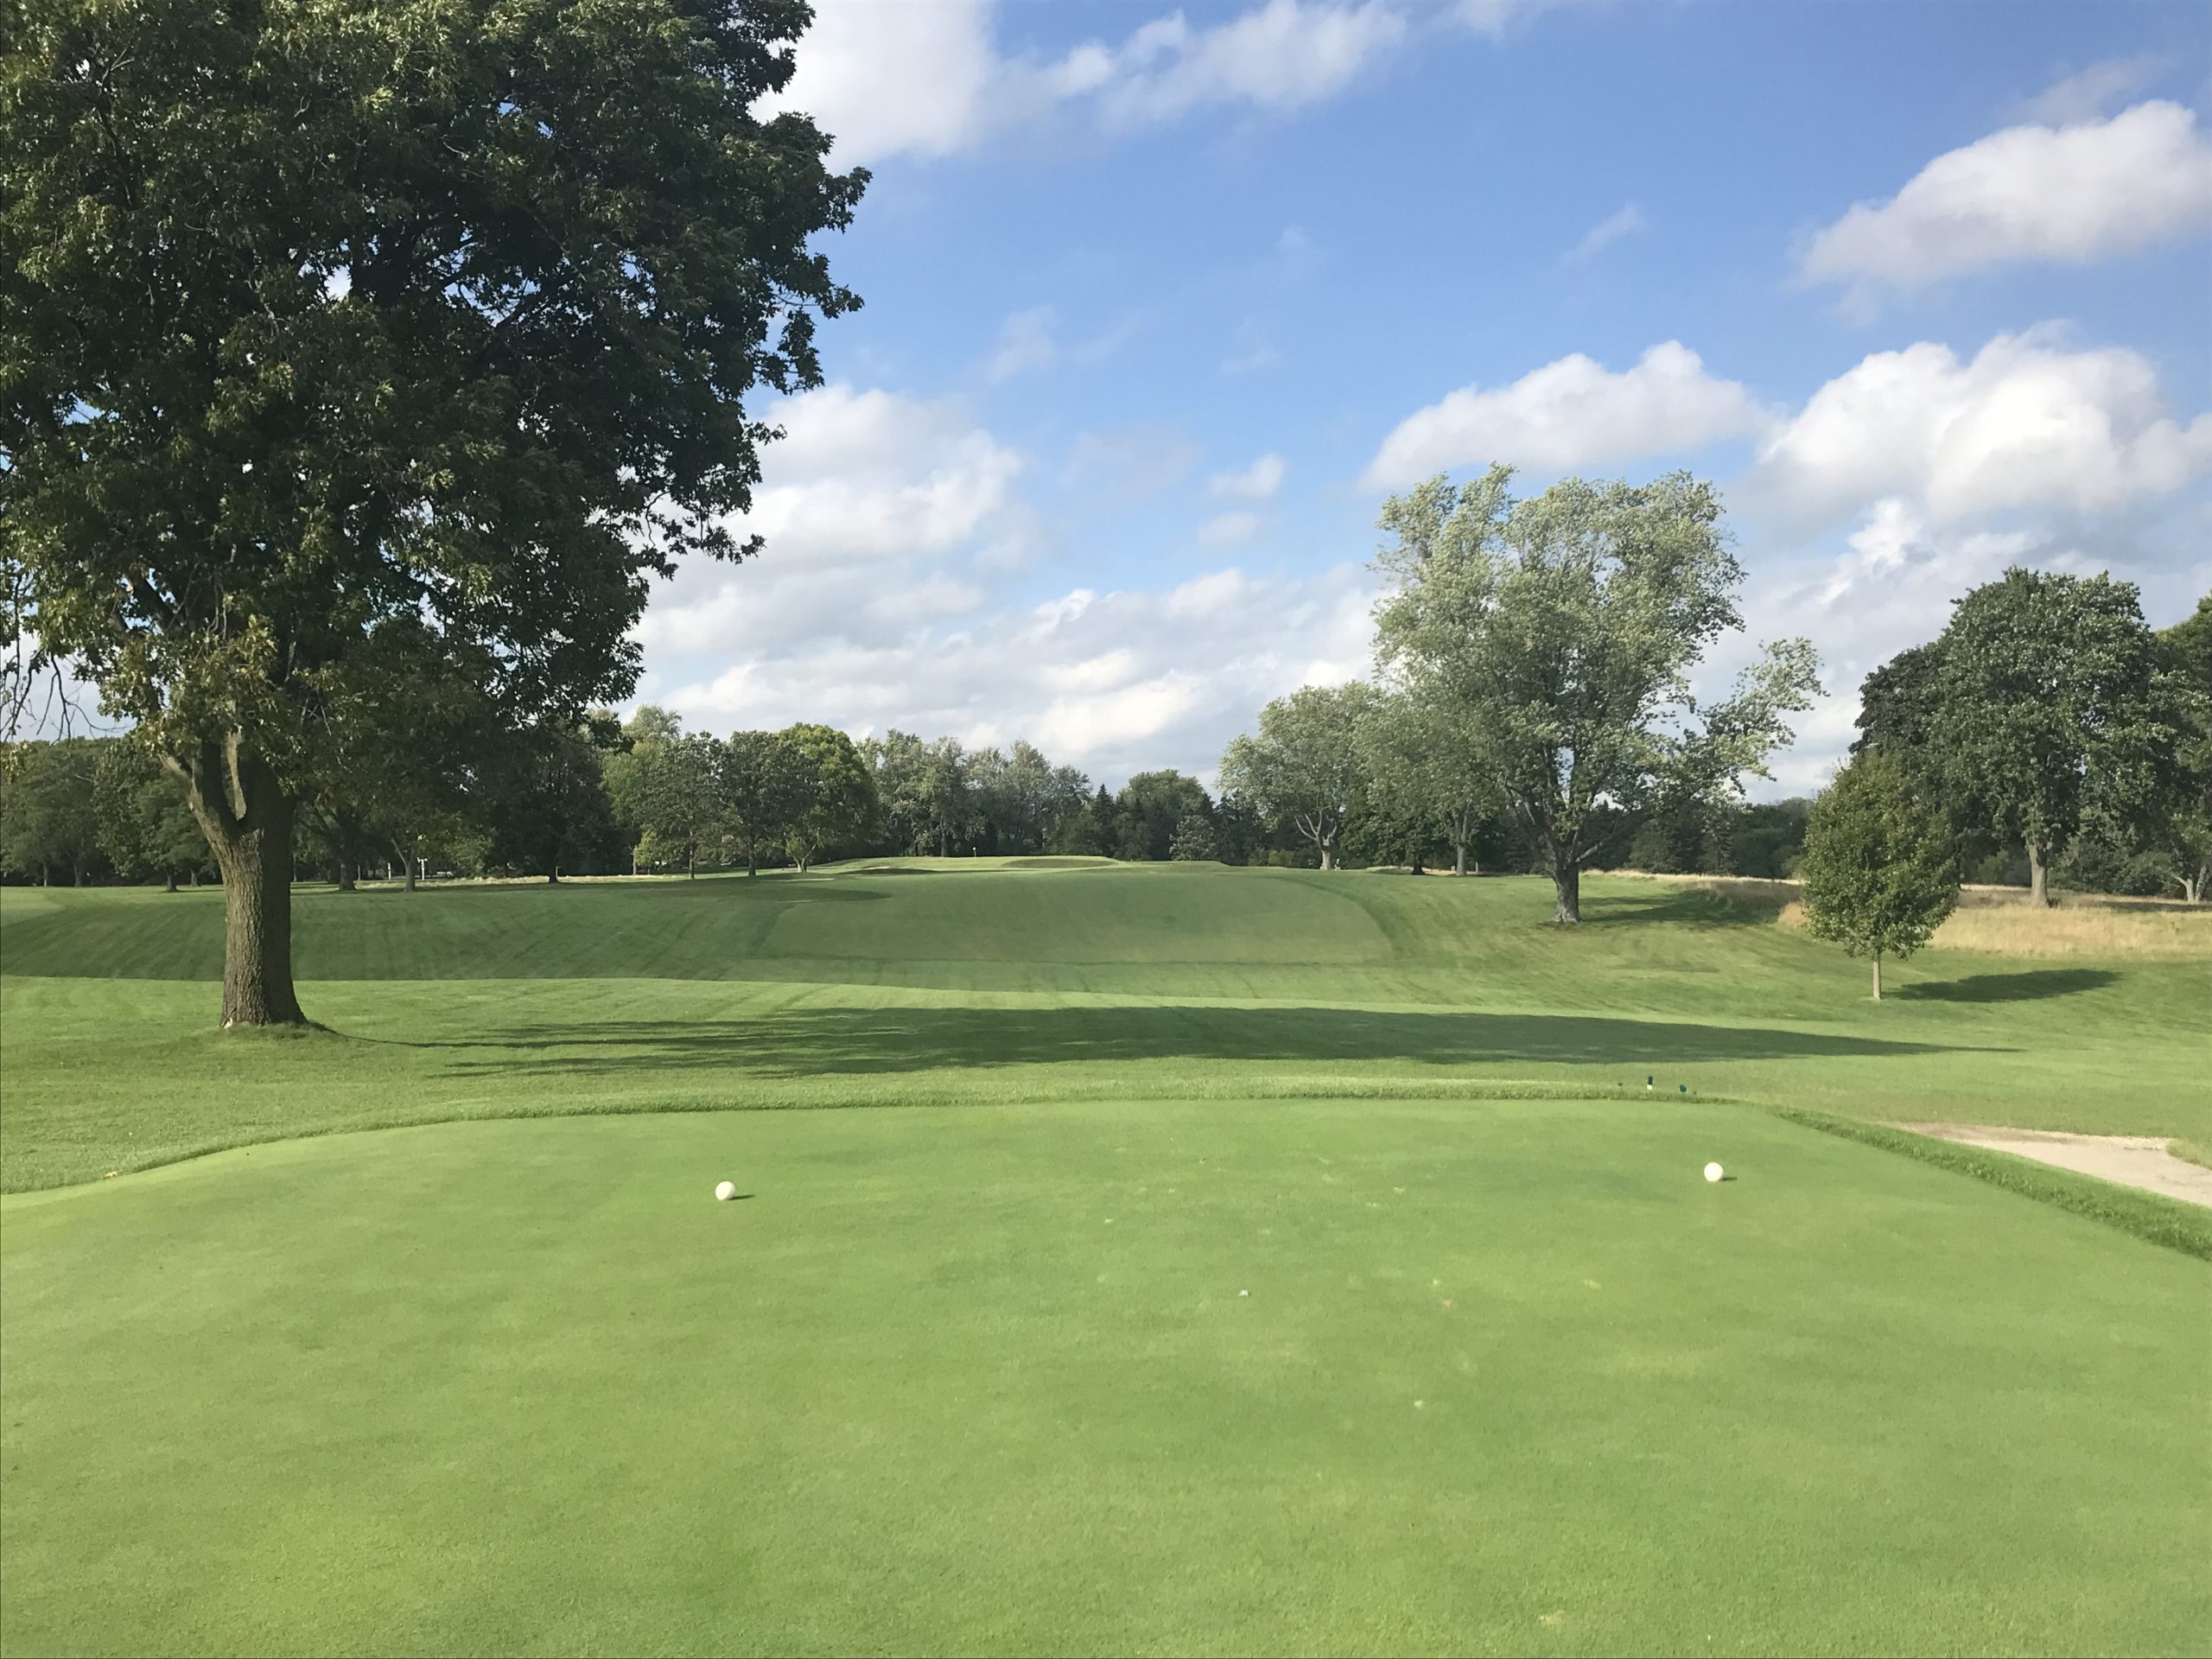
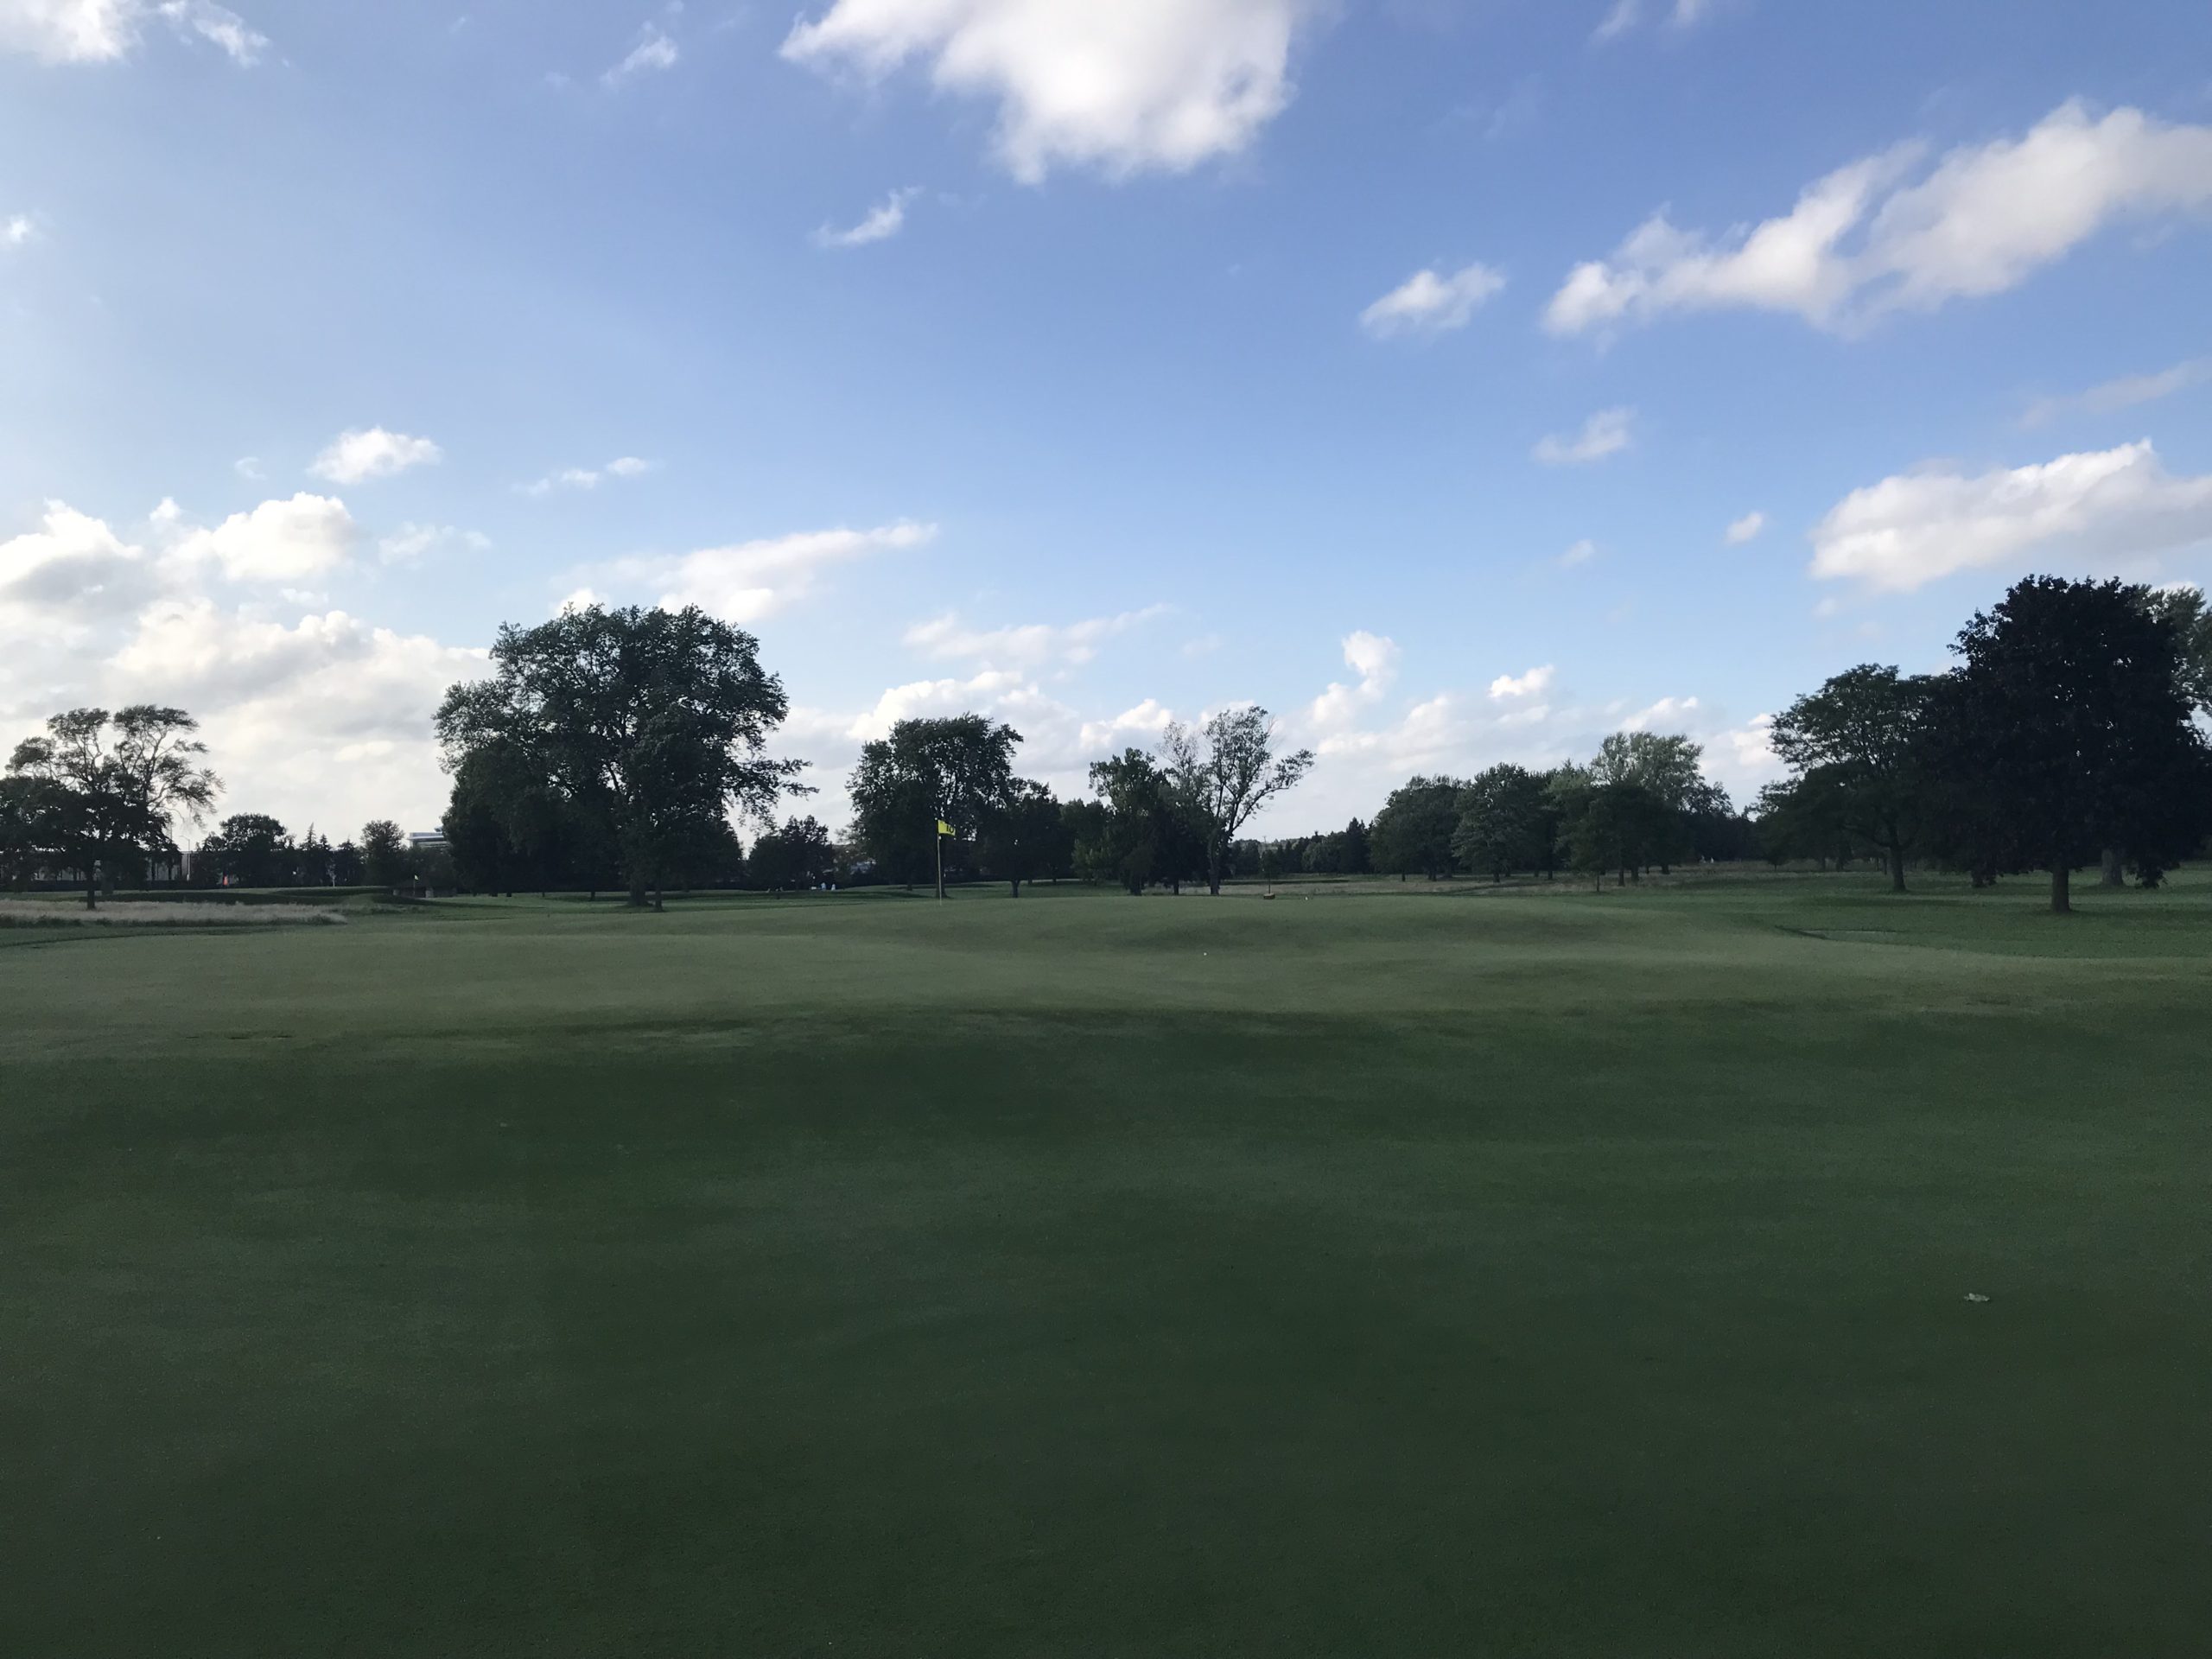
Hole 2 – 400 yards – Par 4 – Double Plateau
The hole name here refers to the green. More on that in a minute. The full shot portions of the hole are straightaway.
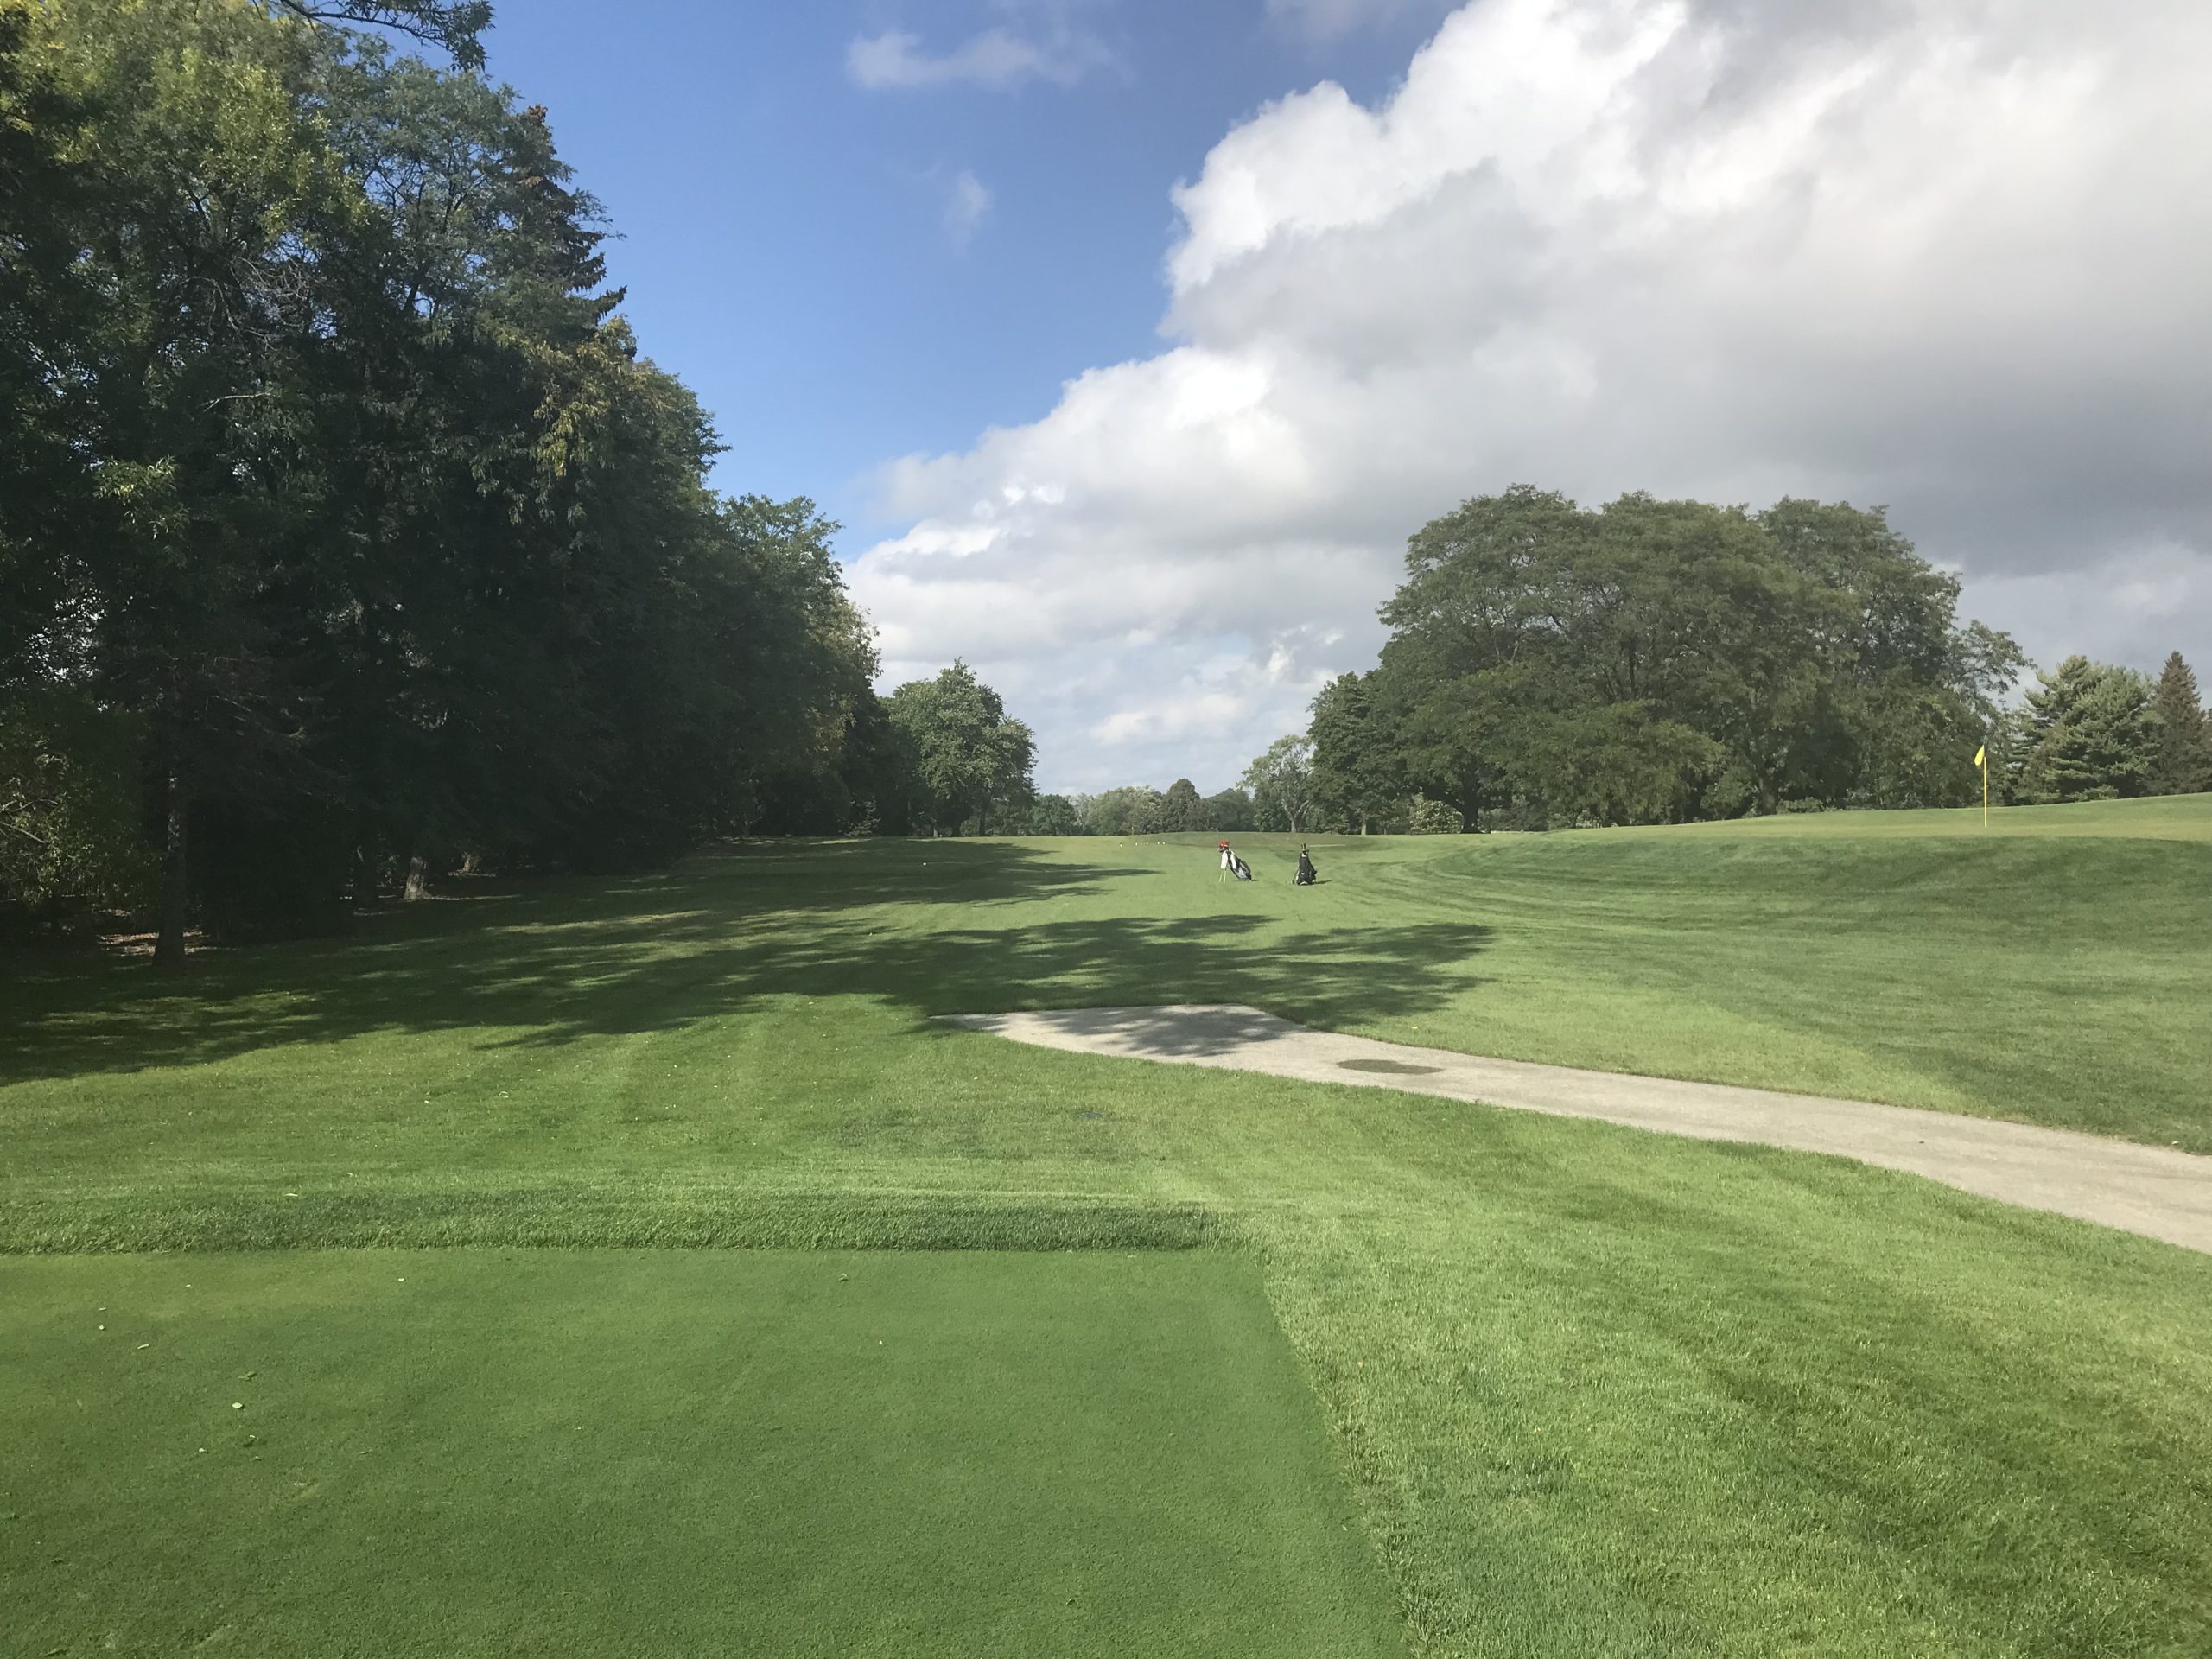
The green has multiple plateaus to place the flag. This is one of the wildest greens I’ve seen anywhere. Deep bunkers guard each side of the back portion (where this pin is).
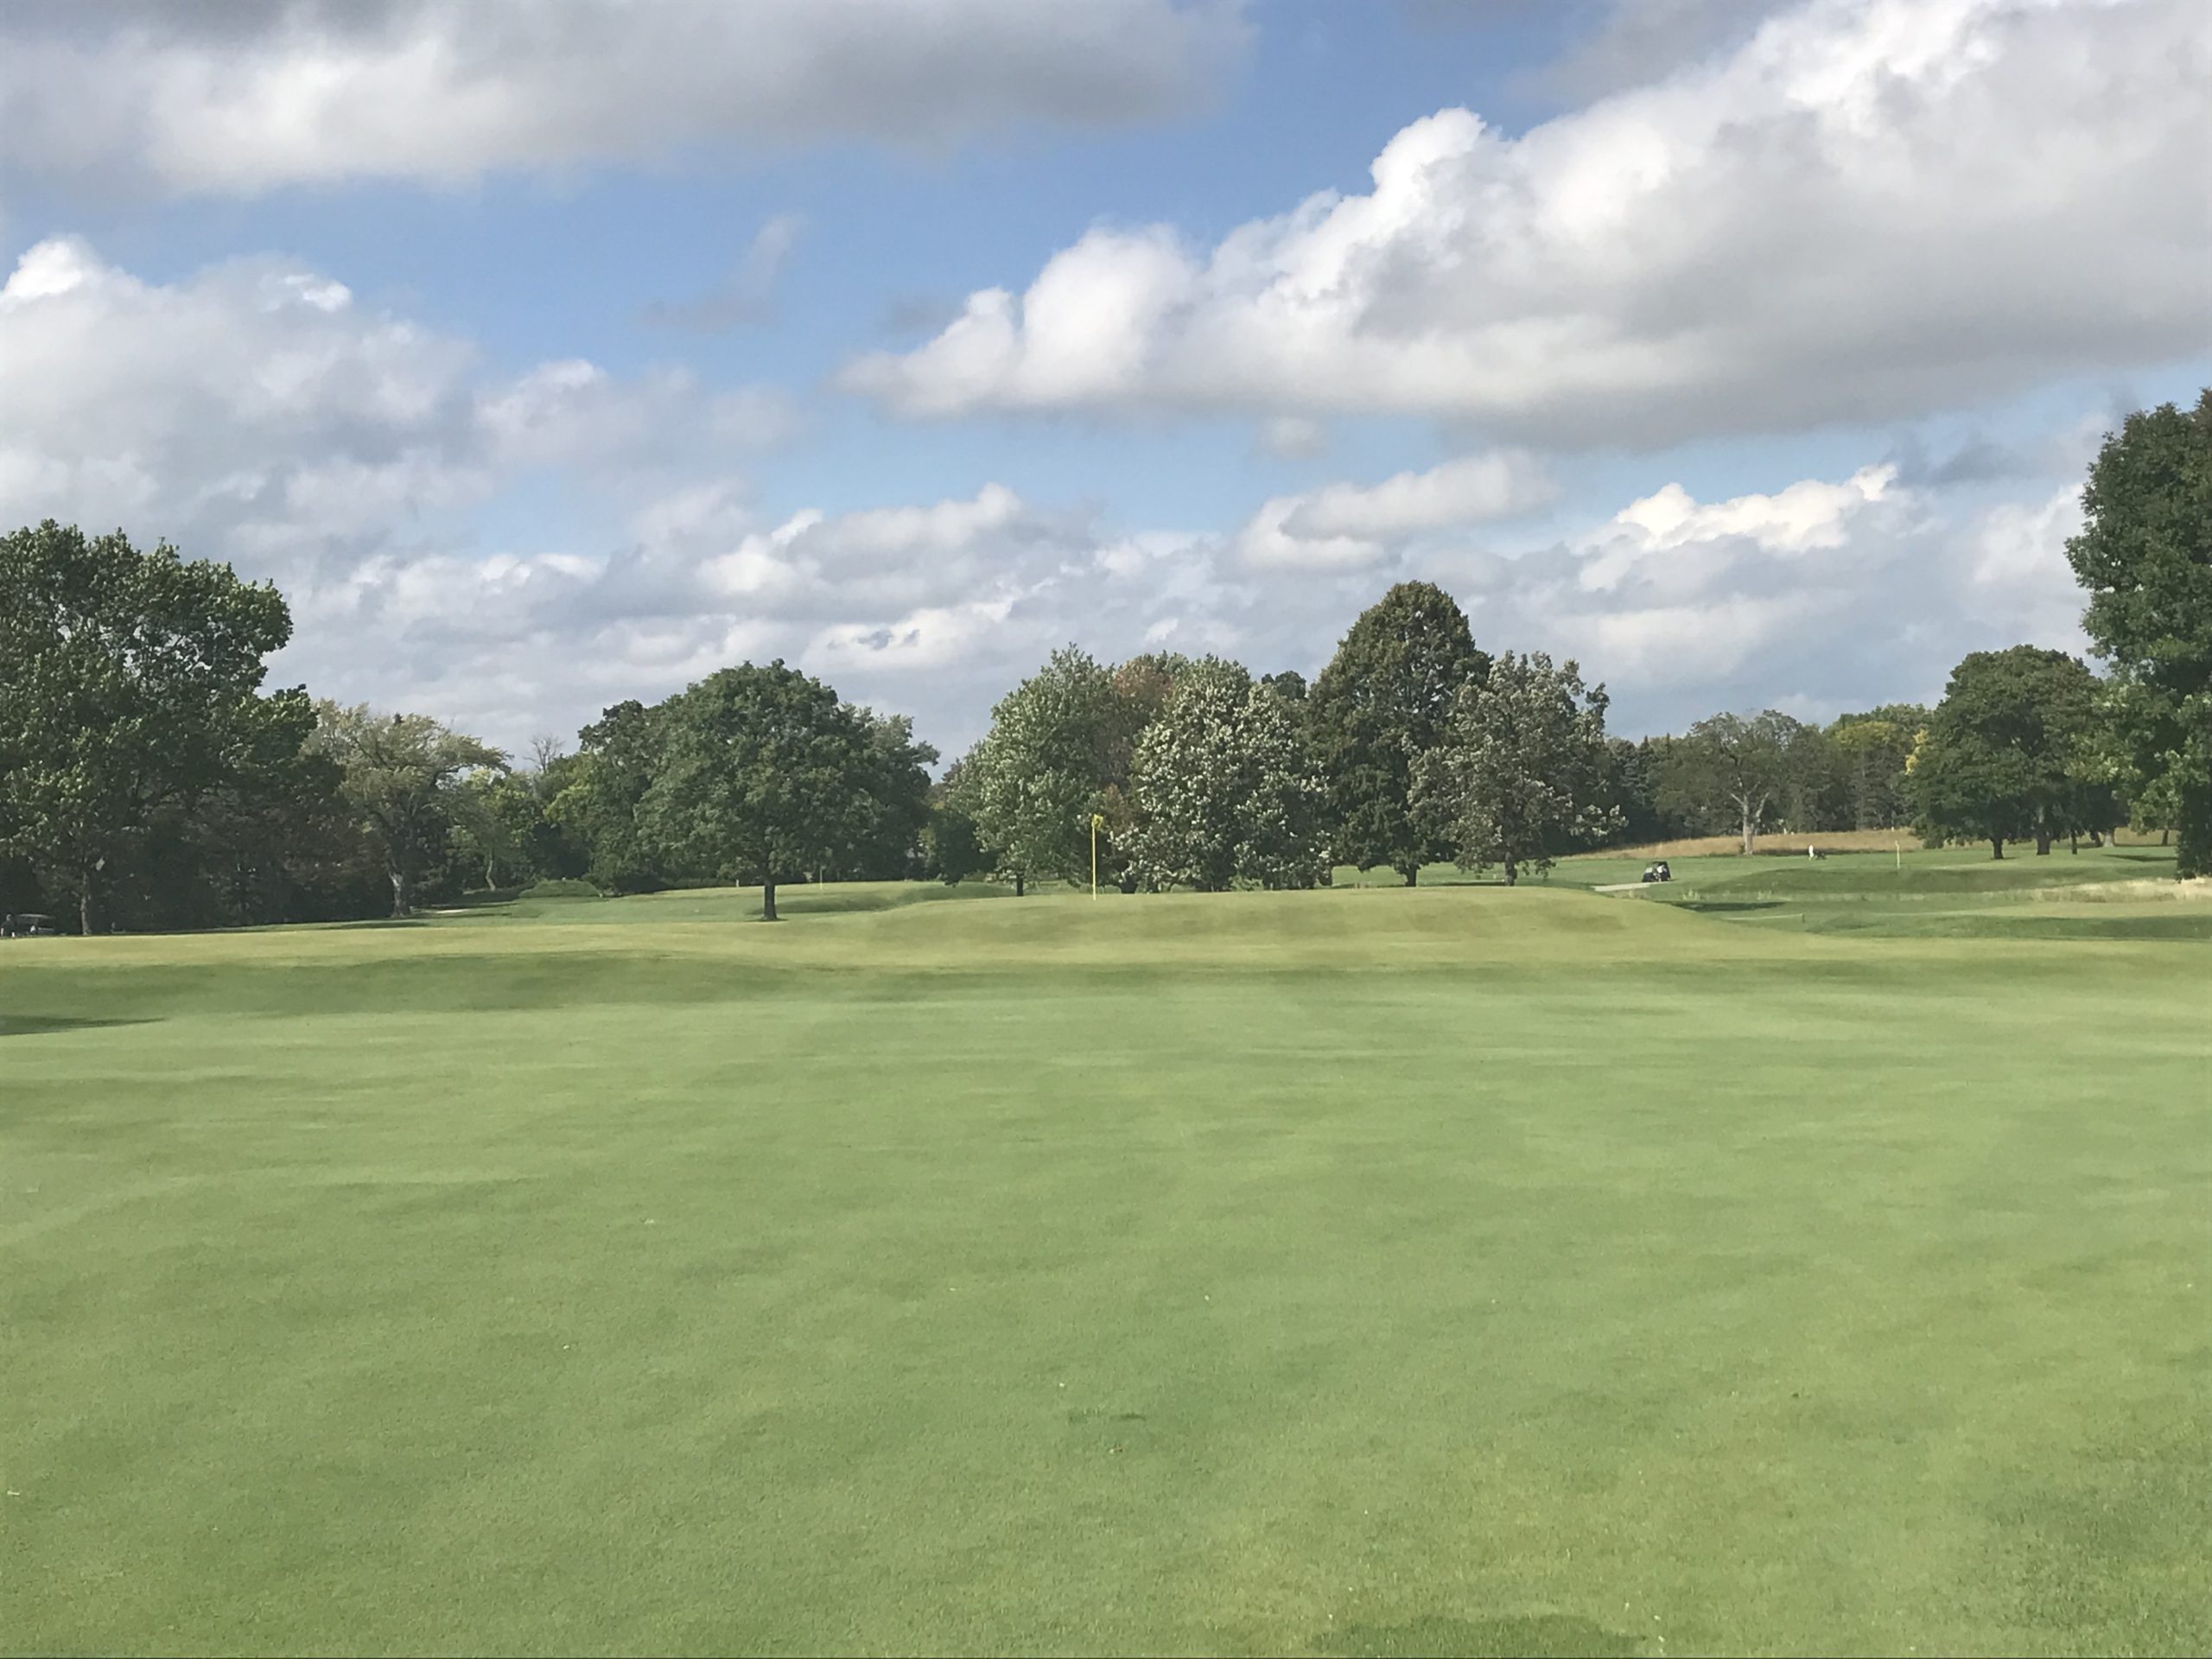
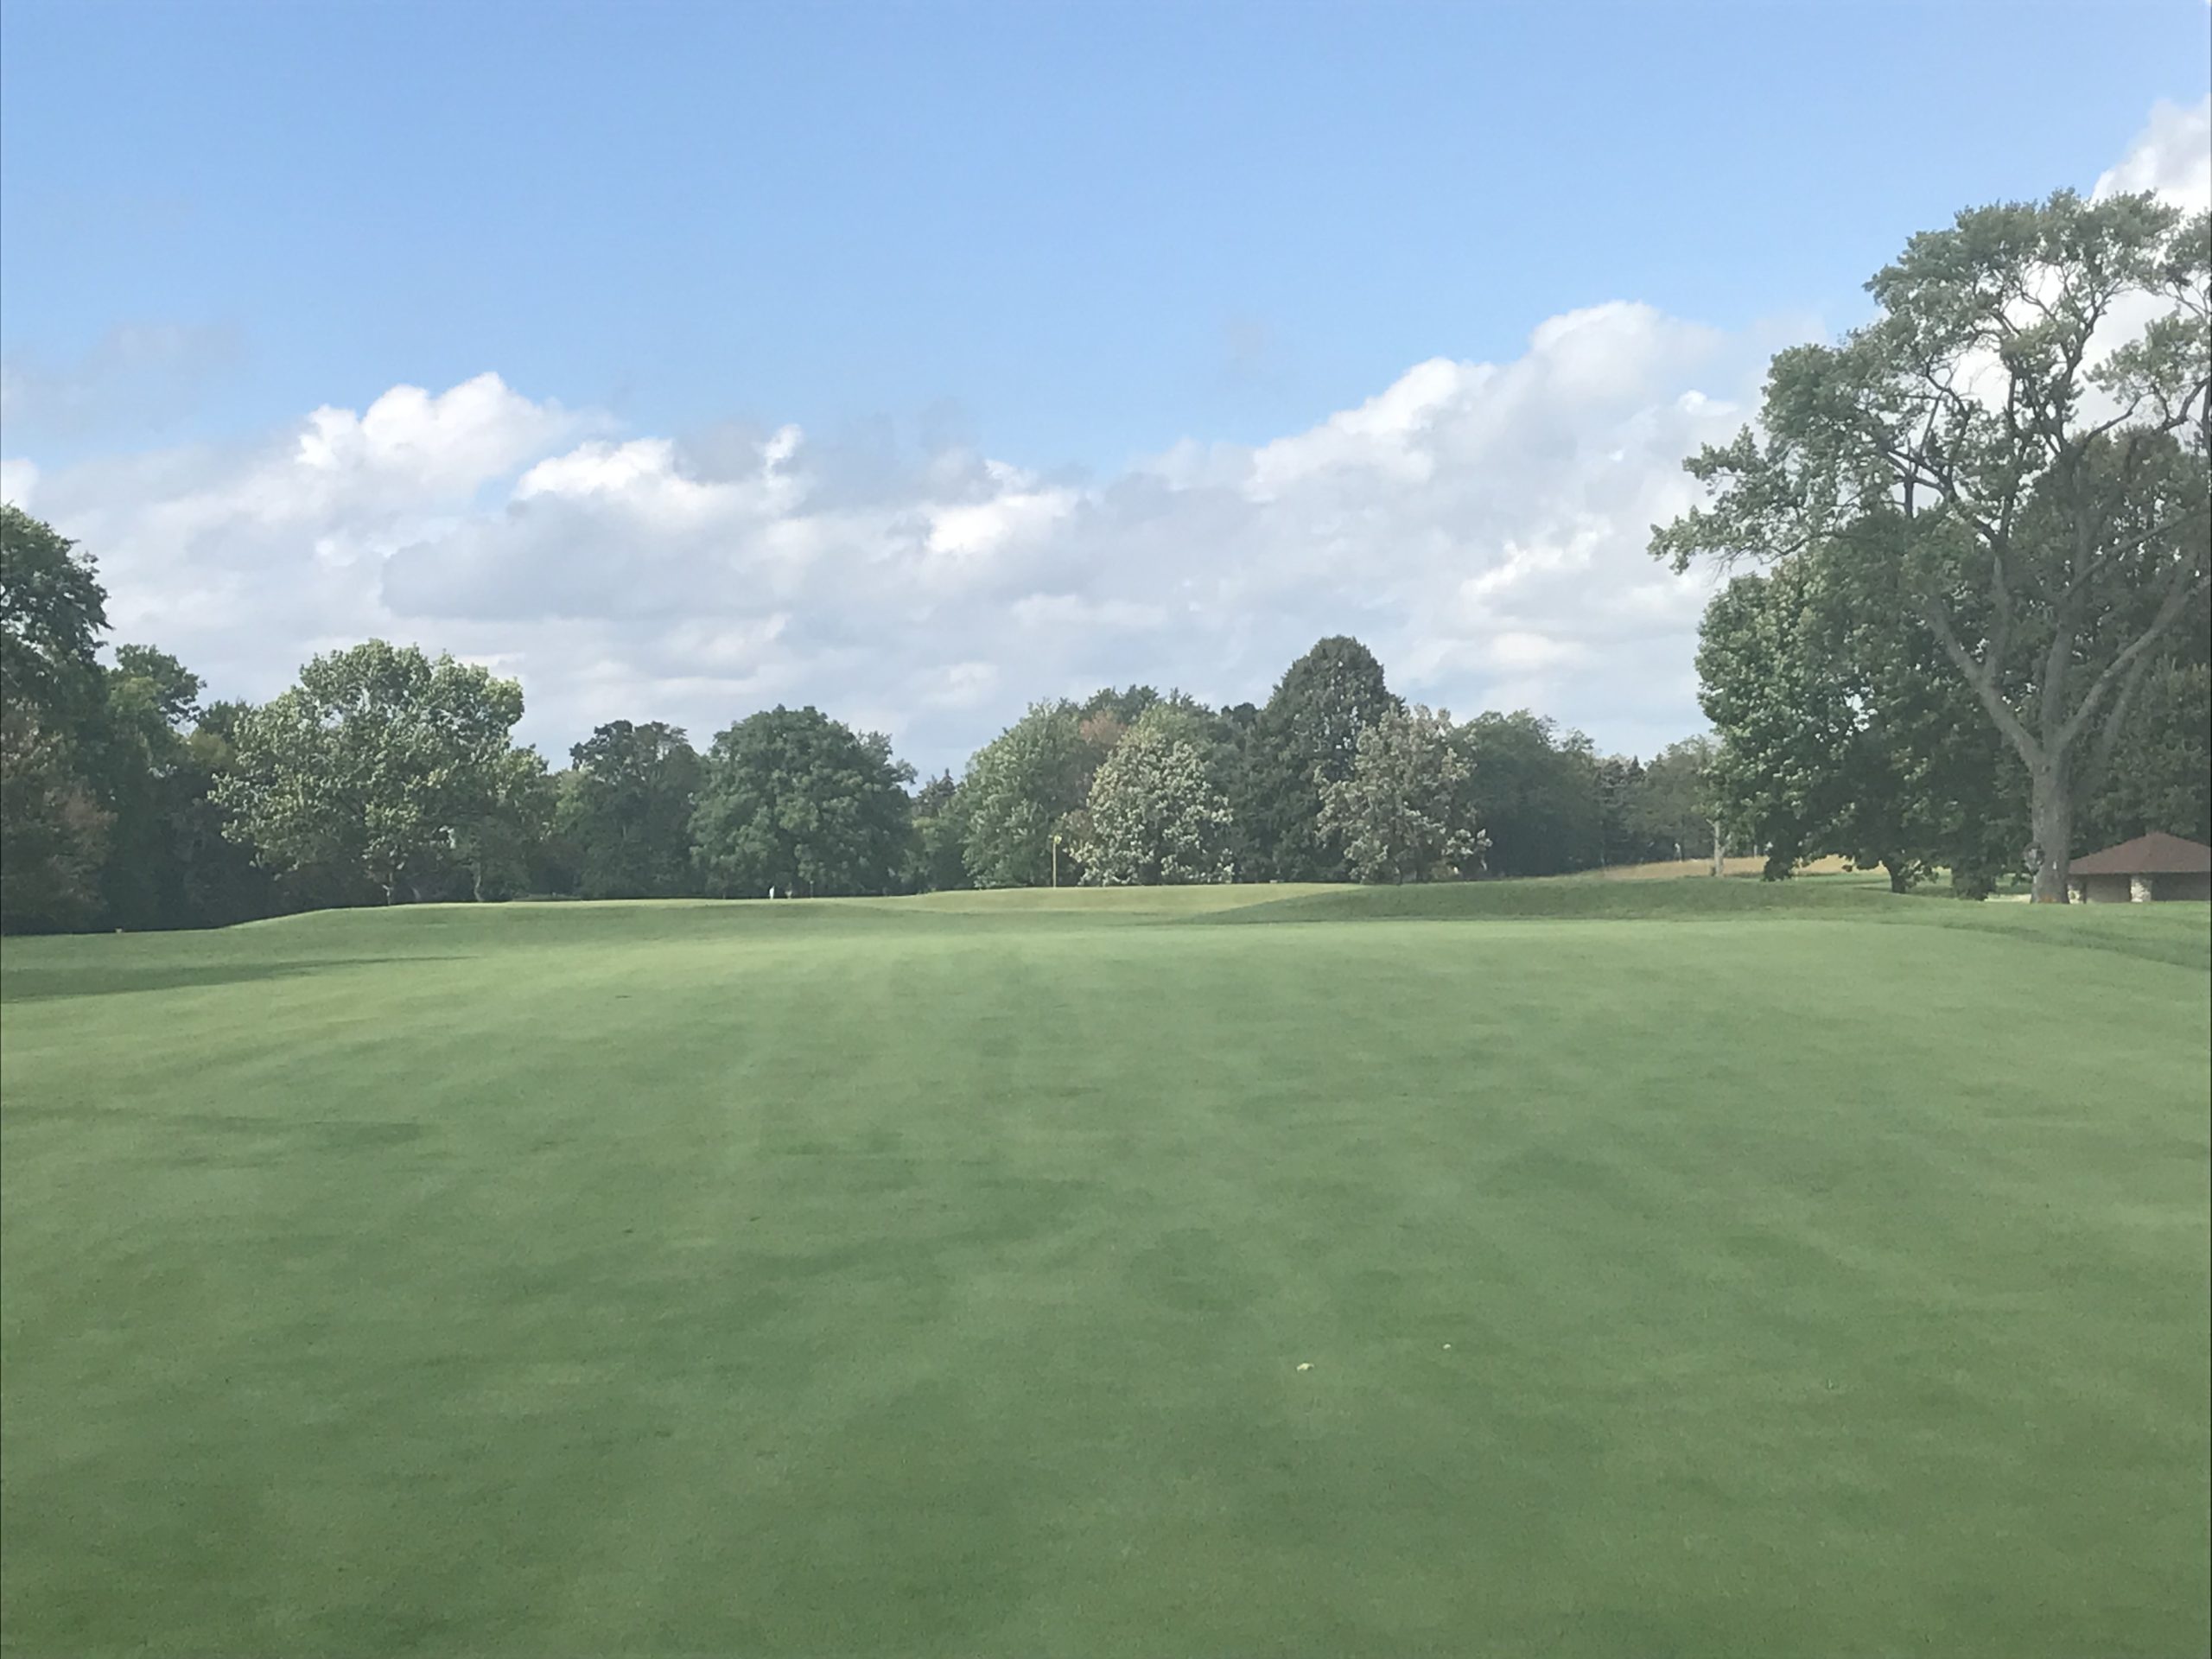
Hole 3 – 200 yards – Par 3 – Biarritz
The front flat section and dip of this Biarritz is mowed to fairway height. I’ve seen that and green height in my travels and honestly don’t have a preference. Even with the dramatic fronting slope, I think short is better than long on this one.
Hole 4 – 372 yards – Par 4 – Alps
This is a toned down version of the Alps template in that the second shot is only partially blind. Two large bunkers fronting the green provide most of the hole’s defense.

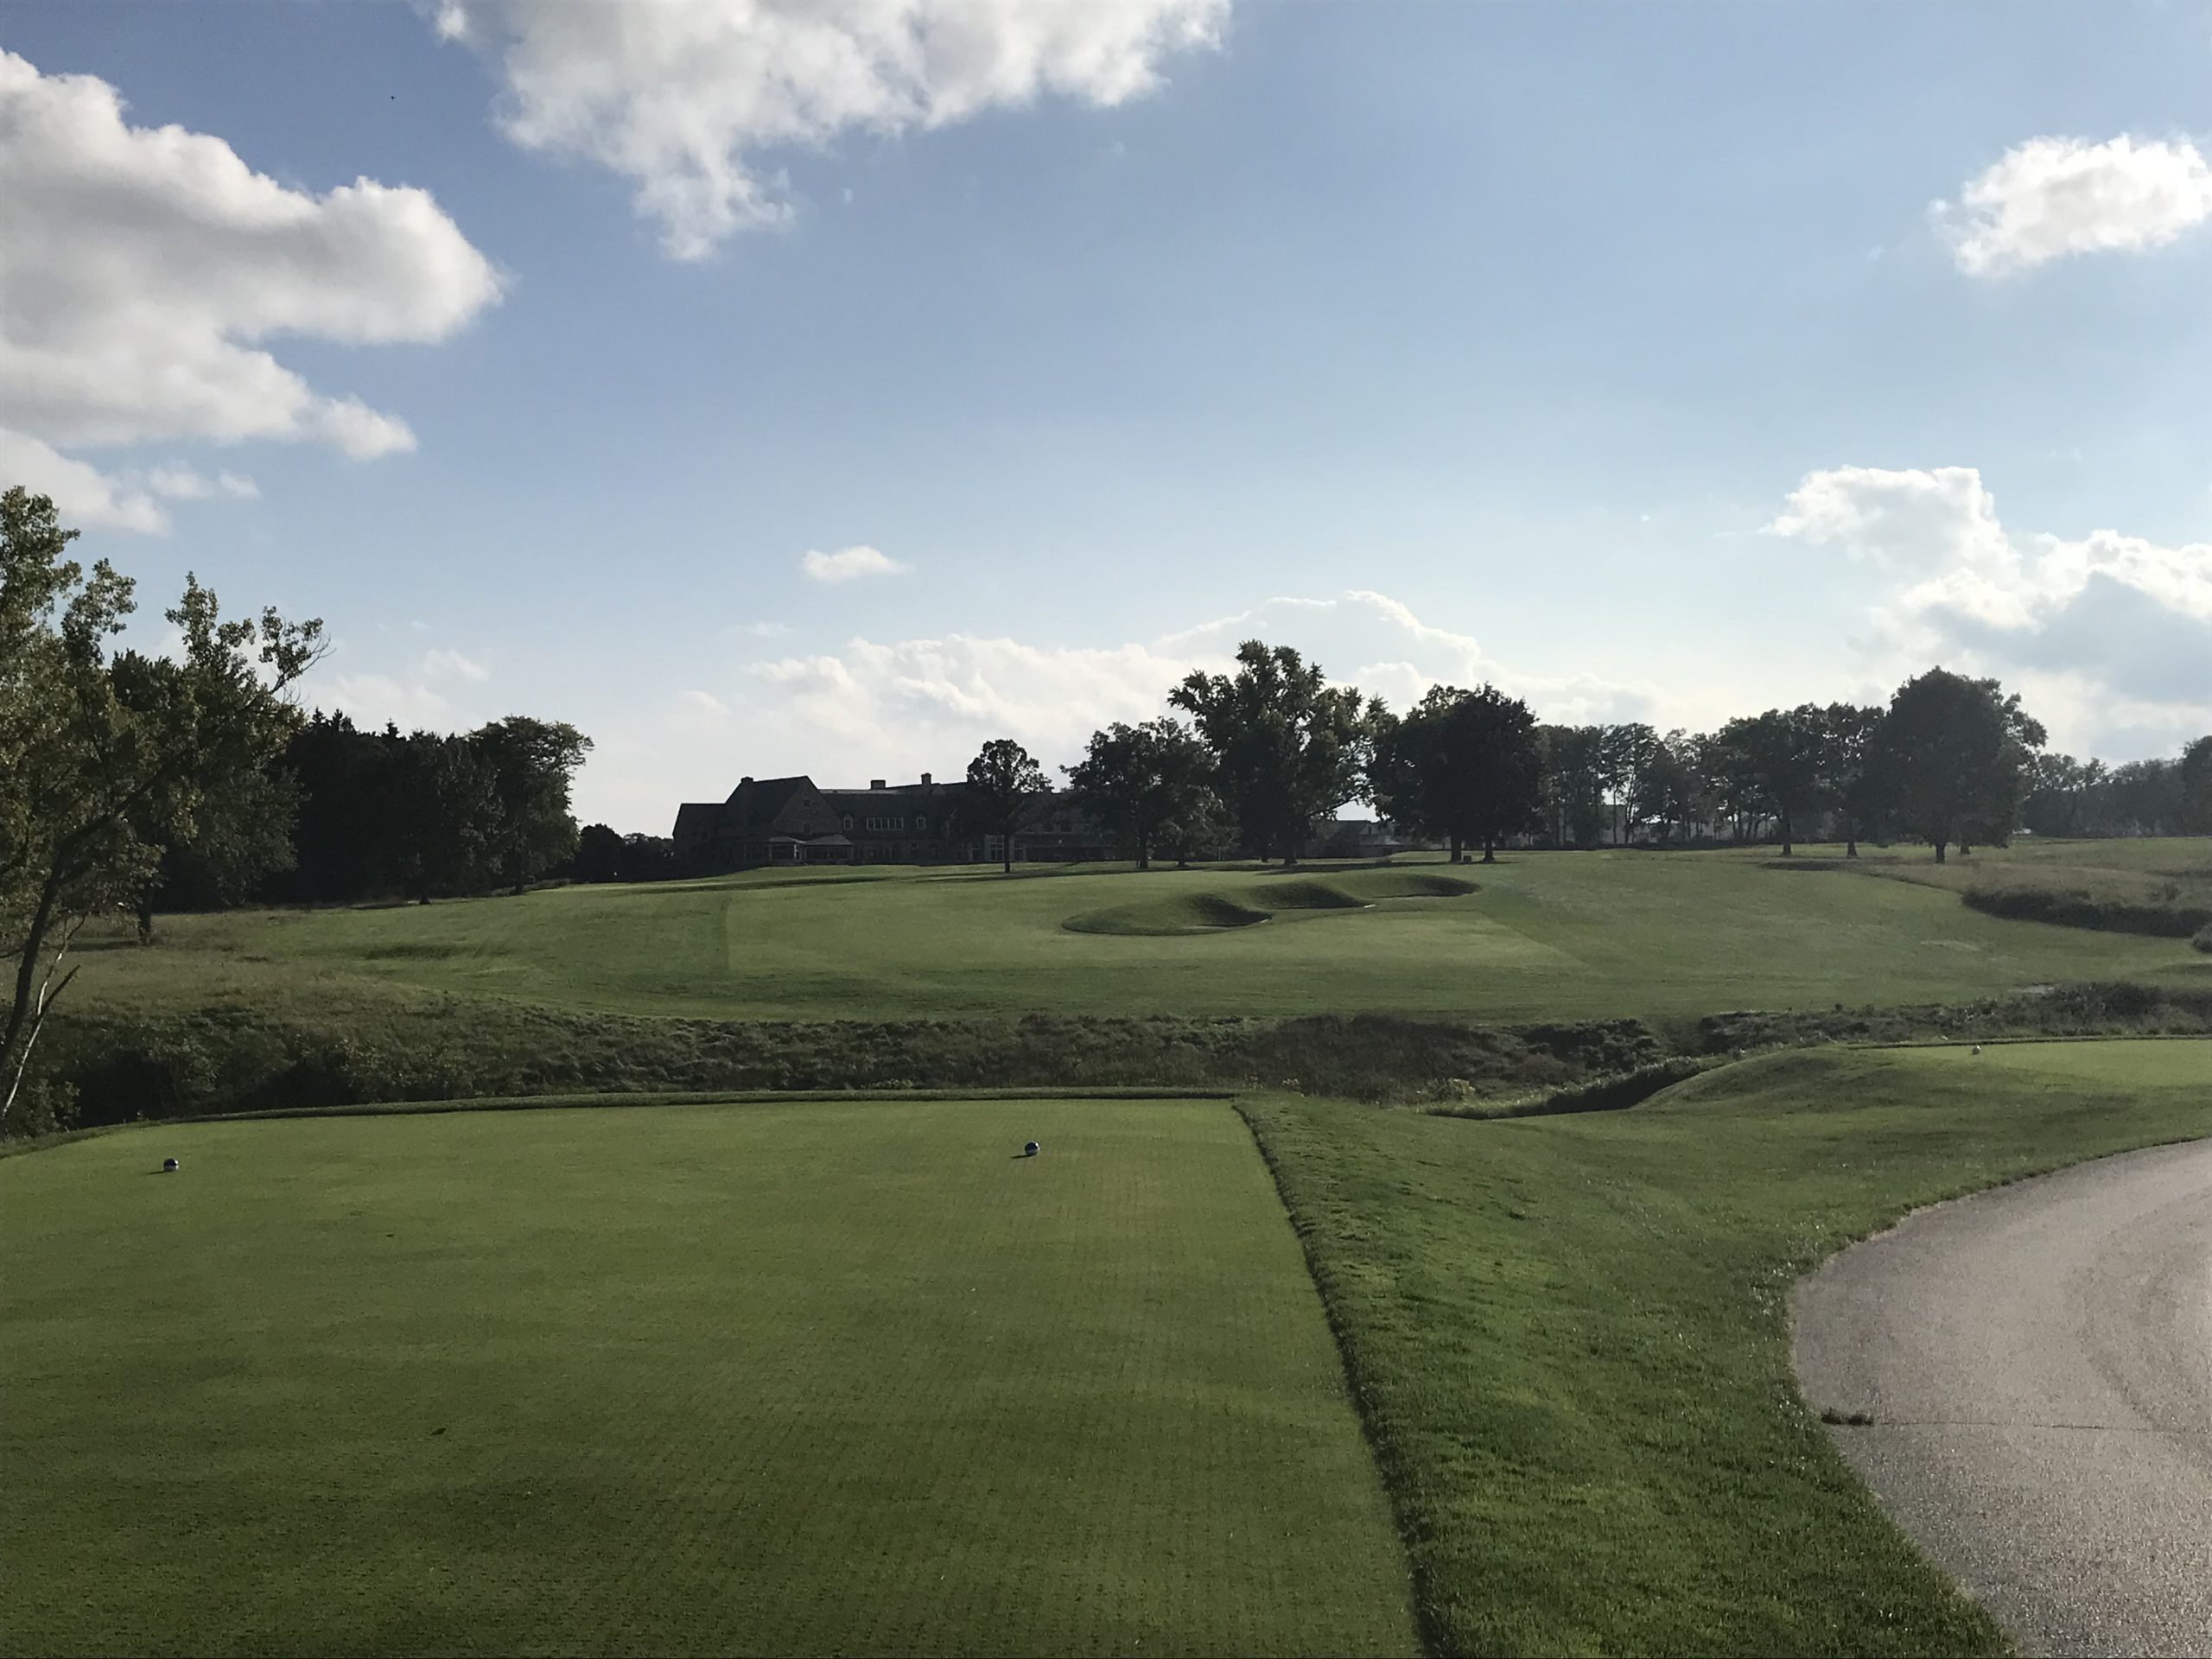
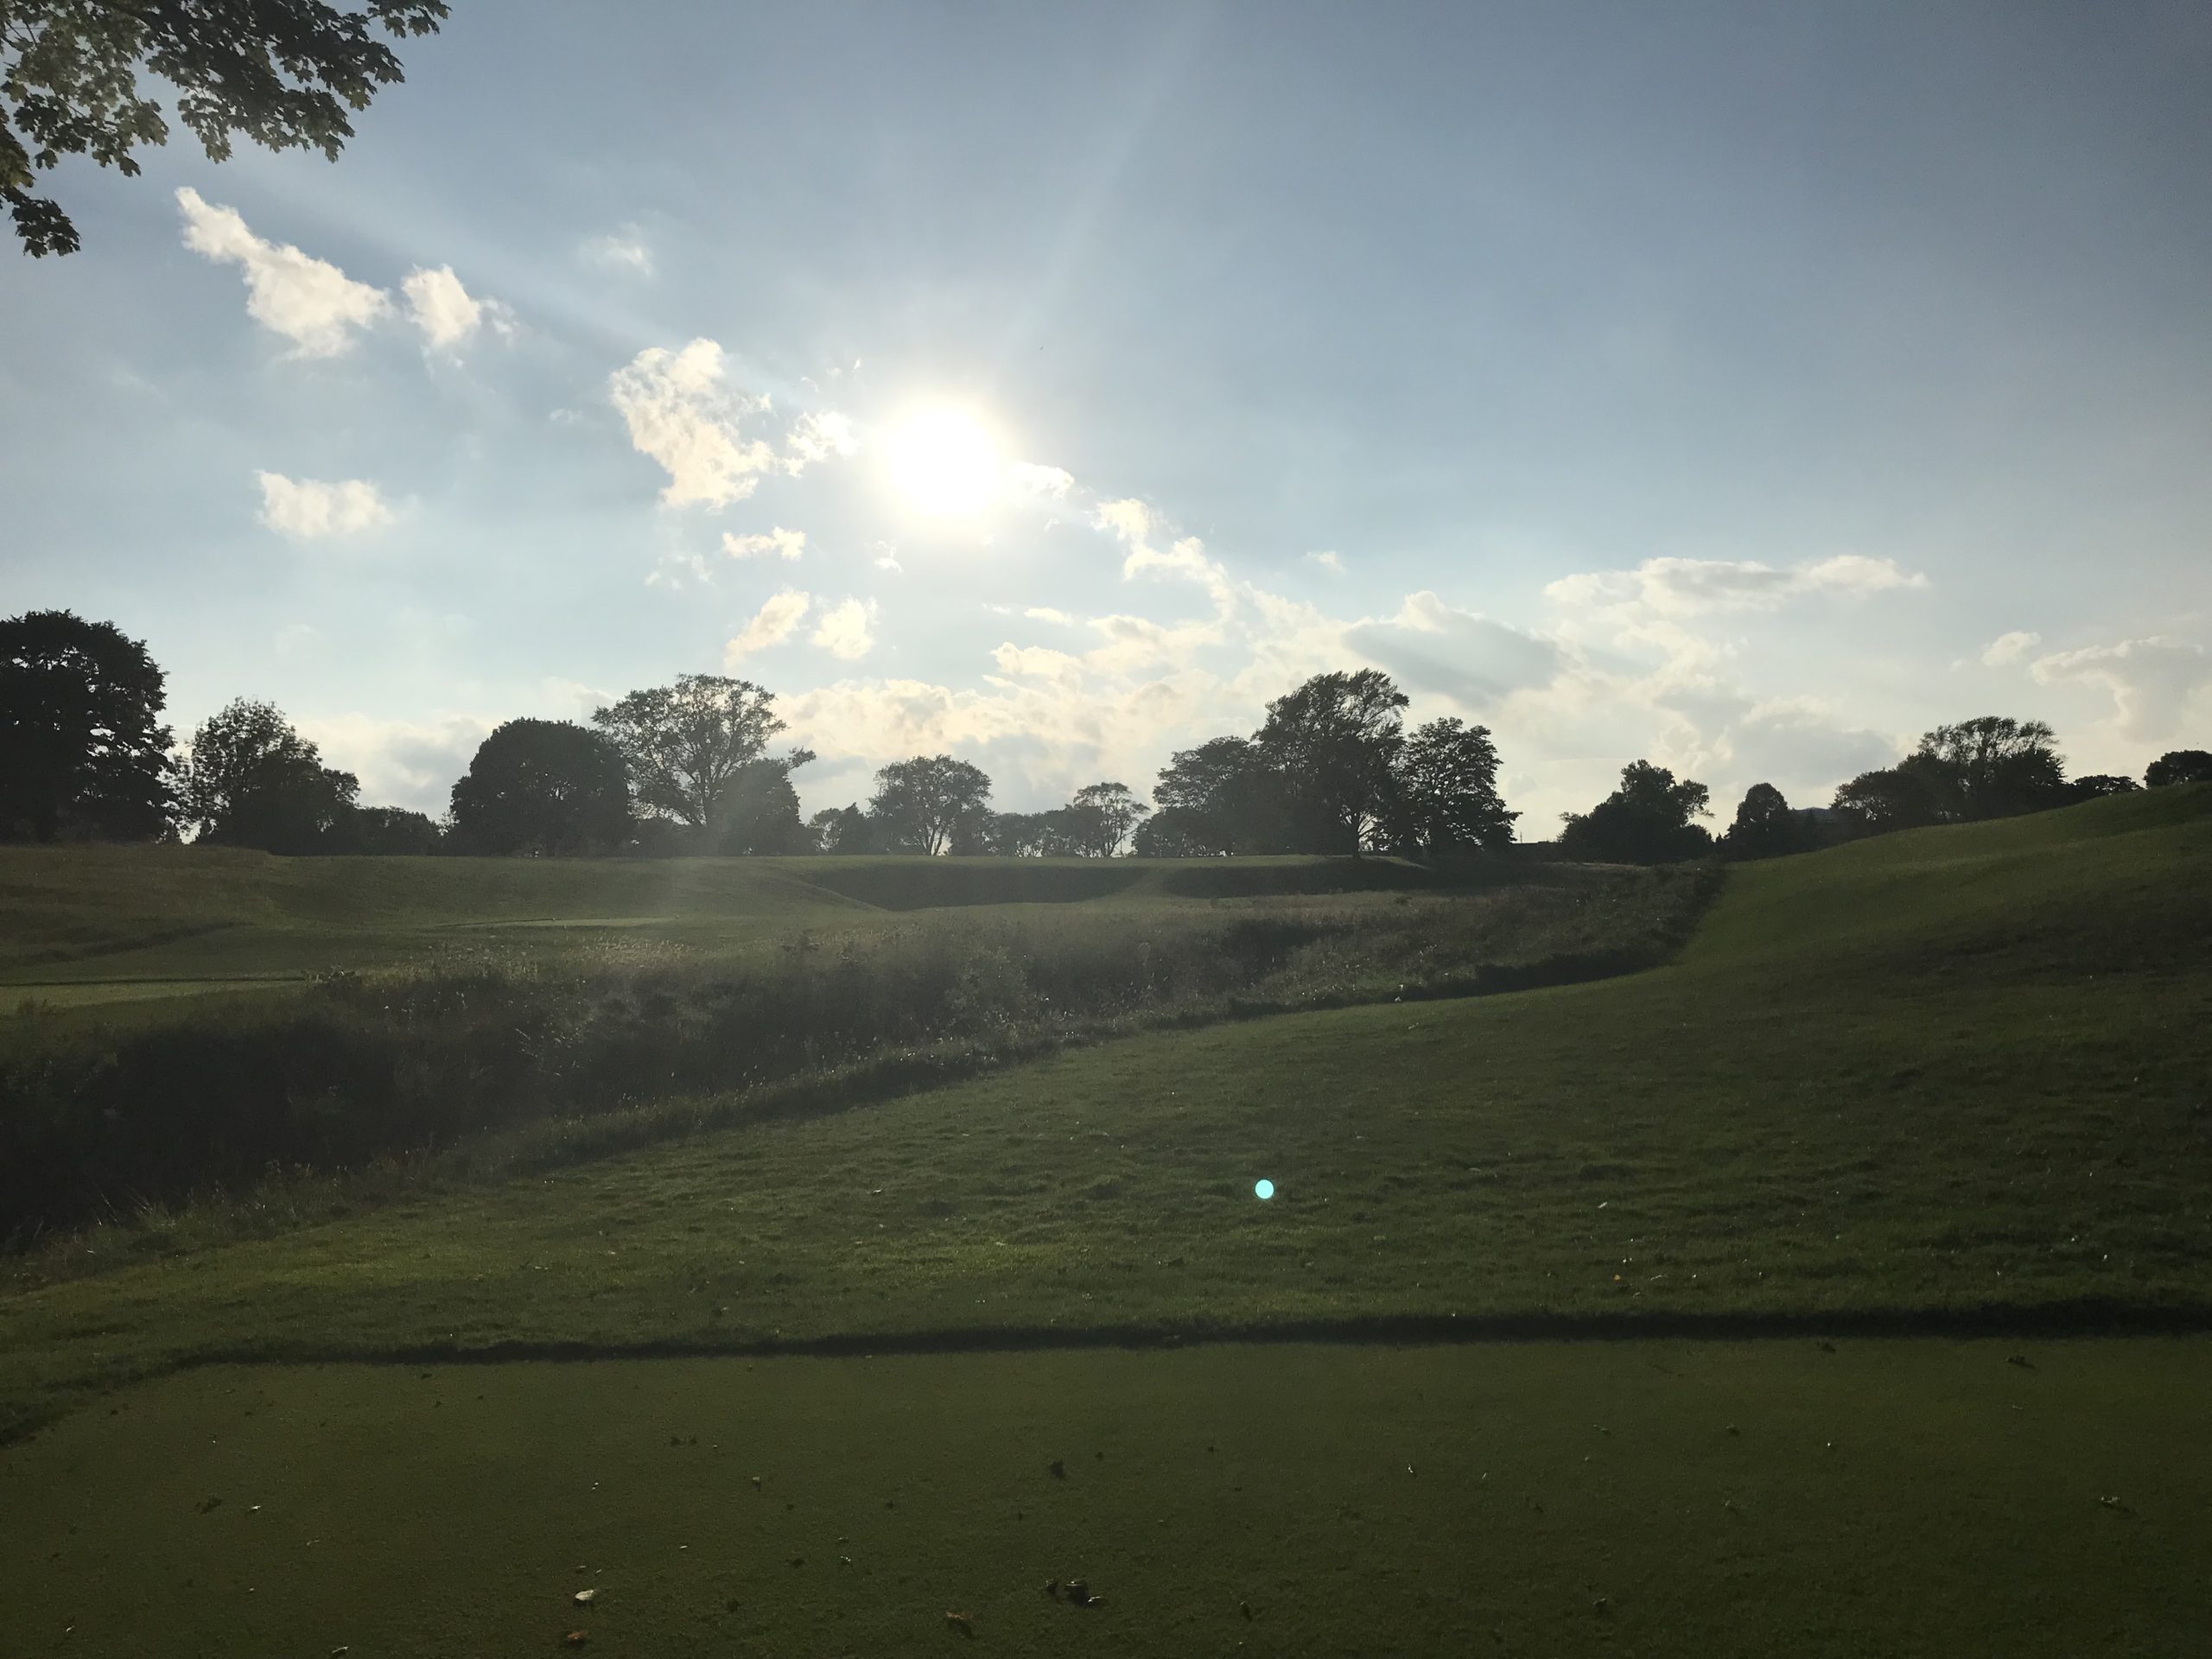
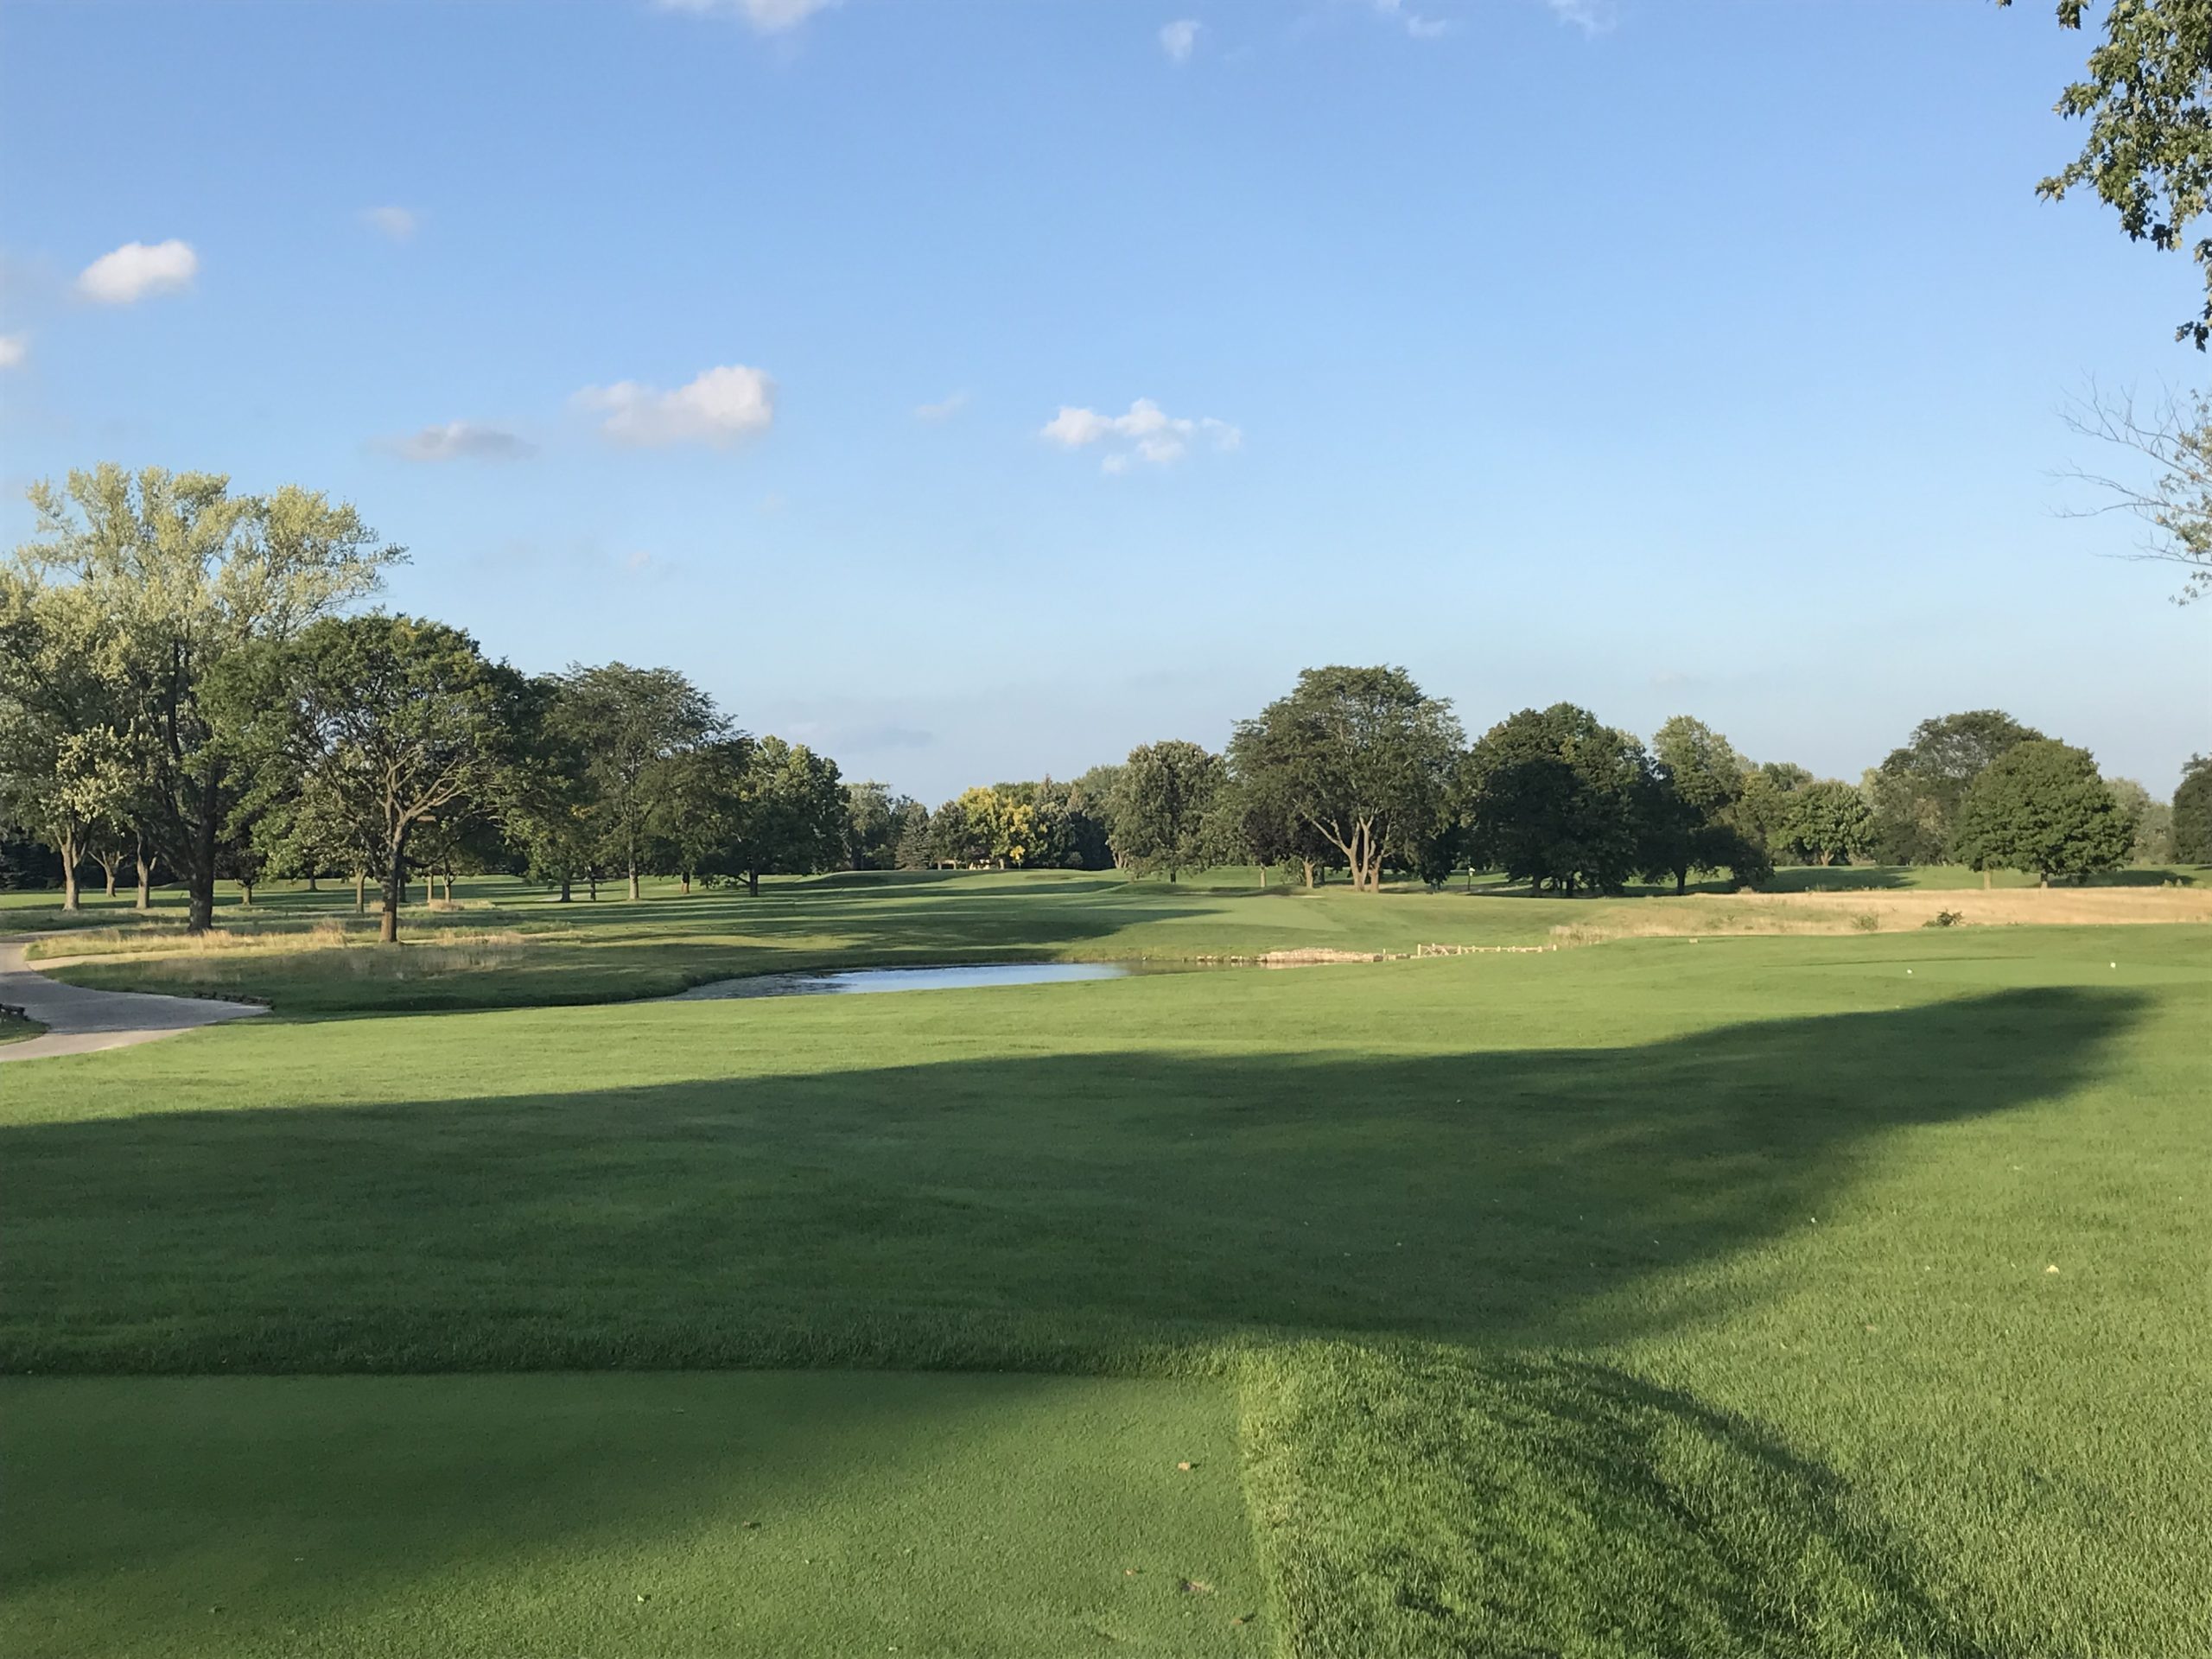
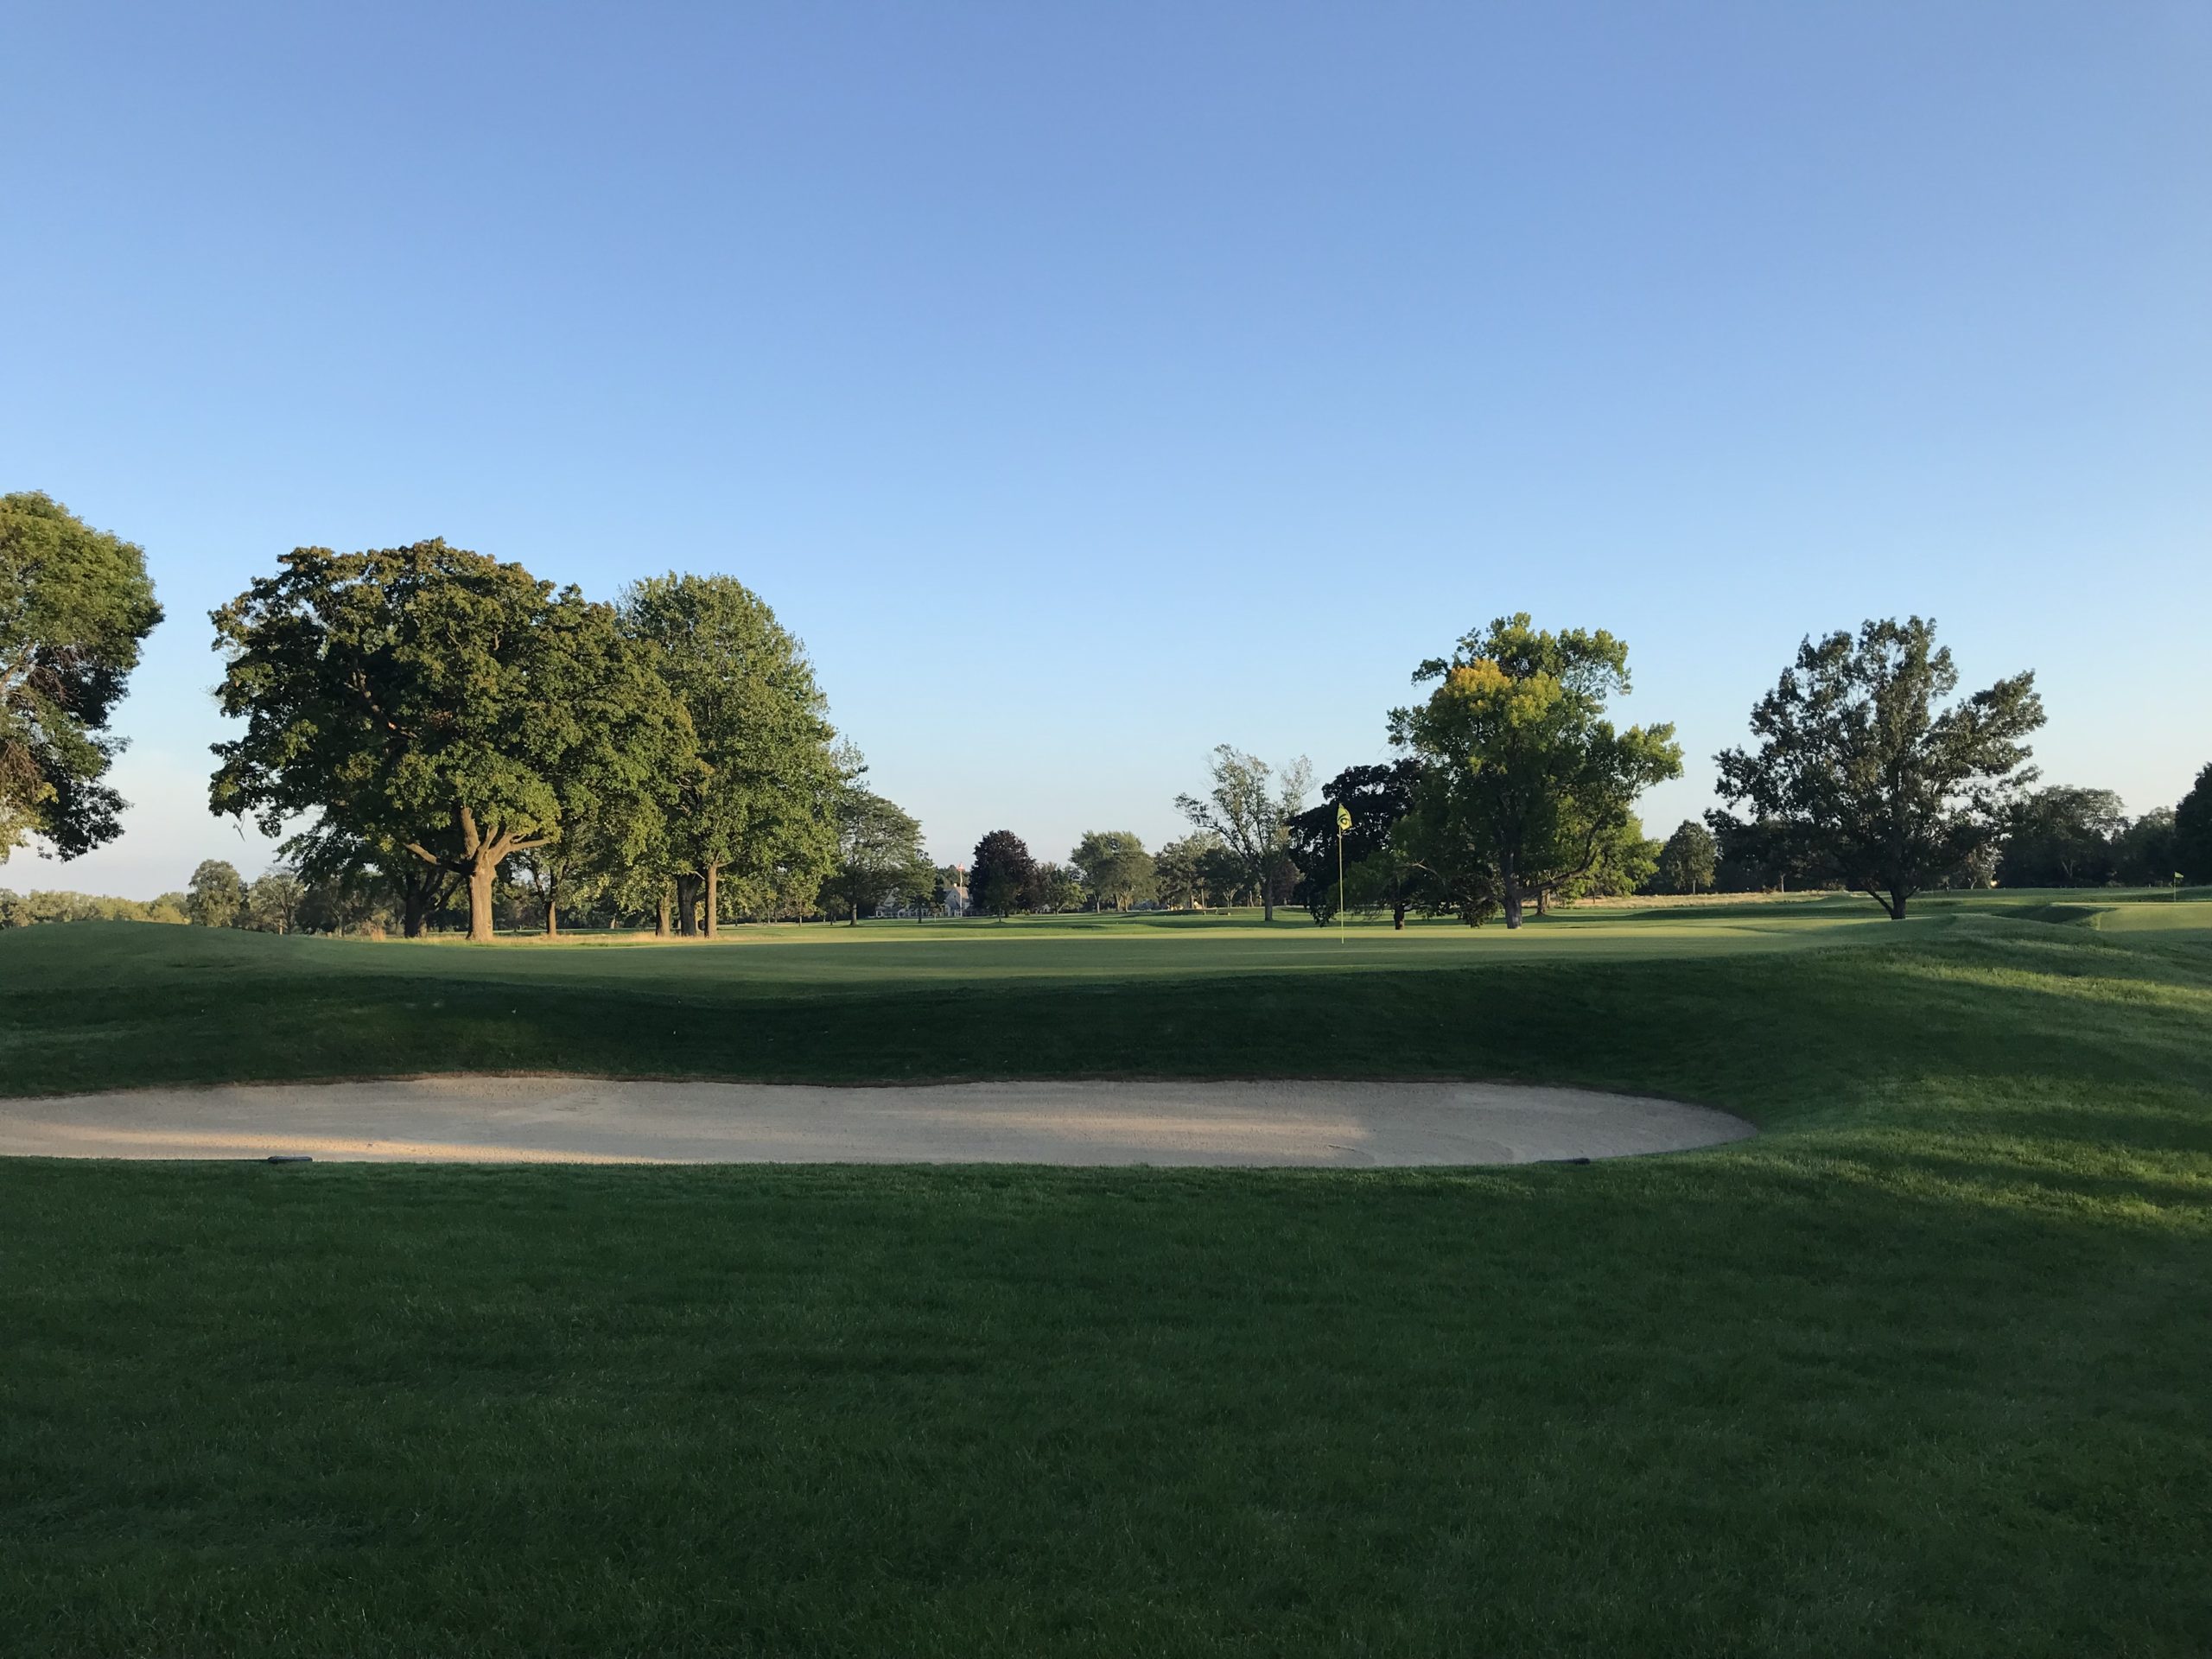
Hole 5 – 483 yards – Par 5 – Road
Most golfers know the inspiration for the “Road” template is the 17th hole at The Old Course at St. Andrews. No place else has a tee shot over a hotel though. The stand-in for the hotel is a bunker on the inside corner of the dogleg.
There is ample room to run a shot up onto the green around the bunkers.
Below you can see the deep front bunker akin to the Scottish version.
Don’t go long though or there is hell to pay in the back sand traps.
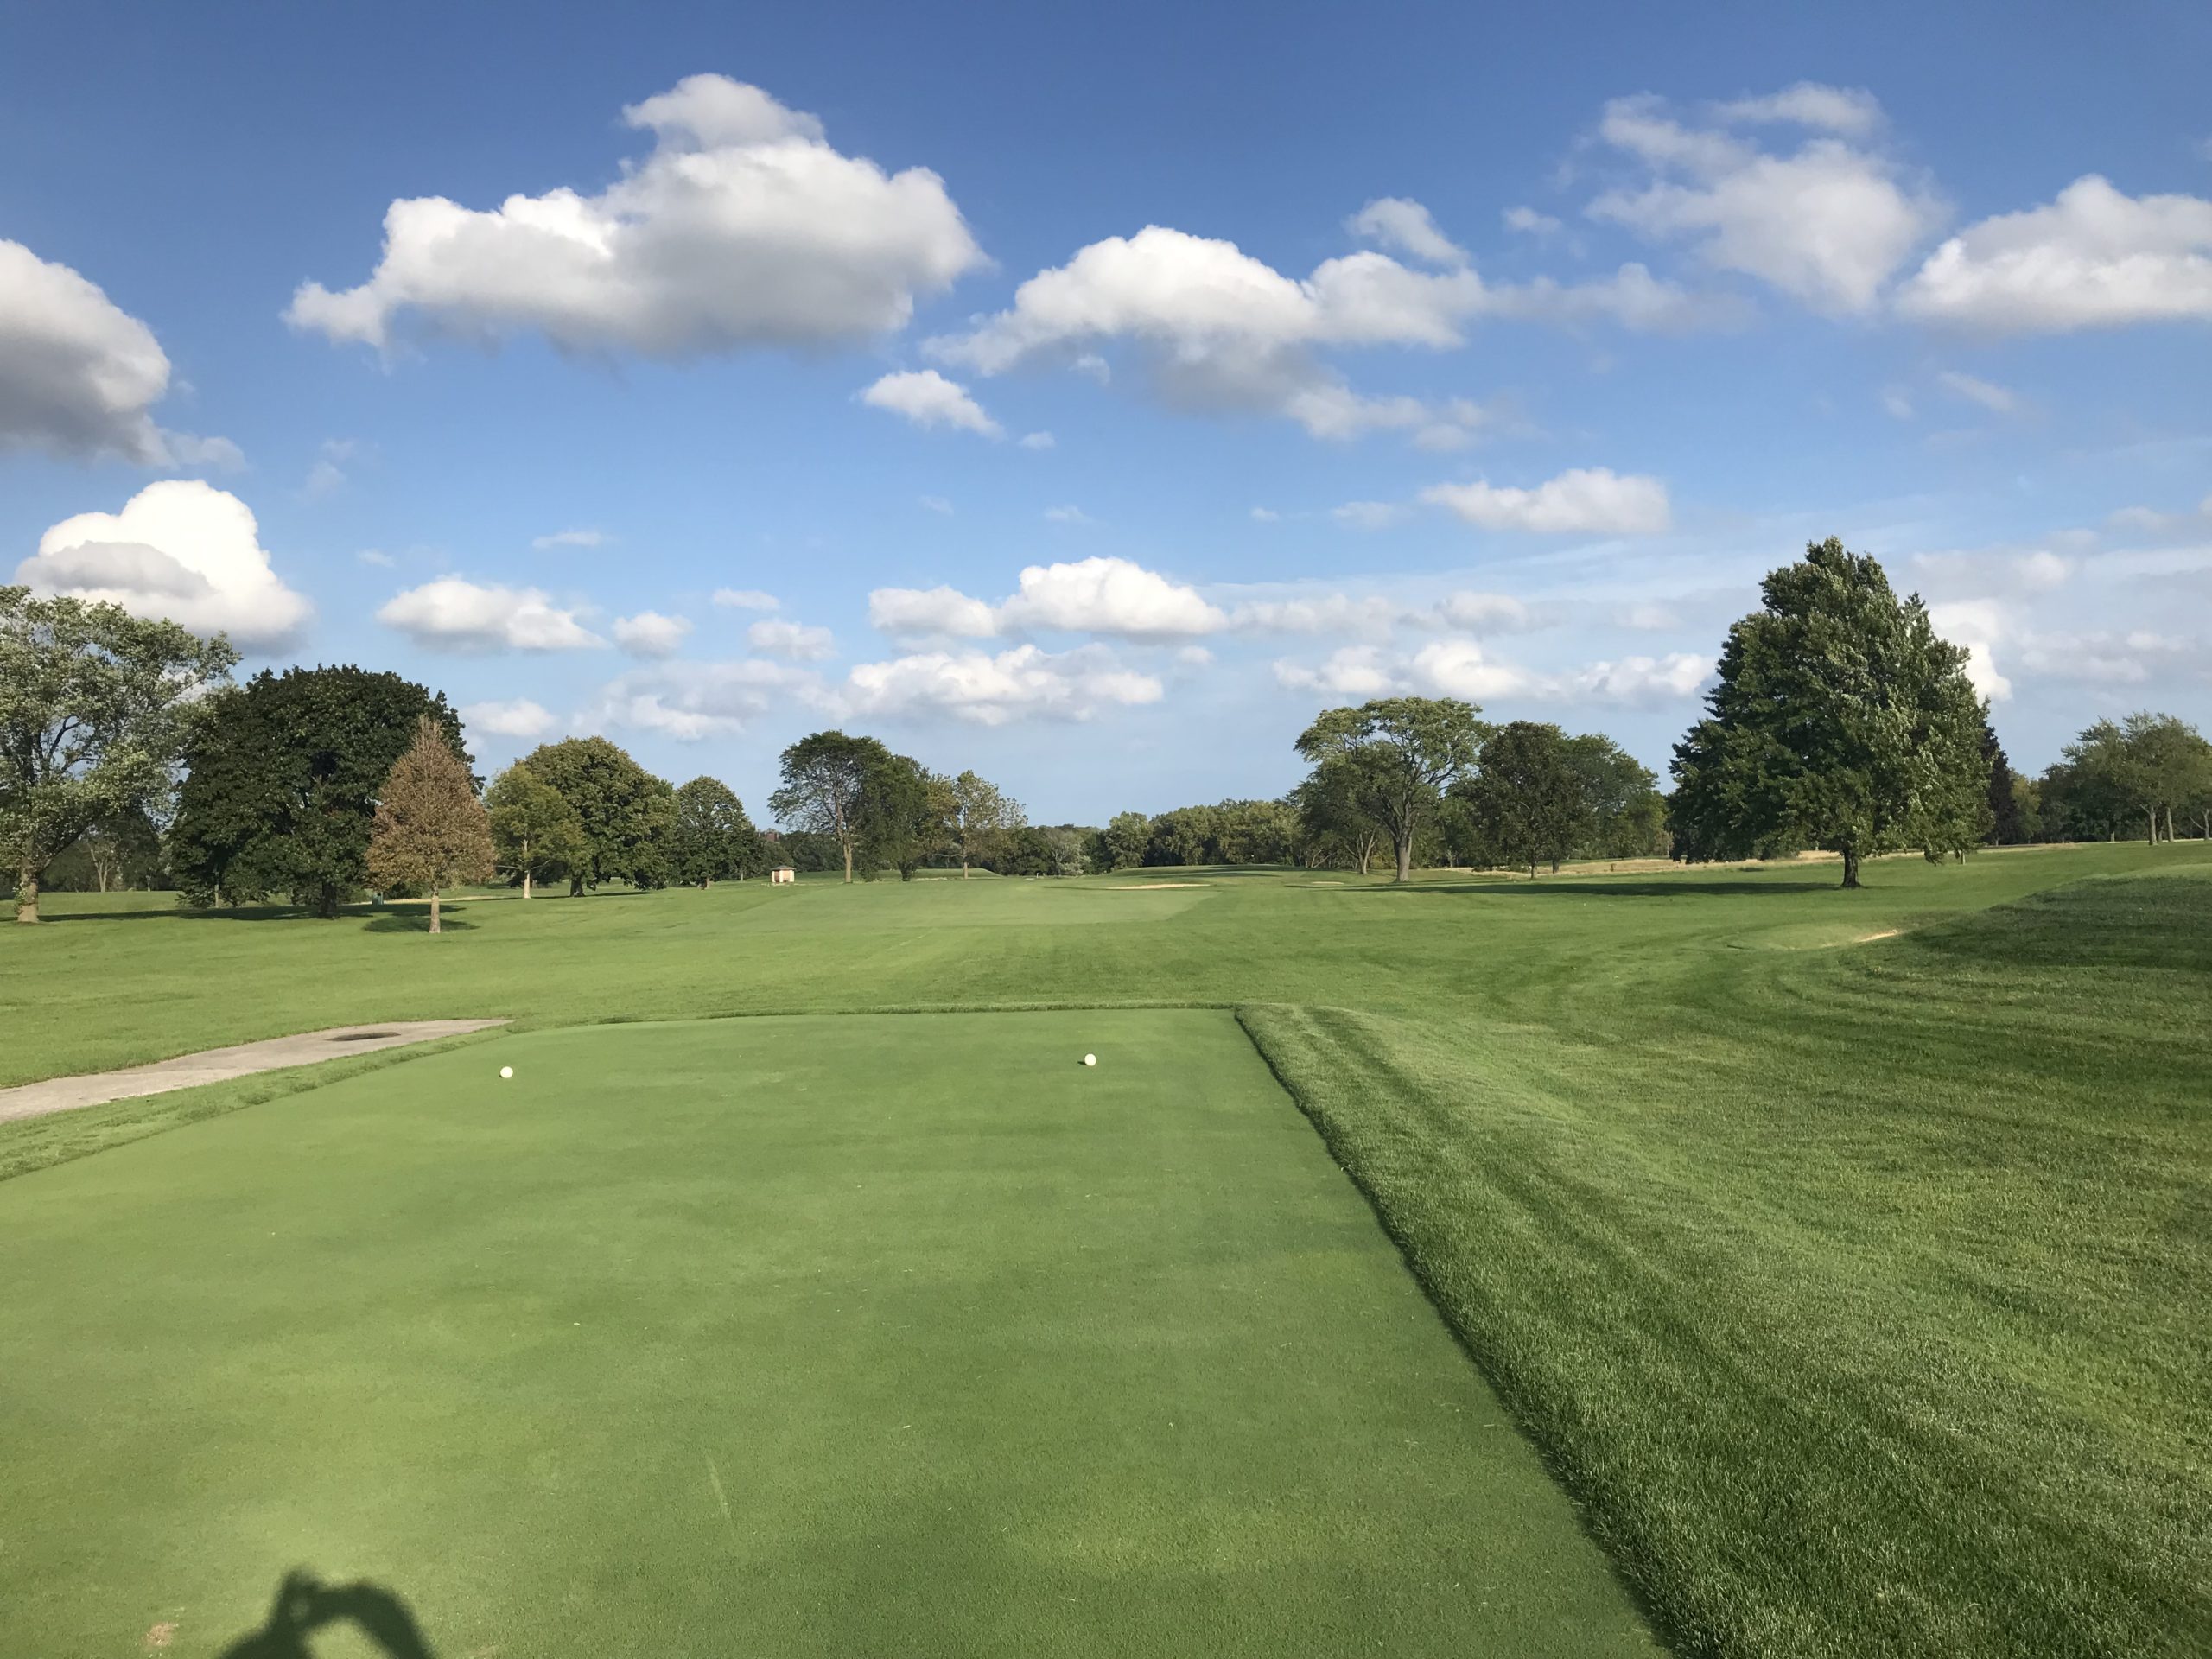
Hole 6 – 327 yards – Par 4 – Maiden
I caught this hole straight downwind. That didn’t make it any easier though. I ended up with a half wedge shot off a tie lie to a firm green. You don’t want to be above the hole here.

This green is devilish with even more slope than the photos show.
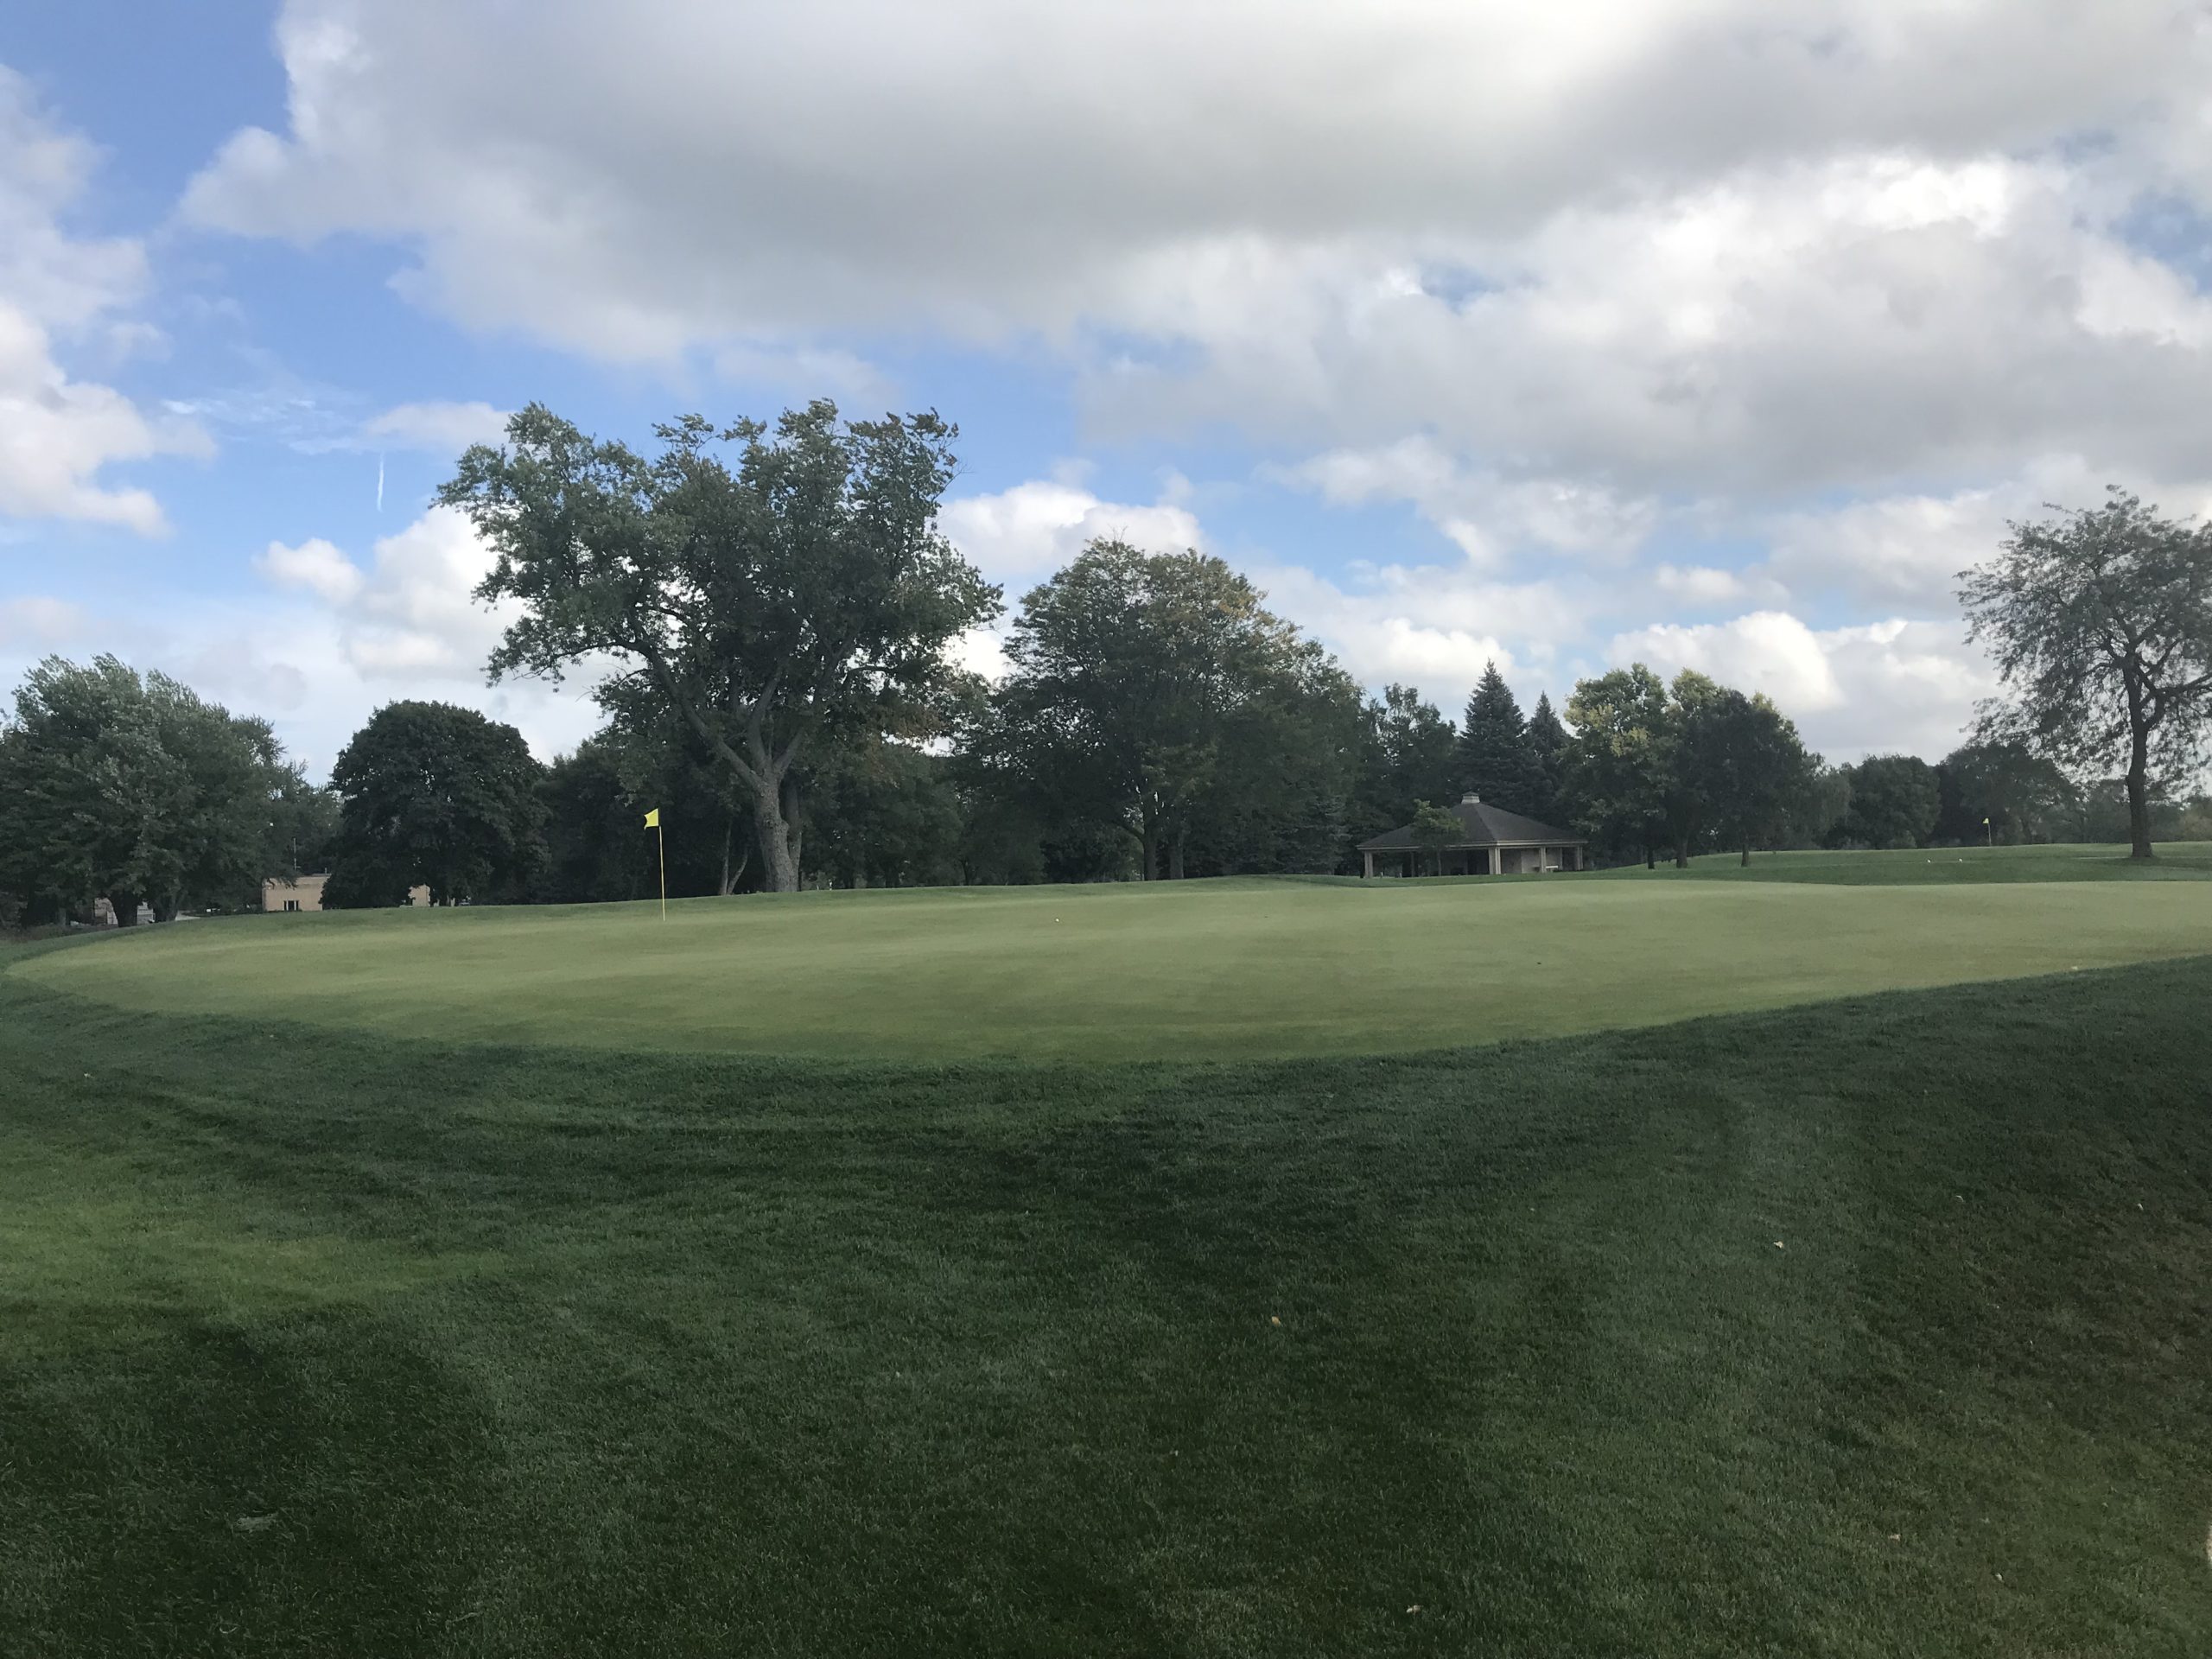
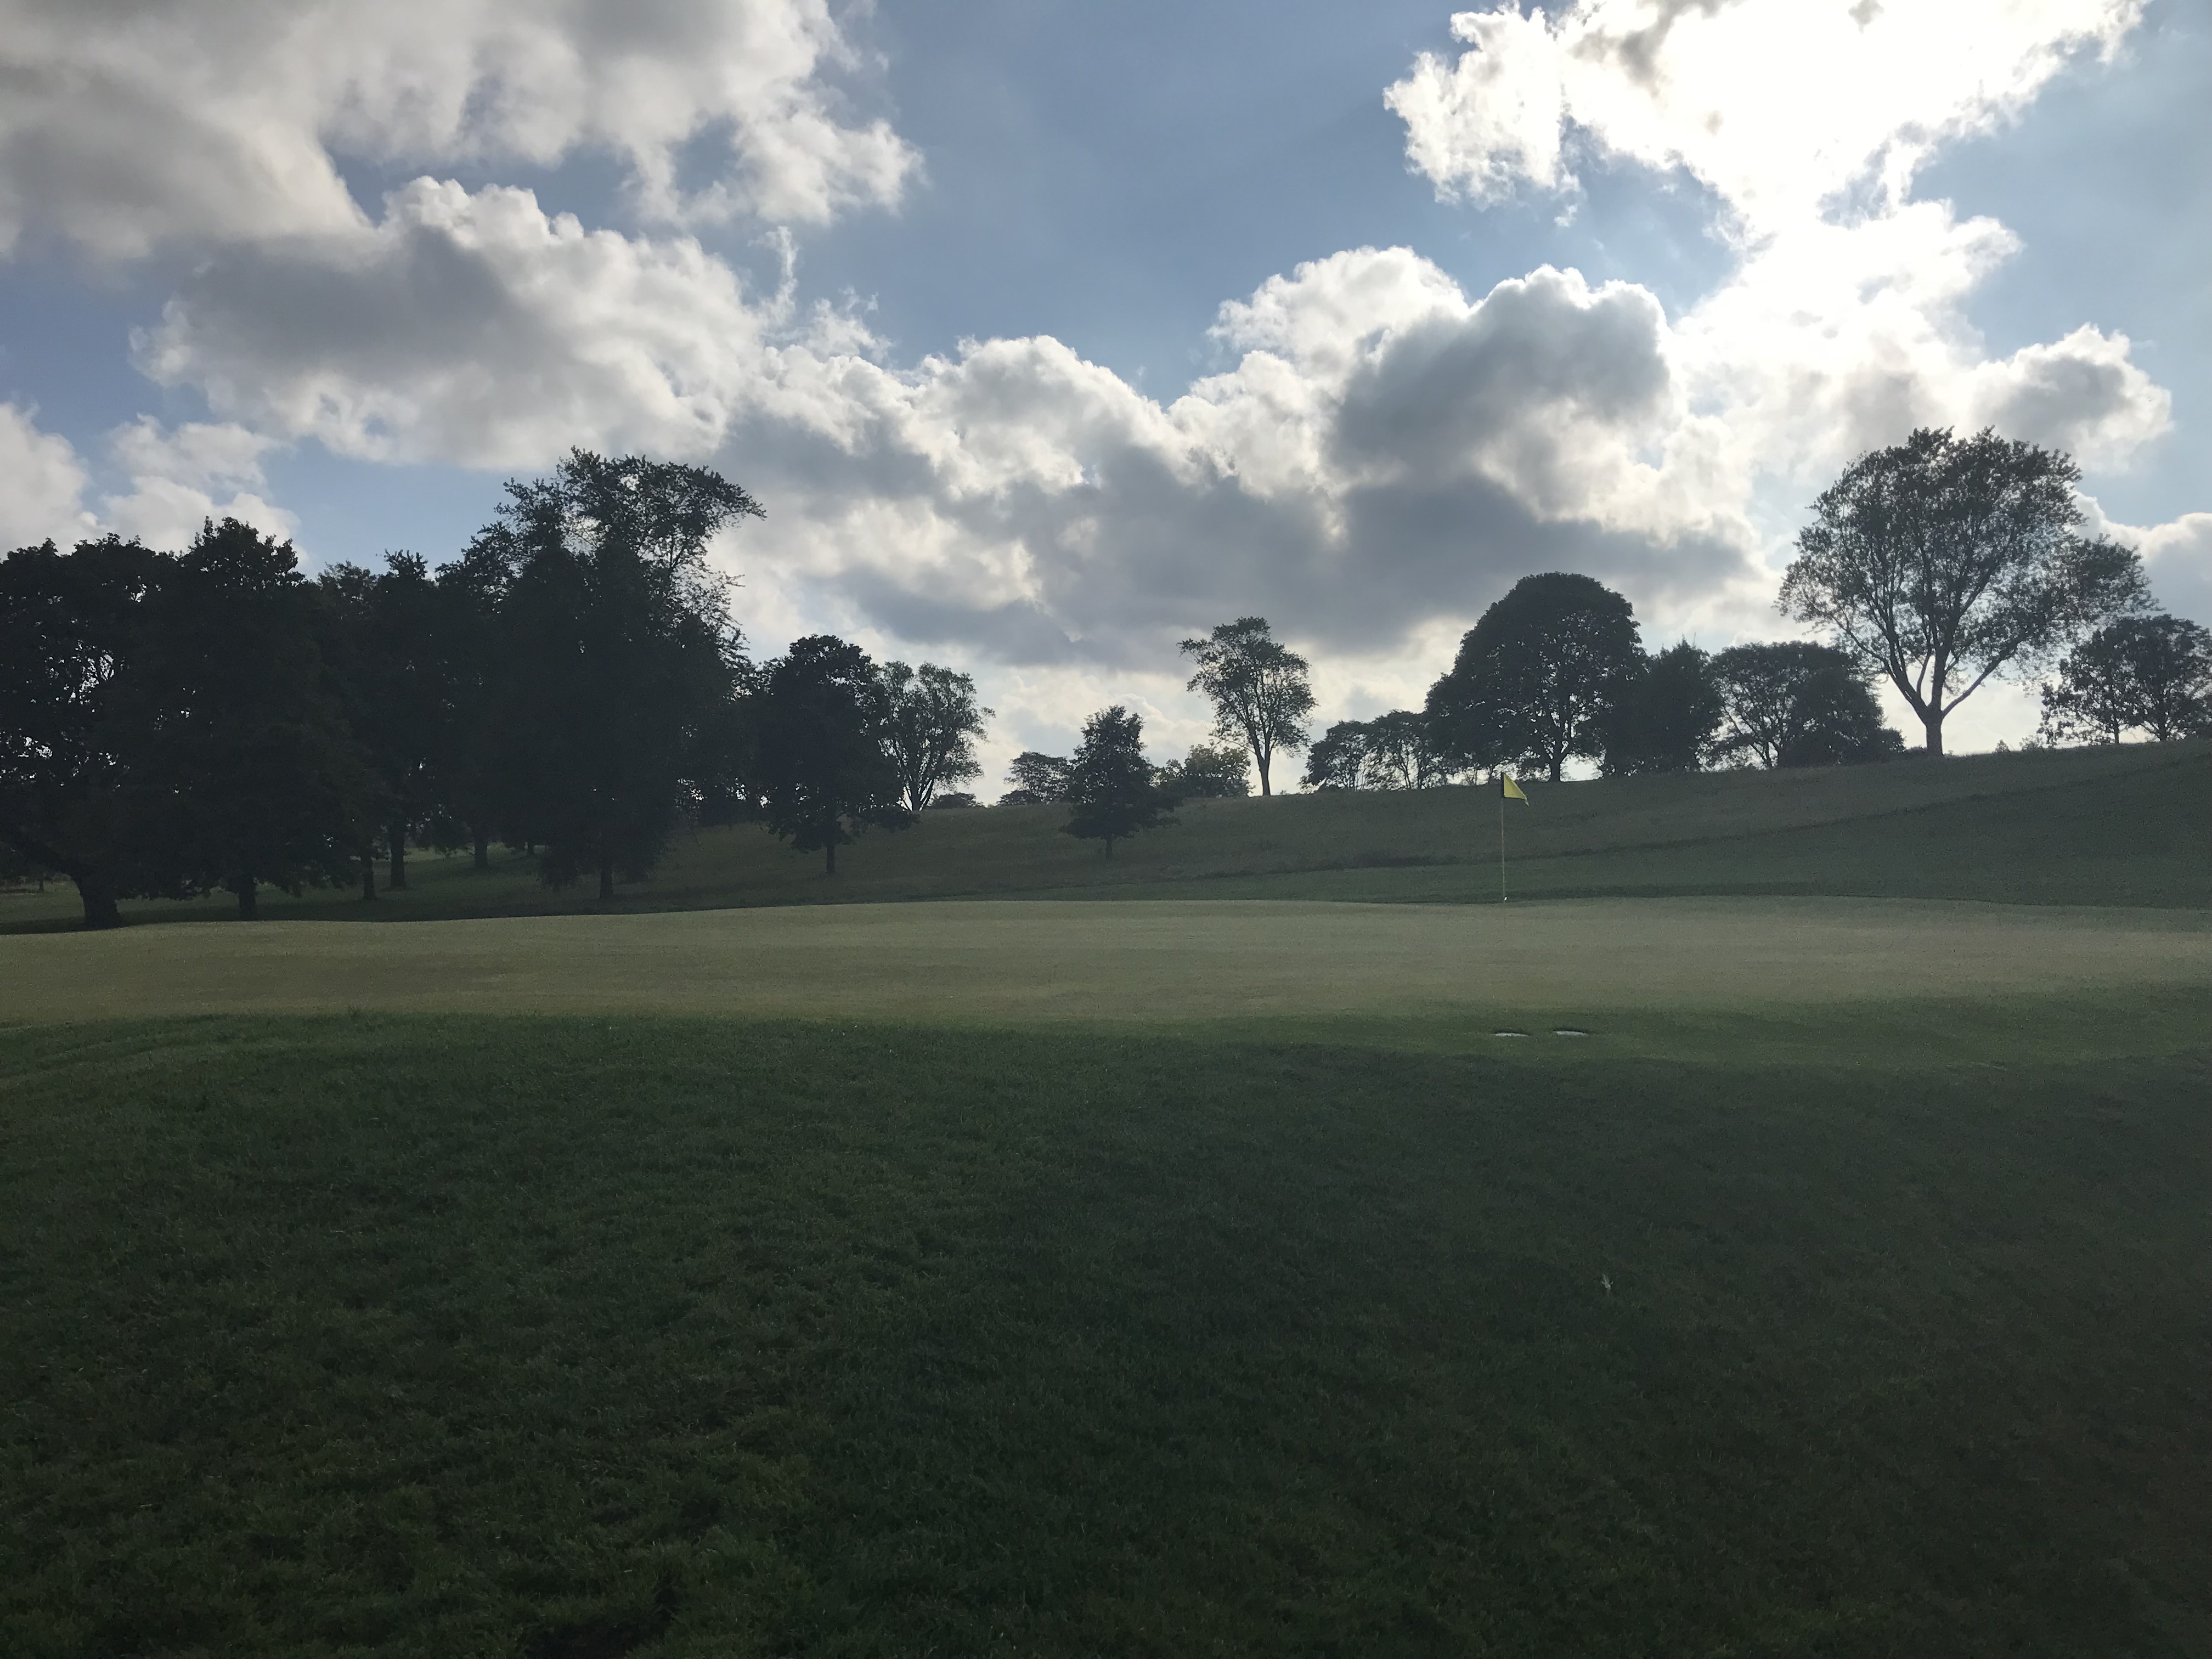
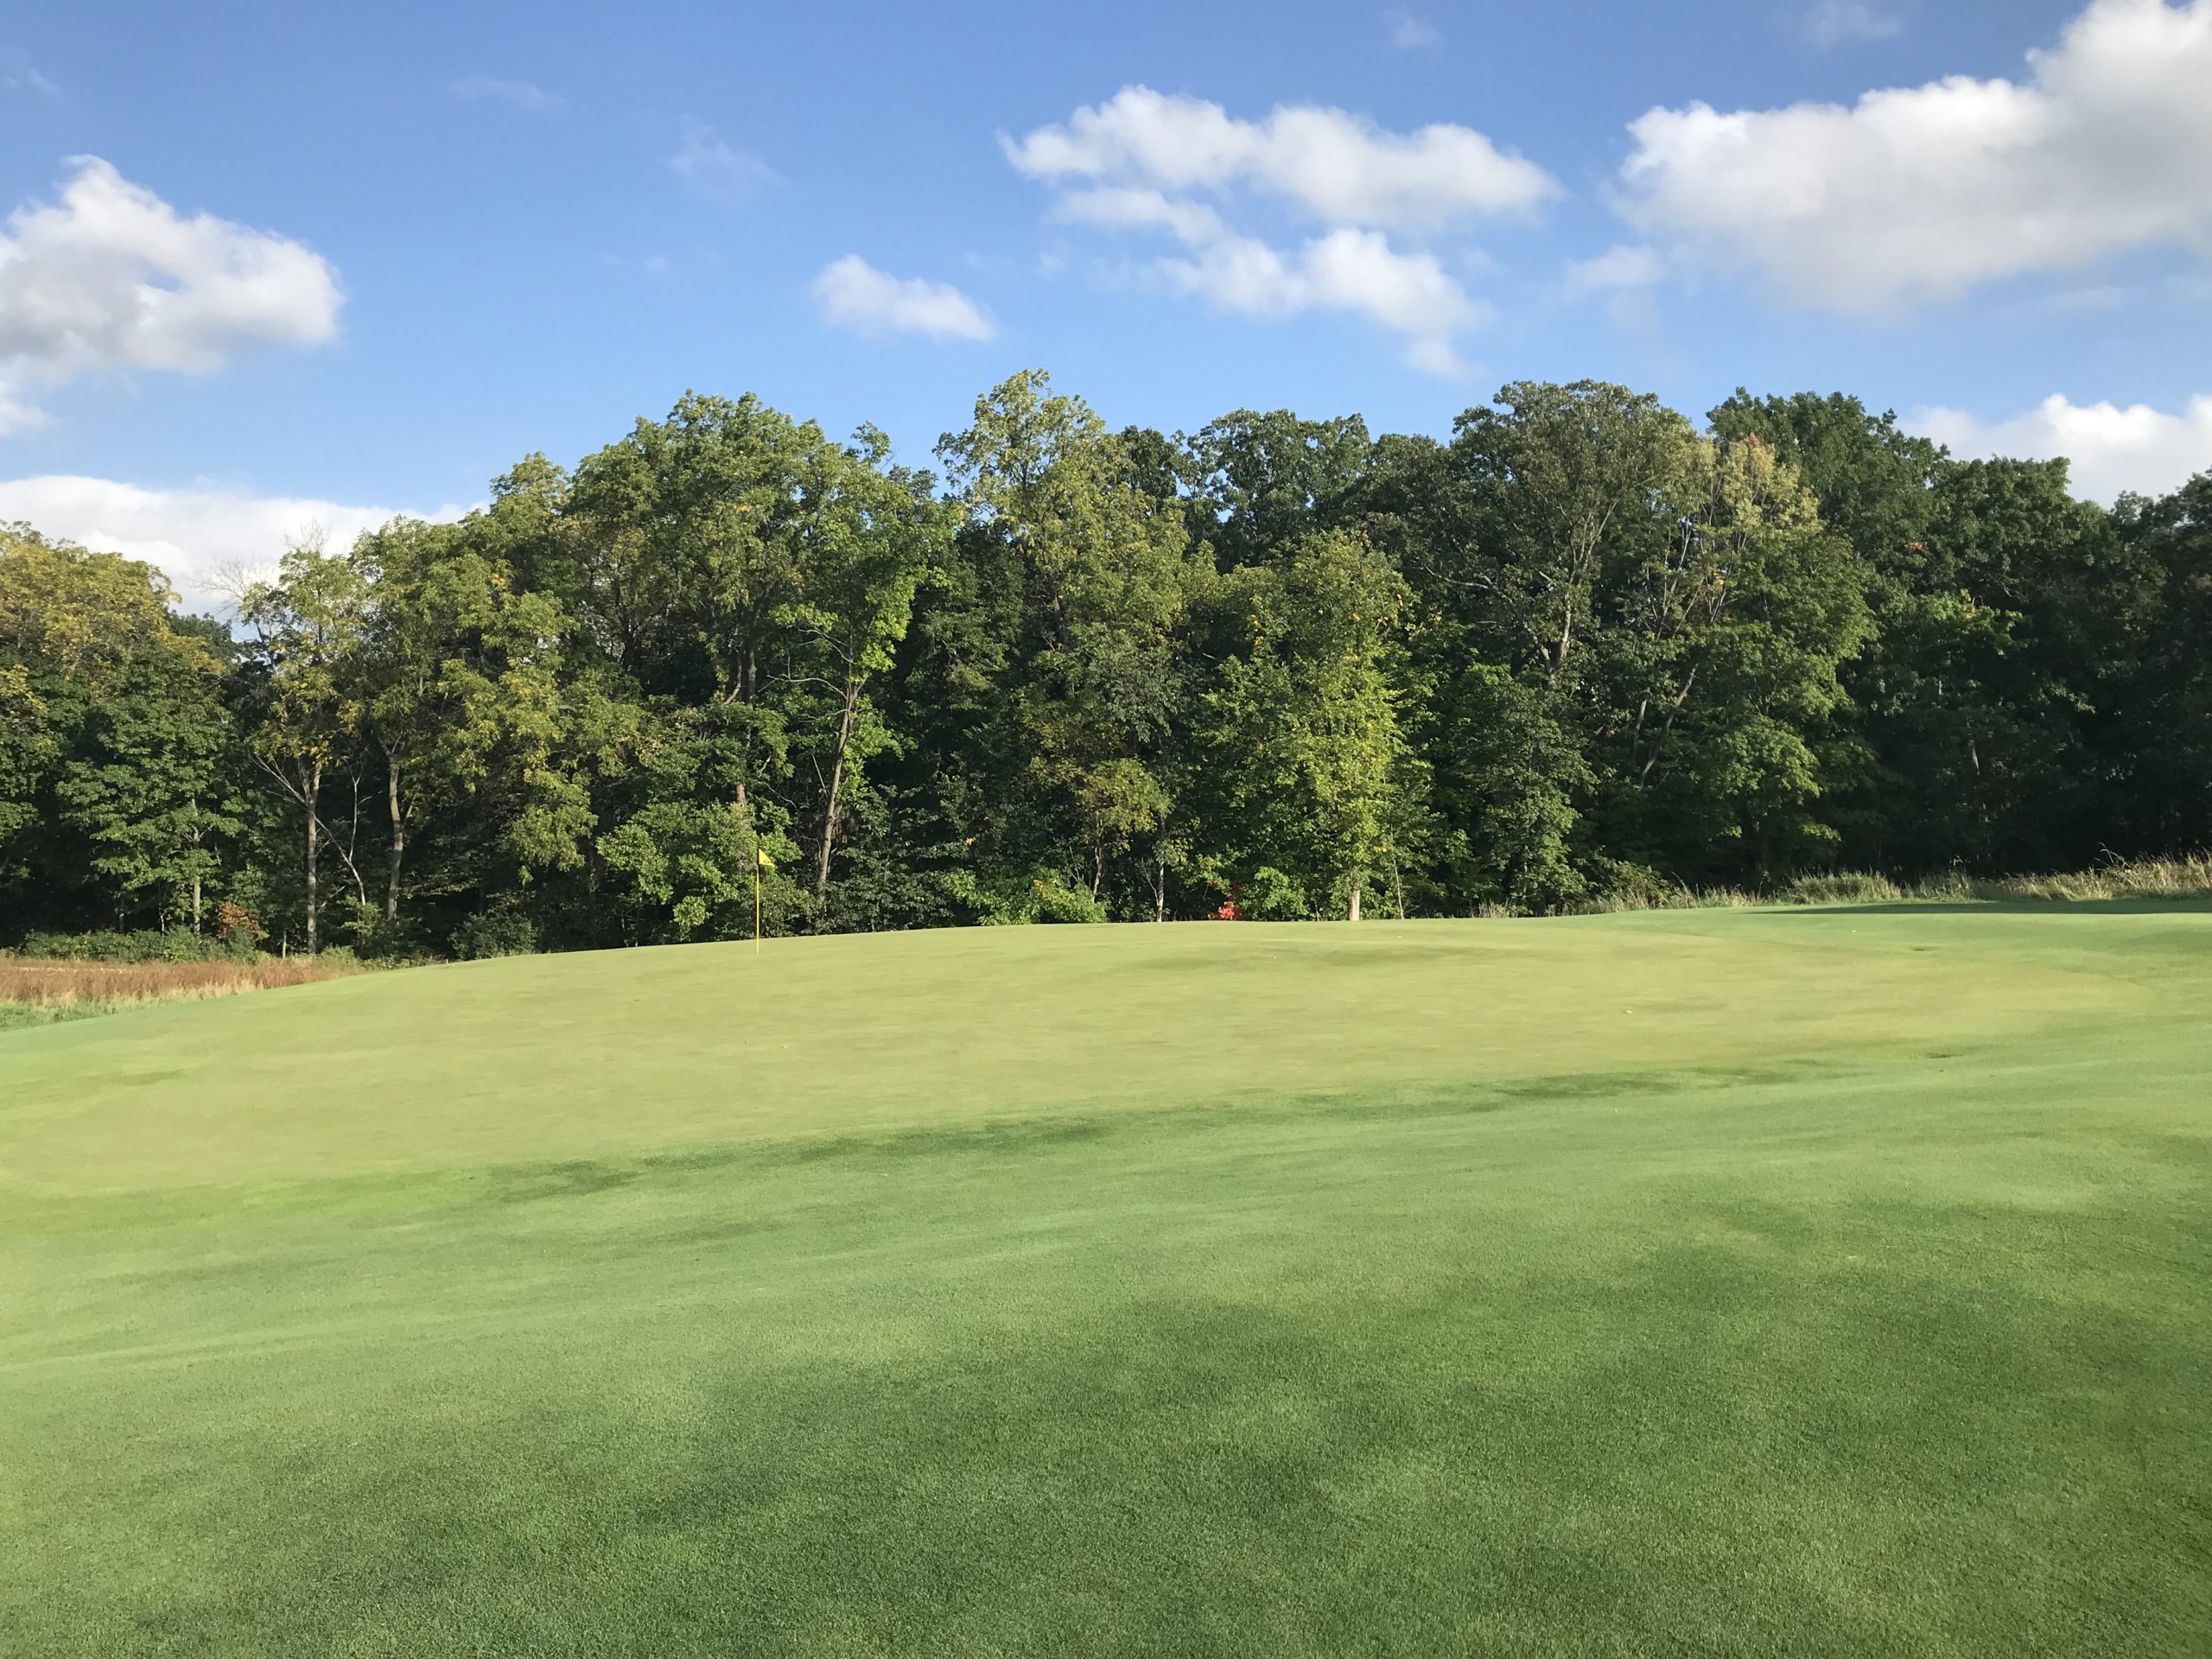
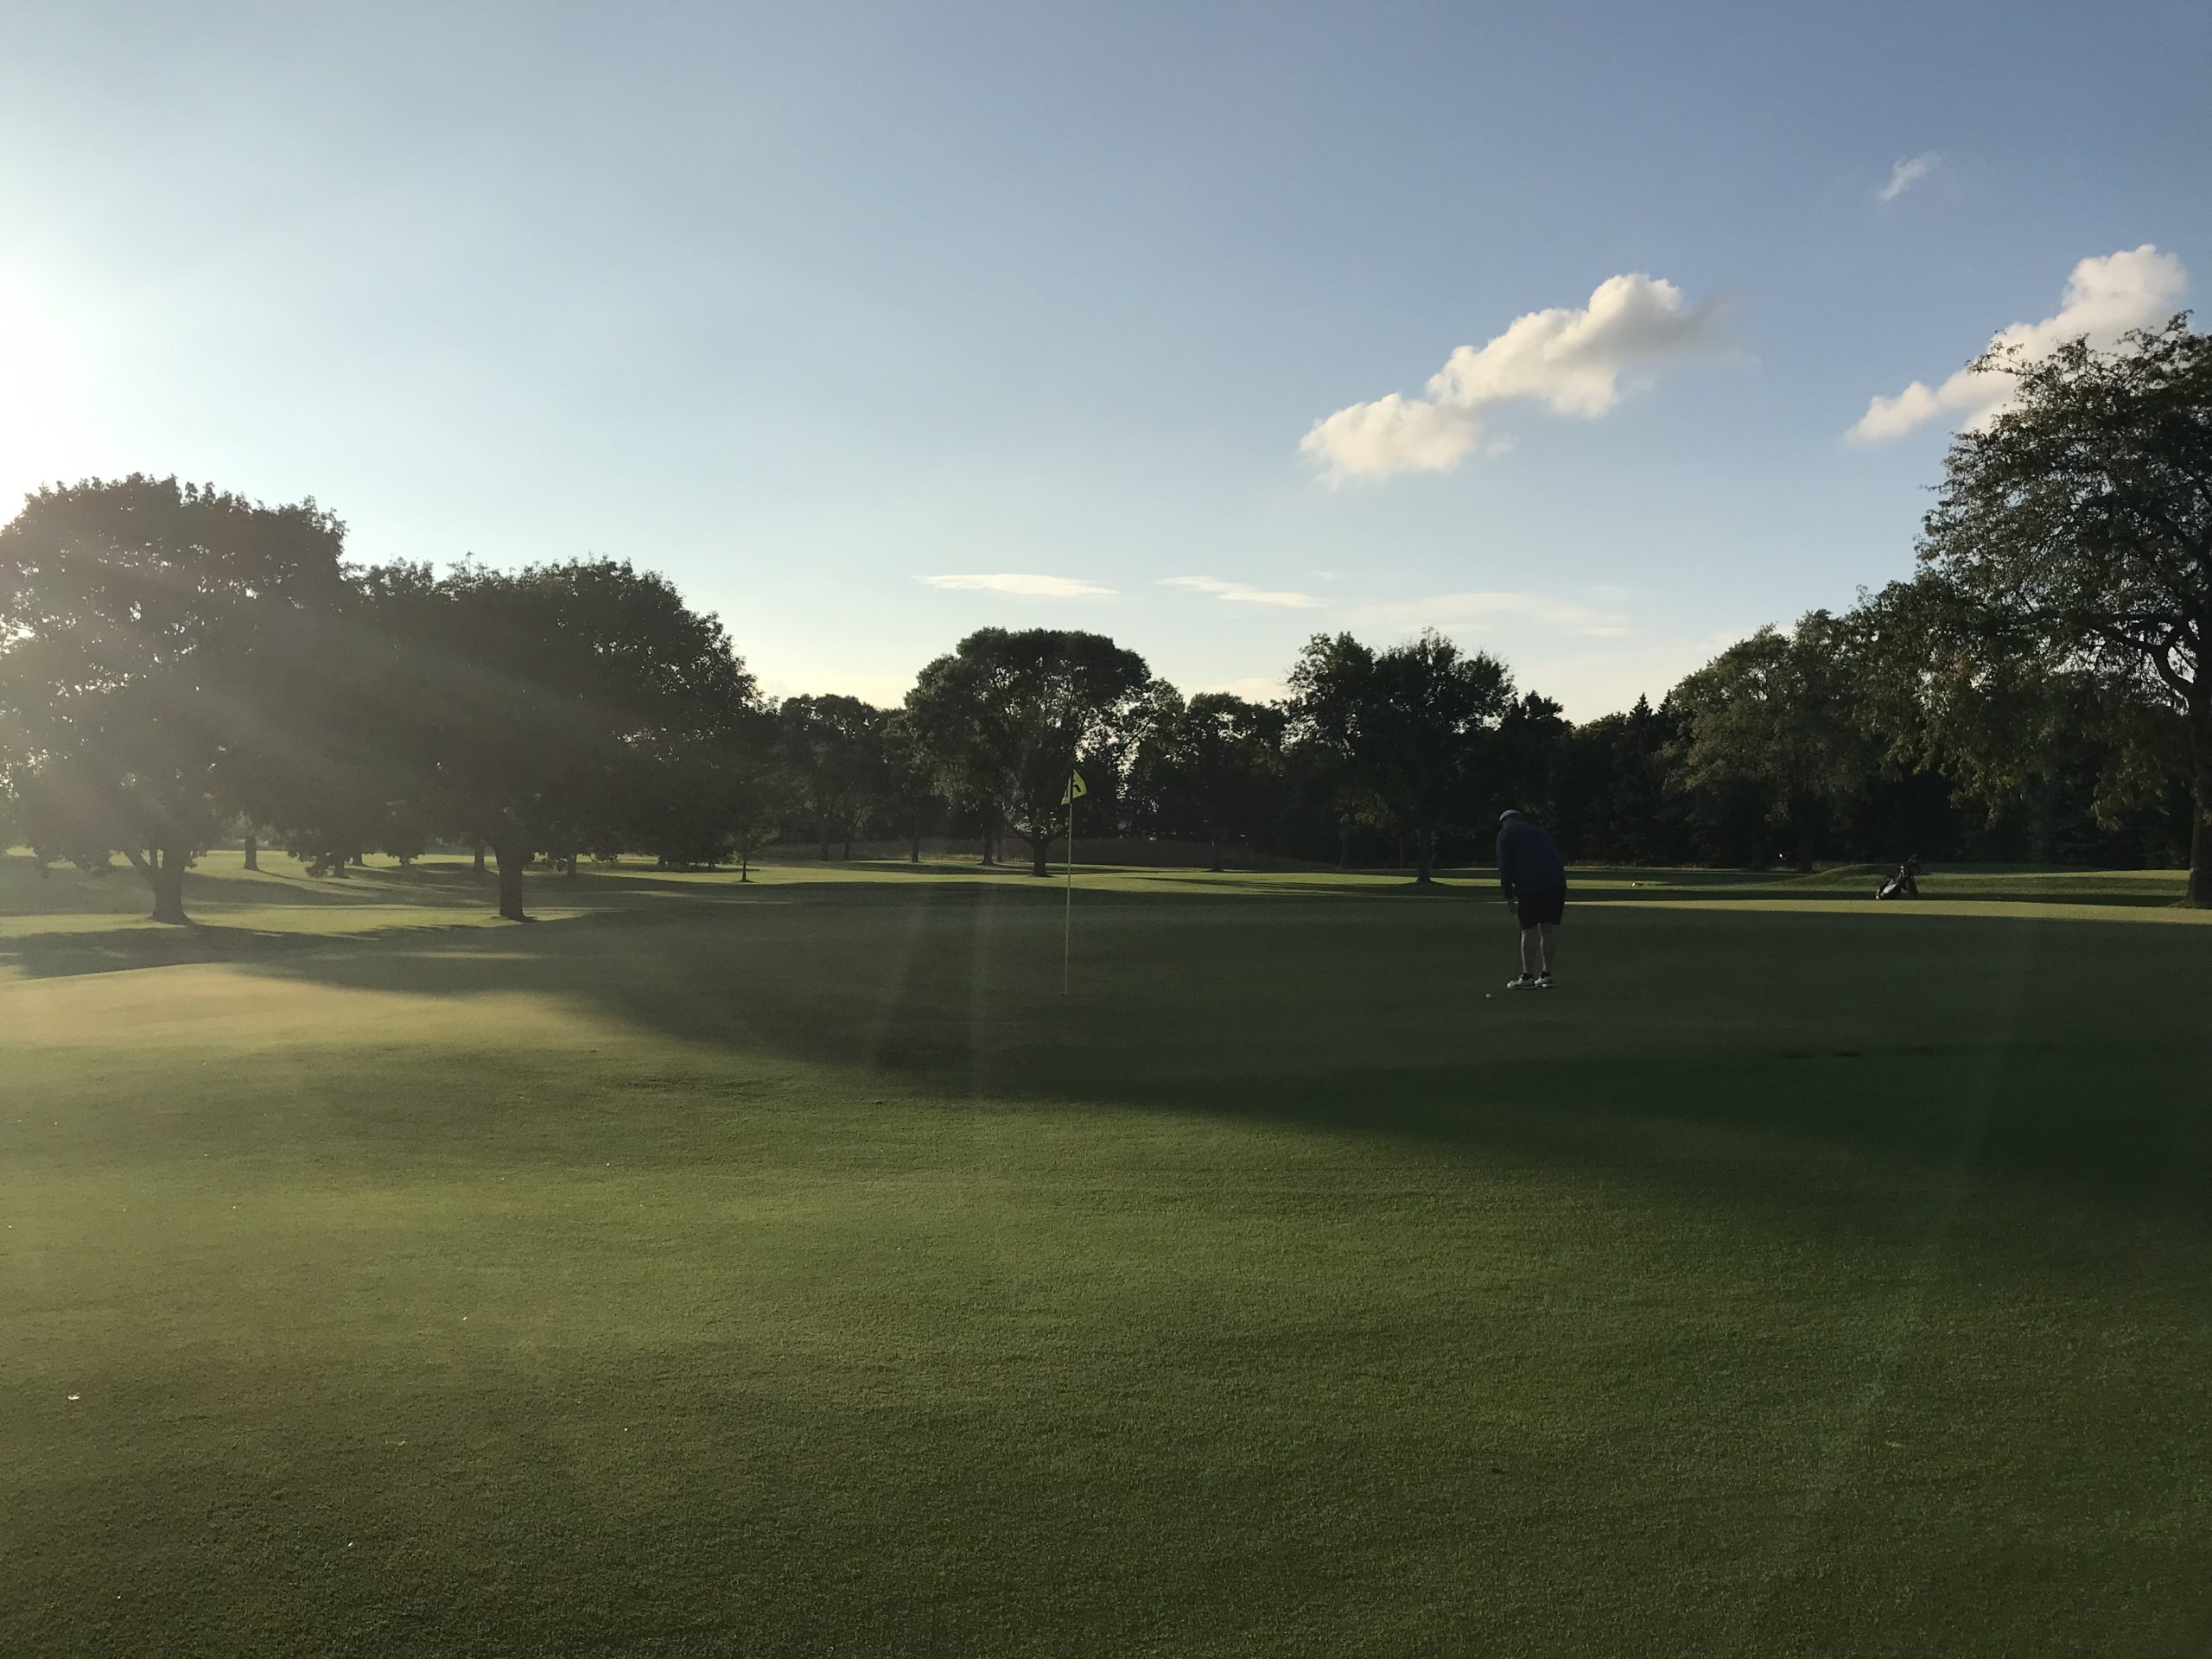
Hole 7 – 140 yards – Par 3 – Short
On this tee you get a great view of some old building architecture in the distance while you take in Raynor’s work. I really like the way these bunkers wrap around the green.
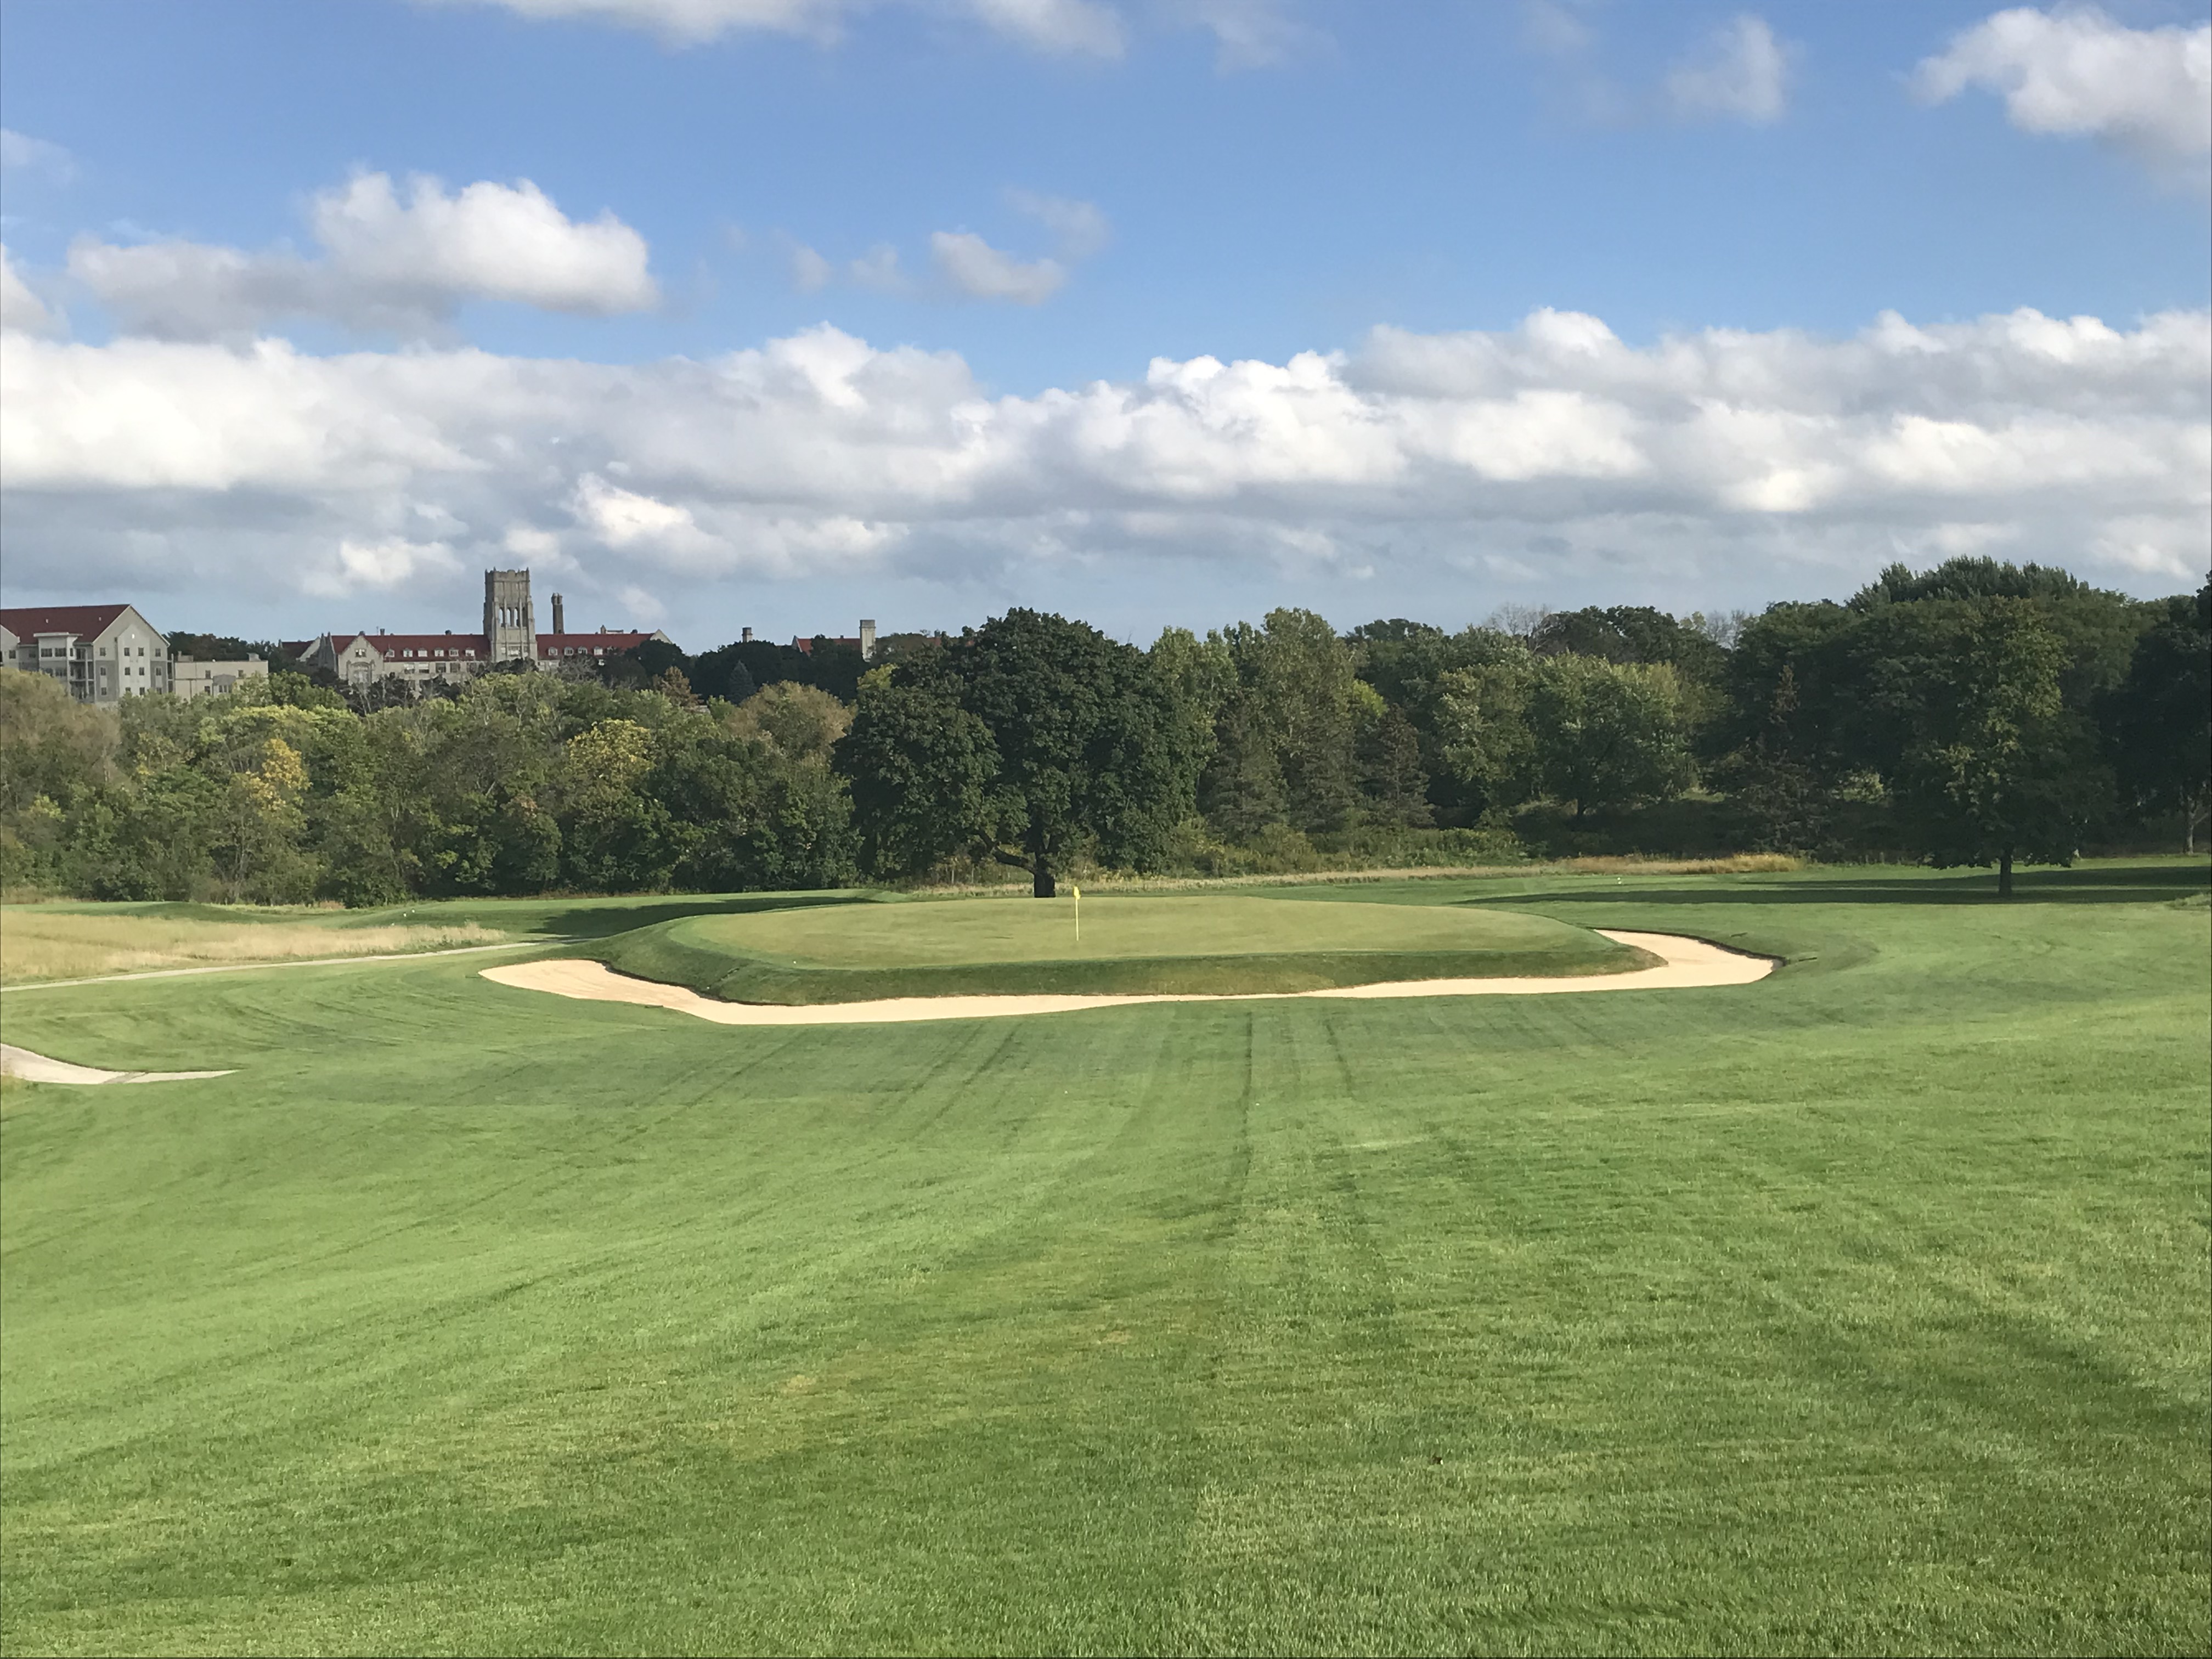

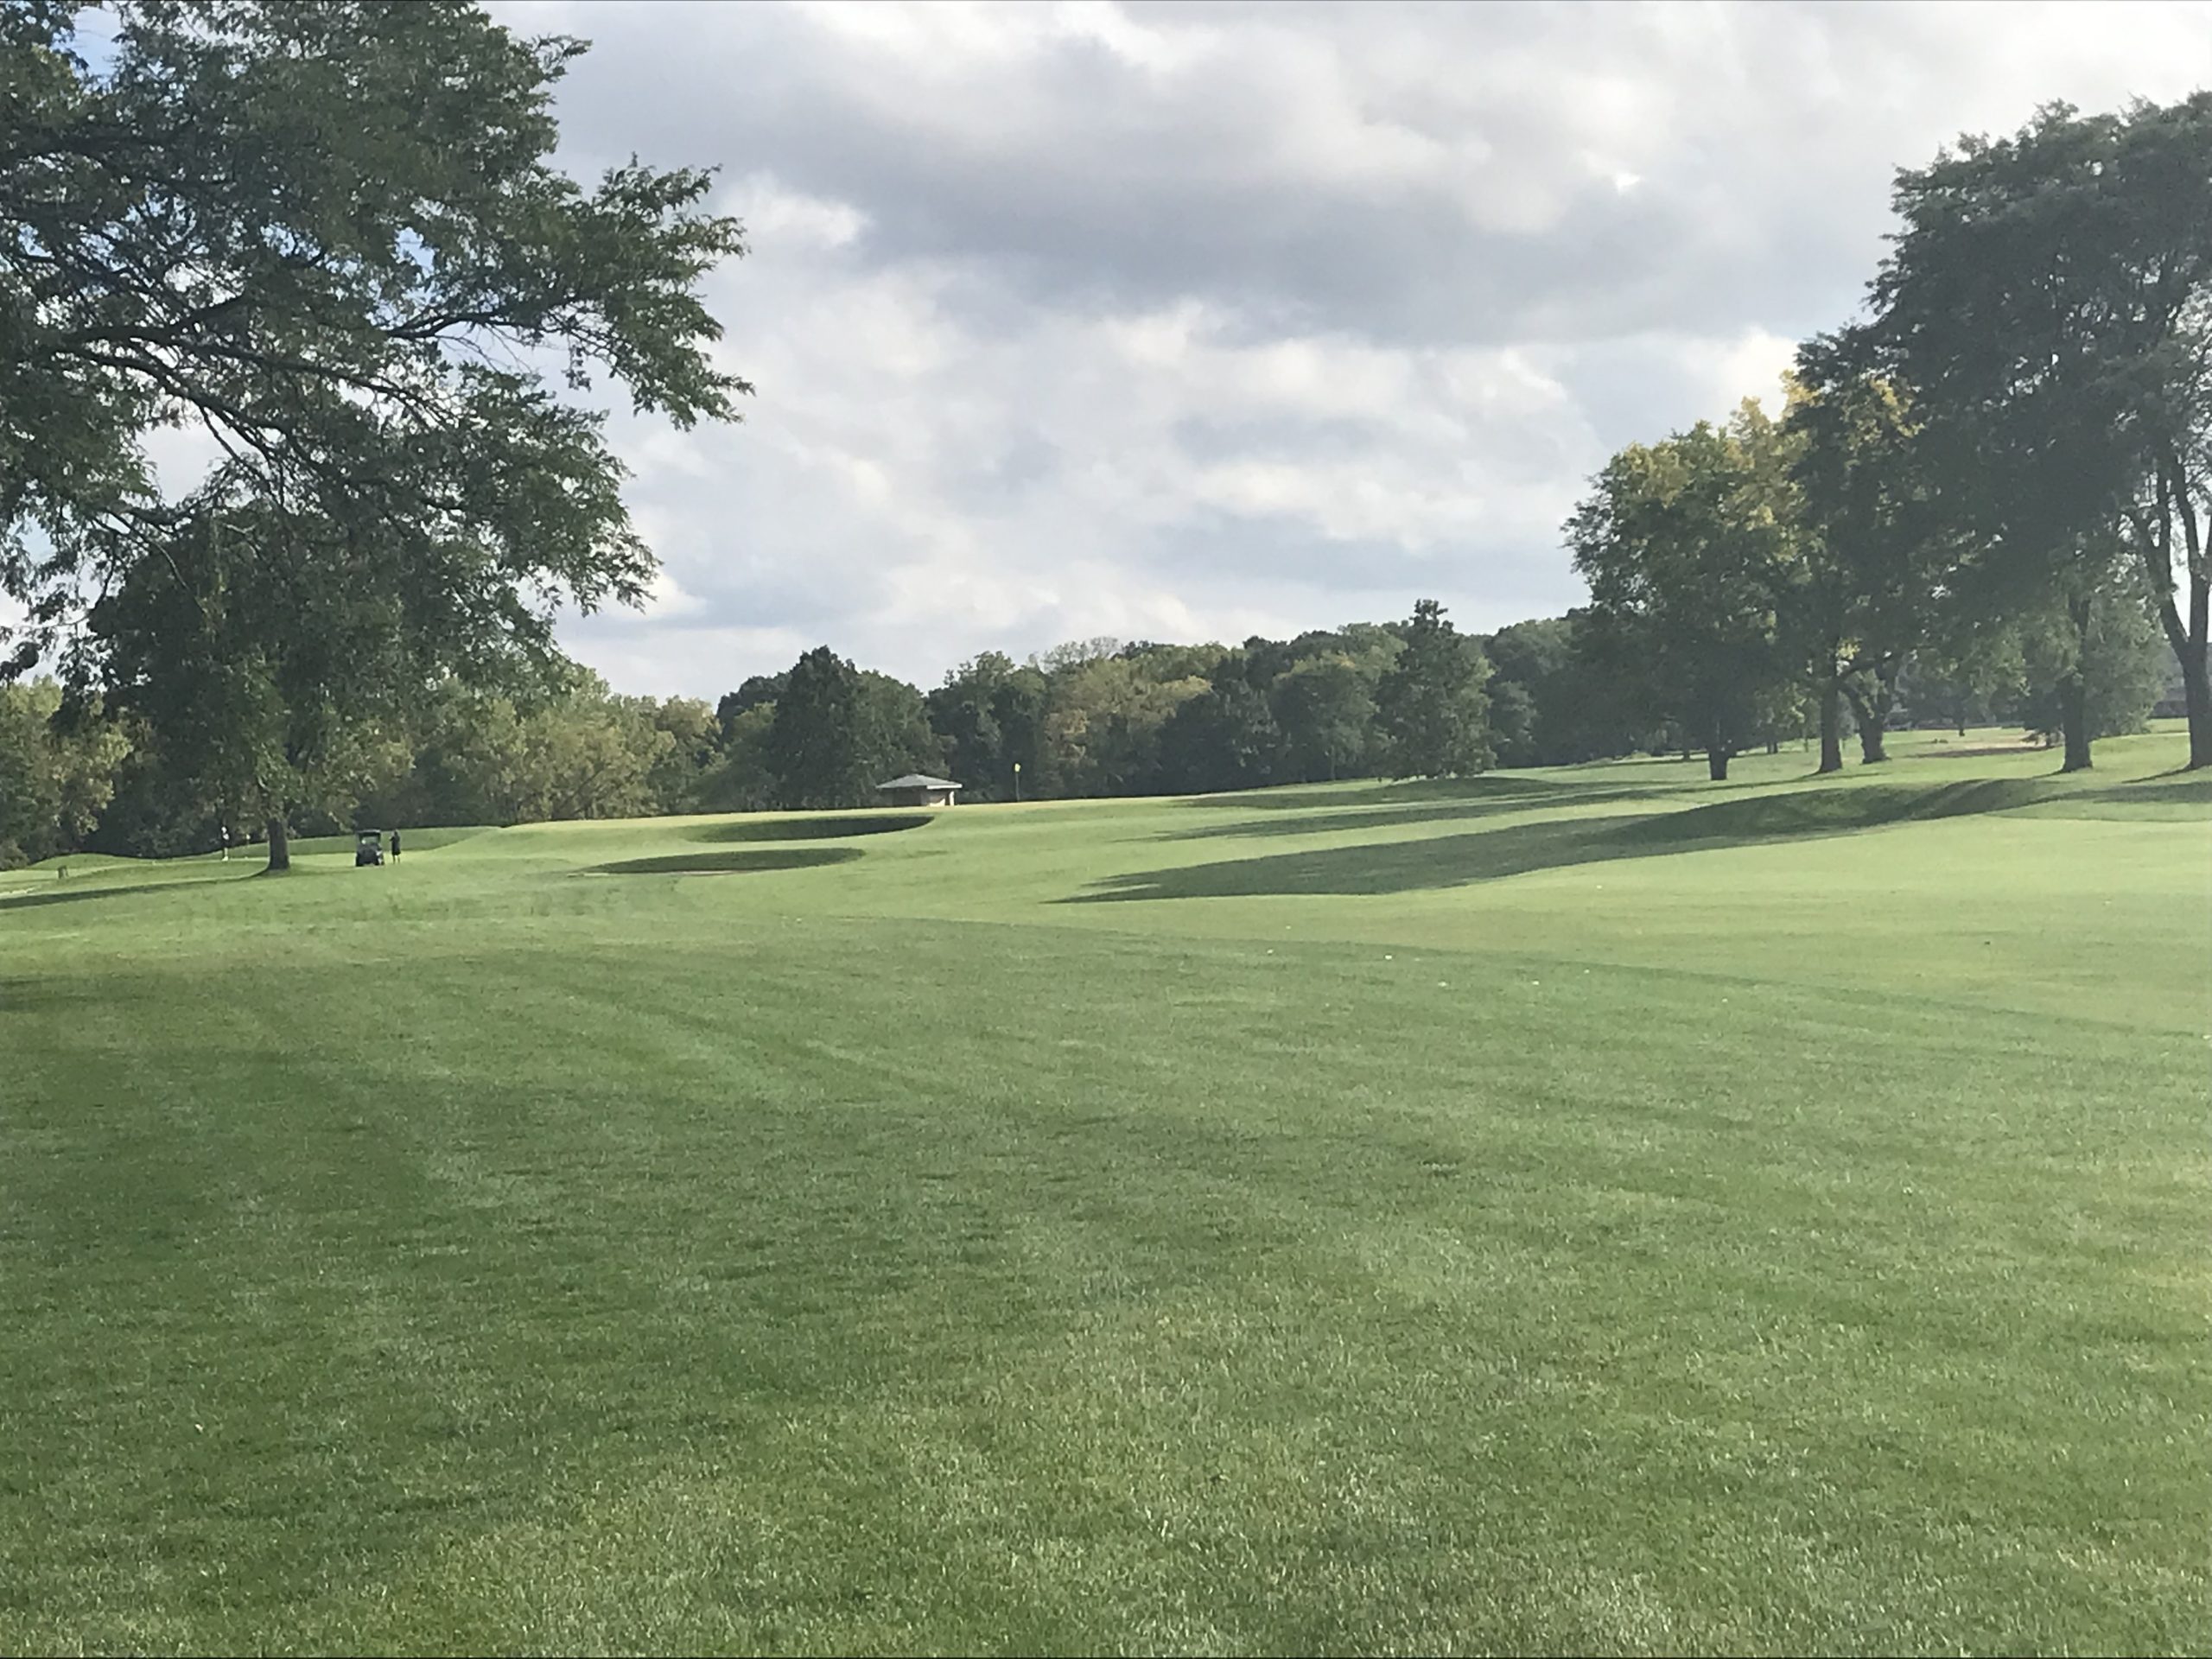
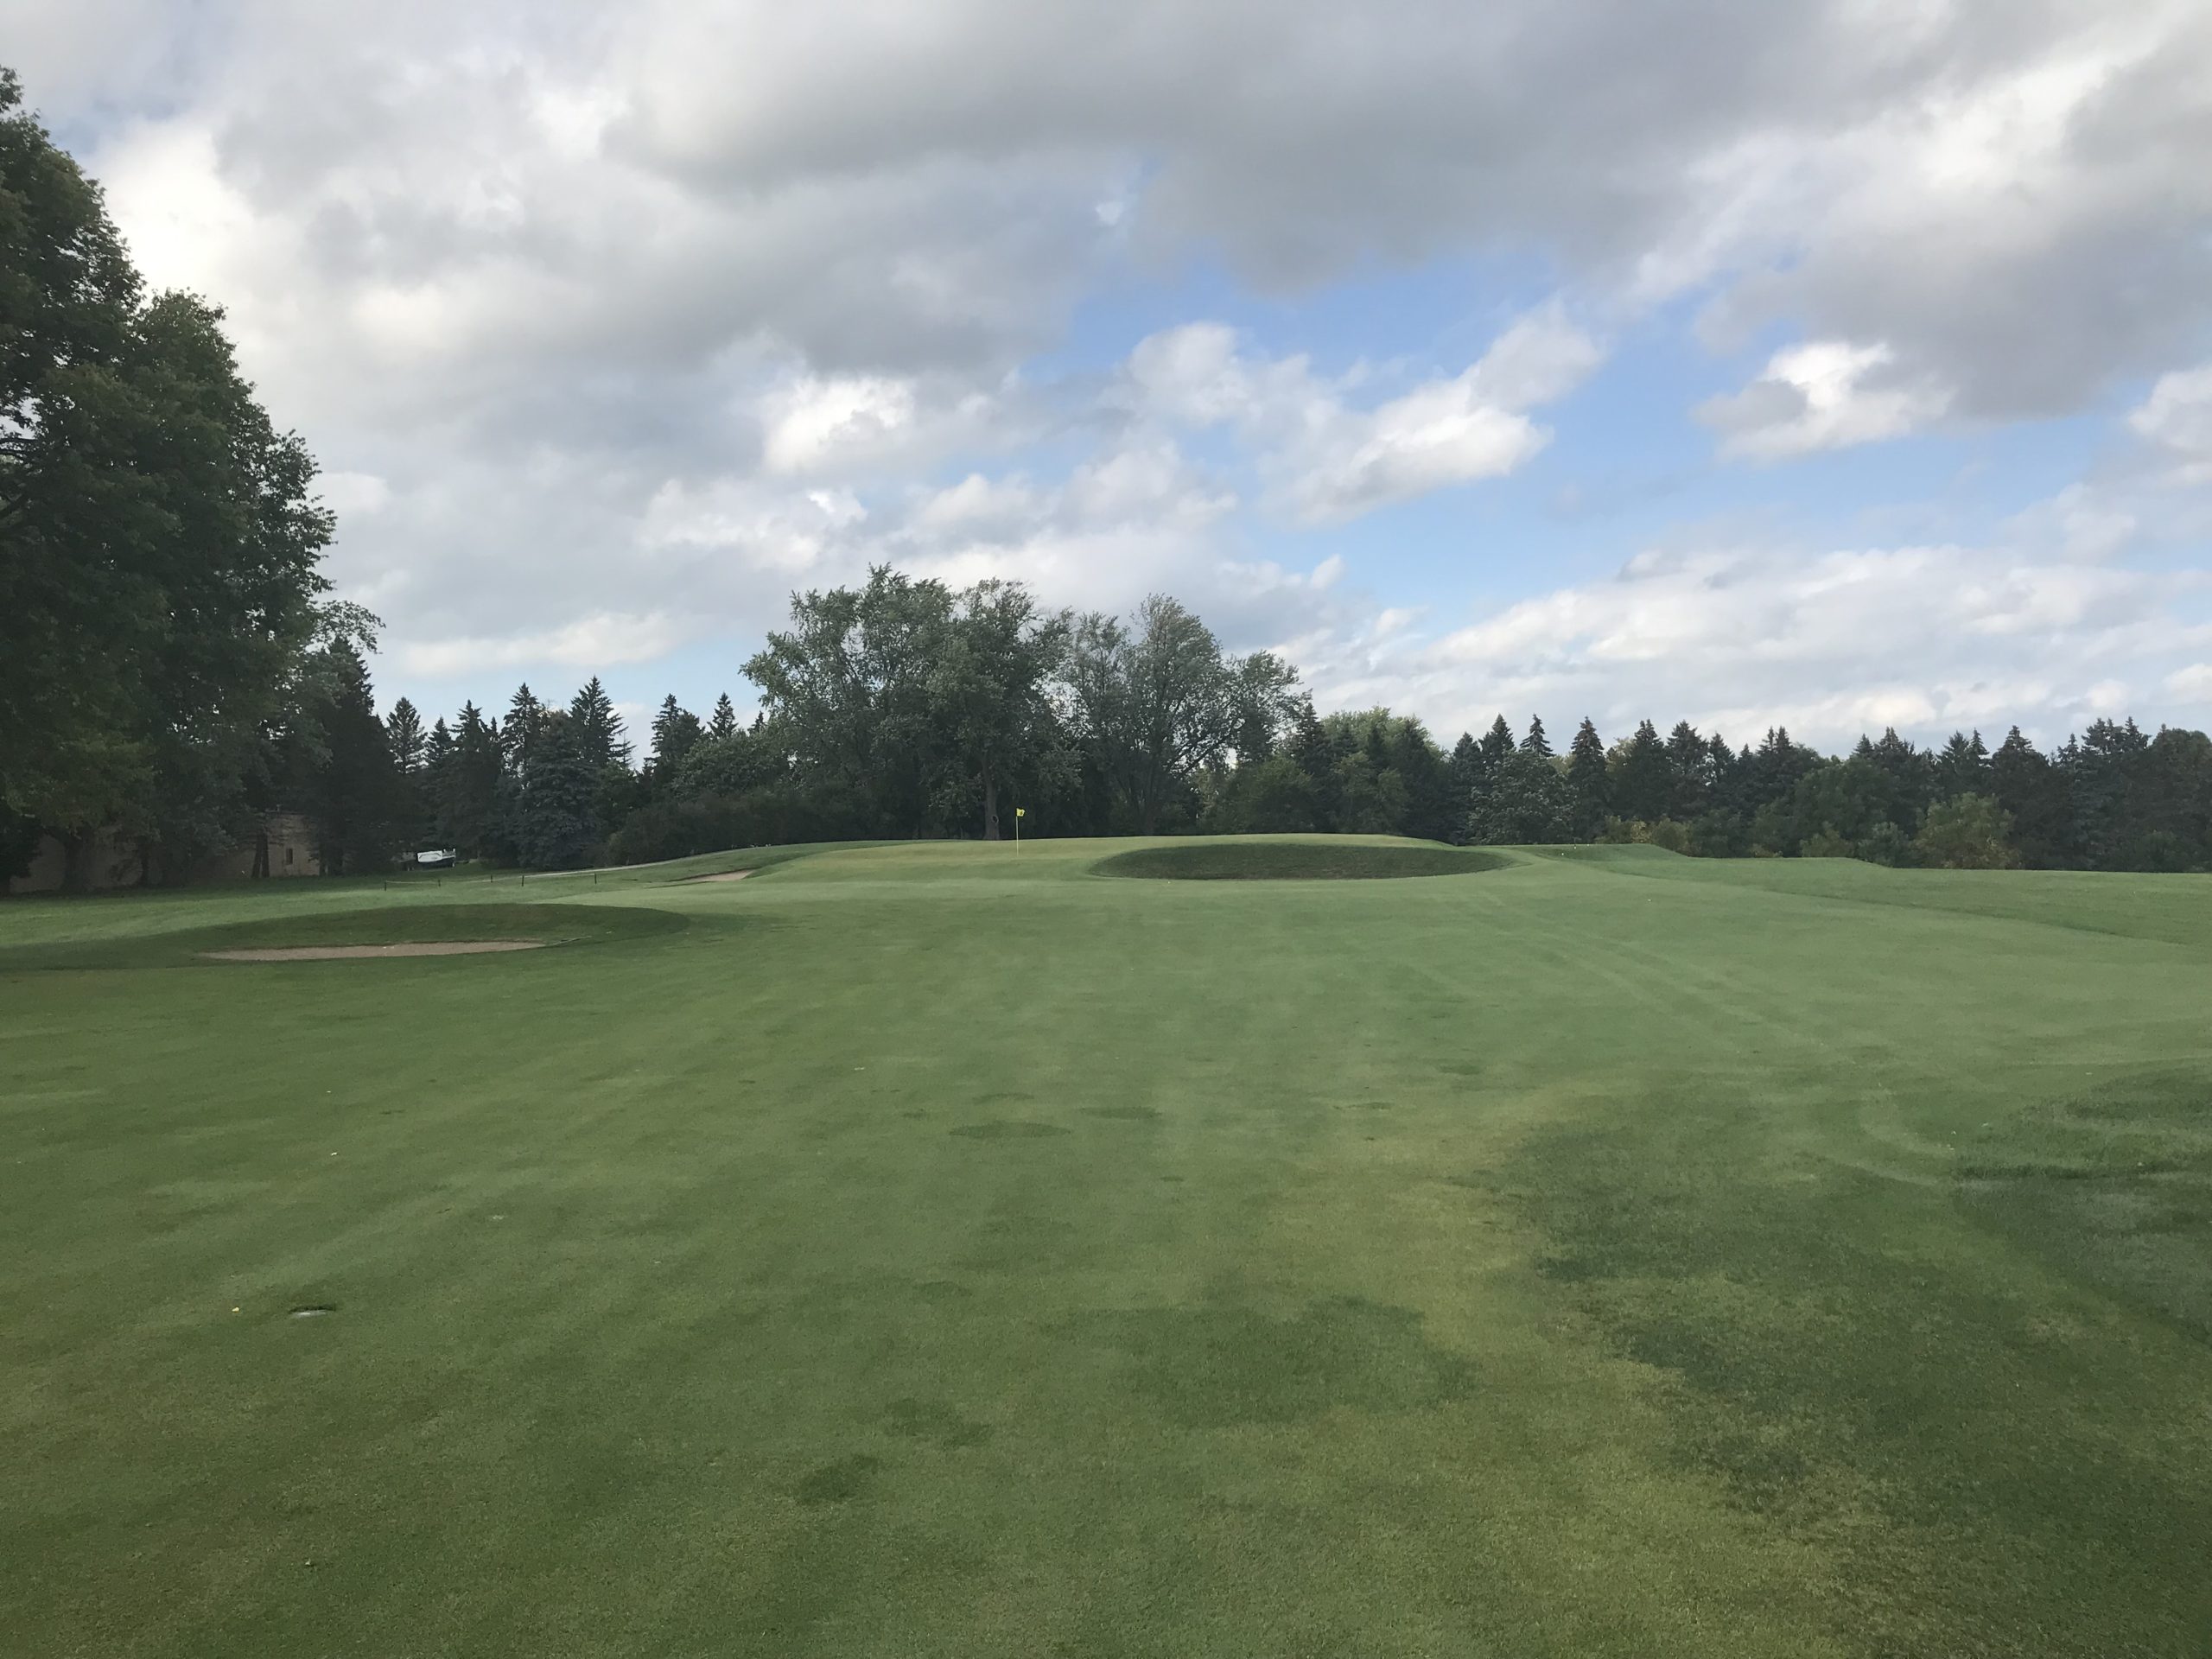
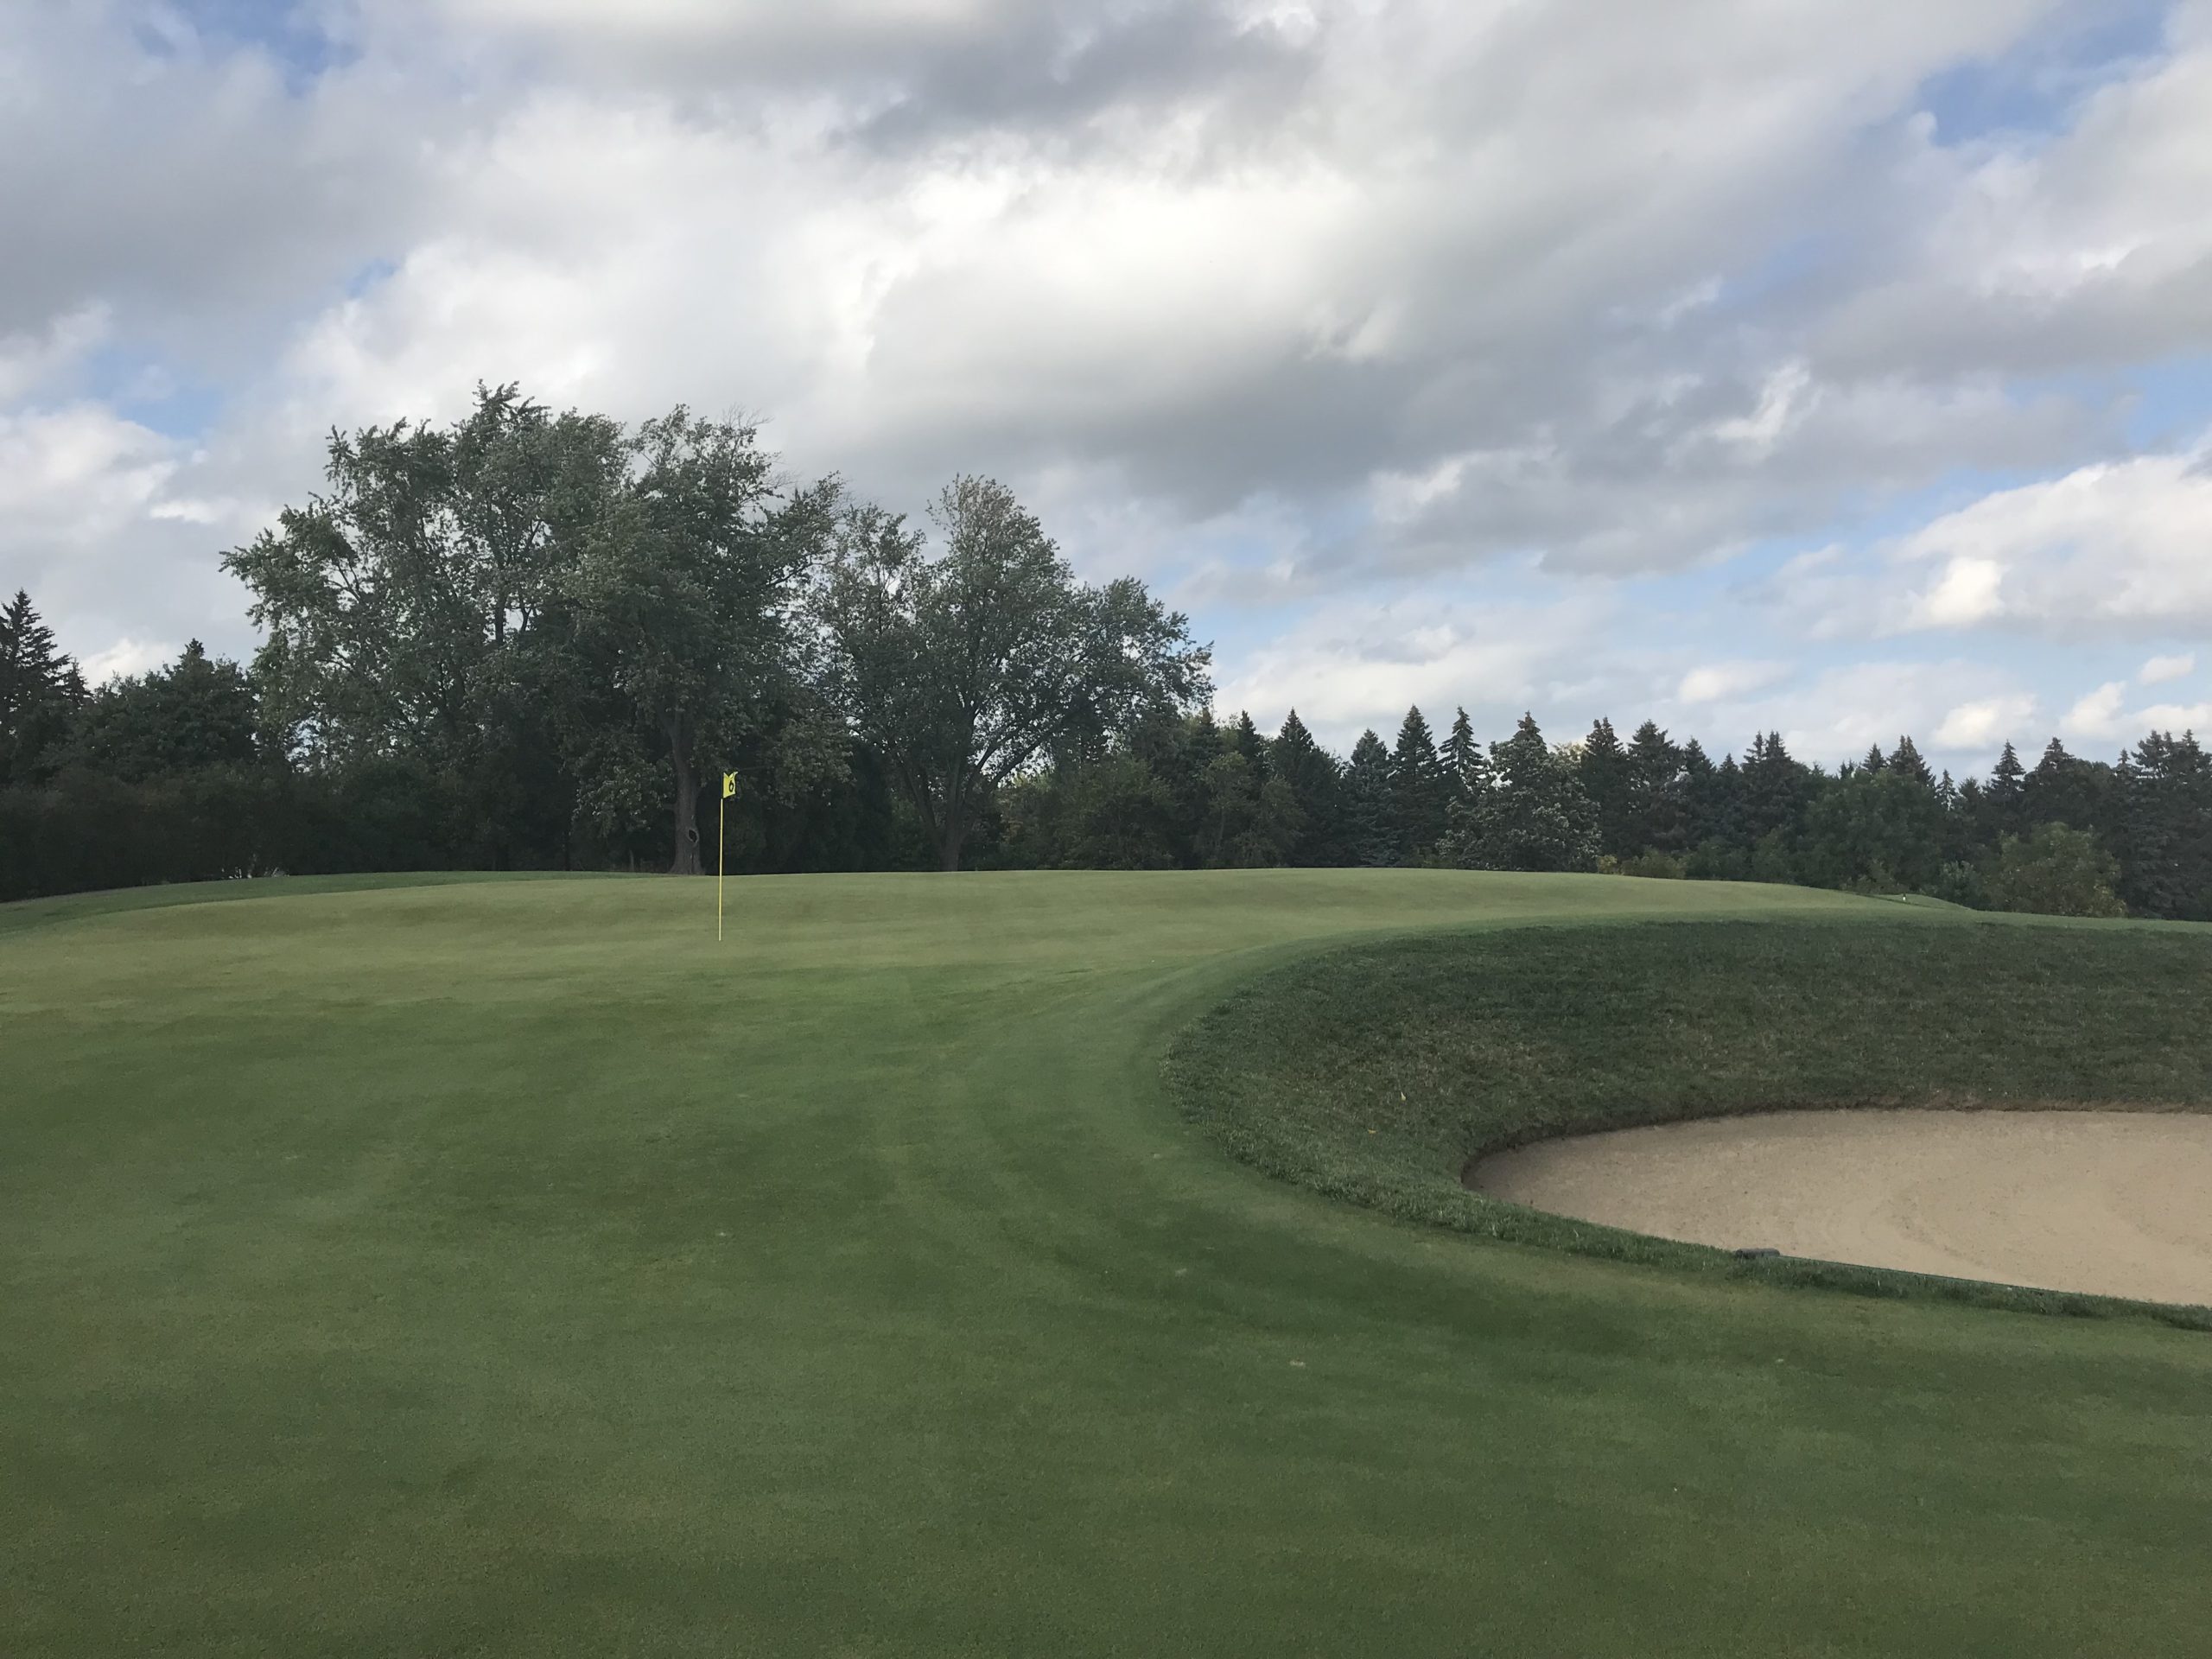
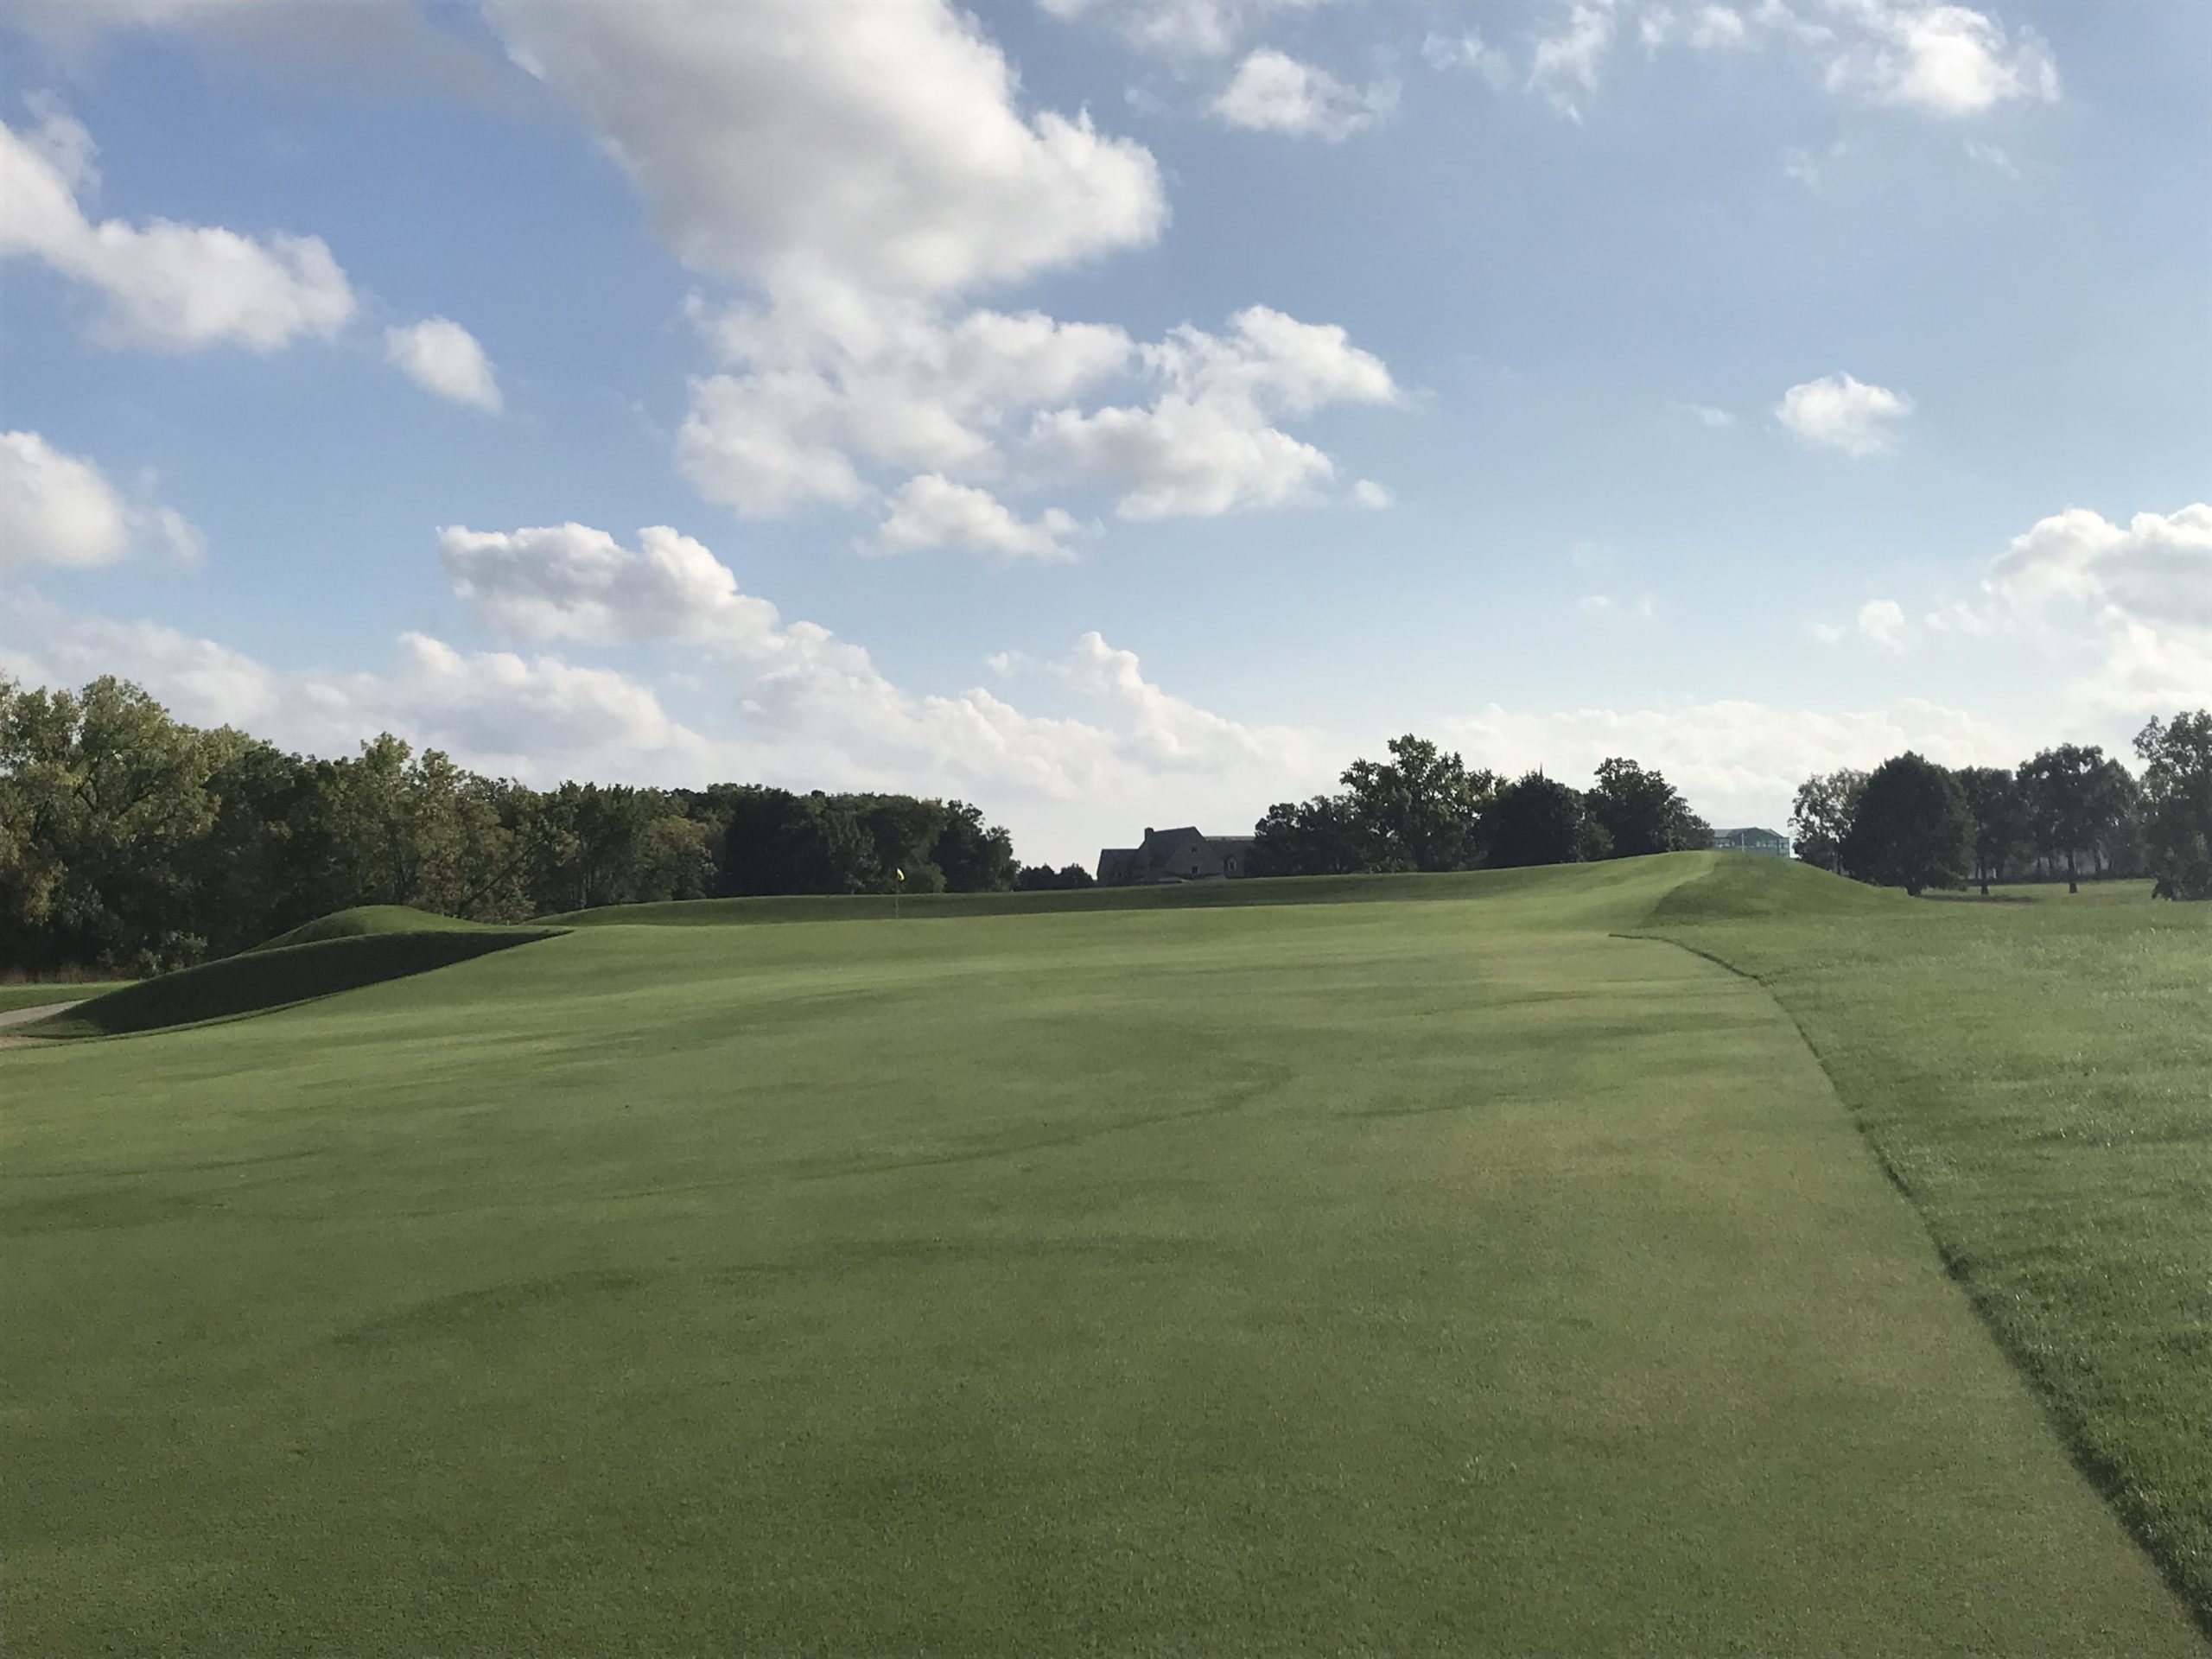
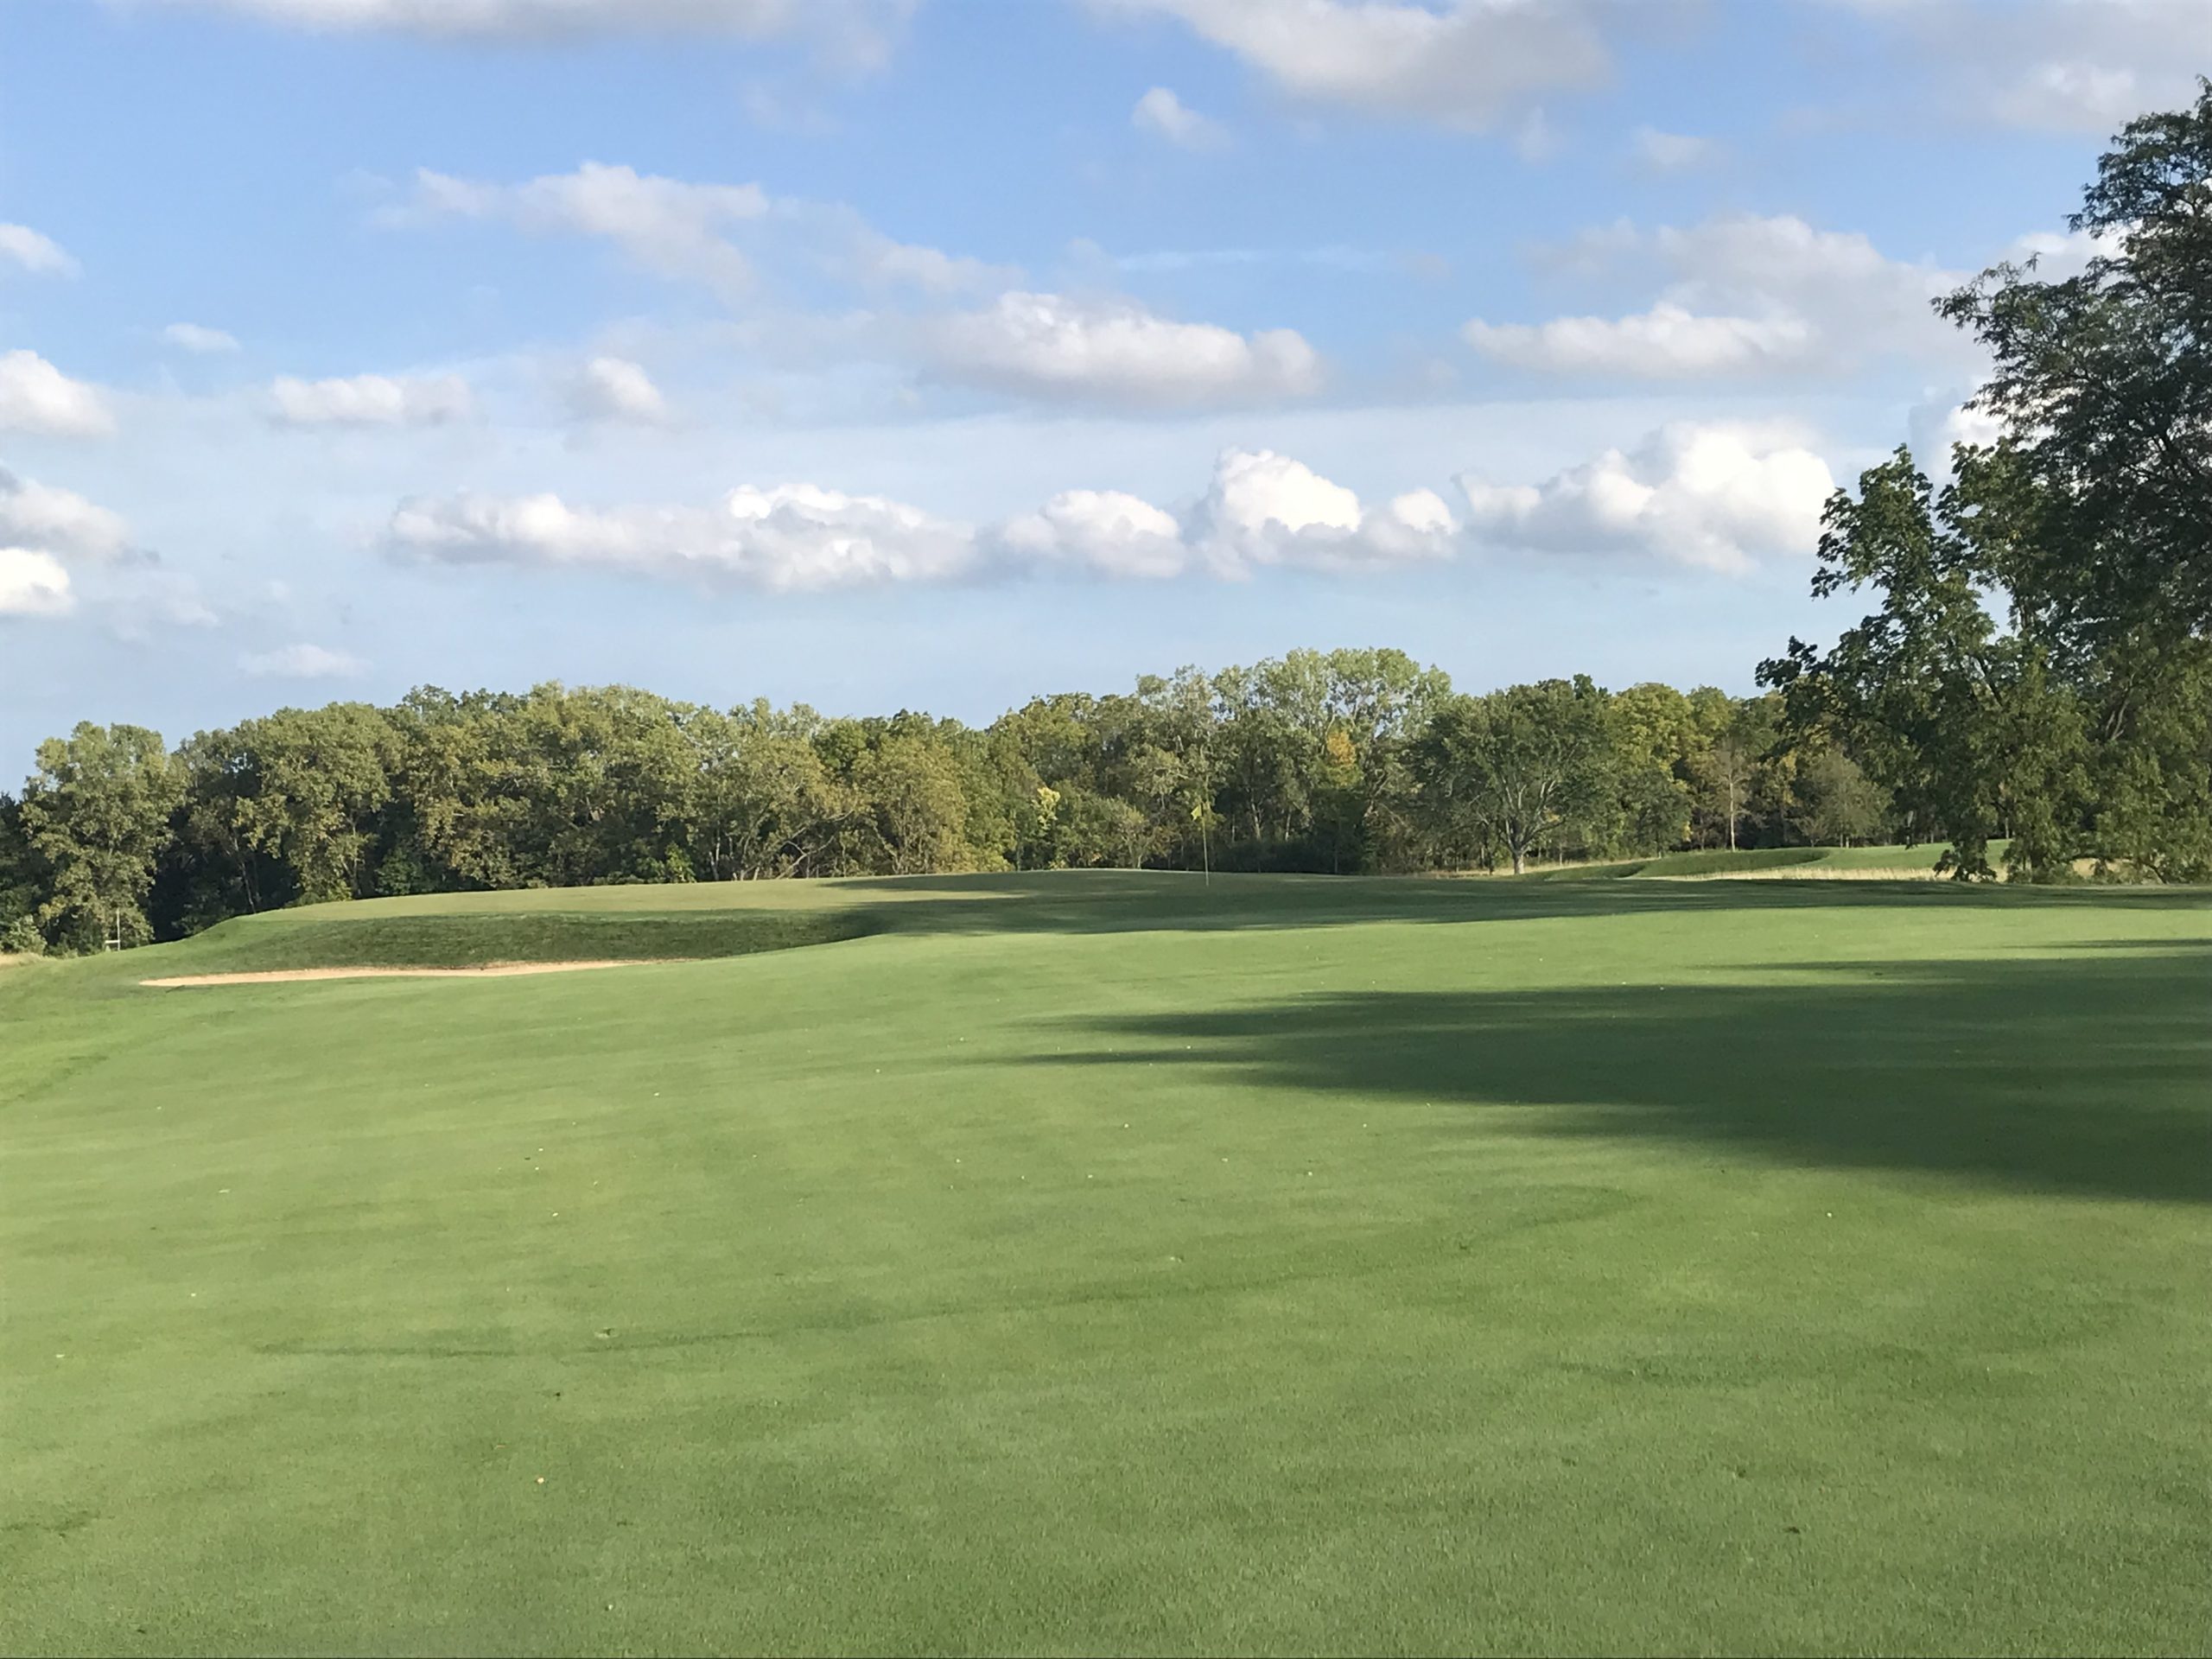
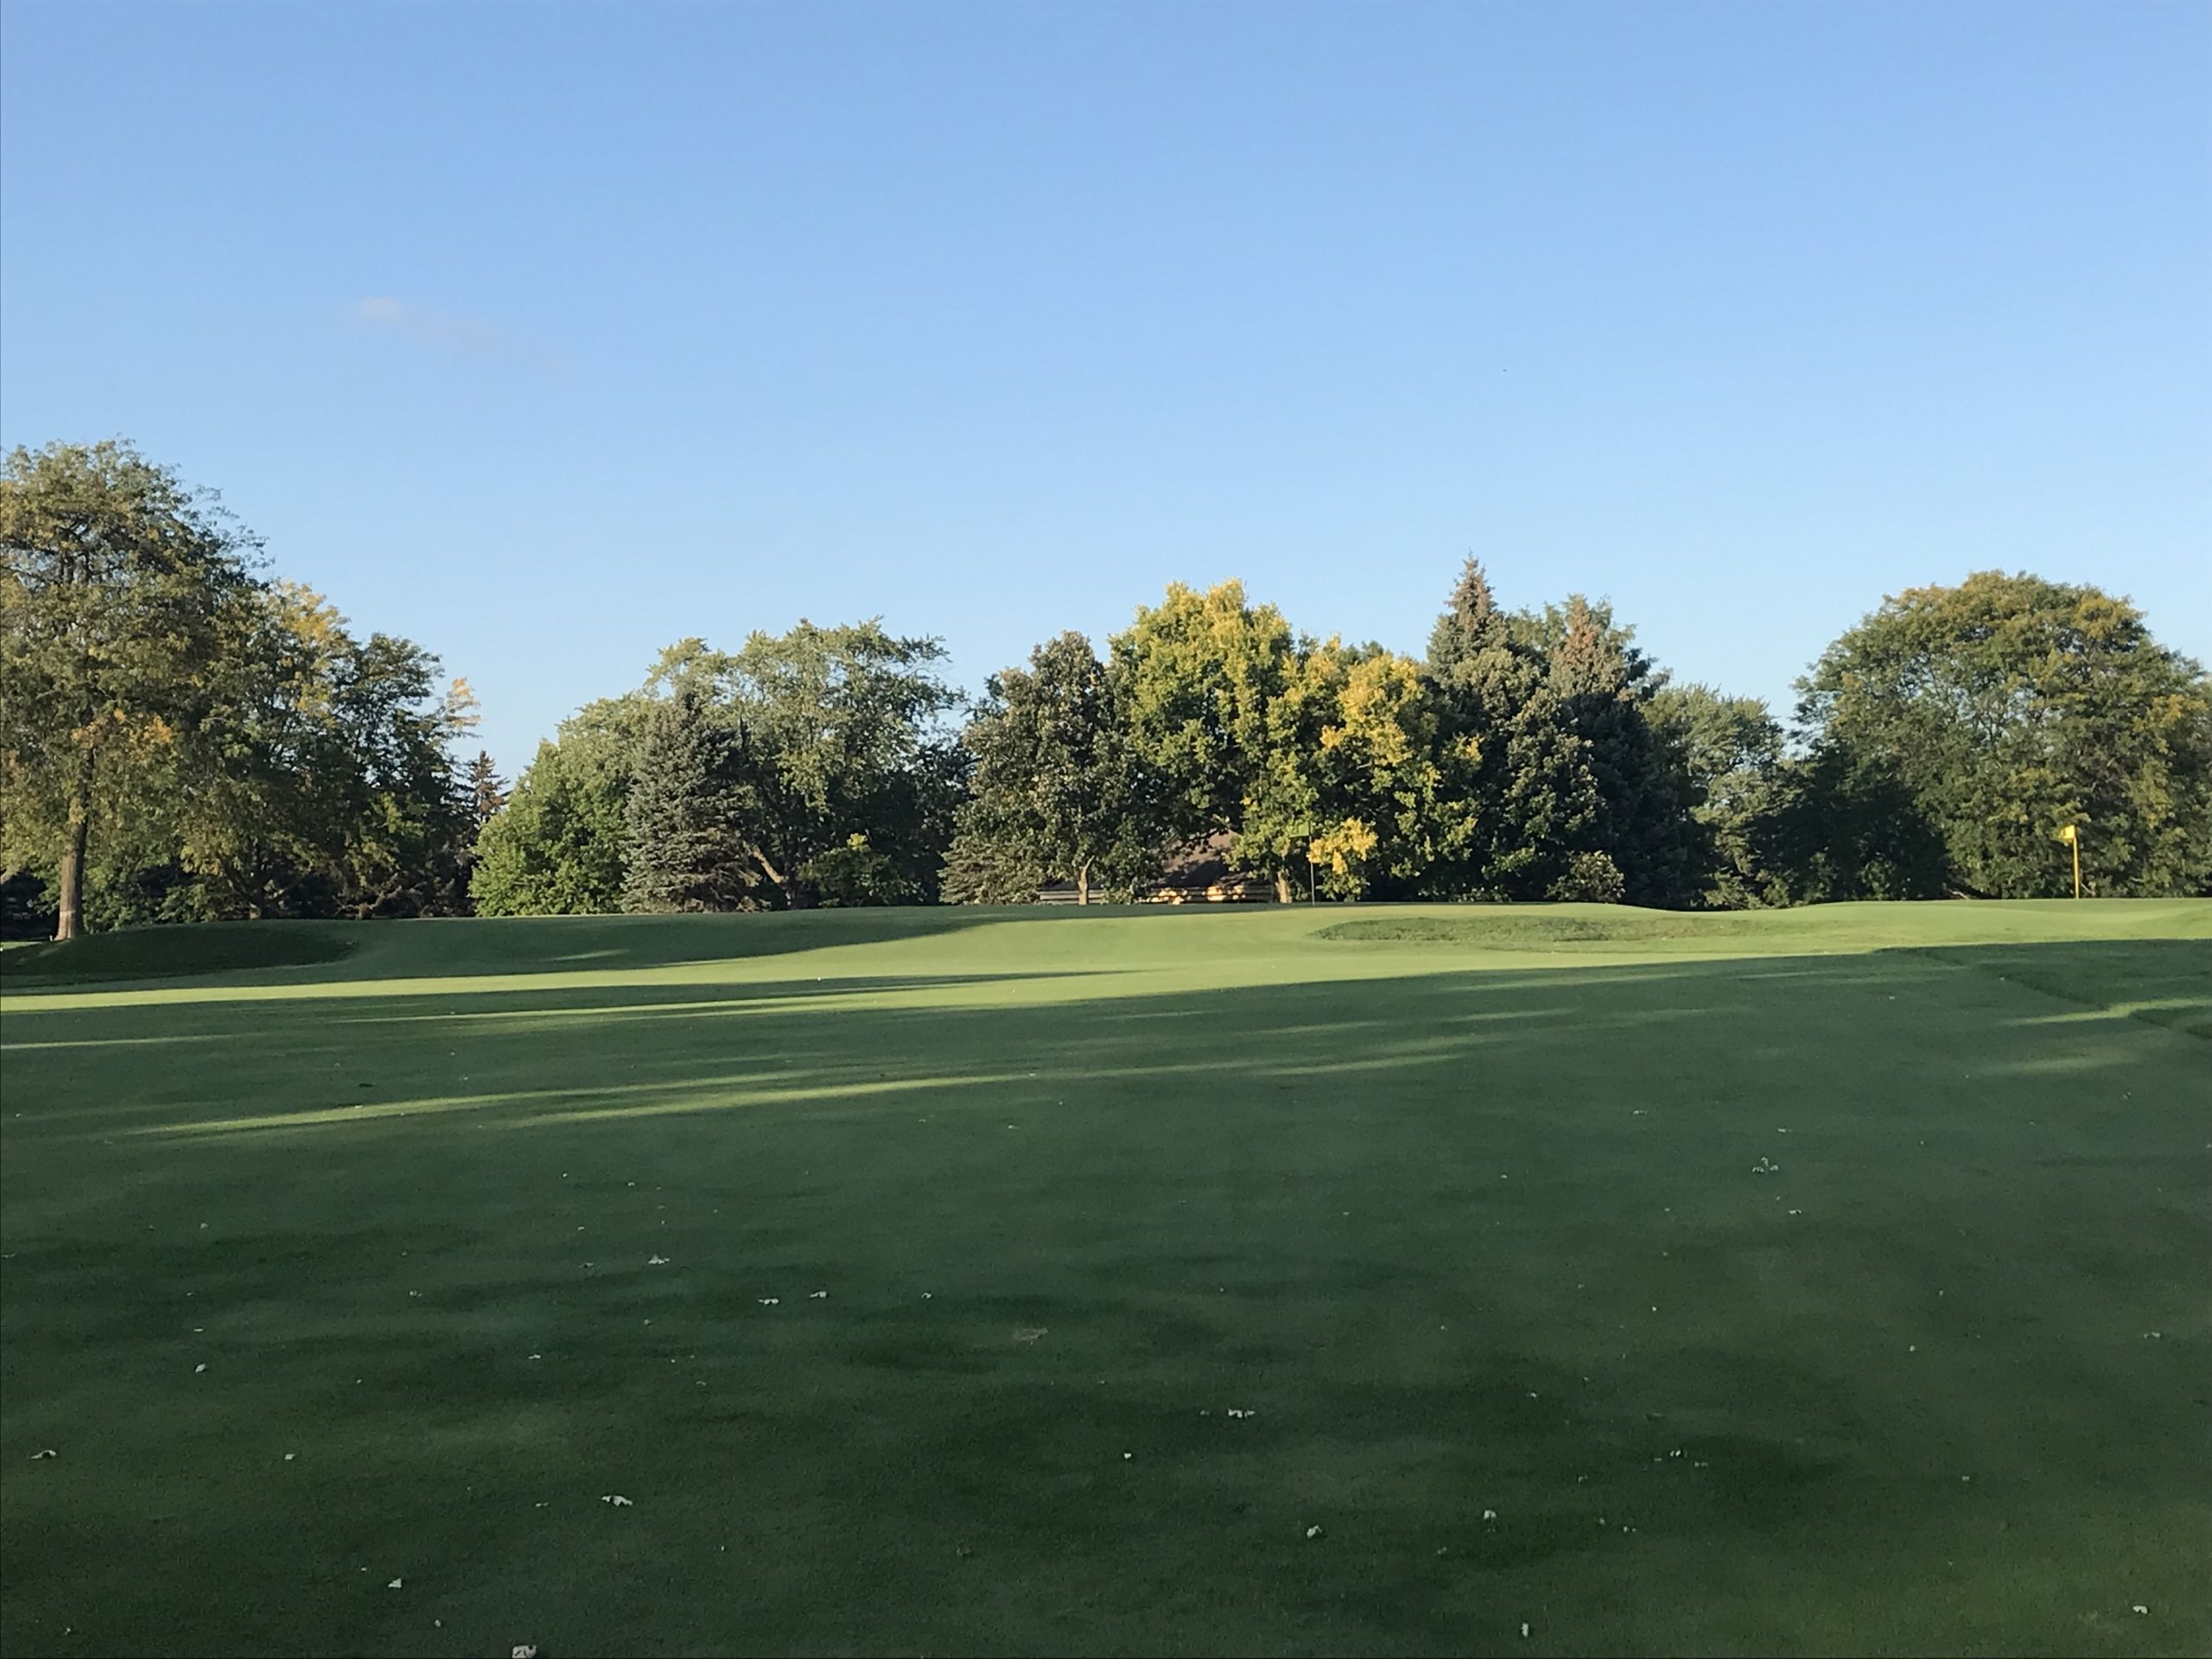
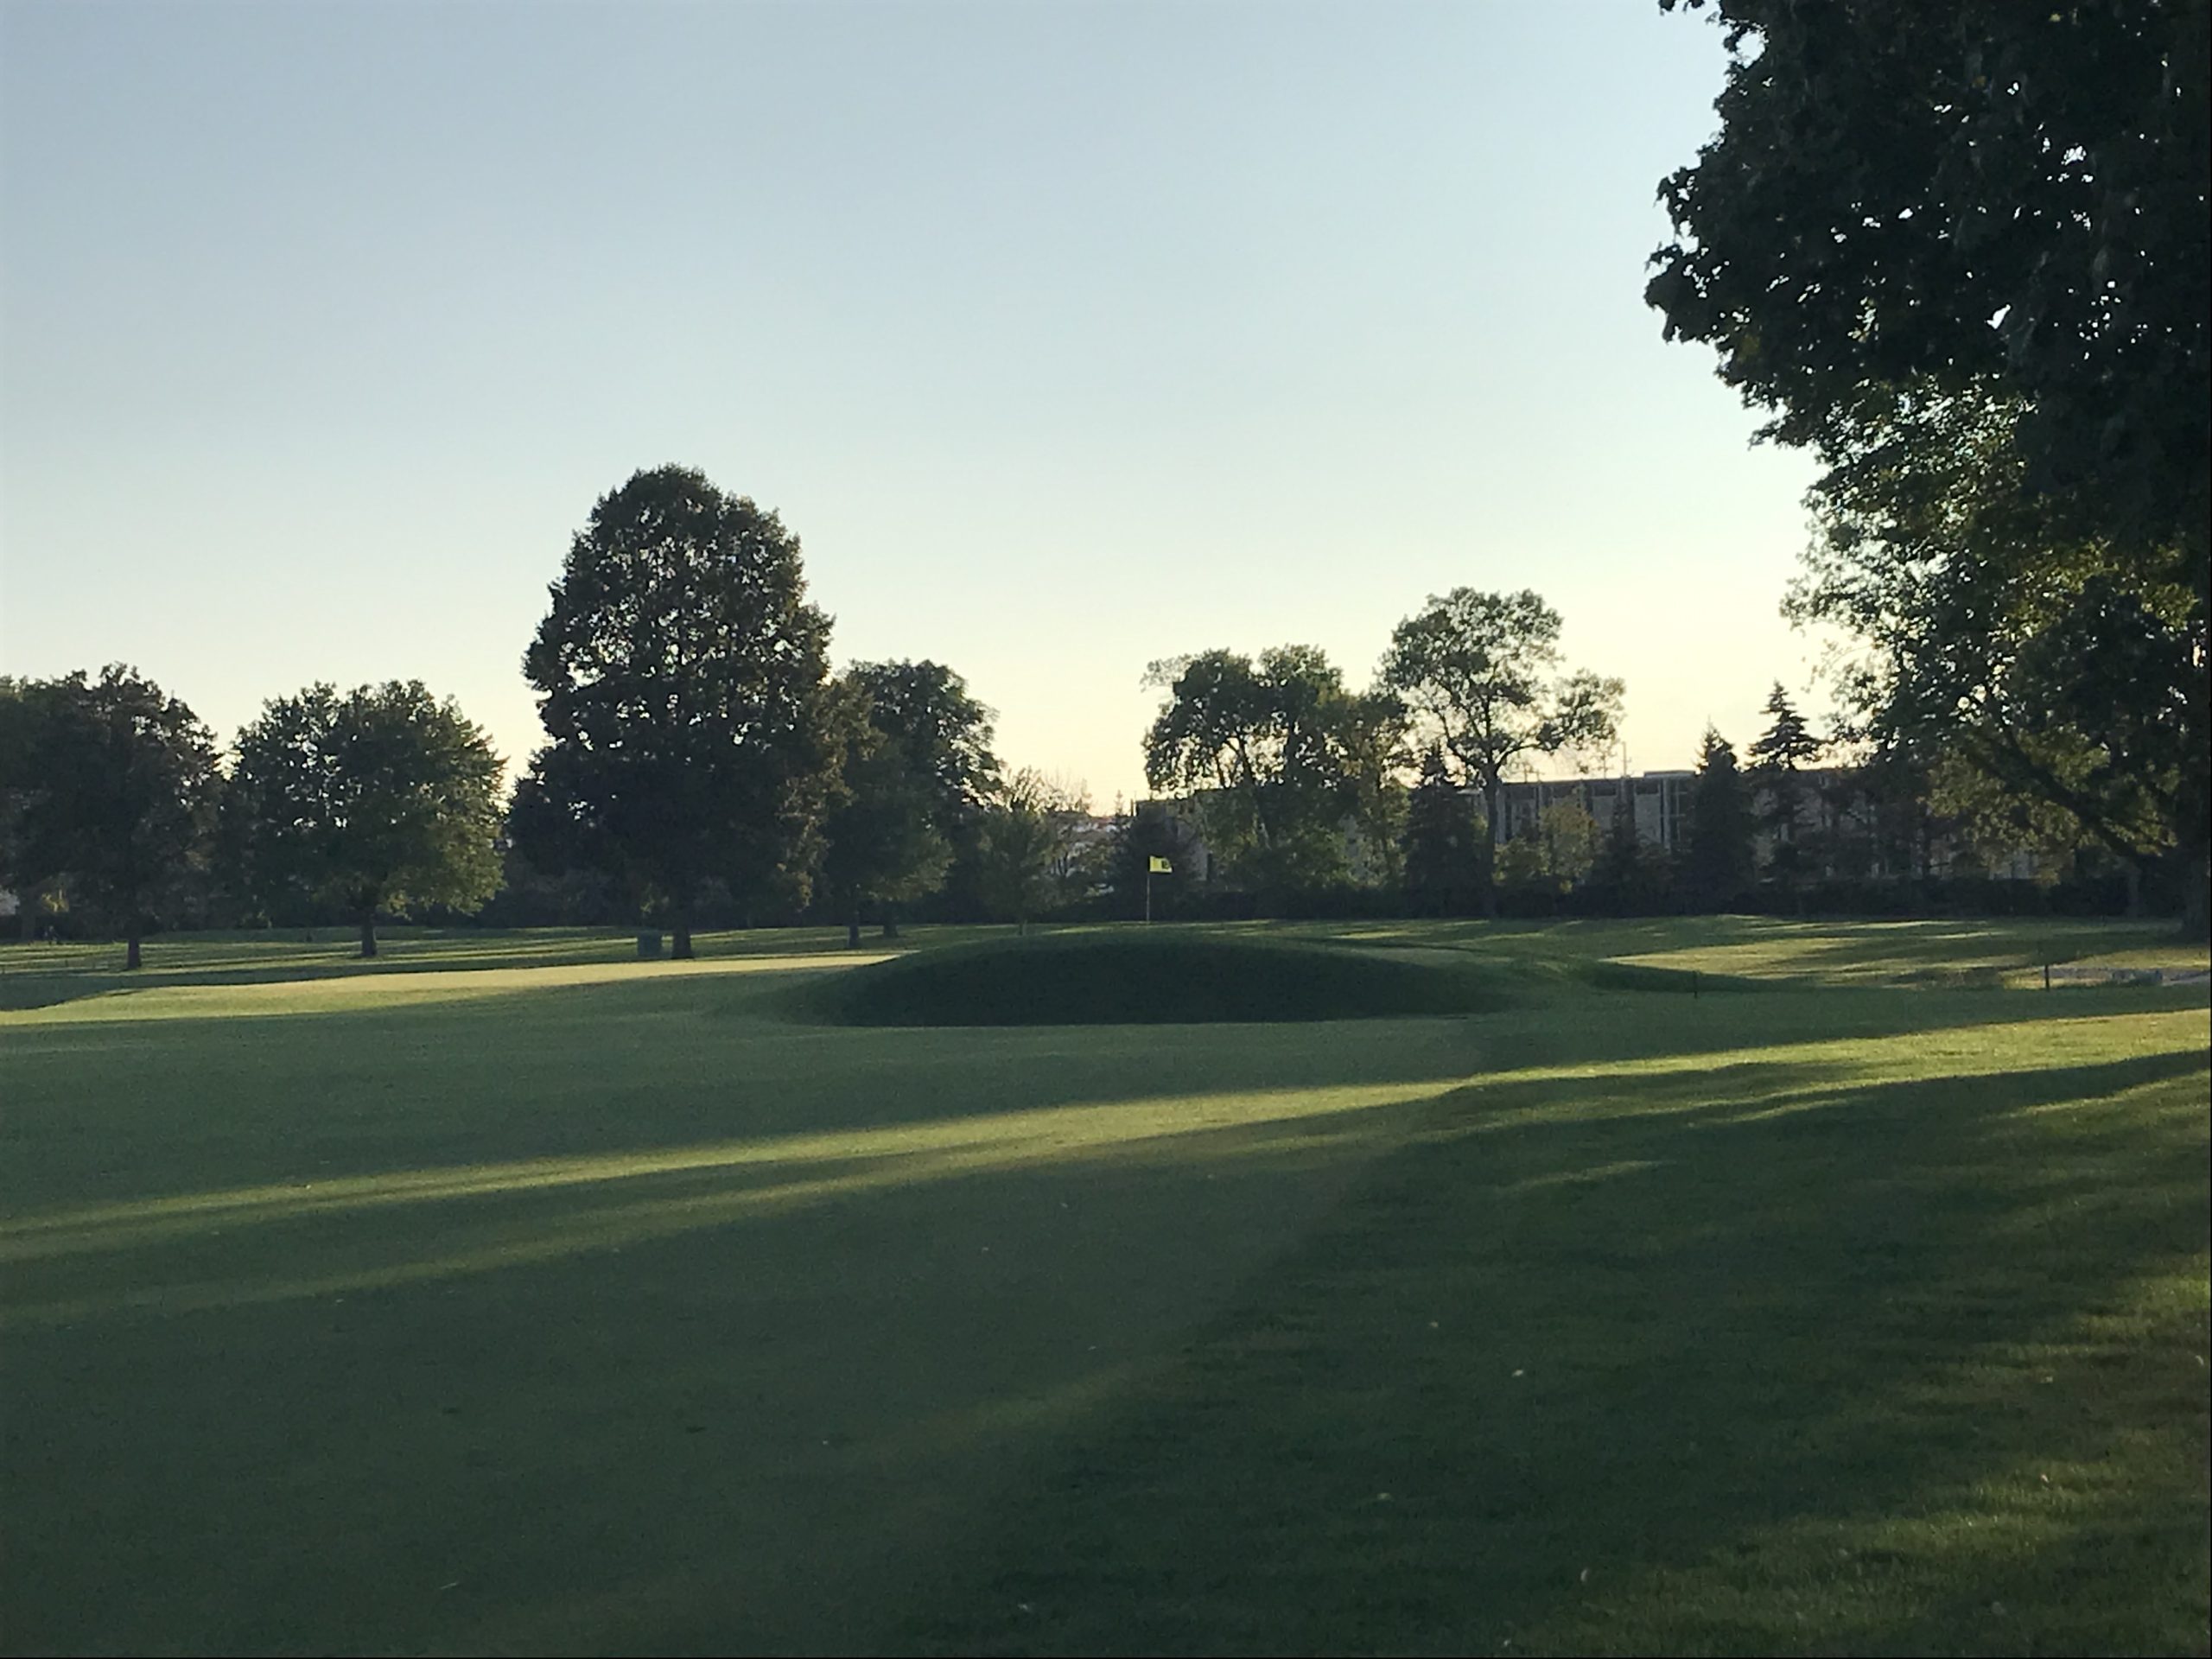
Hole 8 – 445 yards – Par 4 – Punchbowl
It’s an exacting test to get to the green on this hole, but once you do you are treated to one of coolest green complexes I’ve ever played.
Depending on your drive, the approach can be blind.
The punchbowl shows itself as you crest the hill and it’s just an awesome green.
Hole 9 – 349 yards – Par 4 – Chicago GC
I haven’t played Chicago GC, so I’m not sure of the name’s origin. I do know that hitting a short approach into this green with a severe front slope and swirling winds was quite a challenge.
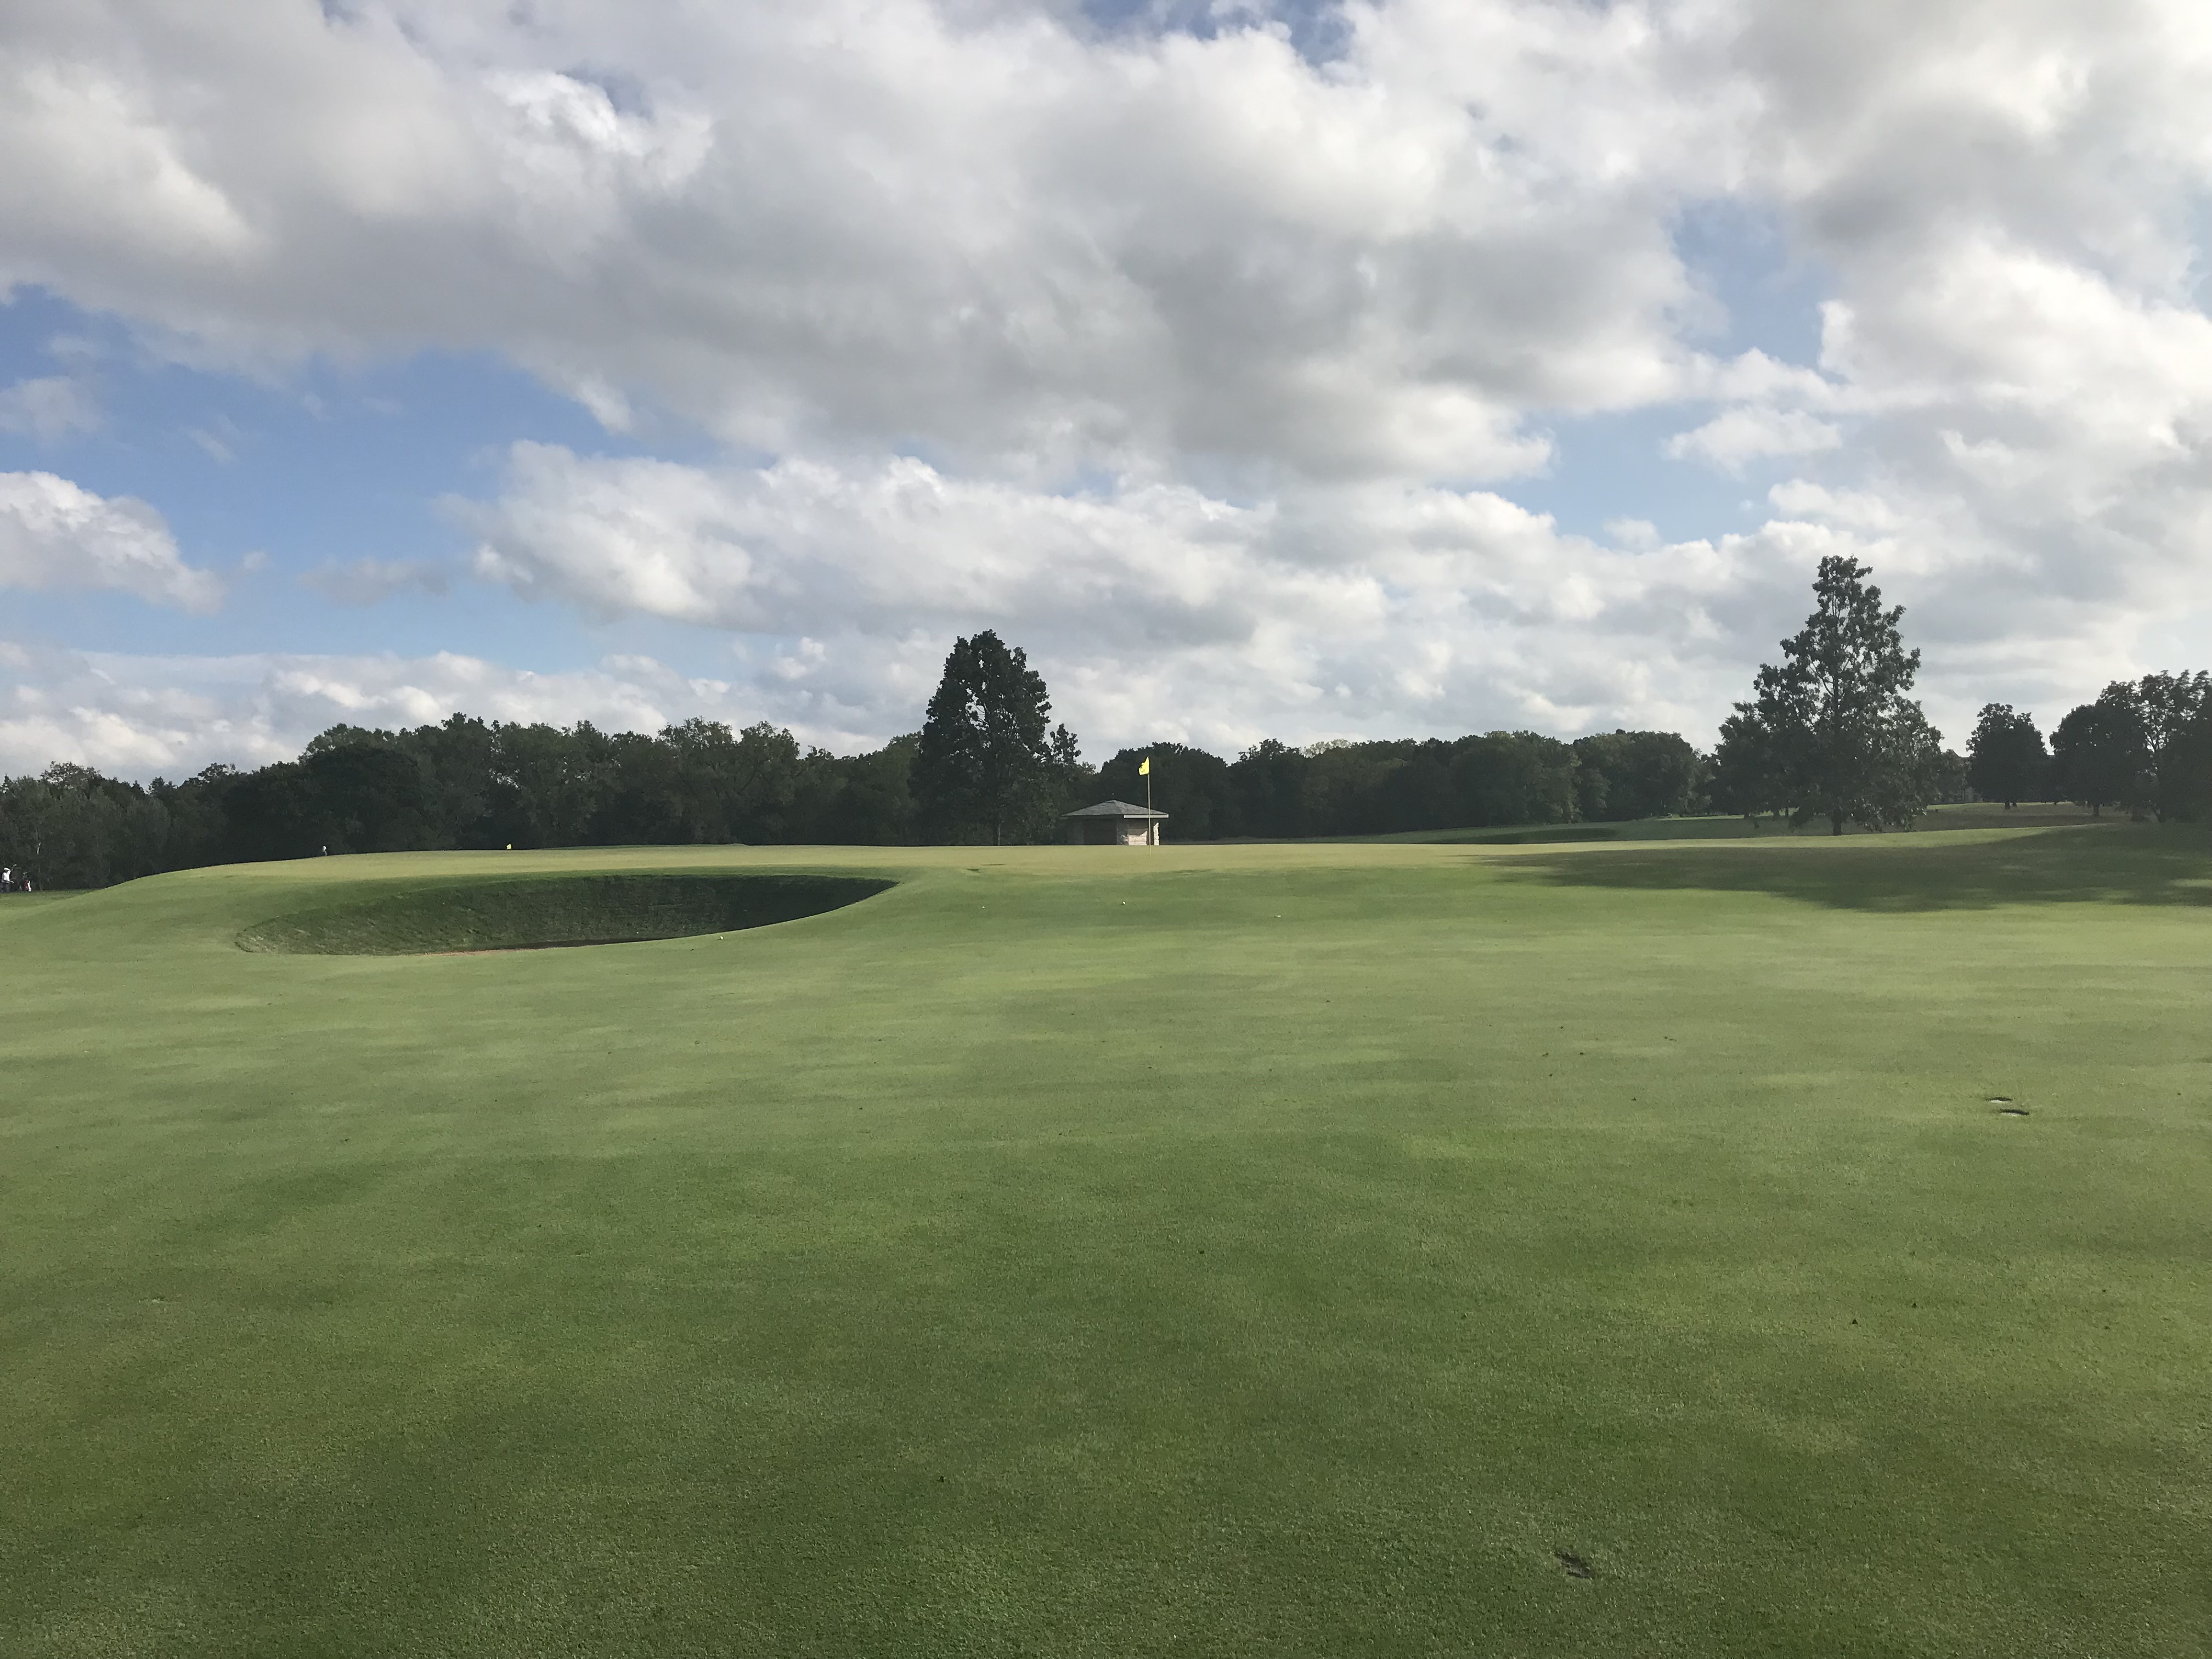
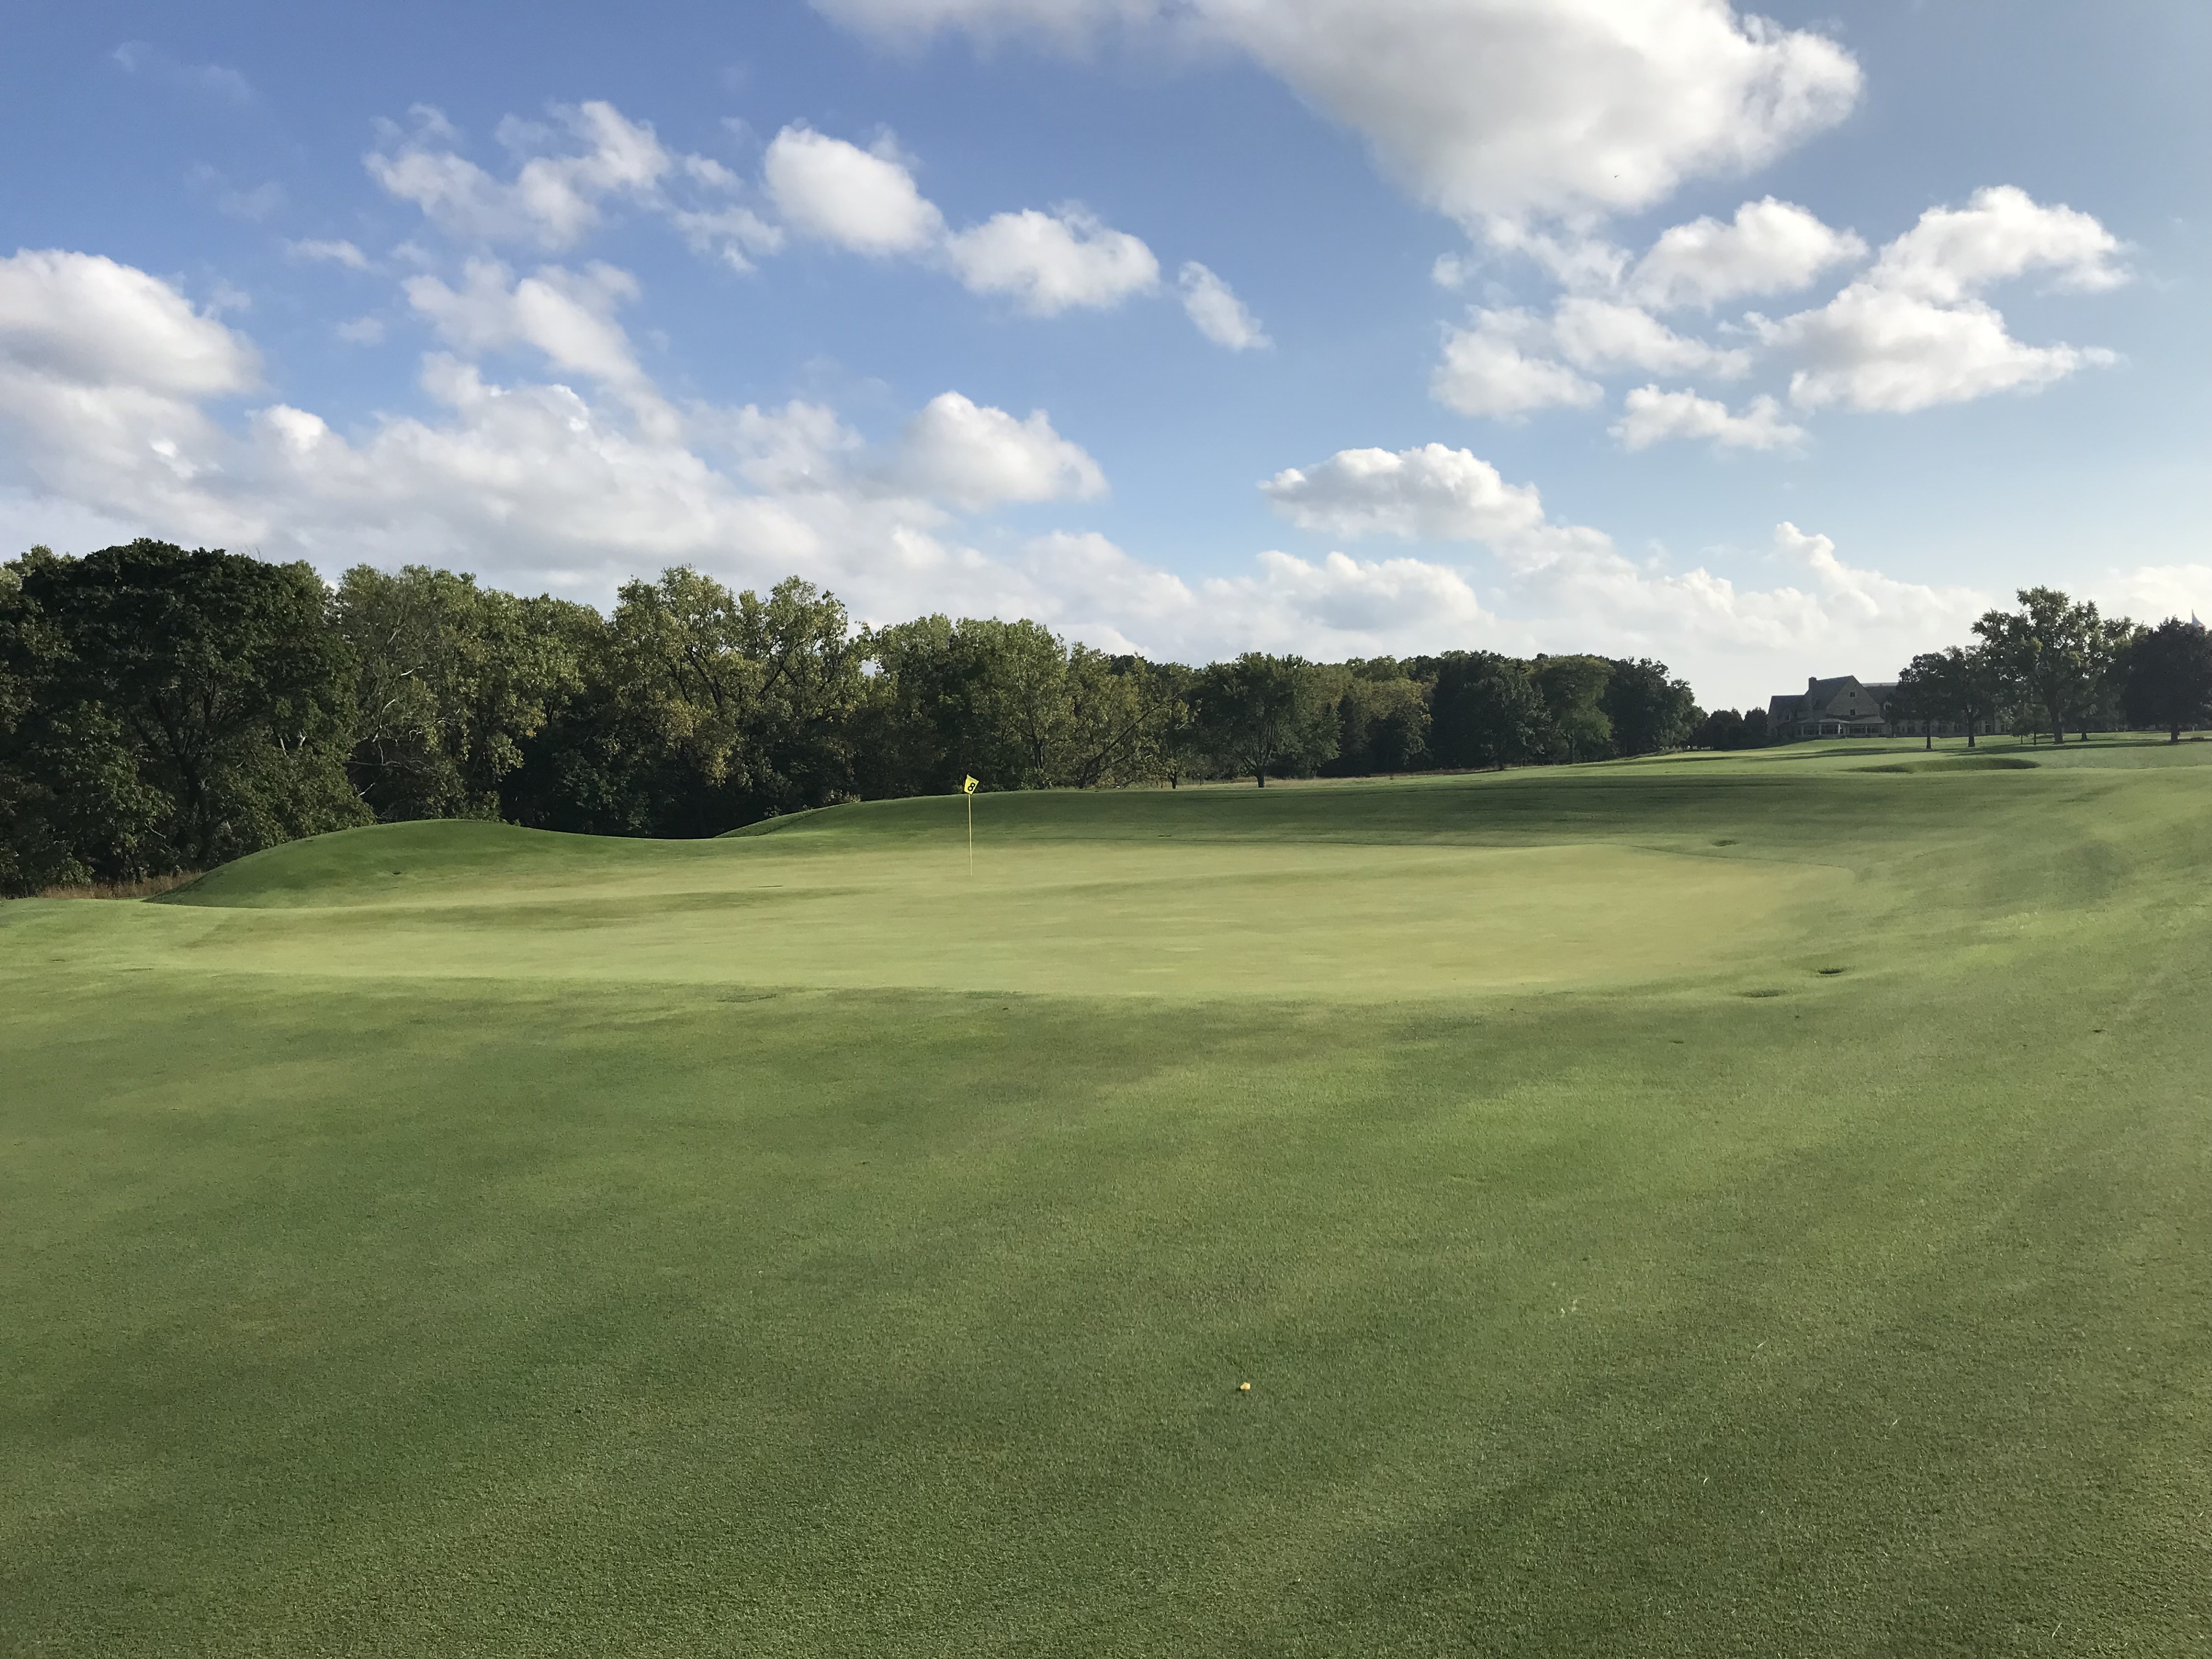
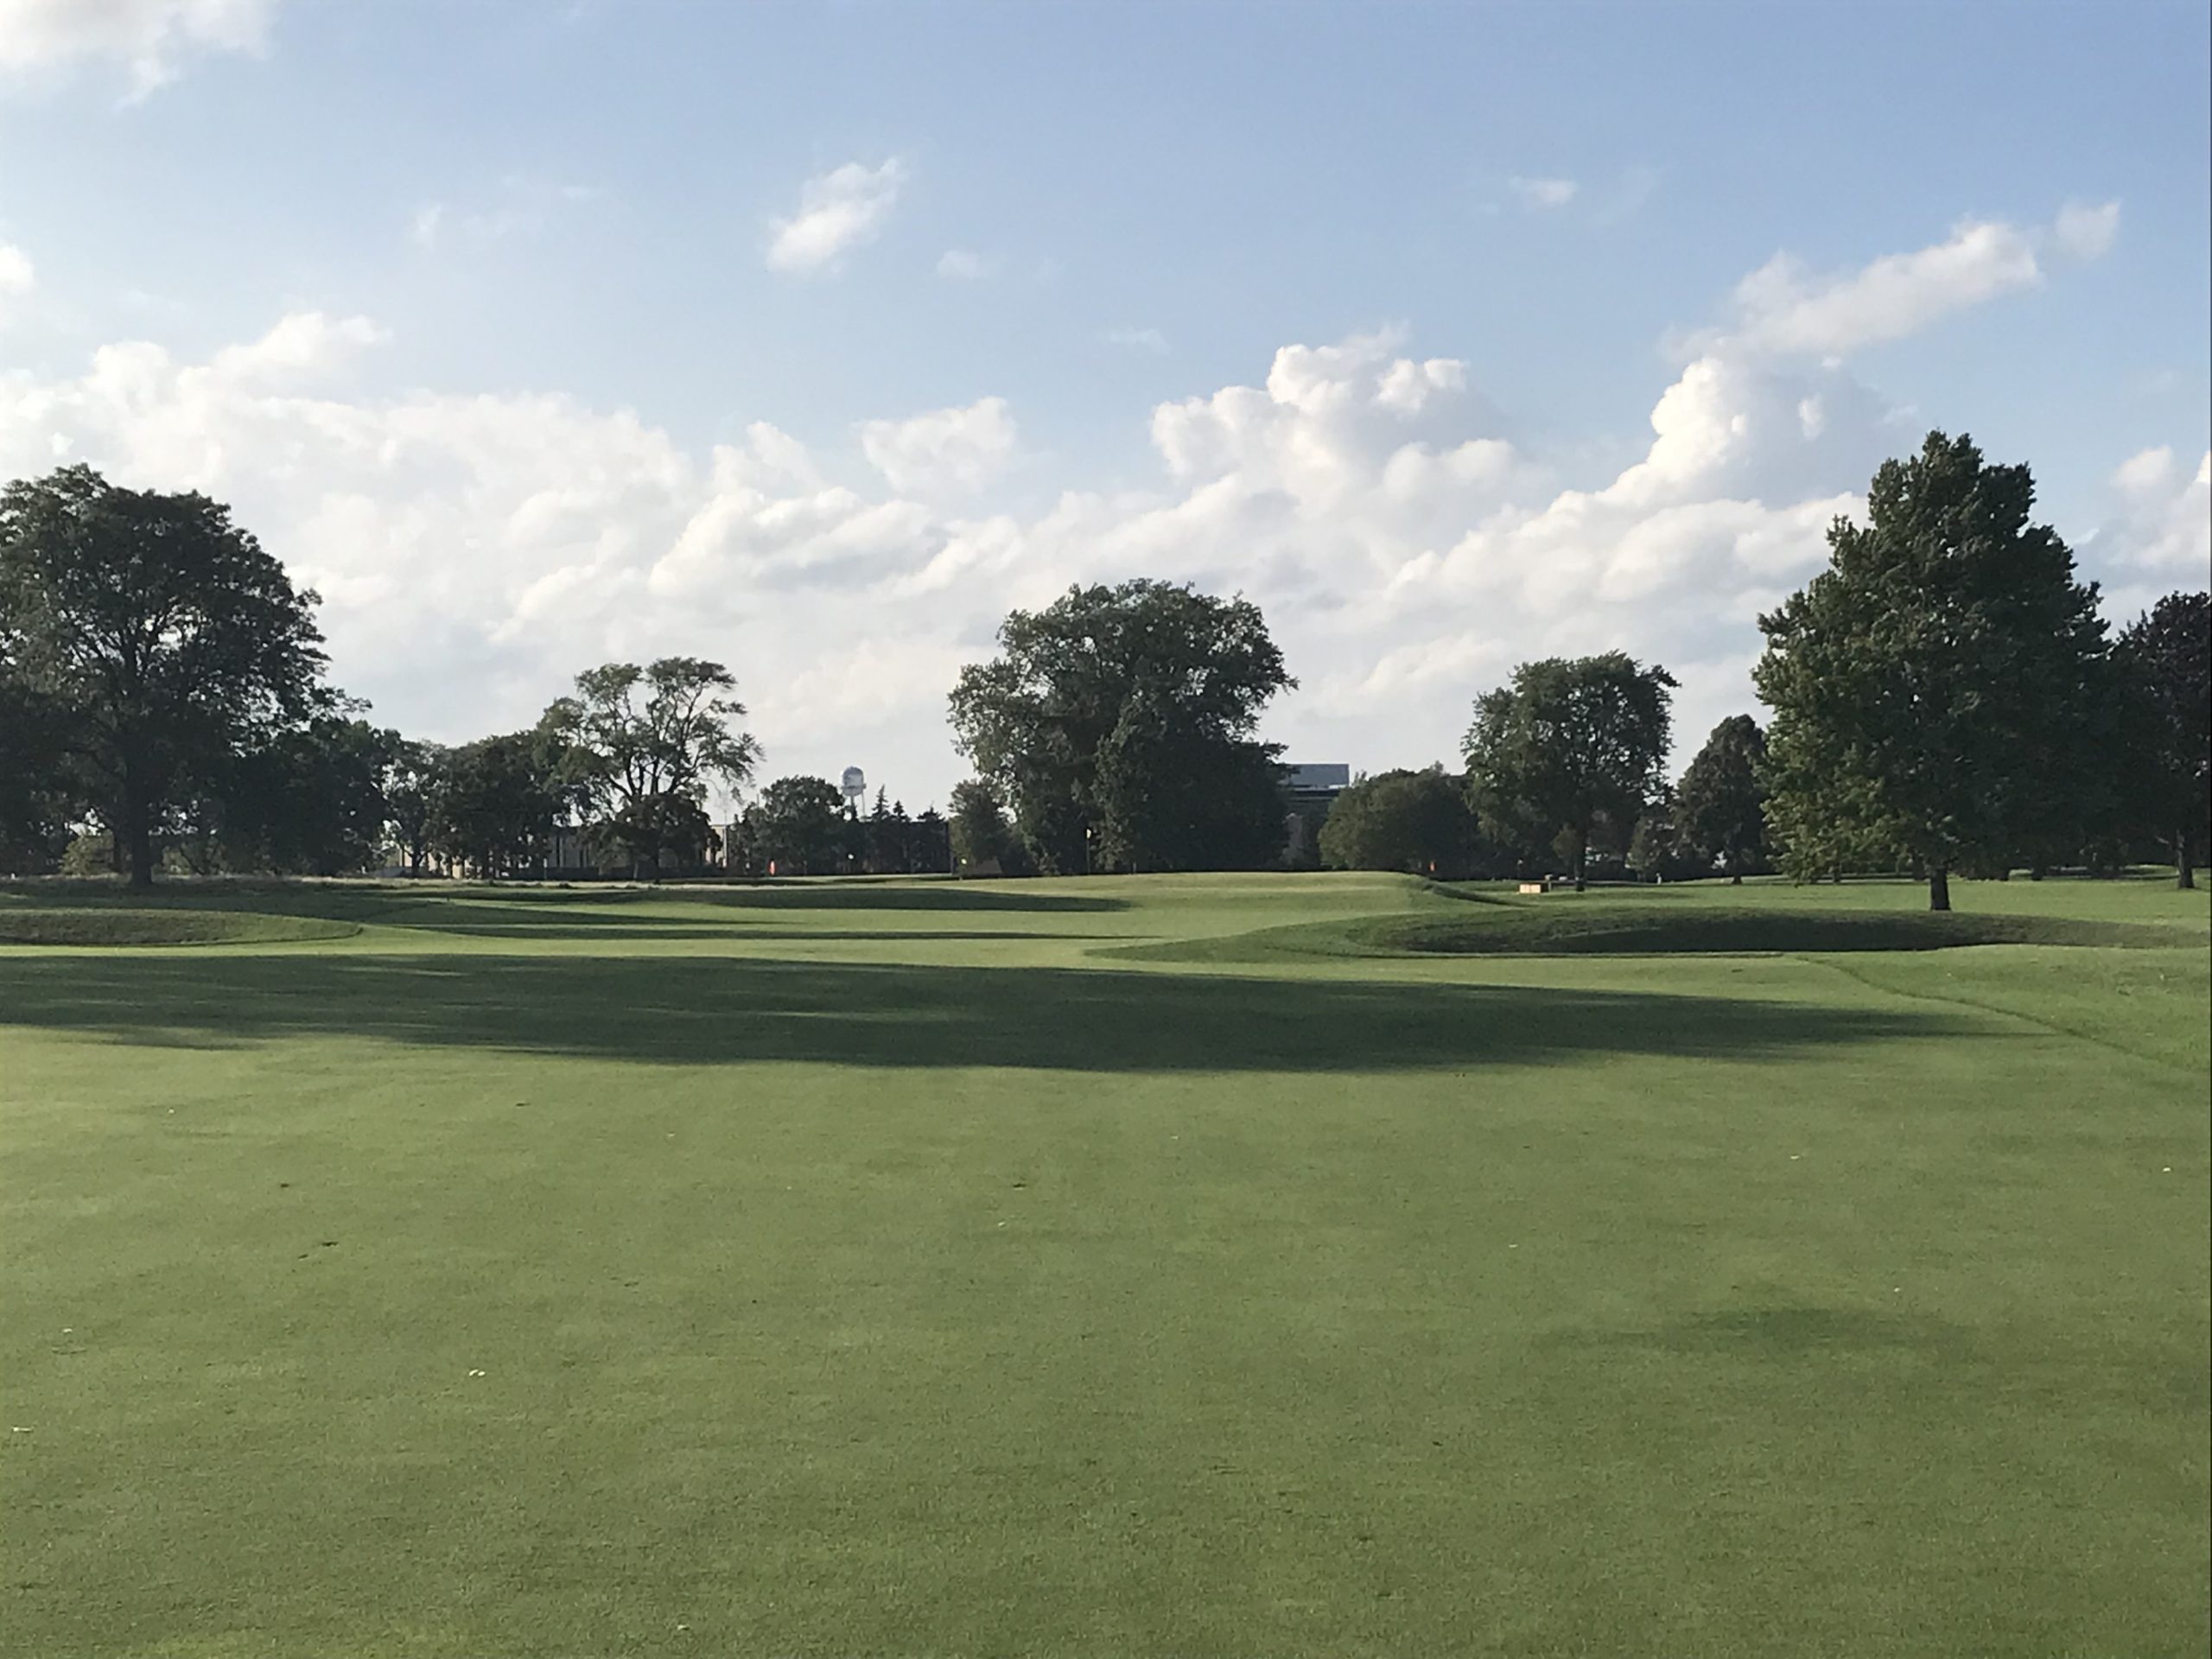
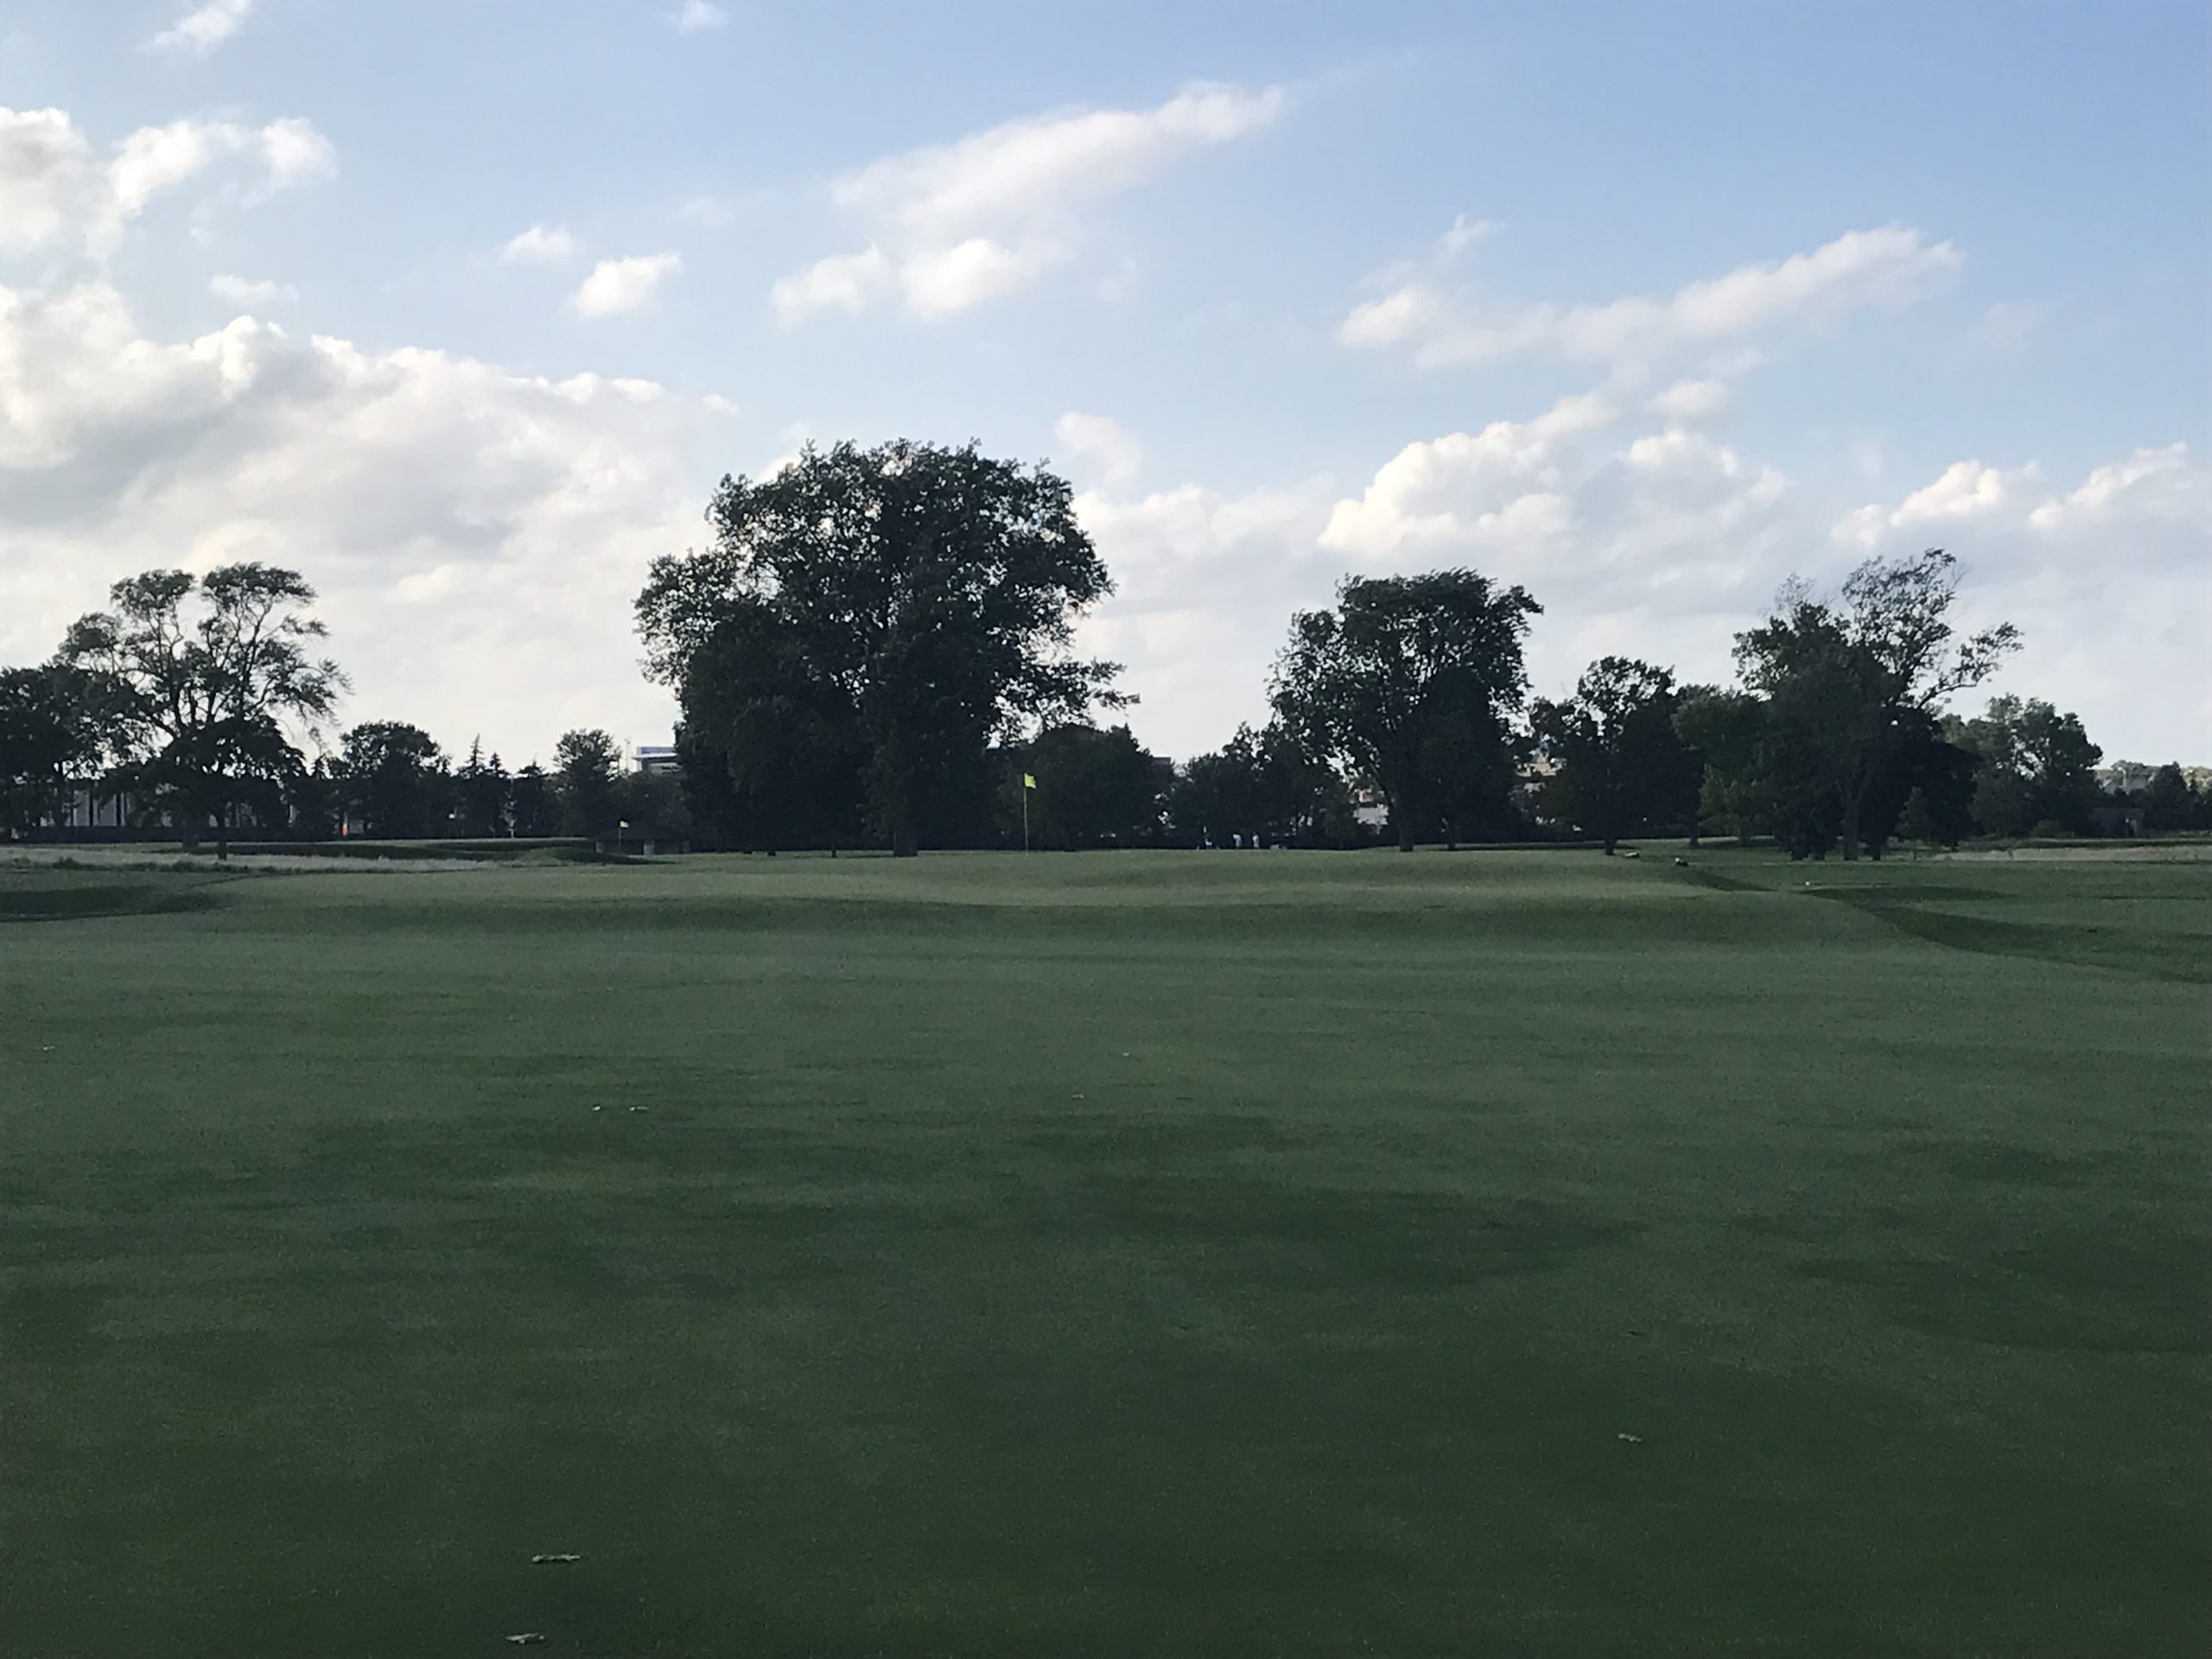
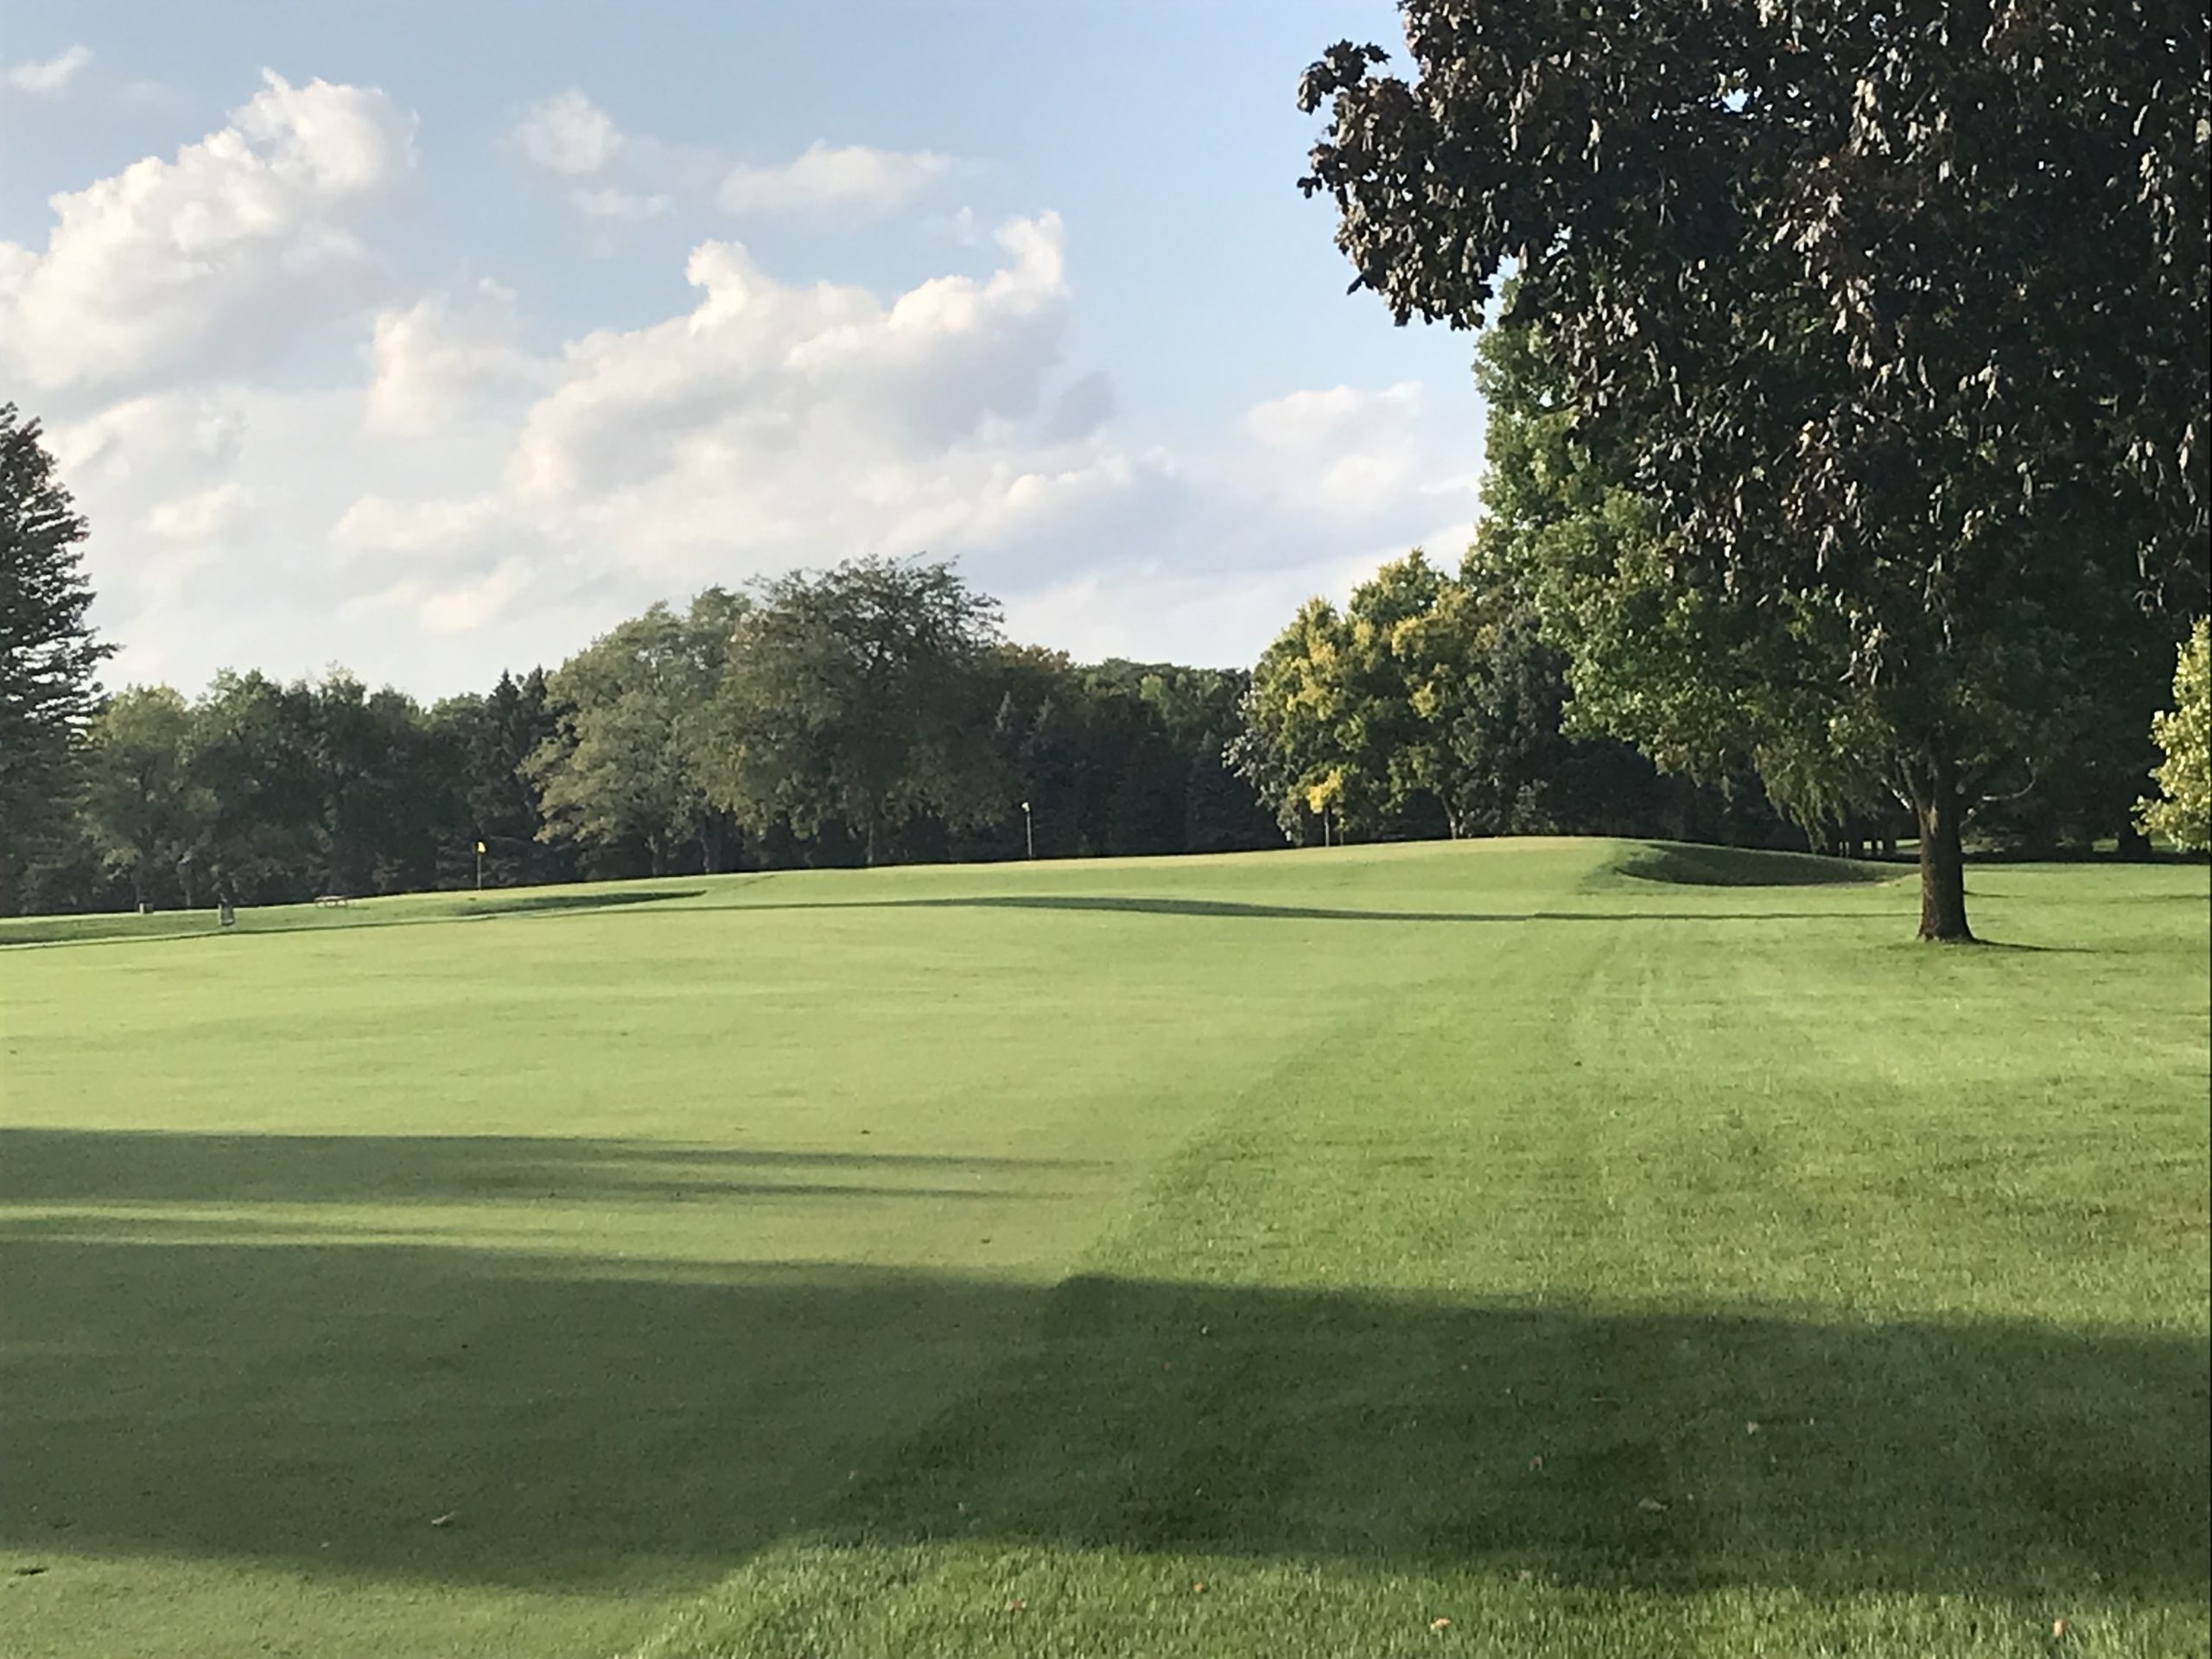
Hole 10 – 430 yards – Par 4 – Prize
While Raynor didn’t have the most dynamic piece of land for Blue Mound, he did a lot with it. This hole is a good example of that. The majority of it is flat, but it’s interesting due to the challenging green, both on the approach and putts.
Hole 11 – 348 yards – Par 4 – Cape
The tee shot is straightforward here and I wouldn’t have know this was a cape hole if not for the scorecard.
We got one of the easier pins, but any left miss is going to be in trouble. Not to mention the bunkers short and long of the green.
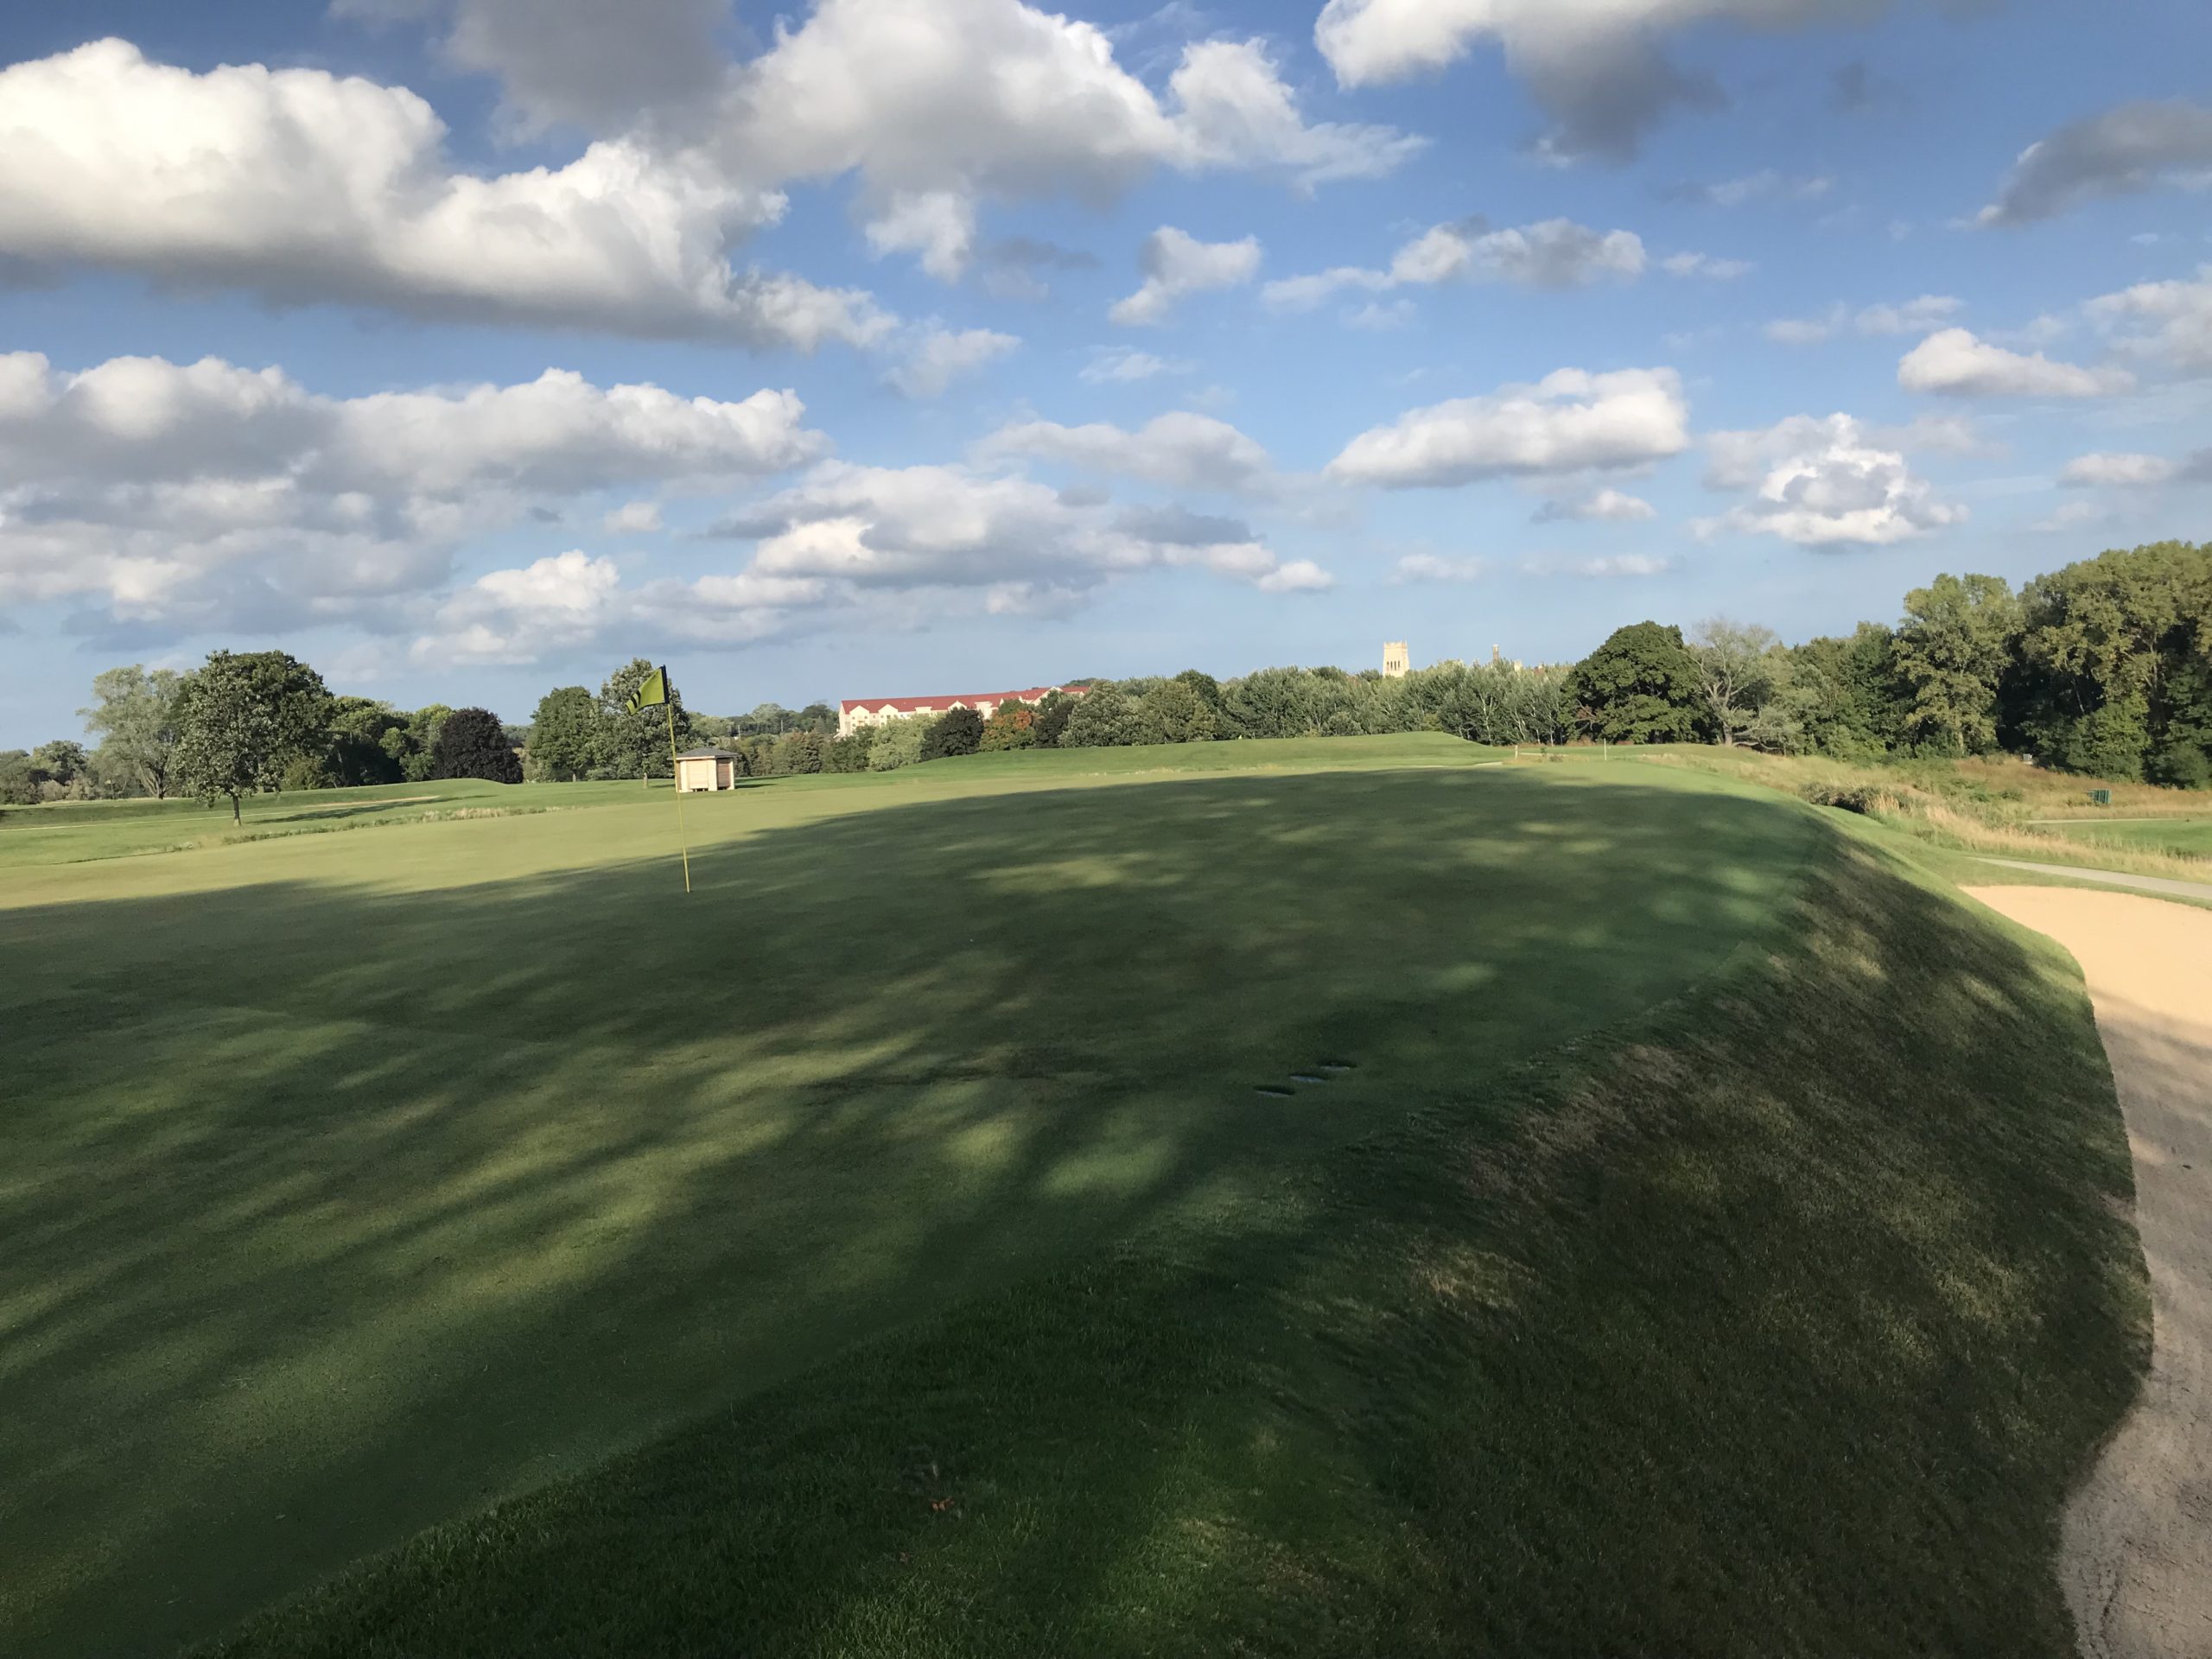
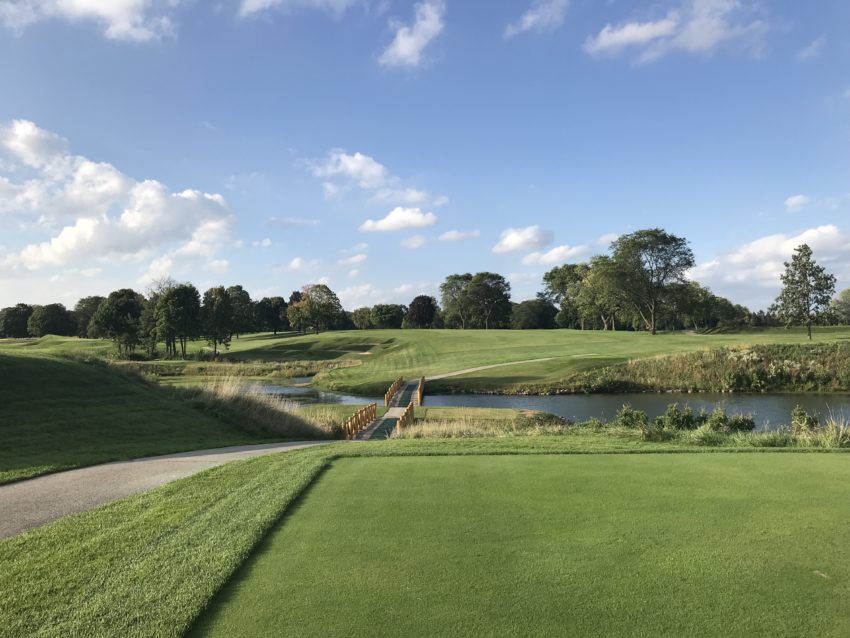
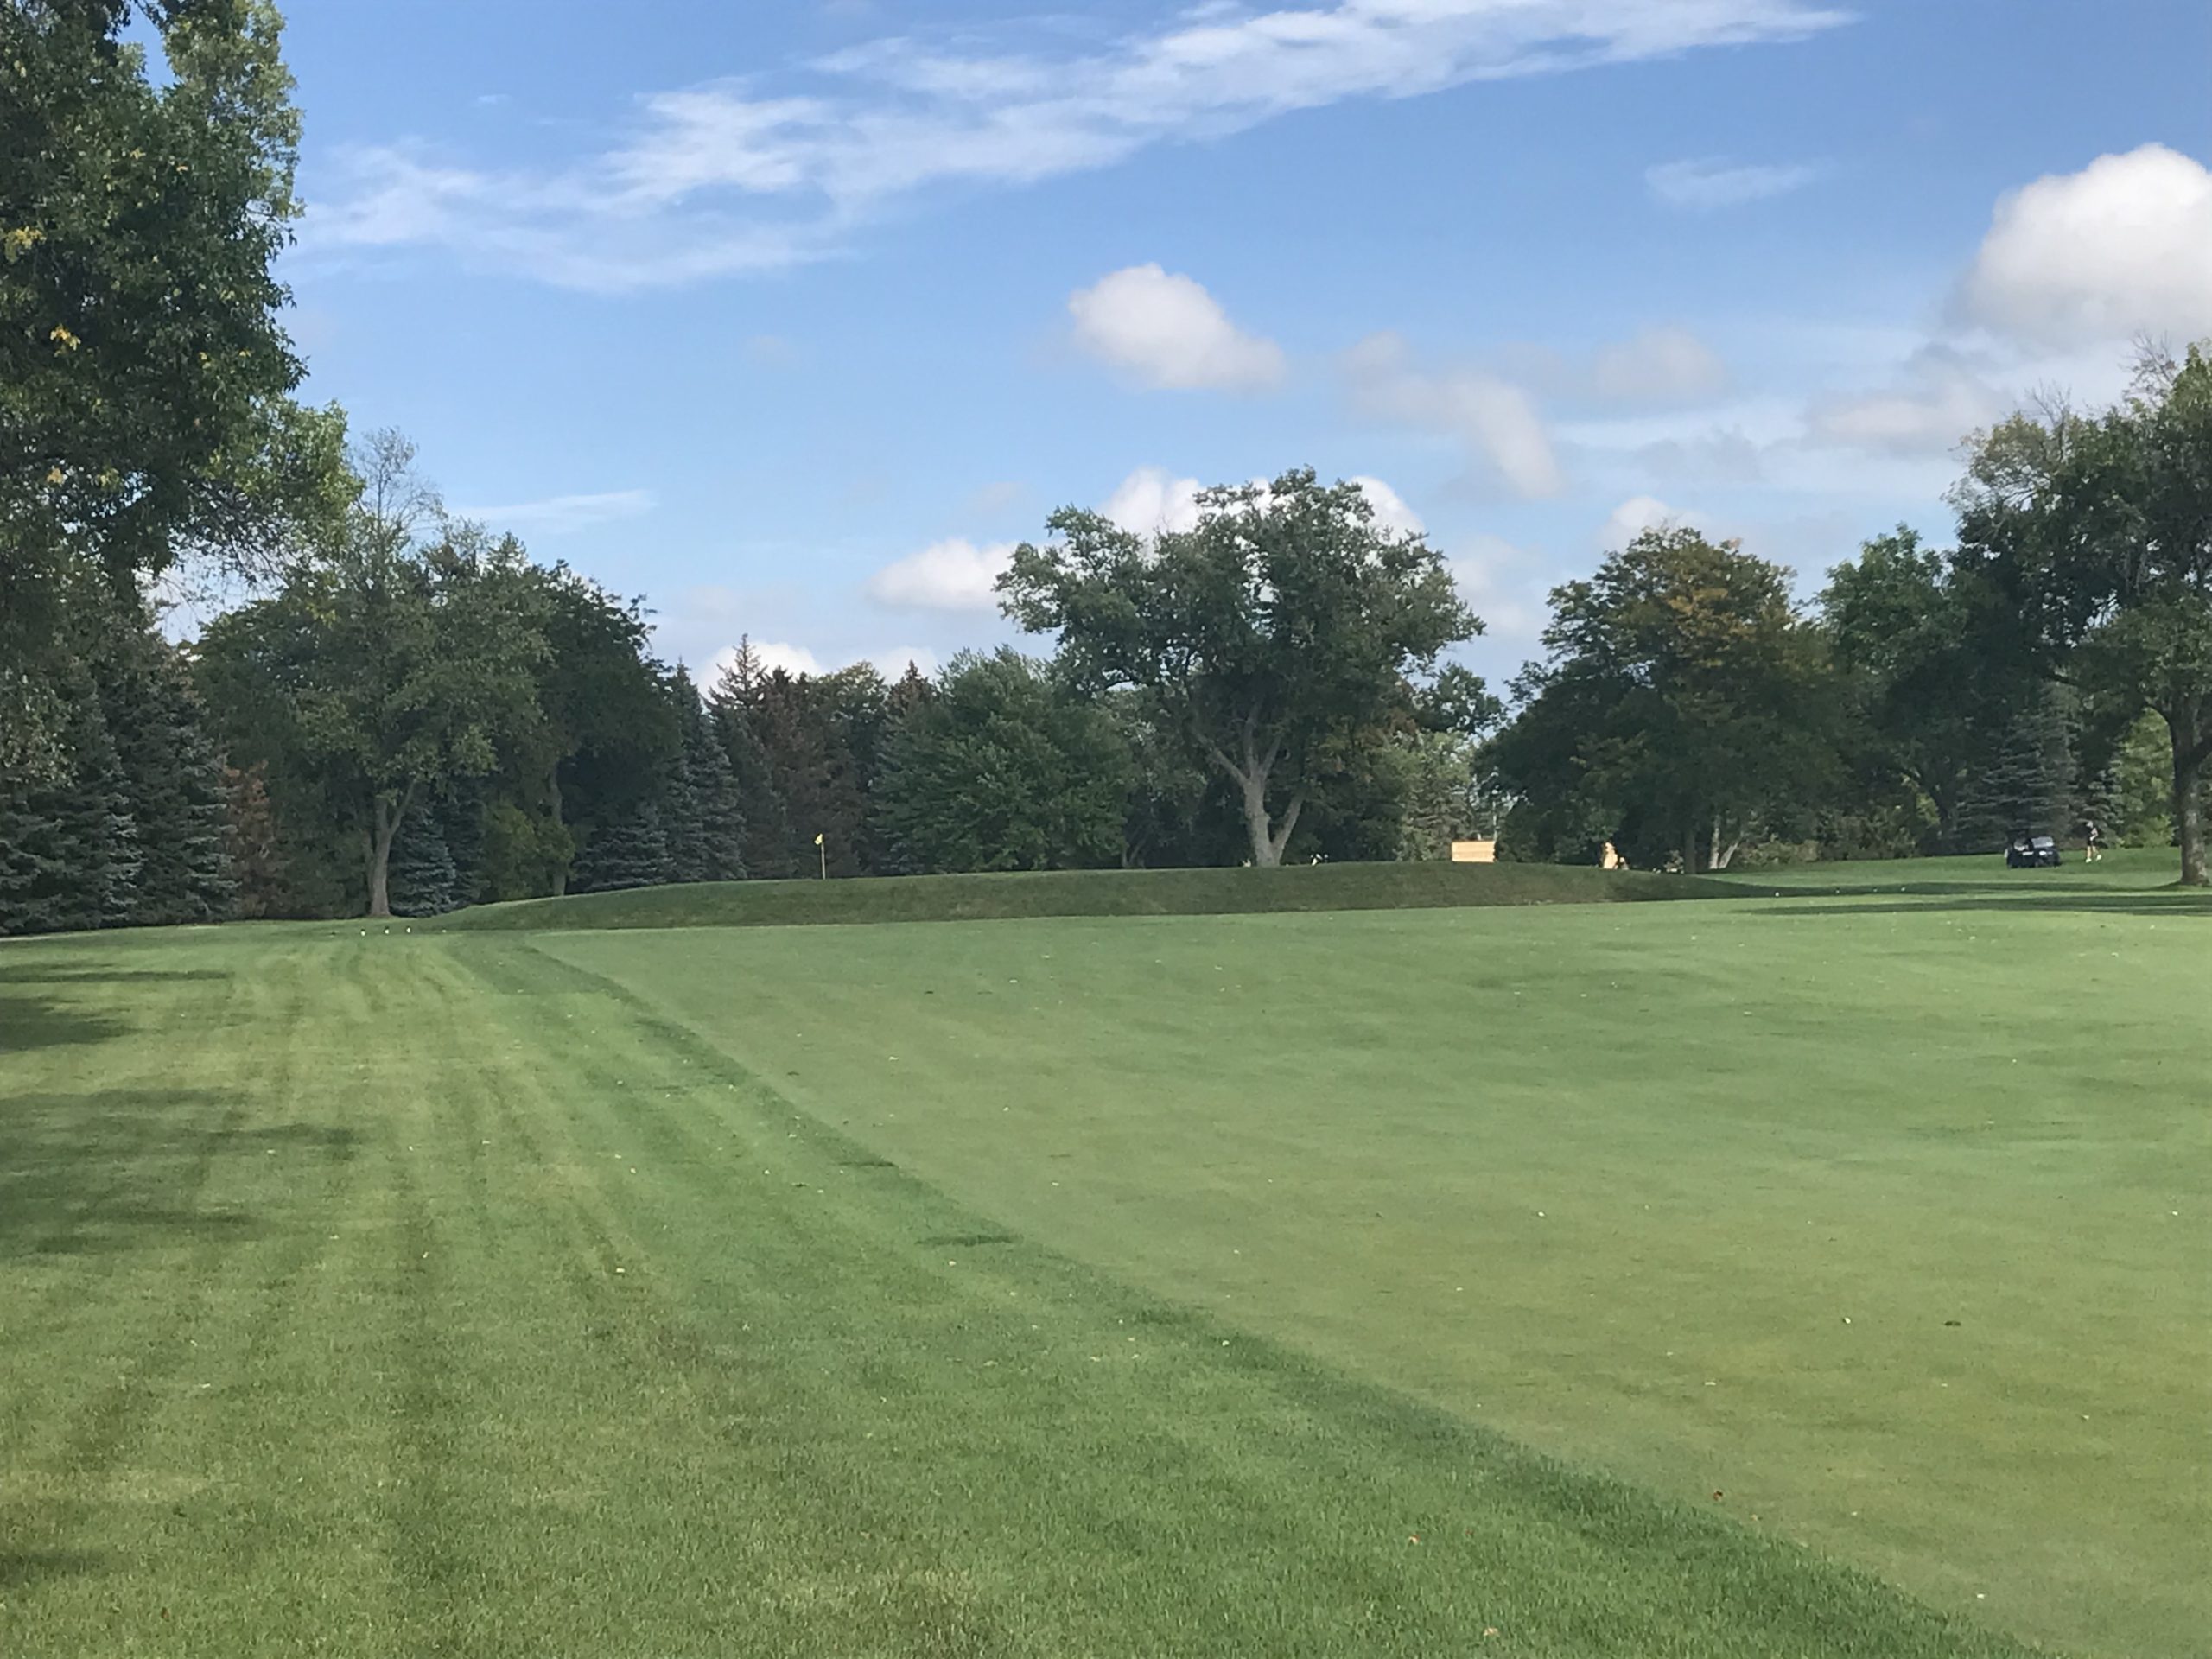
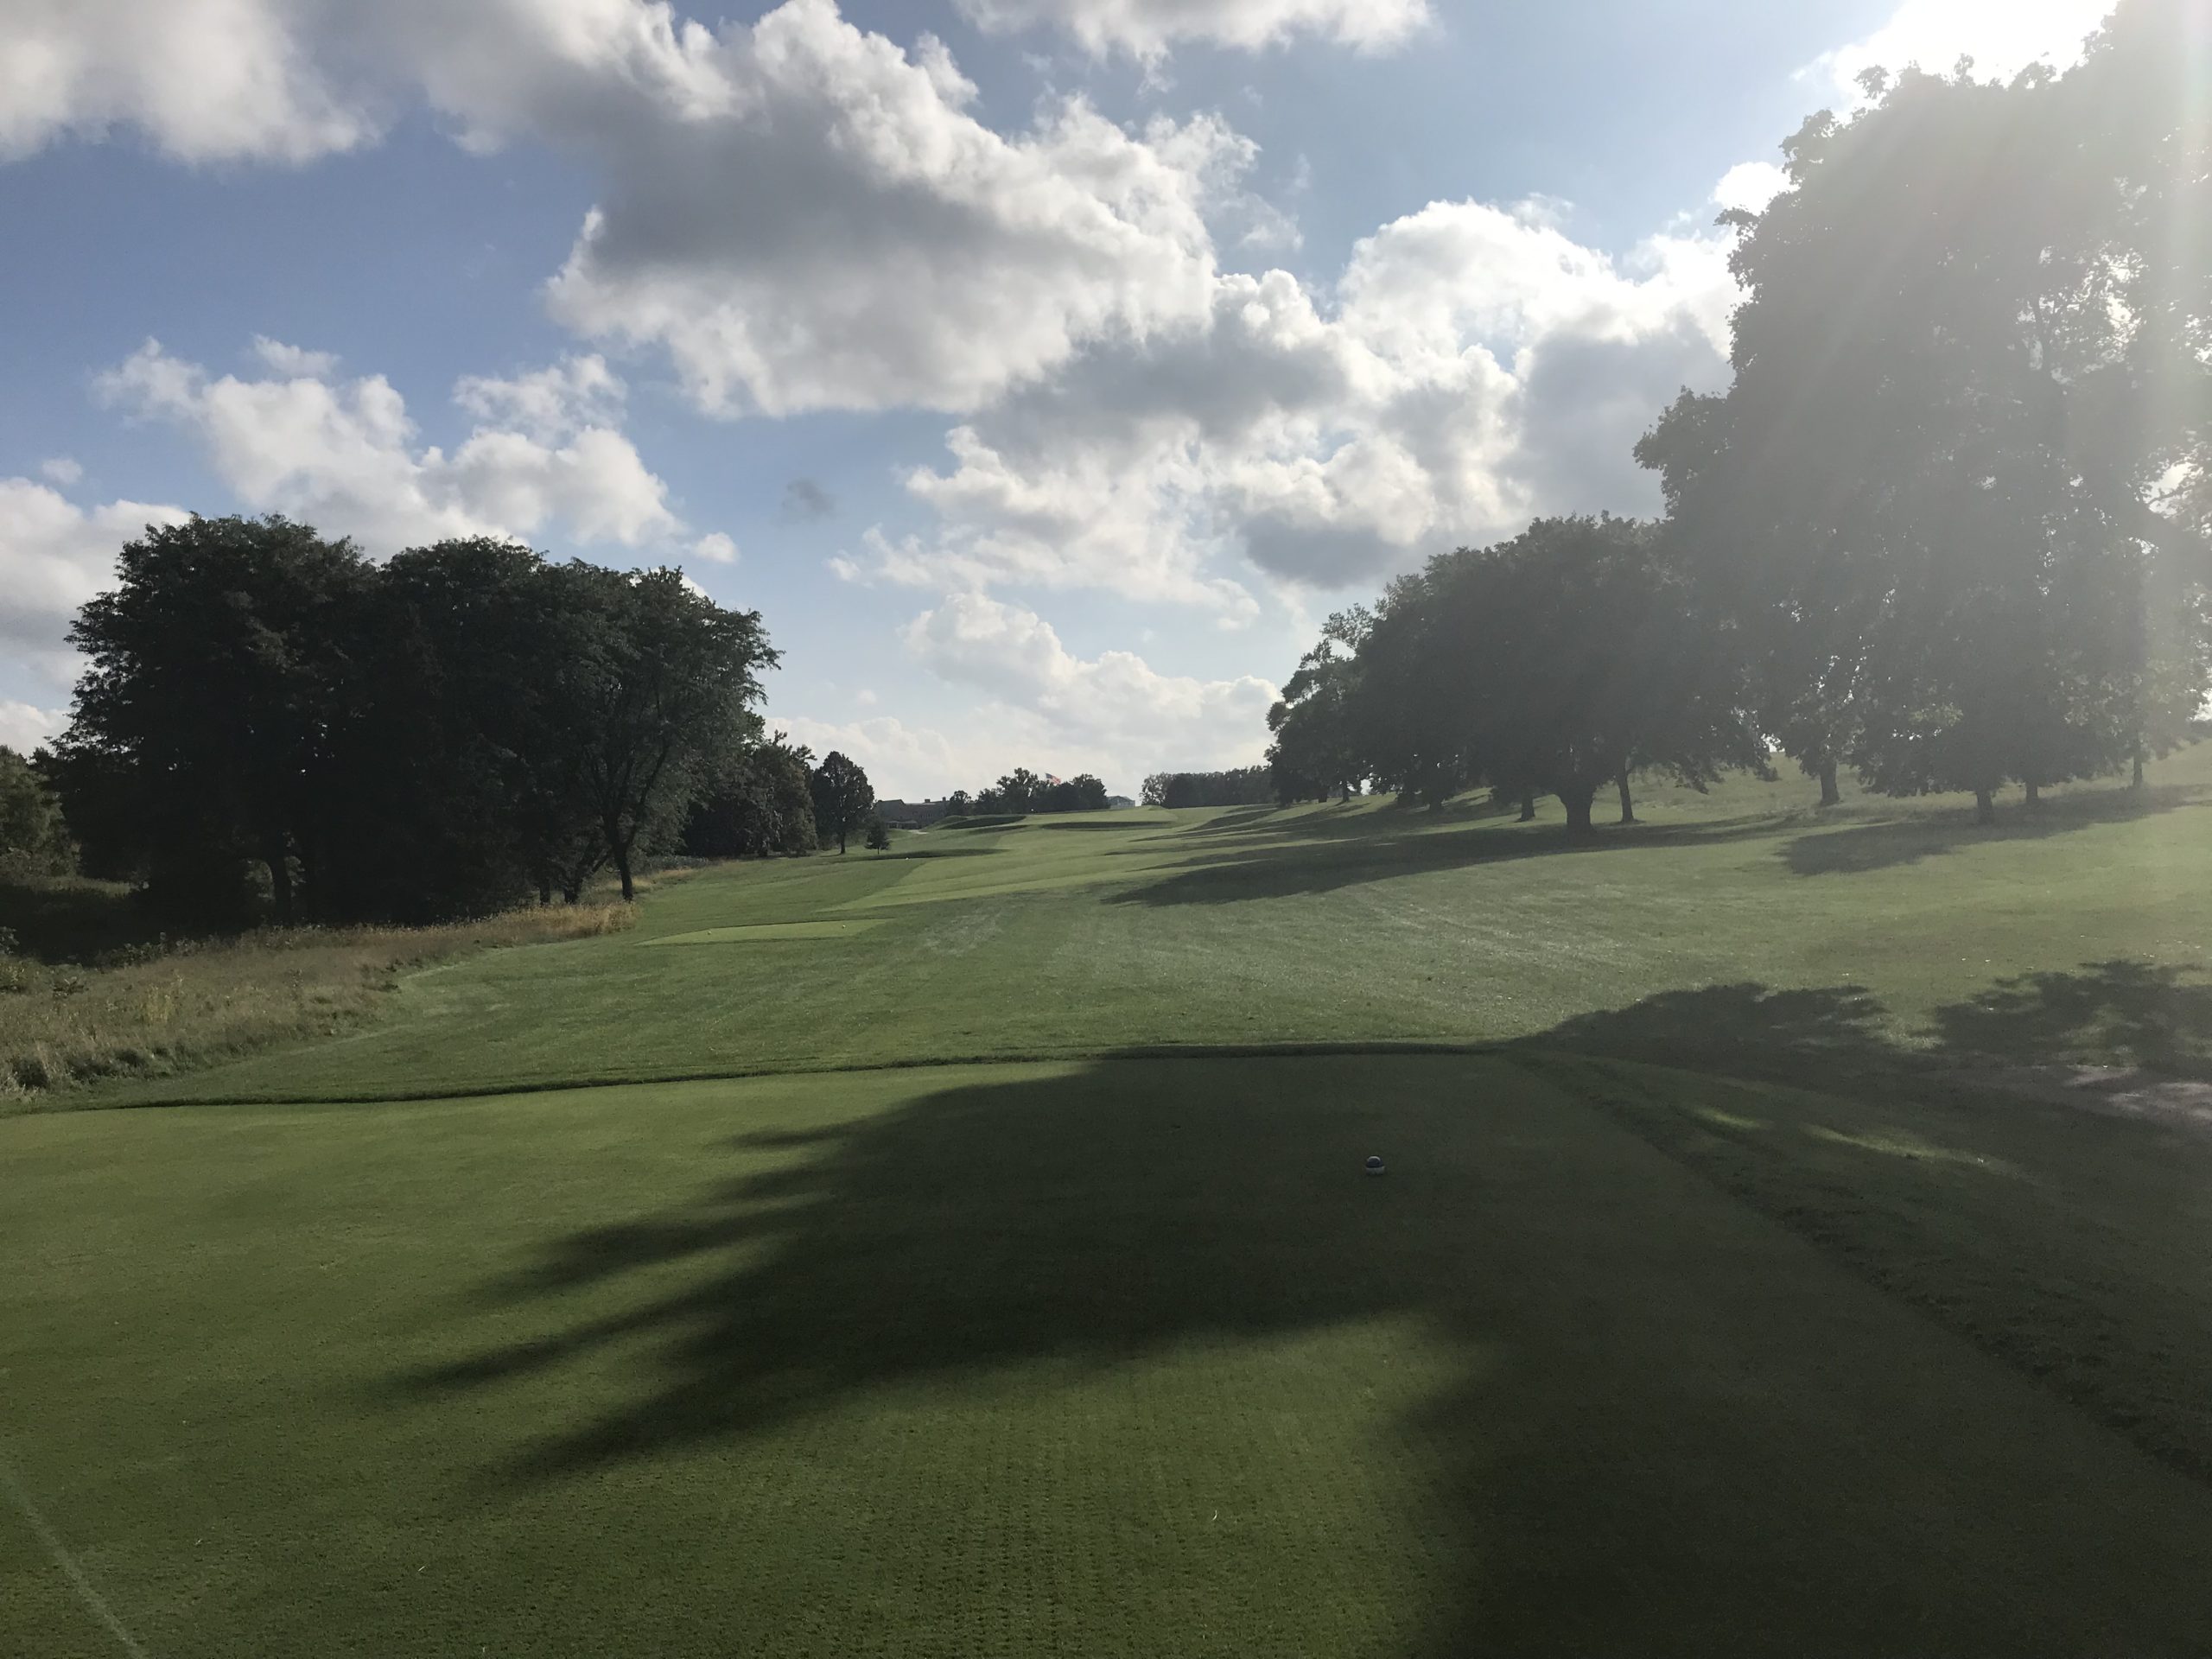
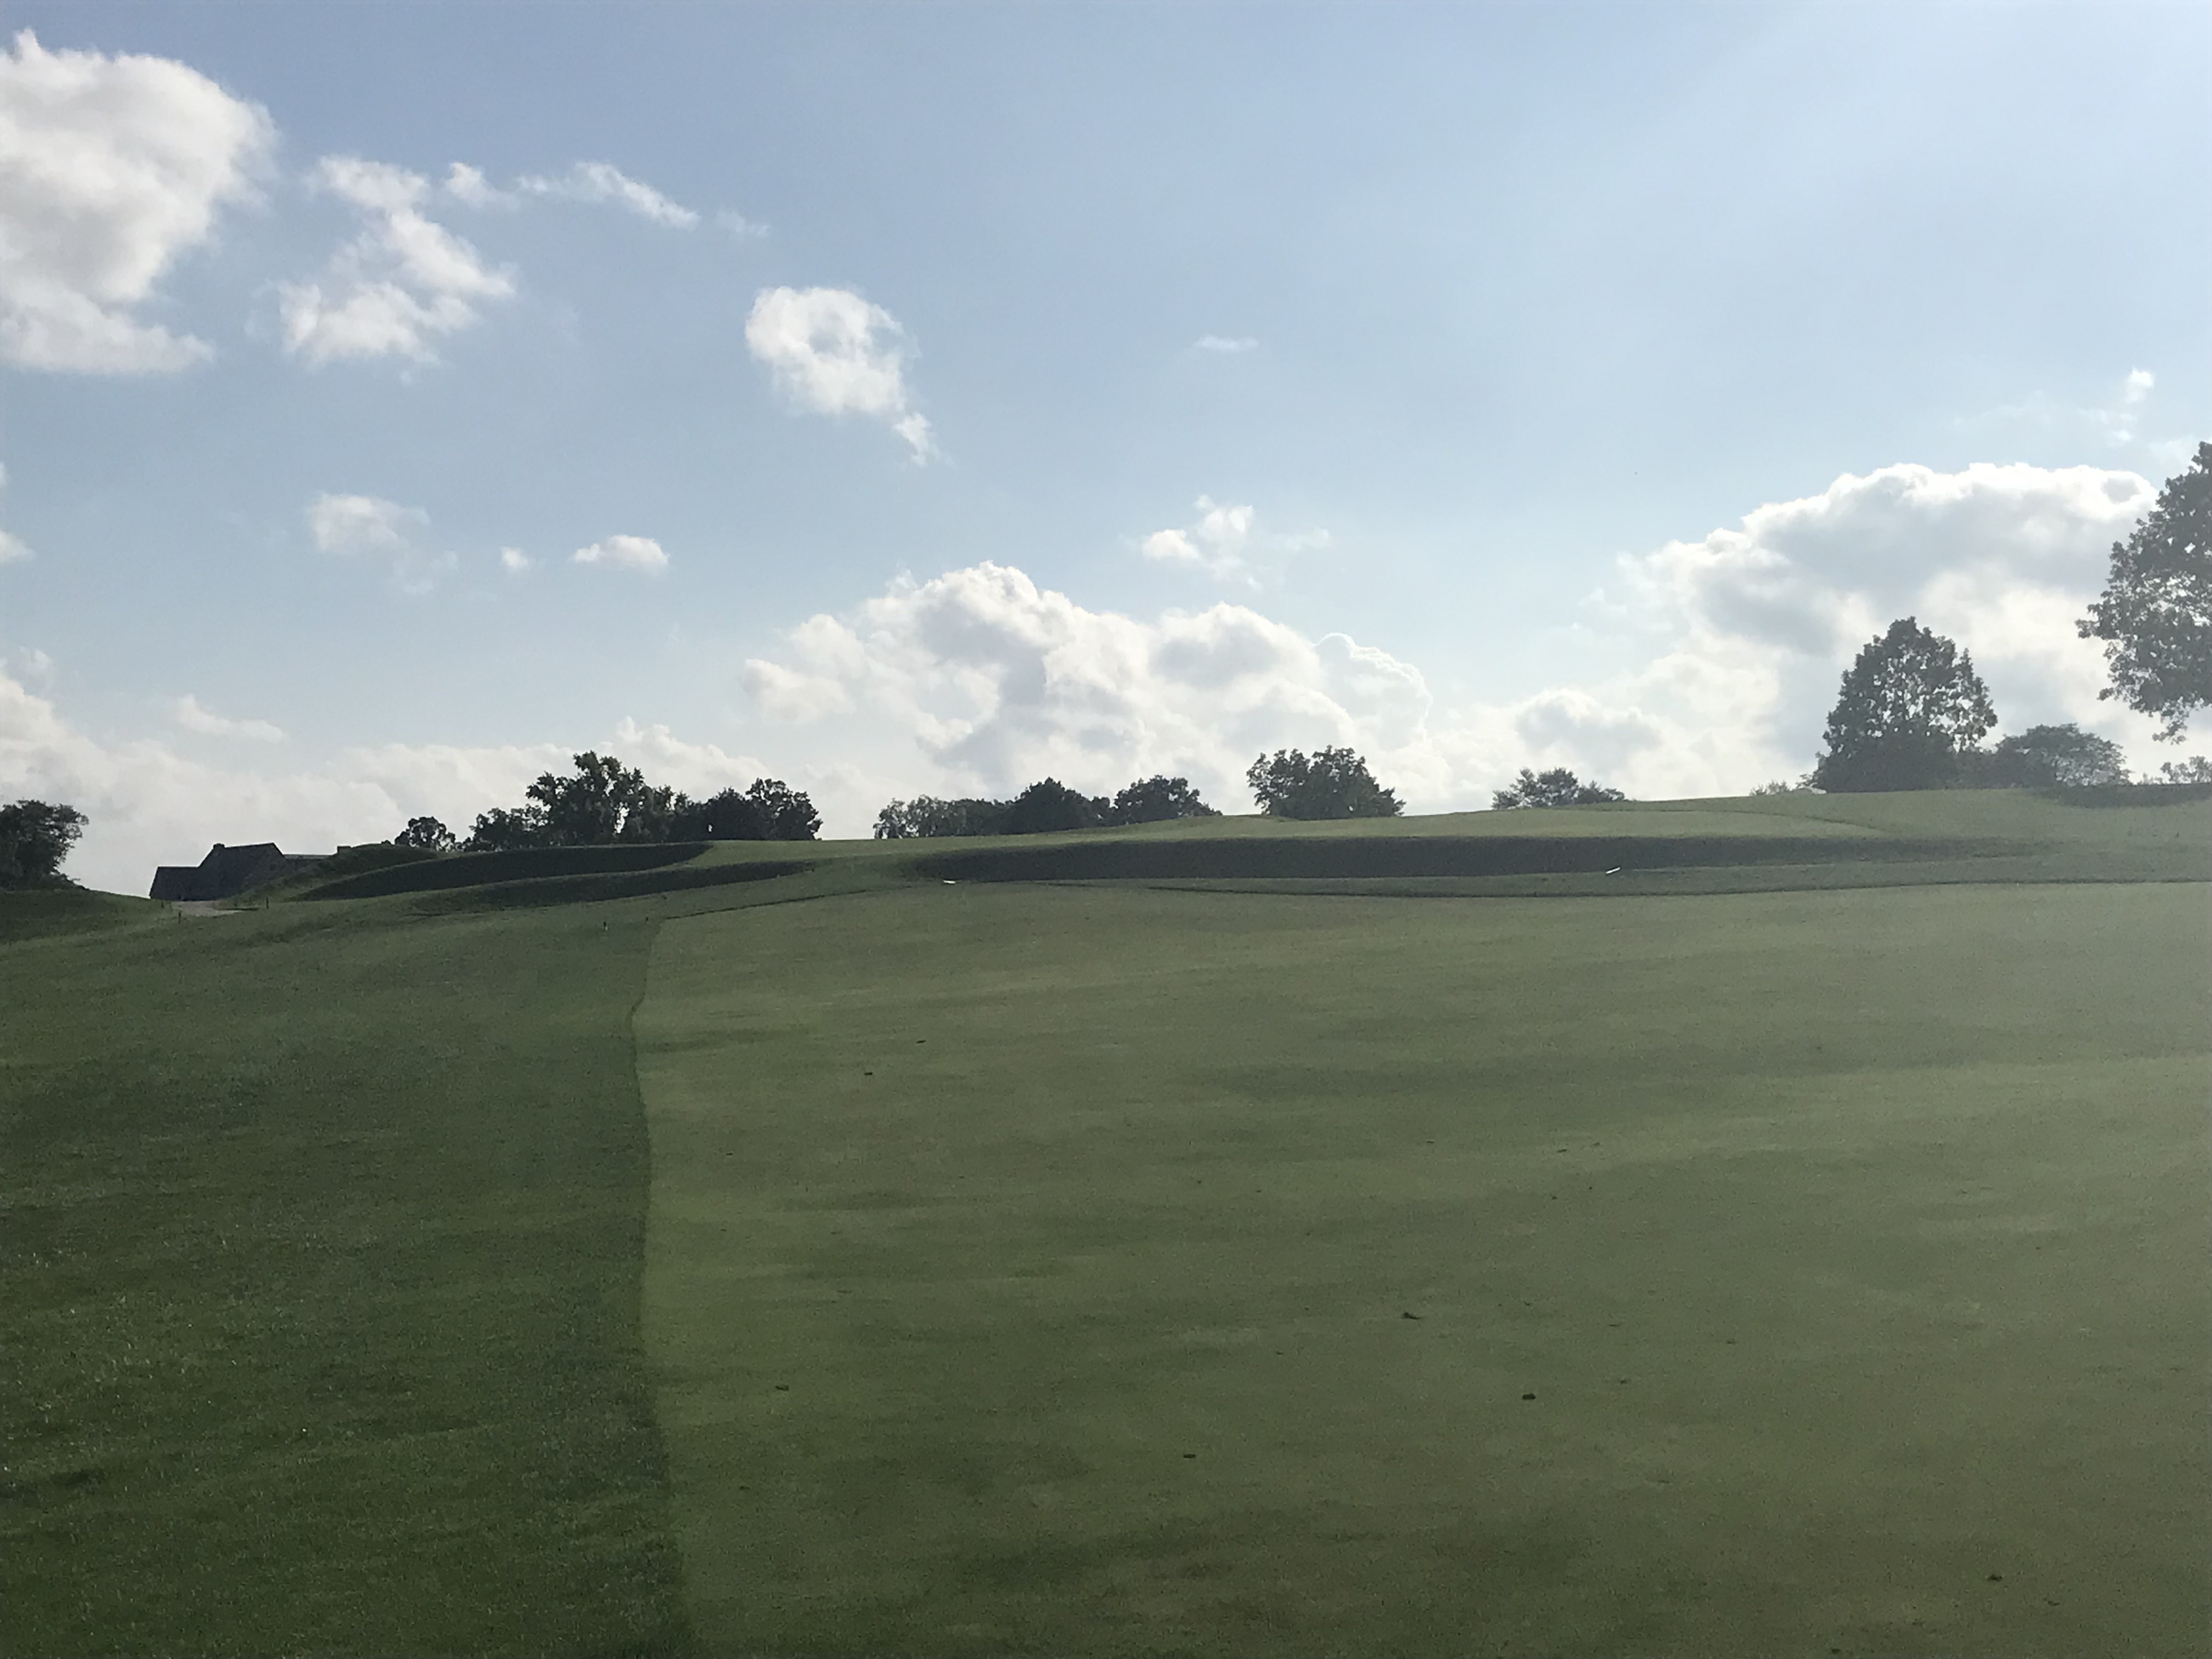
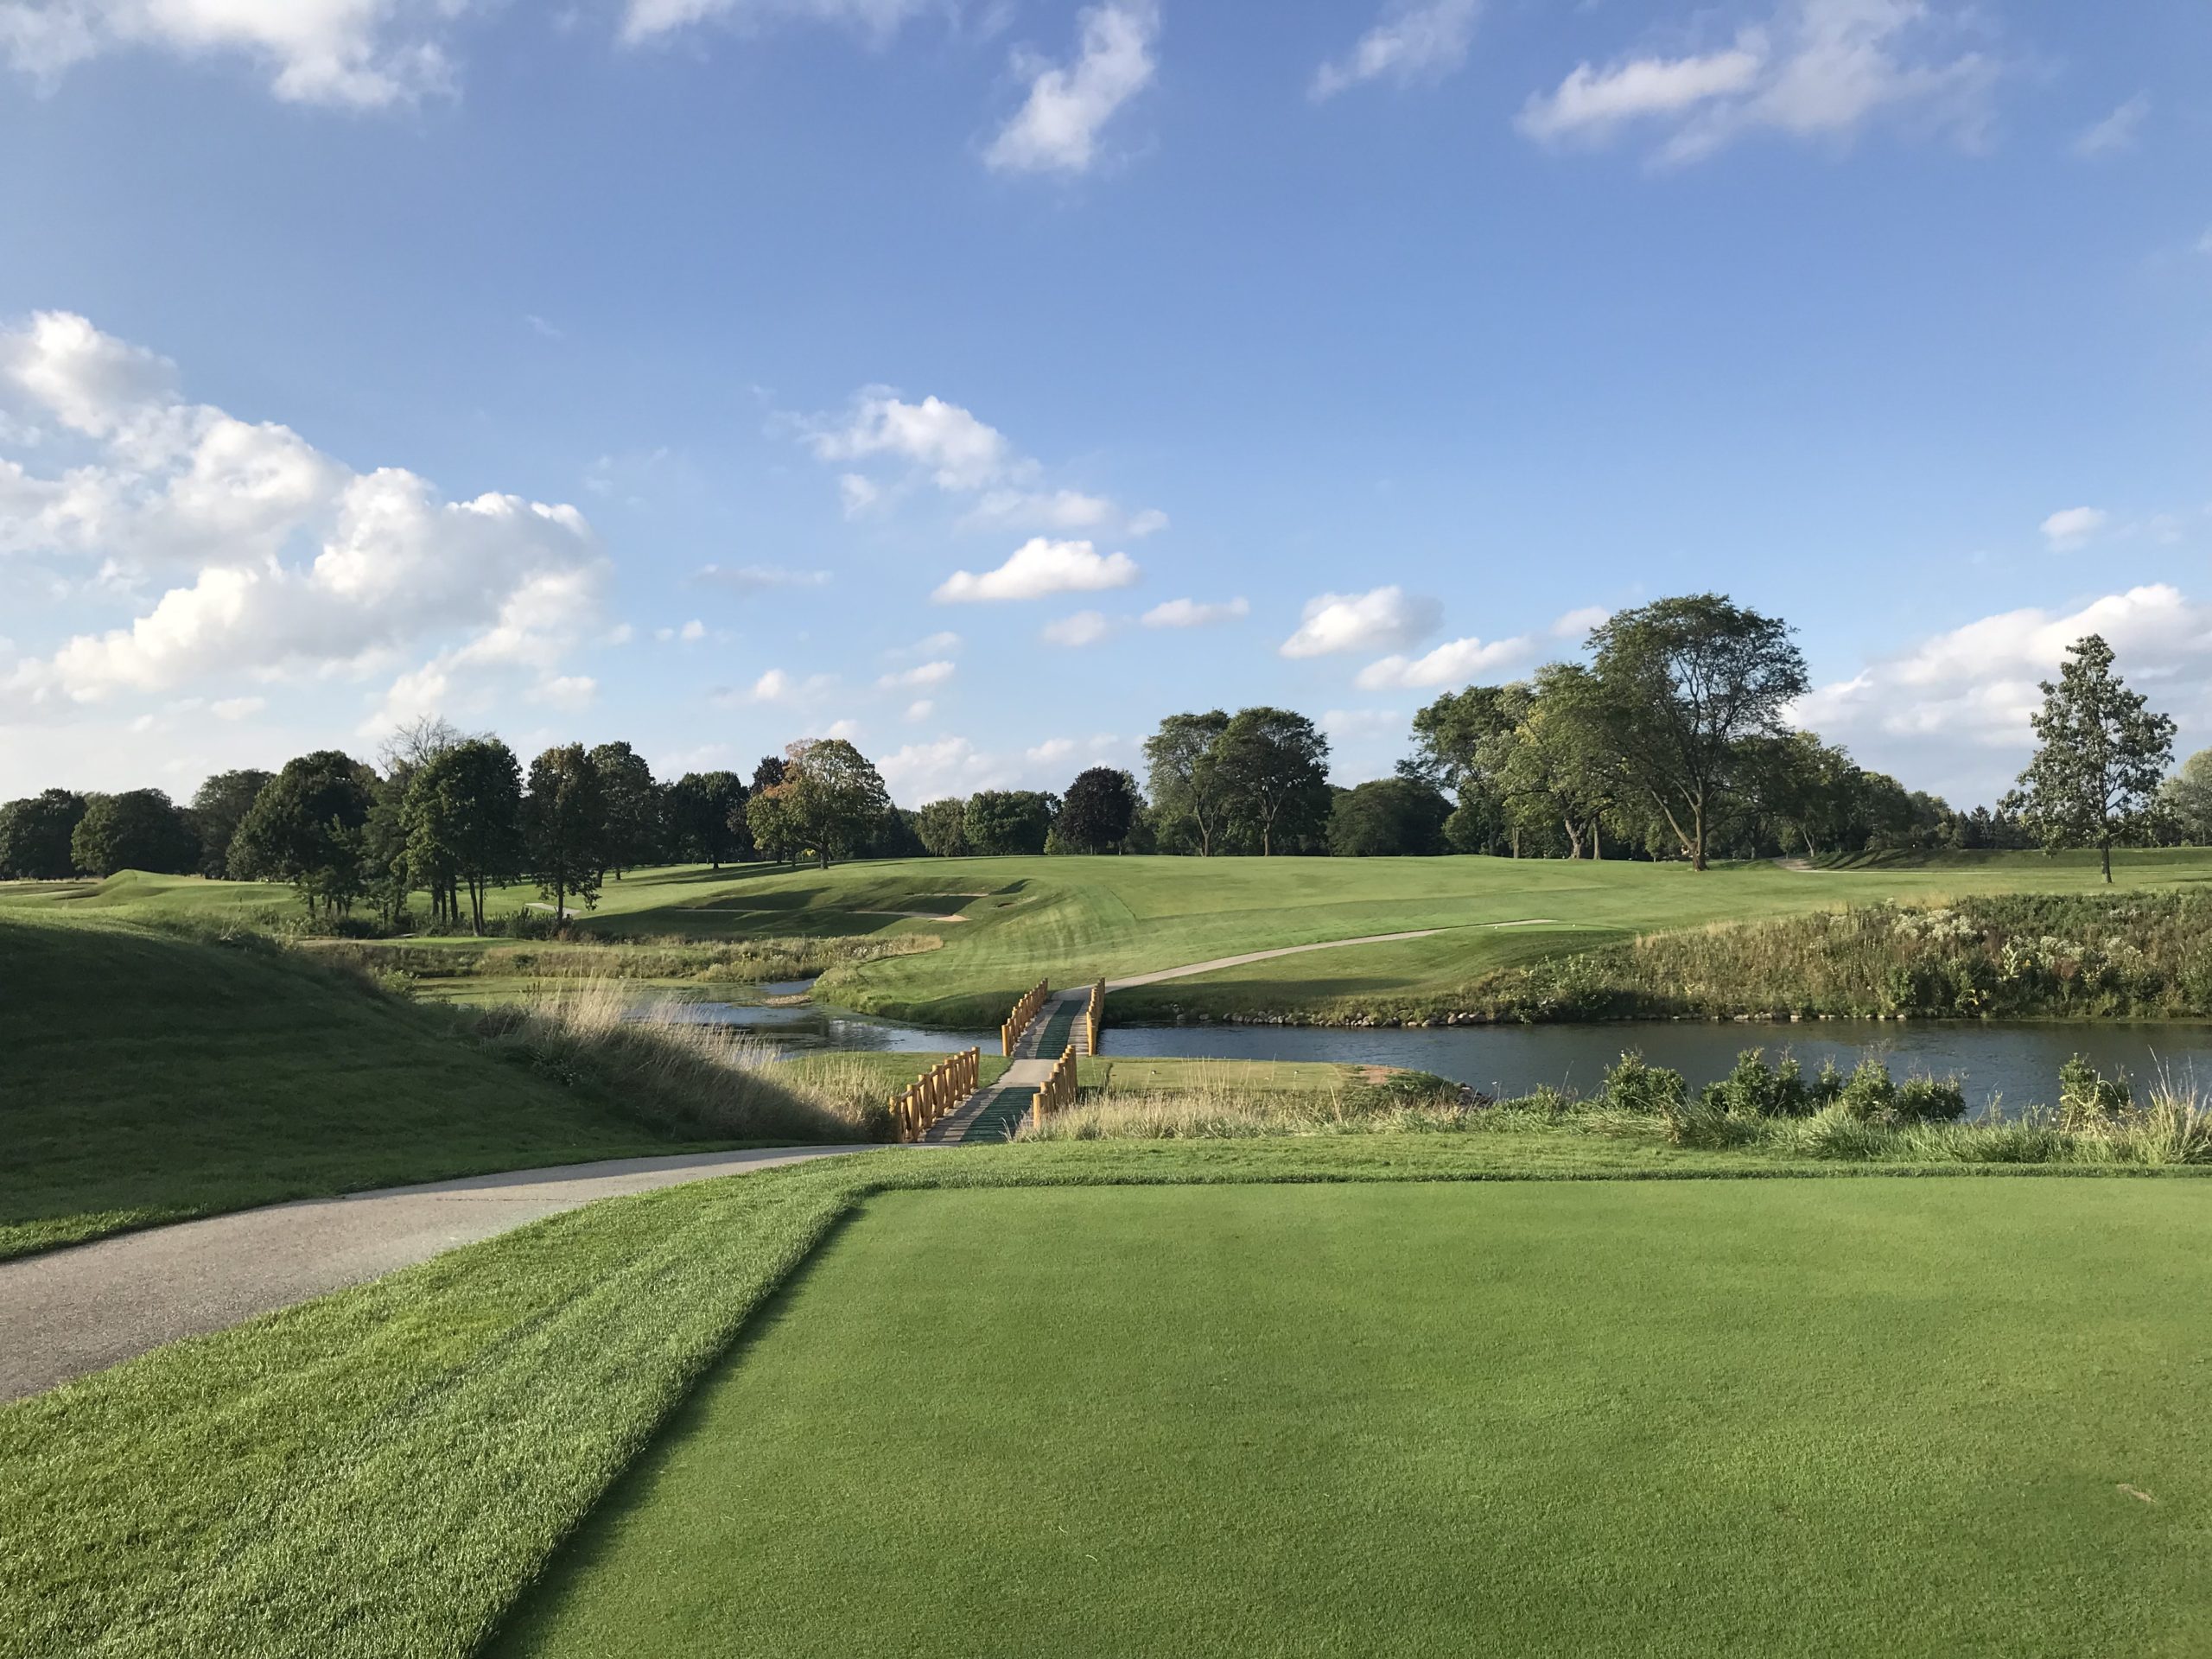
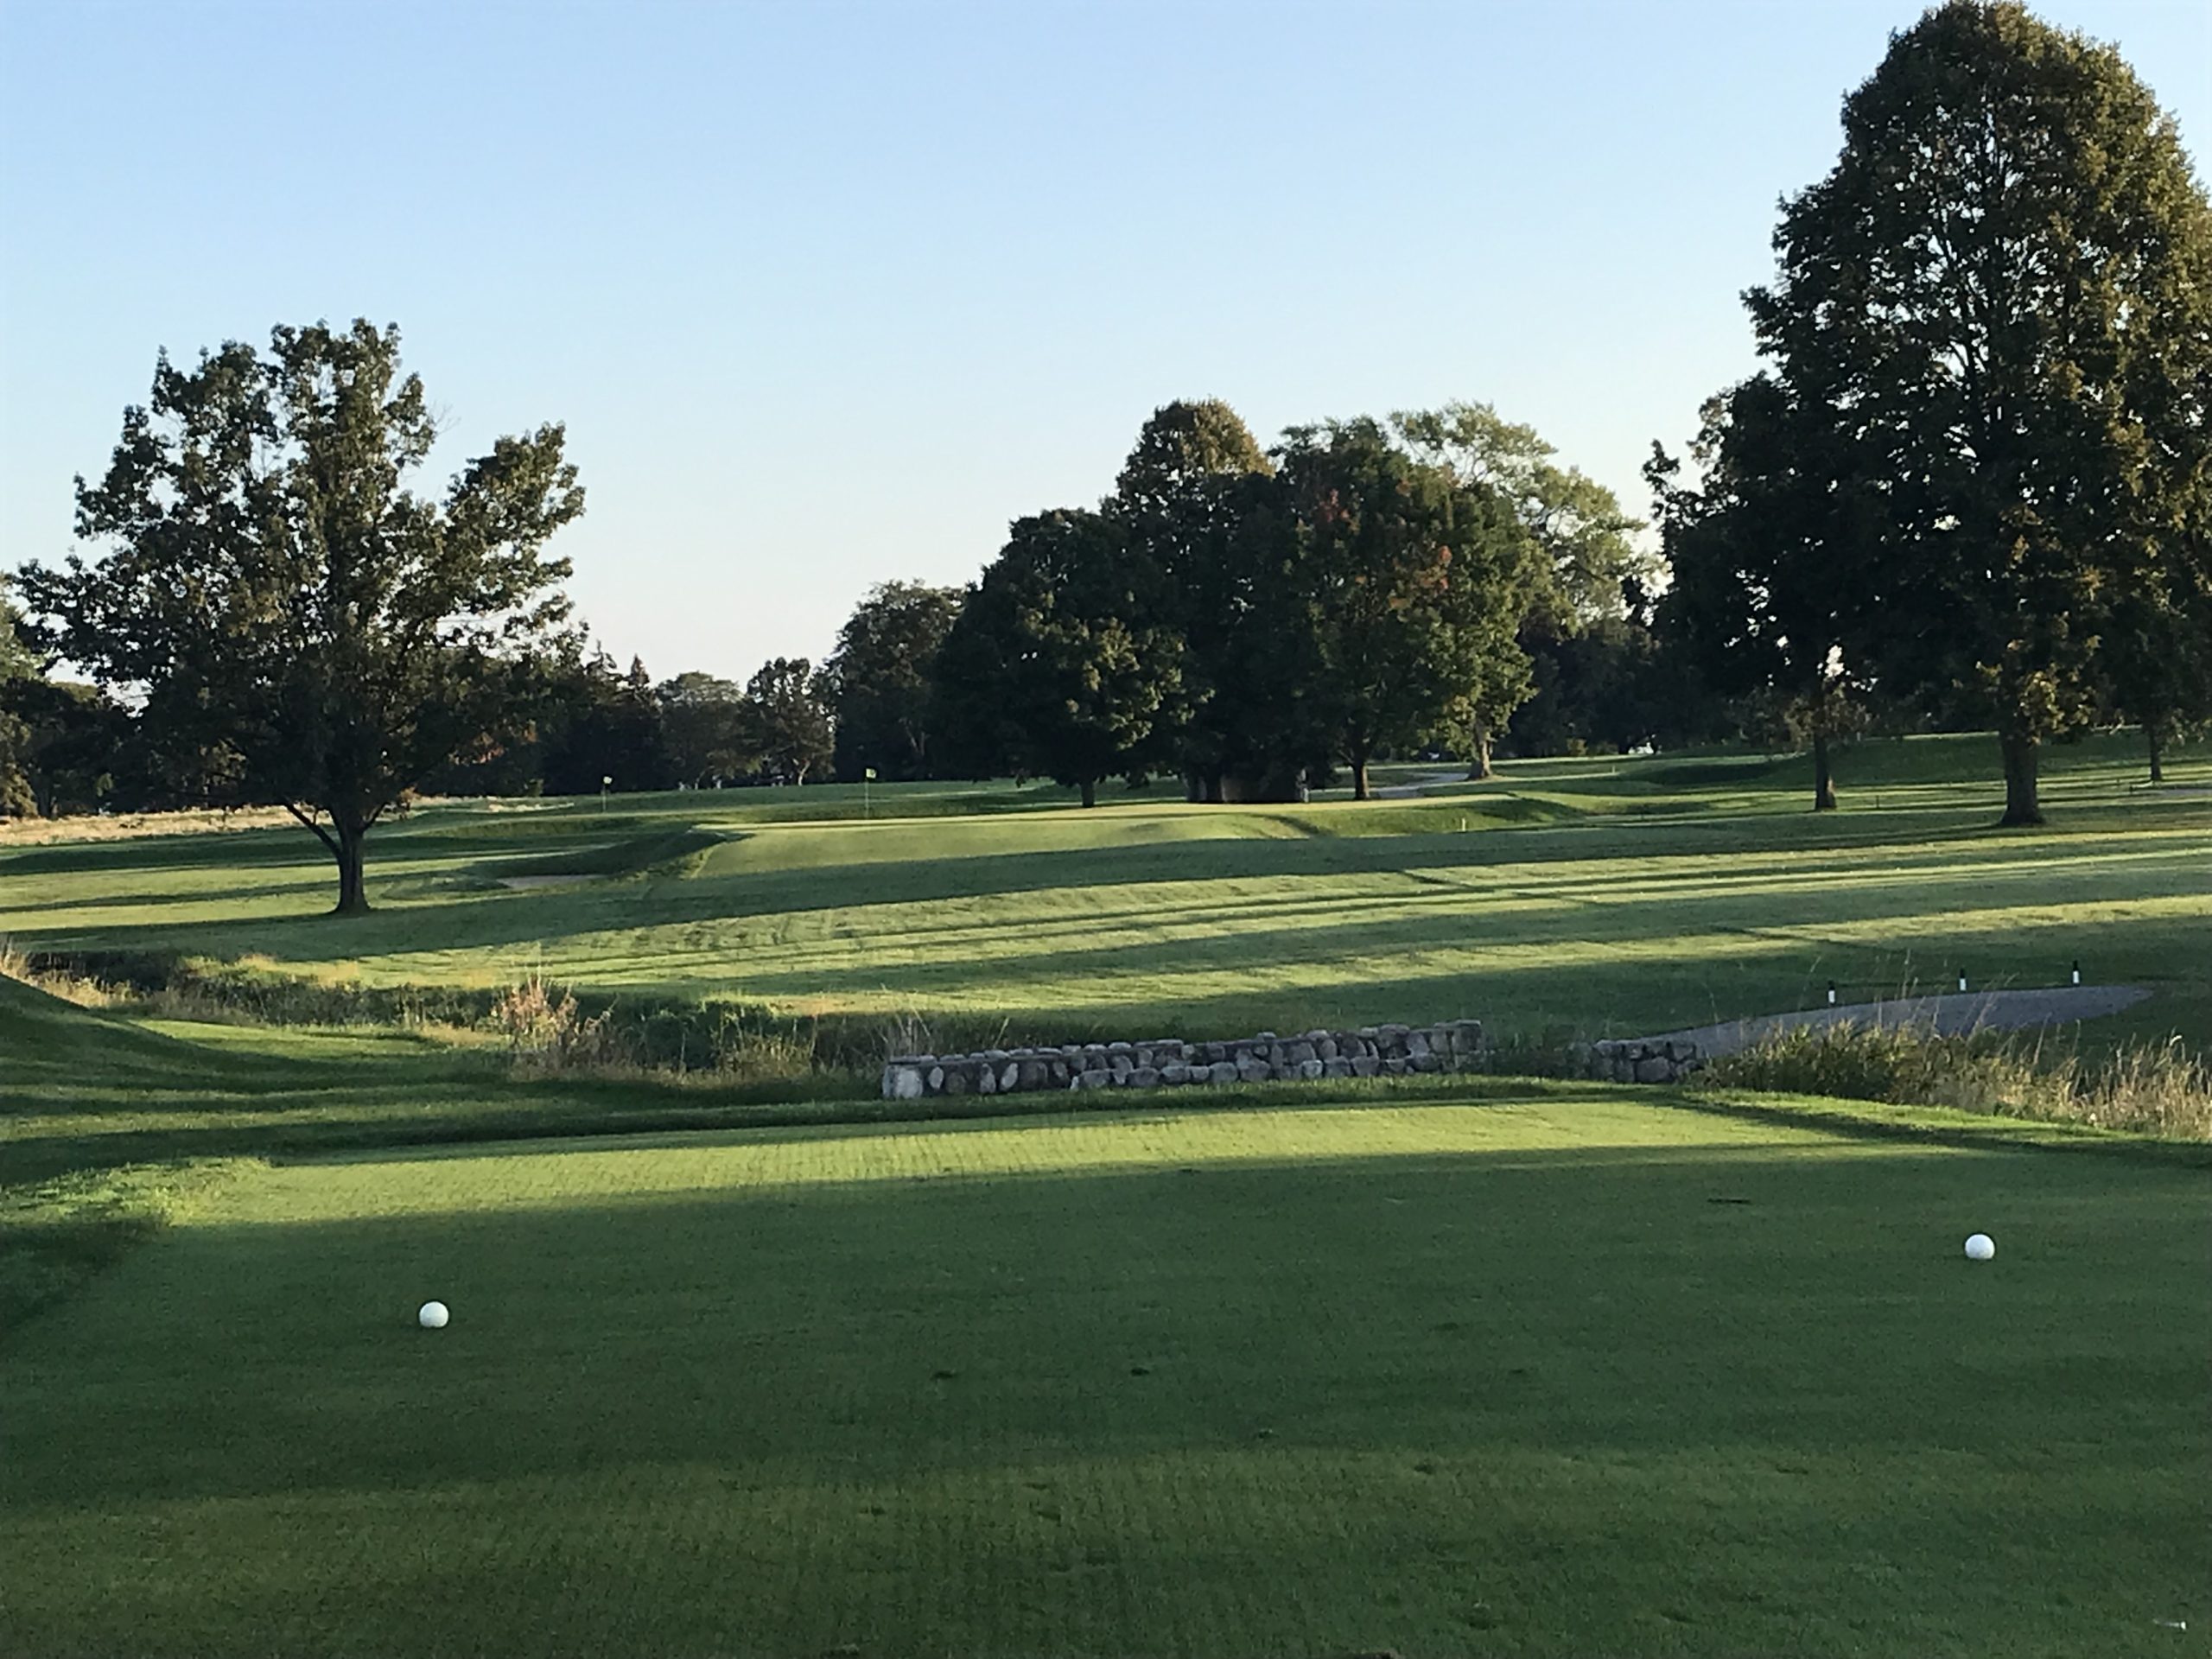
Hole 12 – 440 yards – Par 4 – Hog’s Back
I’m not a photography expert, but I think I did well with this one. I enjoyed the lighting on the bridge and the native grasses.
When you get past that, a good drive up the left is needed. A long second shot is softened by the open green which provides you with a ground attack option.

Hole 13 – 178 yards – Par 3 – Redan
Here we get the original Redan template in it’s normal par three iteration. The right side kicker is pretty tall with a steep drop to the sand below. I found this one to be quite fair to players, especially in the wind.
Below is a look to the right side of the green from behind.
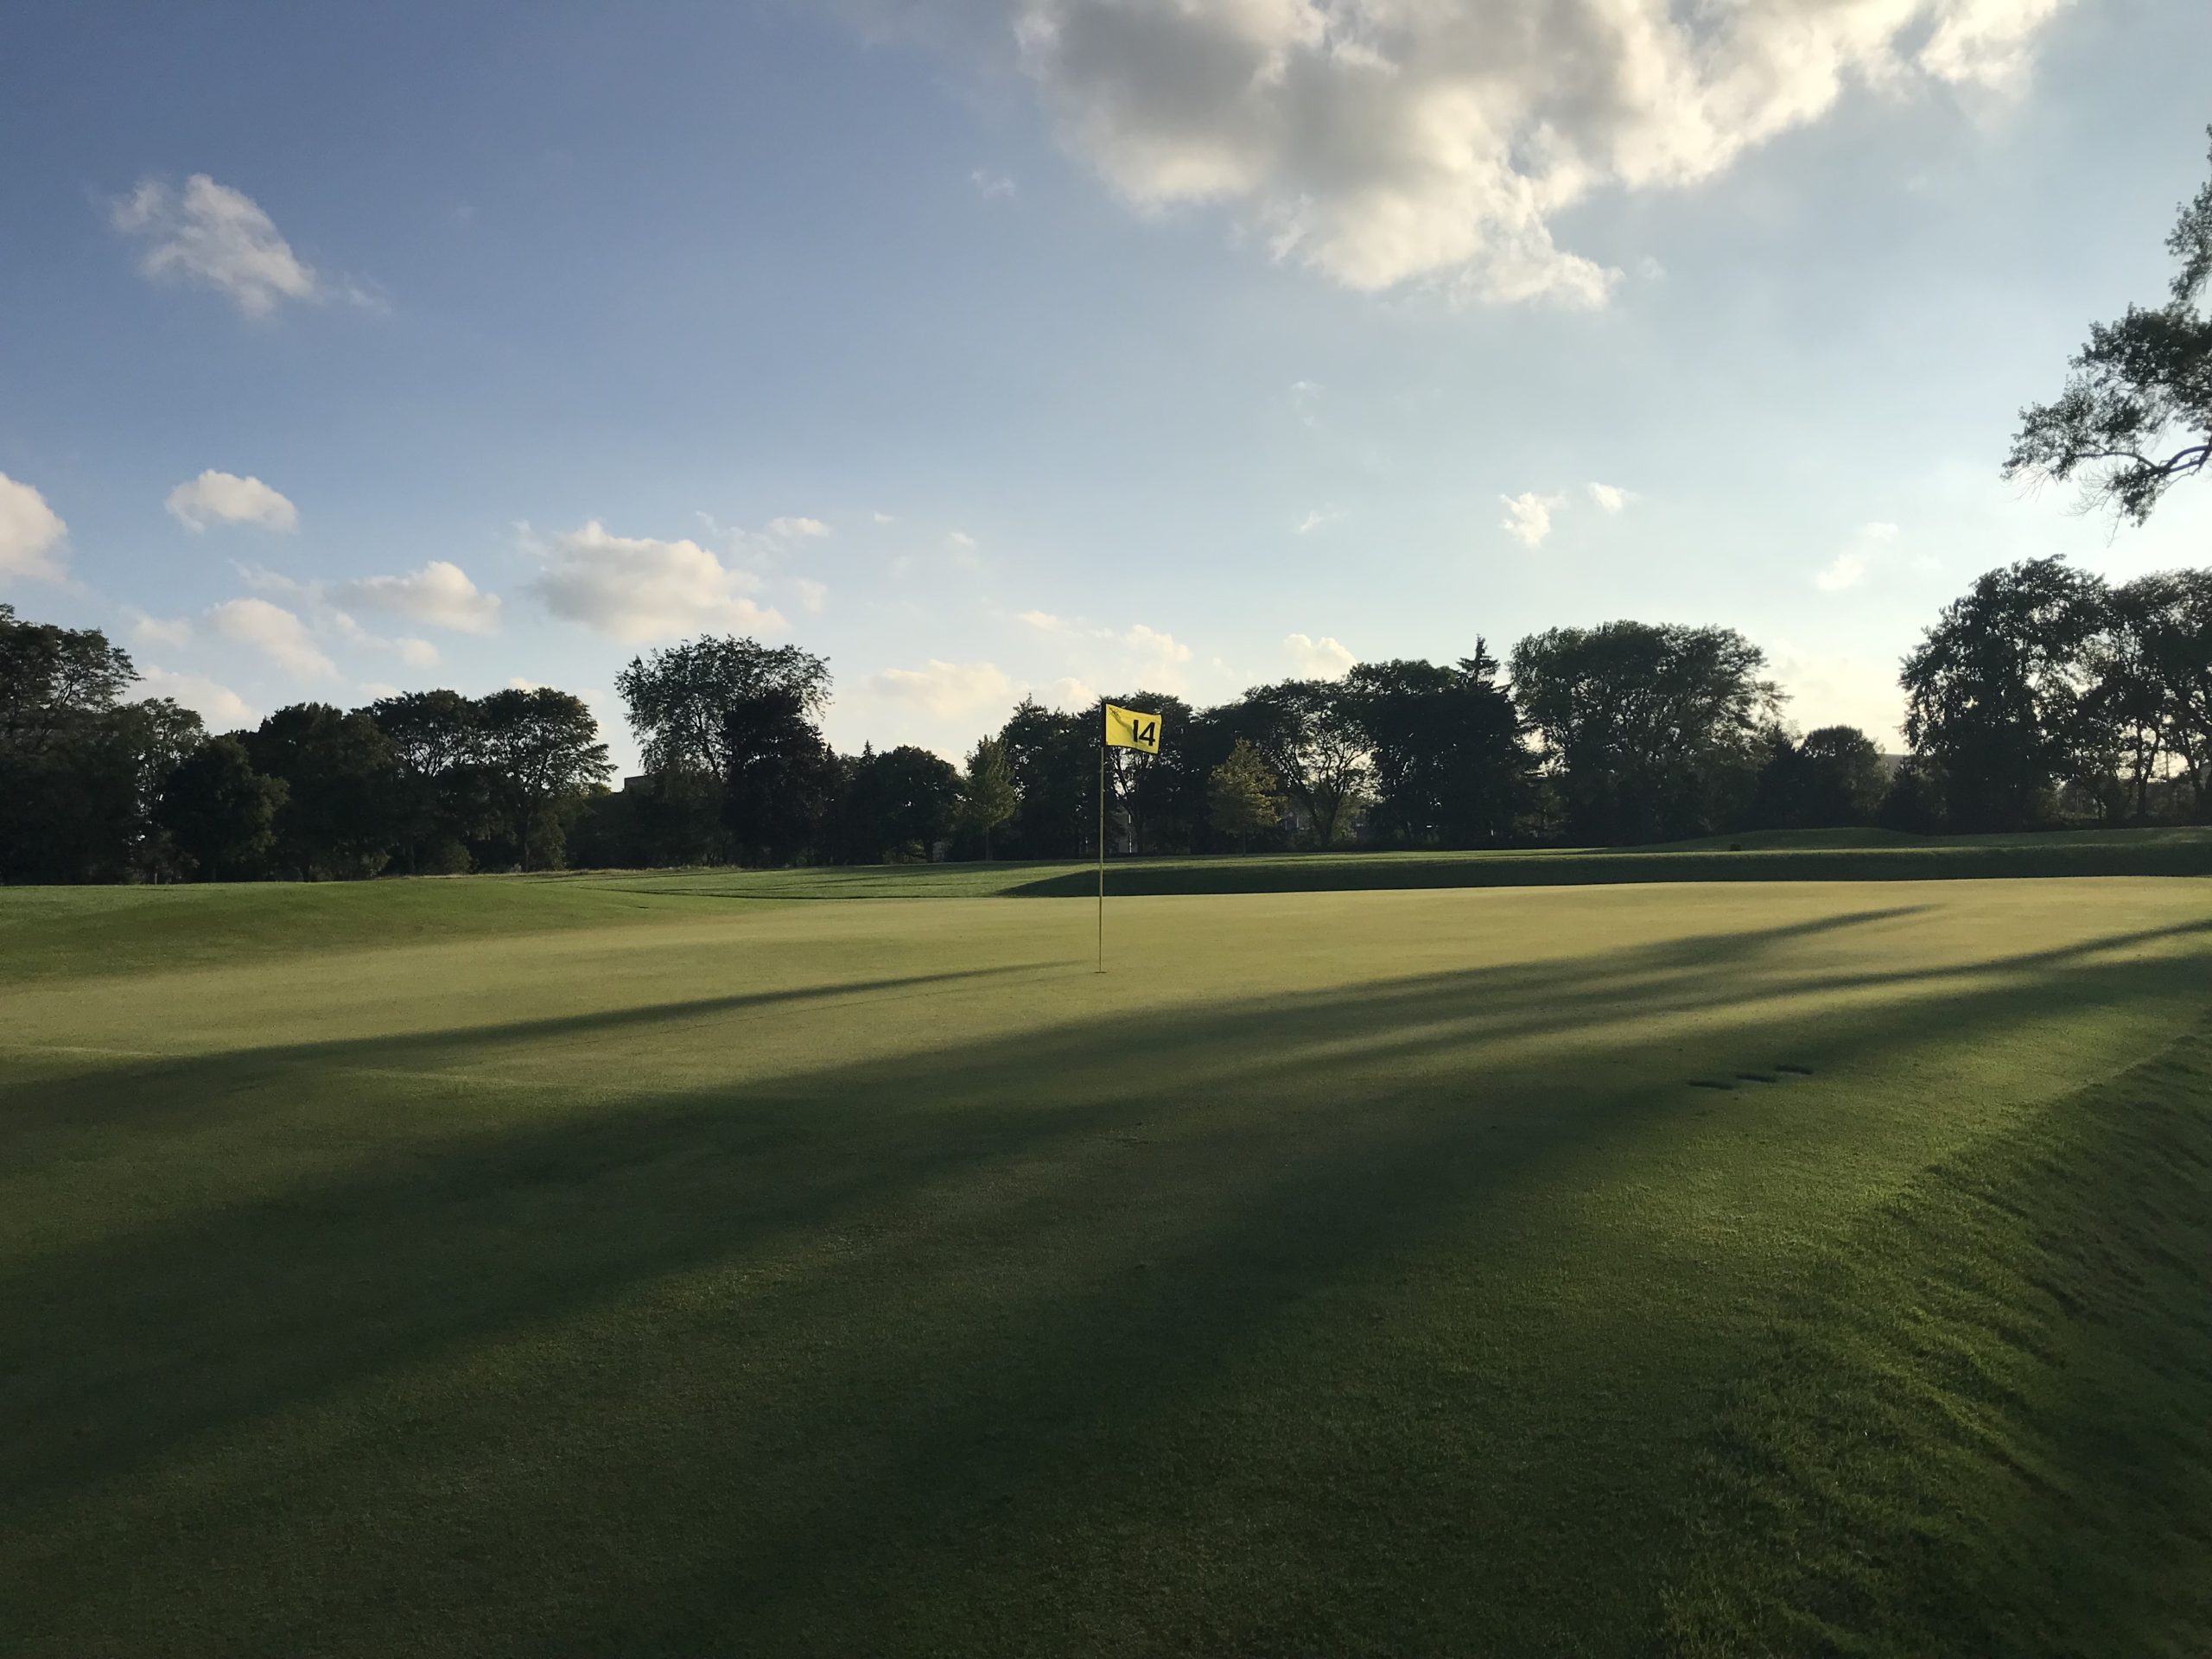
Hole 14 – 393 yards – Par 4 – Garden City
Luckily I had someone with me to tell me where to go here. Fire one into the far U in the trees and you’ll be fine.
Bunkers galore dot the land around the green.
Hole 15 – 383 yards – Par 4 – National
If you venture too far right, the trees will block your second shot. I found that out and had to manufacture some shots. I didn’t make par 🤣.
Hole 16 – 340 yards – Par 4 – Leven
Left is best for the majority of this hole with trees/bunkers up the right side.
The challenge lies in the cavernous front bunker. You better be precise on your approach shot.
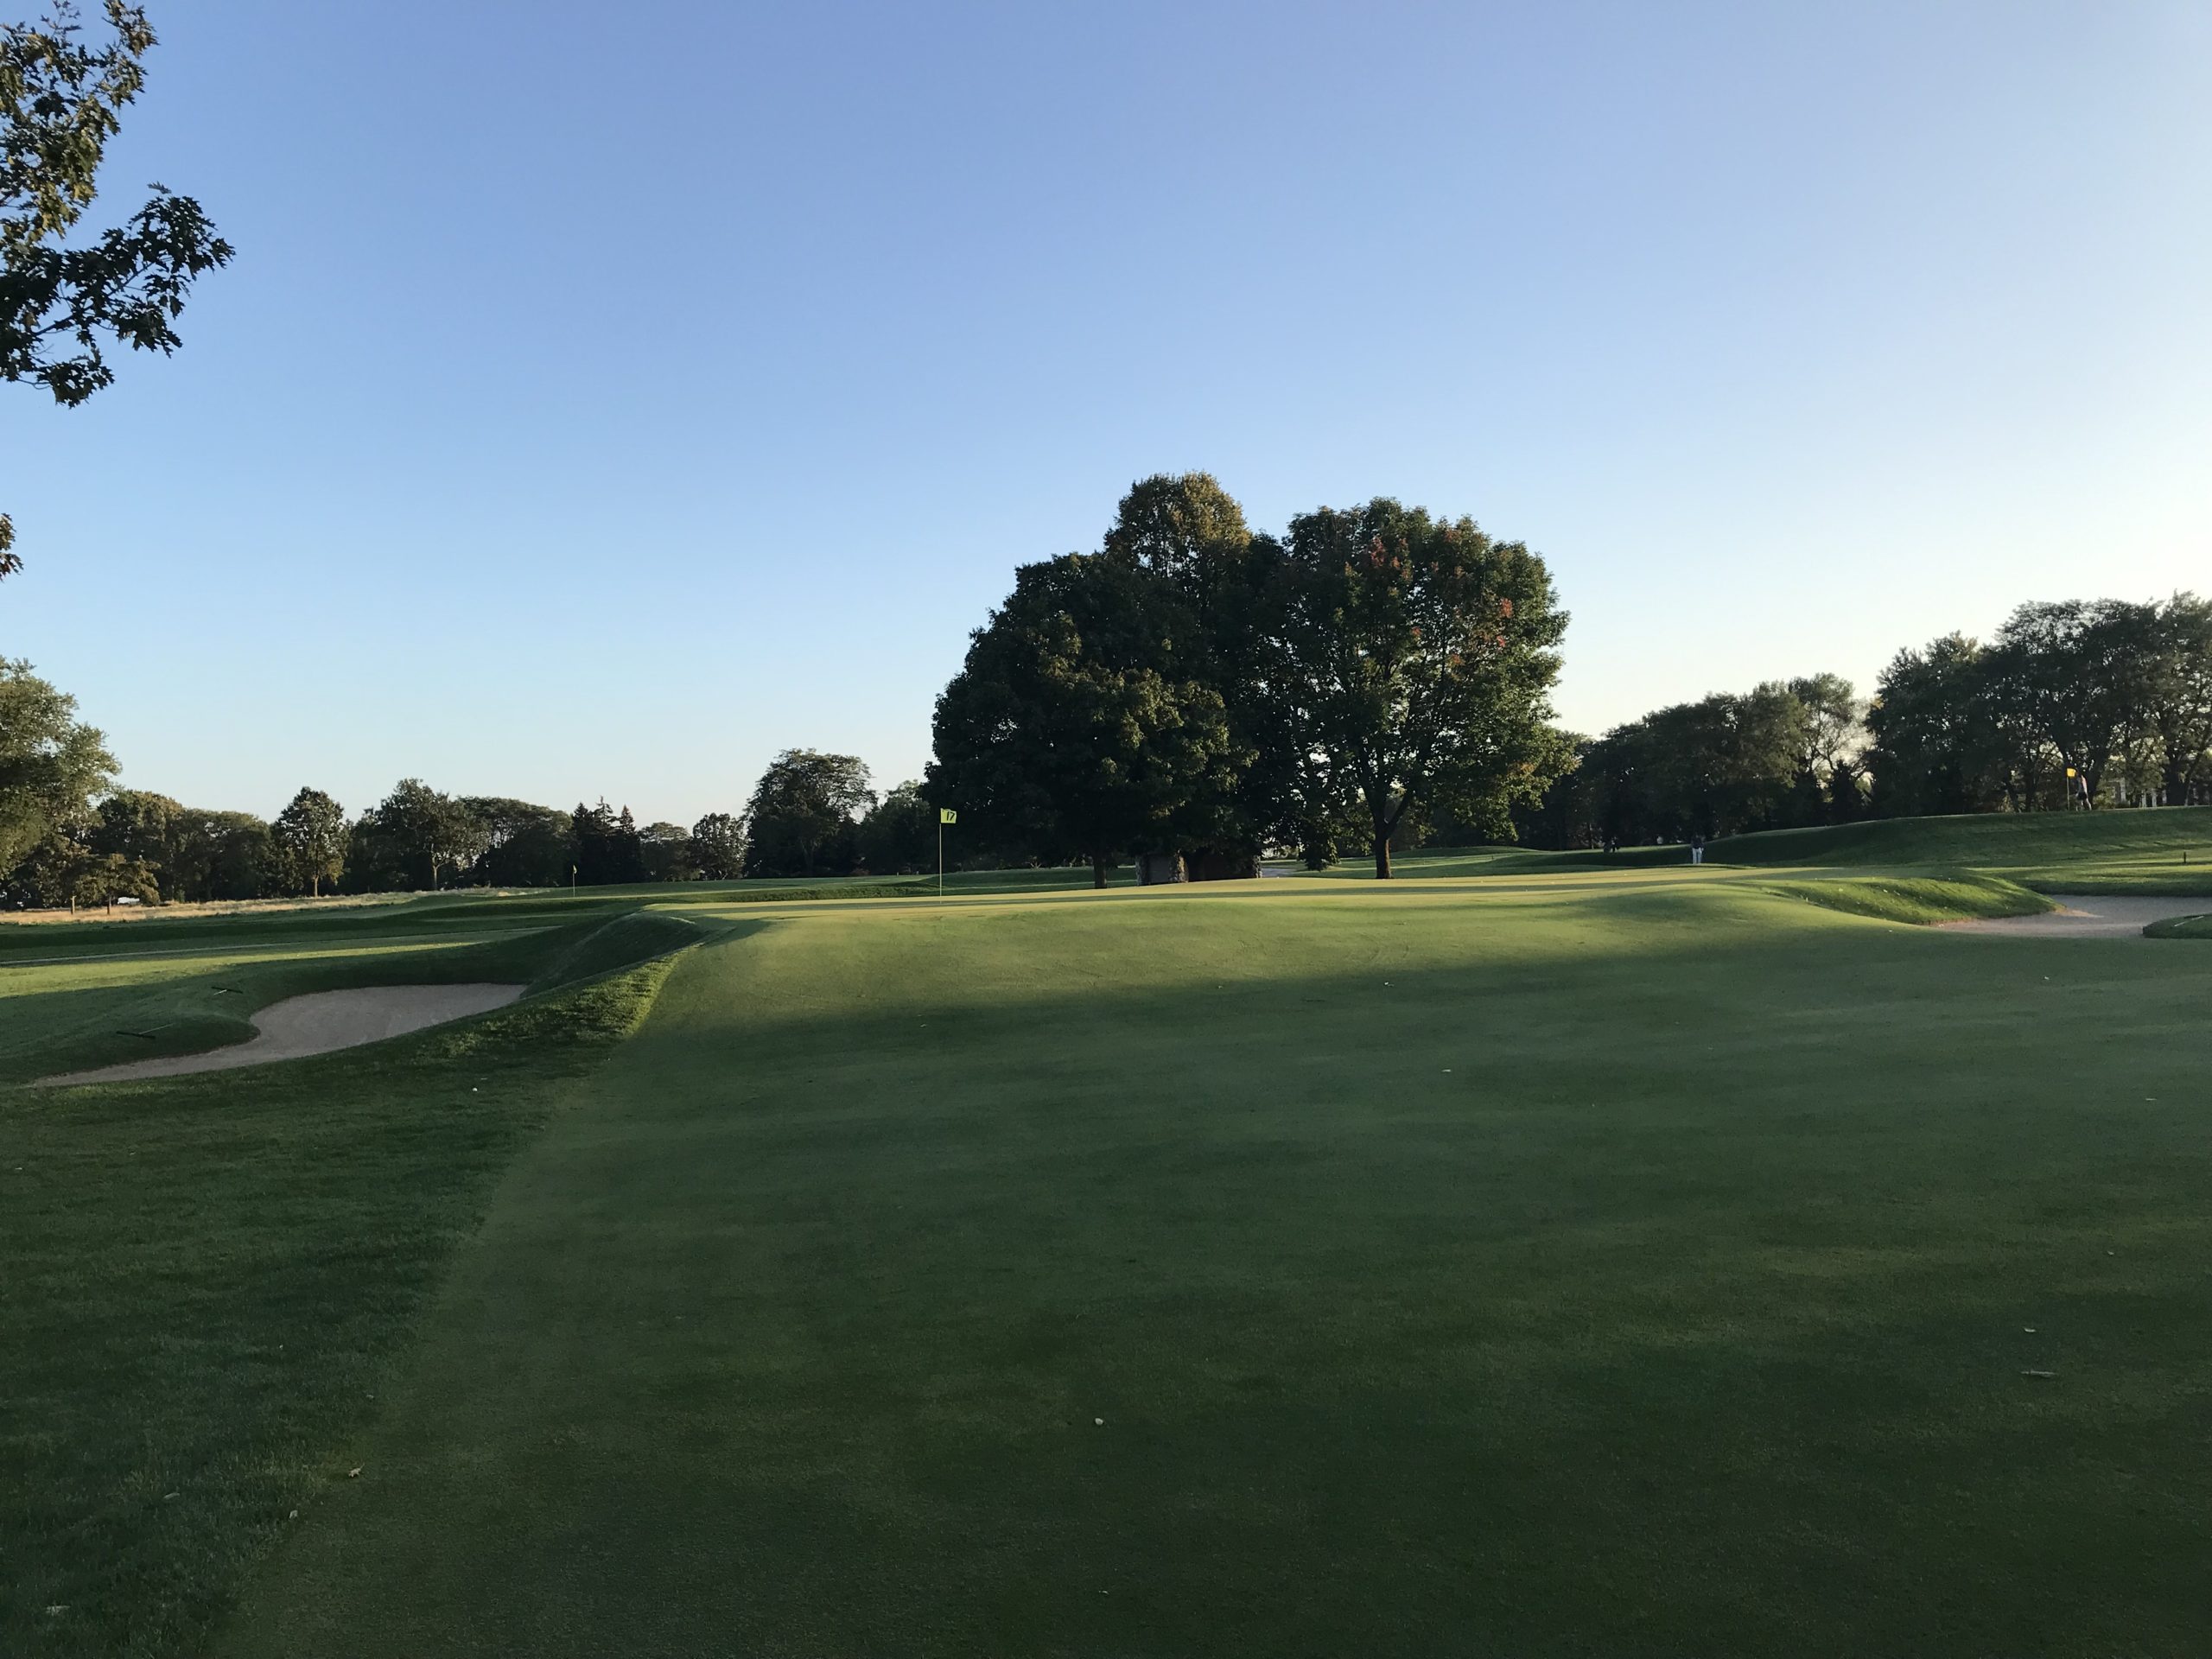
Hole 17 – 176 yards – Par 4 – Eden
Eden holes are defined by the green slope from back to front and a by a quartet of bunkers. I don’t have enough photos here to see if this one has them all but it gets most everything in.
Bunker shots to this green provide plenty of challenge. You’ll be wishing you just missed short instead.
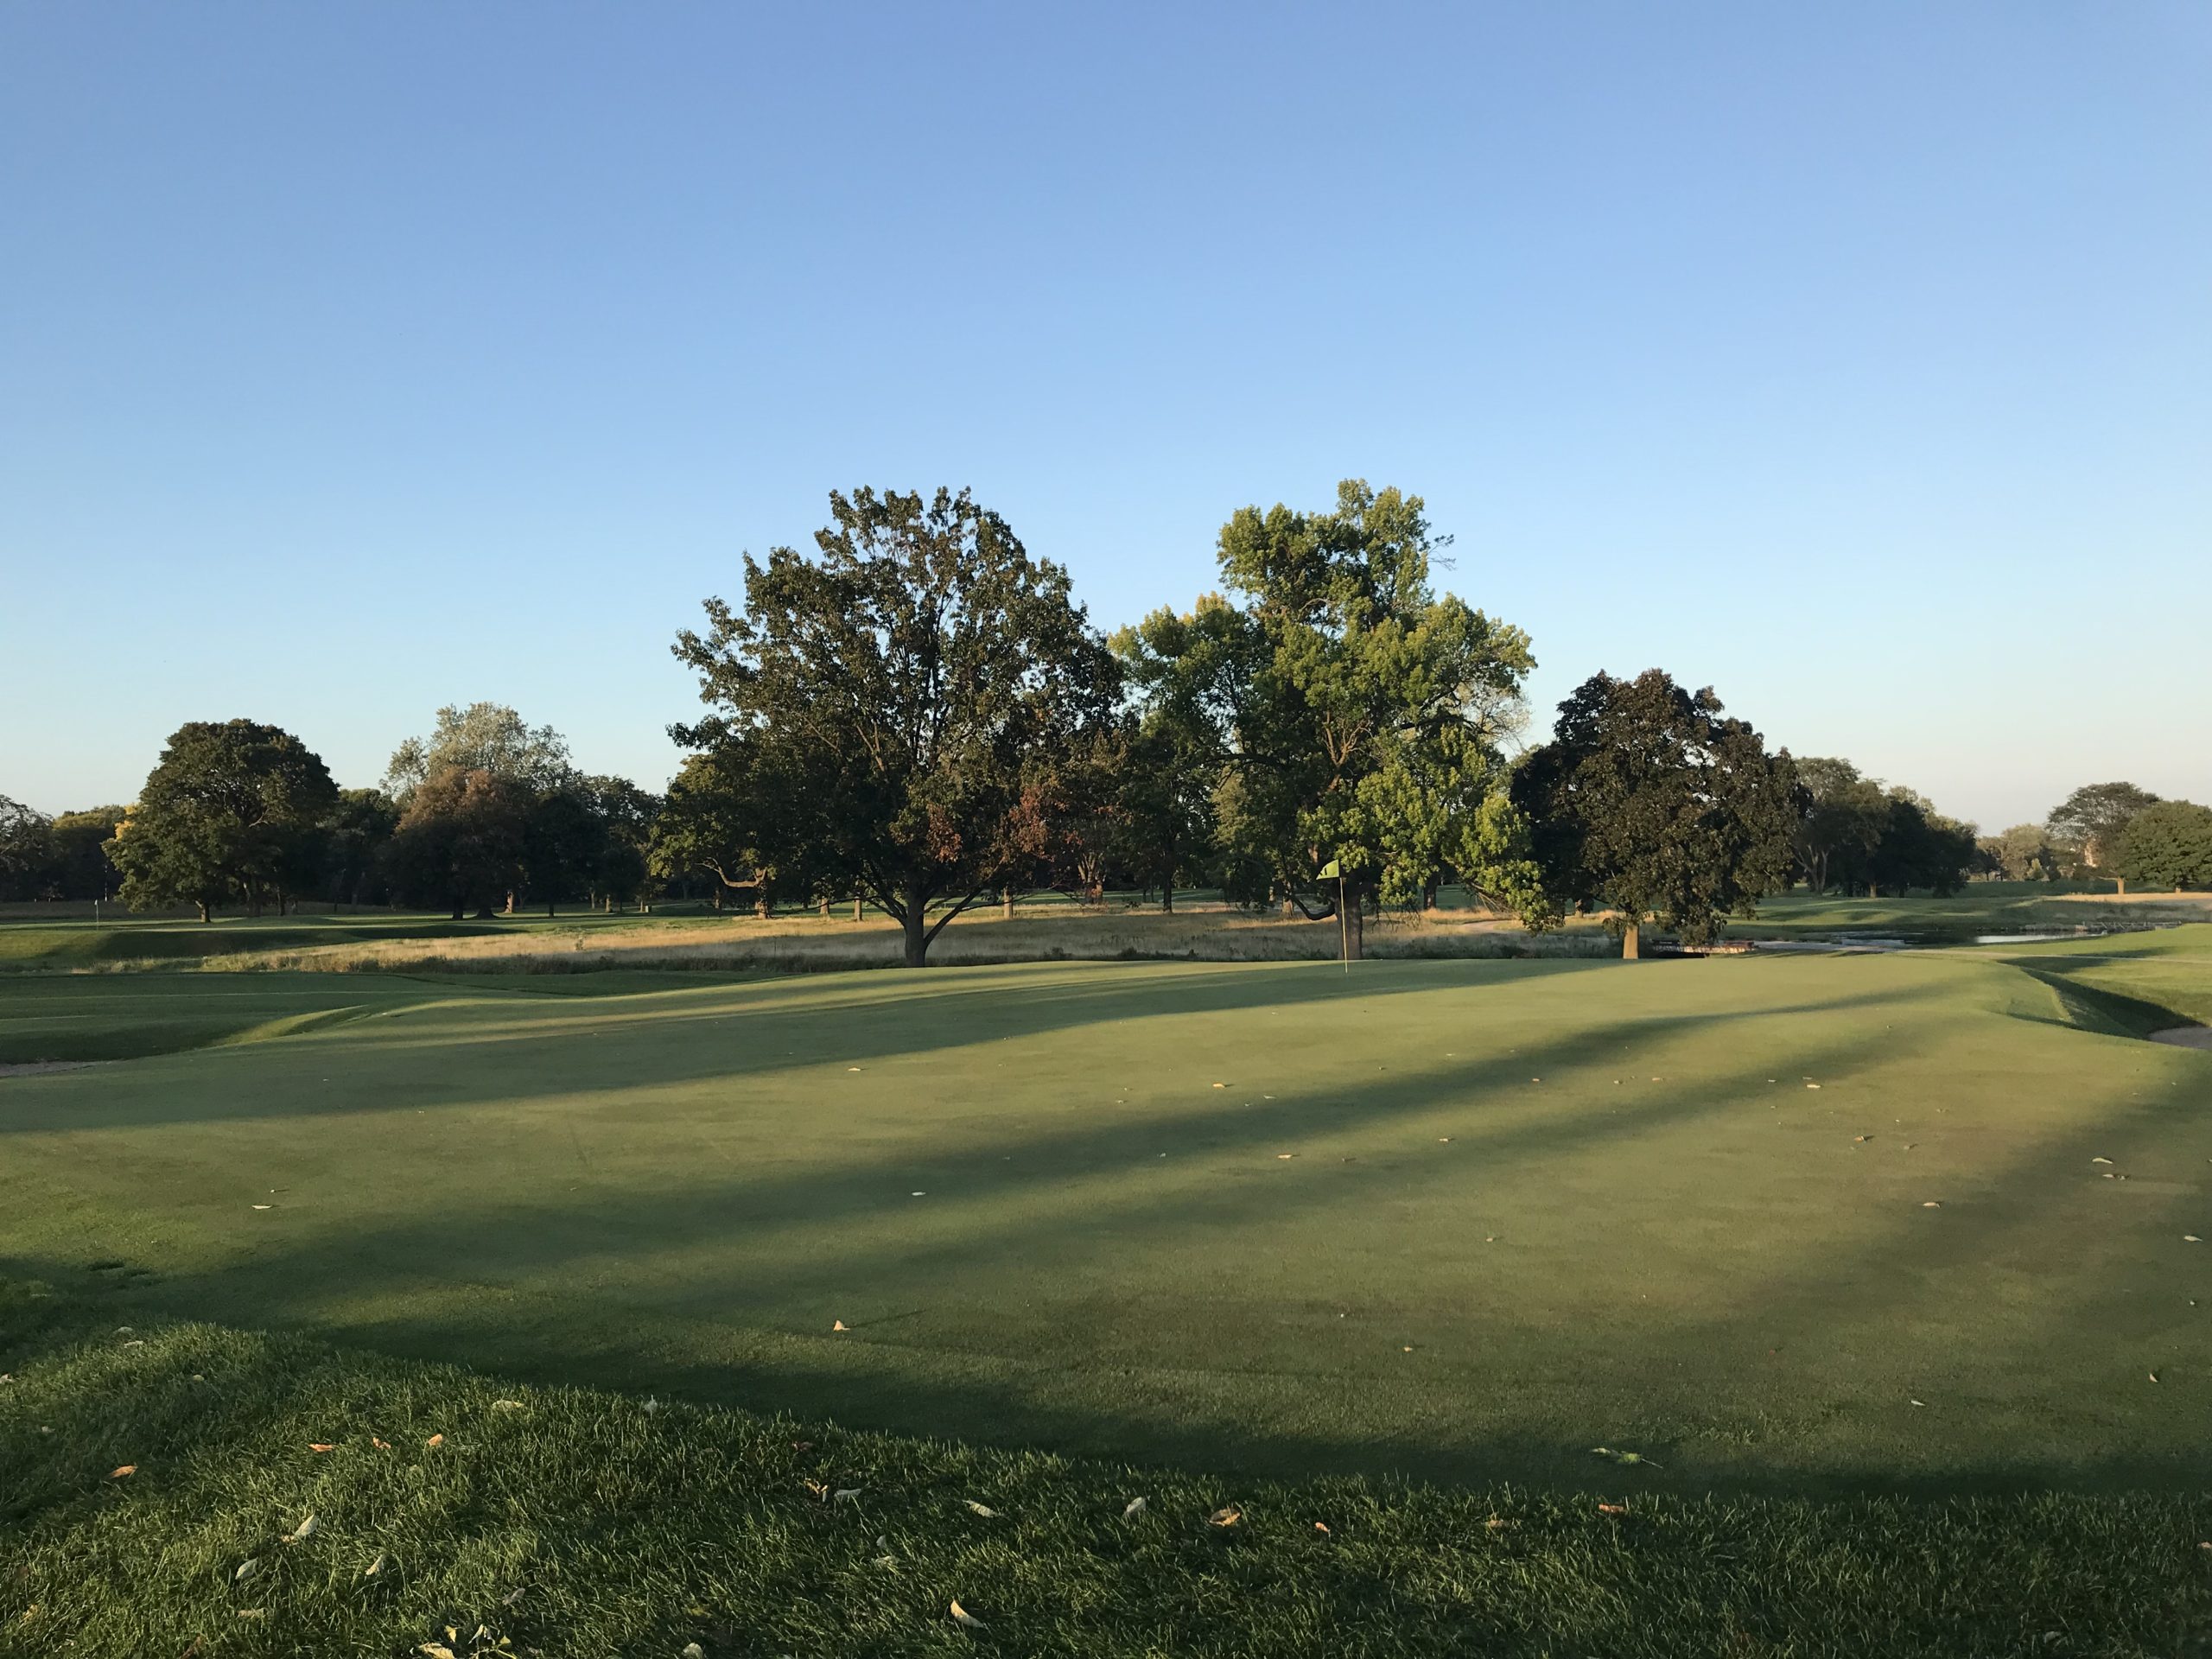
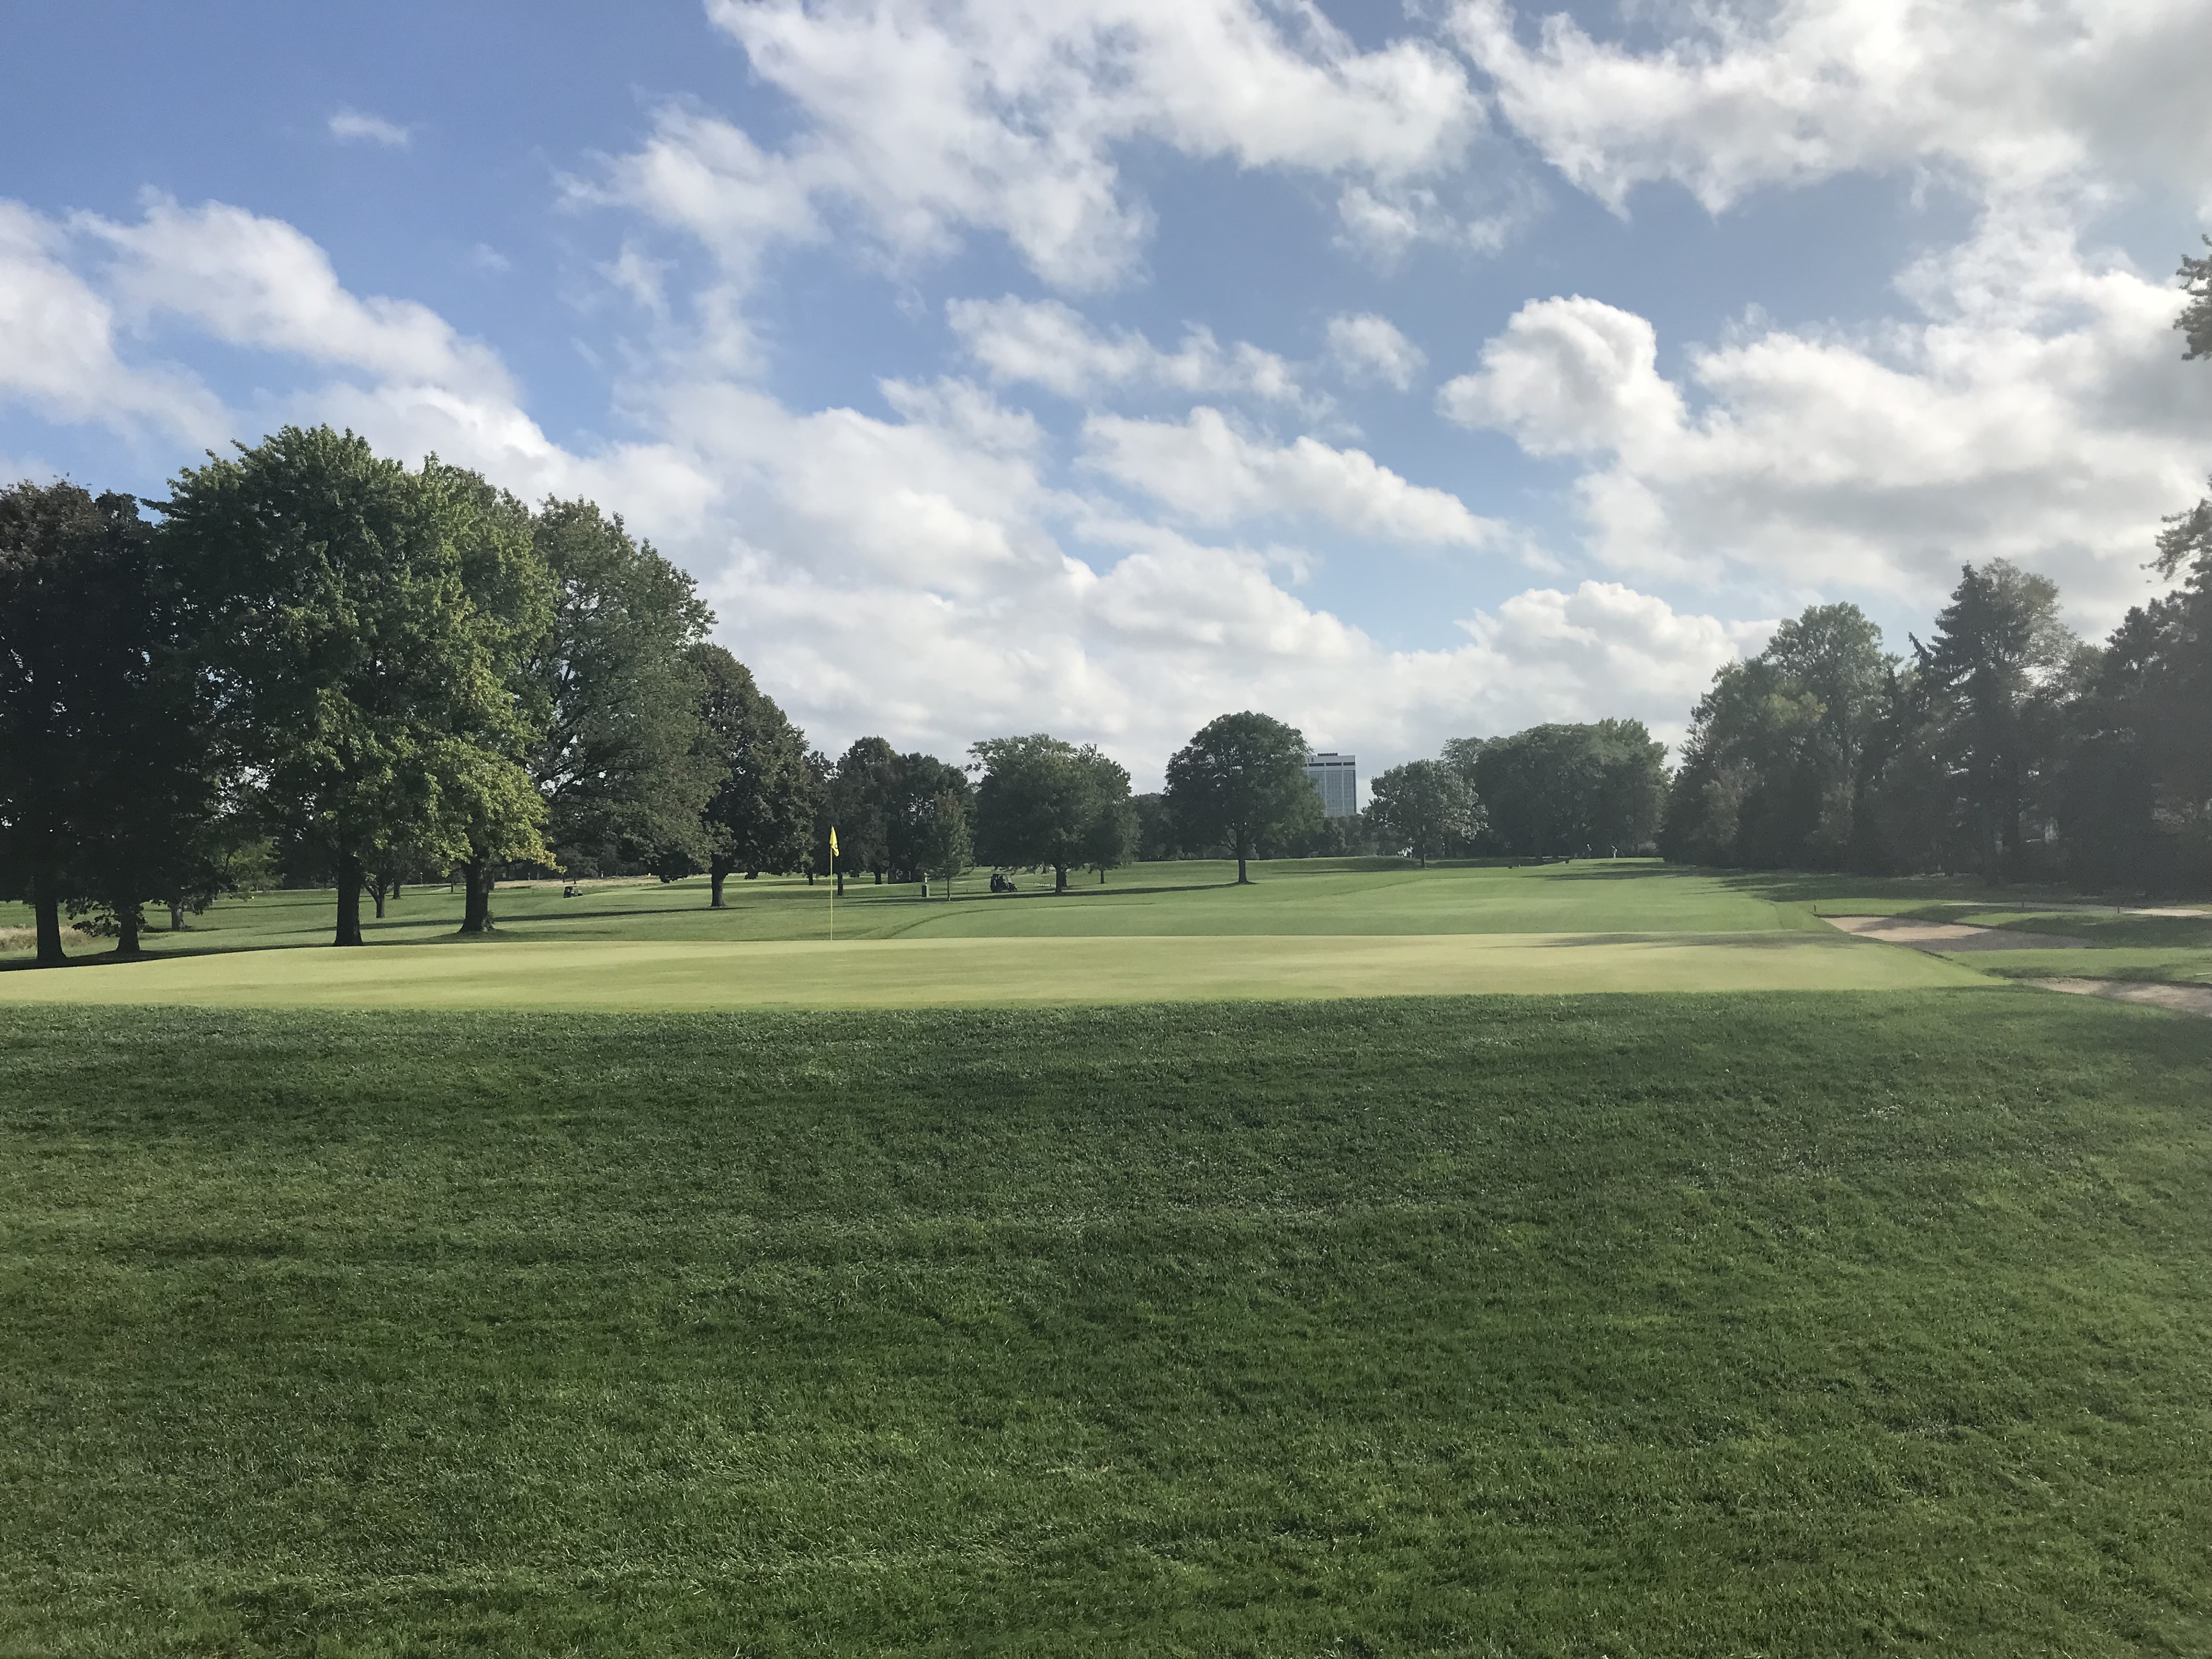
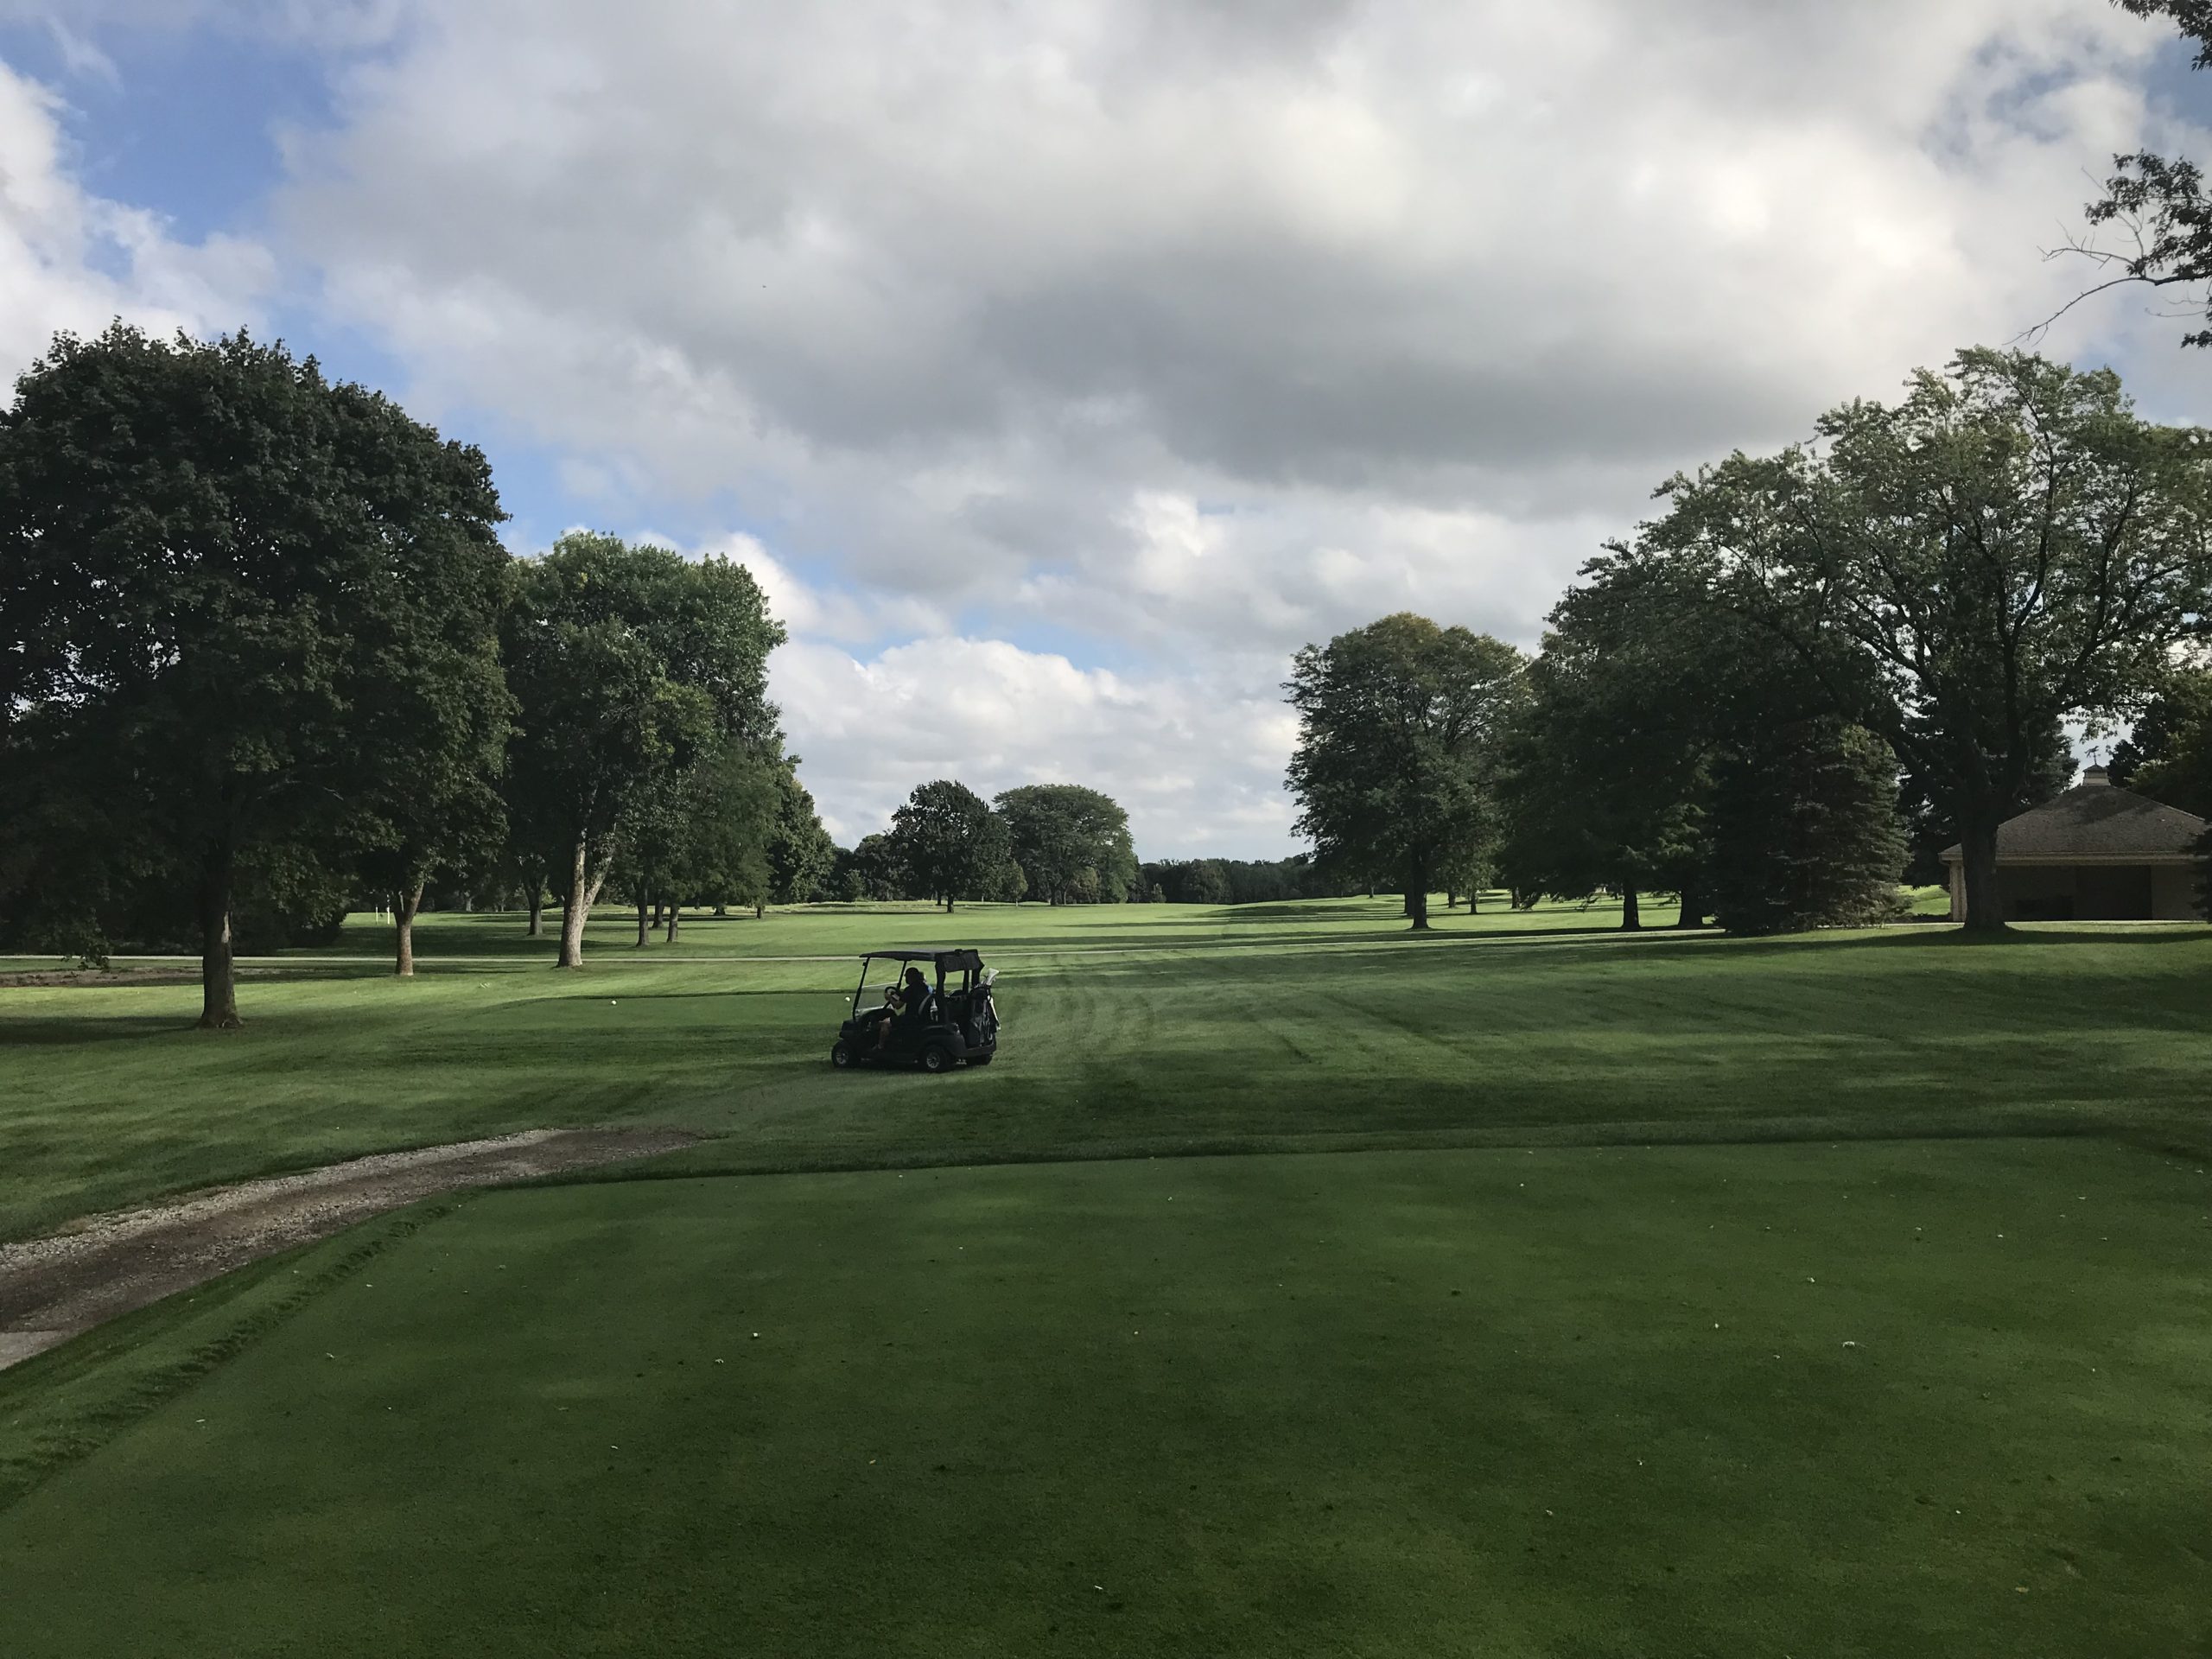
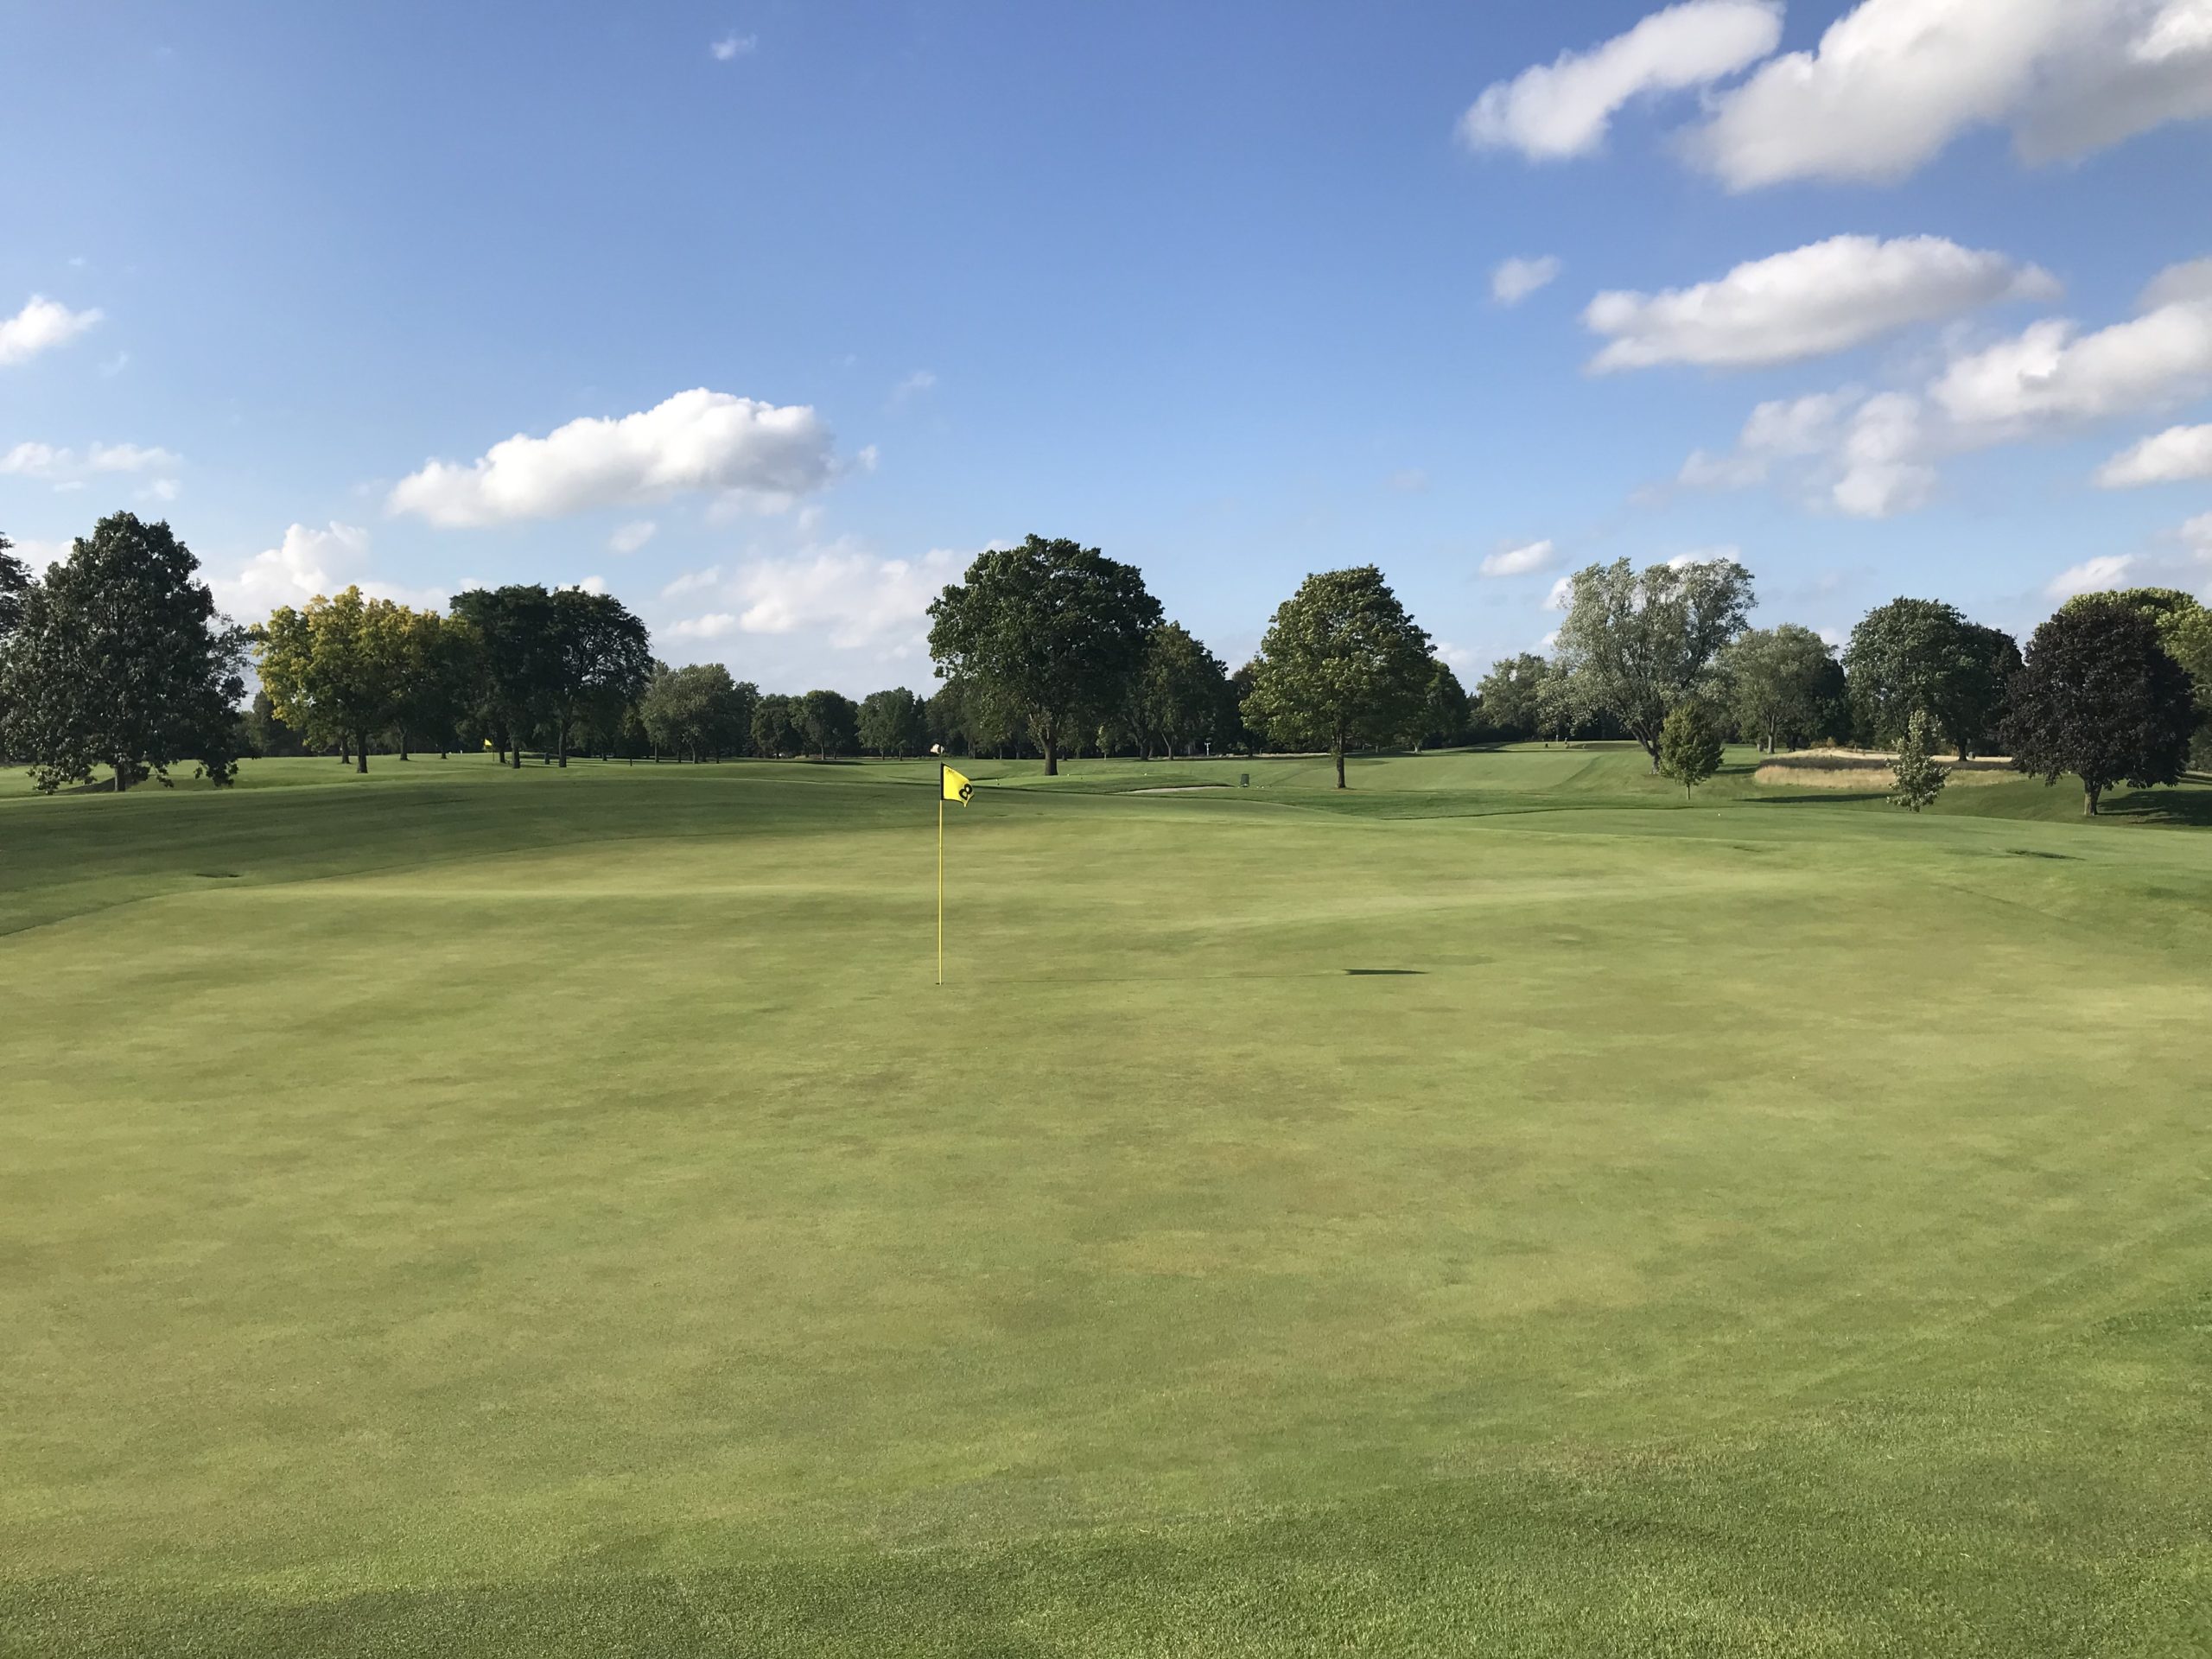
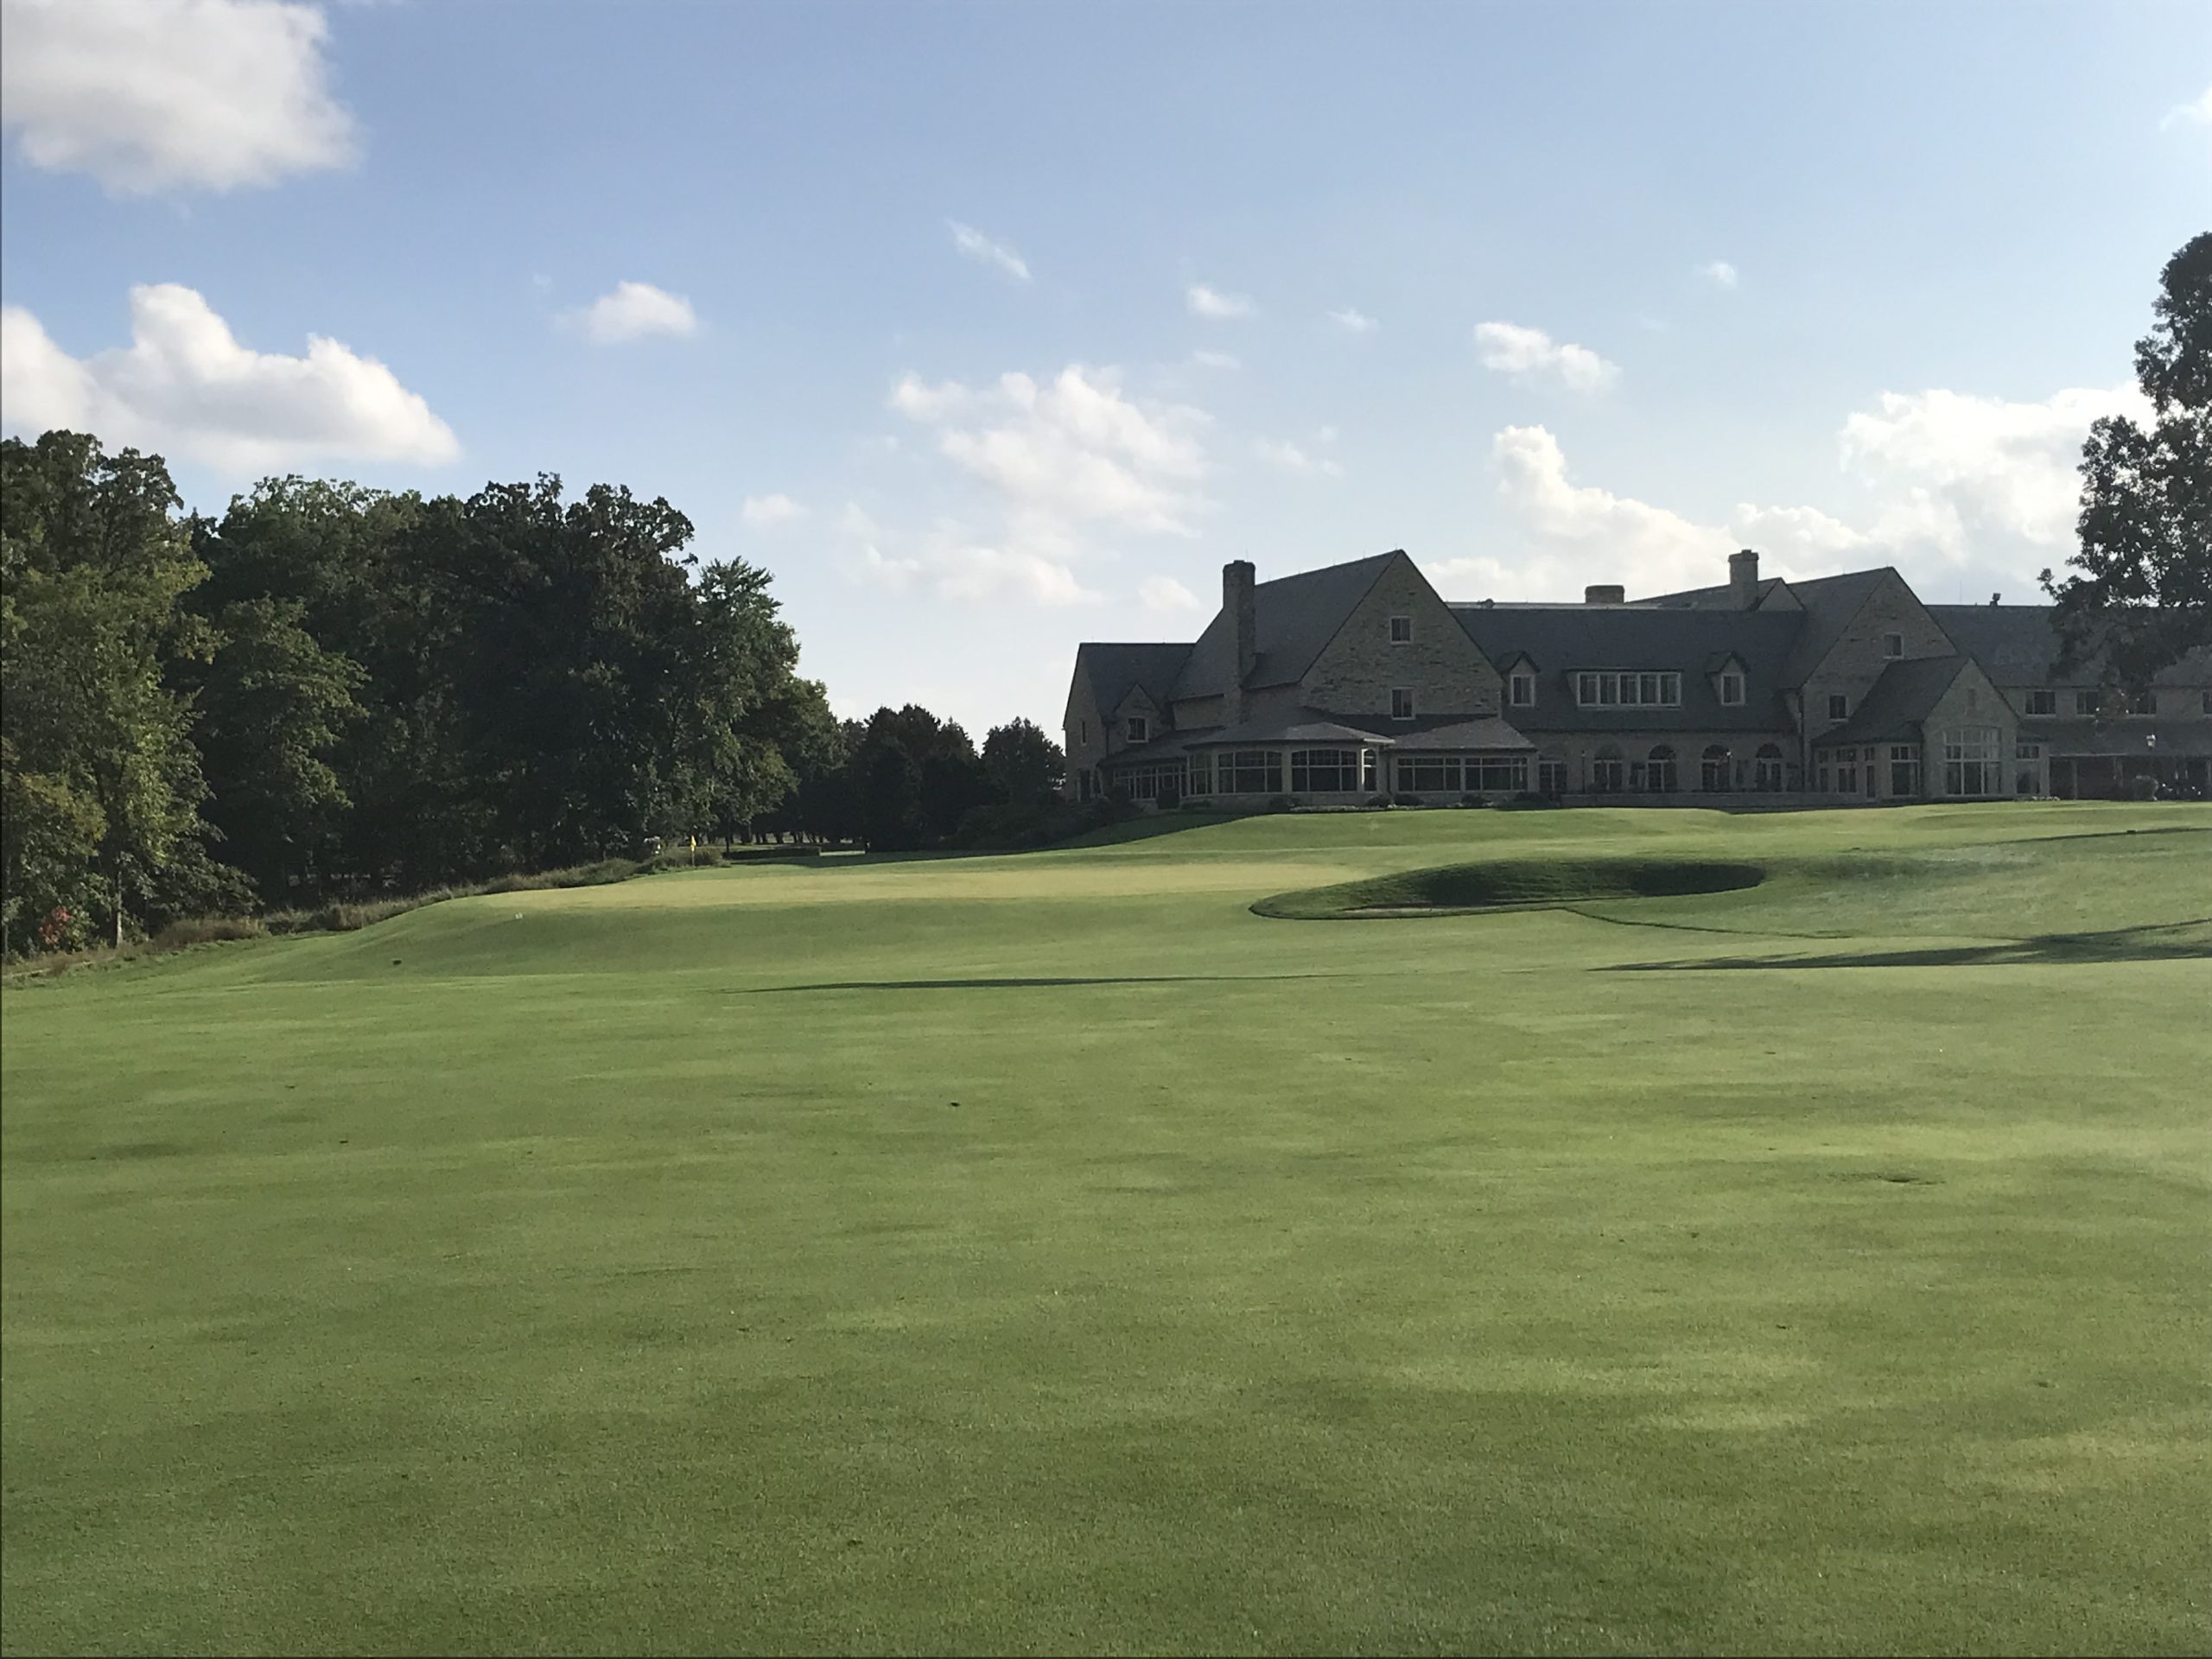
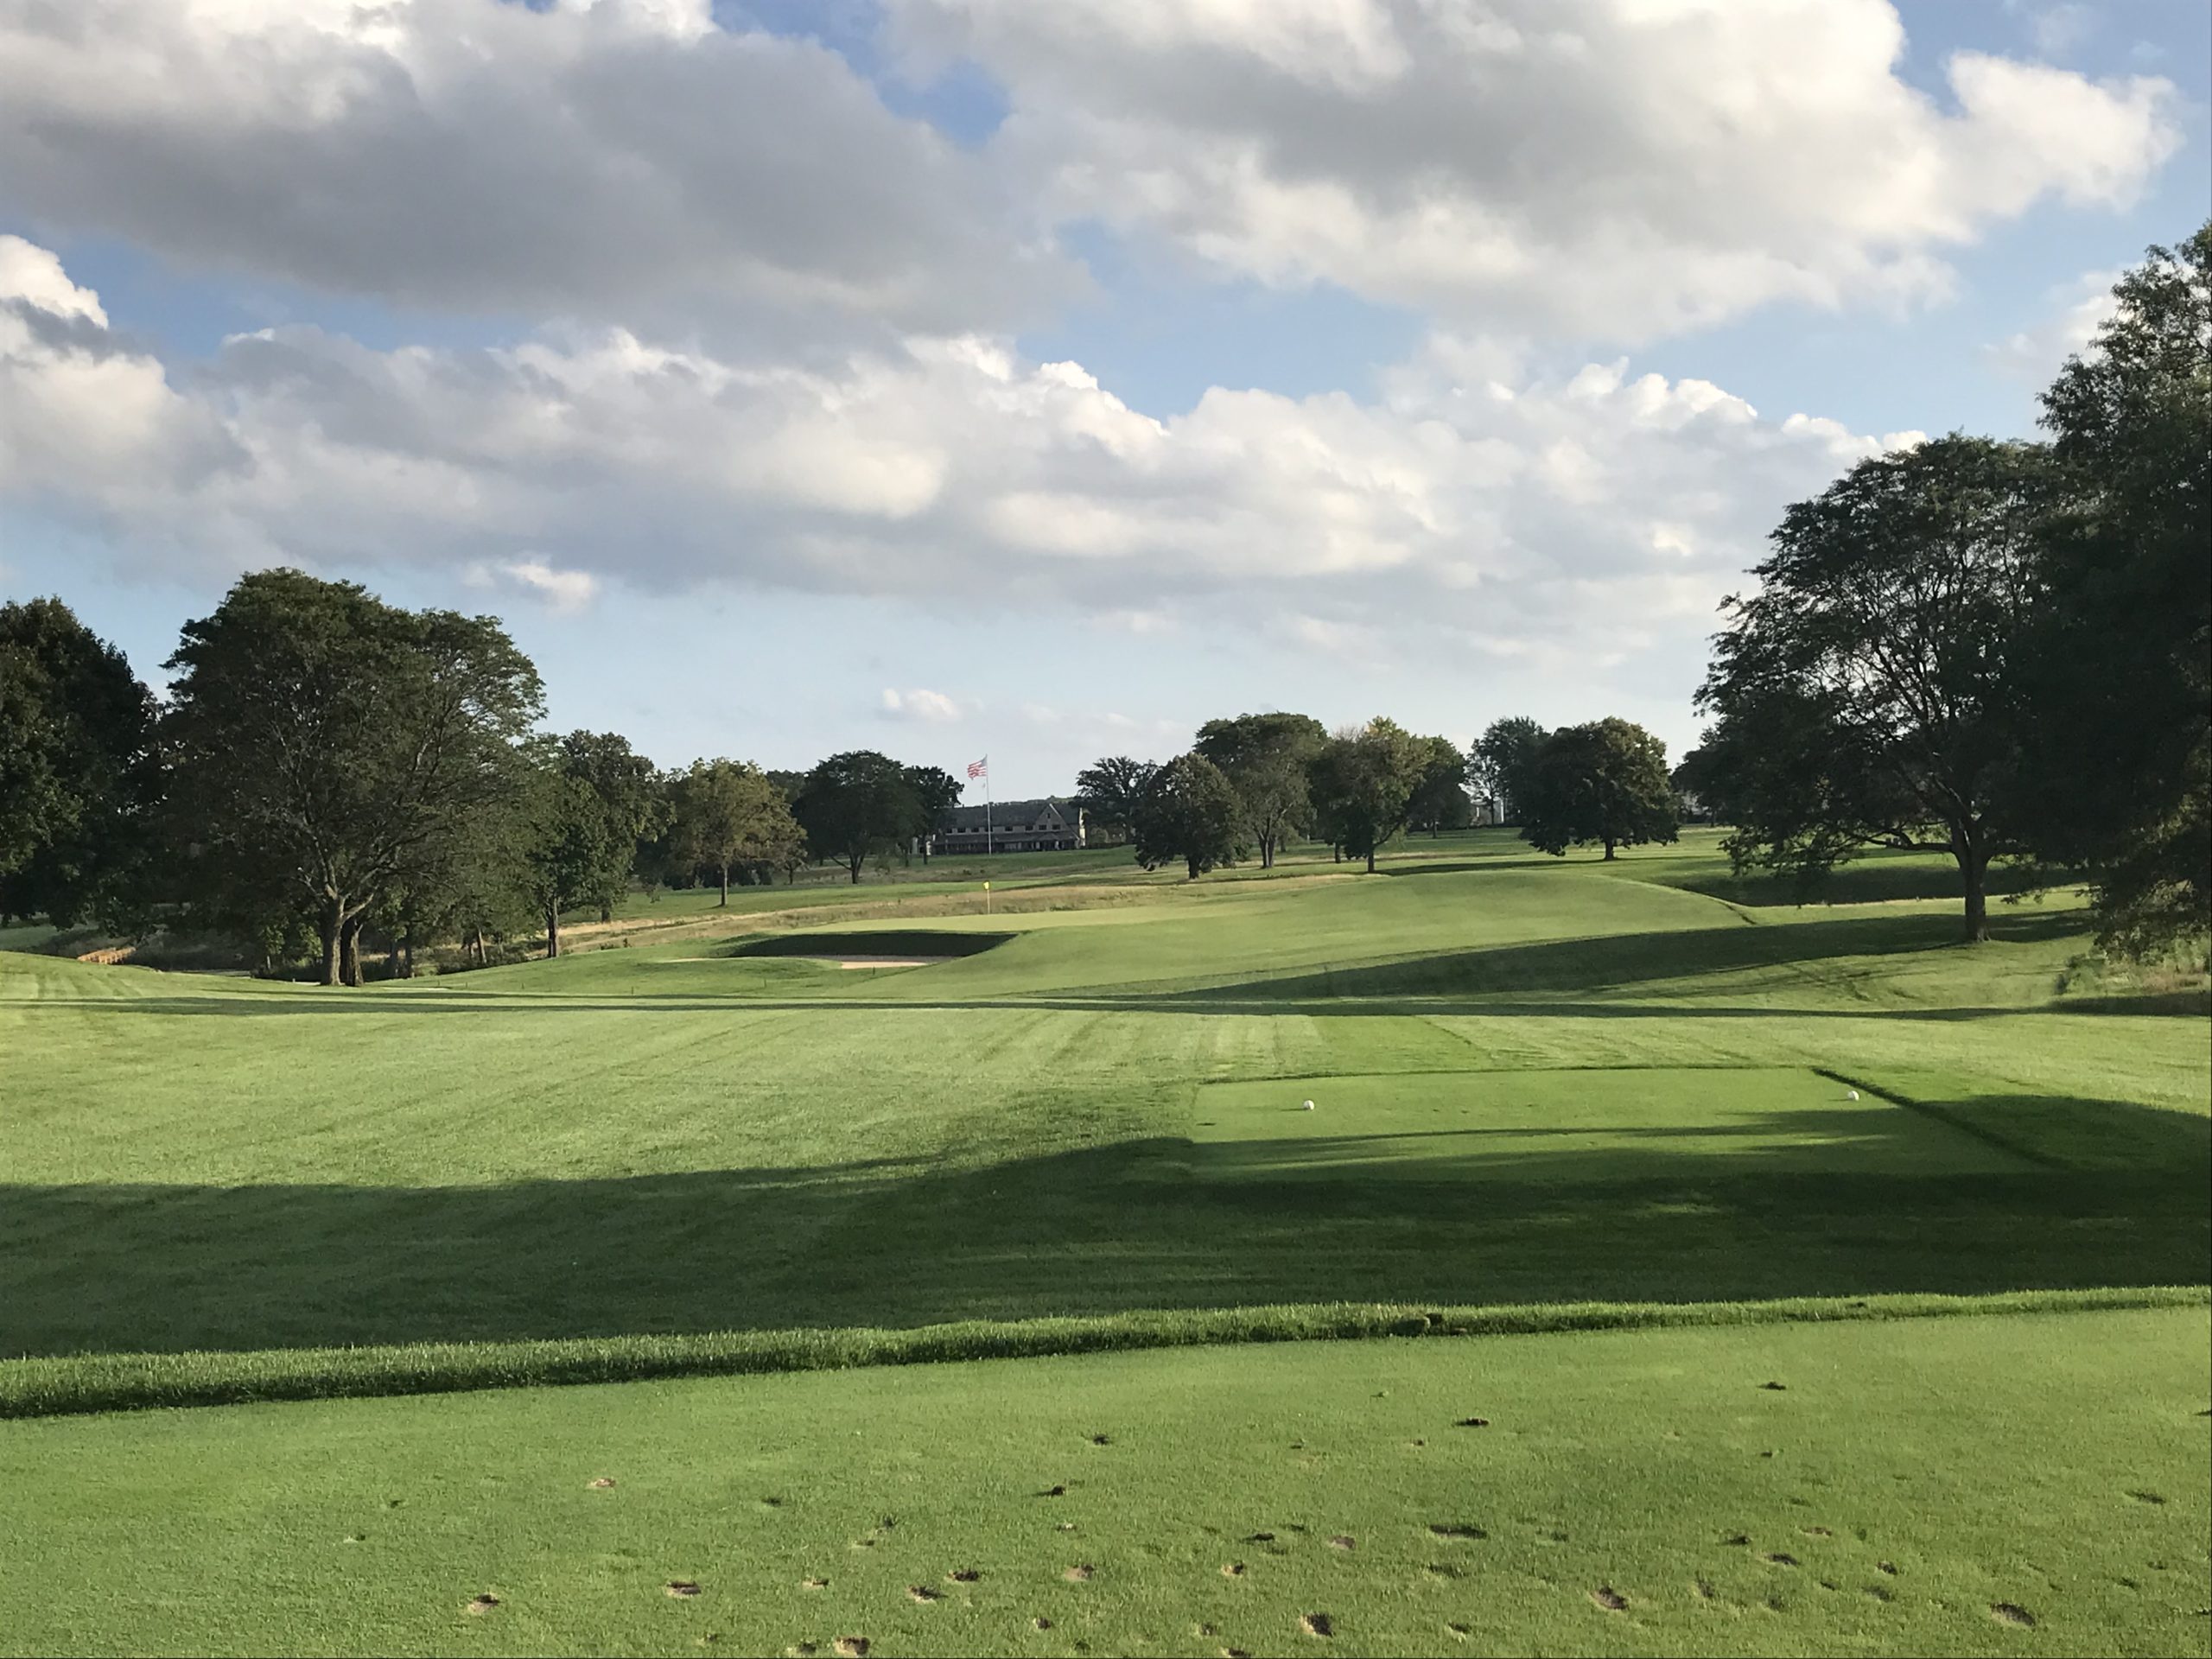
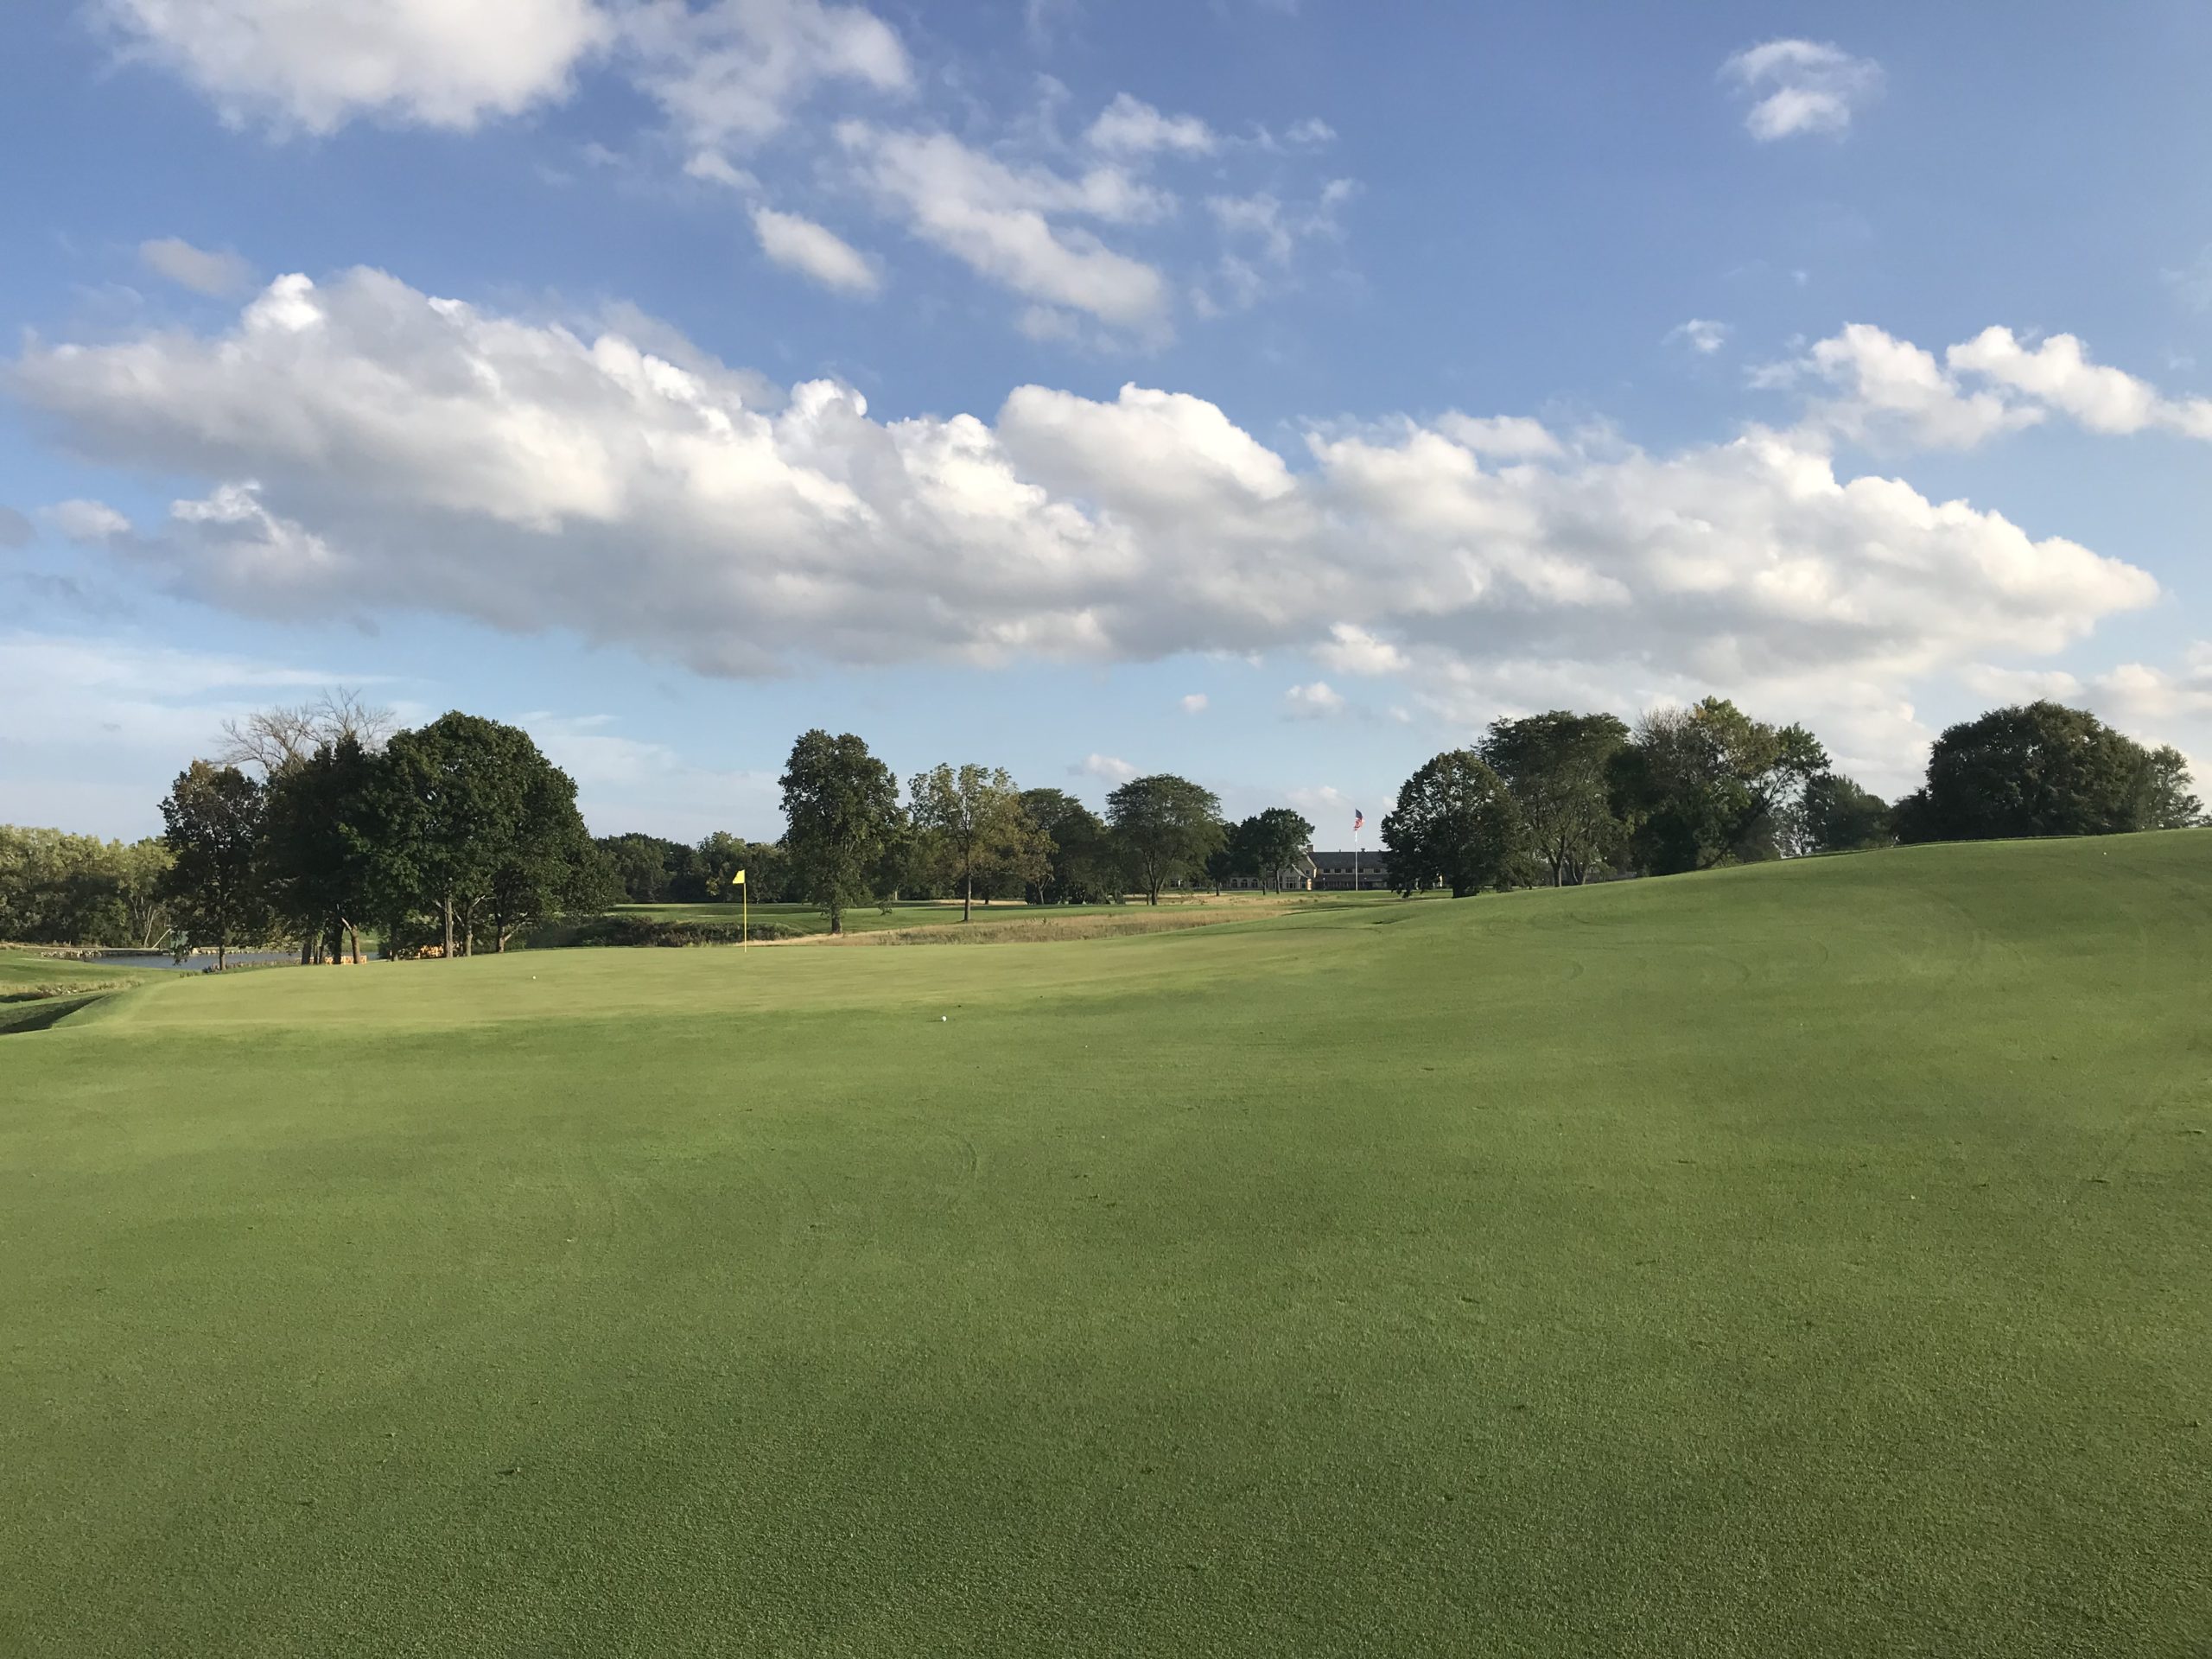
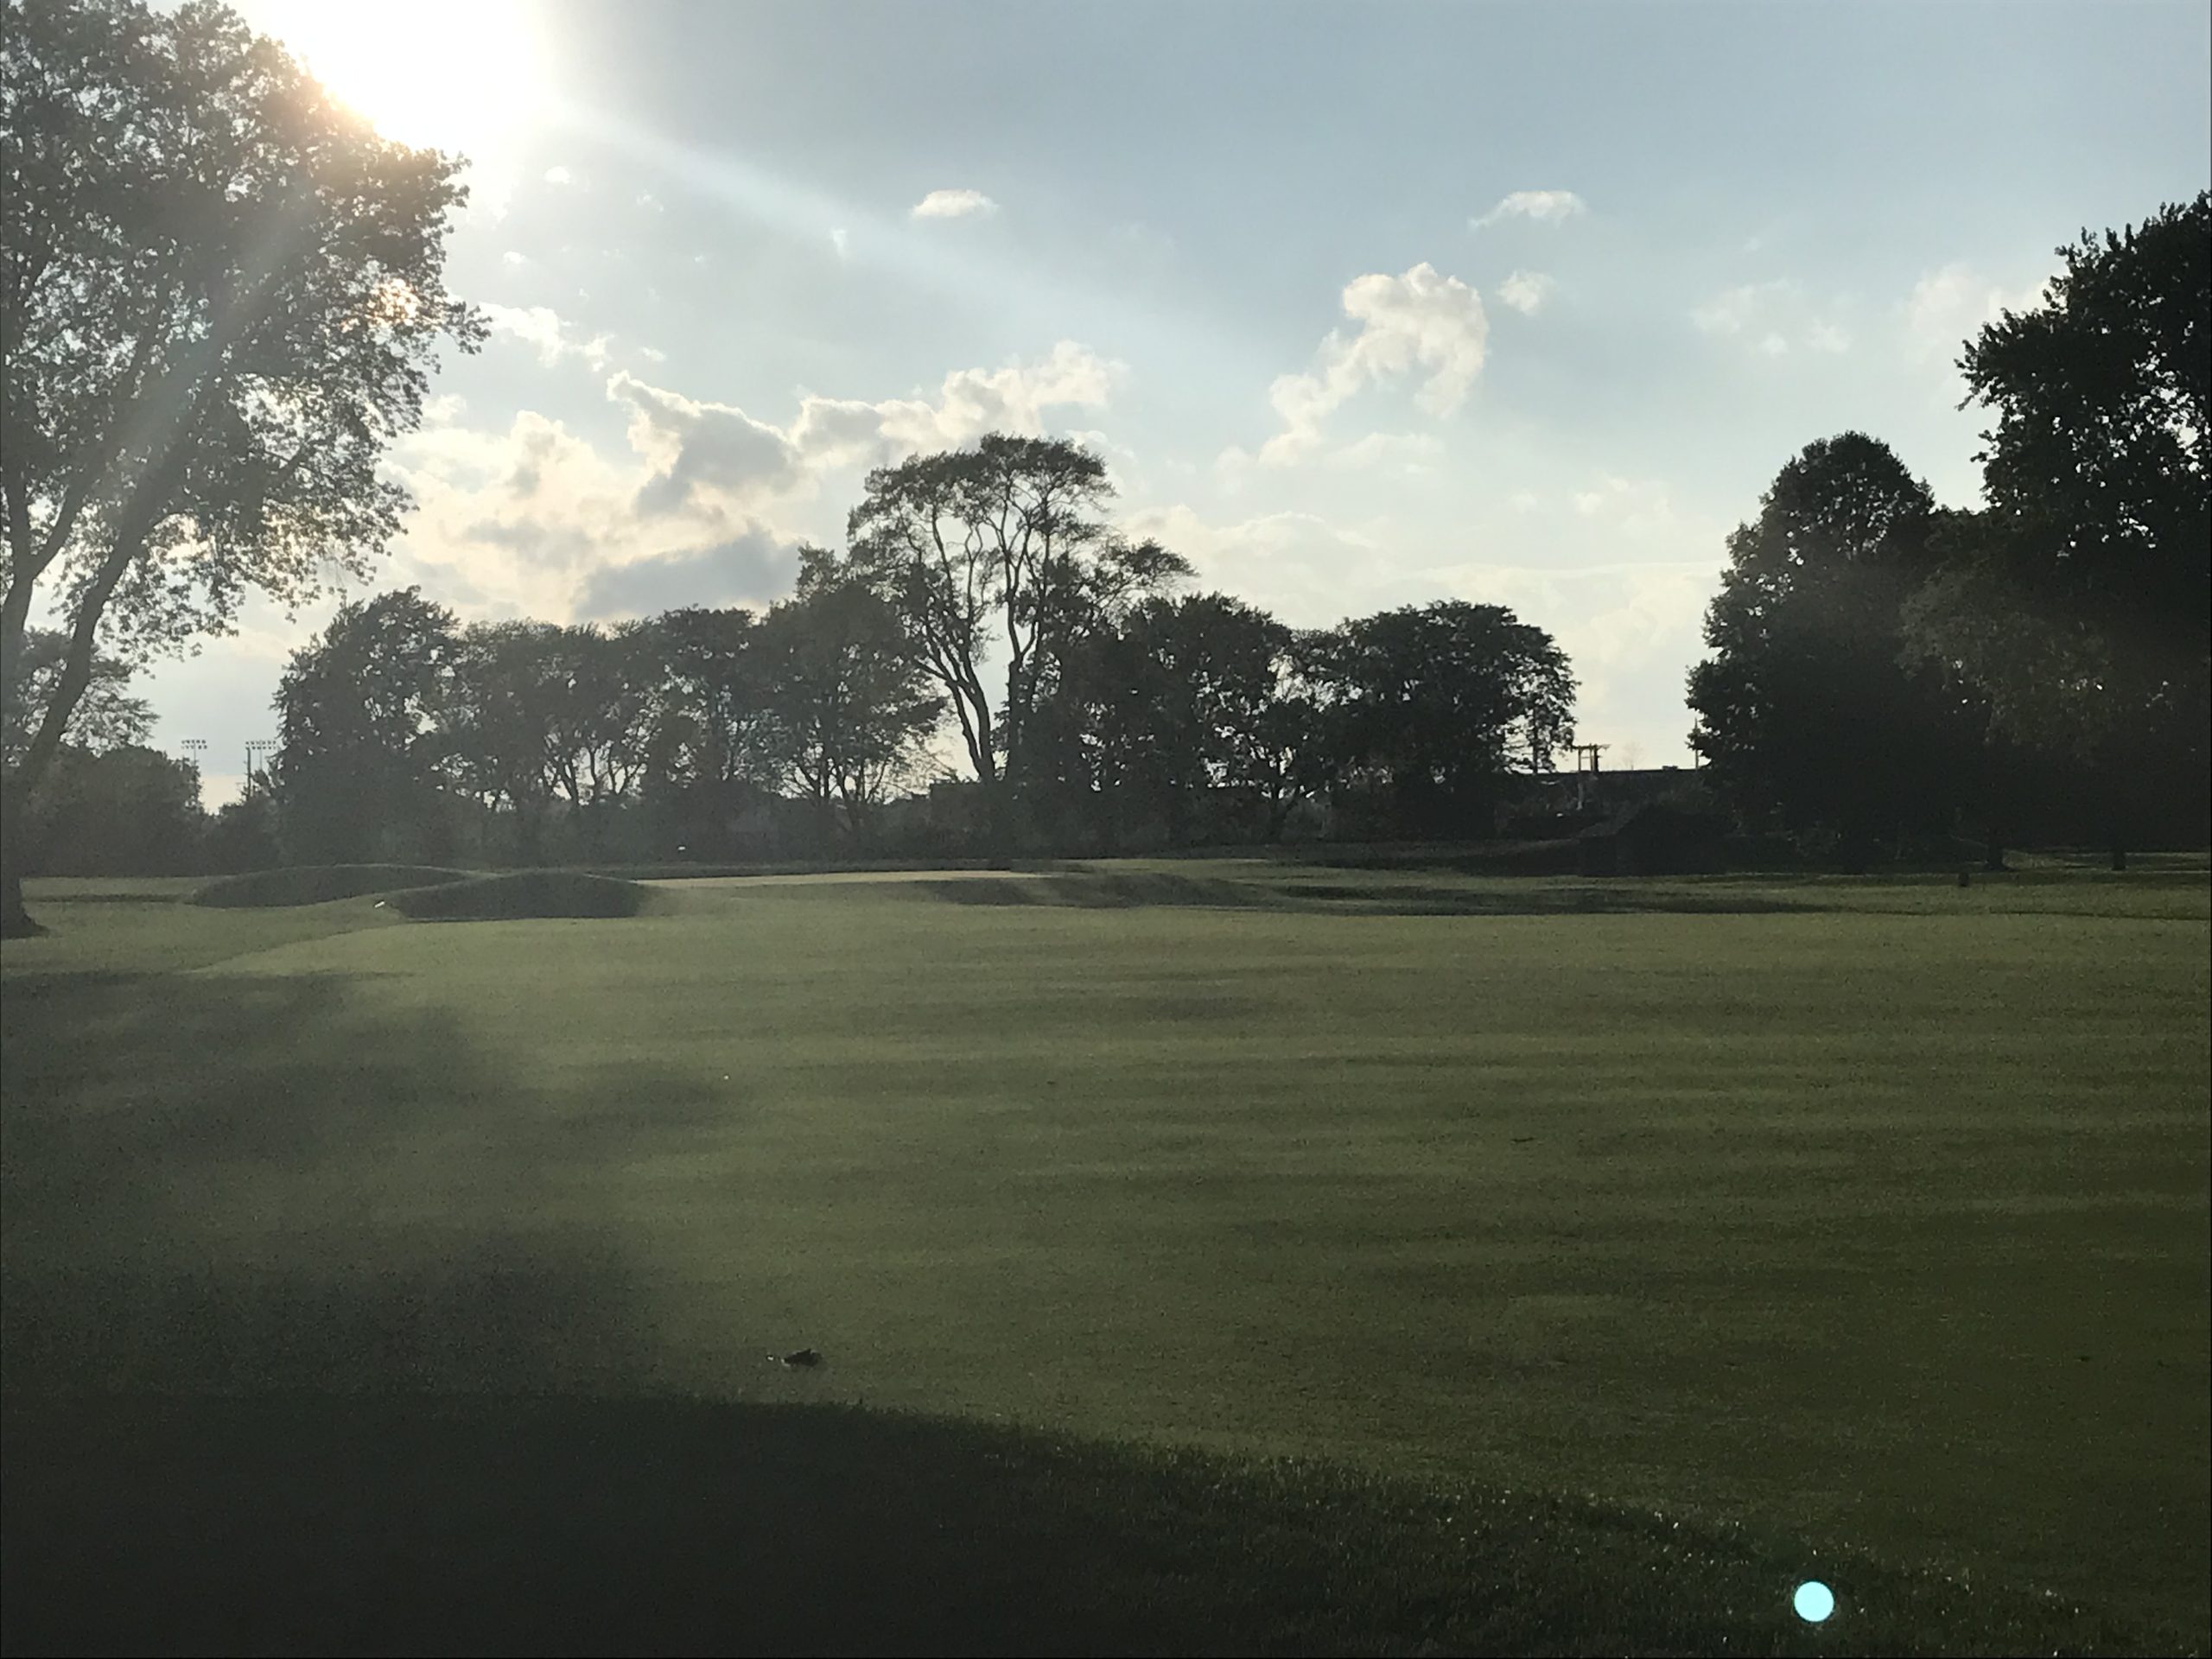
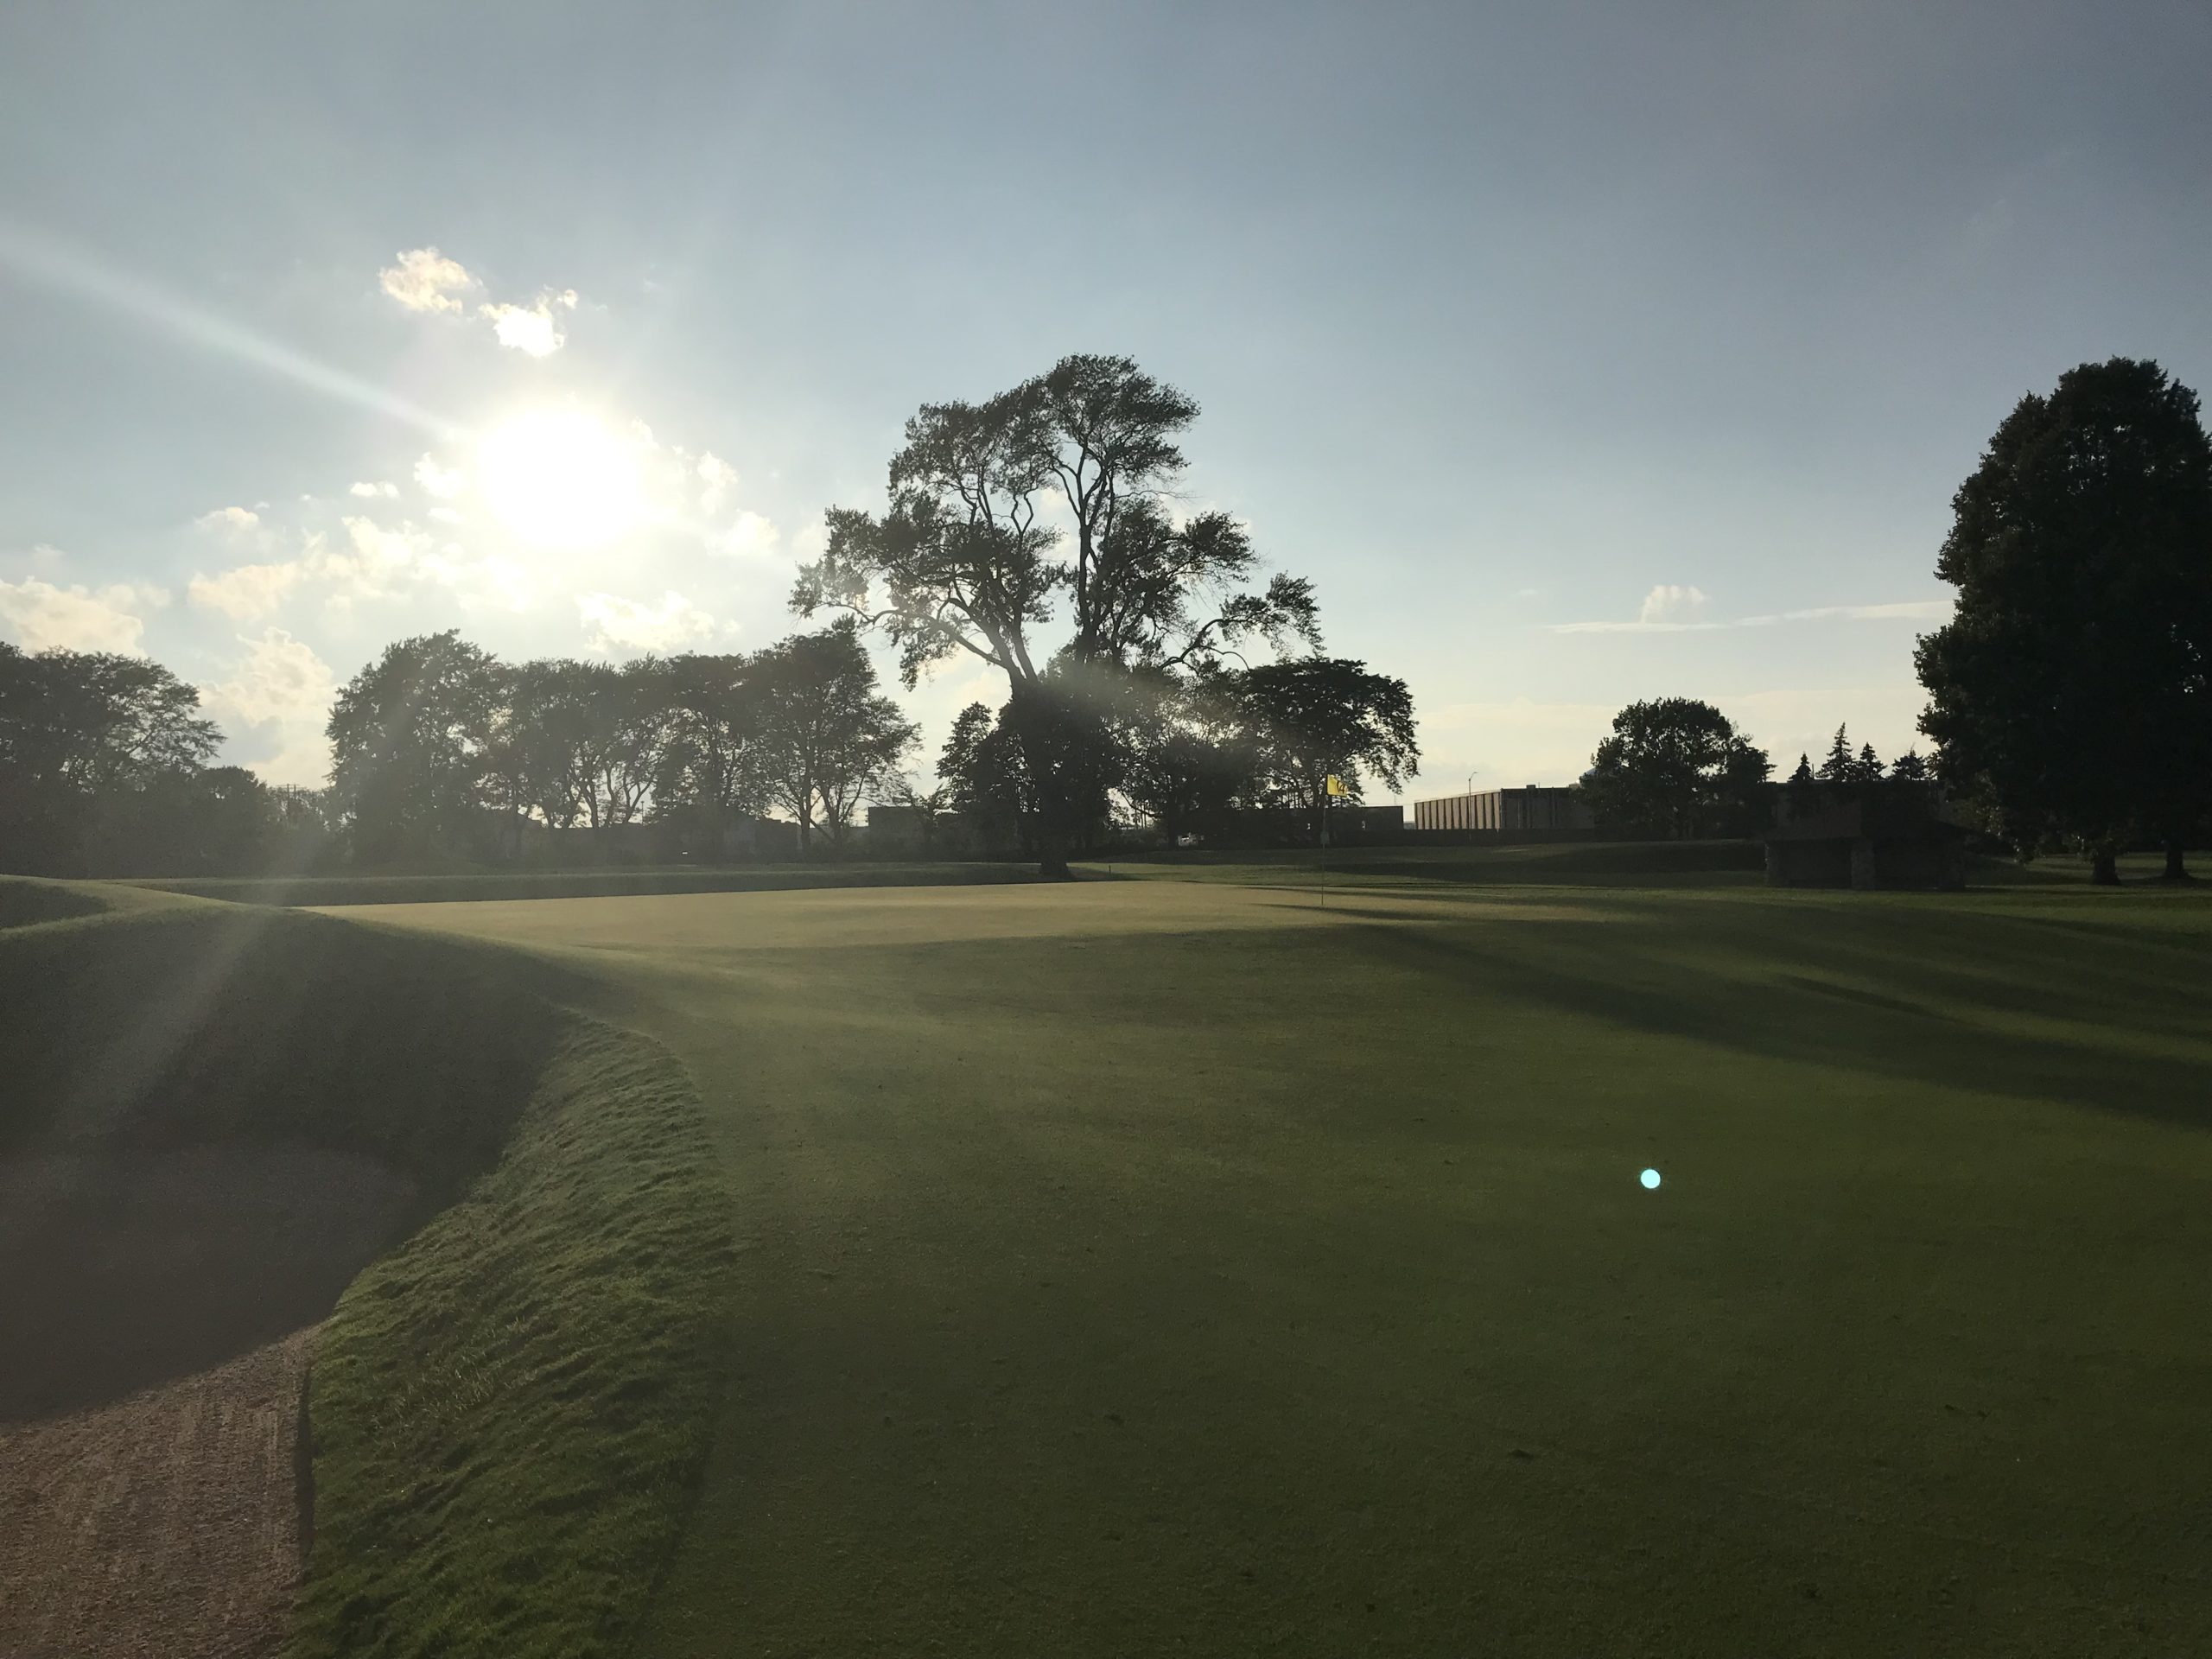
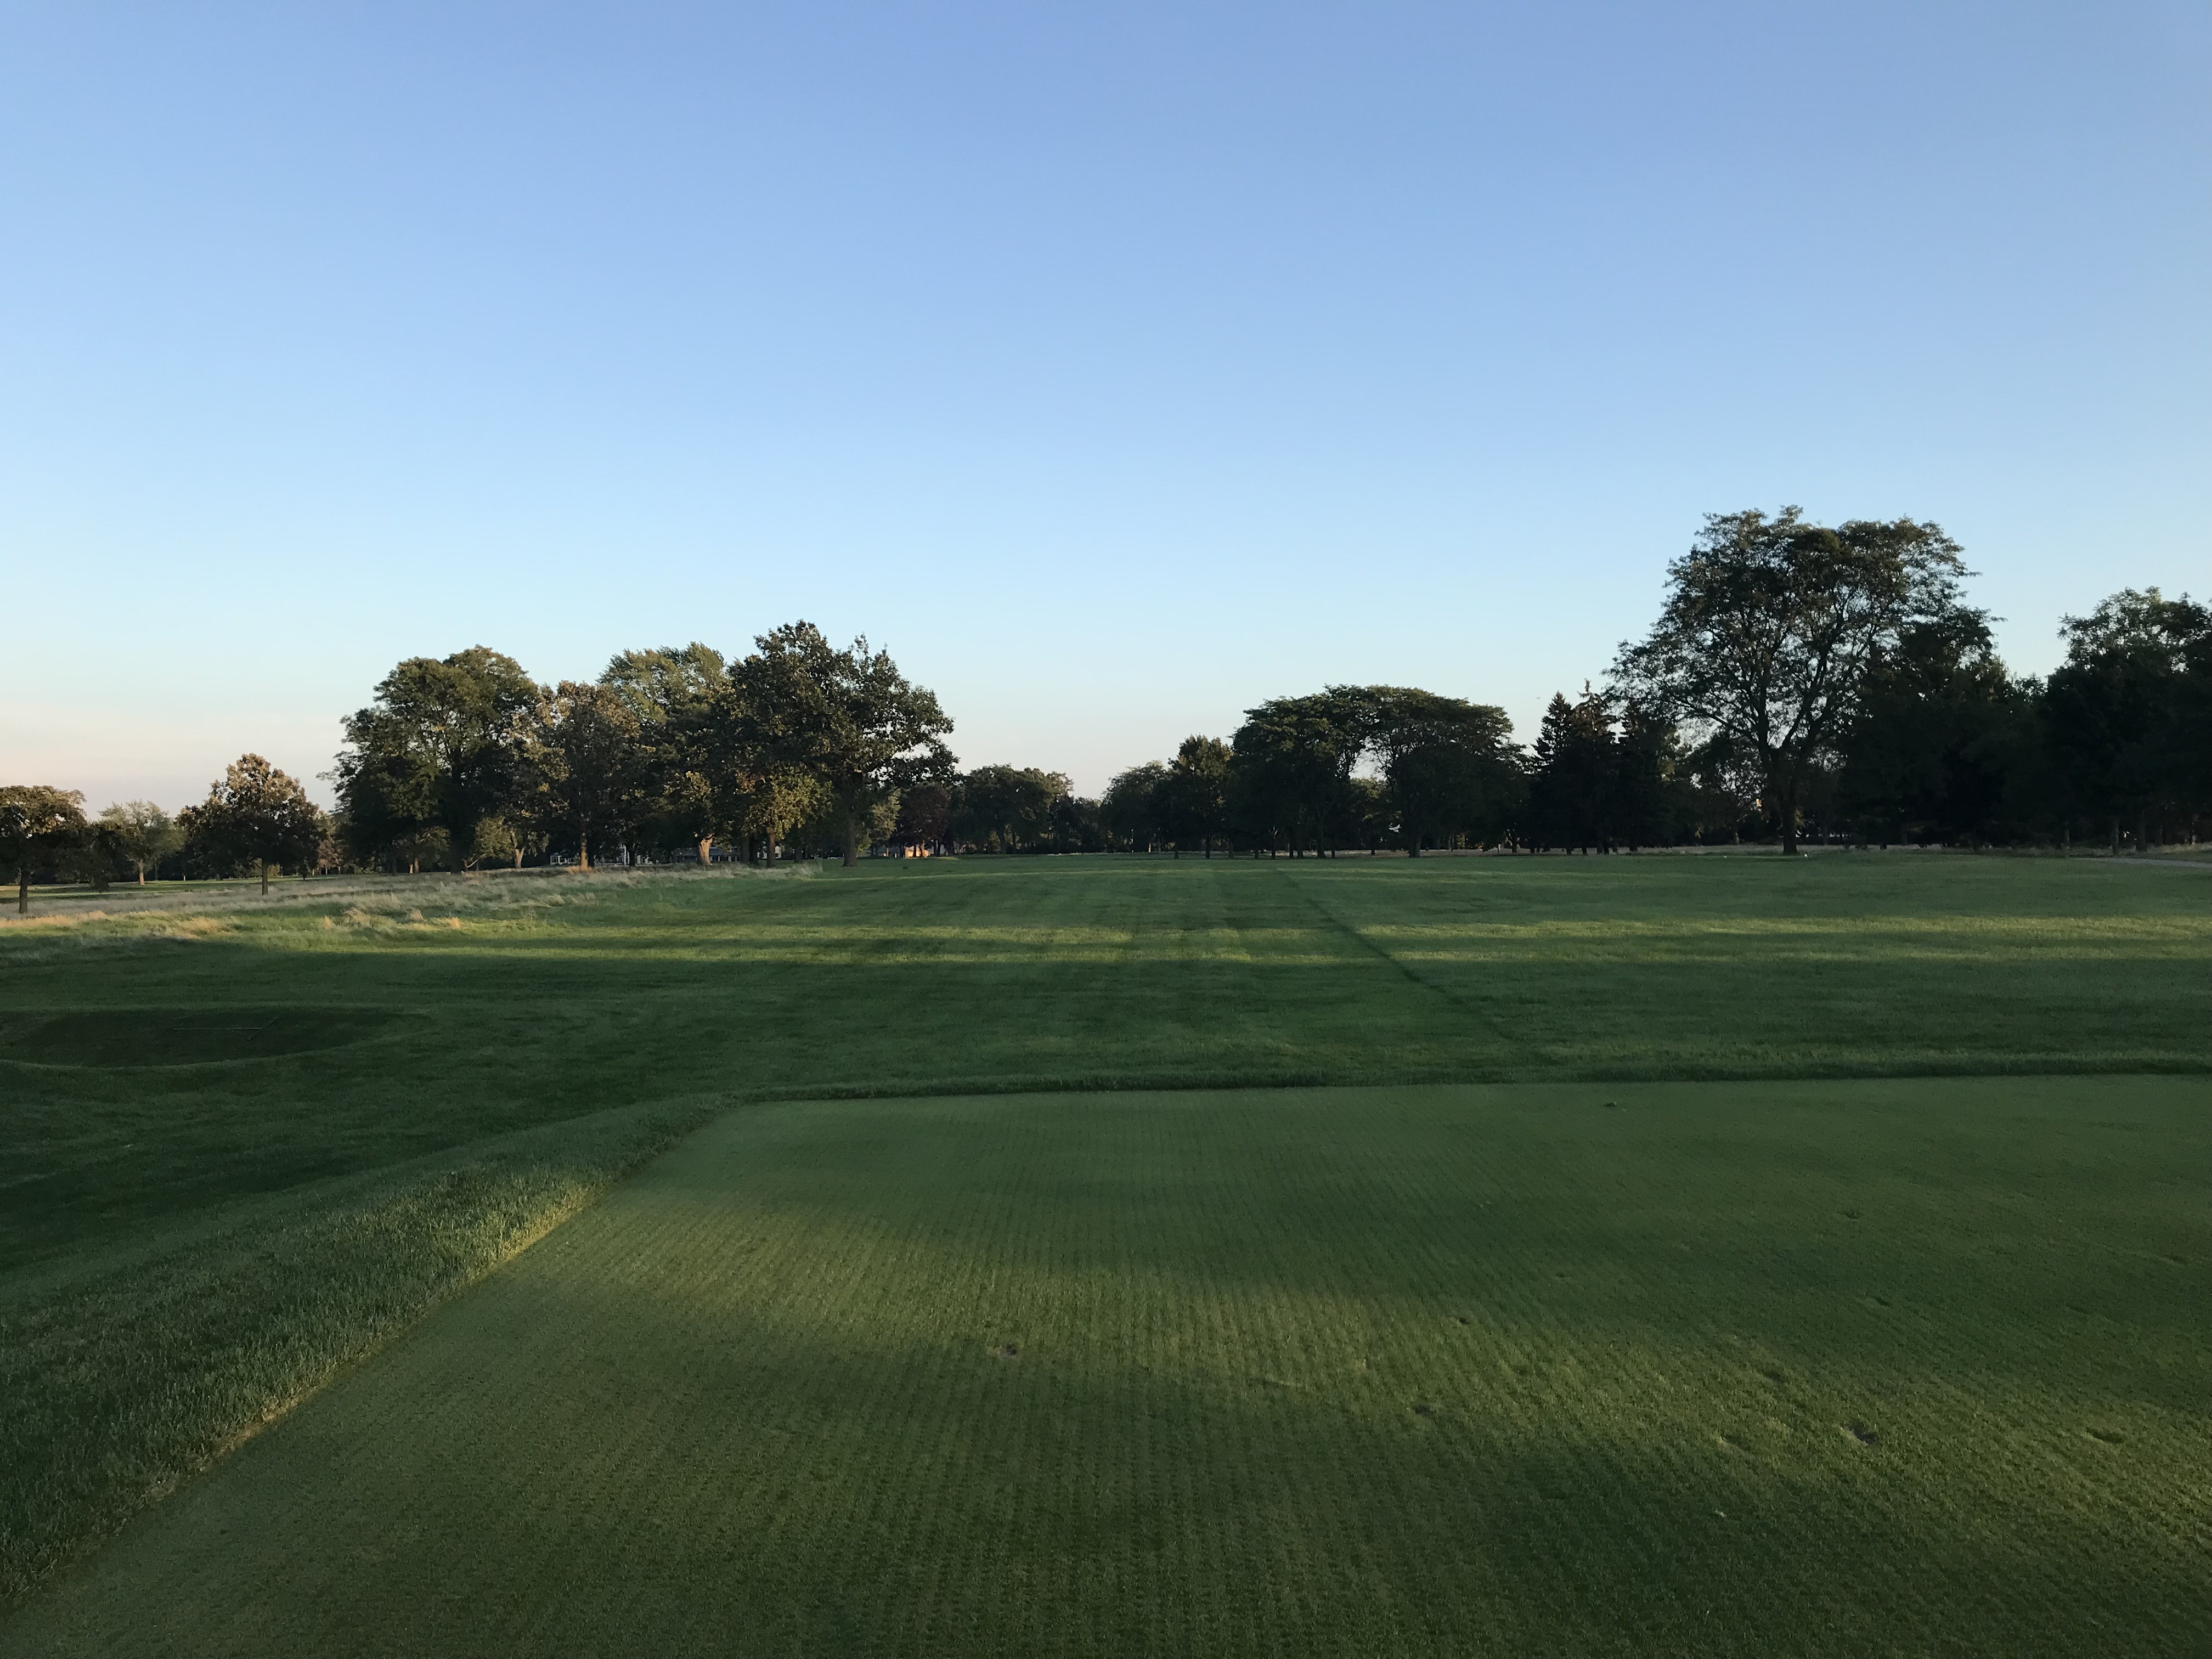
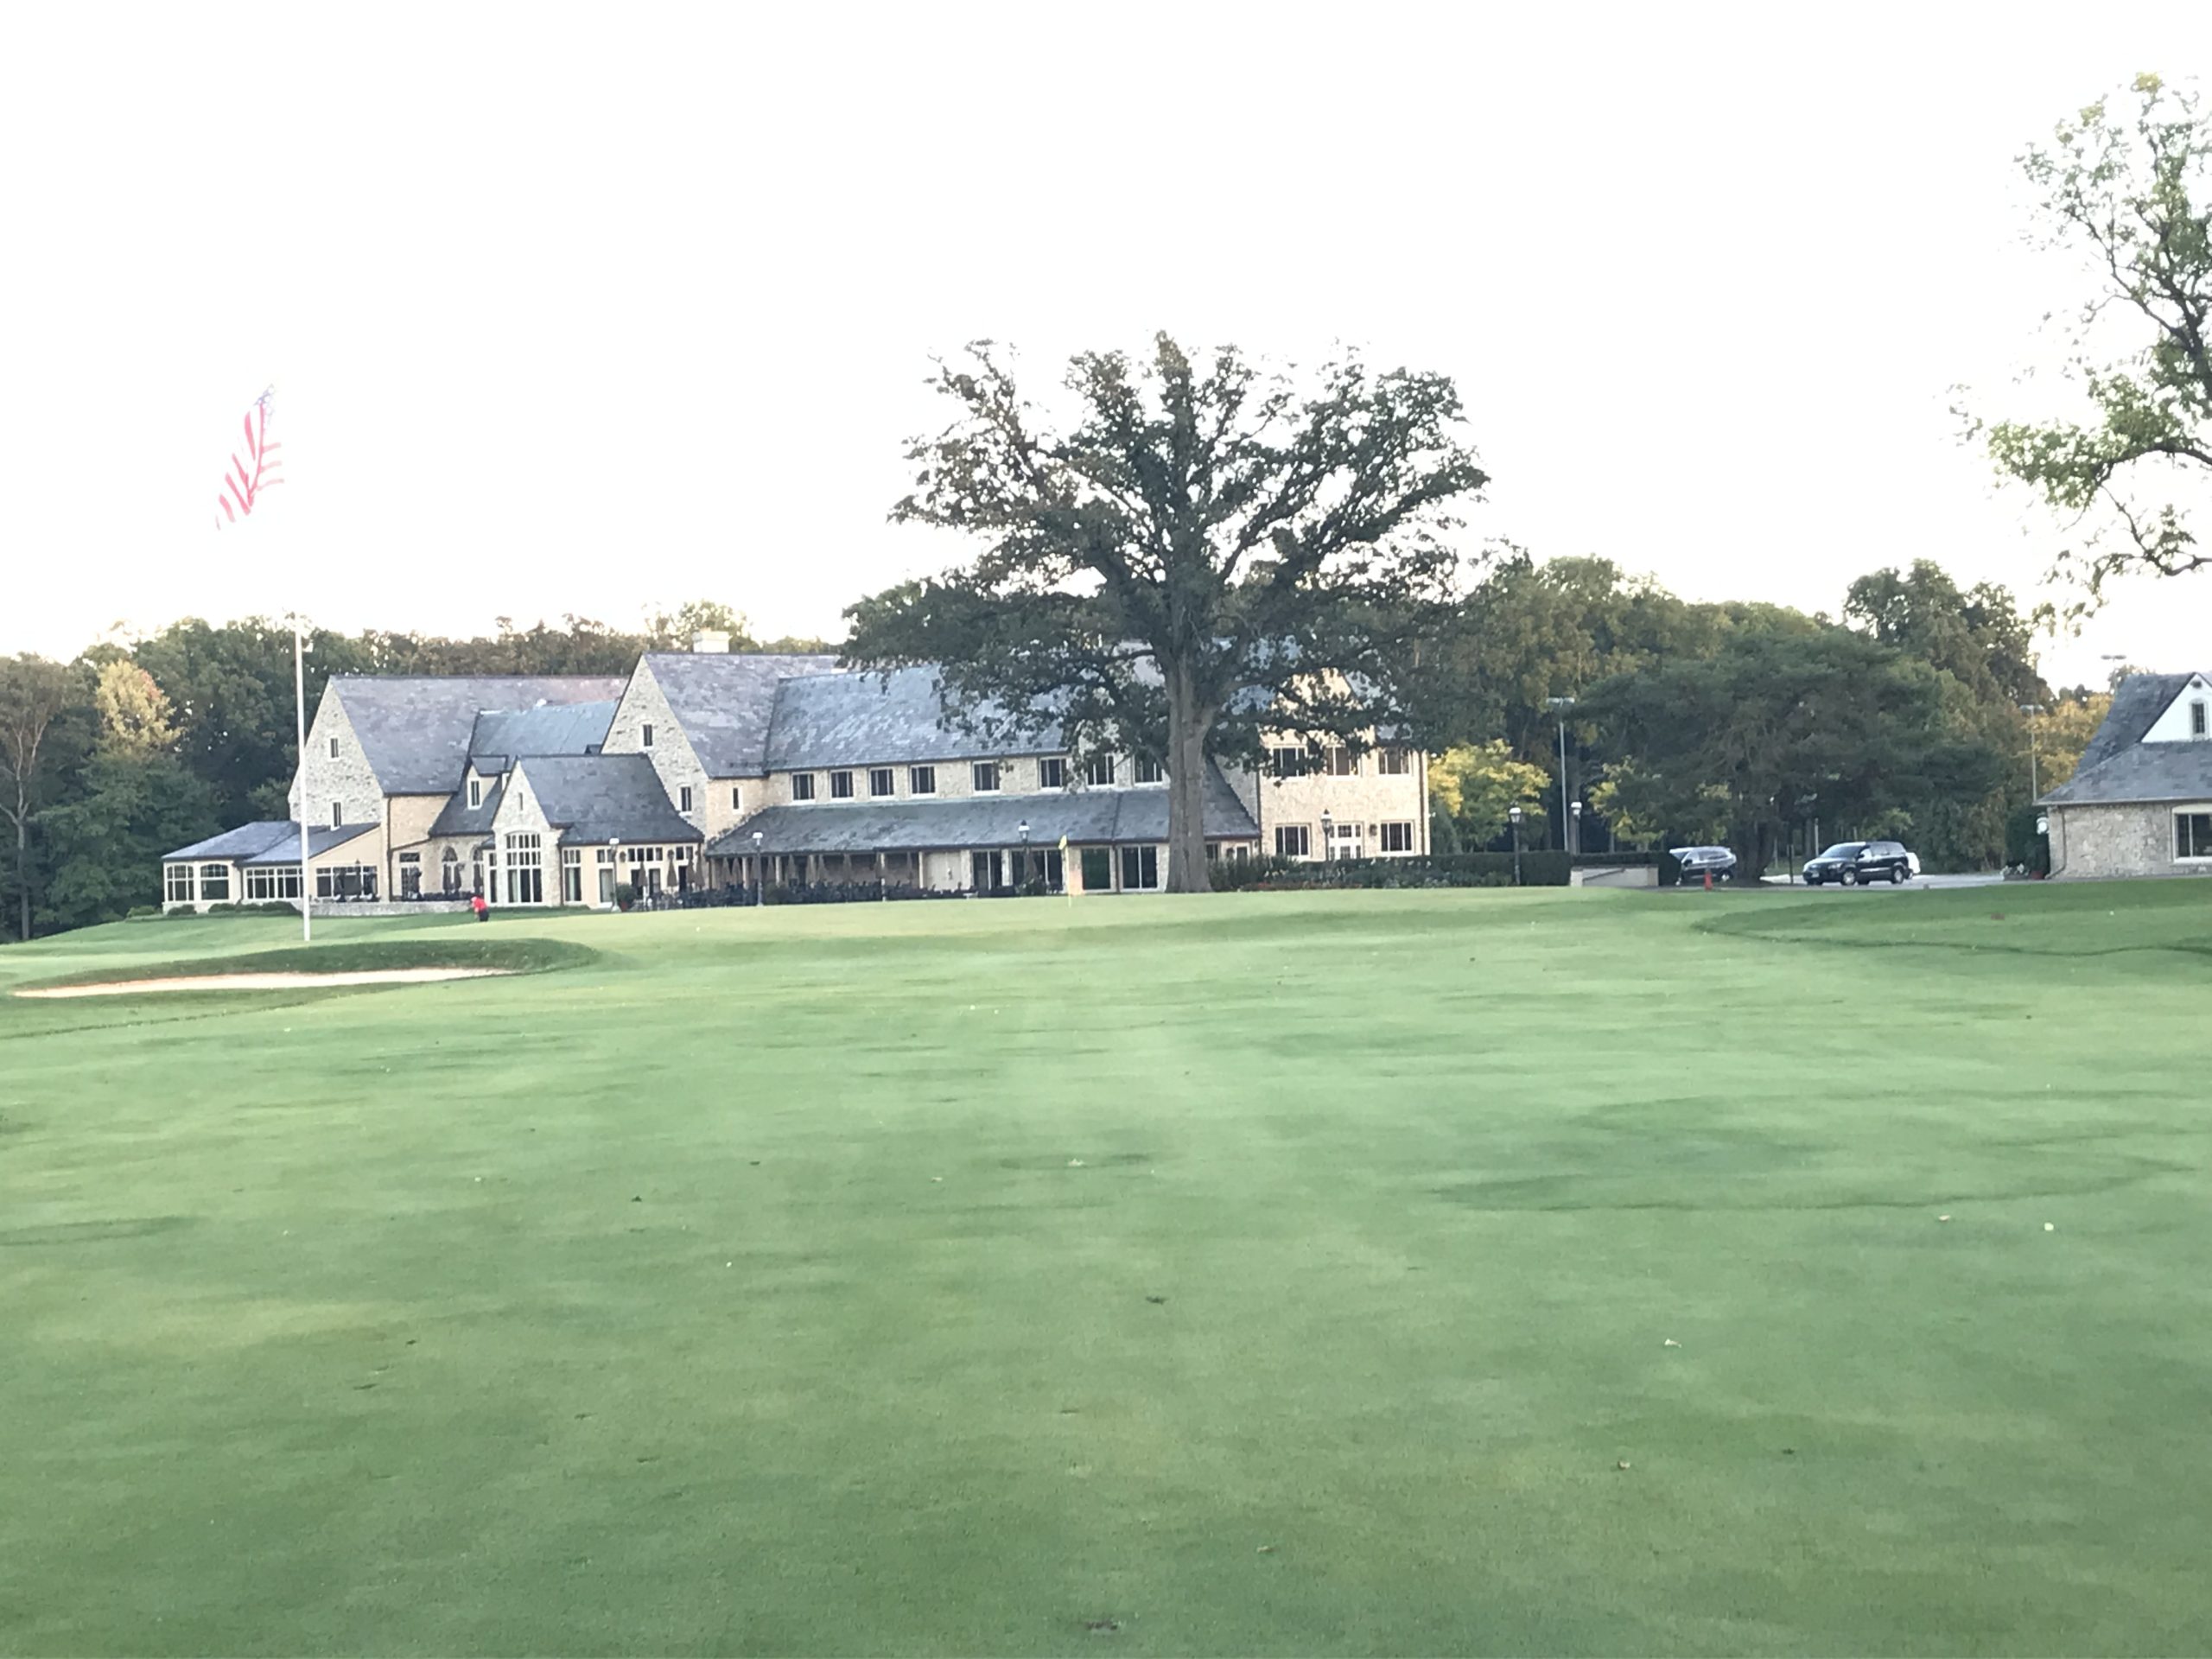
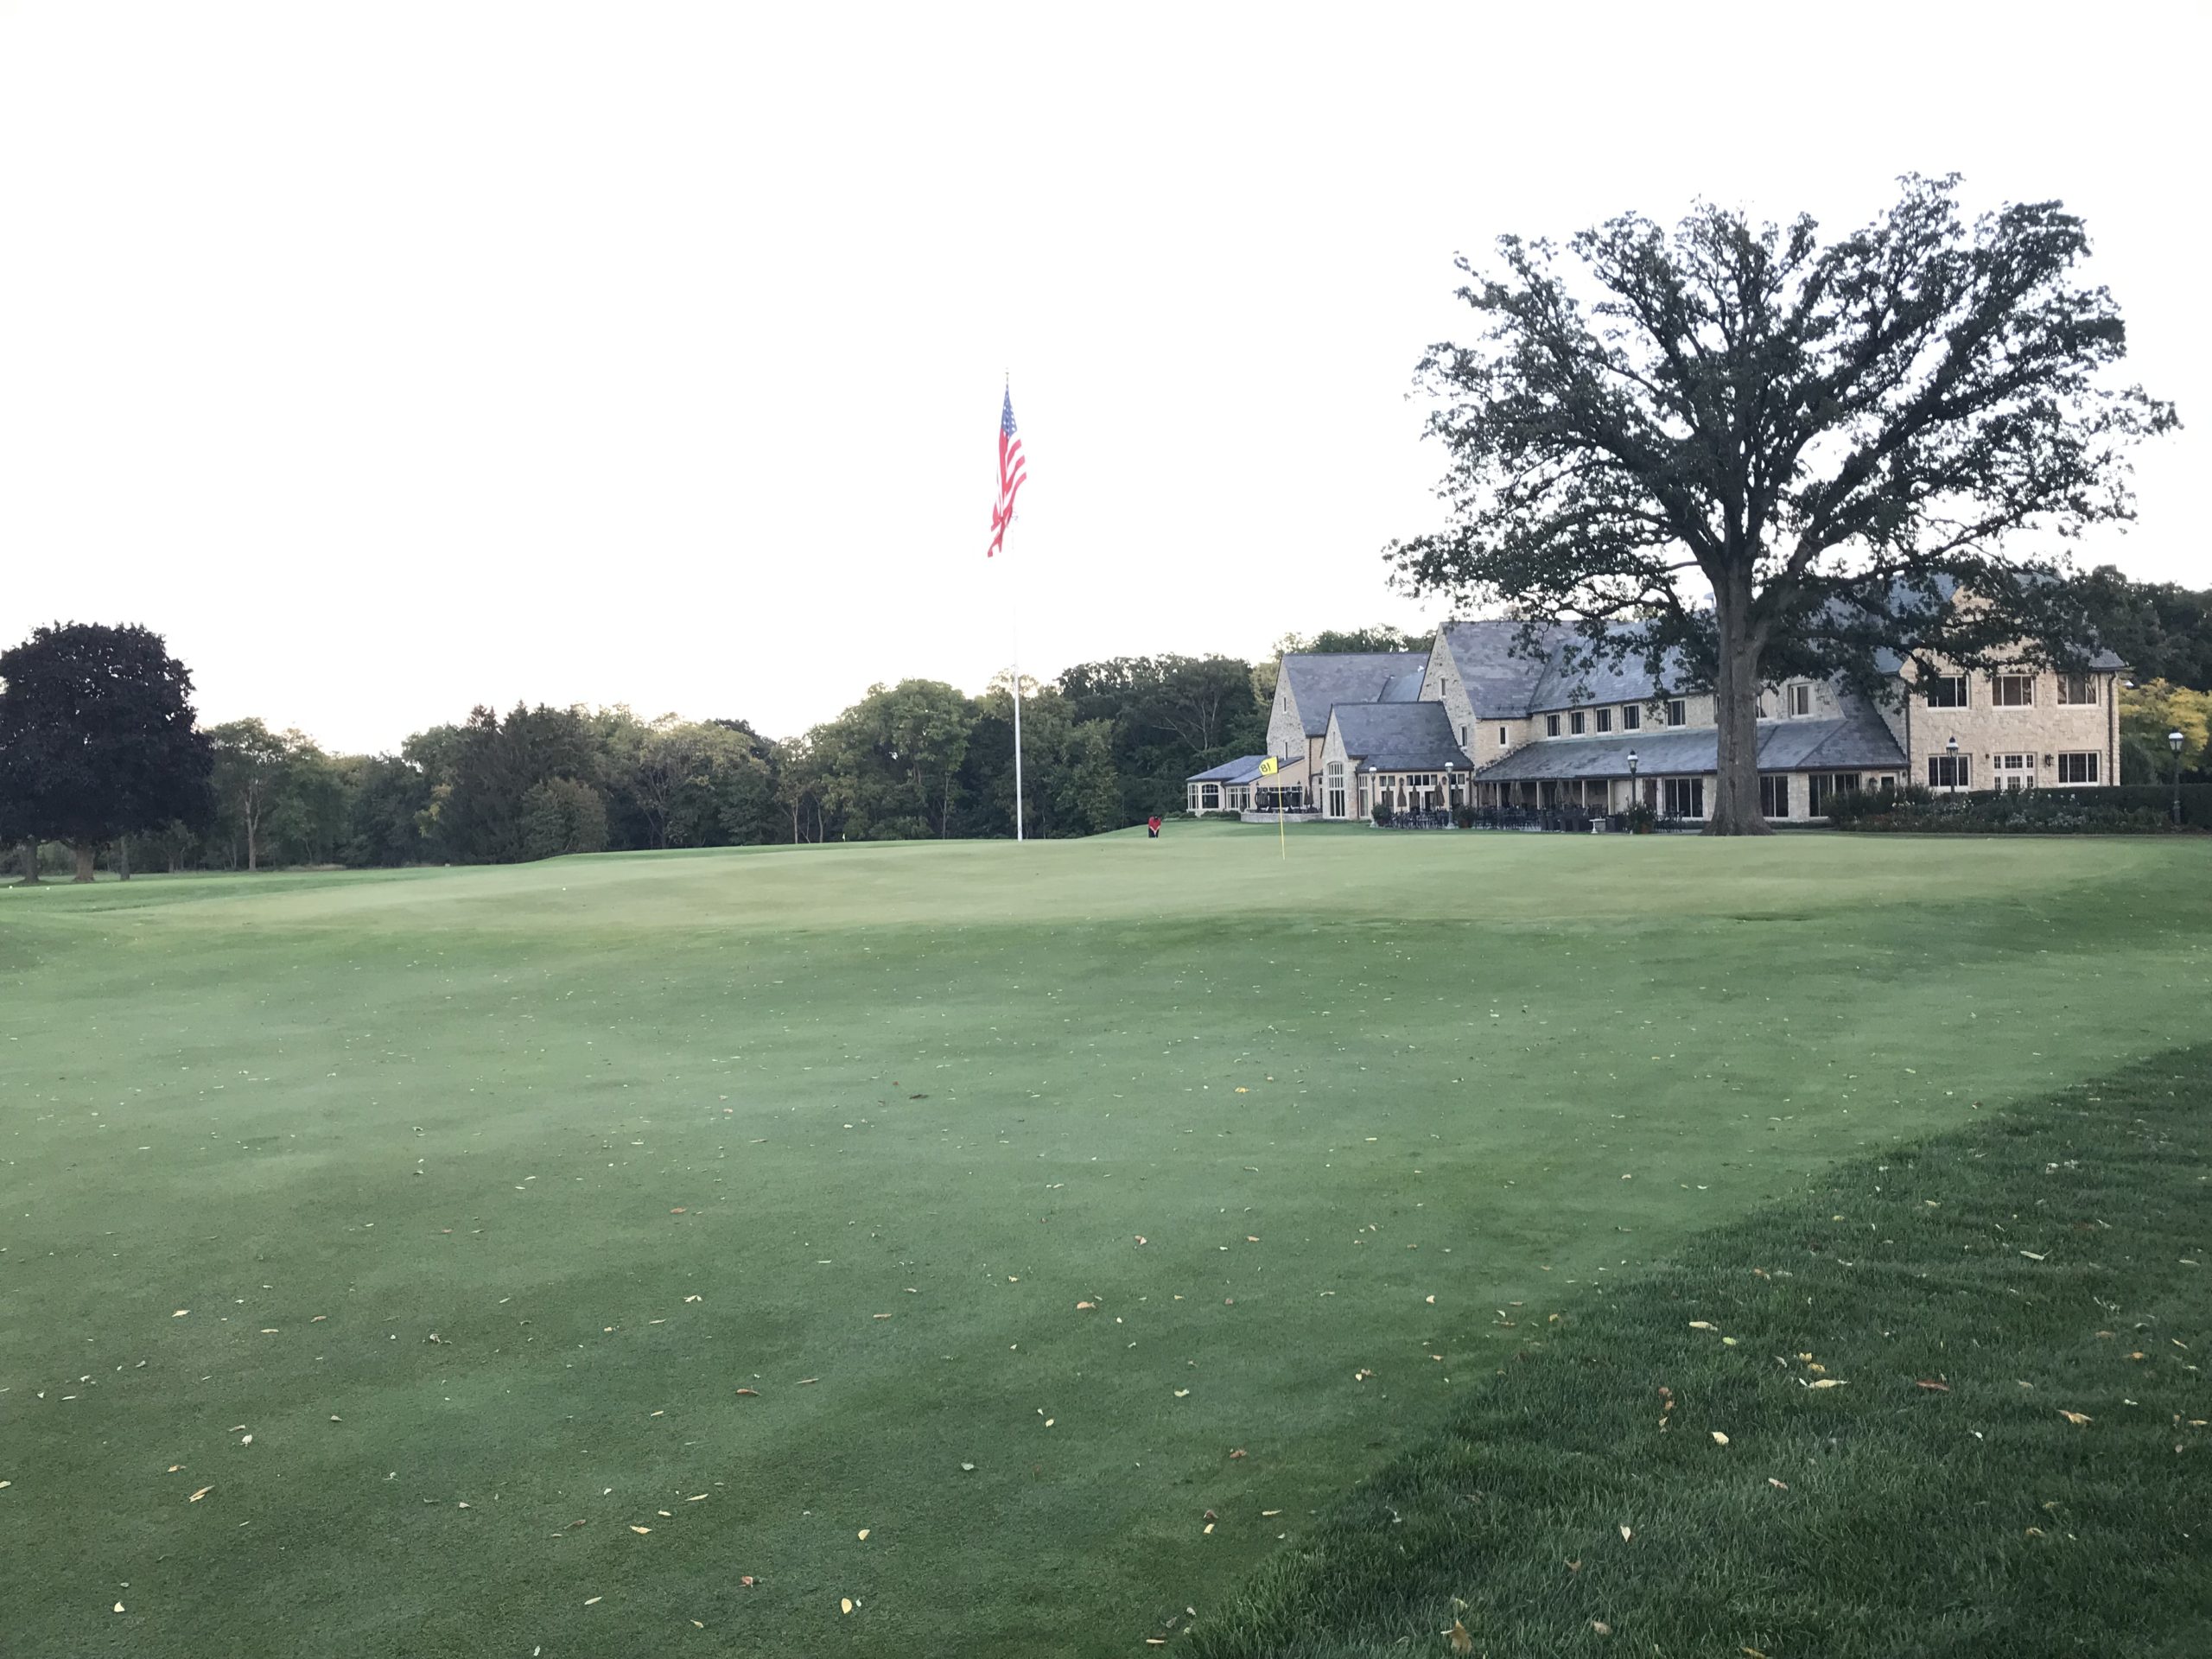
Hole 18 – 546 yards – Par 5 – Long
The final hole stretches out in front of you for what feels like an eternity. It will take most of us three good shots to get home.
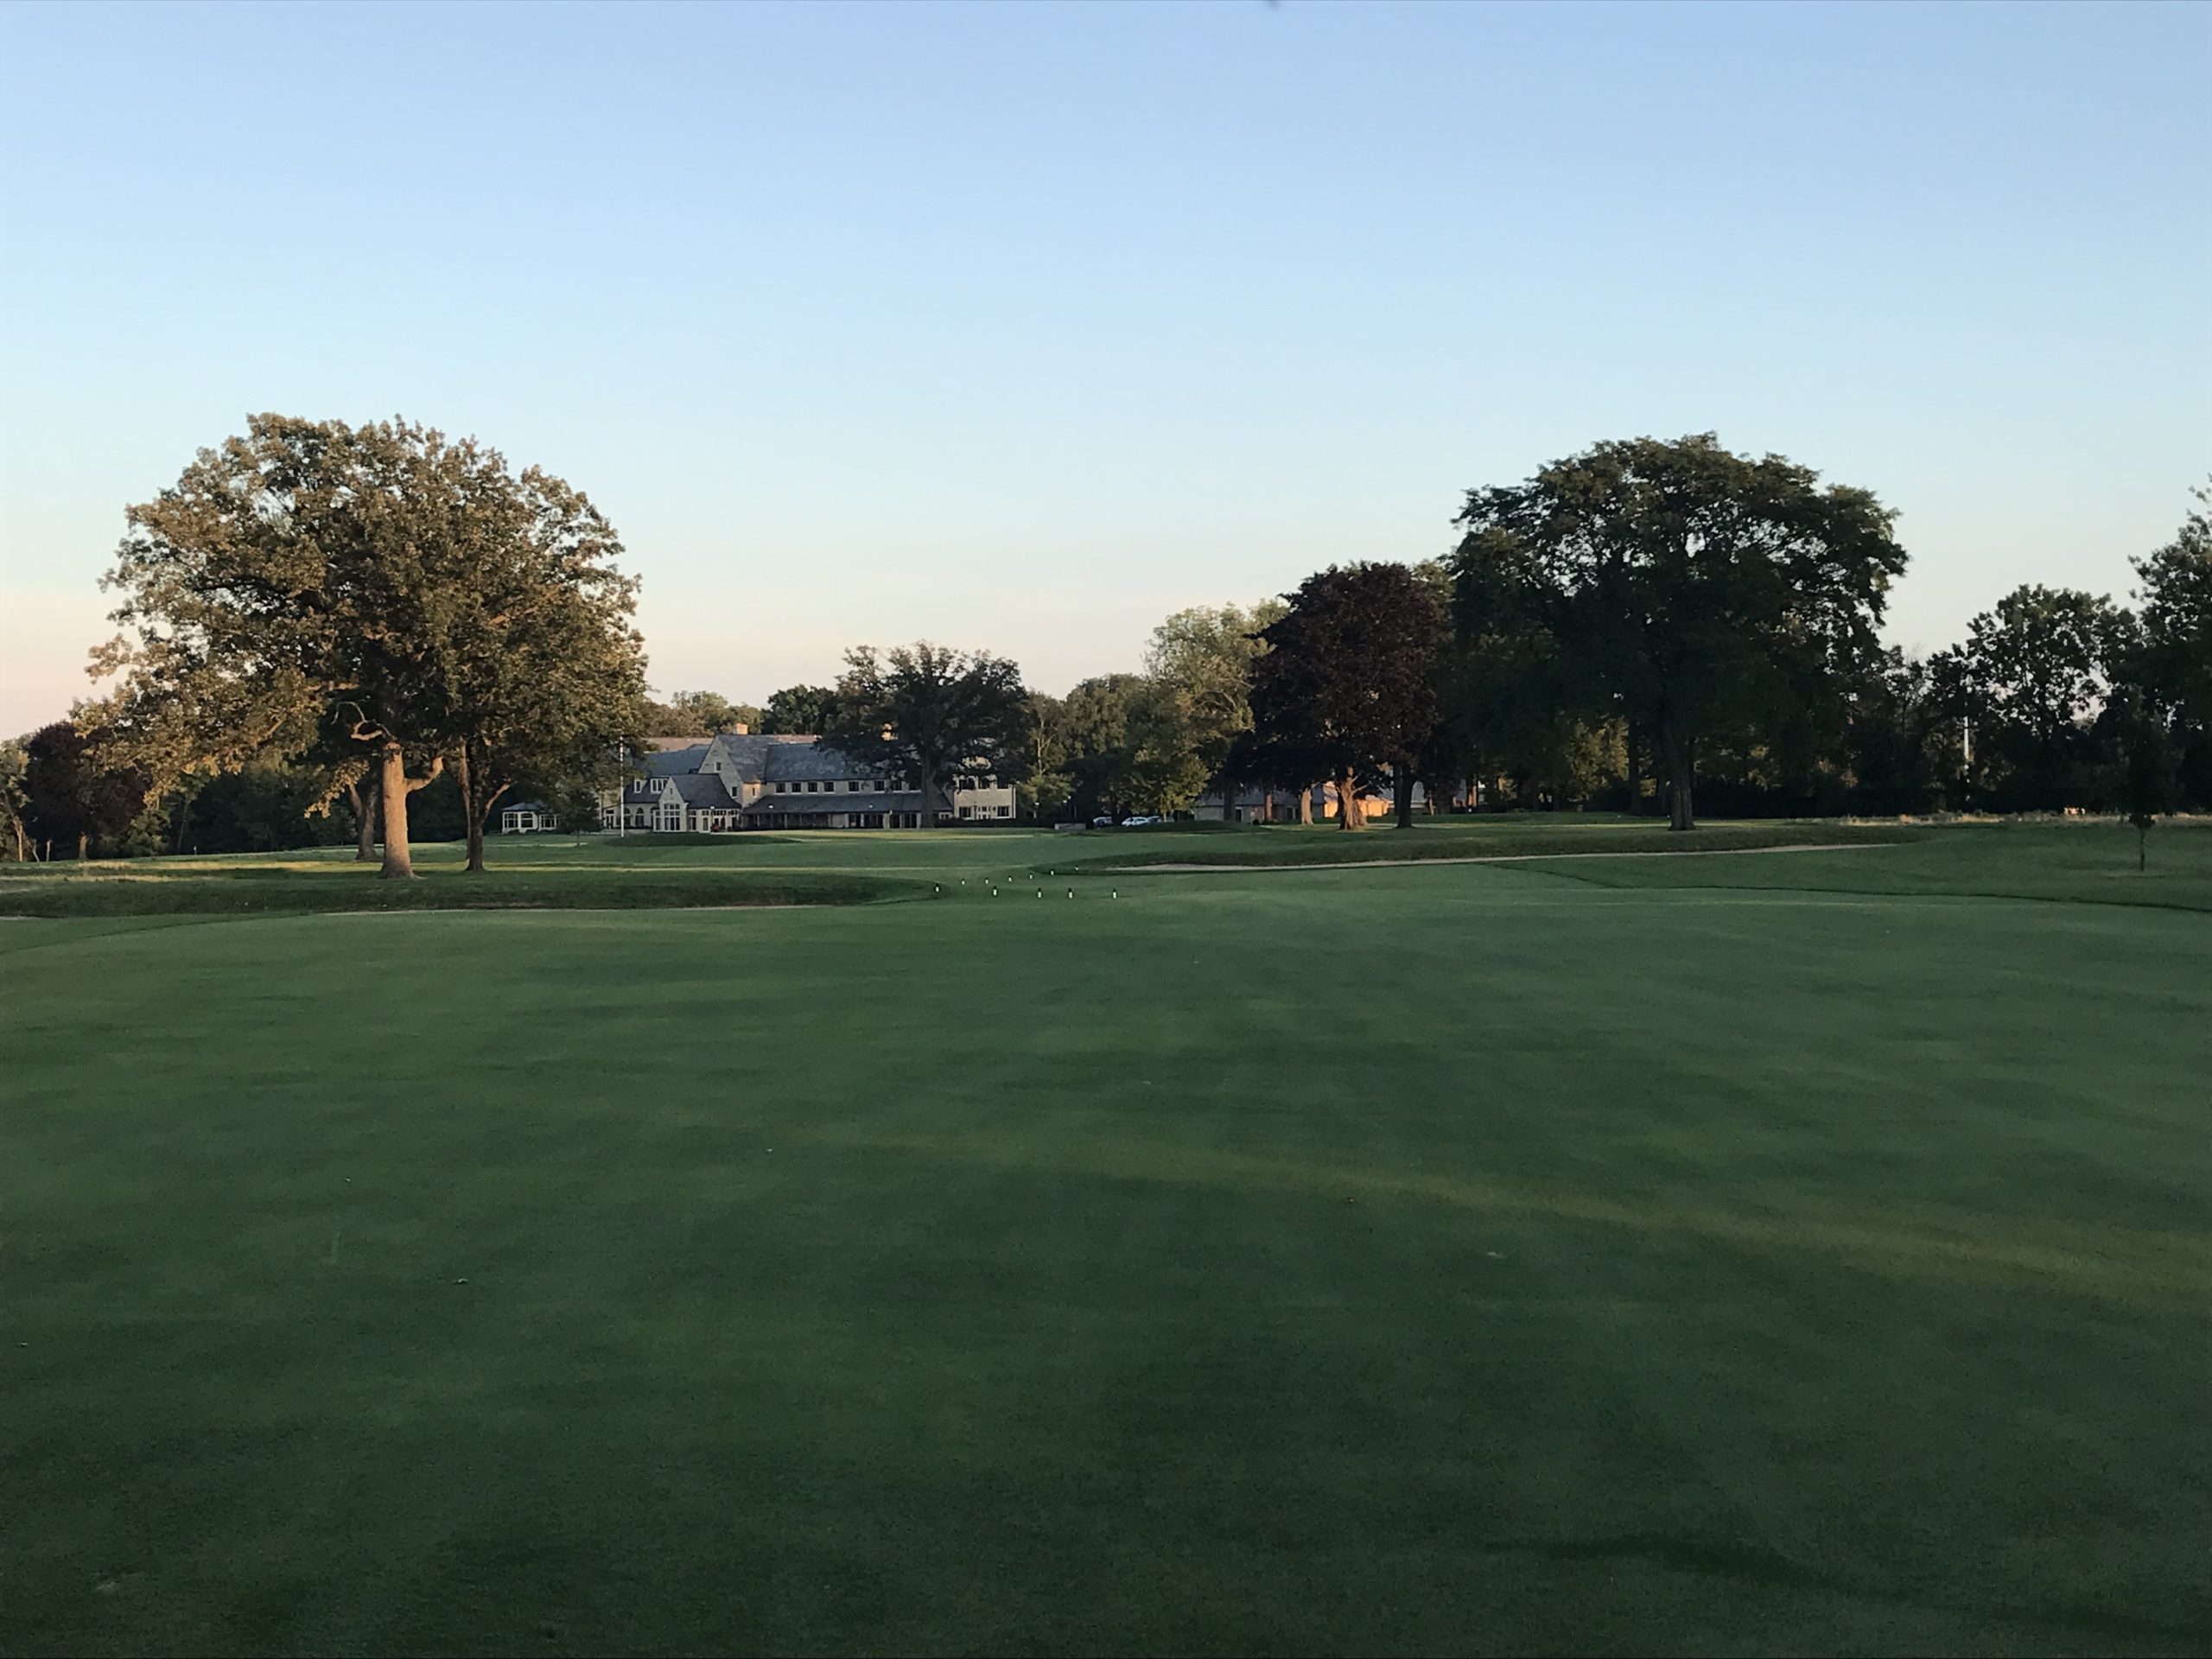
The grand clubhouse sits behind the green, welcoming you back from the outdoors.
Blue Mound really caught my attention. It further solidified my love for Seth Raynor courses and template holes in general. The course is blessed with an excellent set of greens and the bunkering is top notch. Add in conditions that encourage different trajectories (even after rain) and I couldn’t have had a better time. The fact I got to experience it with a friend capped off a wonderful day!