
TPC Myrtle Beach – Played 2014
- Rankings: Golf Digest Public #98
- Location: 1199 TPC Boulevard, Murrells Inlet, South Carolina
- Year: 1999
- Architects: Tom Fazio & Lanny Wadkins
- Course Access: Public
- Walking Rules: Carts Available
Score Card Information:
- Black: 6,950 yards, Par 72, 74.0 Rating/145 Slope
- Gold: 6,700 yards, Par 72, 72.2 Rating/135 Slope
- Blue: 6,393 yards, Par 72, 70.4 Rating/126 Slope
- White: 6,183 yards, Par 72, 68.4 Rating/121 Slope
- Red: 5,118 yards, Par 72, 70.3 Rating/125 Slope
I was down in the Myrtle Beach area for a short trip with the wife. Lucky for us our trip coincided with Bike Week! There is some sarcasm there, but it was pretty cool to see all the motorcycles around and they were only noisy during the day.
TPC Myrtle Beach was one of the three courses I played on this trip. Opened in 1999, it was designed by Tom Fazio and Lanny Wadkins. The course is a past host to the Senior Tour Championship. When playing the layout you can see how it would be a difficult test under tournament conditions. I couldn’t find much other information on the course, so let’s get to the course tour. I played the gold tees so all yardages will be from those markers.
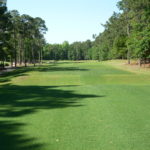
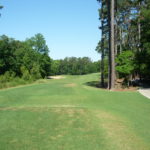
Hole 1 – 355 yards – Par 4
TPC Myrtle Beach starts out with a somewhat tight driving area. You need to focus on your aim since there is a bunker to the left and woods to the right. At this distance, you don’t necessarily need driver.
The second shot plays to a raised green with bunkers on both sides.
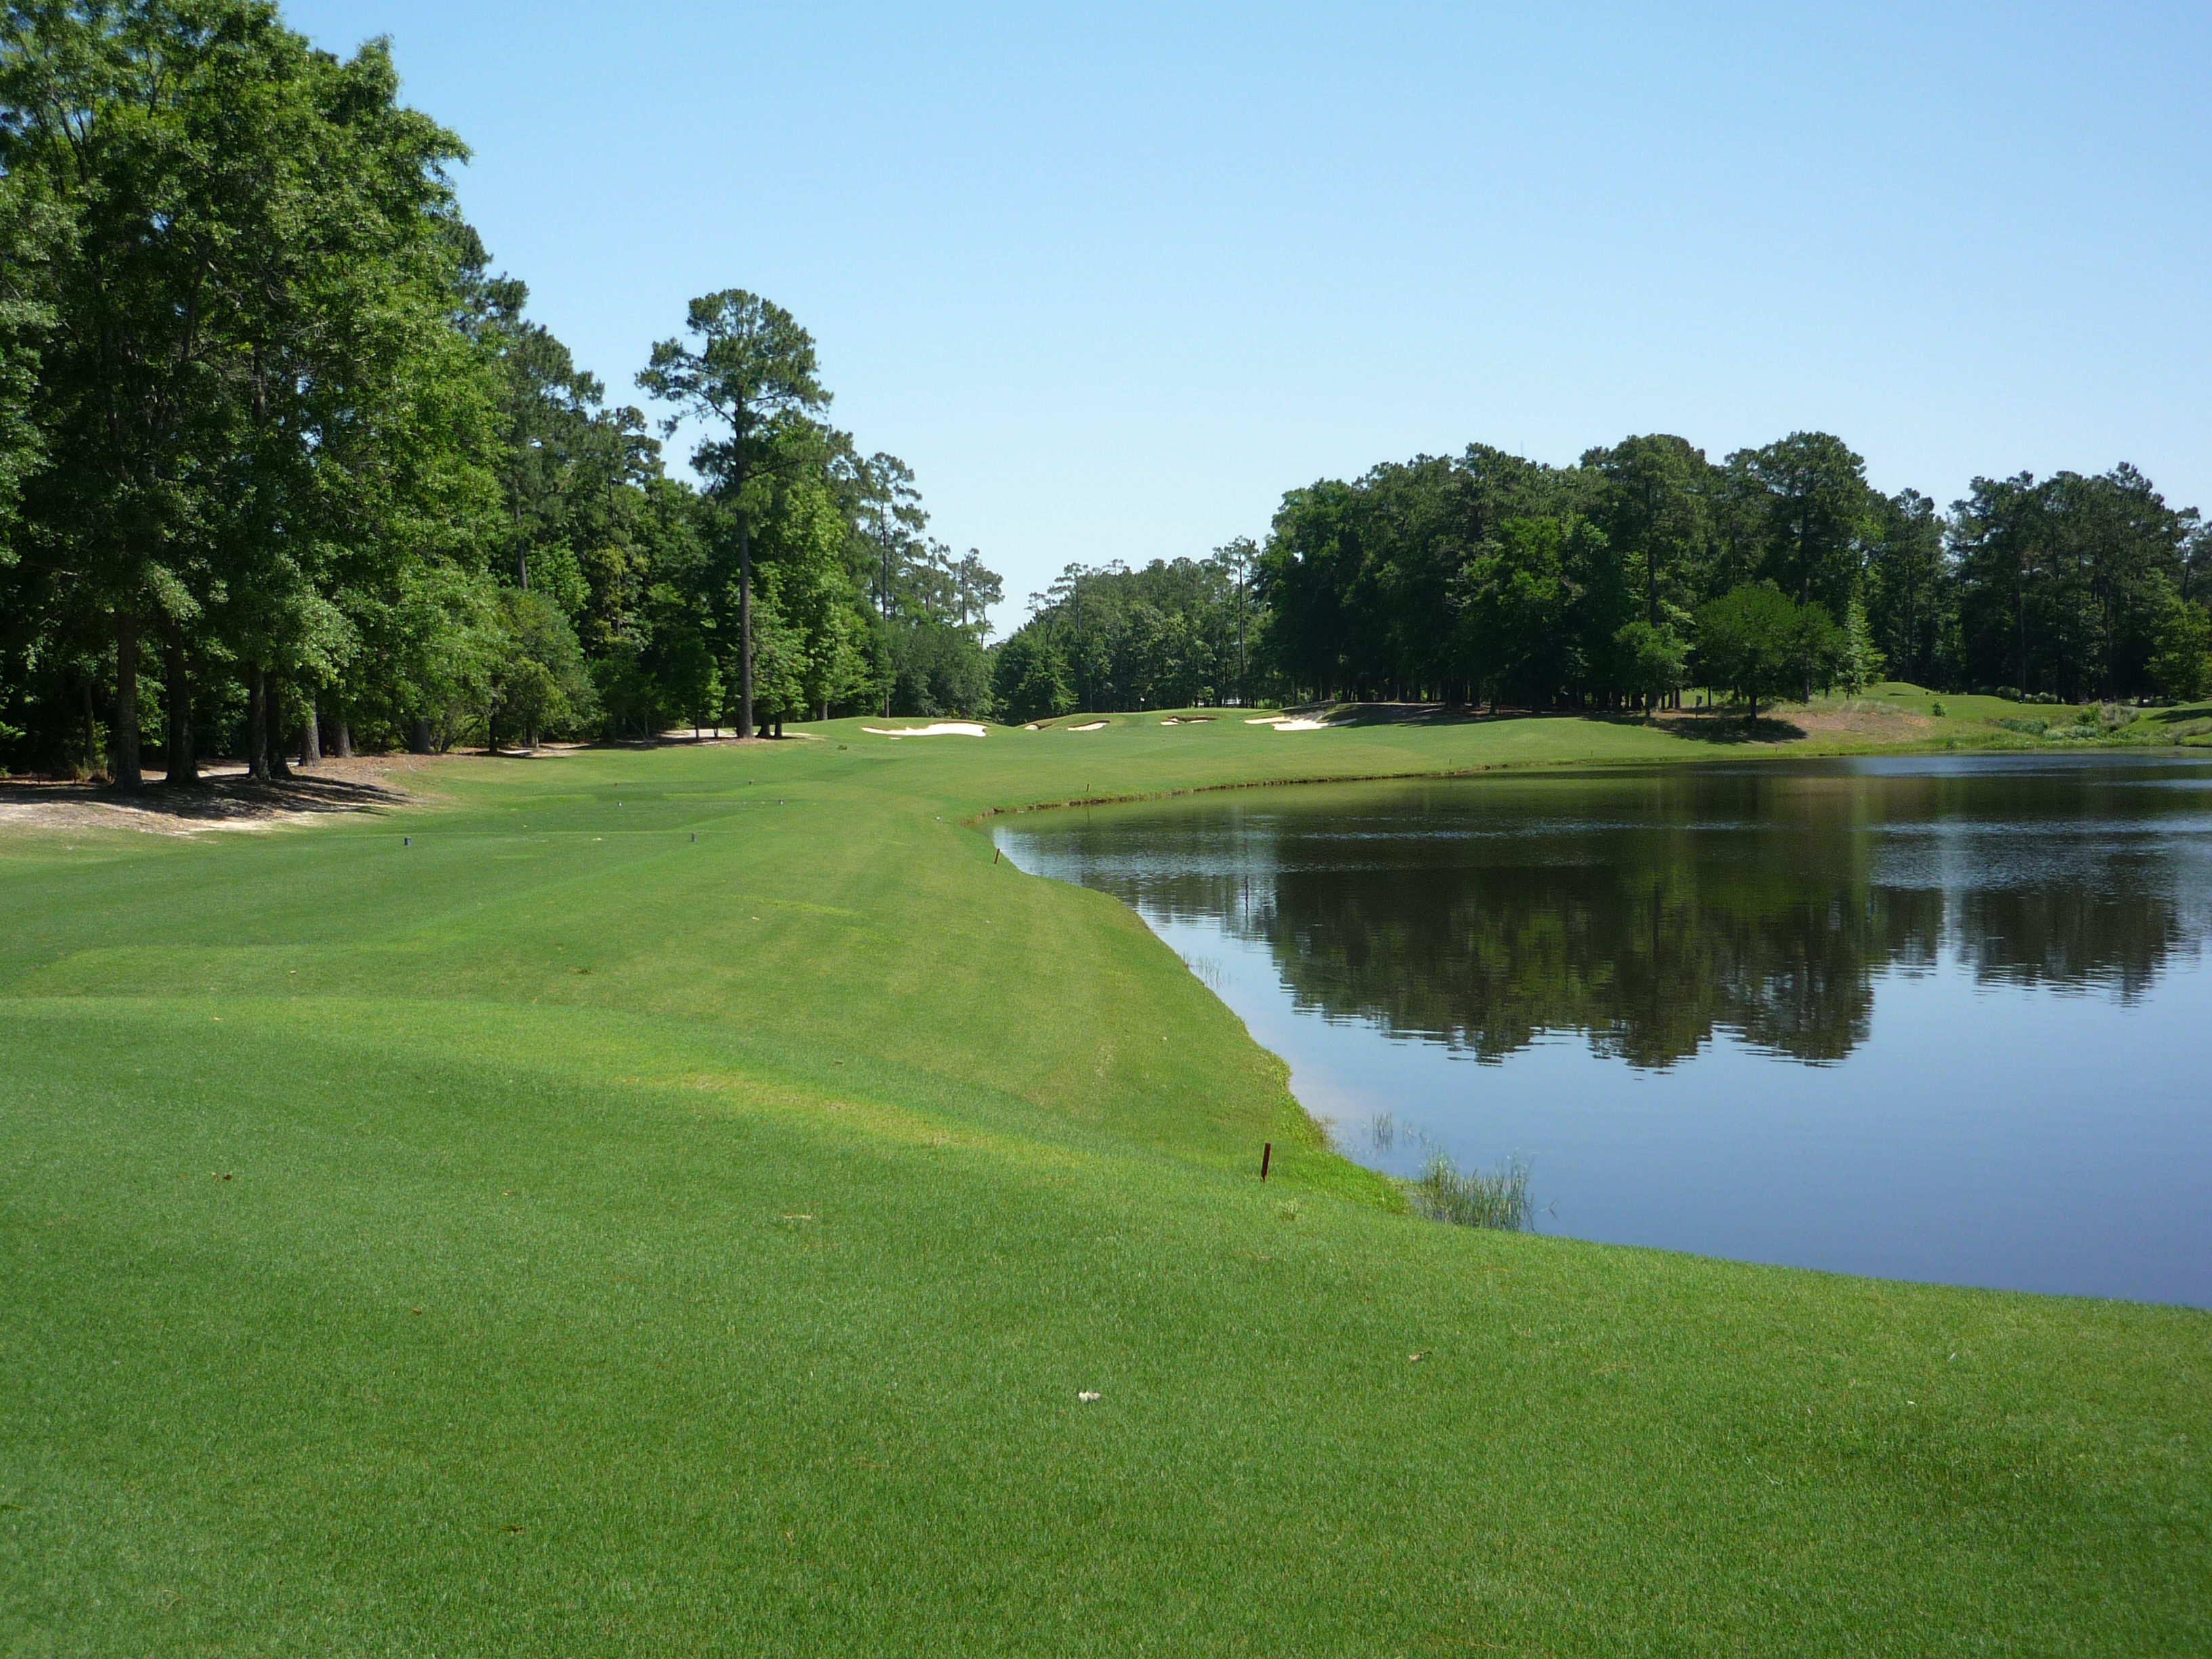
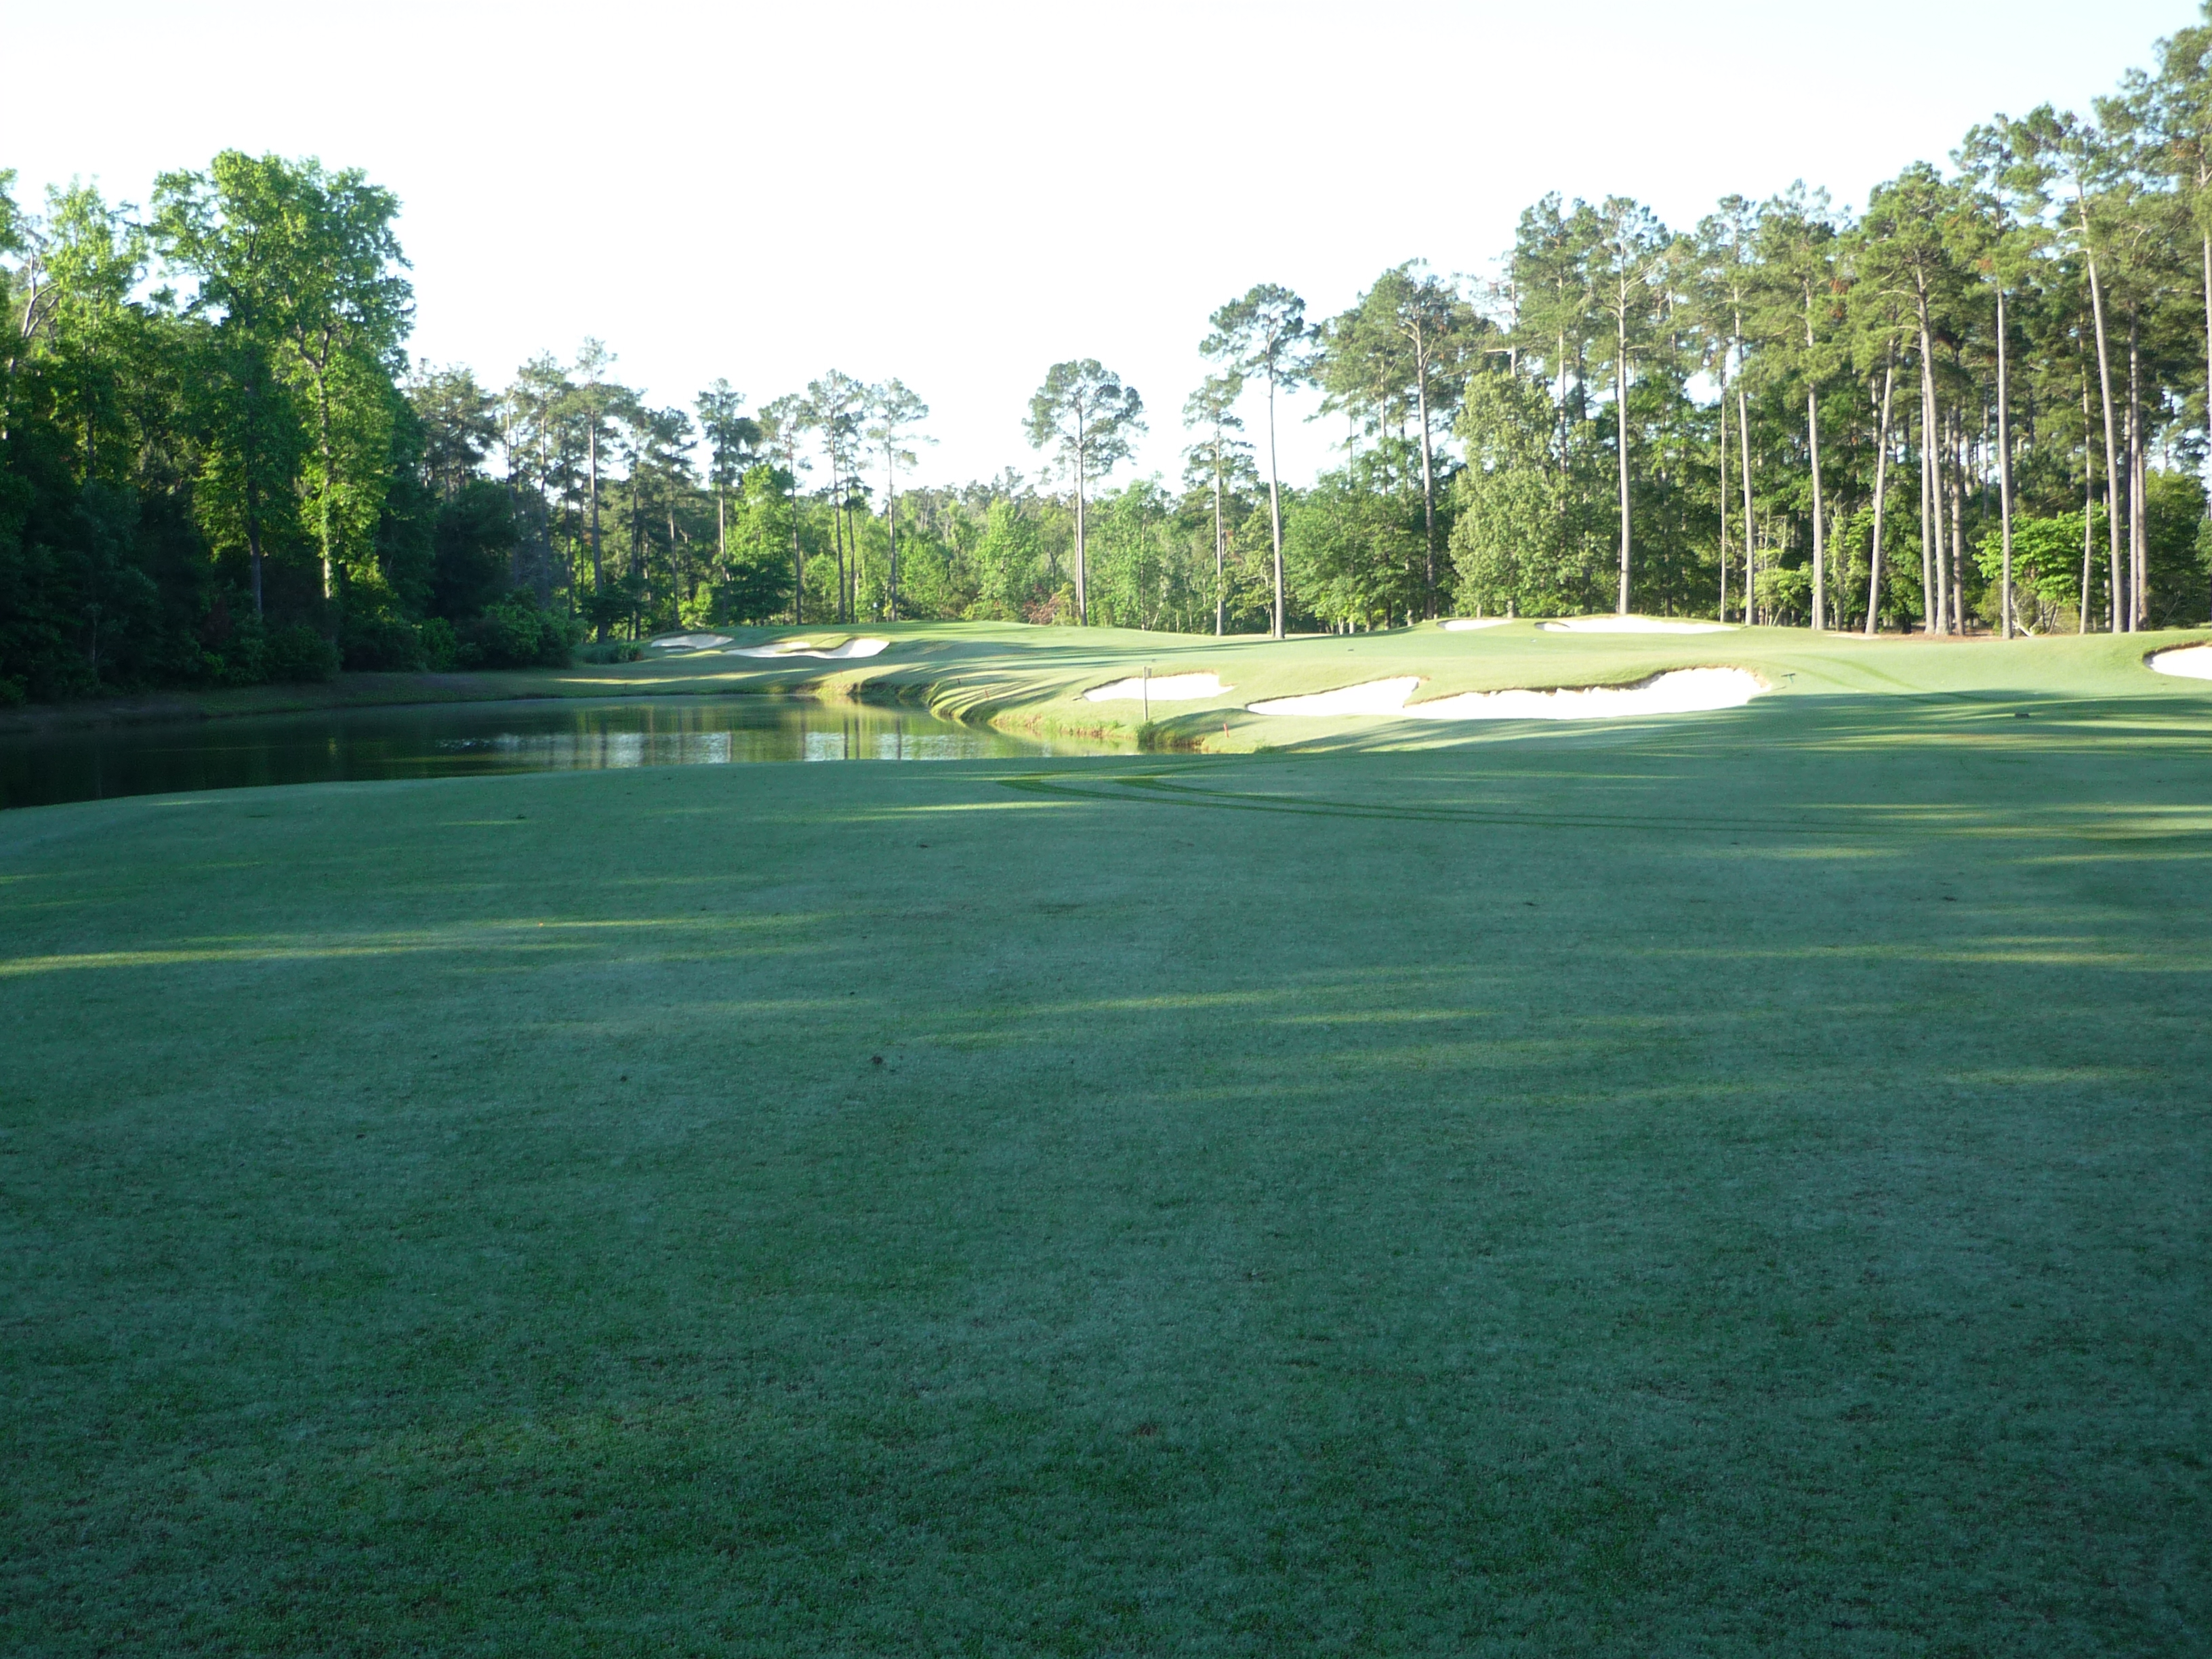
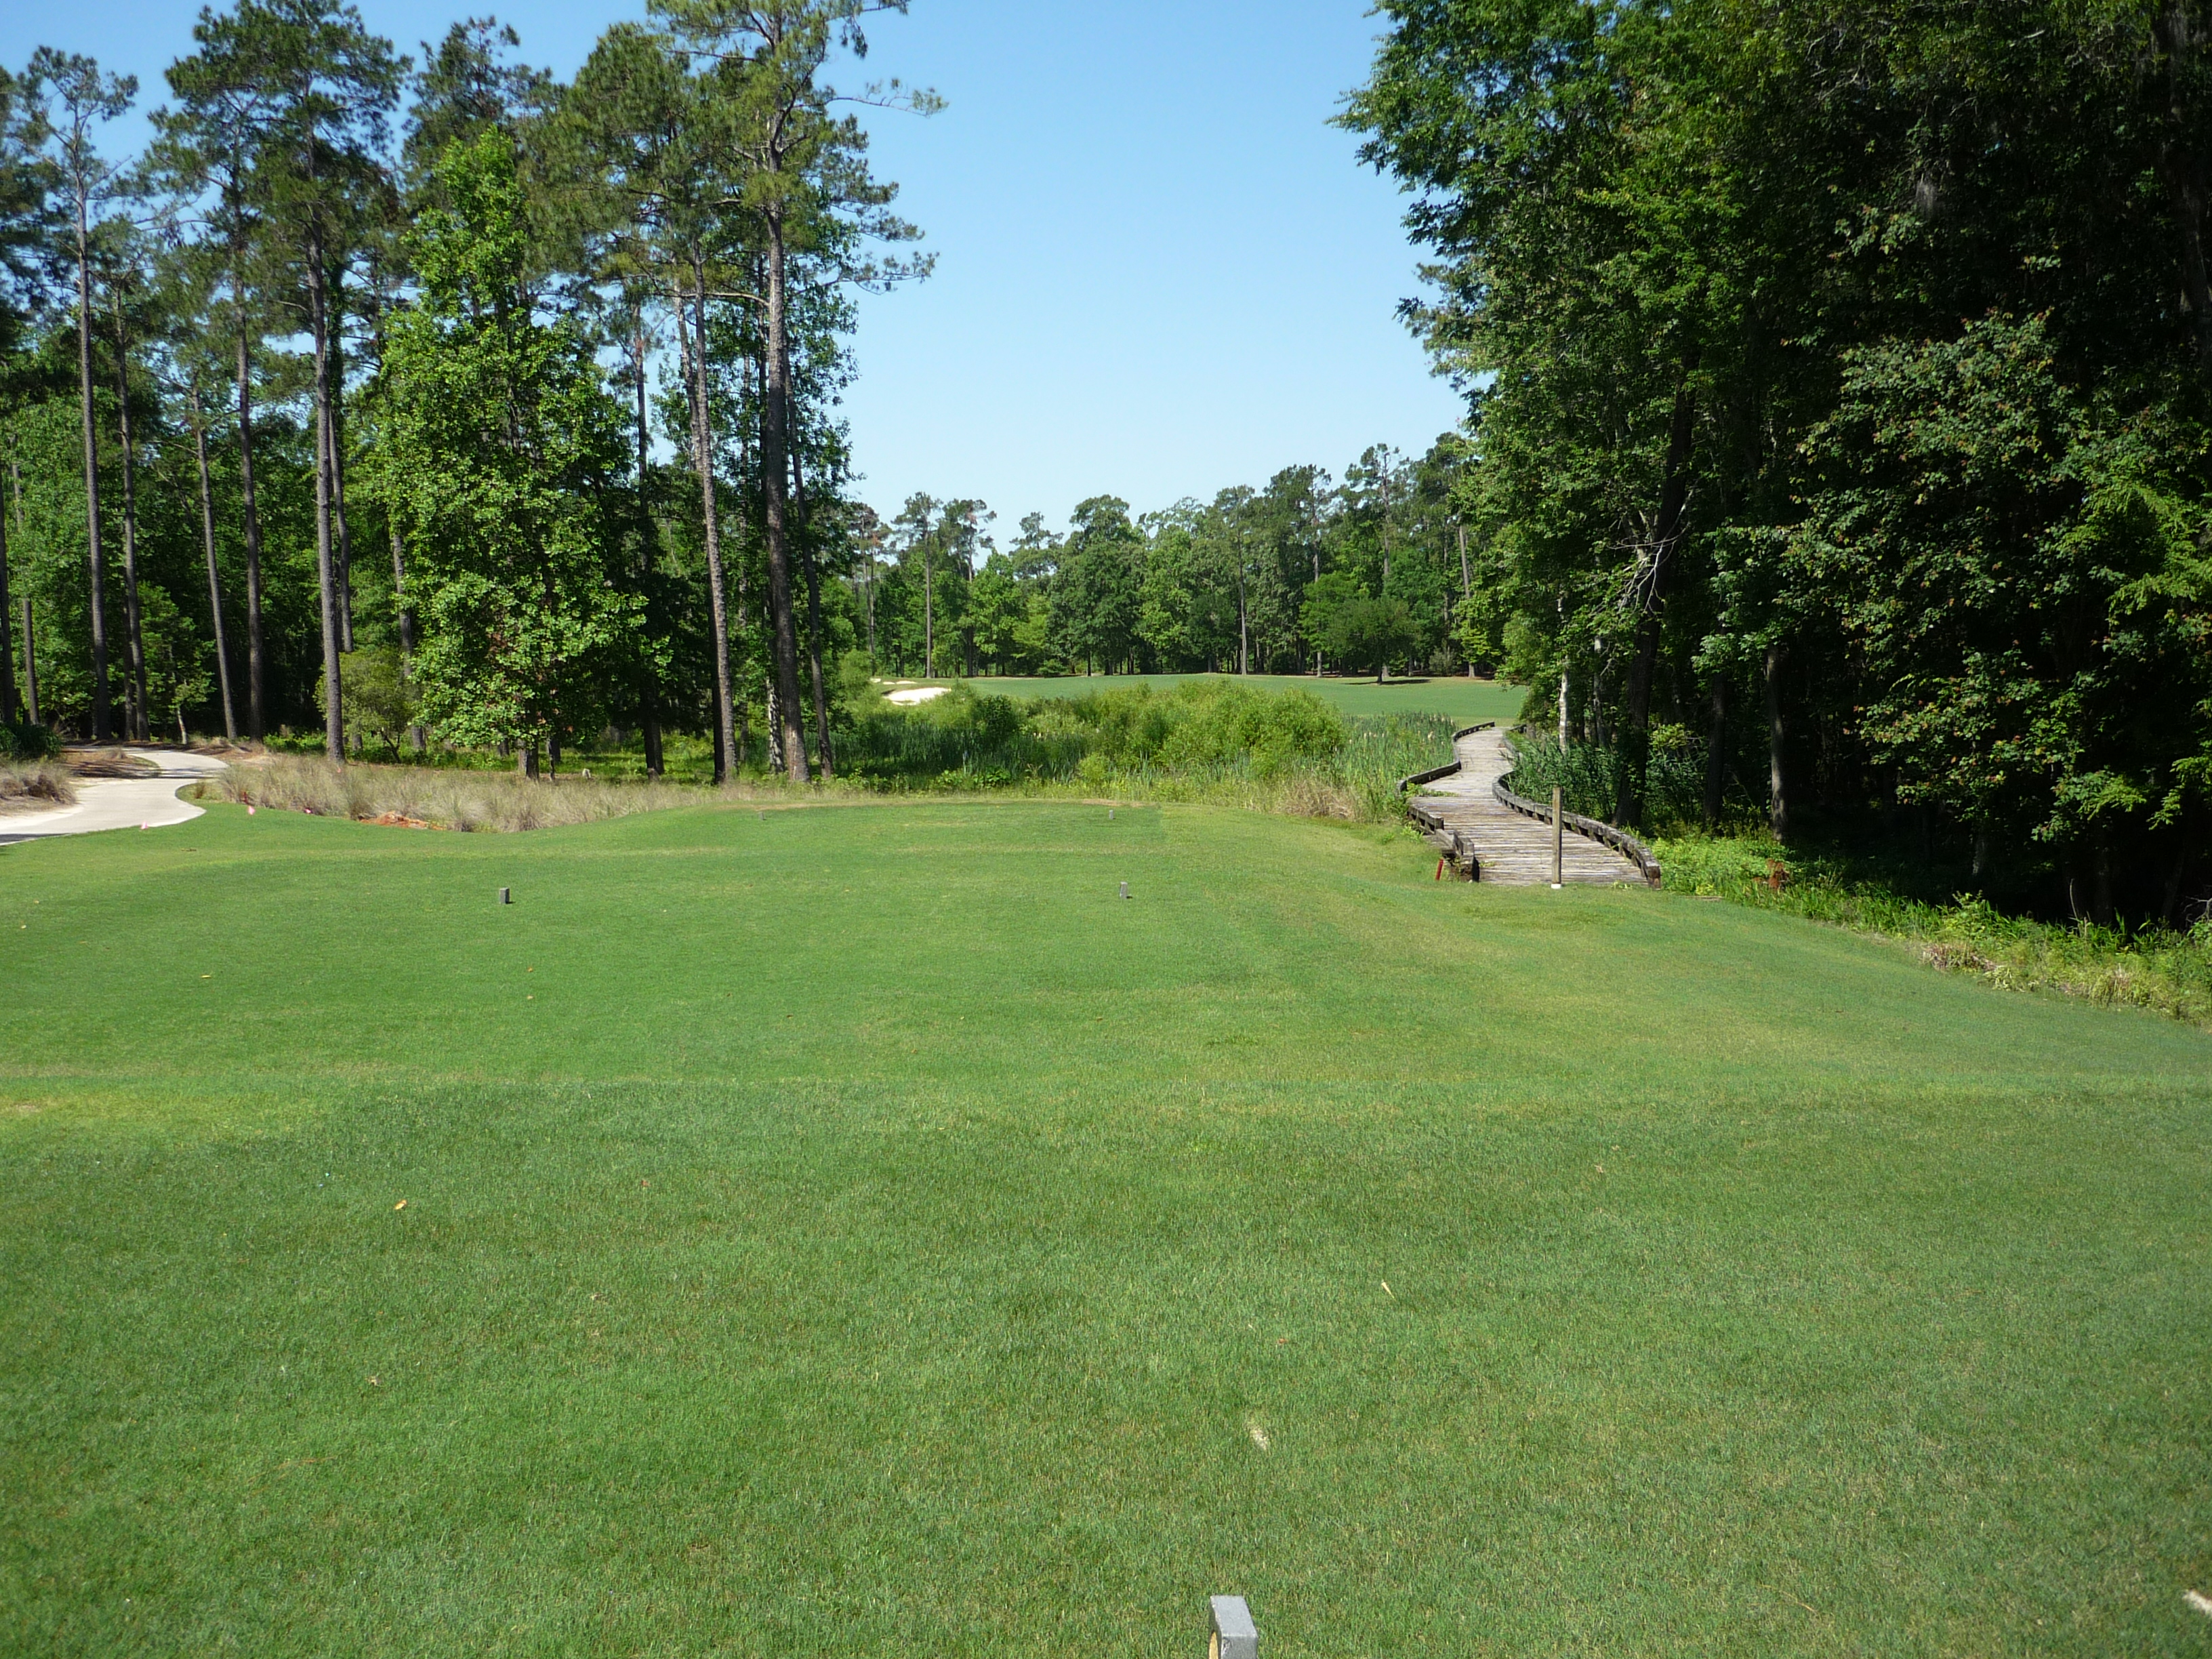
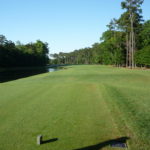
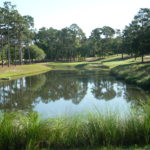
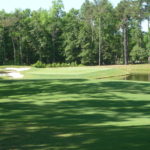
Hole 2 – 517 yards – Par 5
The course gives you a birdie opportunity early in the round. The carry over the water is not as long as it looks, but the bunkers up the left are definitely in play.
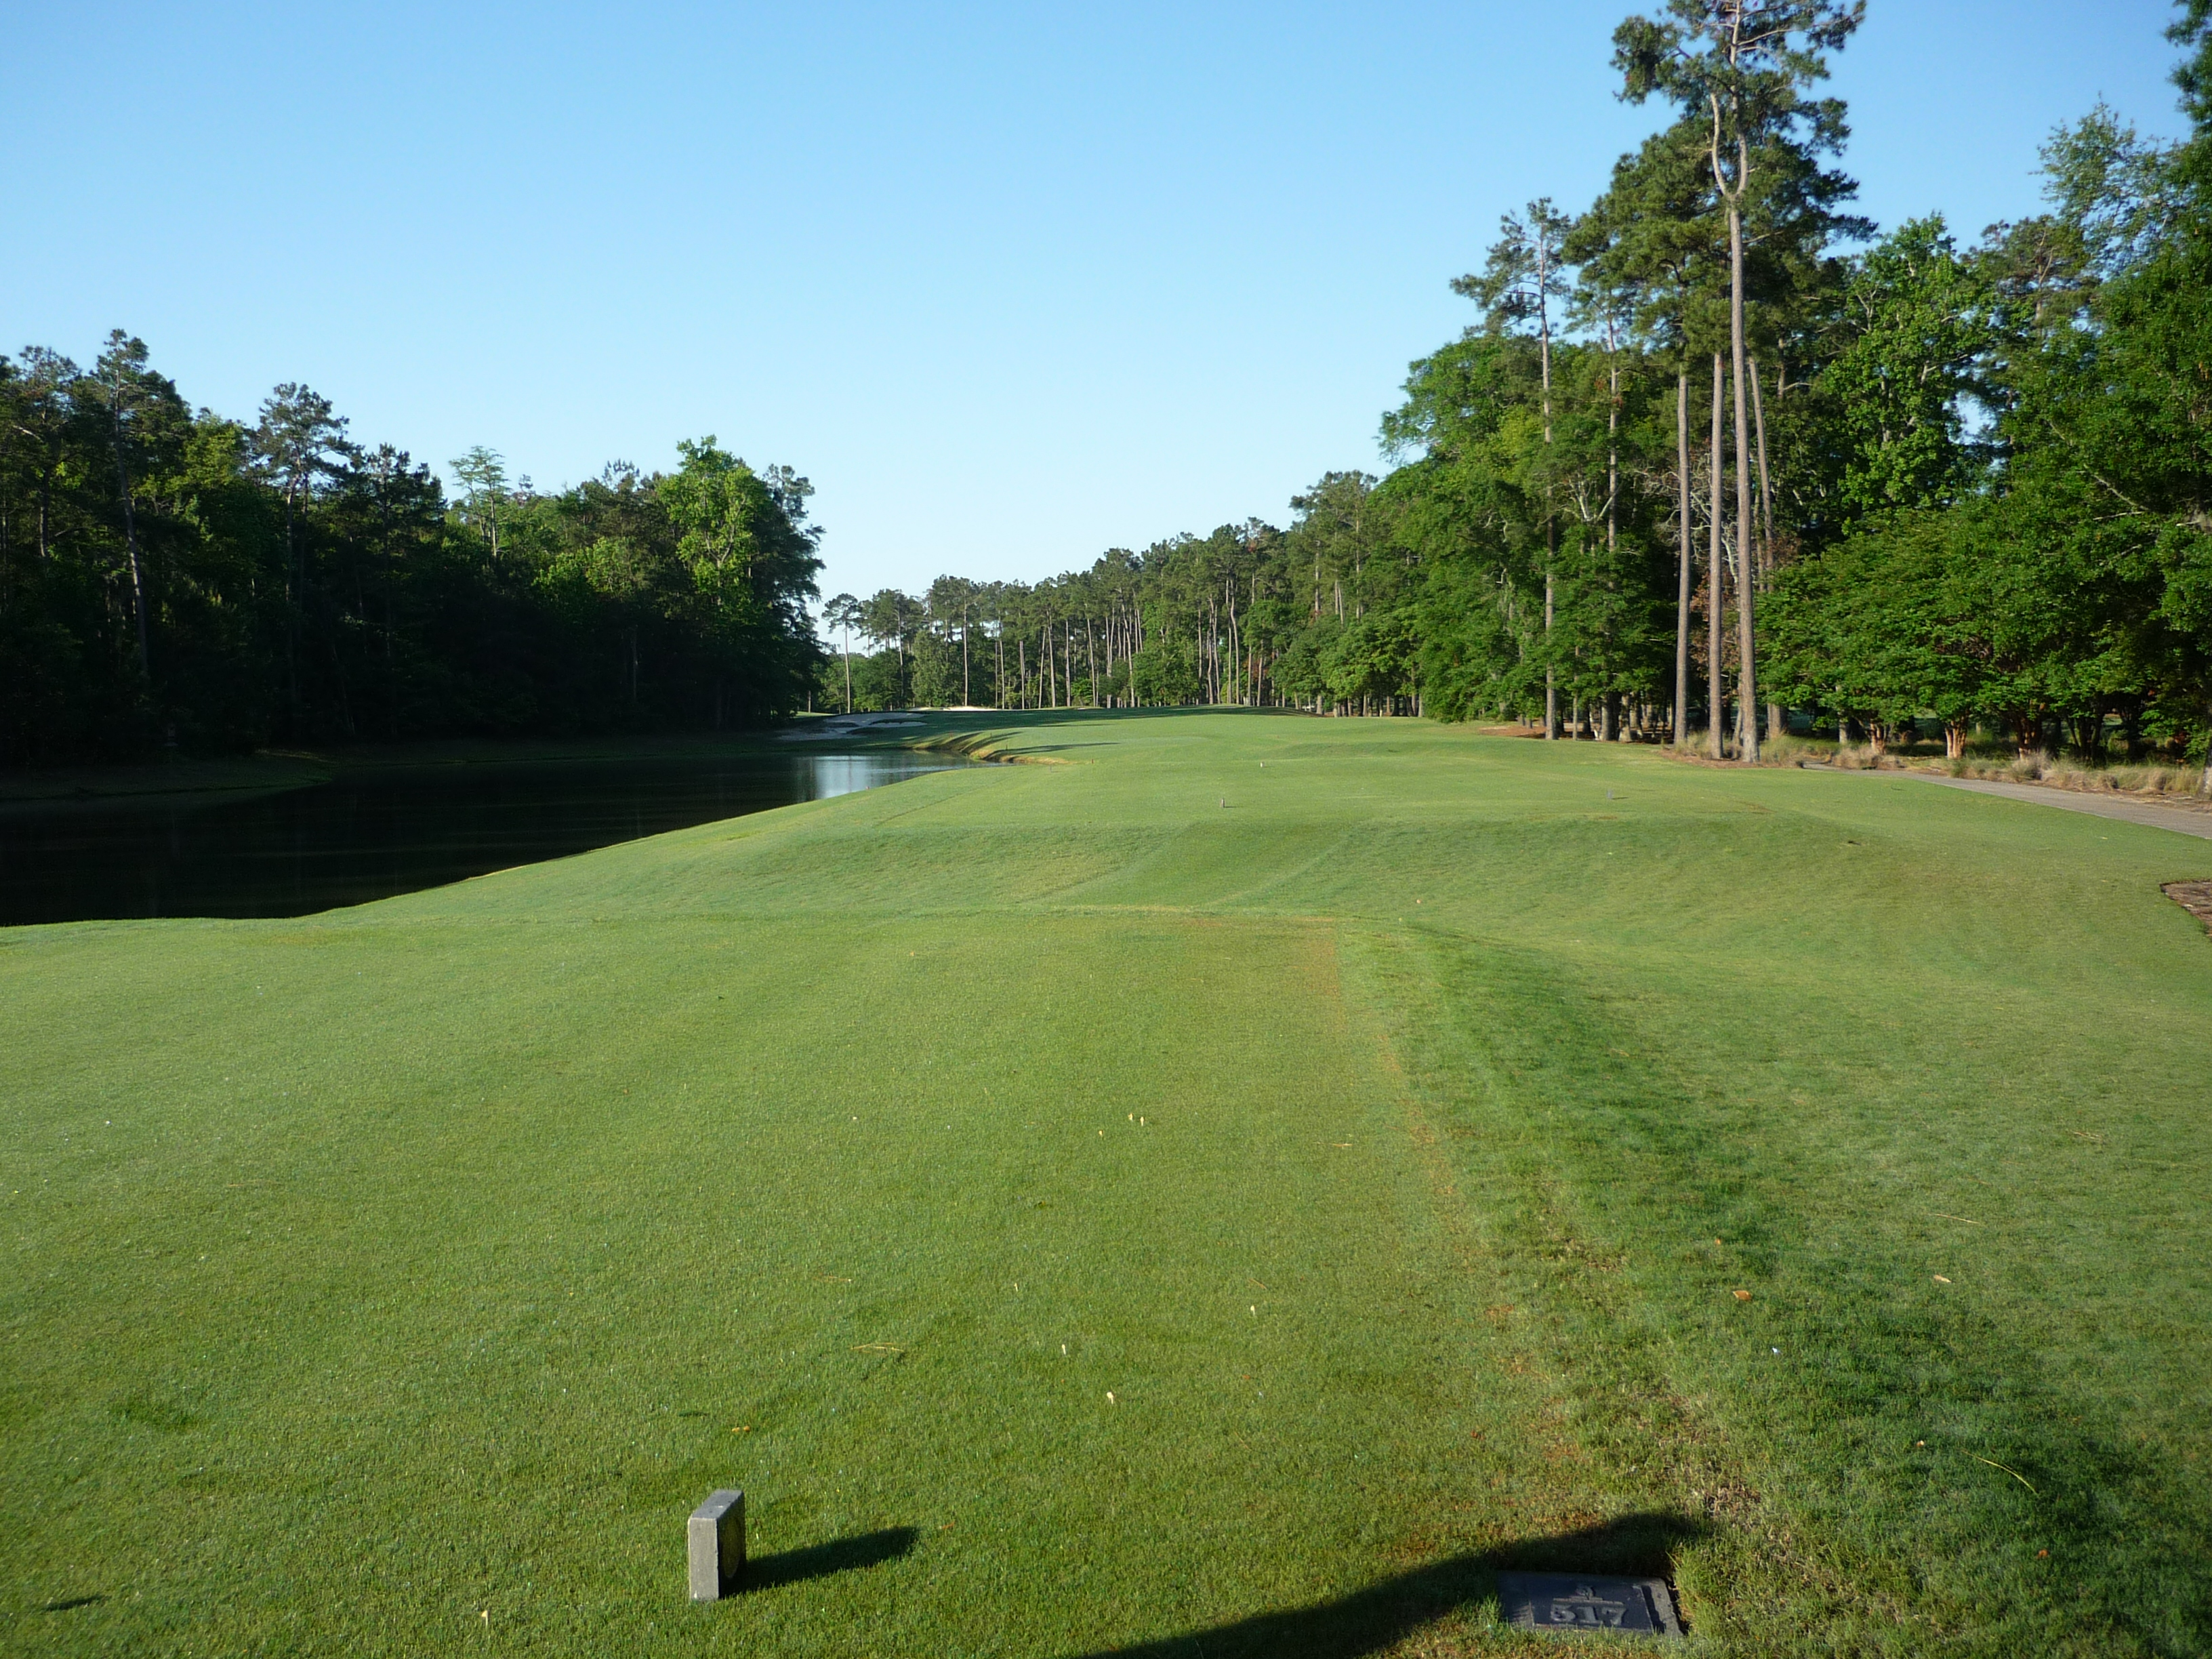
The designers put a second water hazard in to affect lay-ups and attempts to reach the green in two.
The green is pretty flat but does have a couple of bunkers surrounding it.
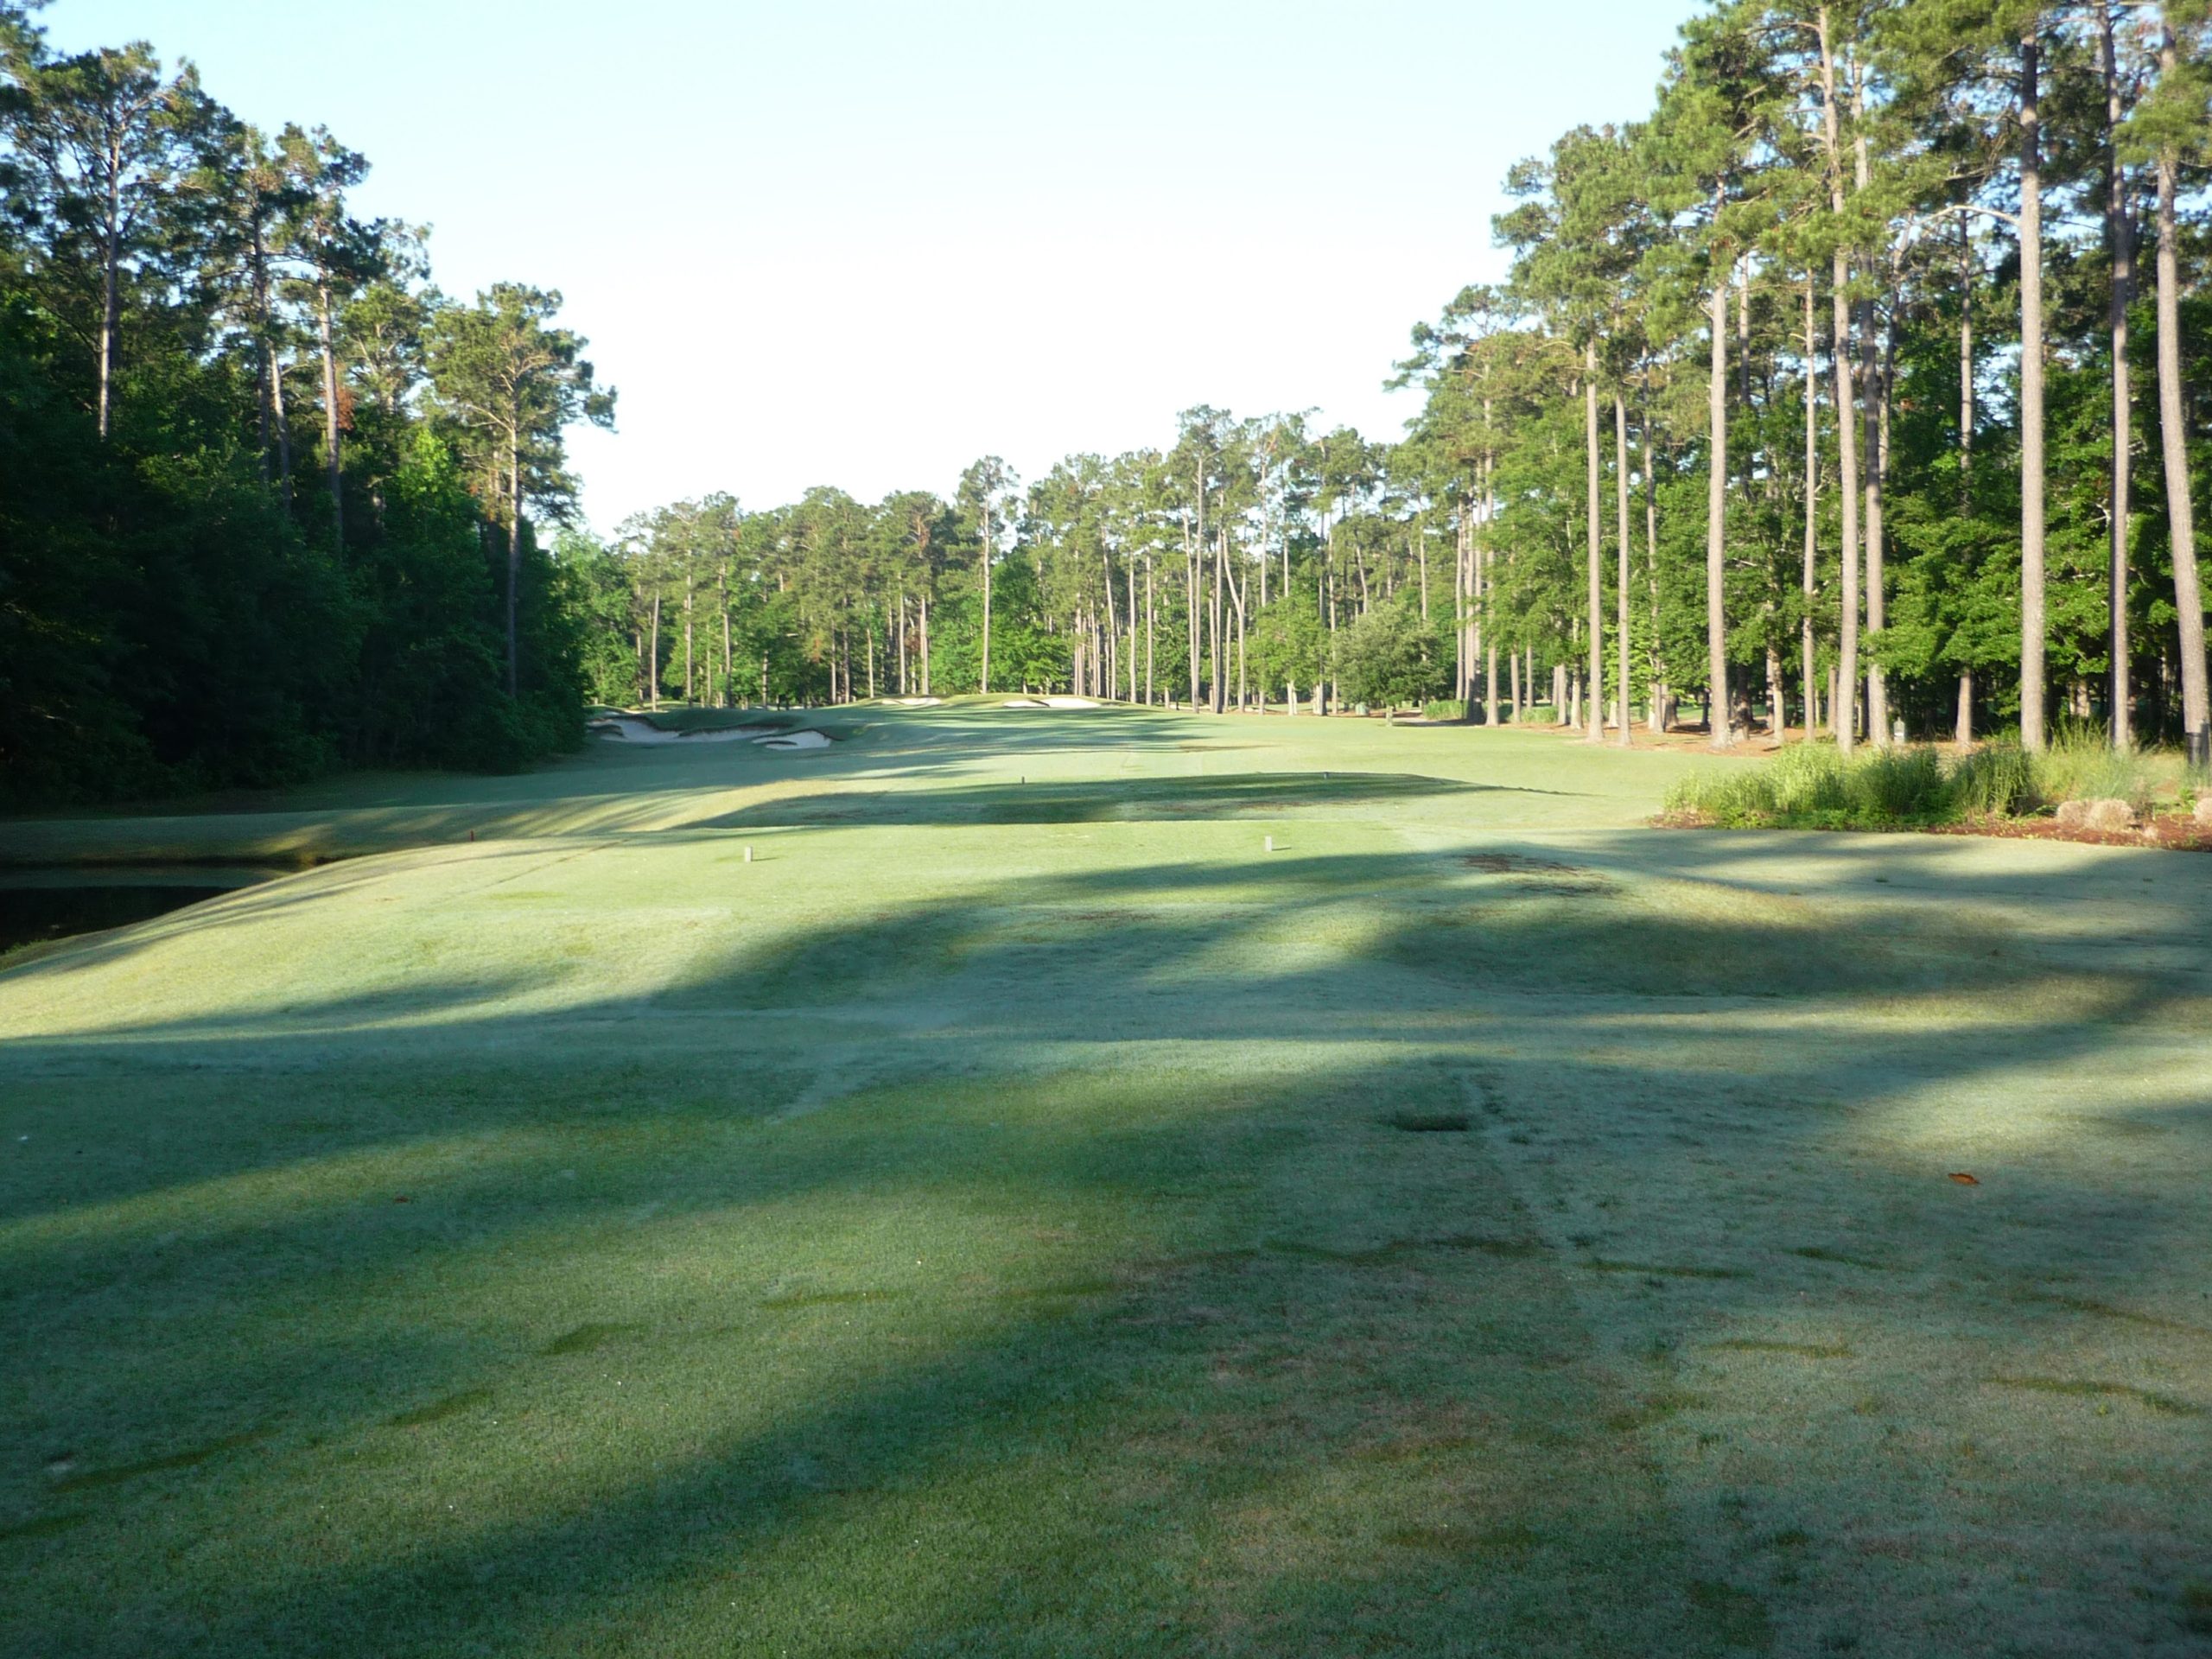
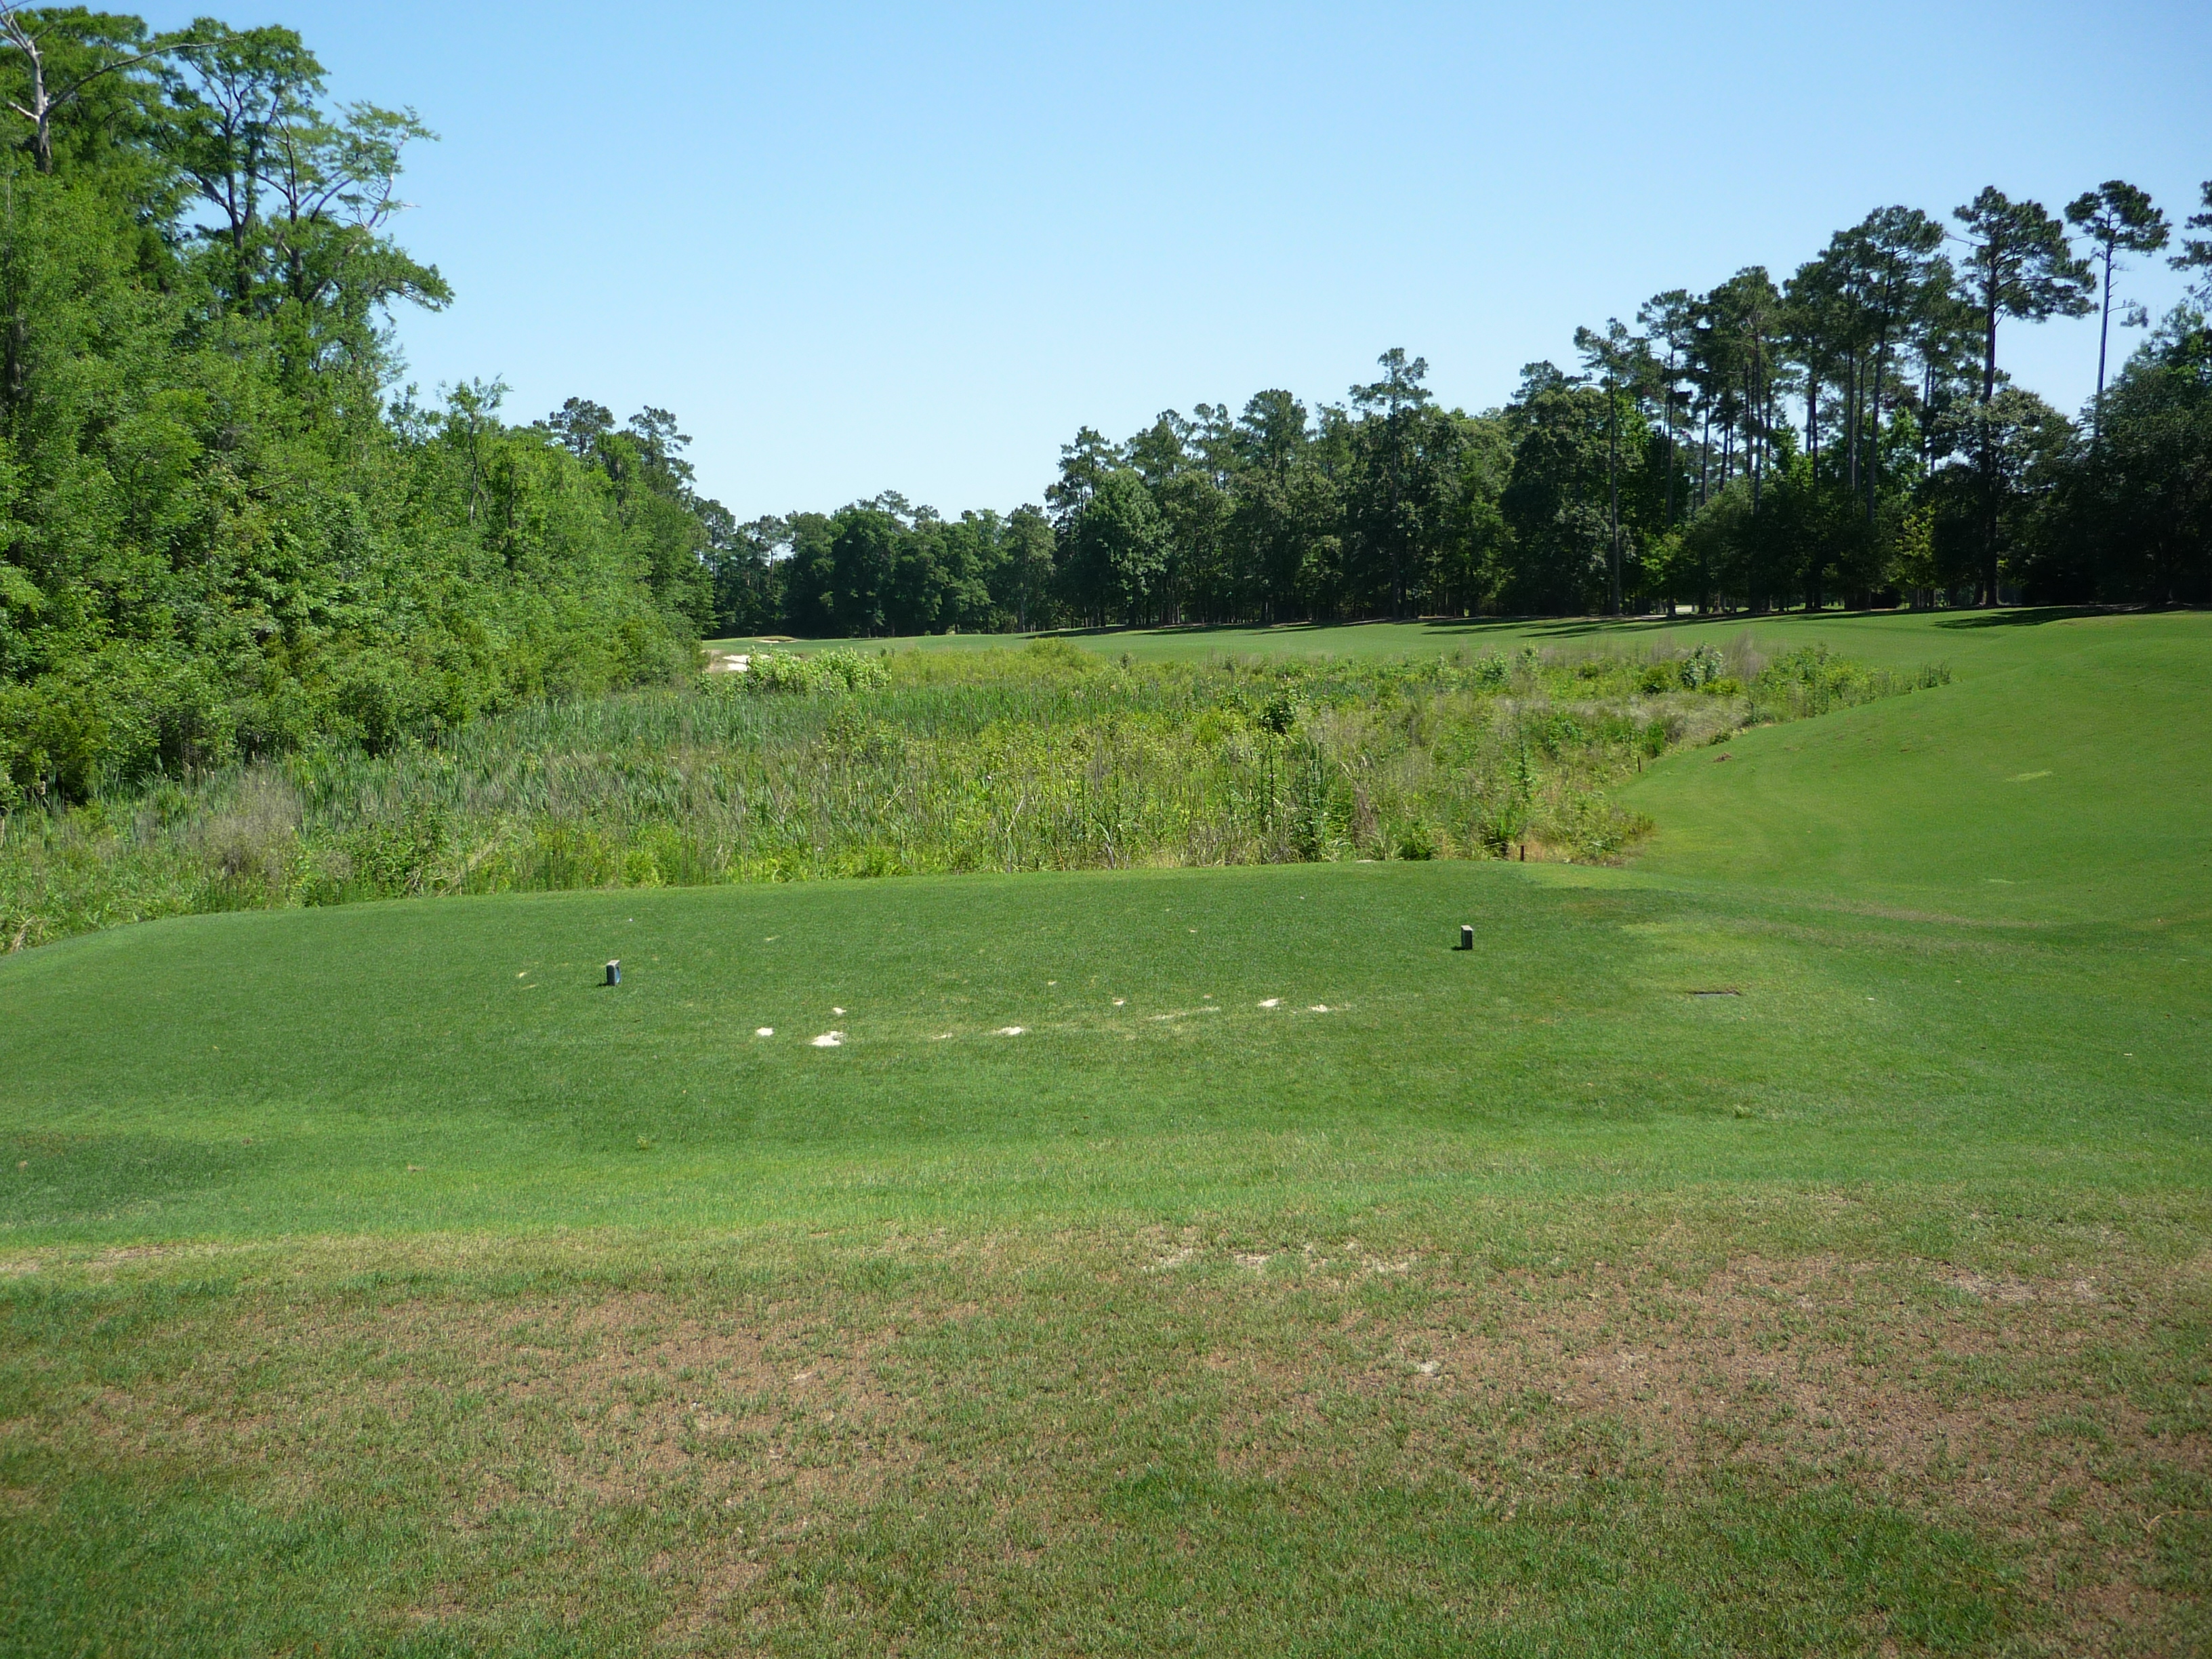
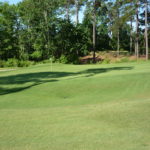
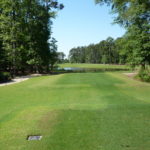
Hole 3 – 425 yards – Par 4
This is a serious hole with some forced carry. Bust a fade out there and you will be in great shape.
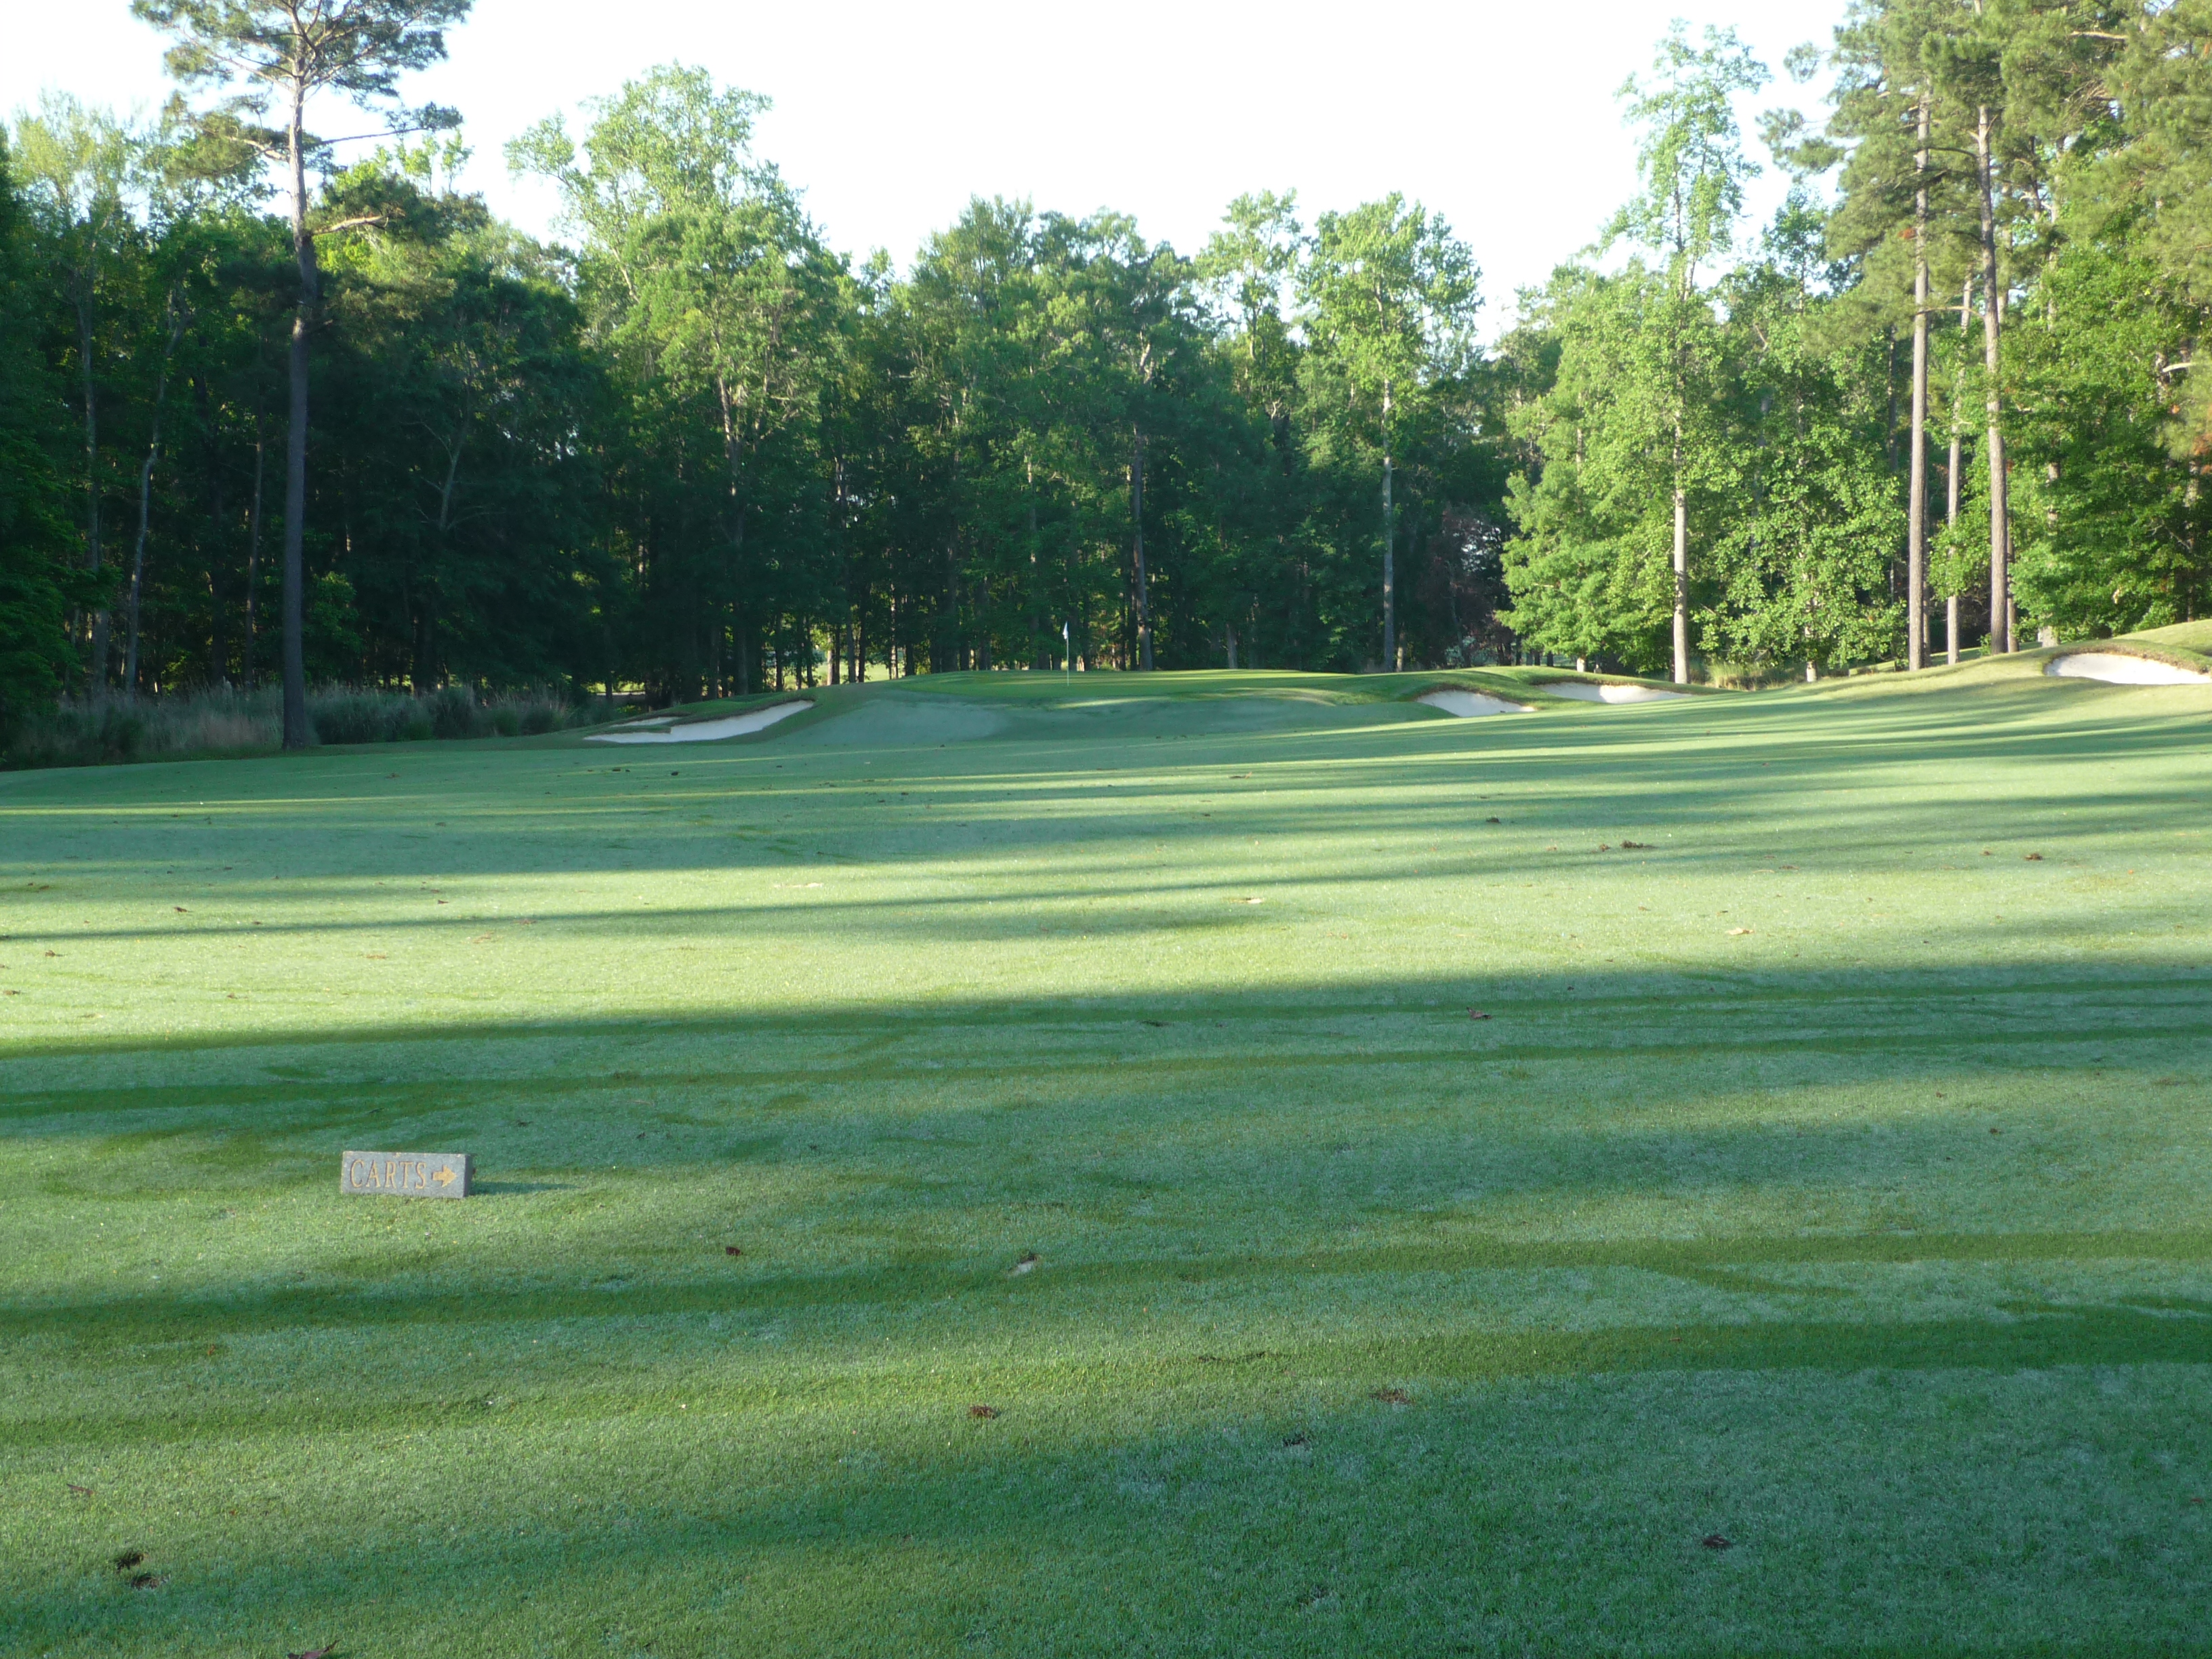
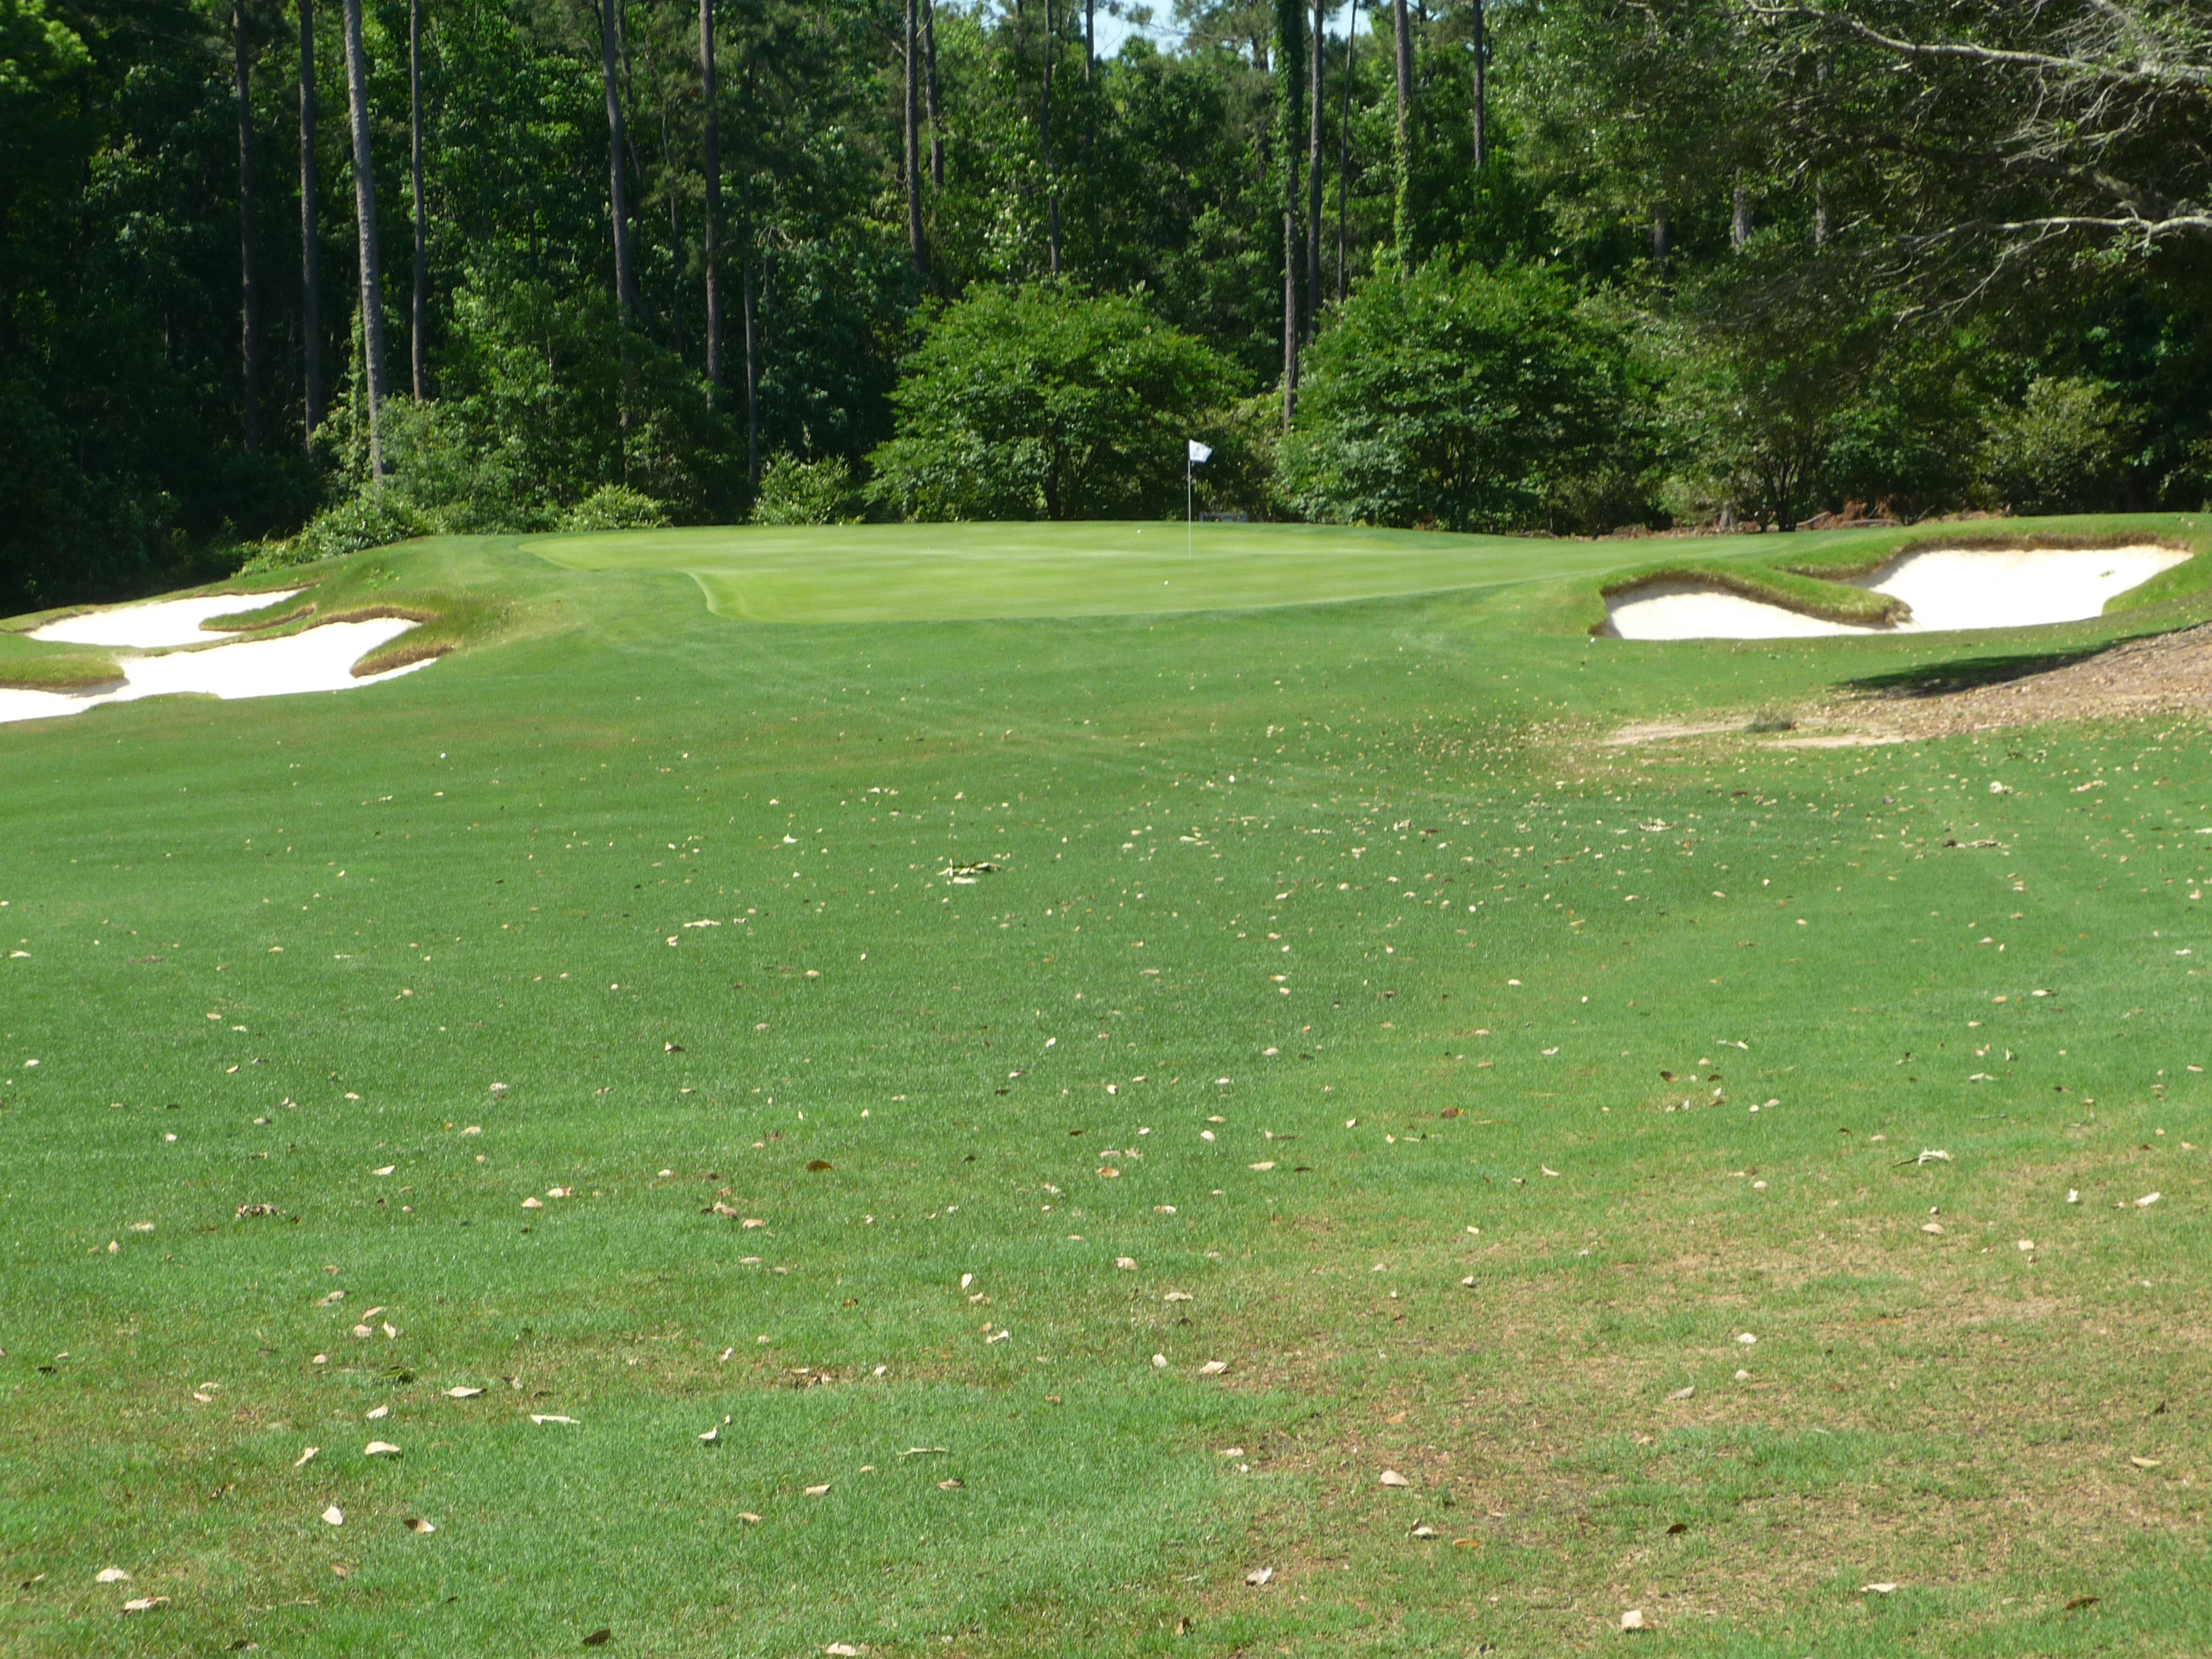
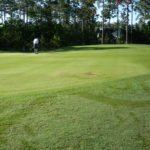
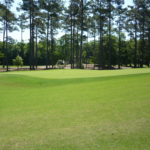
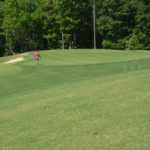
The approach shot plays to an elevated green with more bunkers. Distance control is key.
The green is another flat one with a bit of a bowl on the far side as seen in the picture below.
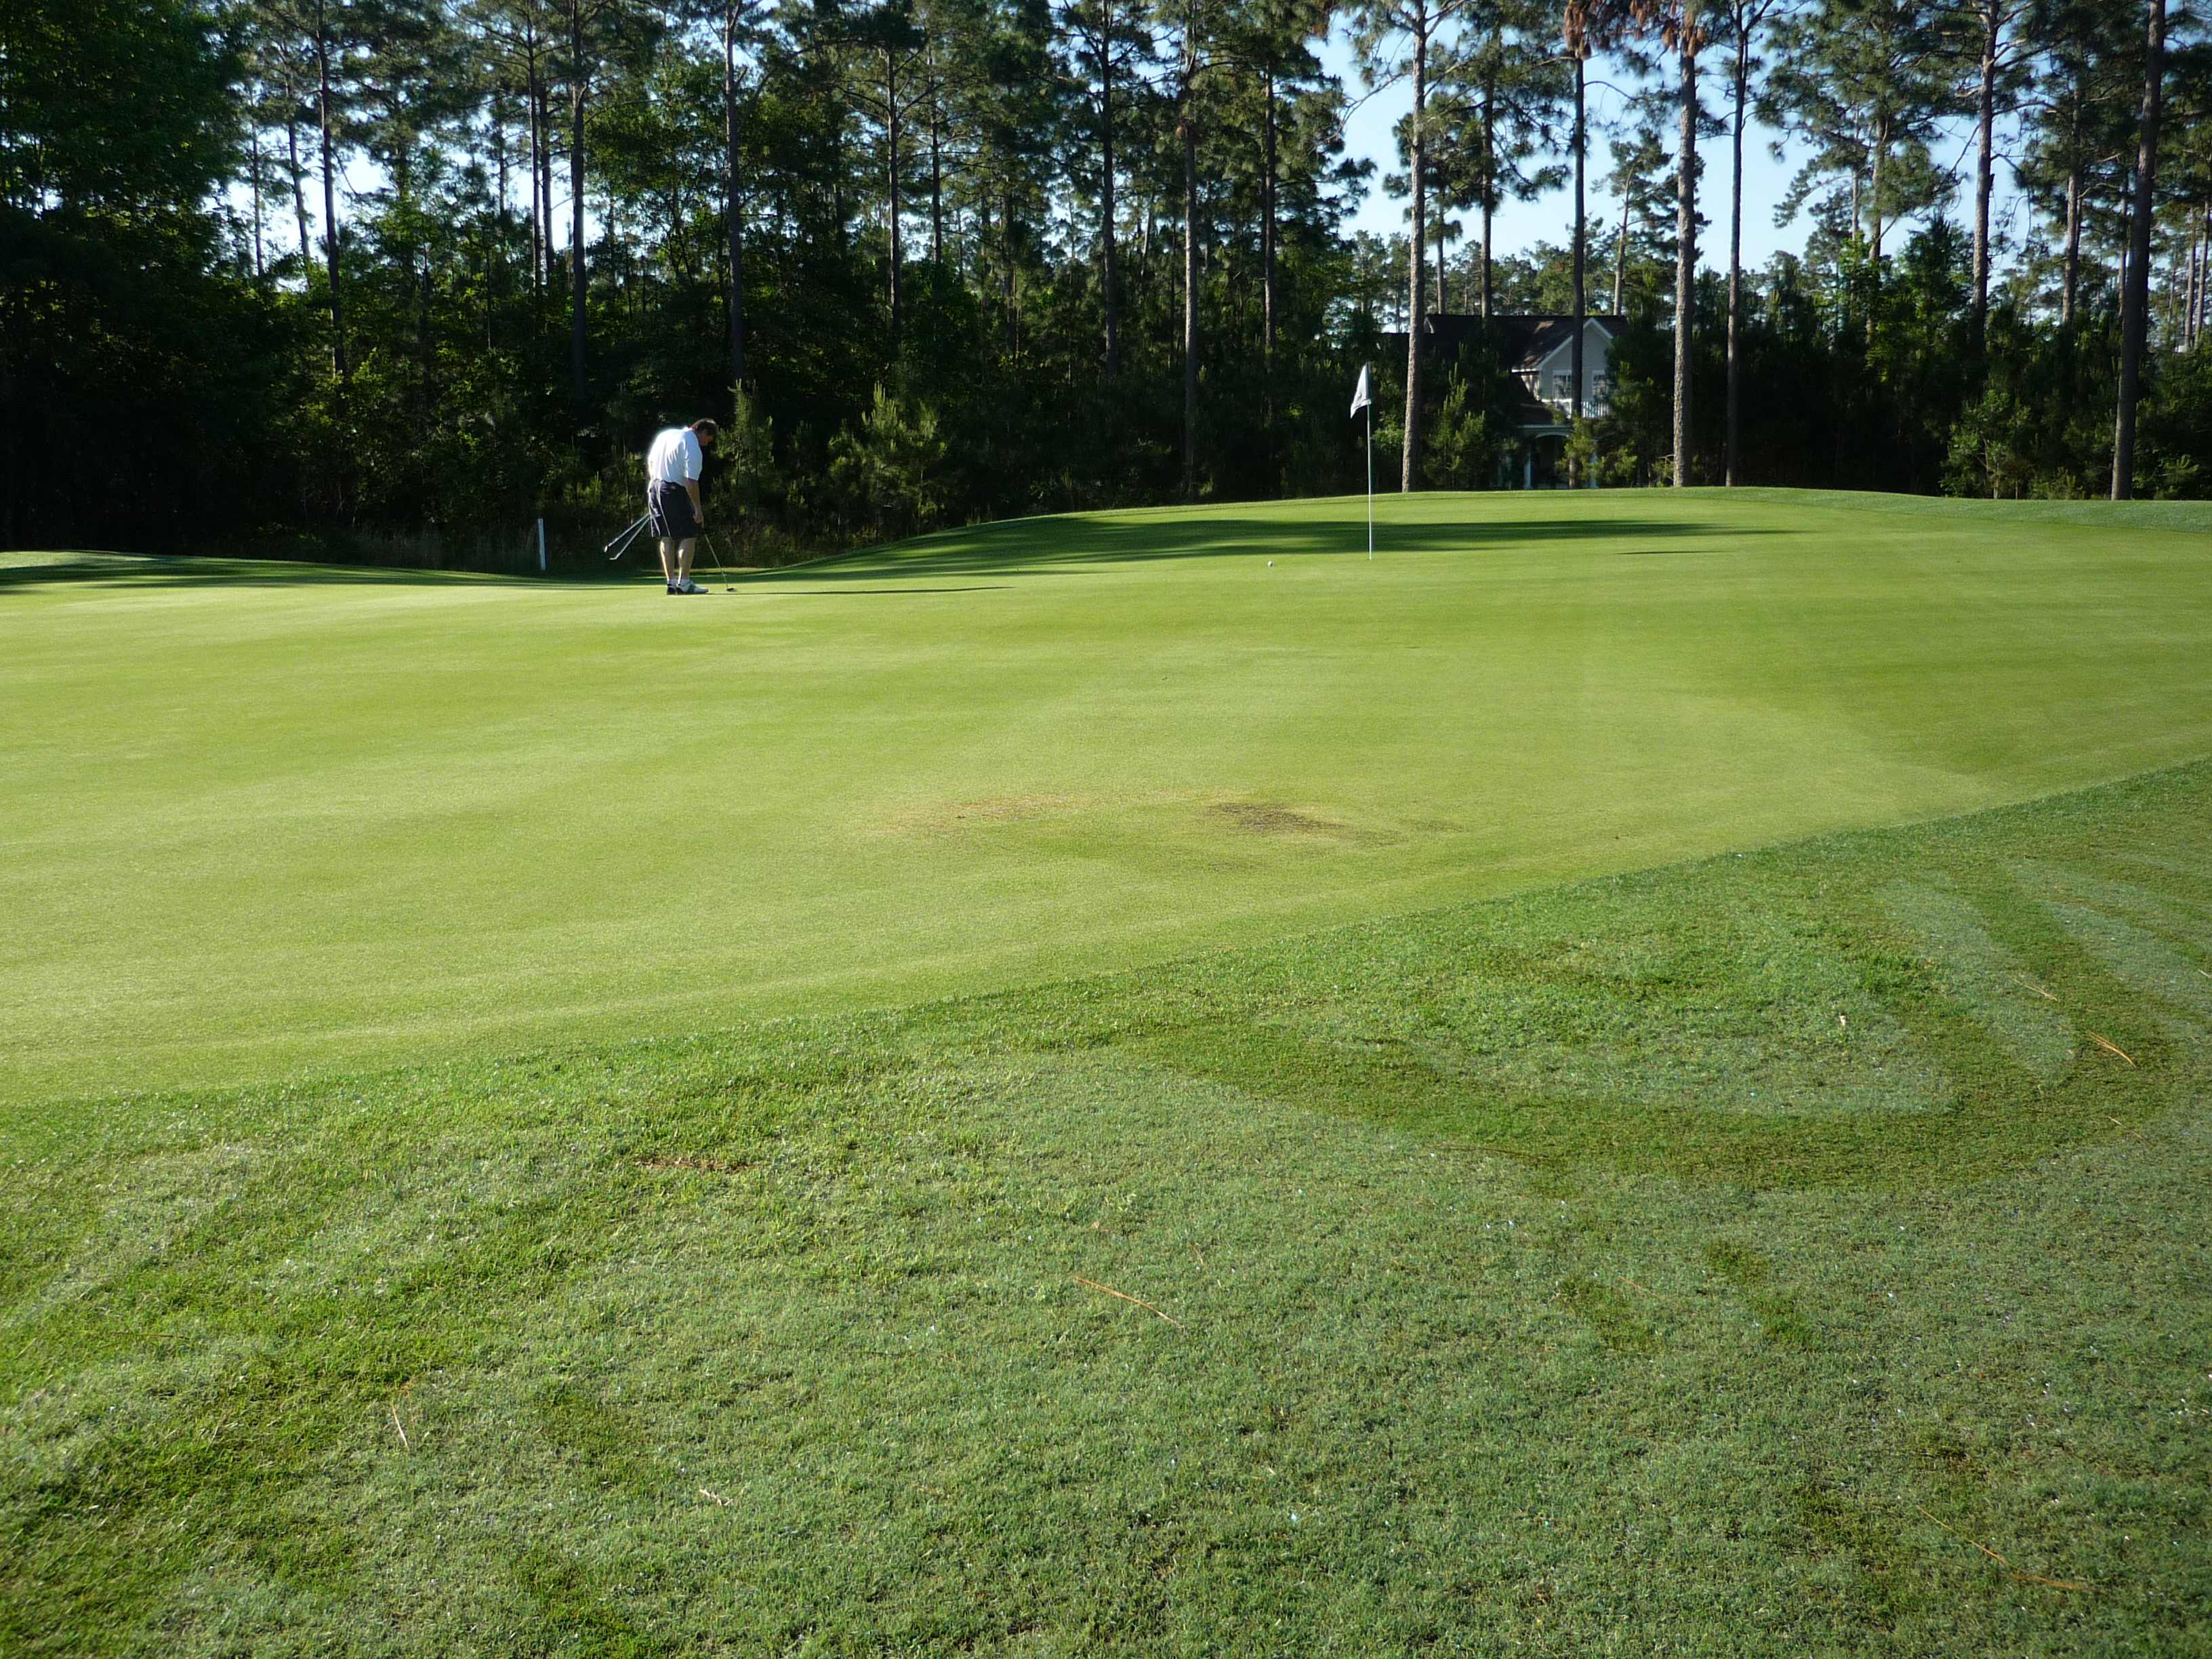
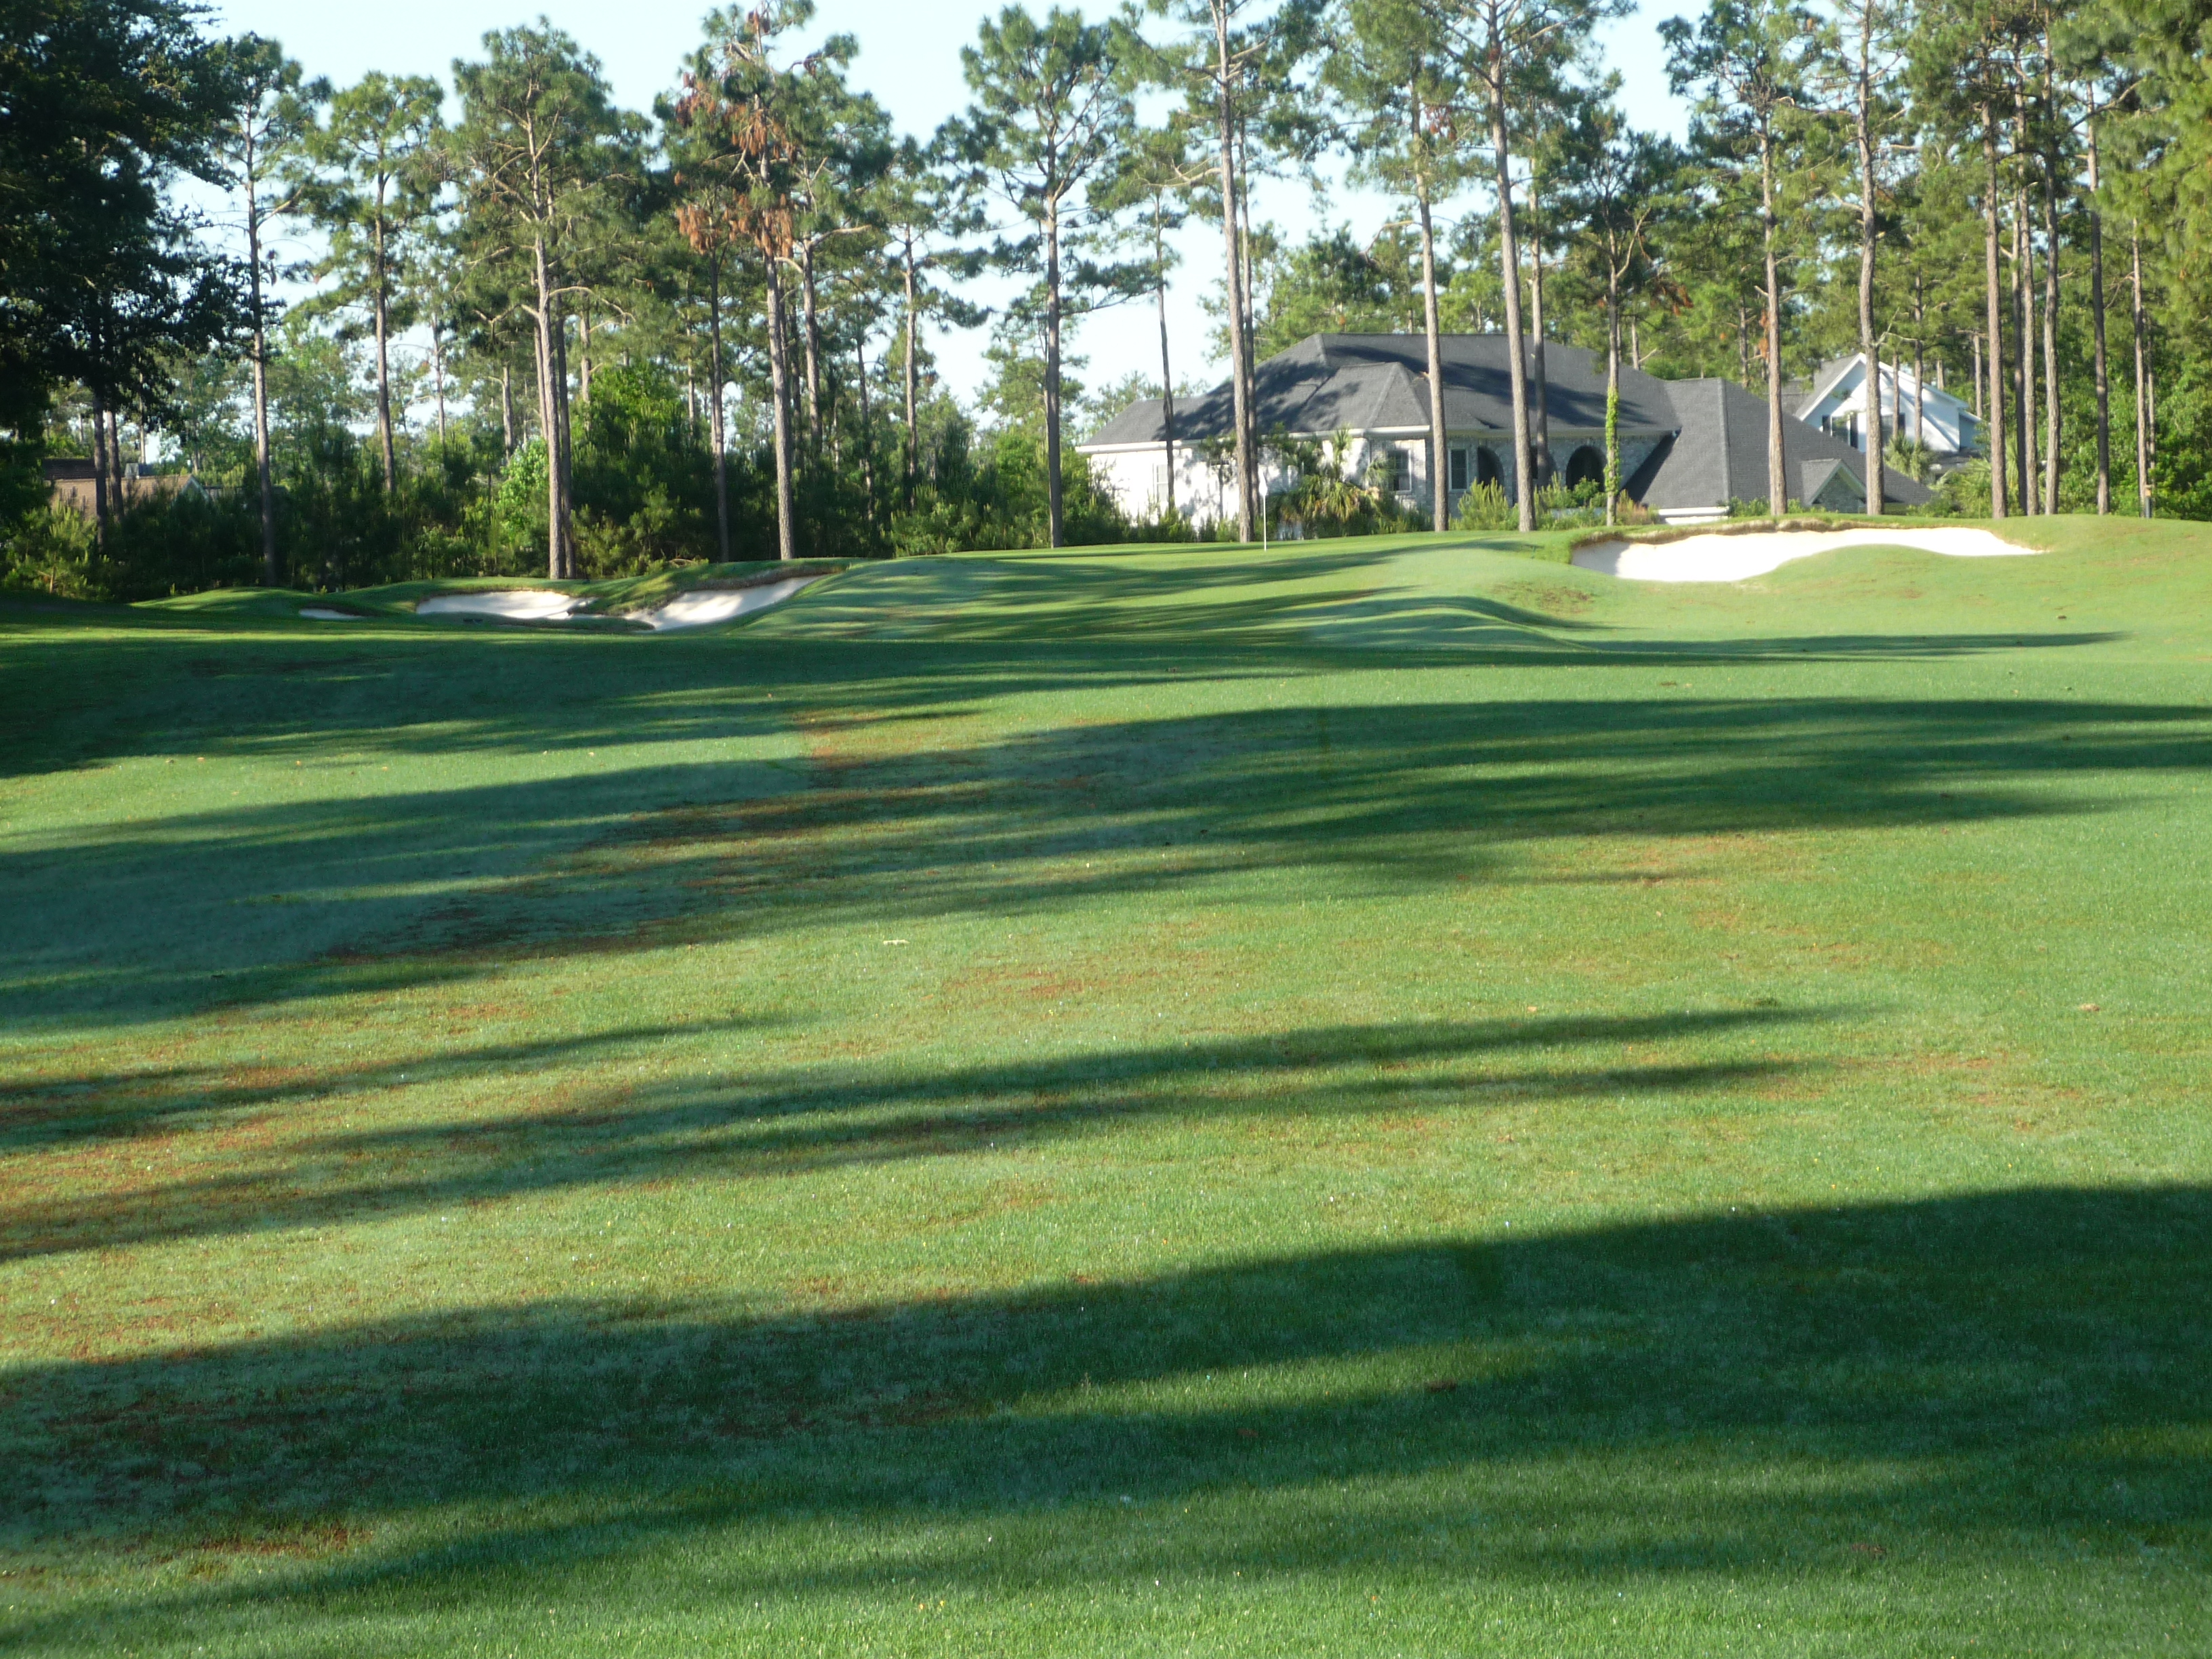
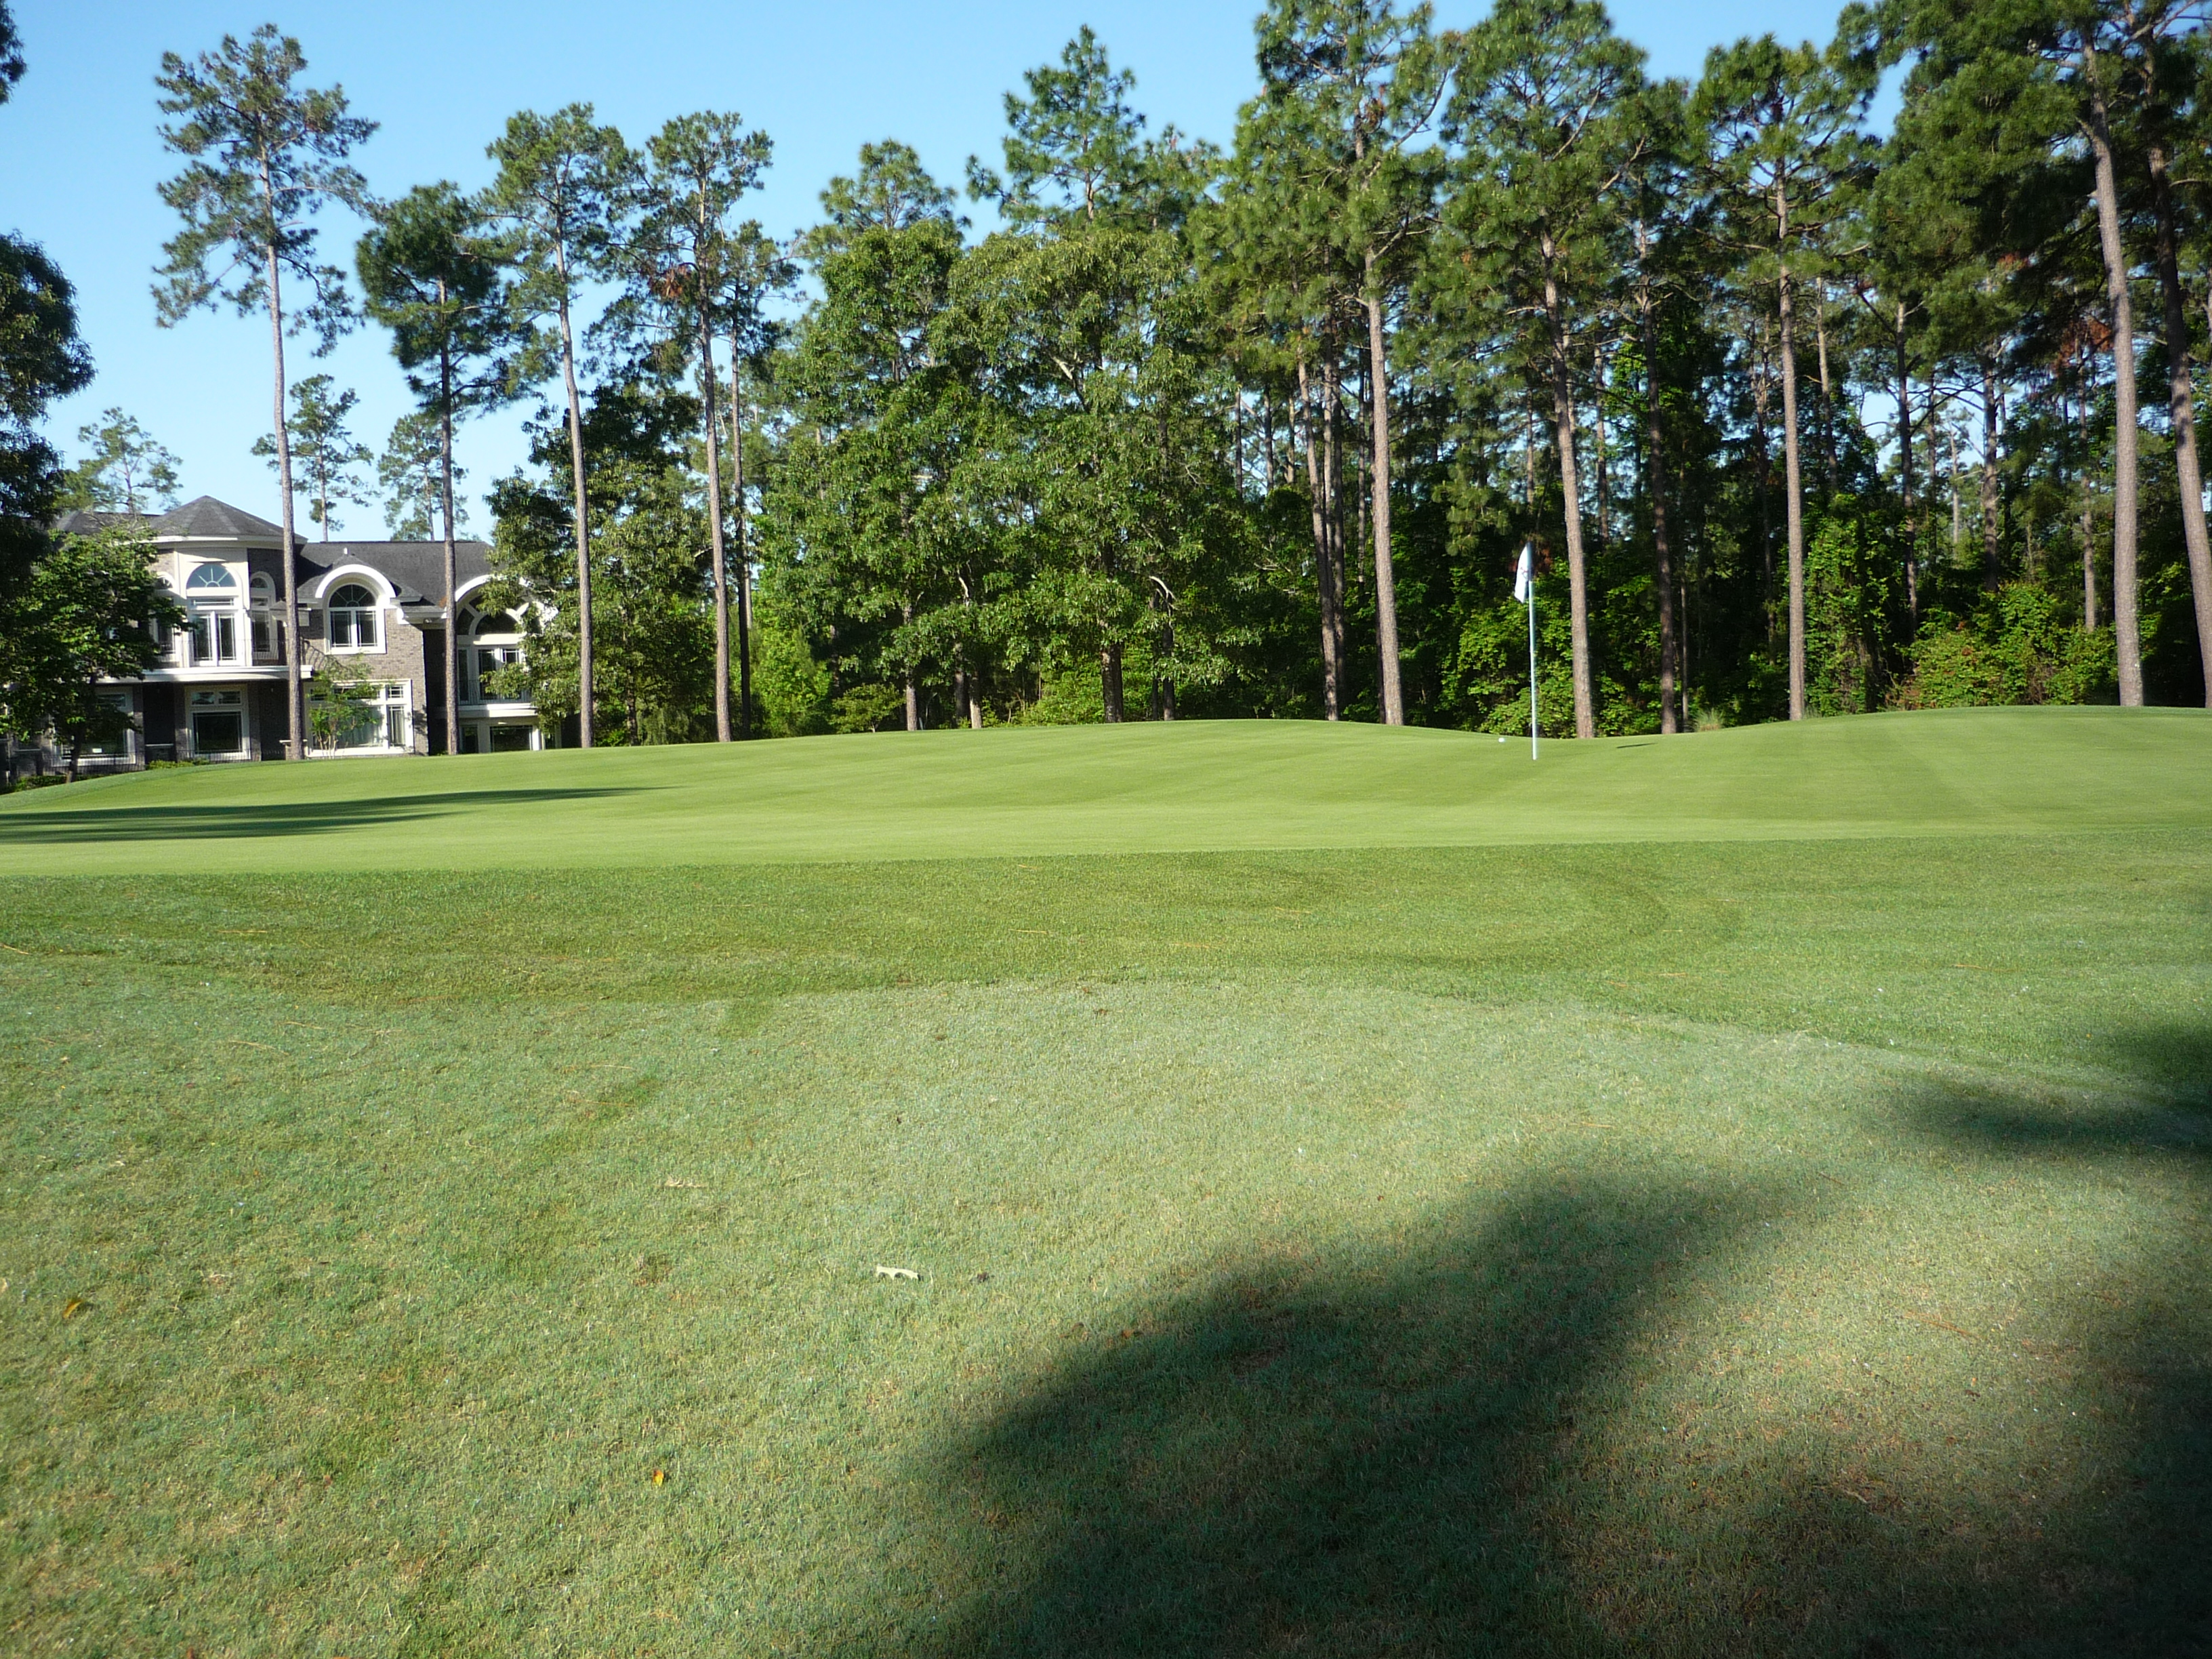
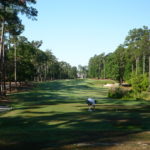
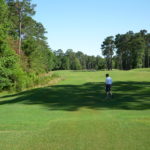
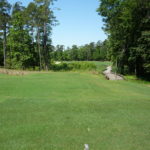
Hole 4 – 430 yards – Par 4
Another difficult hole requiring a power fade from the tee. The left side of the house in the distance is a great line.
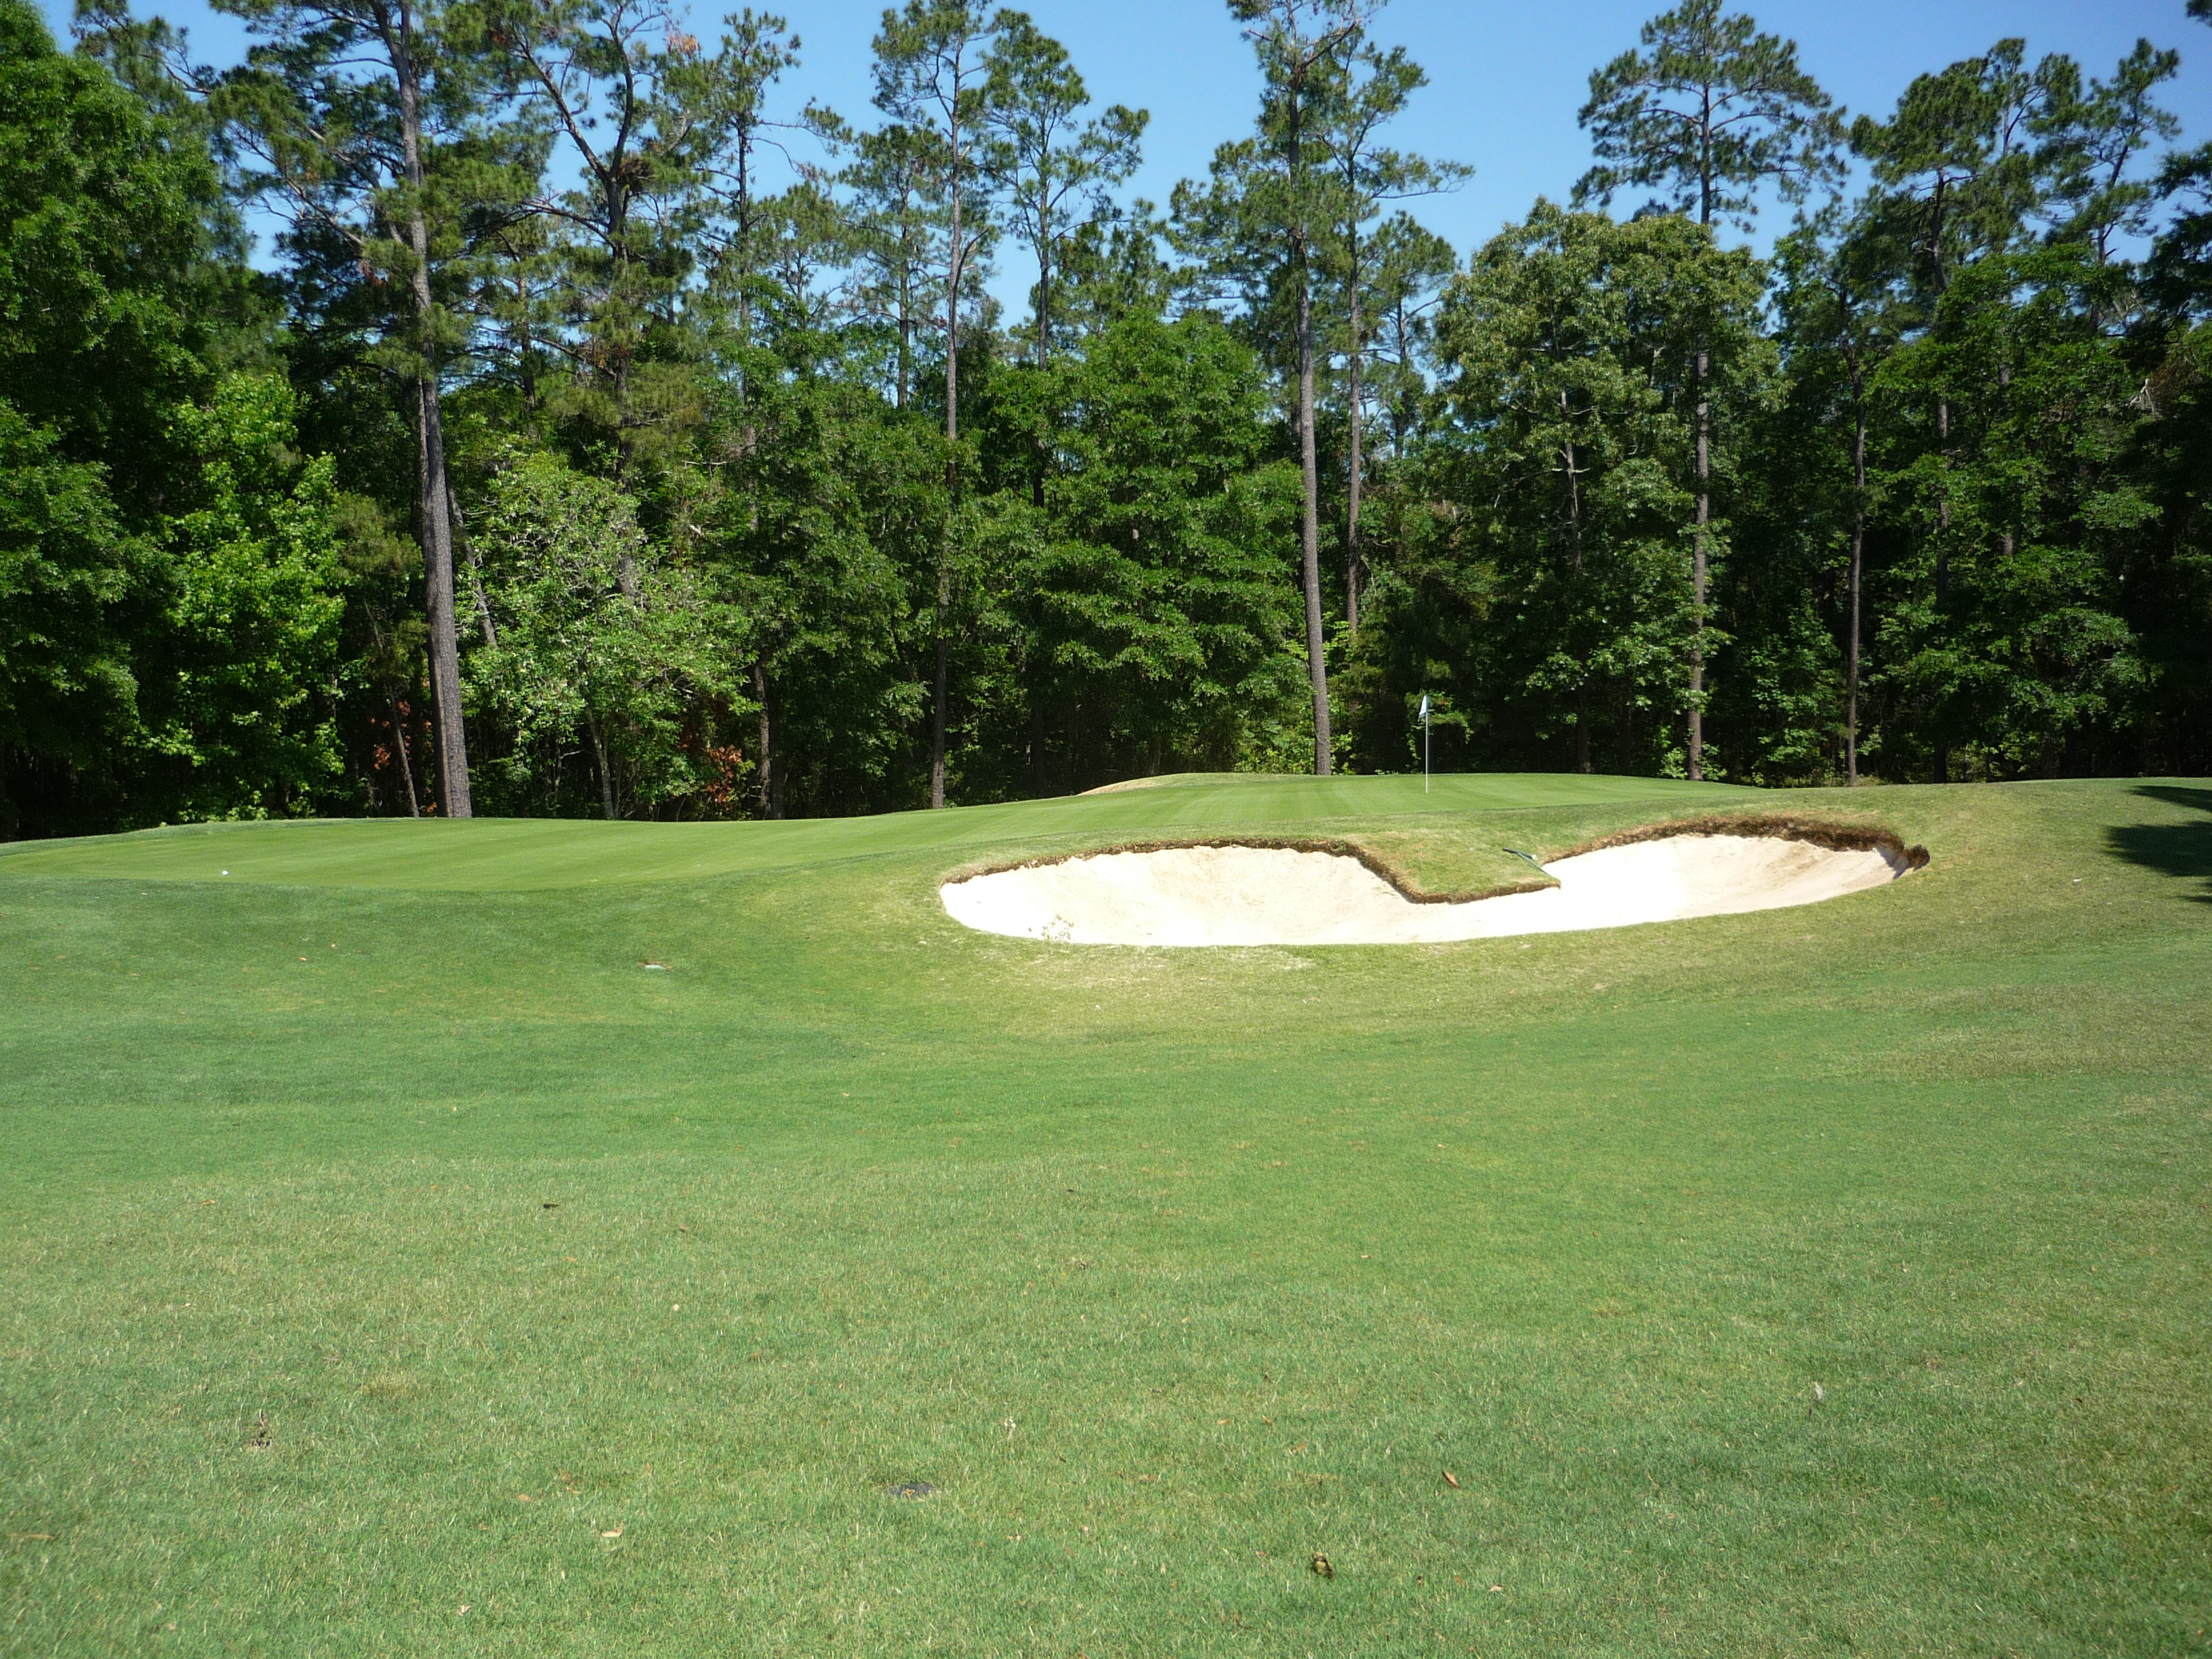
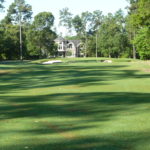
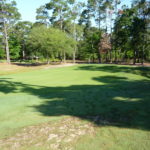
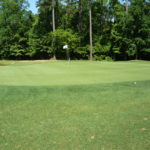
The green has another set of bunkers guarding the front side. You do have the option of running the ball up which is nice if you have a long second shot.

The putting surface has some undulation on the right side as you can see on each side of the flag in the photo below.
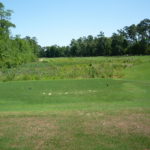
Hole 5 – 145 yards – Par 3
The fifth is a visually intimidating par 3, but at only 145 yards it’s real challenge is a mental one. Committing to your club and shot should leave you on the green putting for a deuce.

The green is not very deep and runs off on the backside. Picking the right club from the tee is the most crucial aspect of this hole.
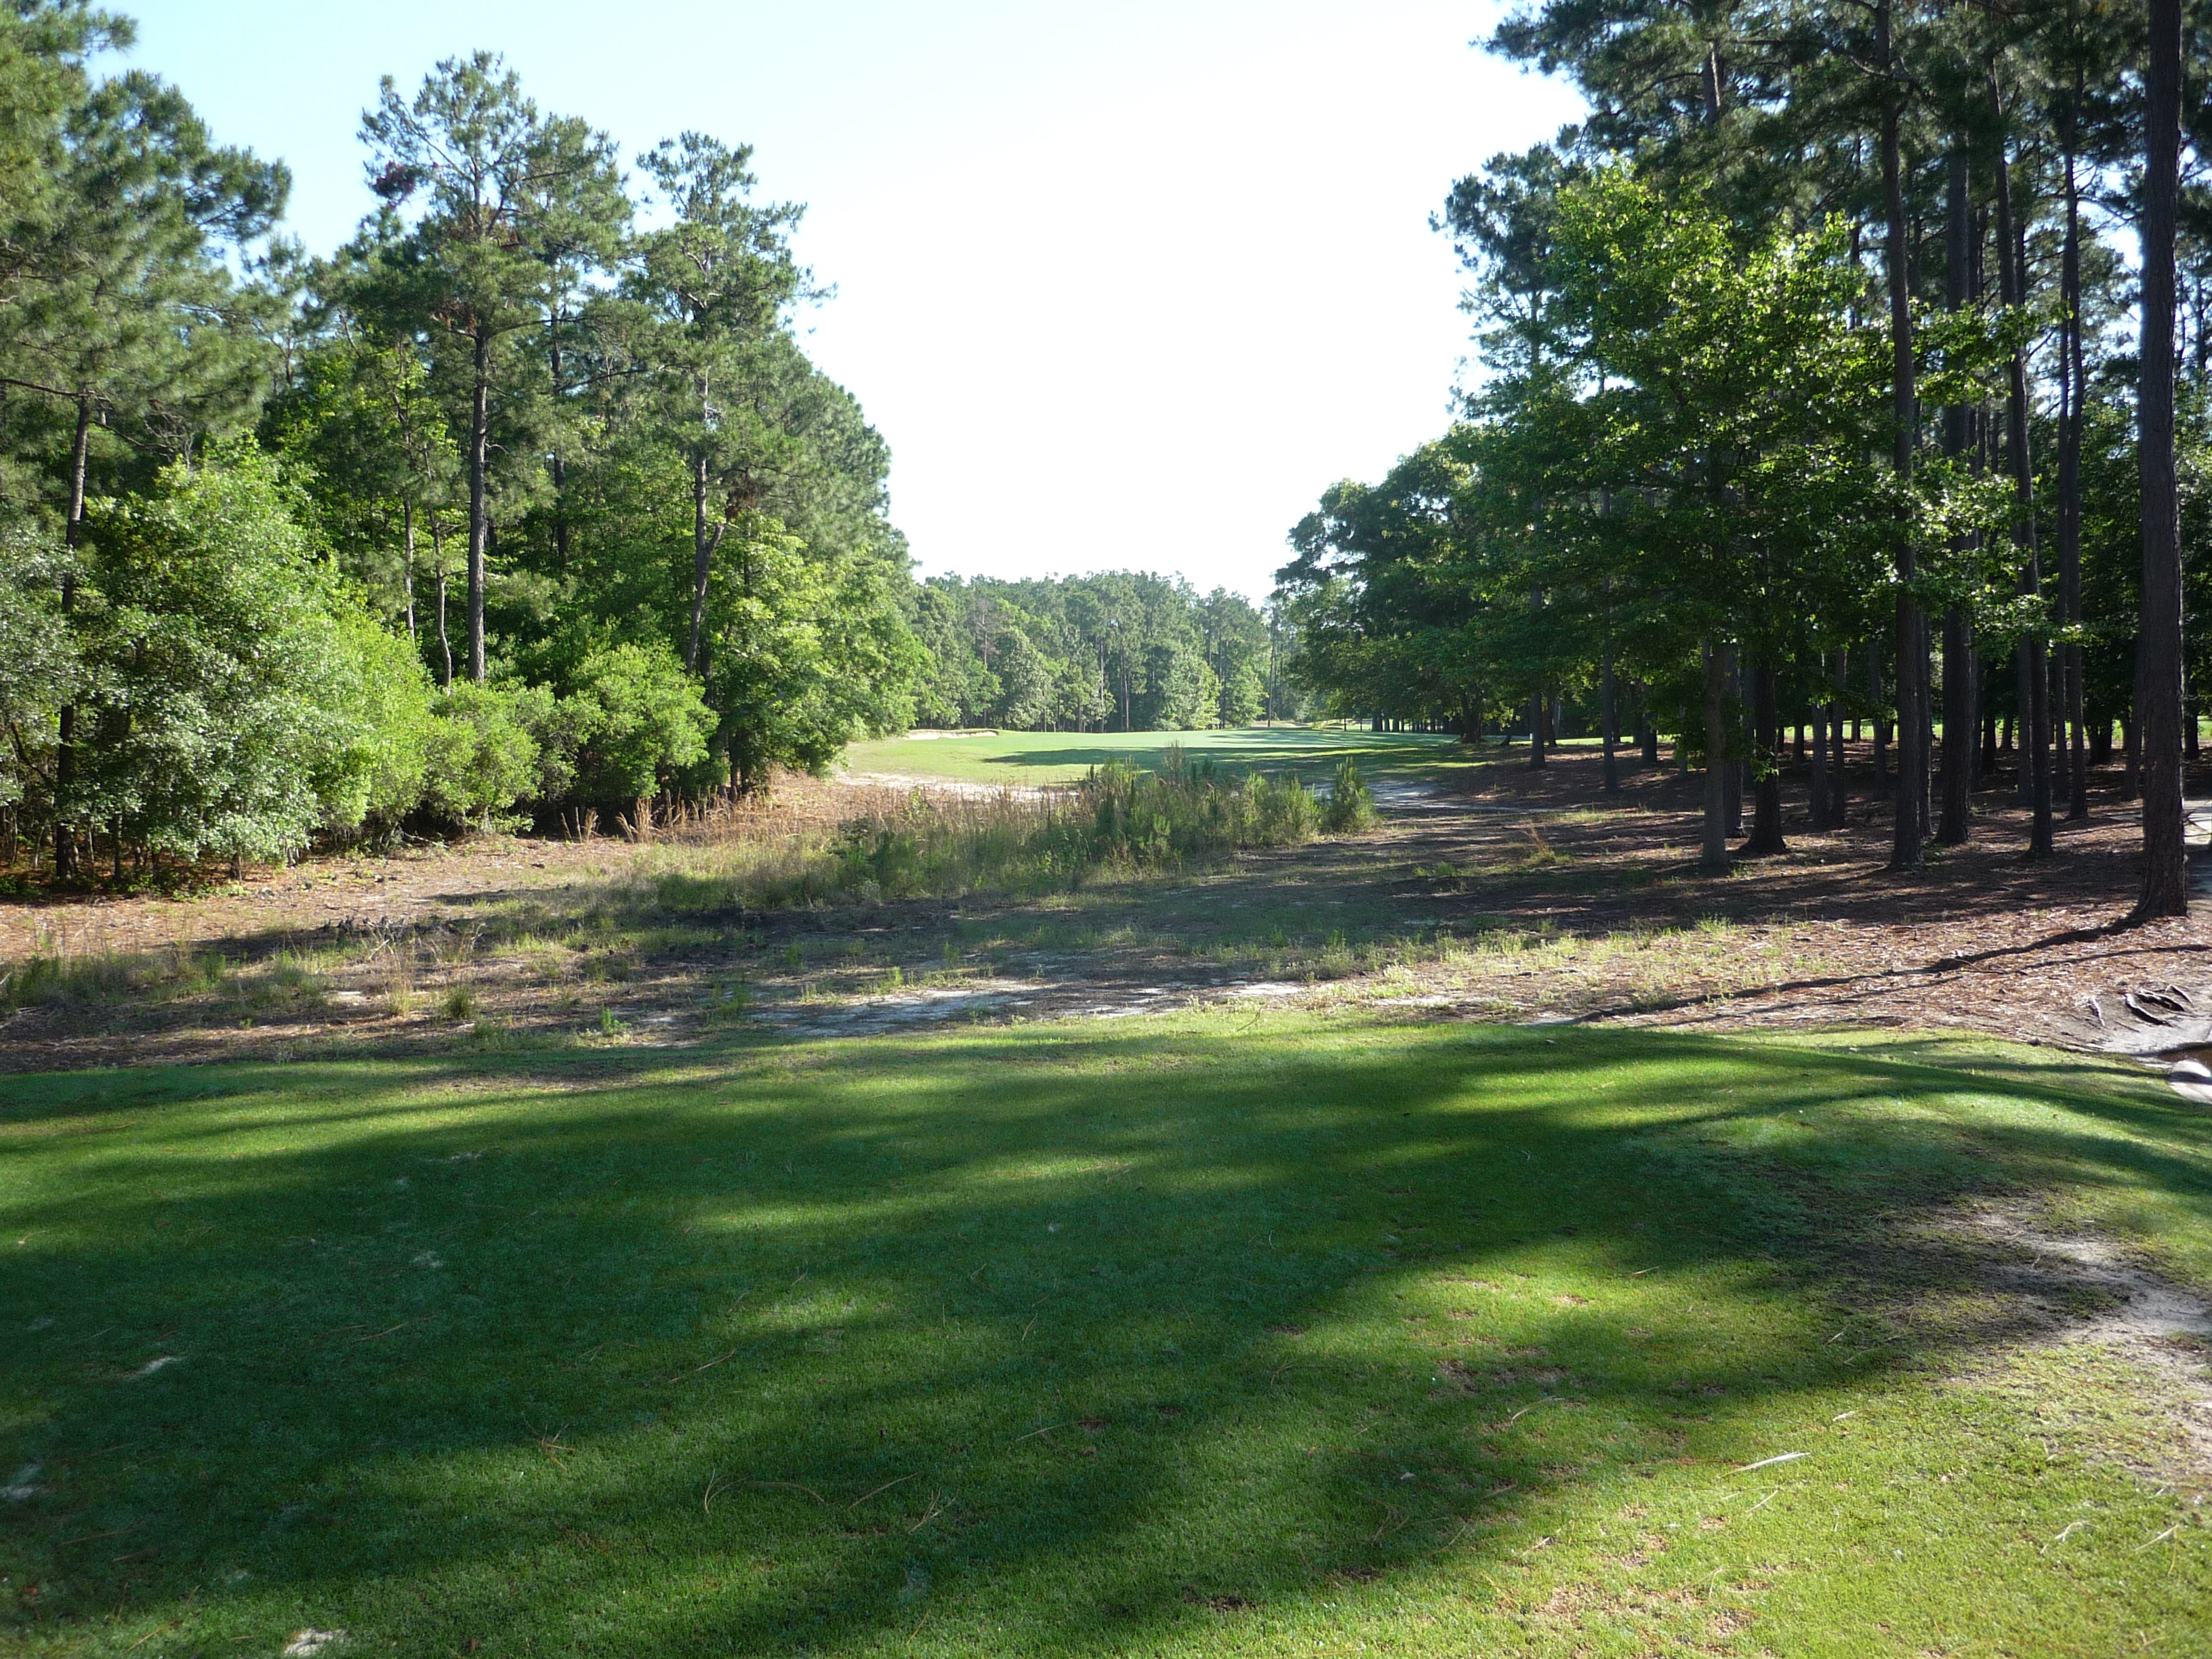
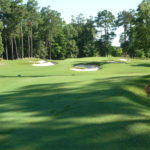
Hole 6 – 498 yards – Par 5
This is a little shorter par 5, but it is tight off the tee. It’s also another tee shot that is best played with a fade.
The second shot plays to another heavily guarded green. Be cautious if going for it in two.
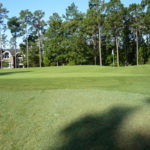
The green runs off towards the back right side as seen in the near portion of the picture below.
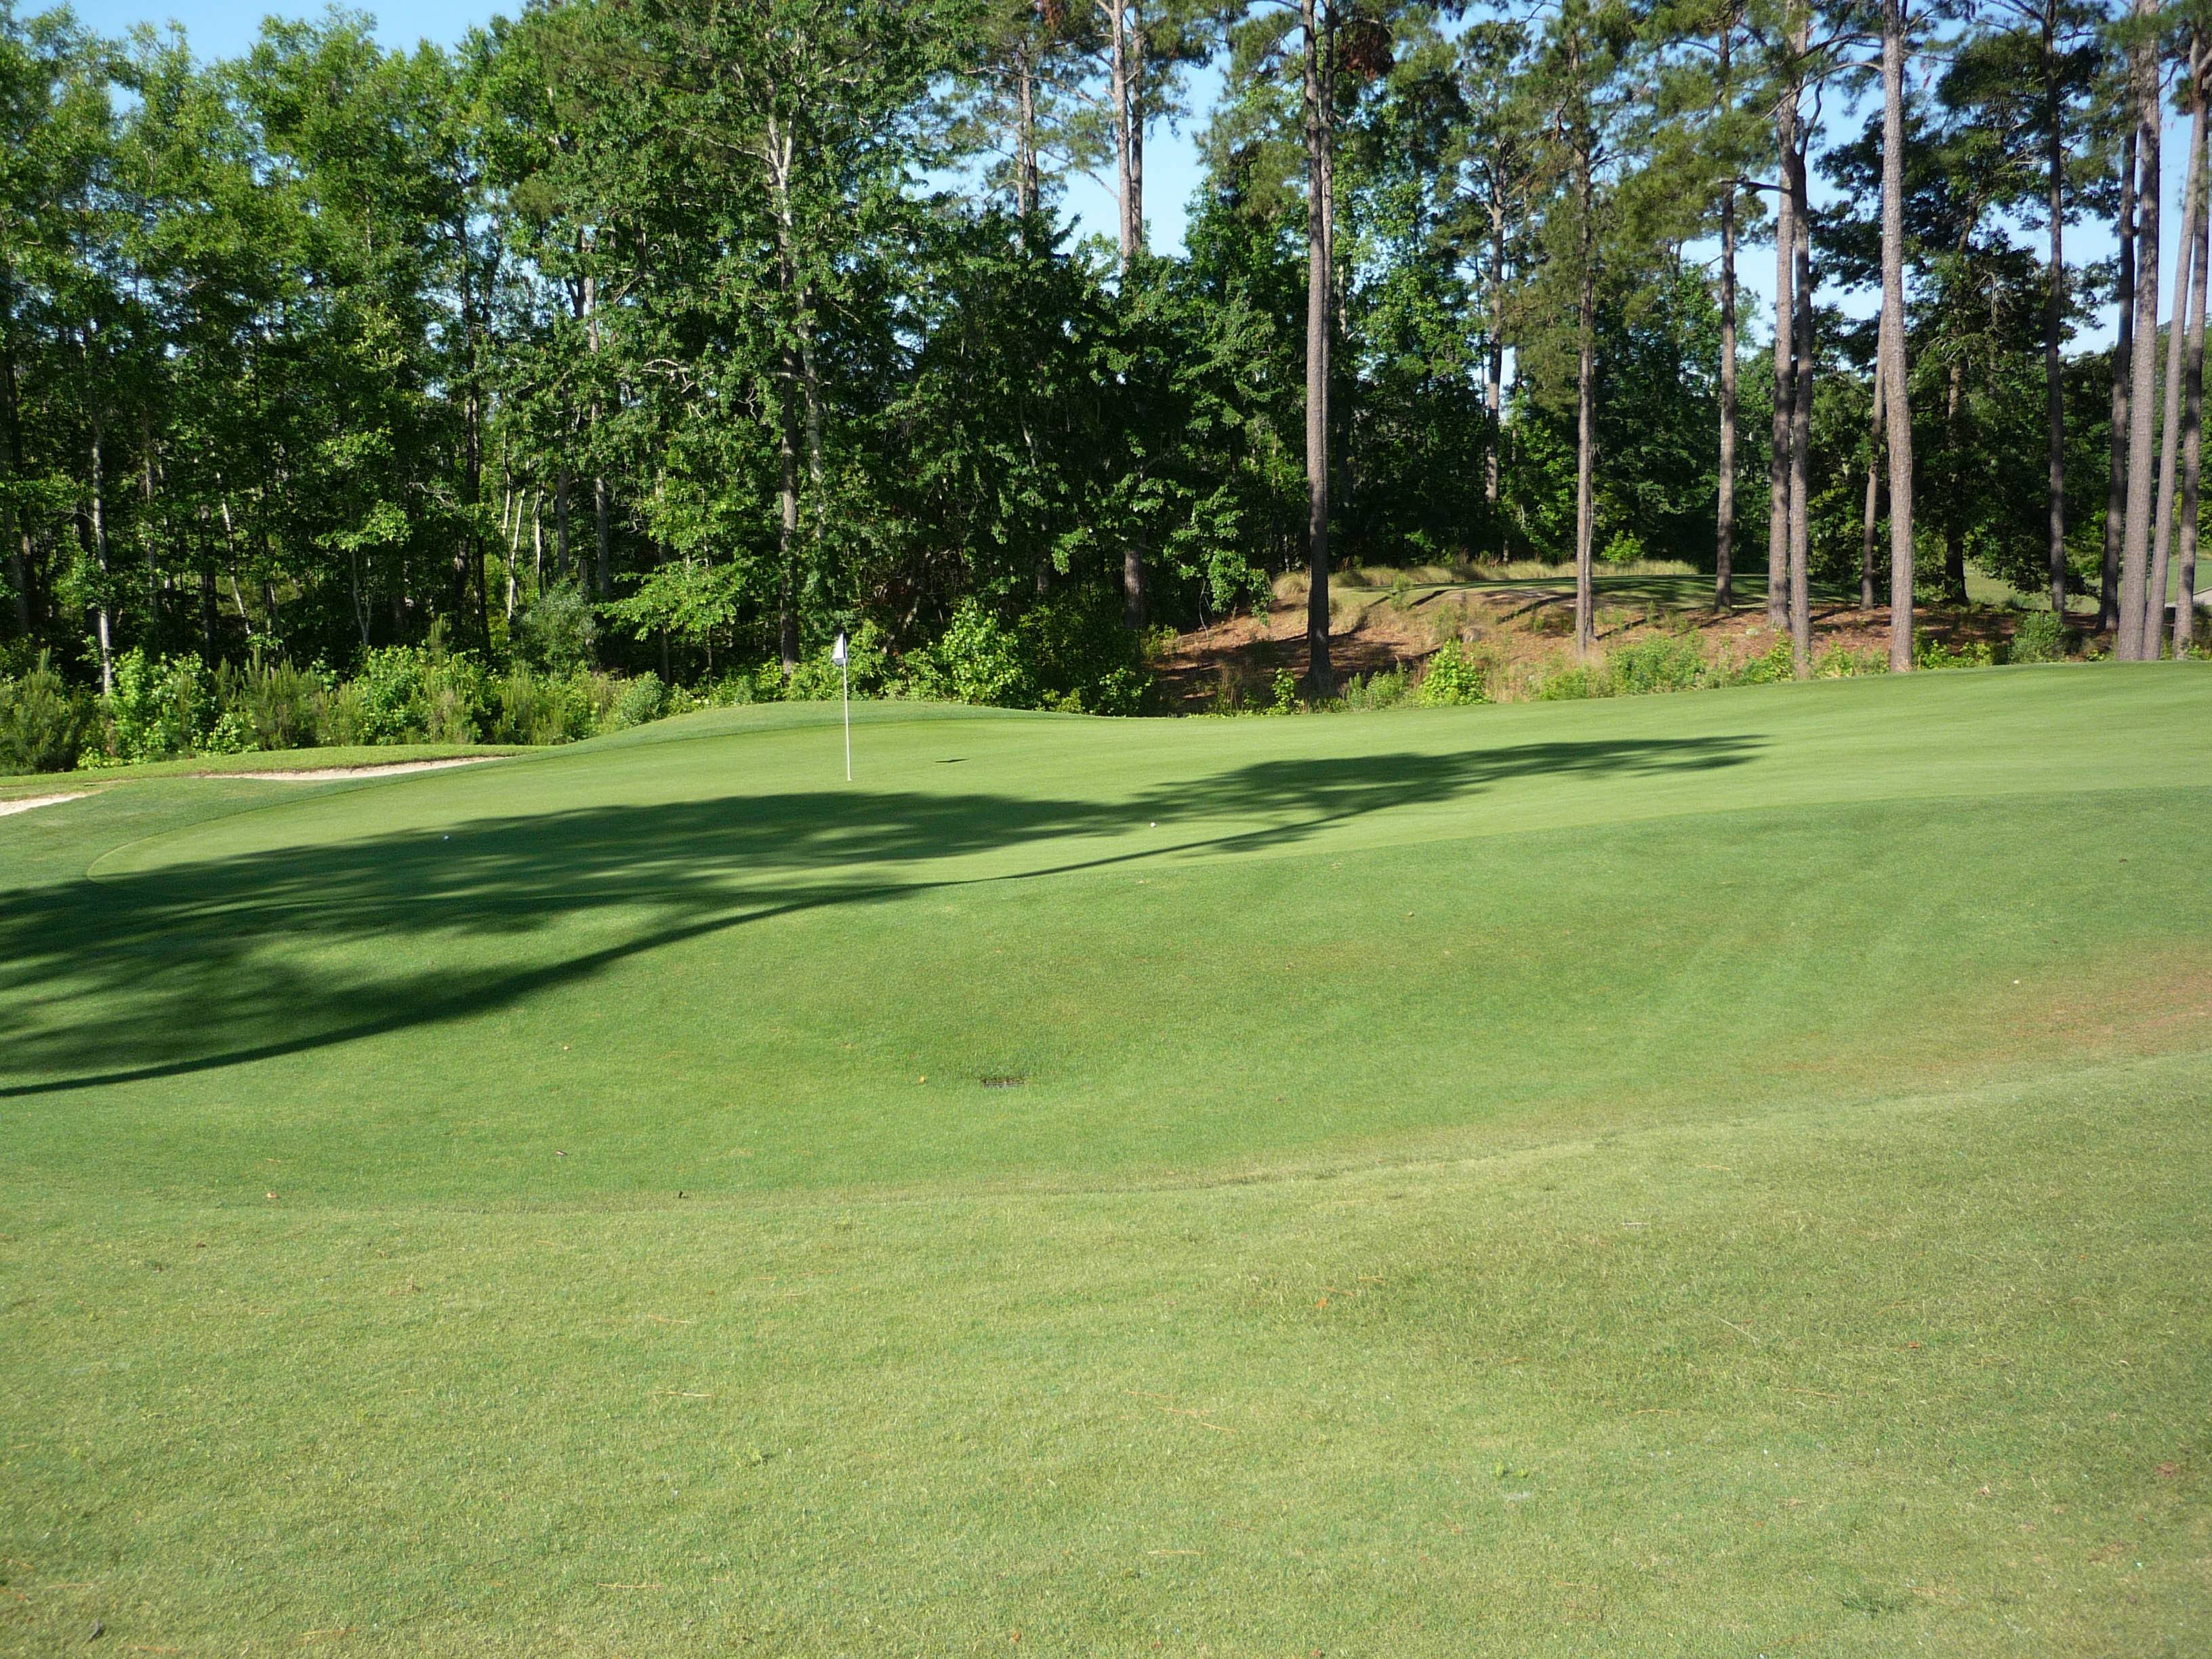
Hole 7 – 176 yards – Par 3
This hole plays slightly downhill and favors a draw. Finally! The bunkers in the front left are to be avoided.

Shots missed to the right have to deal with a large hill that makes chipping difficult.
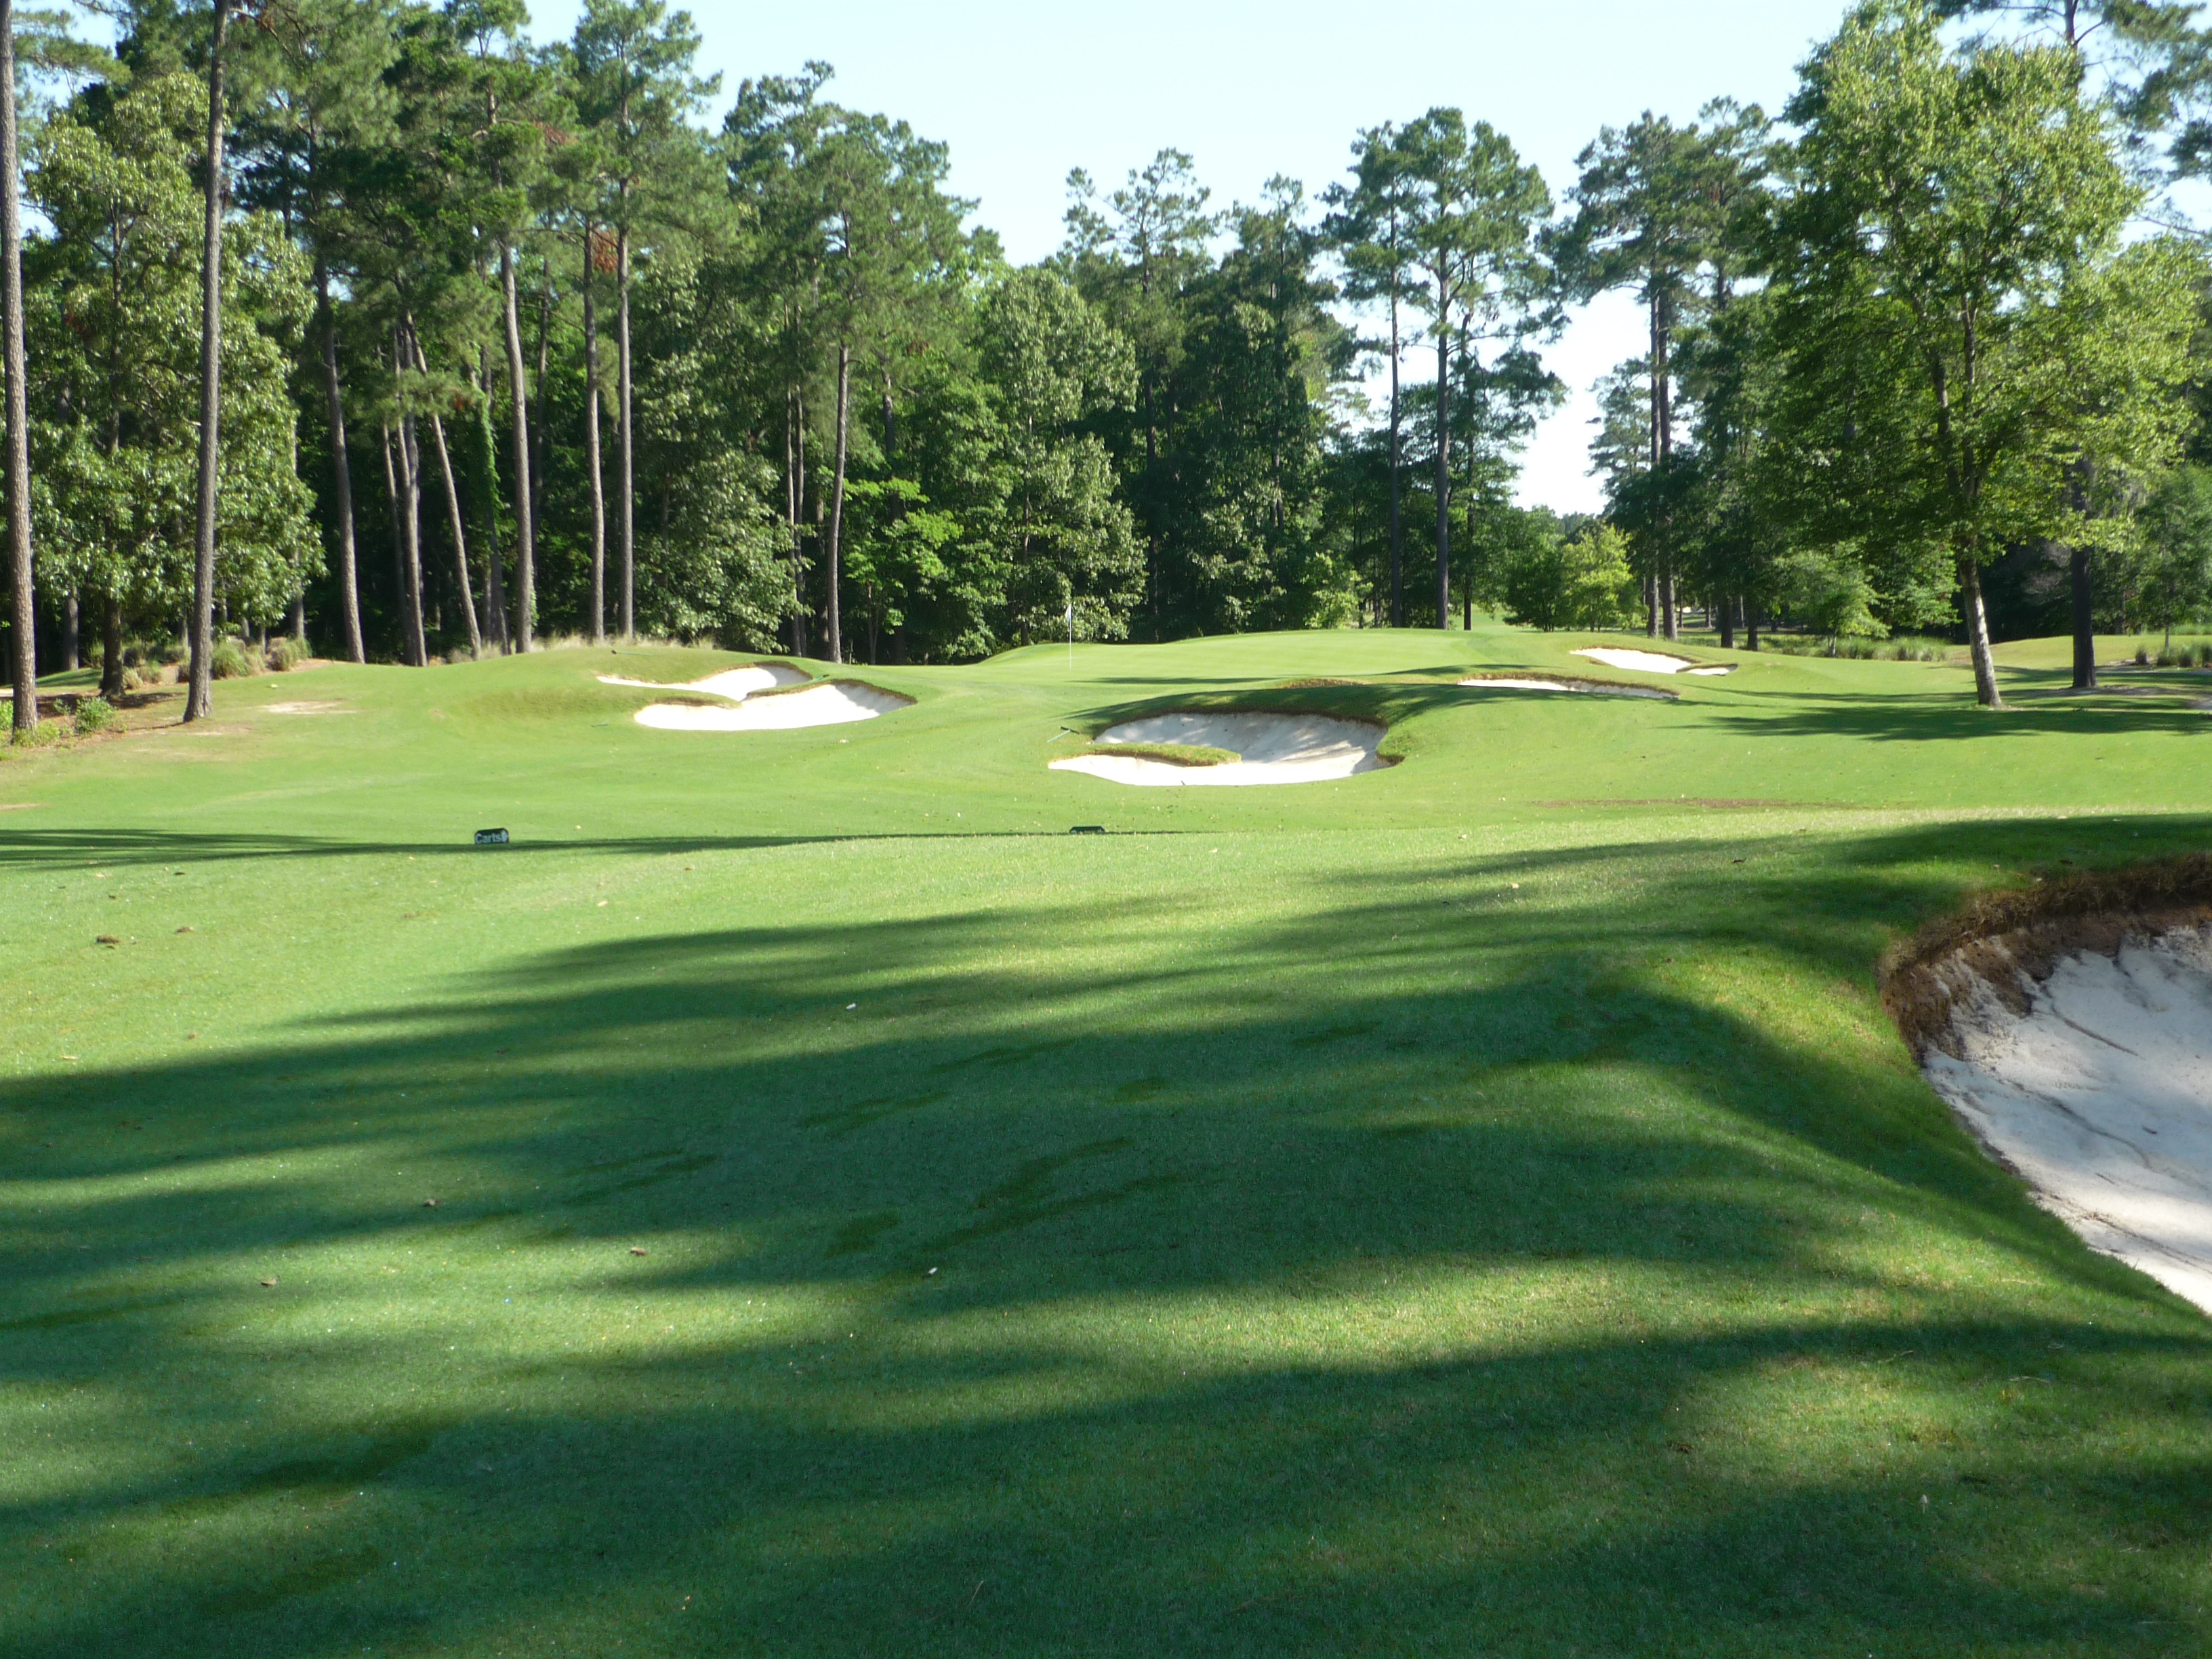
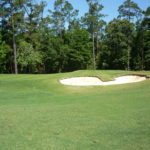
Hole 8 – 353 yards – Par 4
This is one of the shorter holes since the first. It doglegs to the right and doesn’t really require driver.
The second shot has four bunkers ready to gobble up any shots left short of the green.
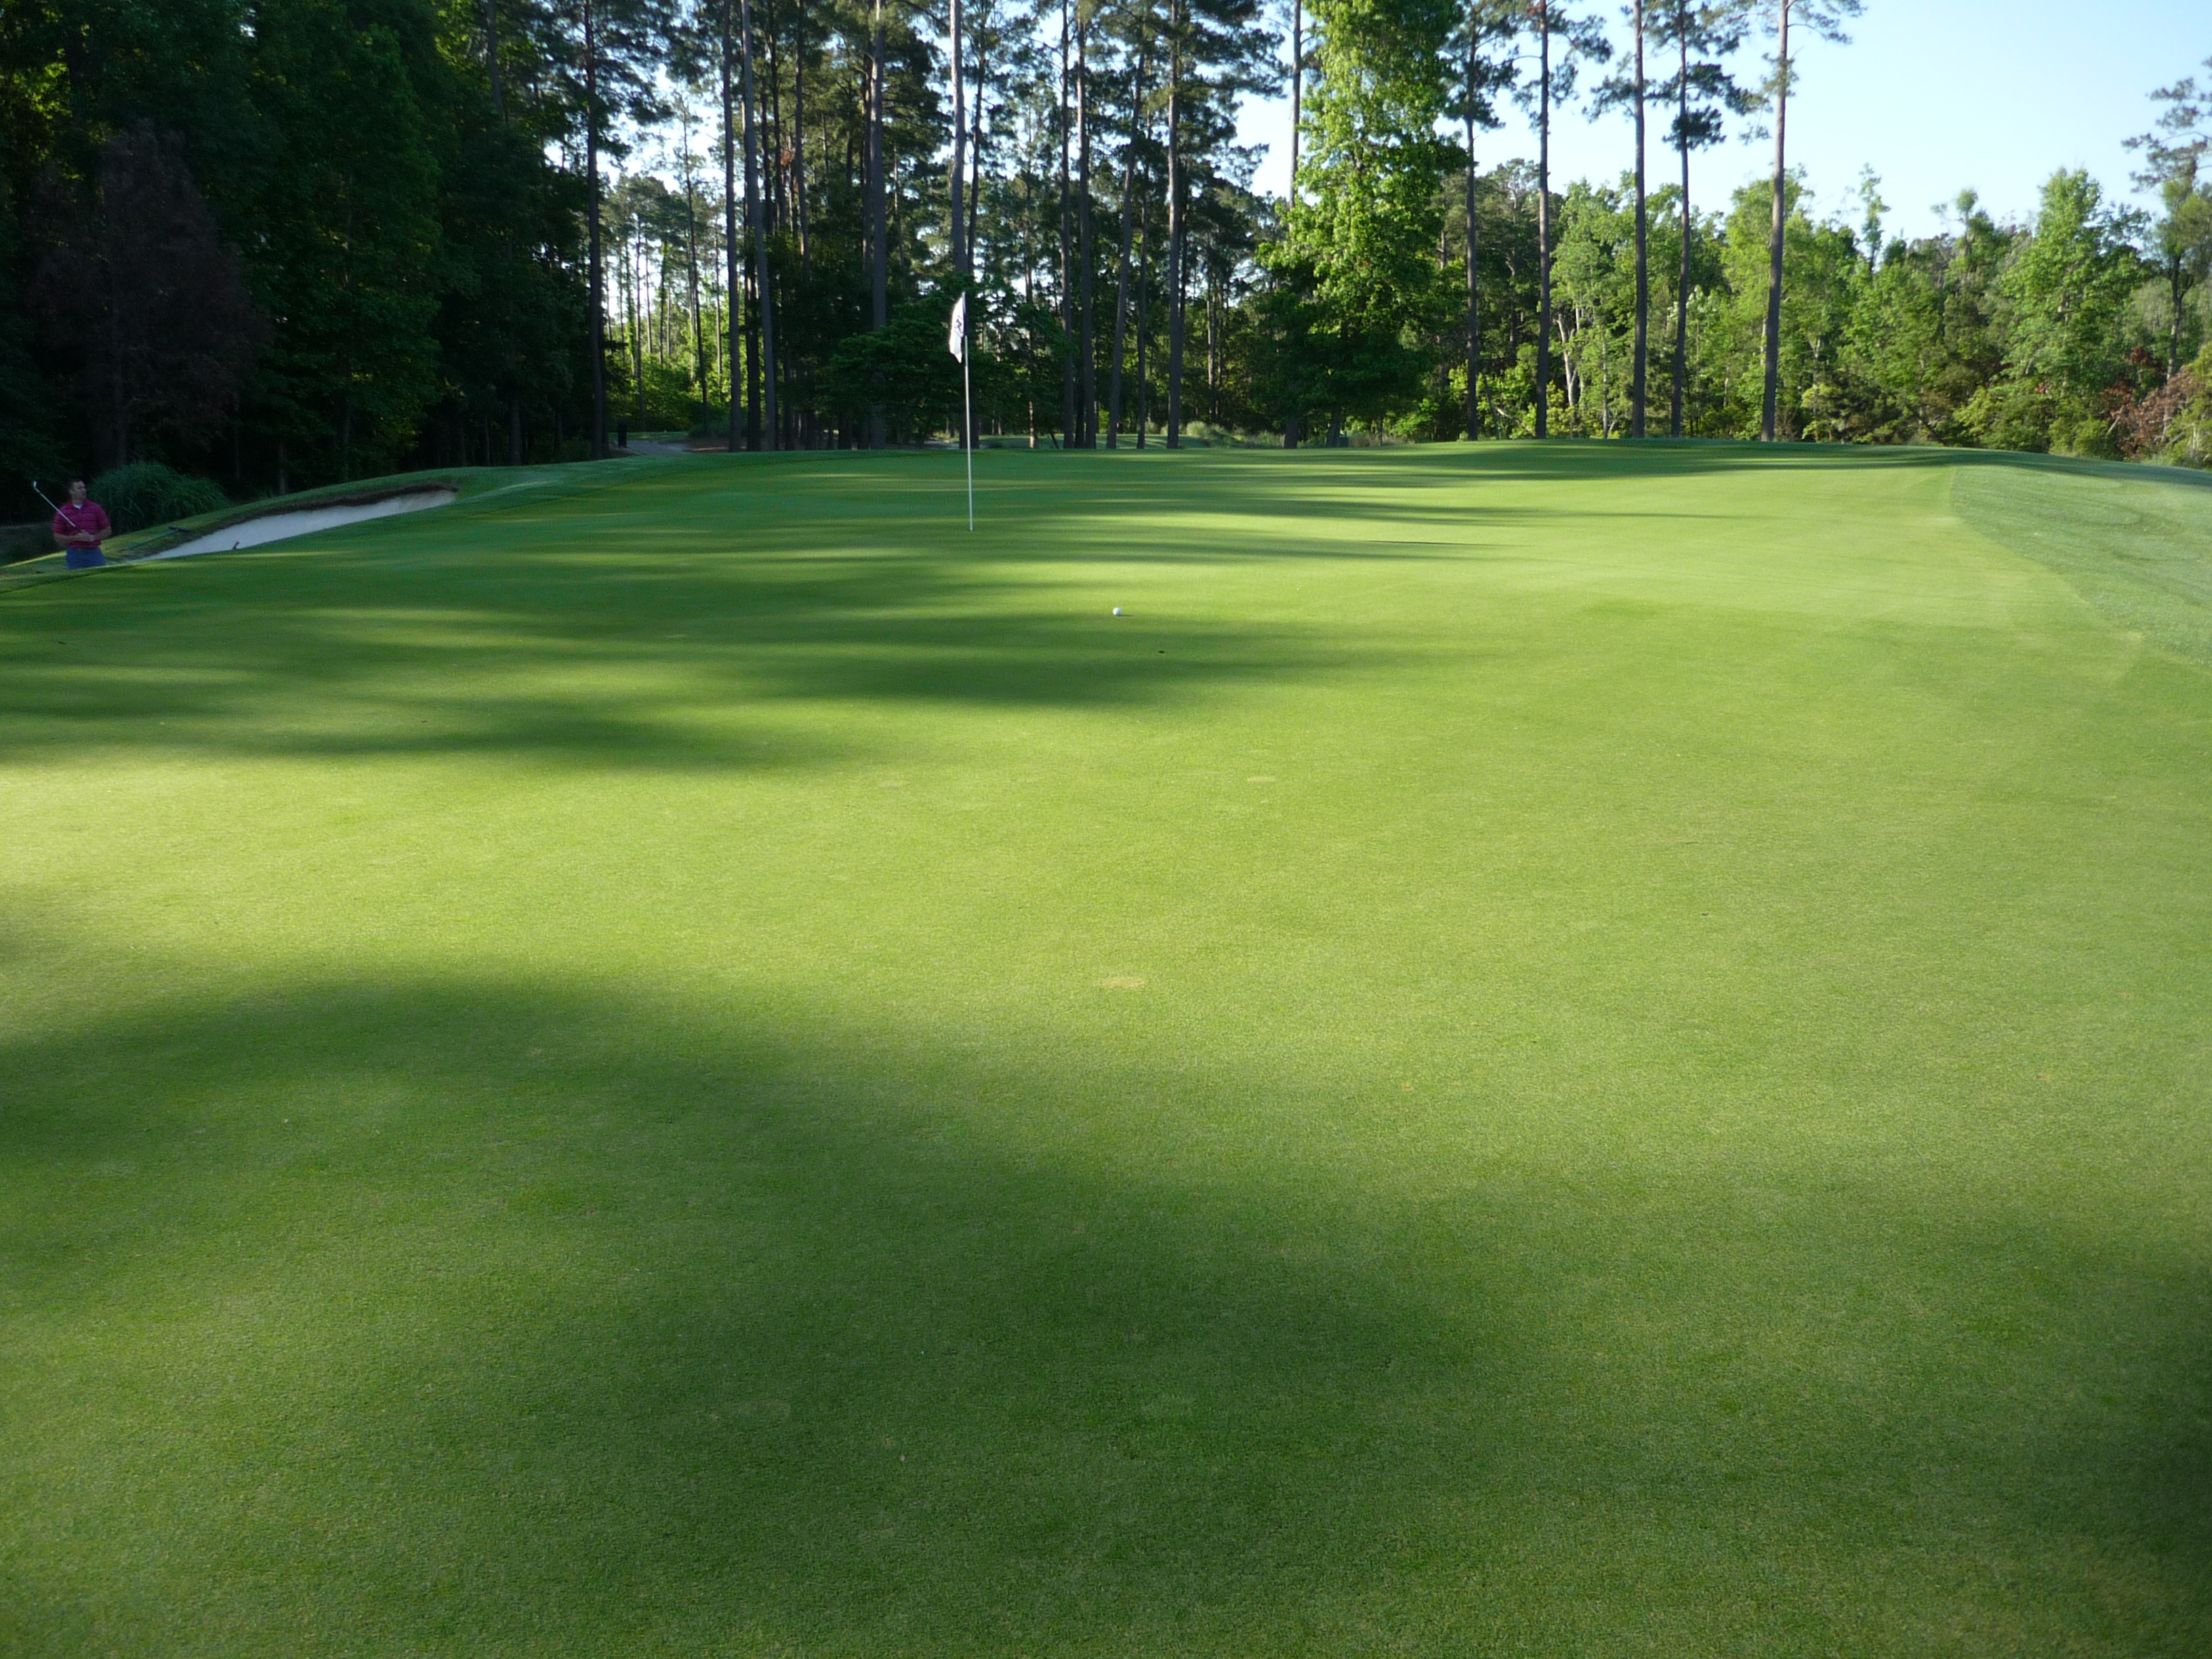
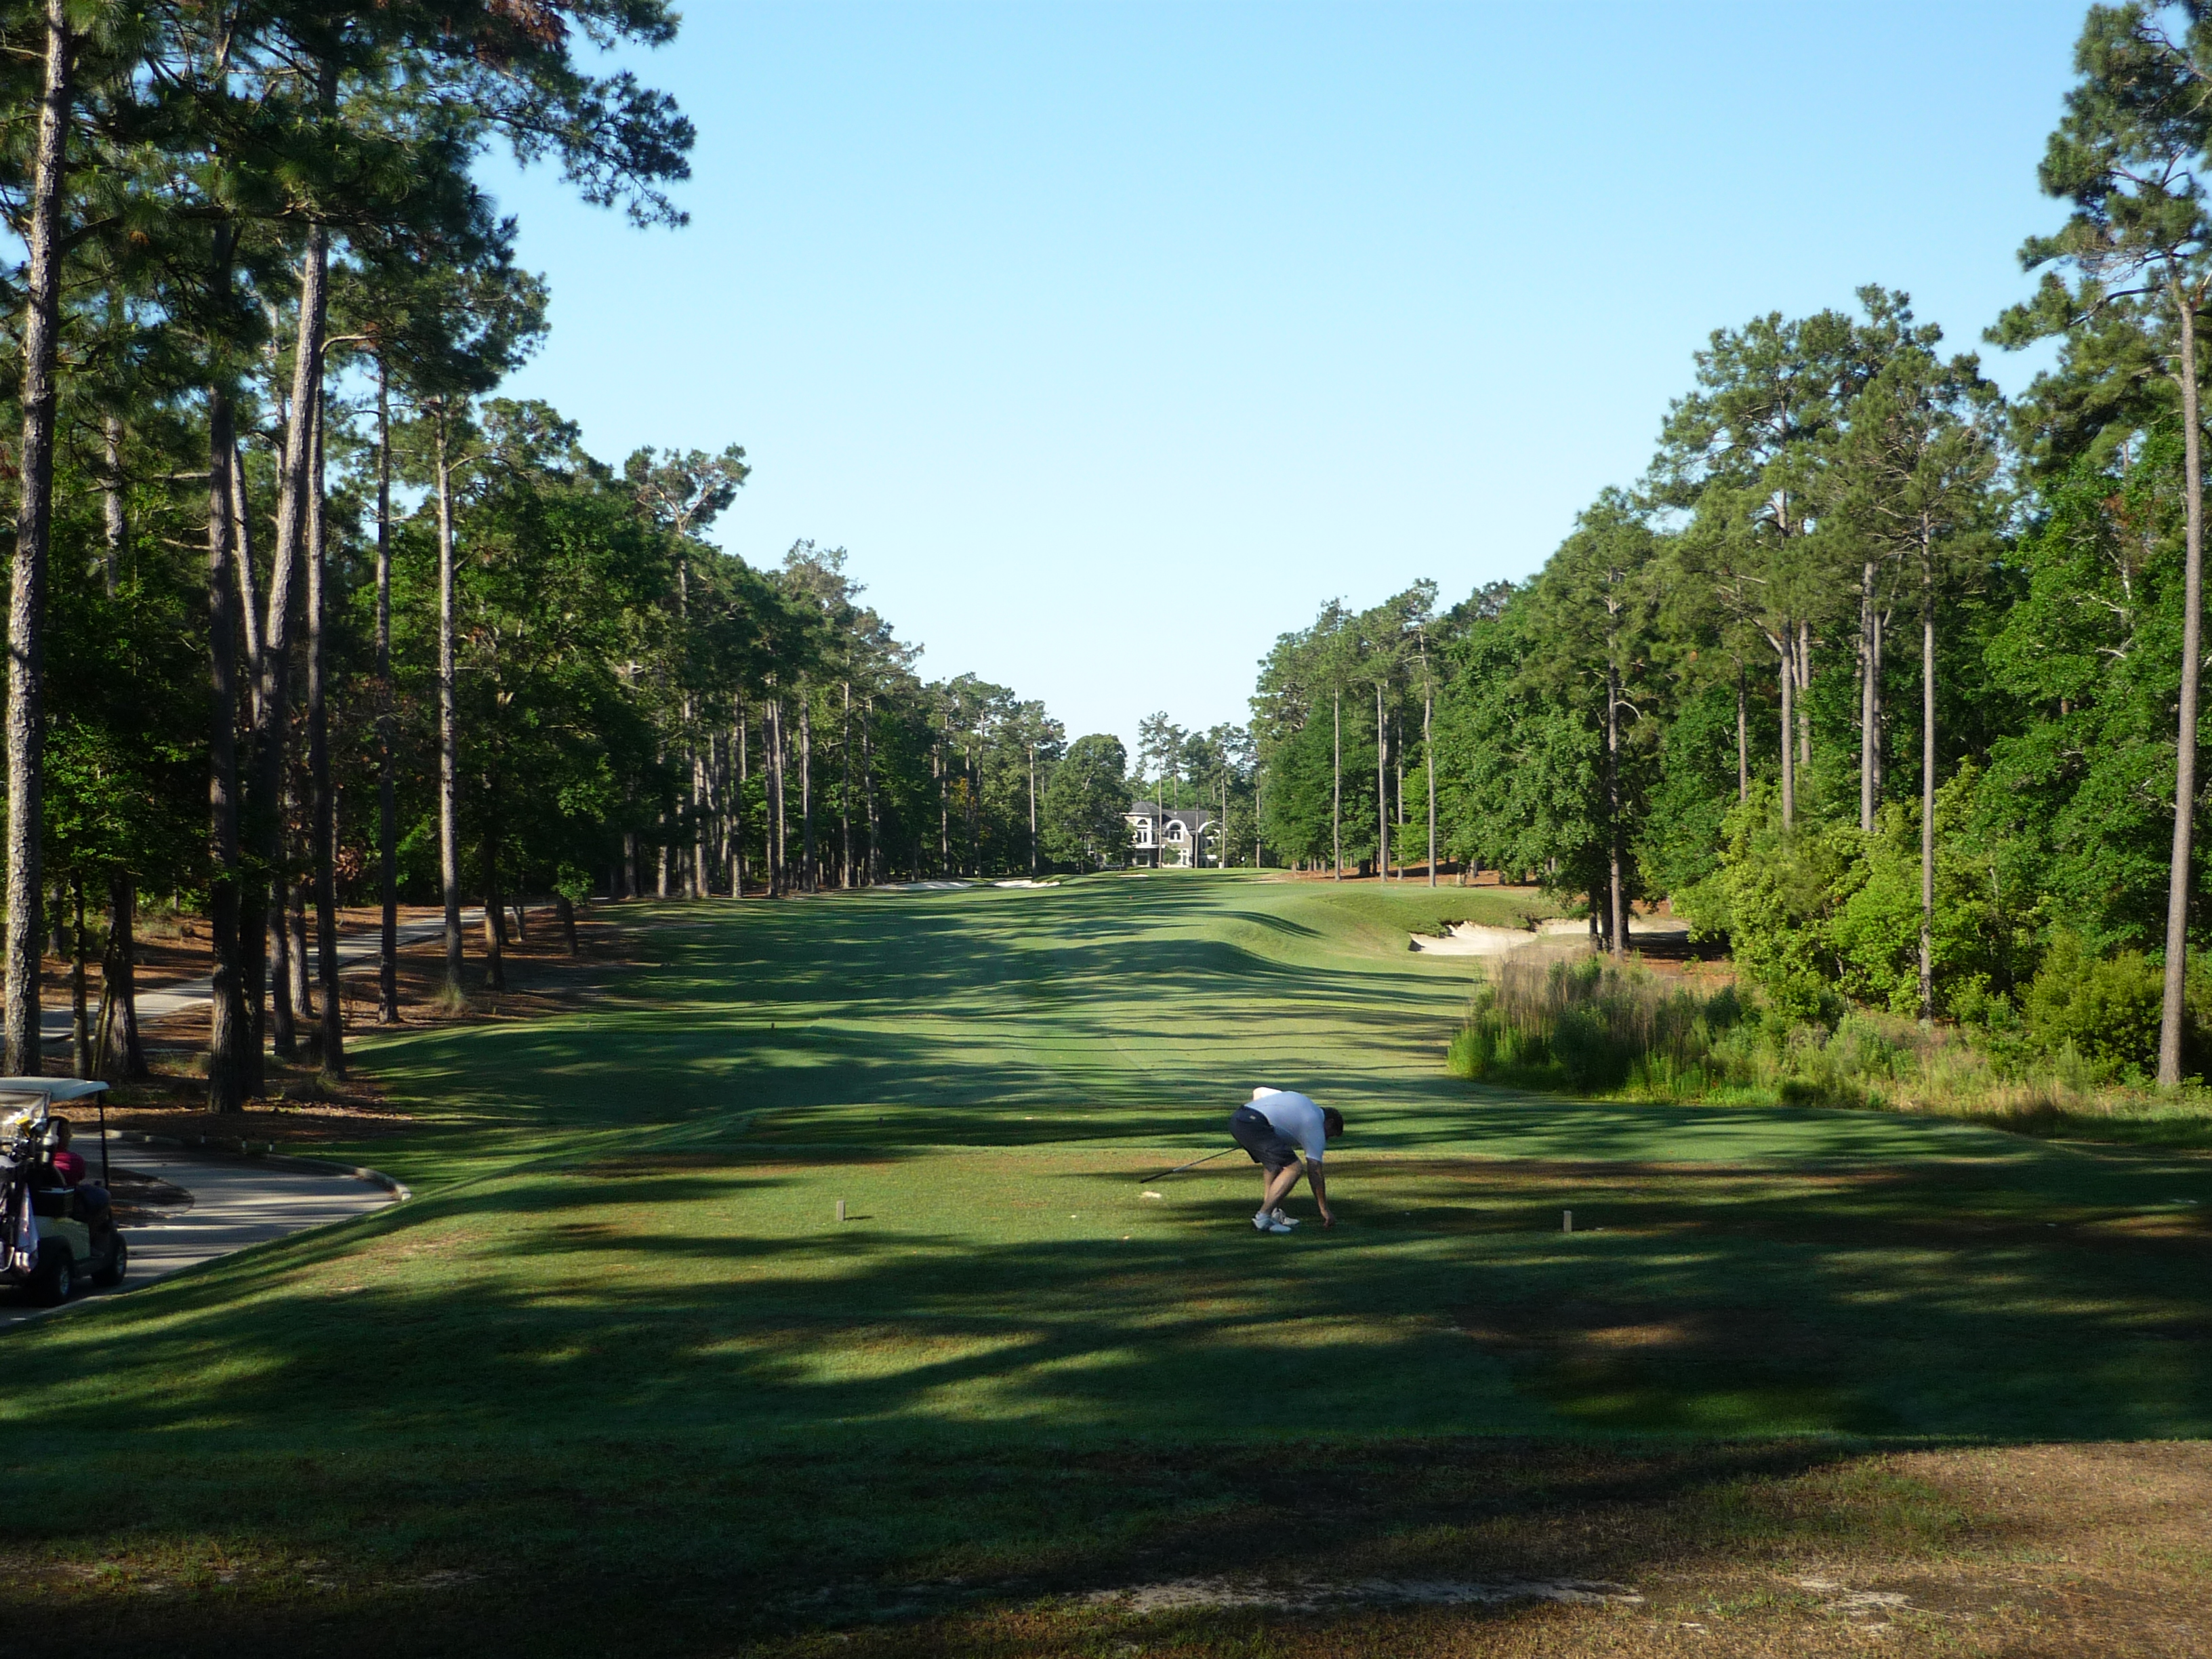
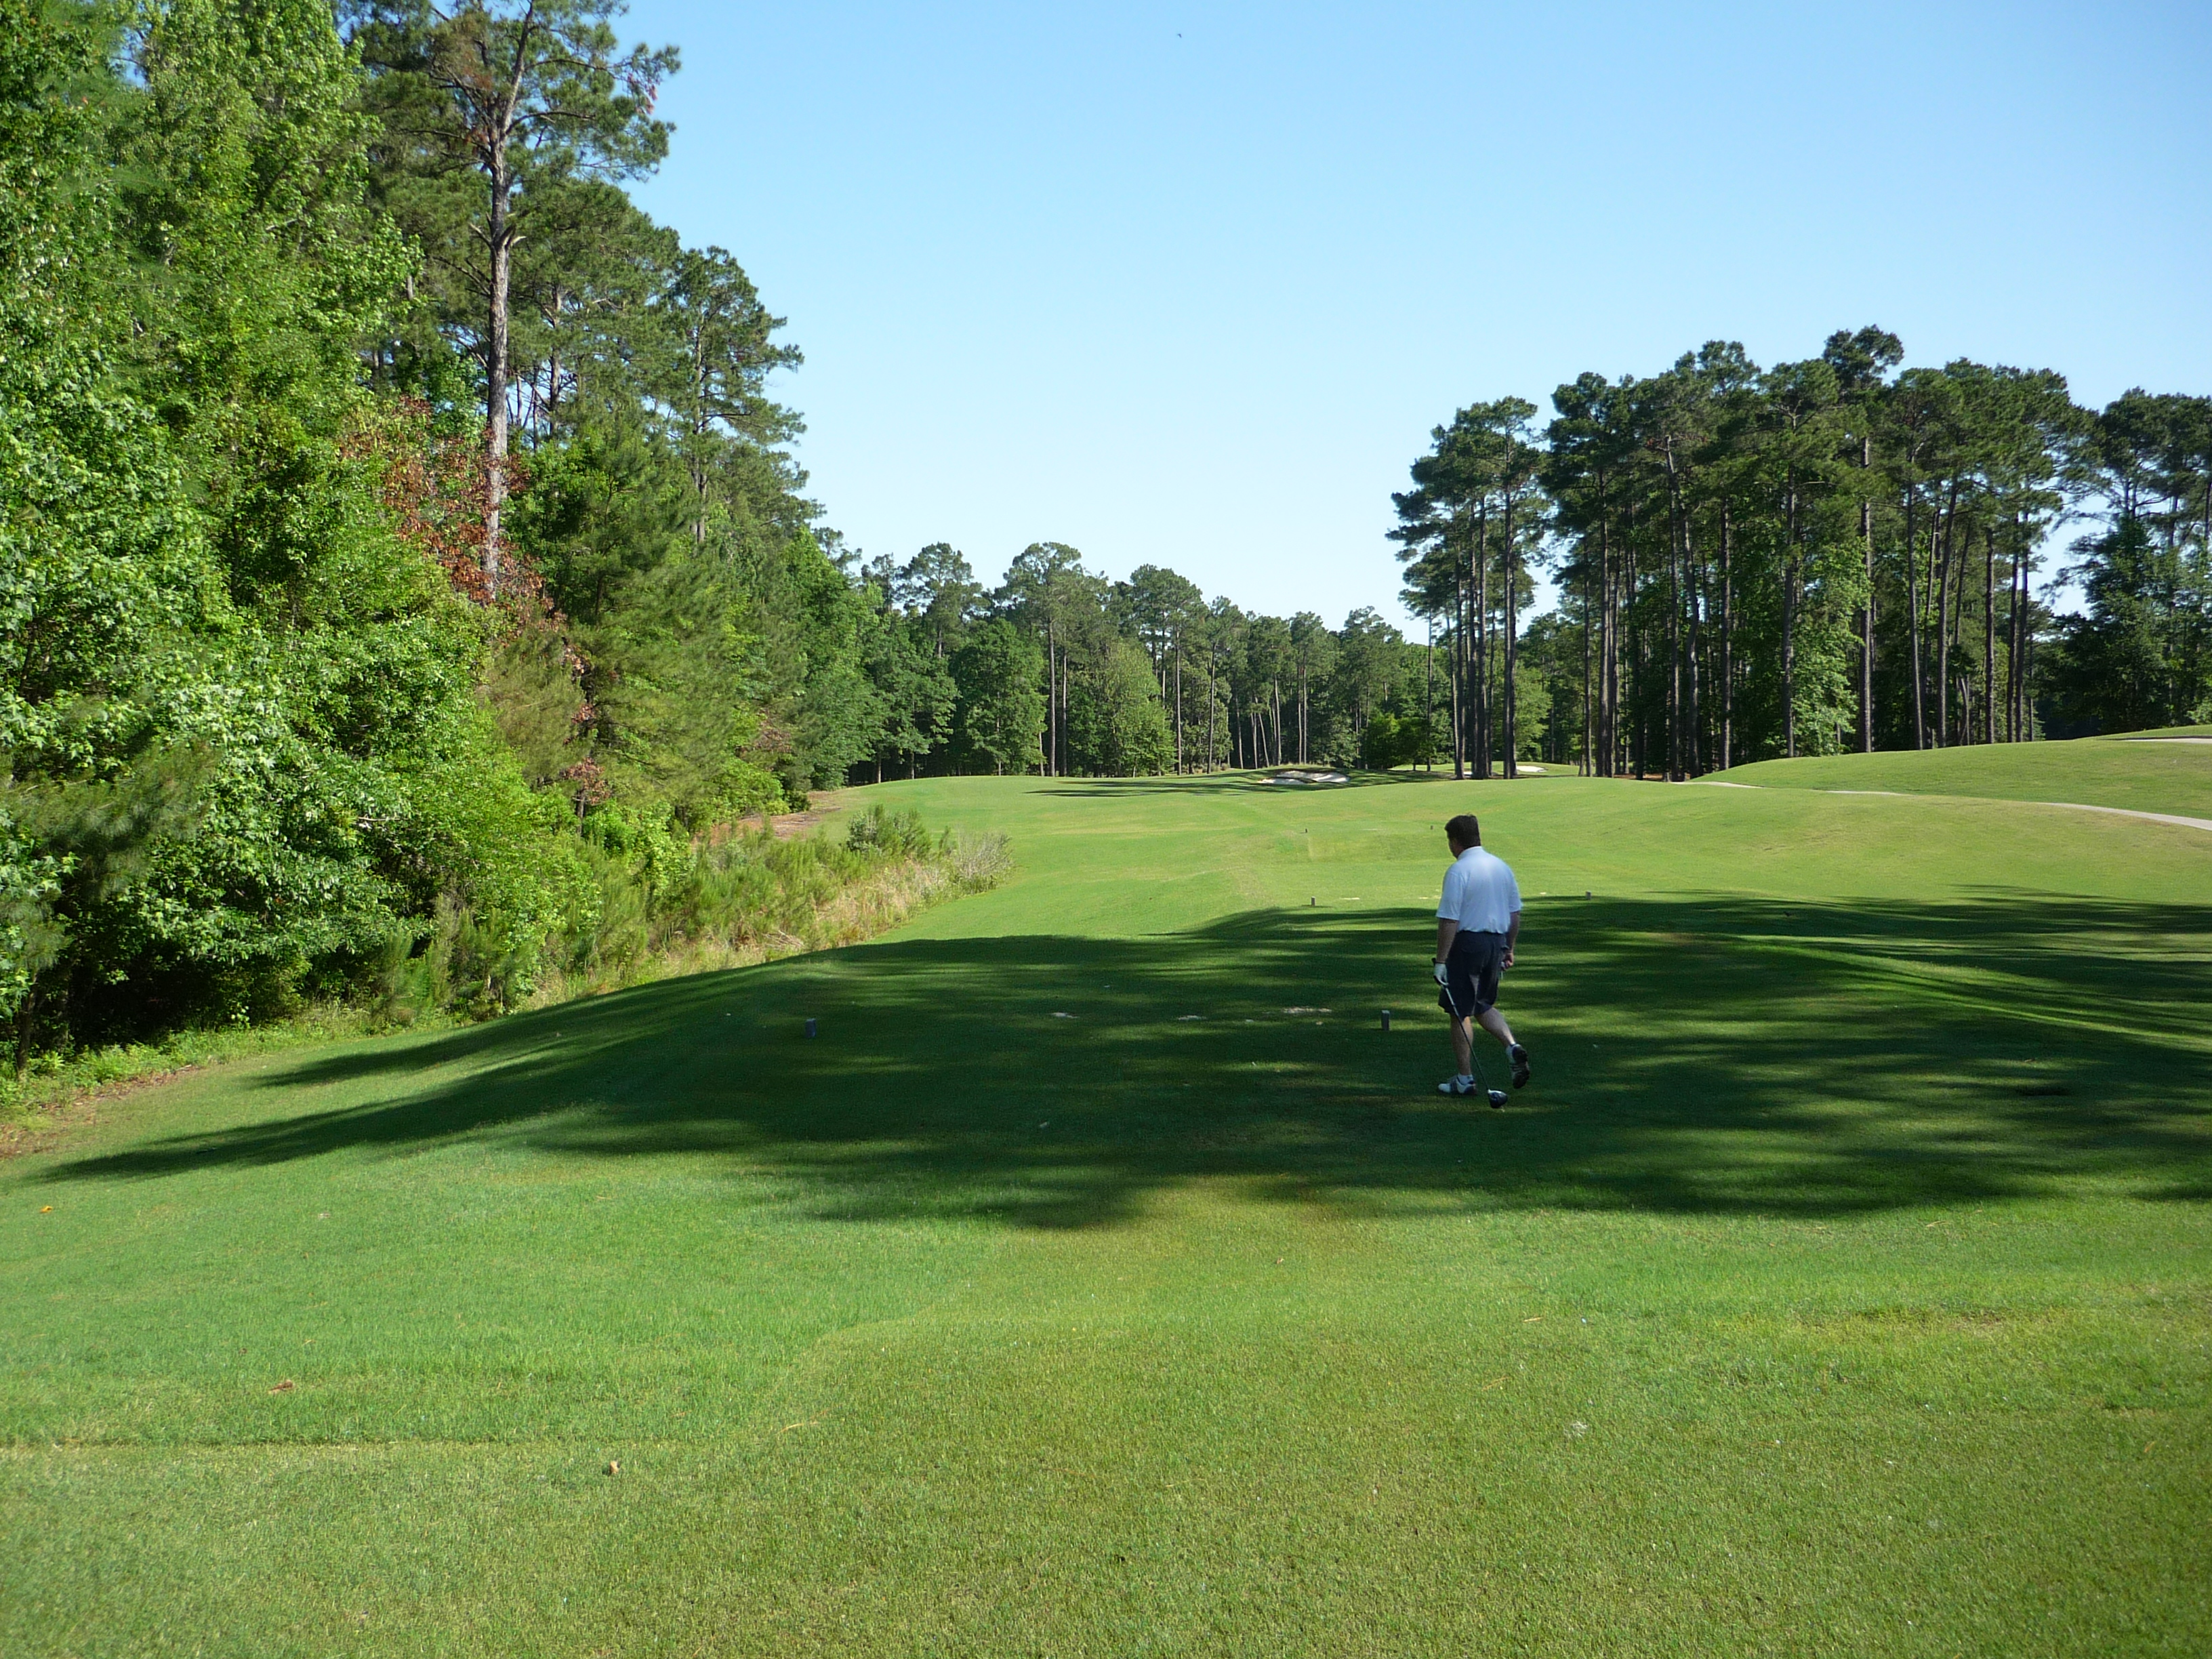
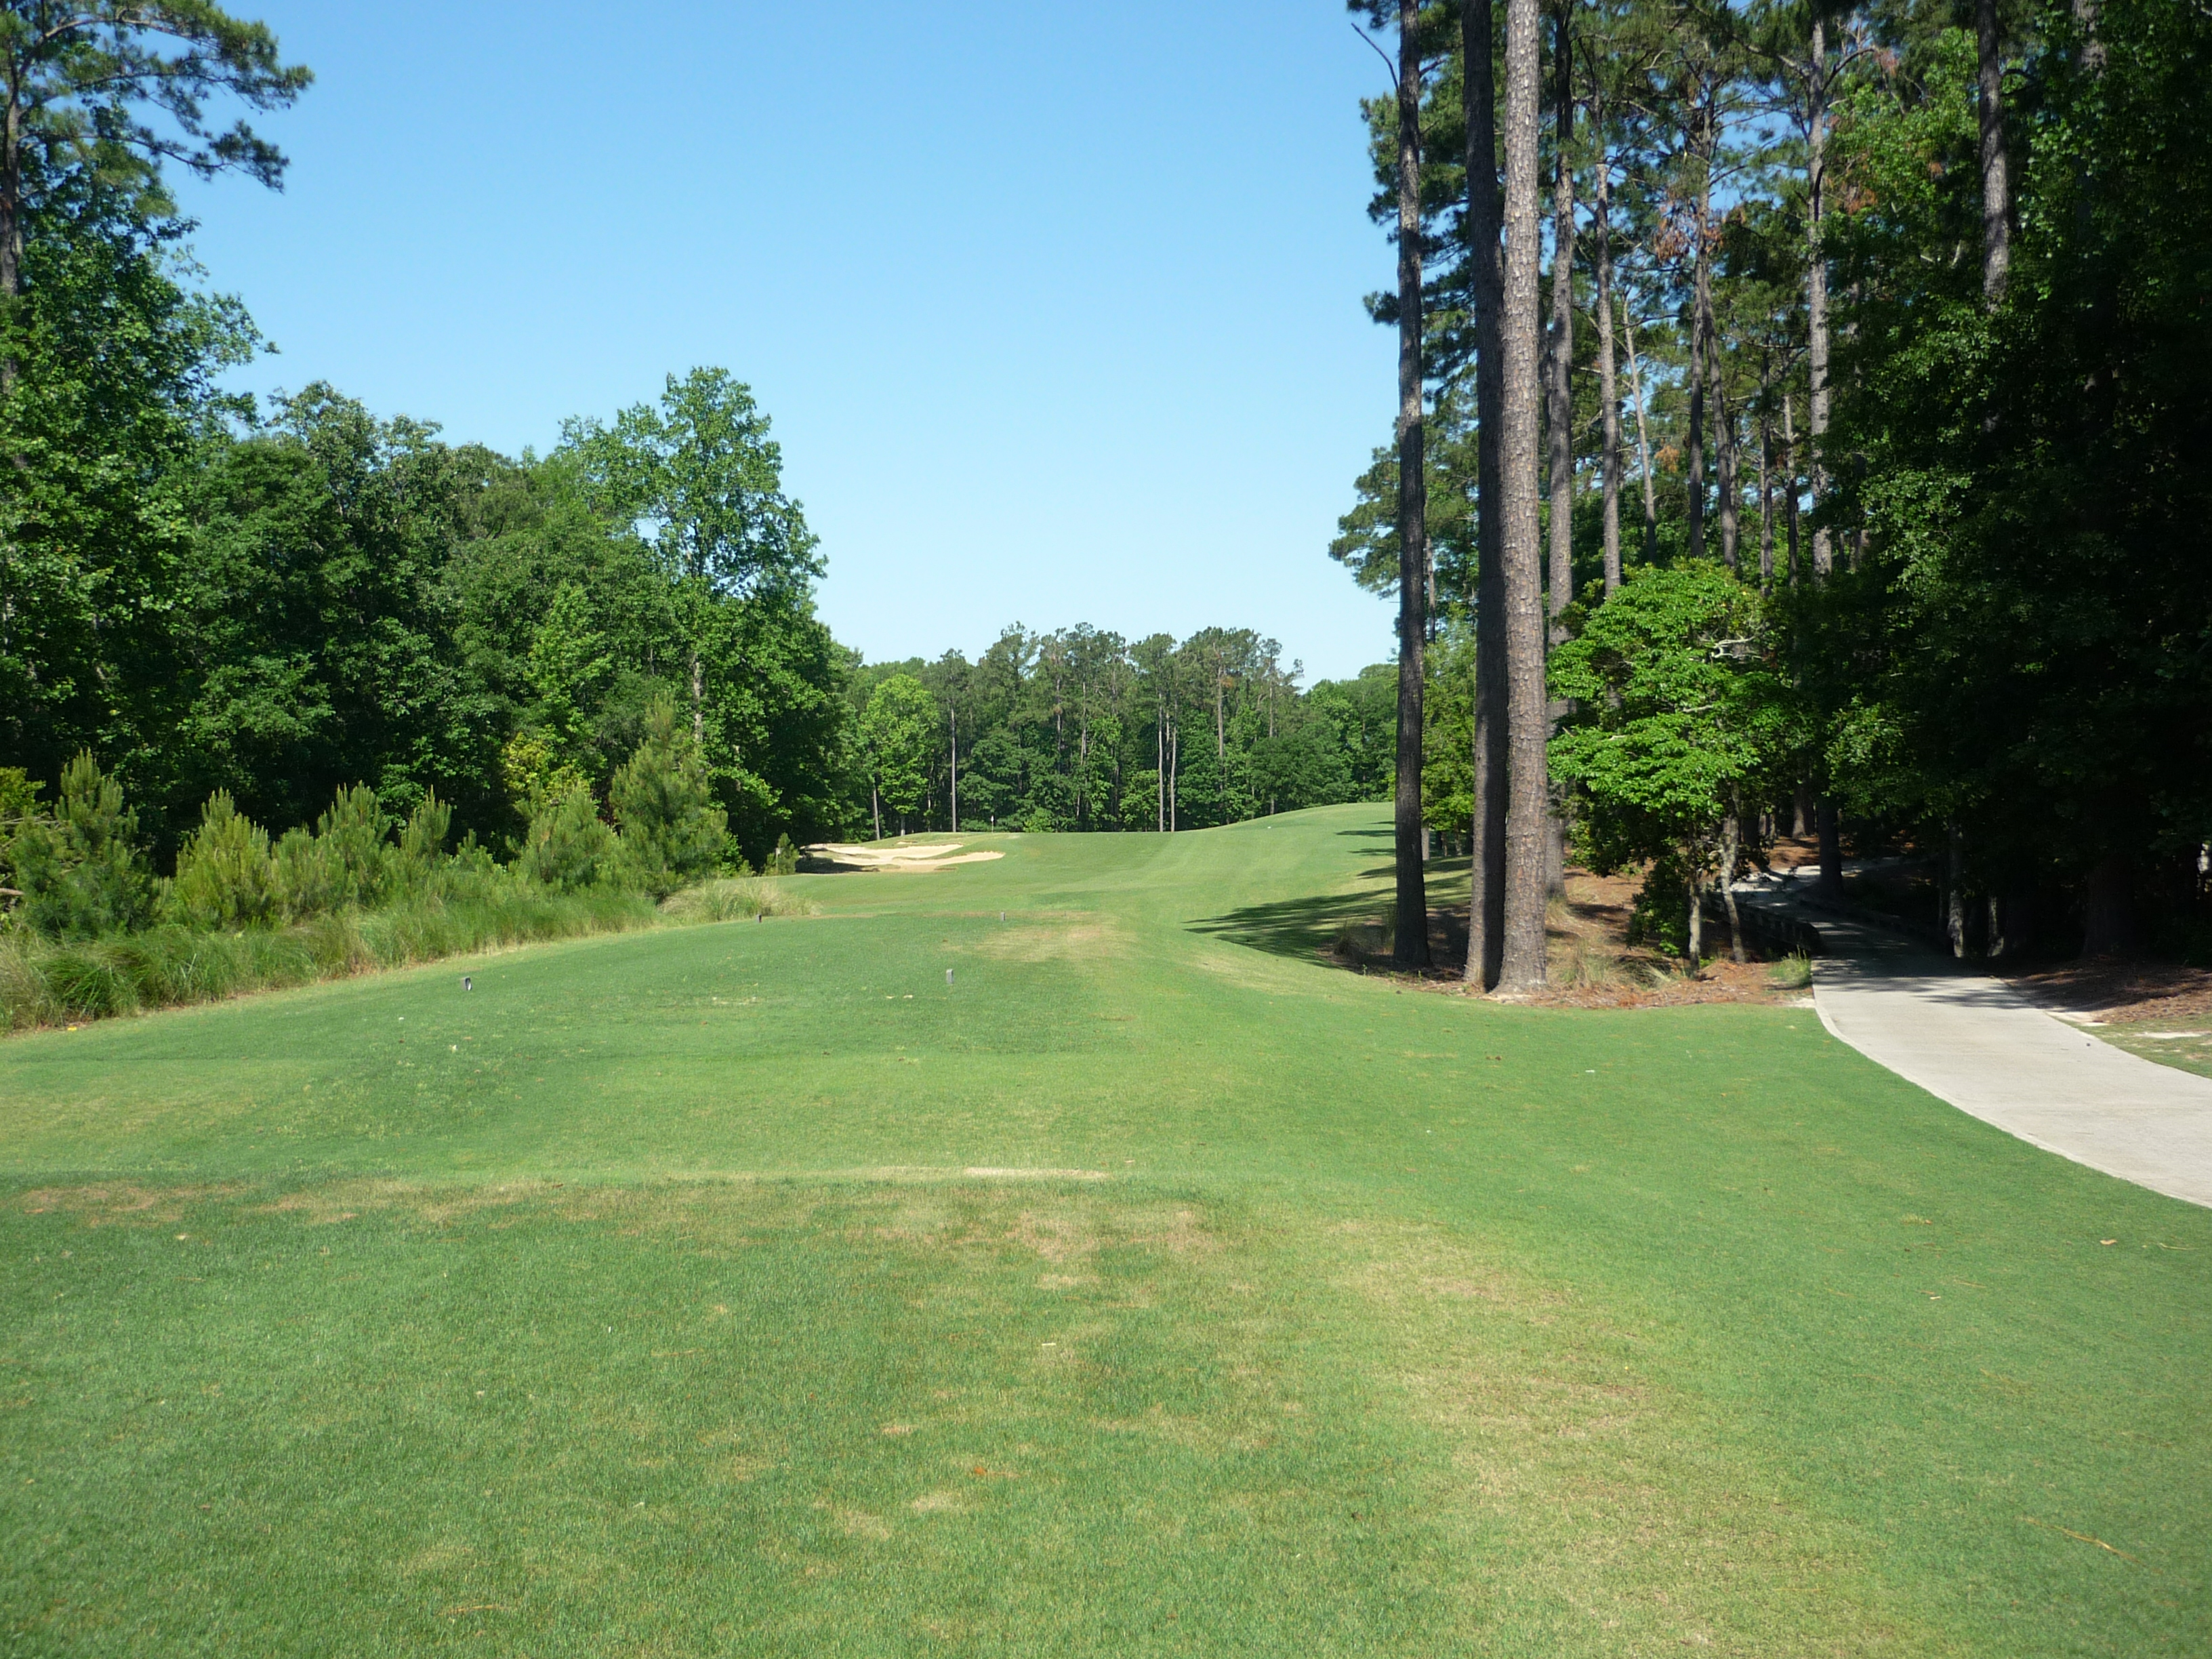
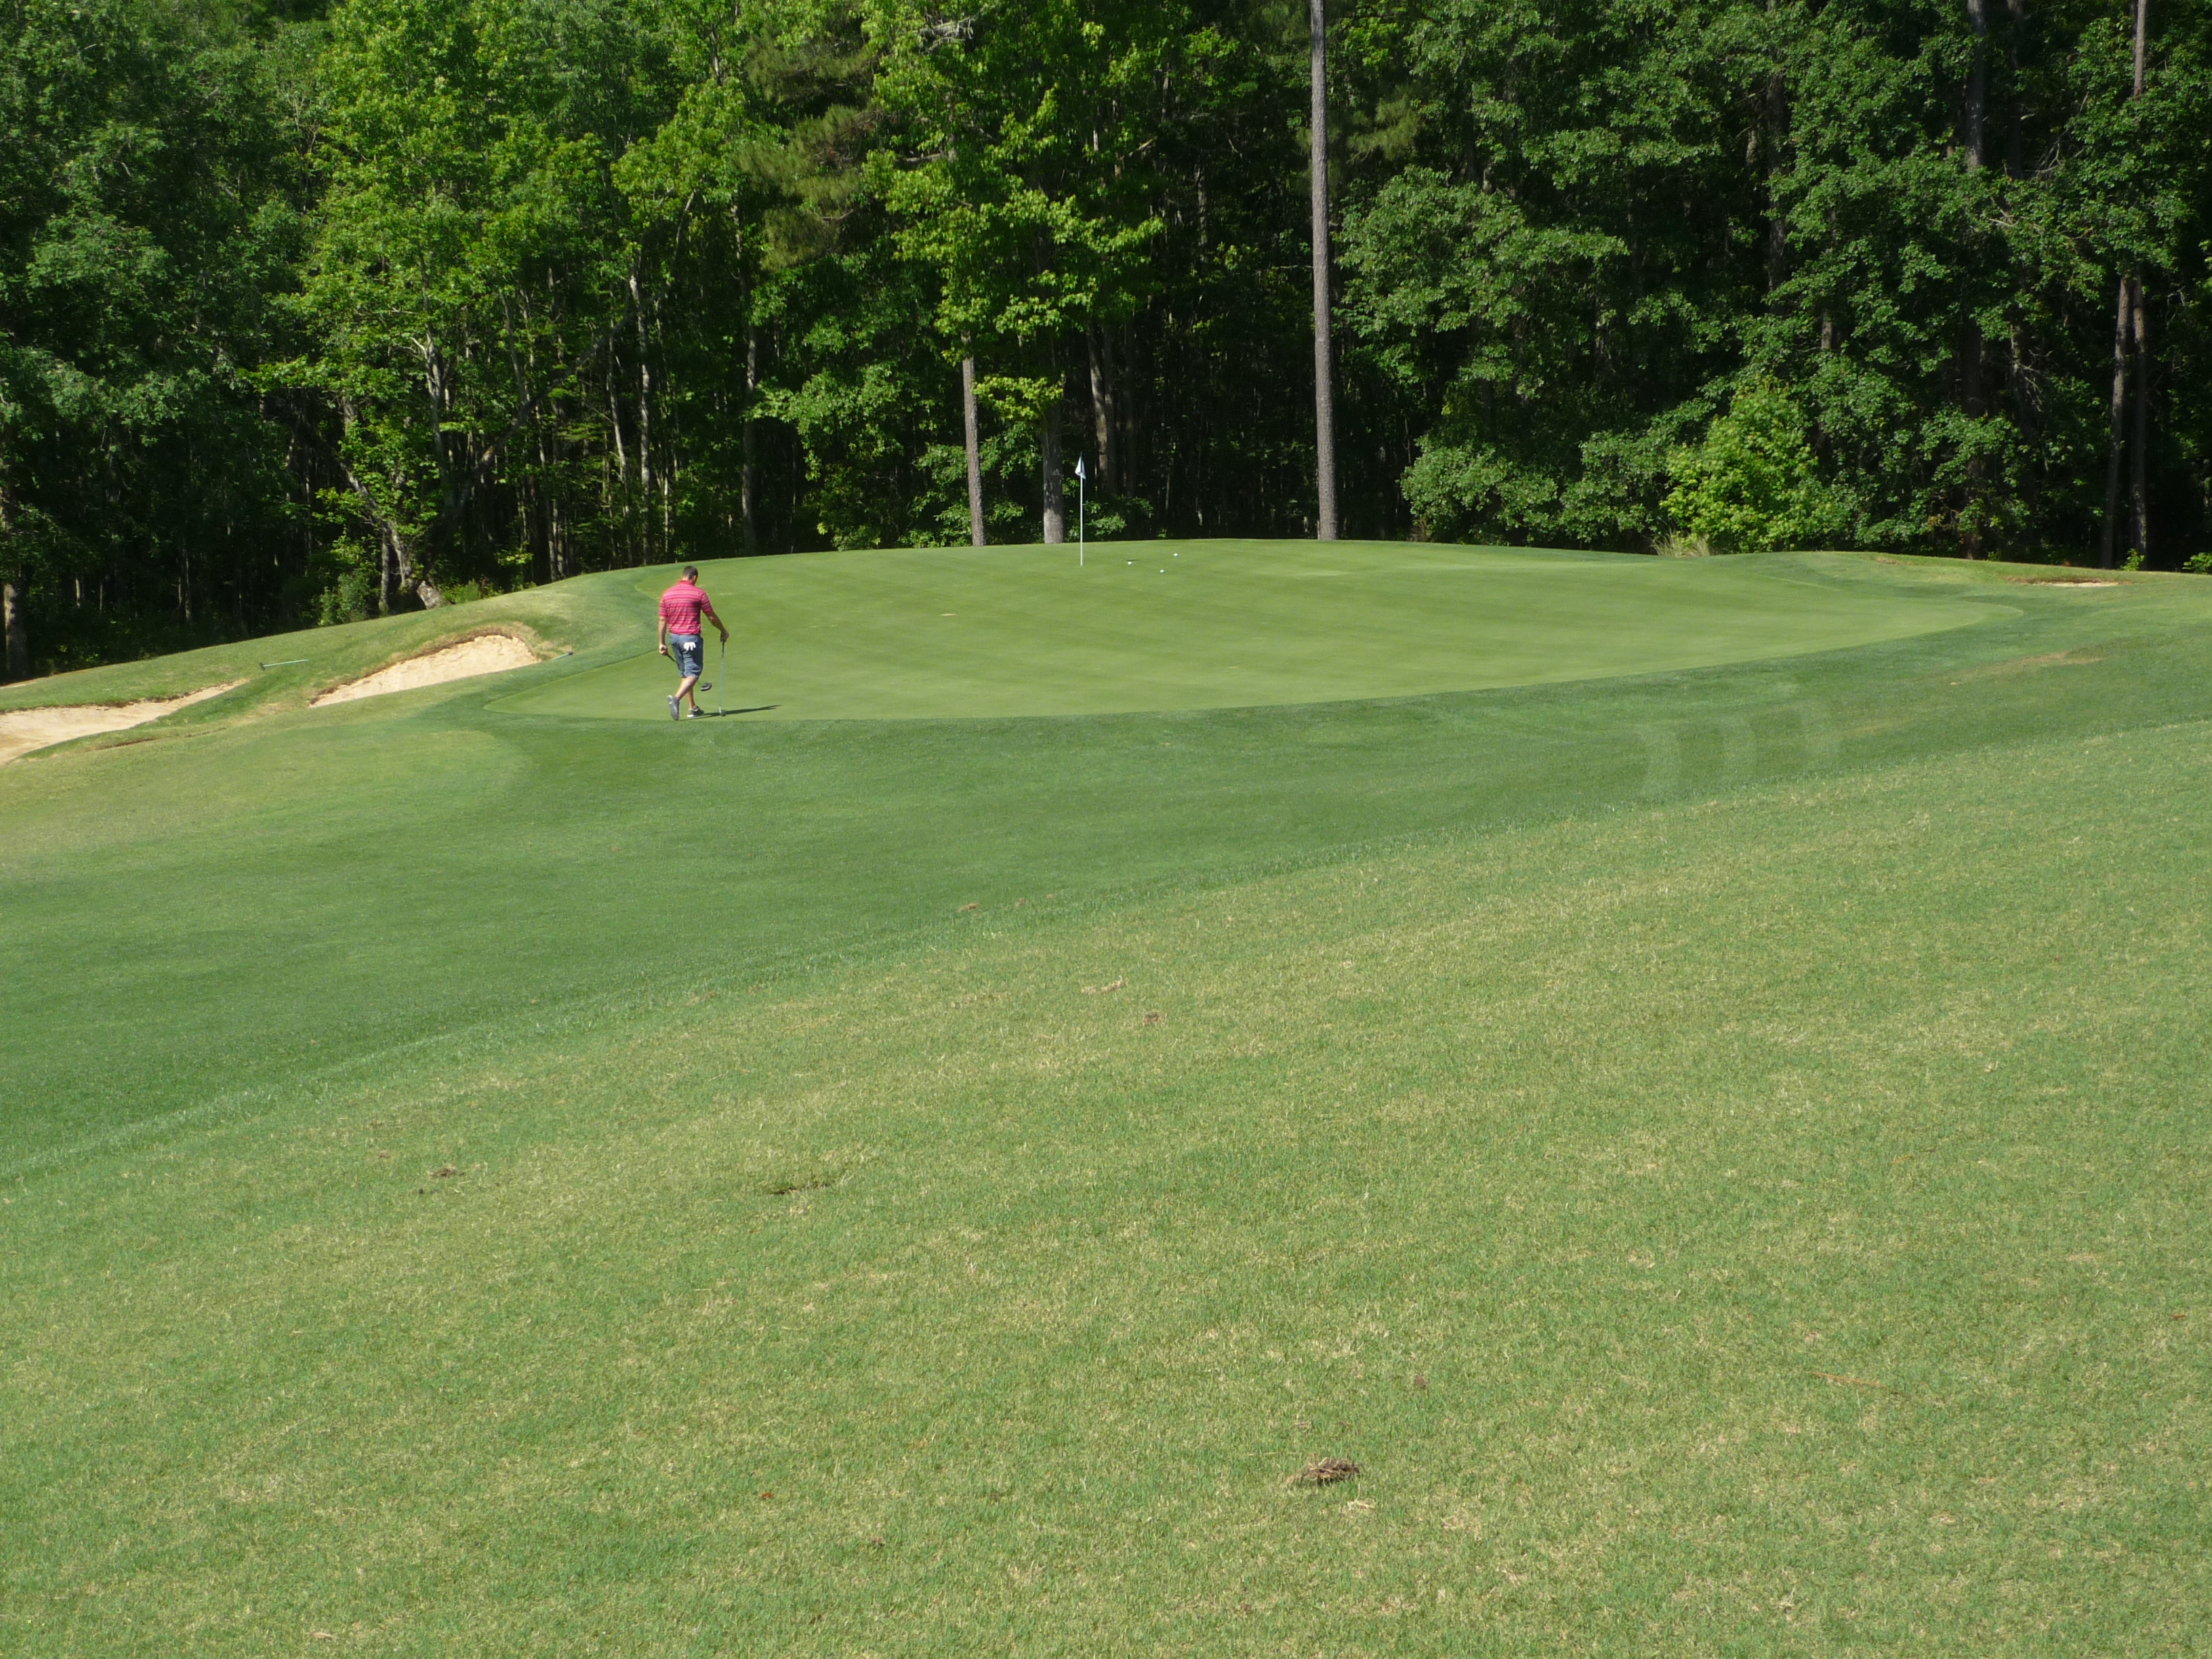
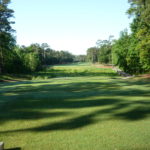
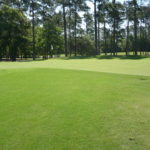
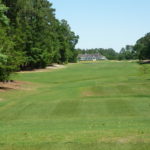
Hole 9 – 457 yards – Par 4
The ninth is plain beastly. There are trees up the left side and a hazard on the right ready to steal misplaced drives. You need lots of concentration here.
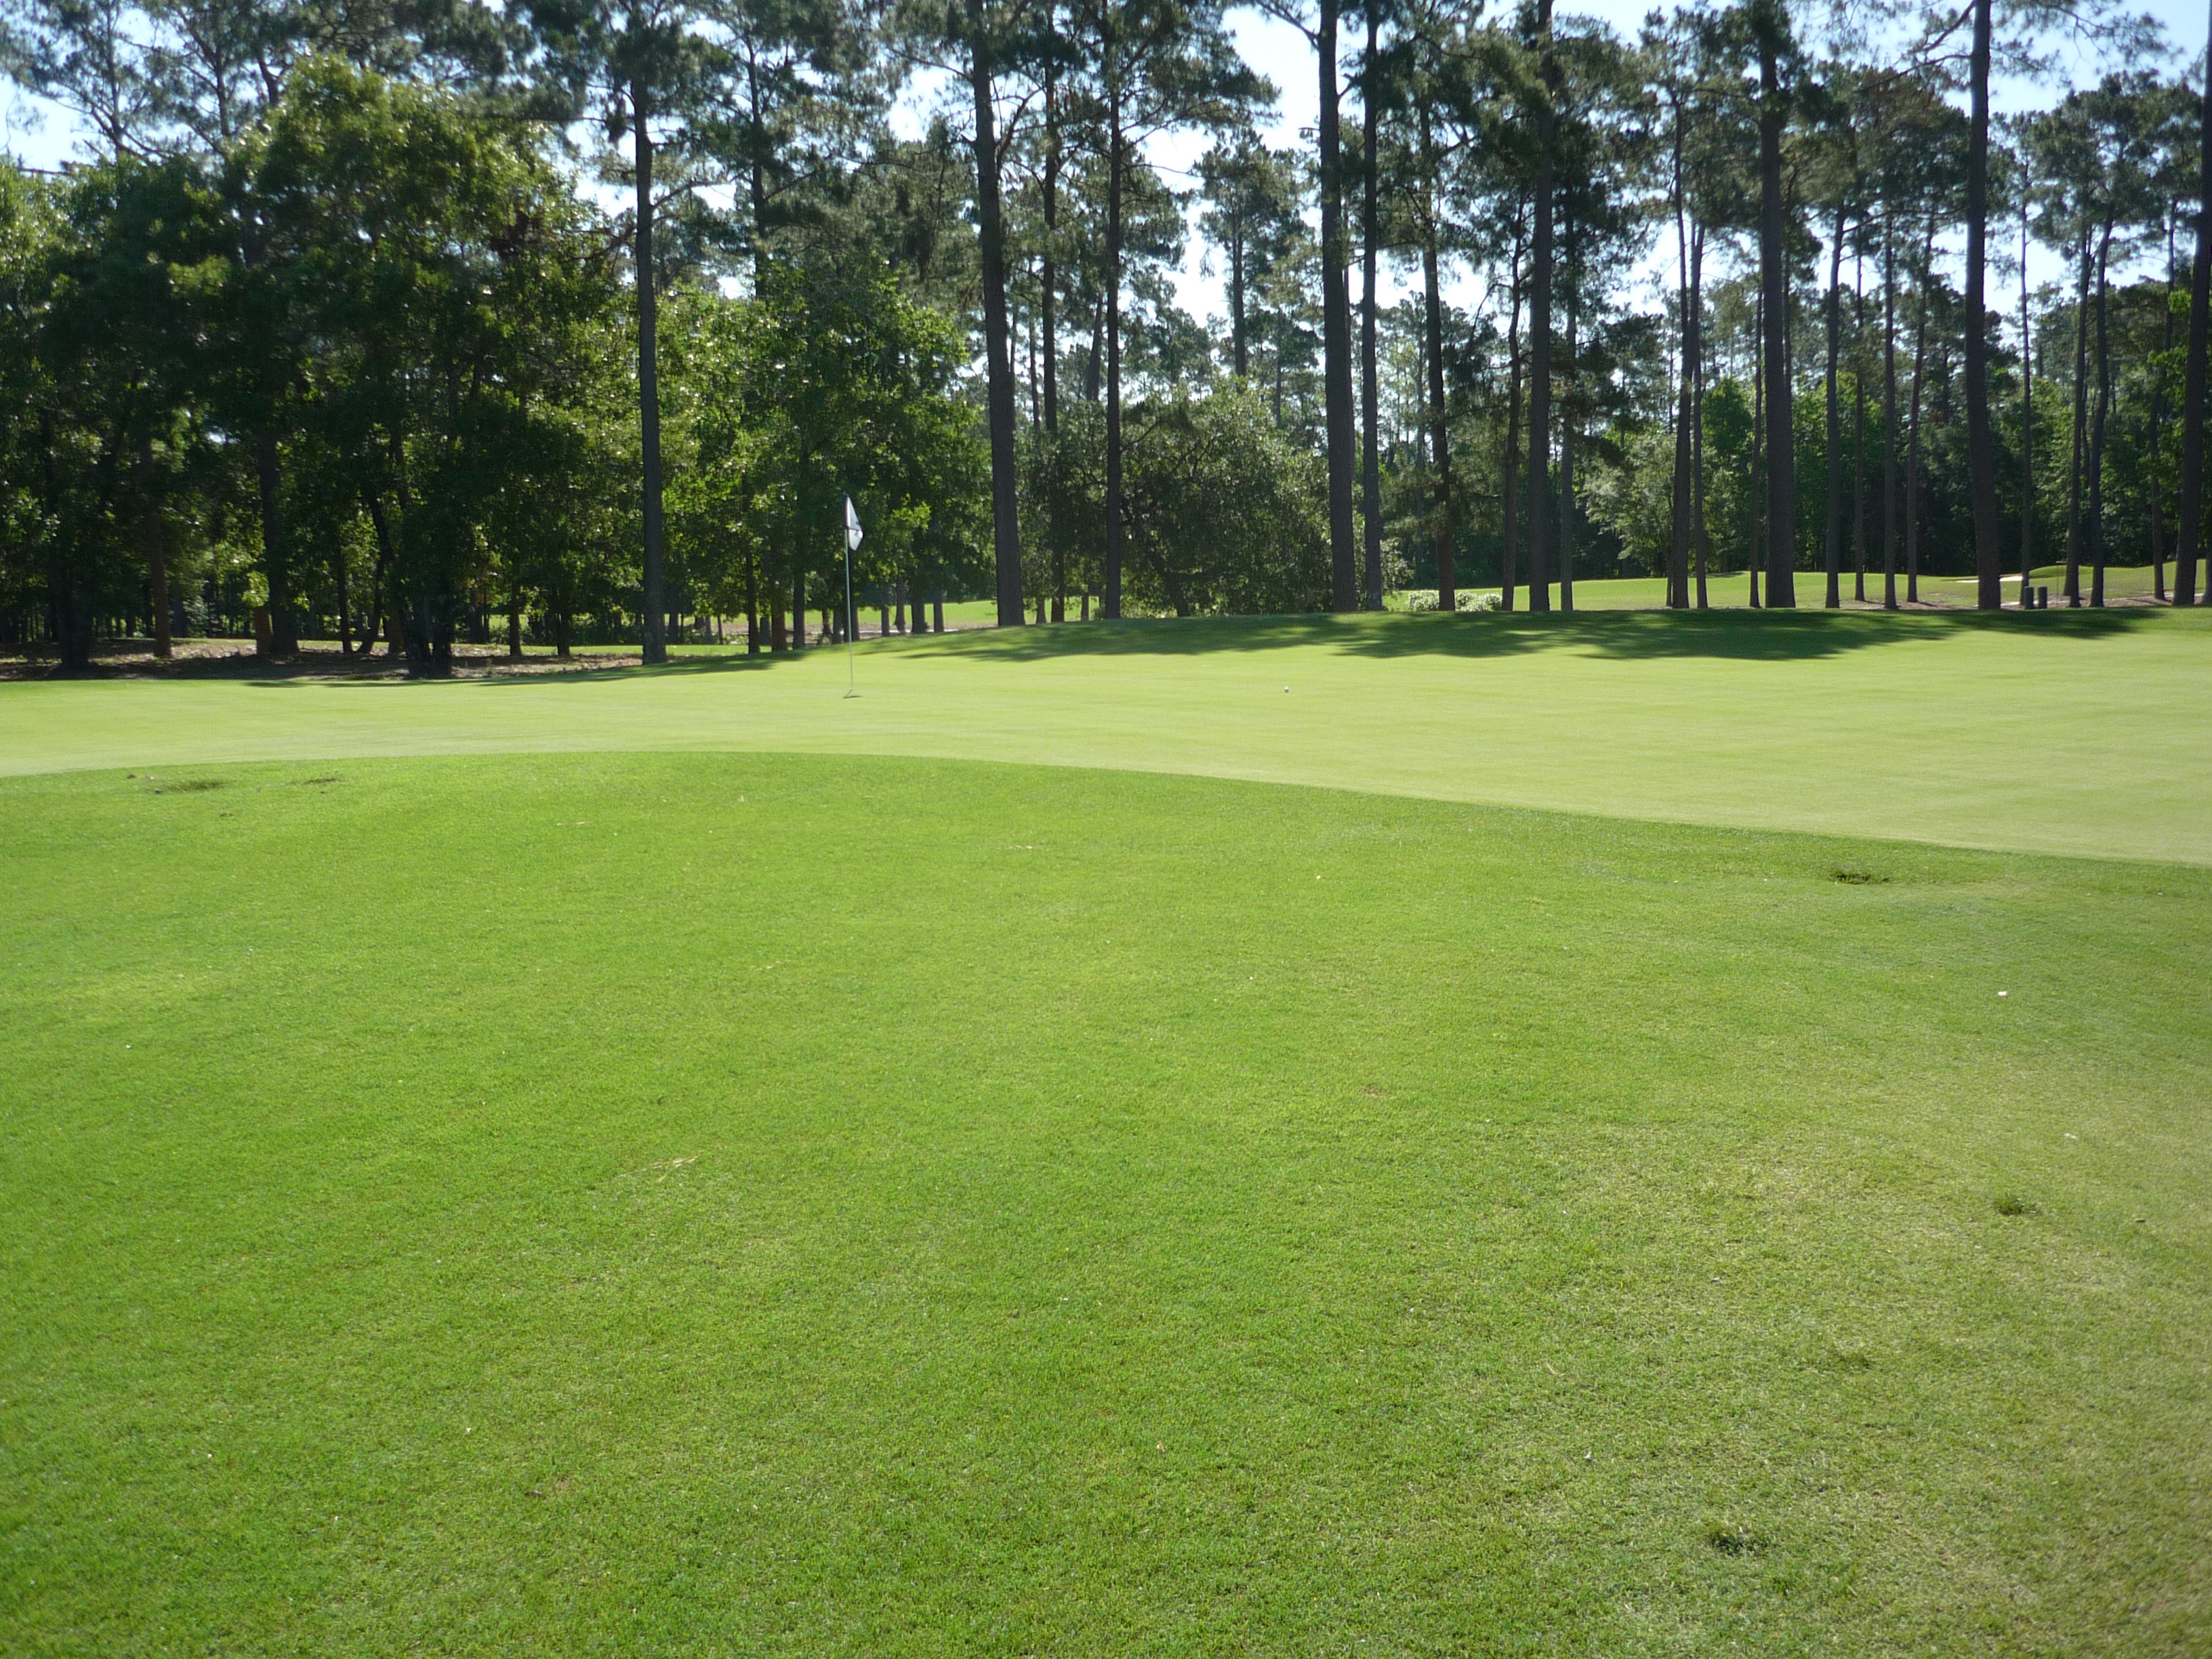
Below is a shot of the green that is very deep.
Hole 10 – 360 yards – Par 4
The course gives you a little bit of a breather here, but a drive to far up the right side can trickle into a water hazard.
The approach shot plays a little downhill. Shots to right pins are more dangerous than the one seen here.
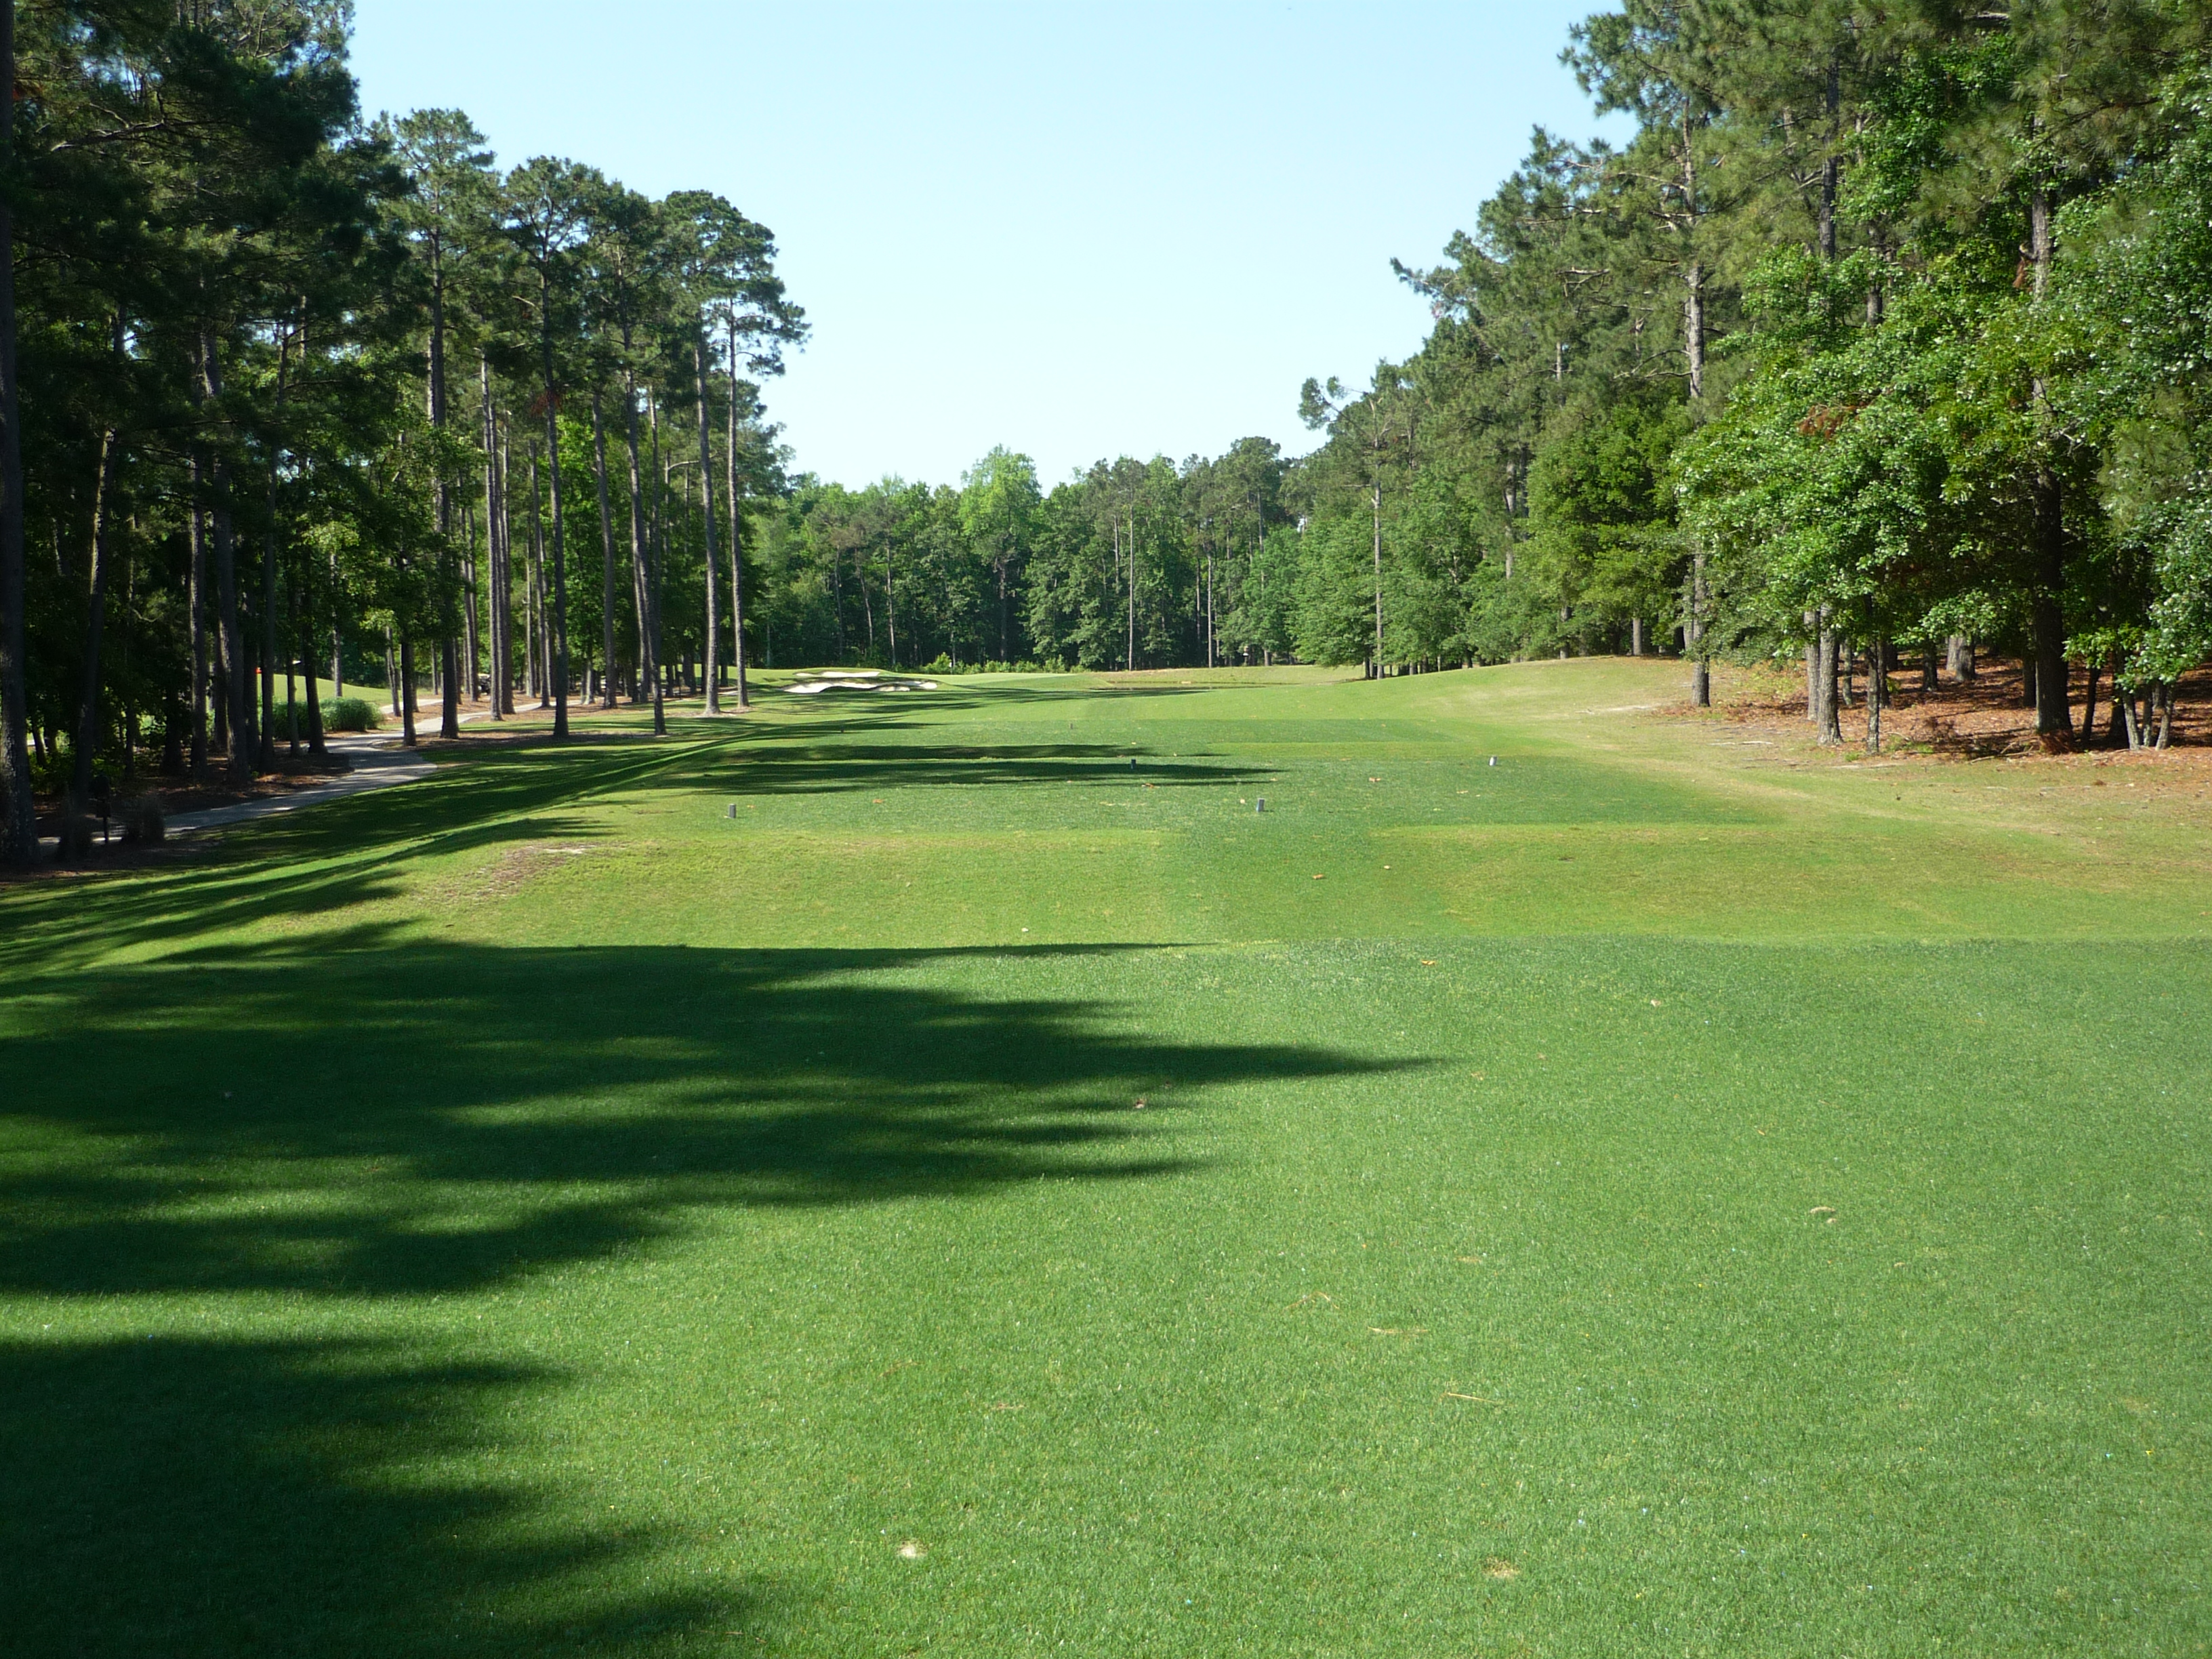
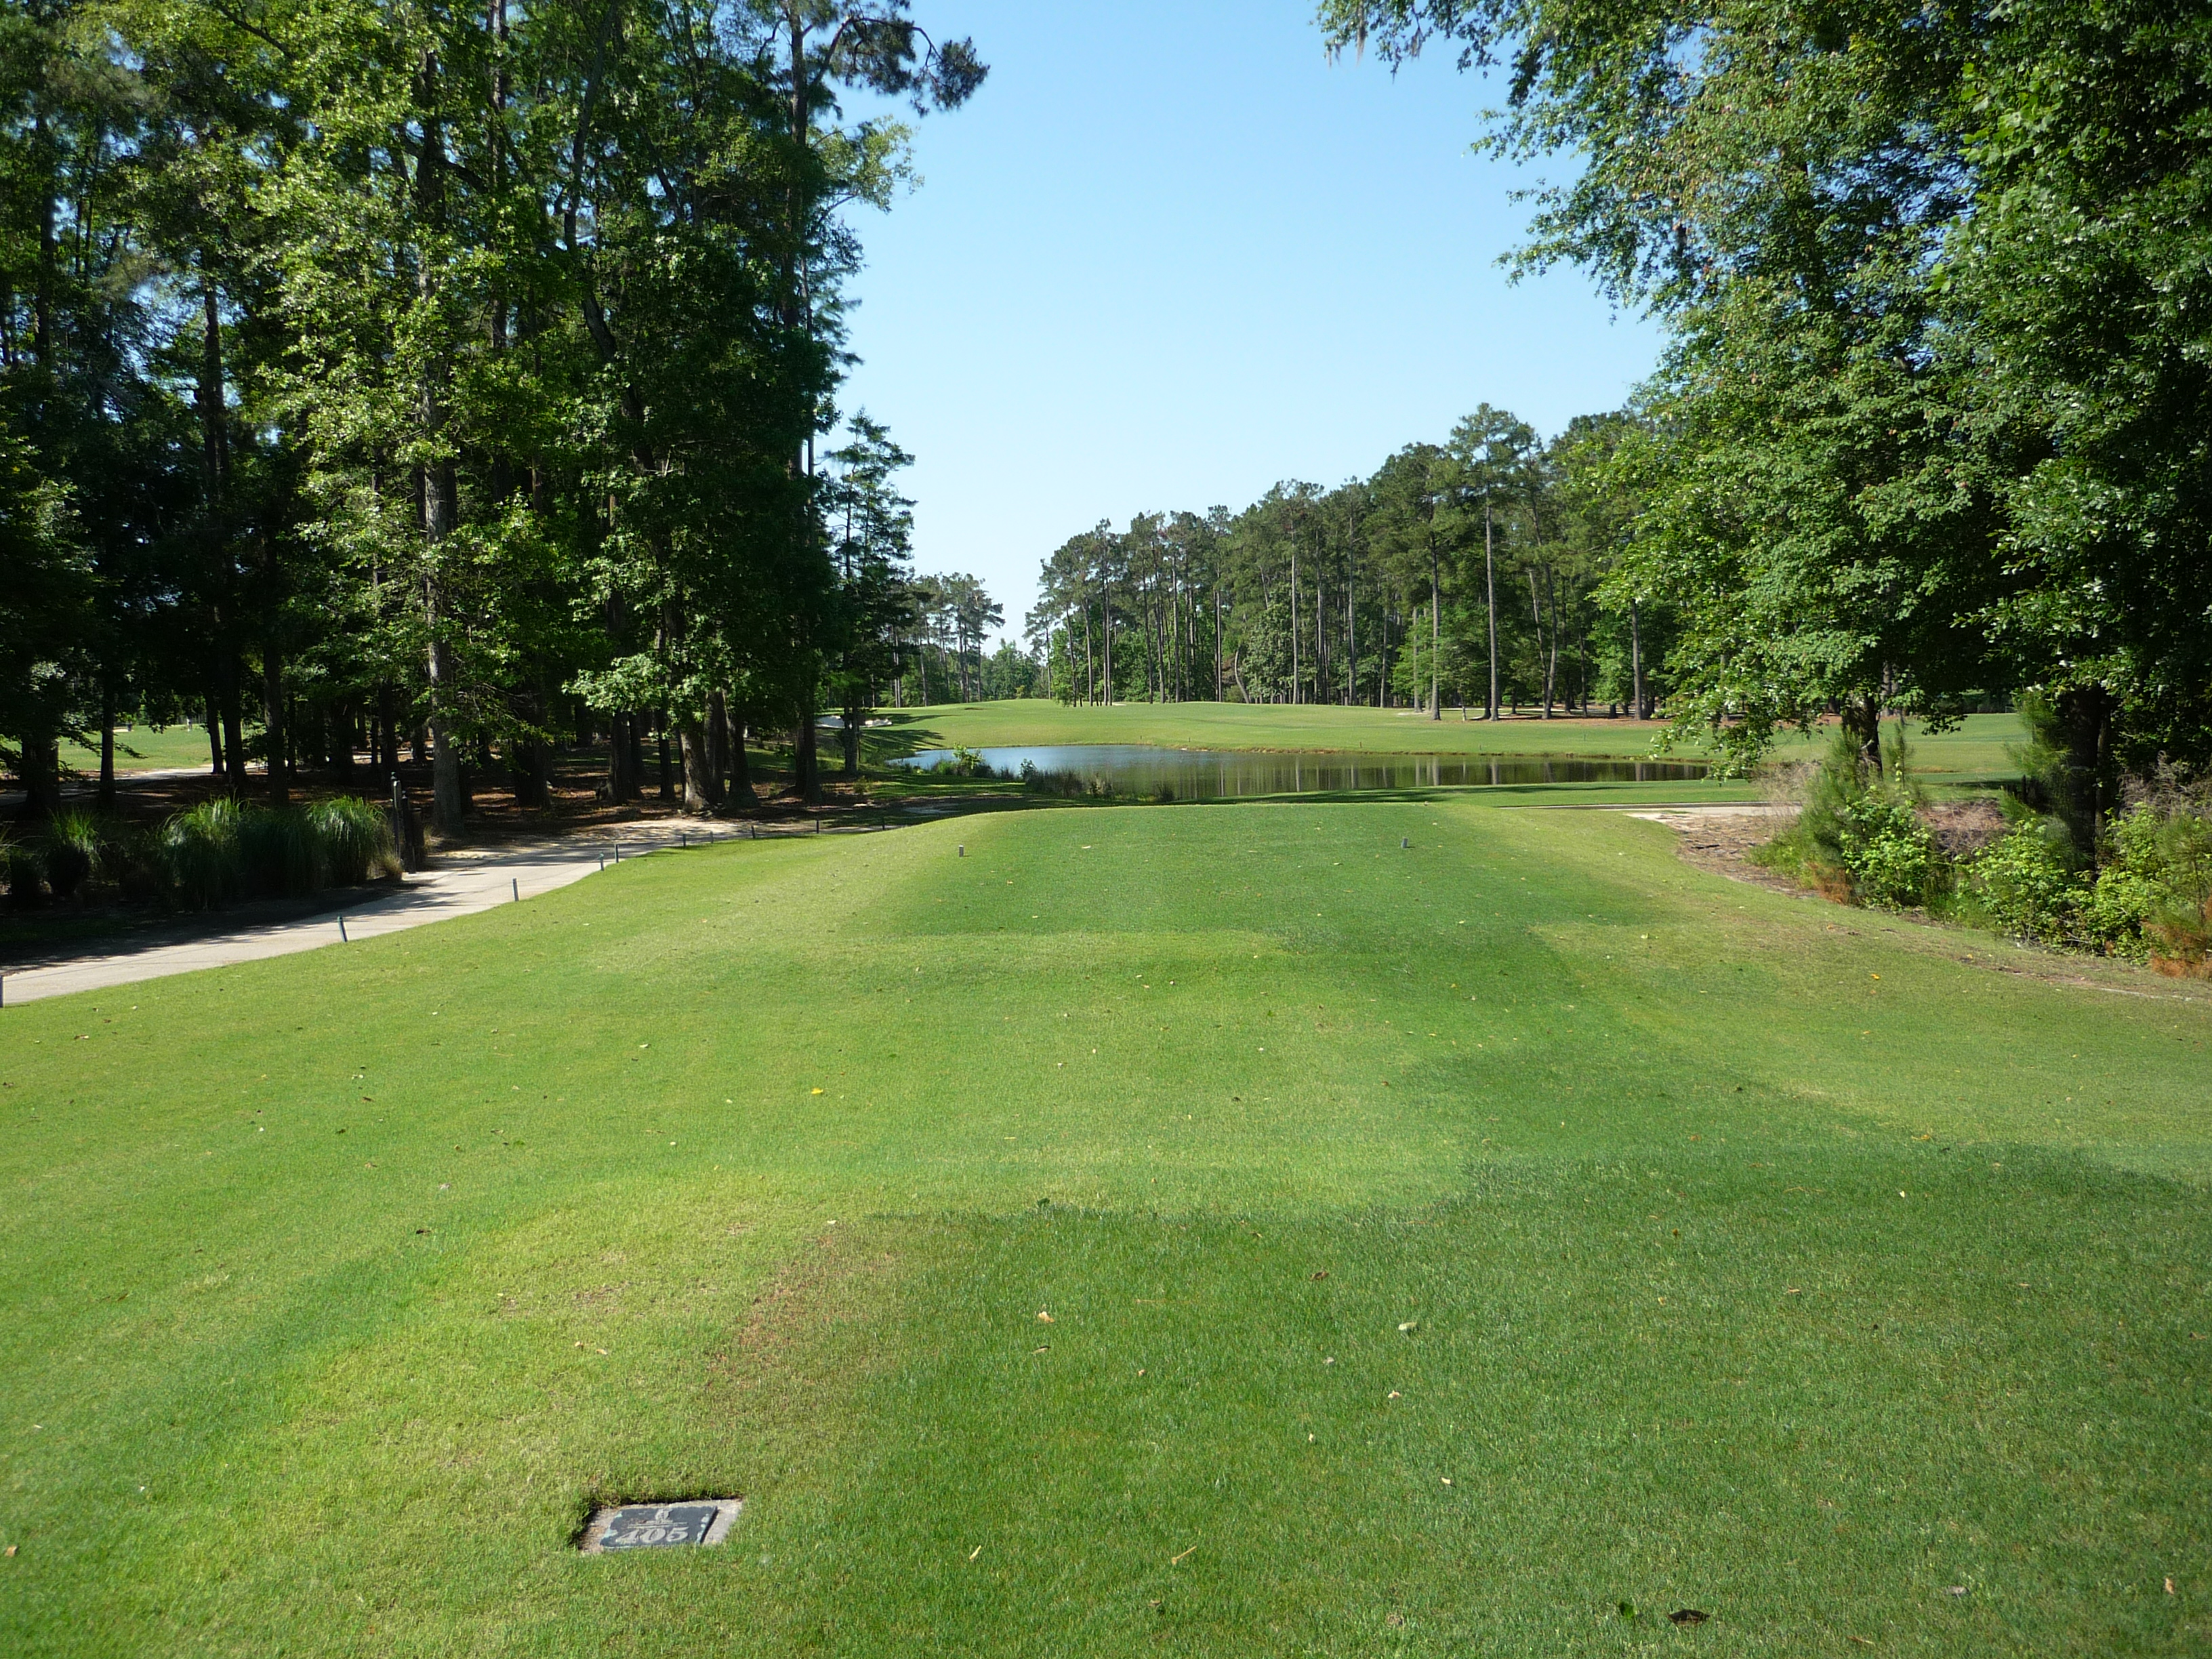
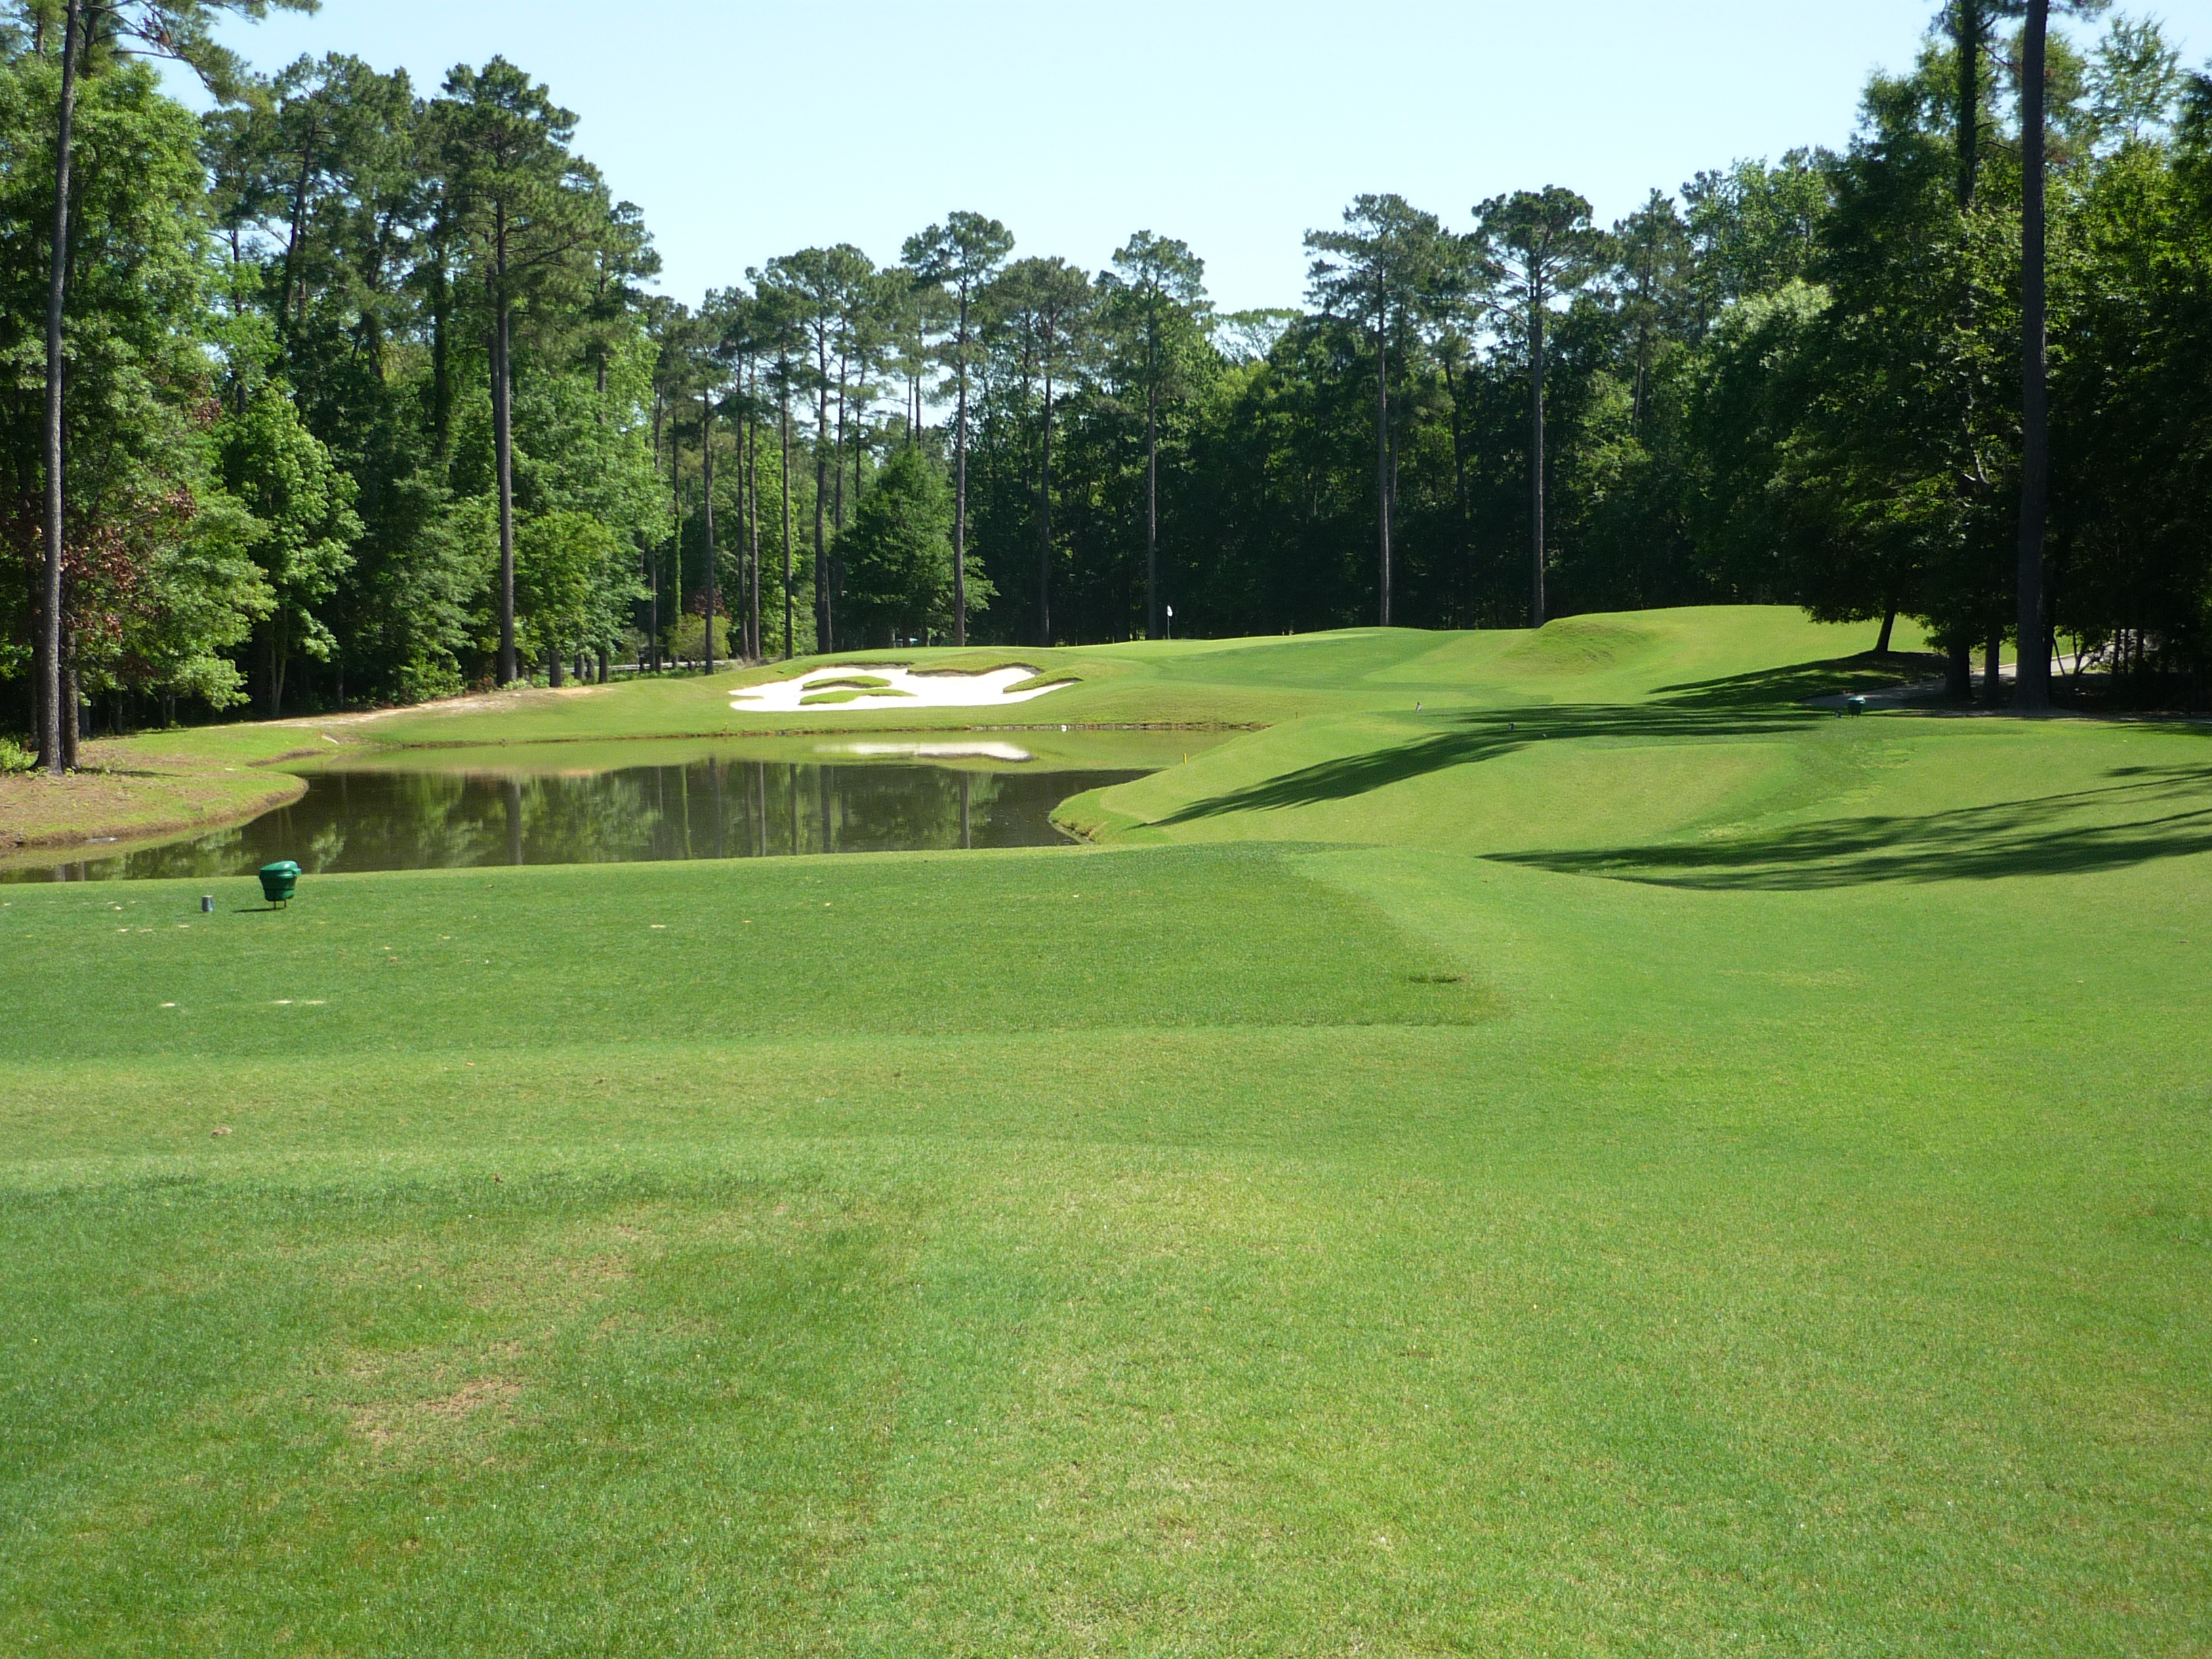
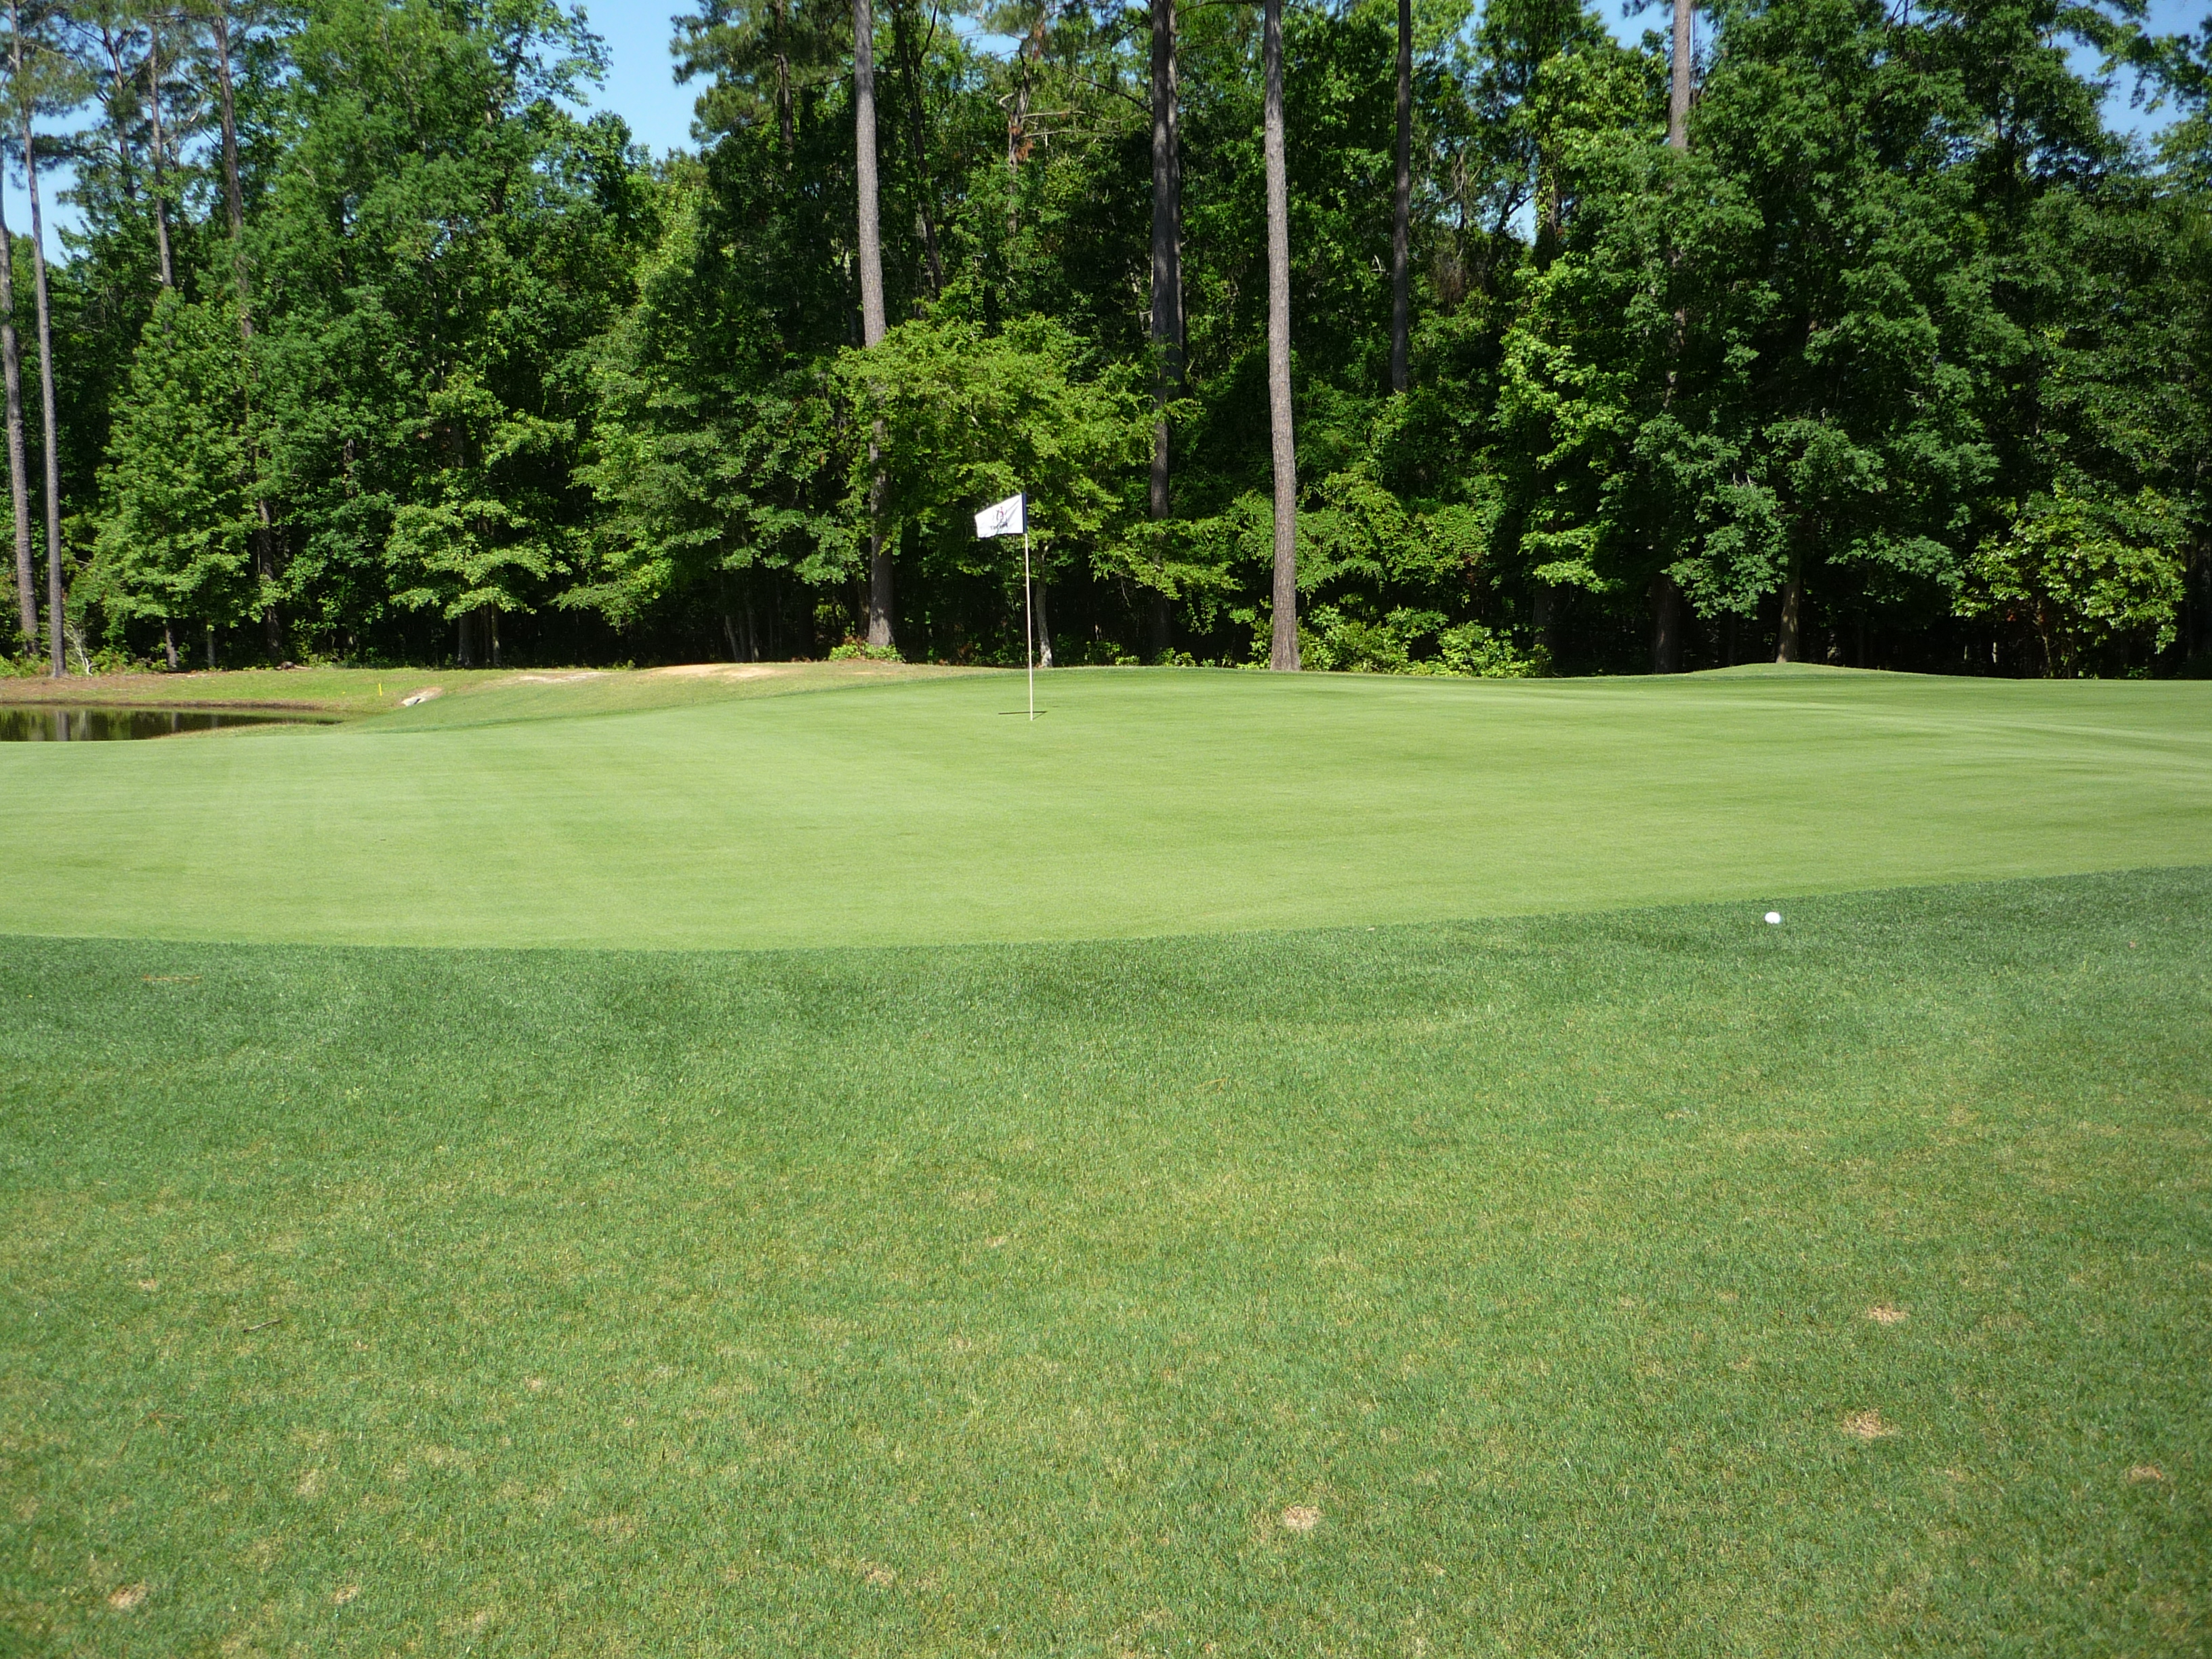
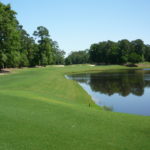
Hole 11 – 405 yards – Par 4
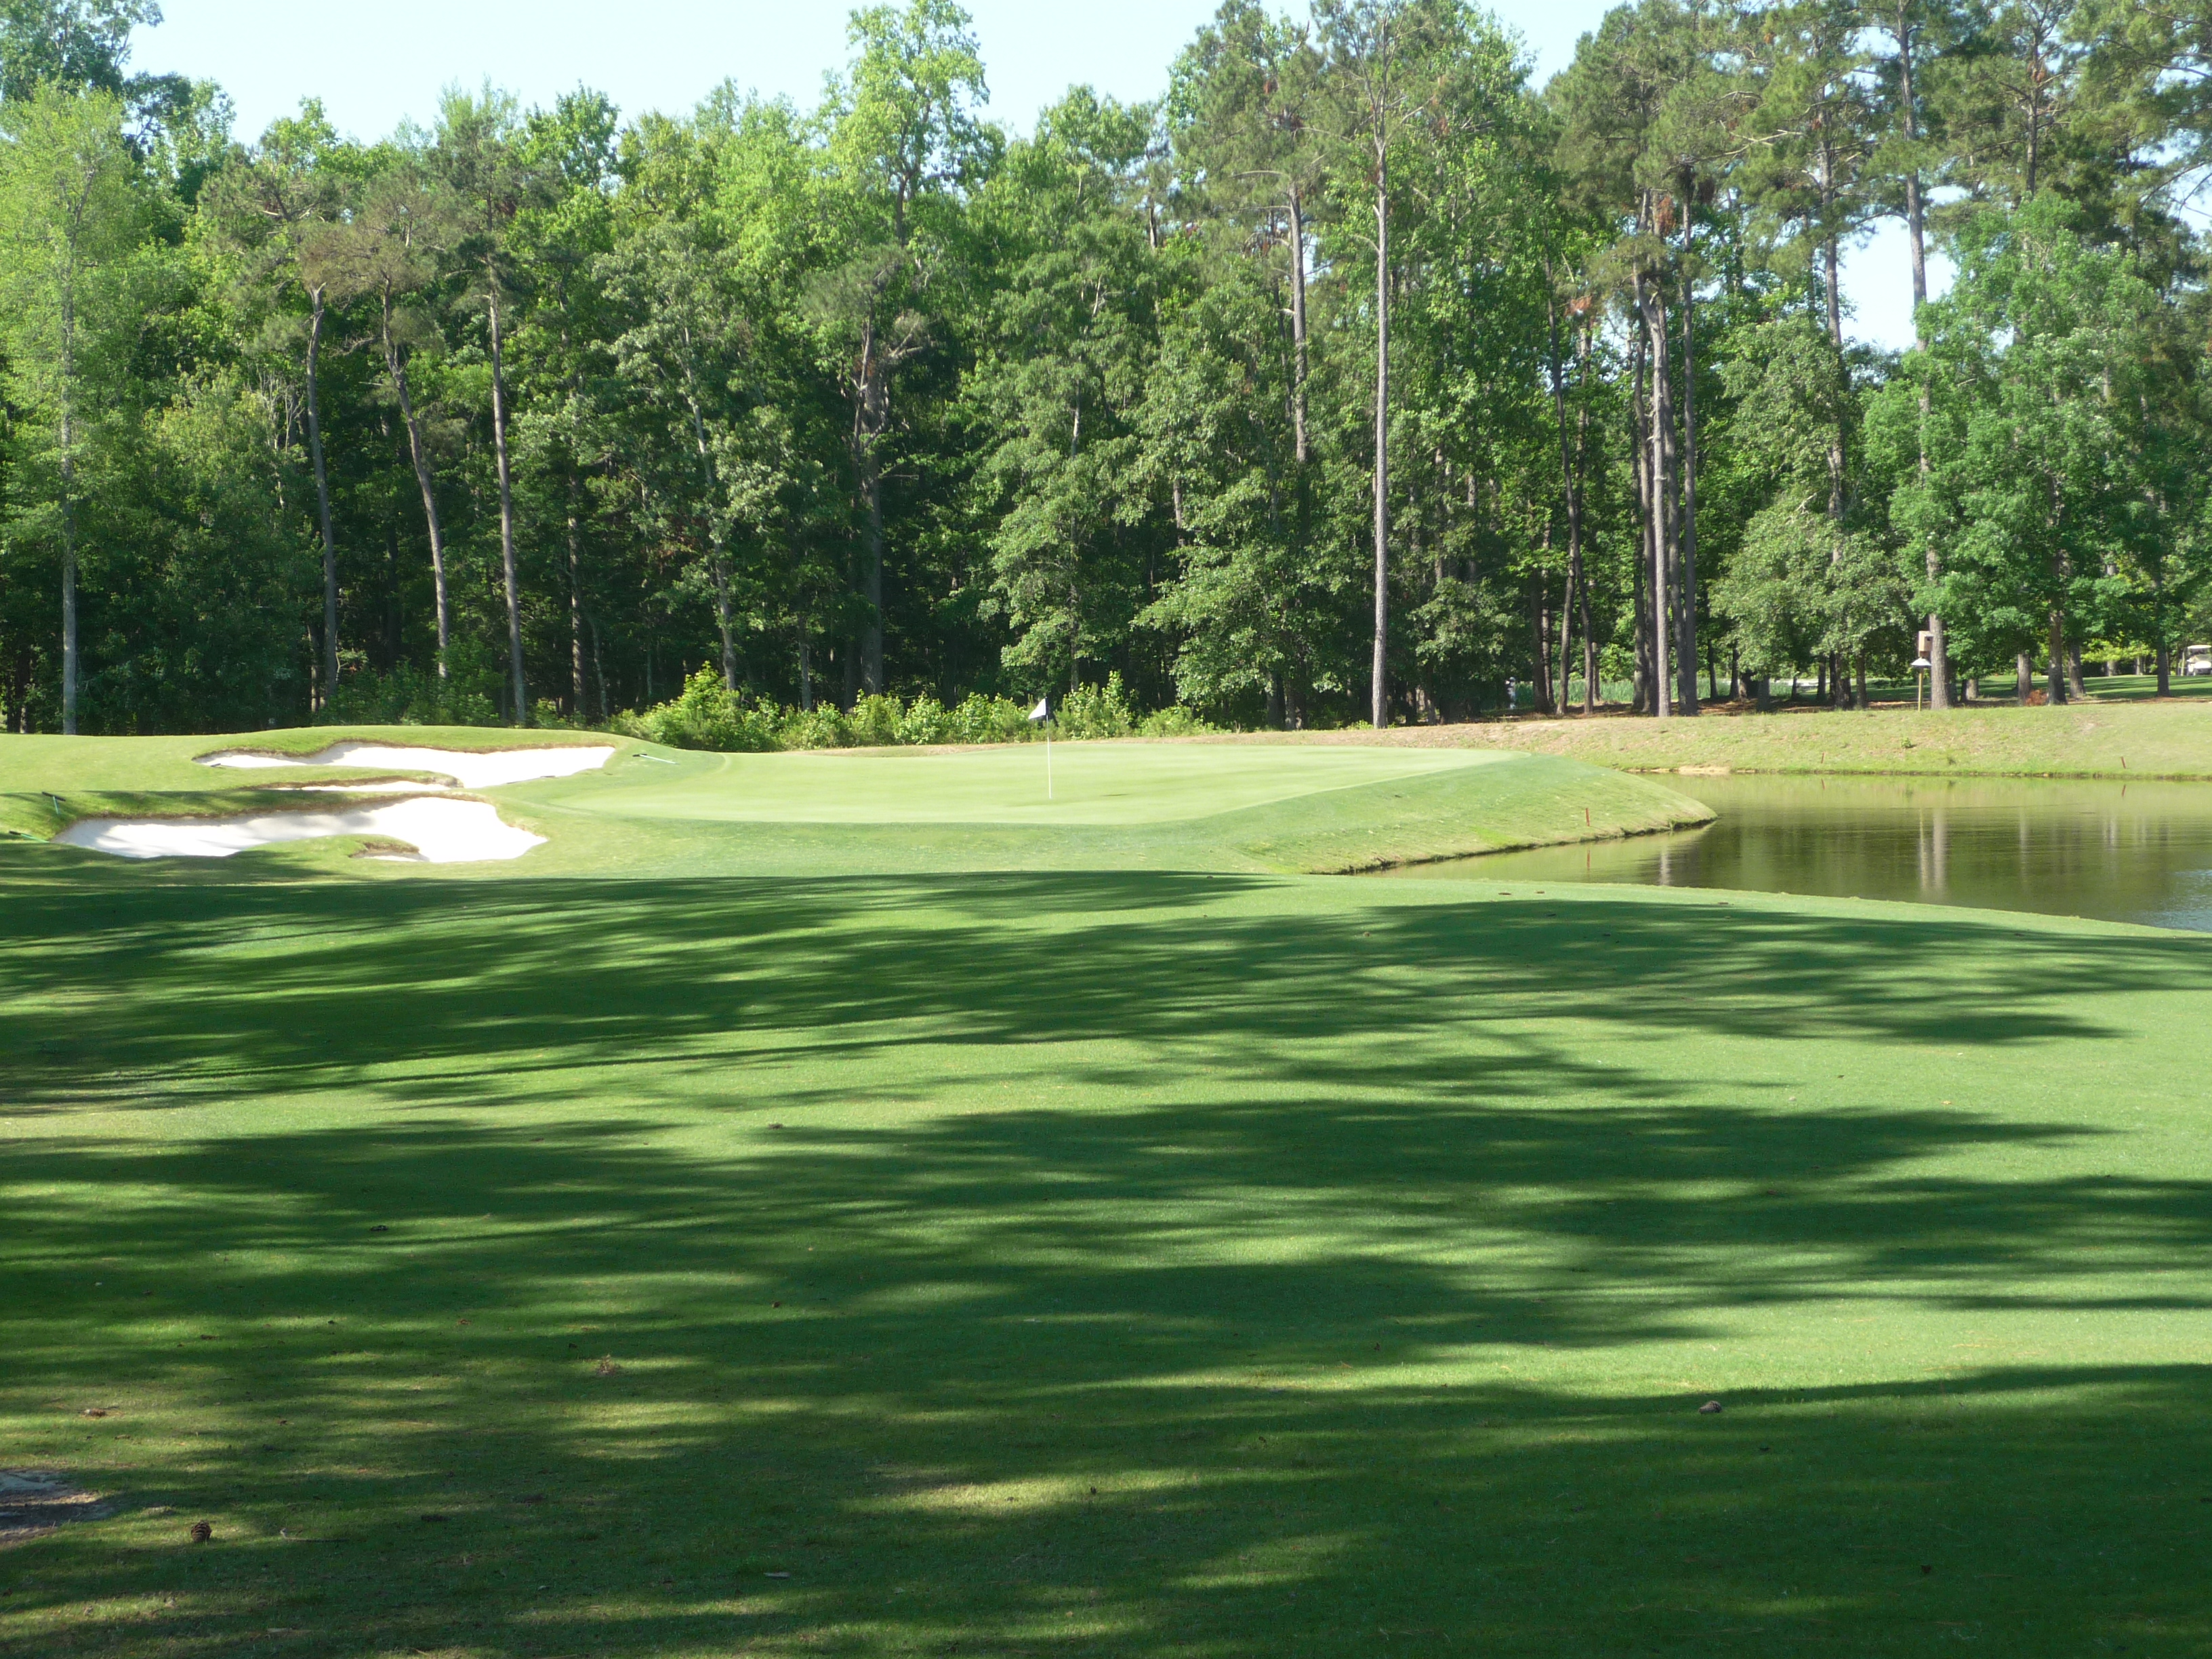
Here we return to the stout holes. The water hazard is a forced carry that is longer the more left you go.
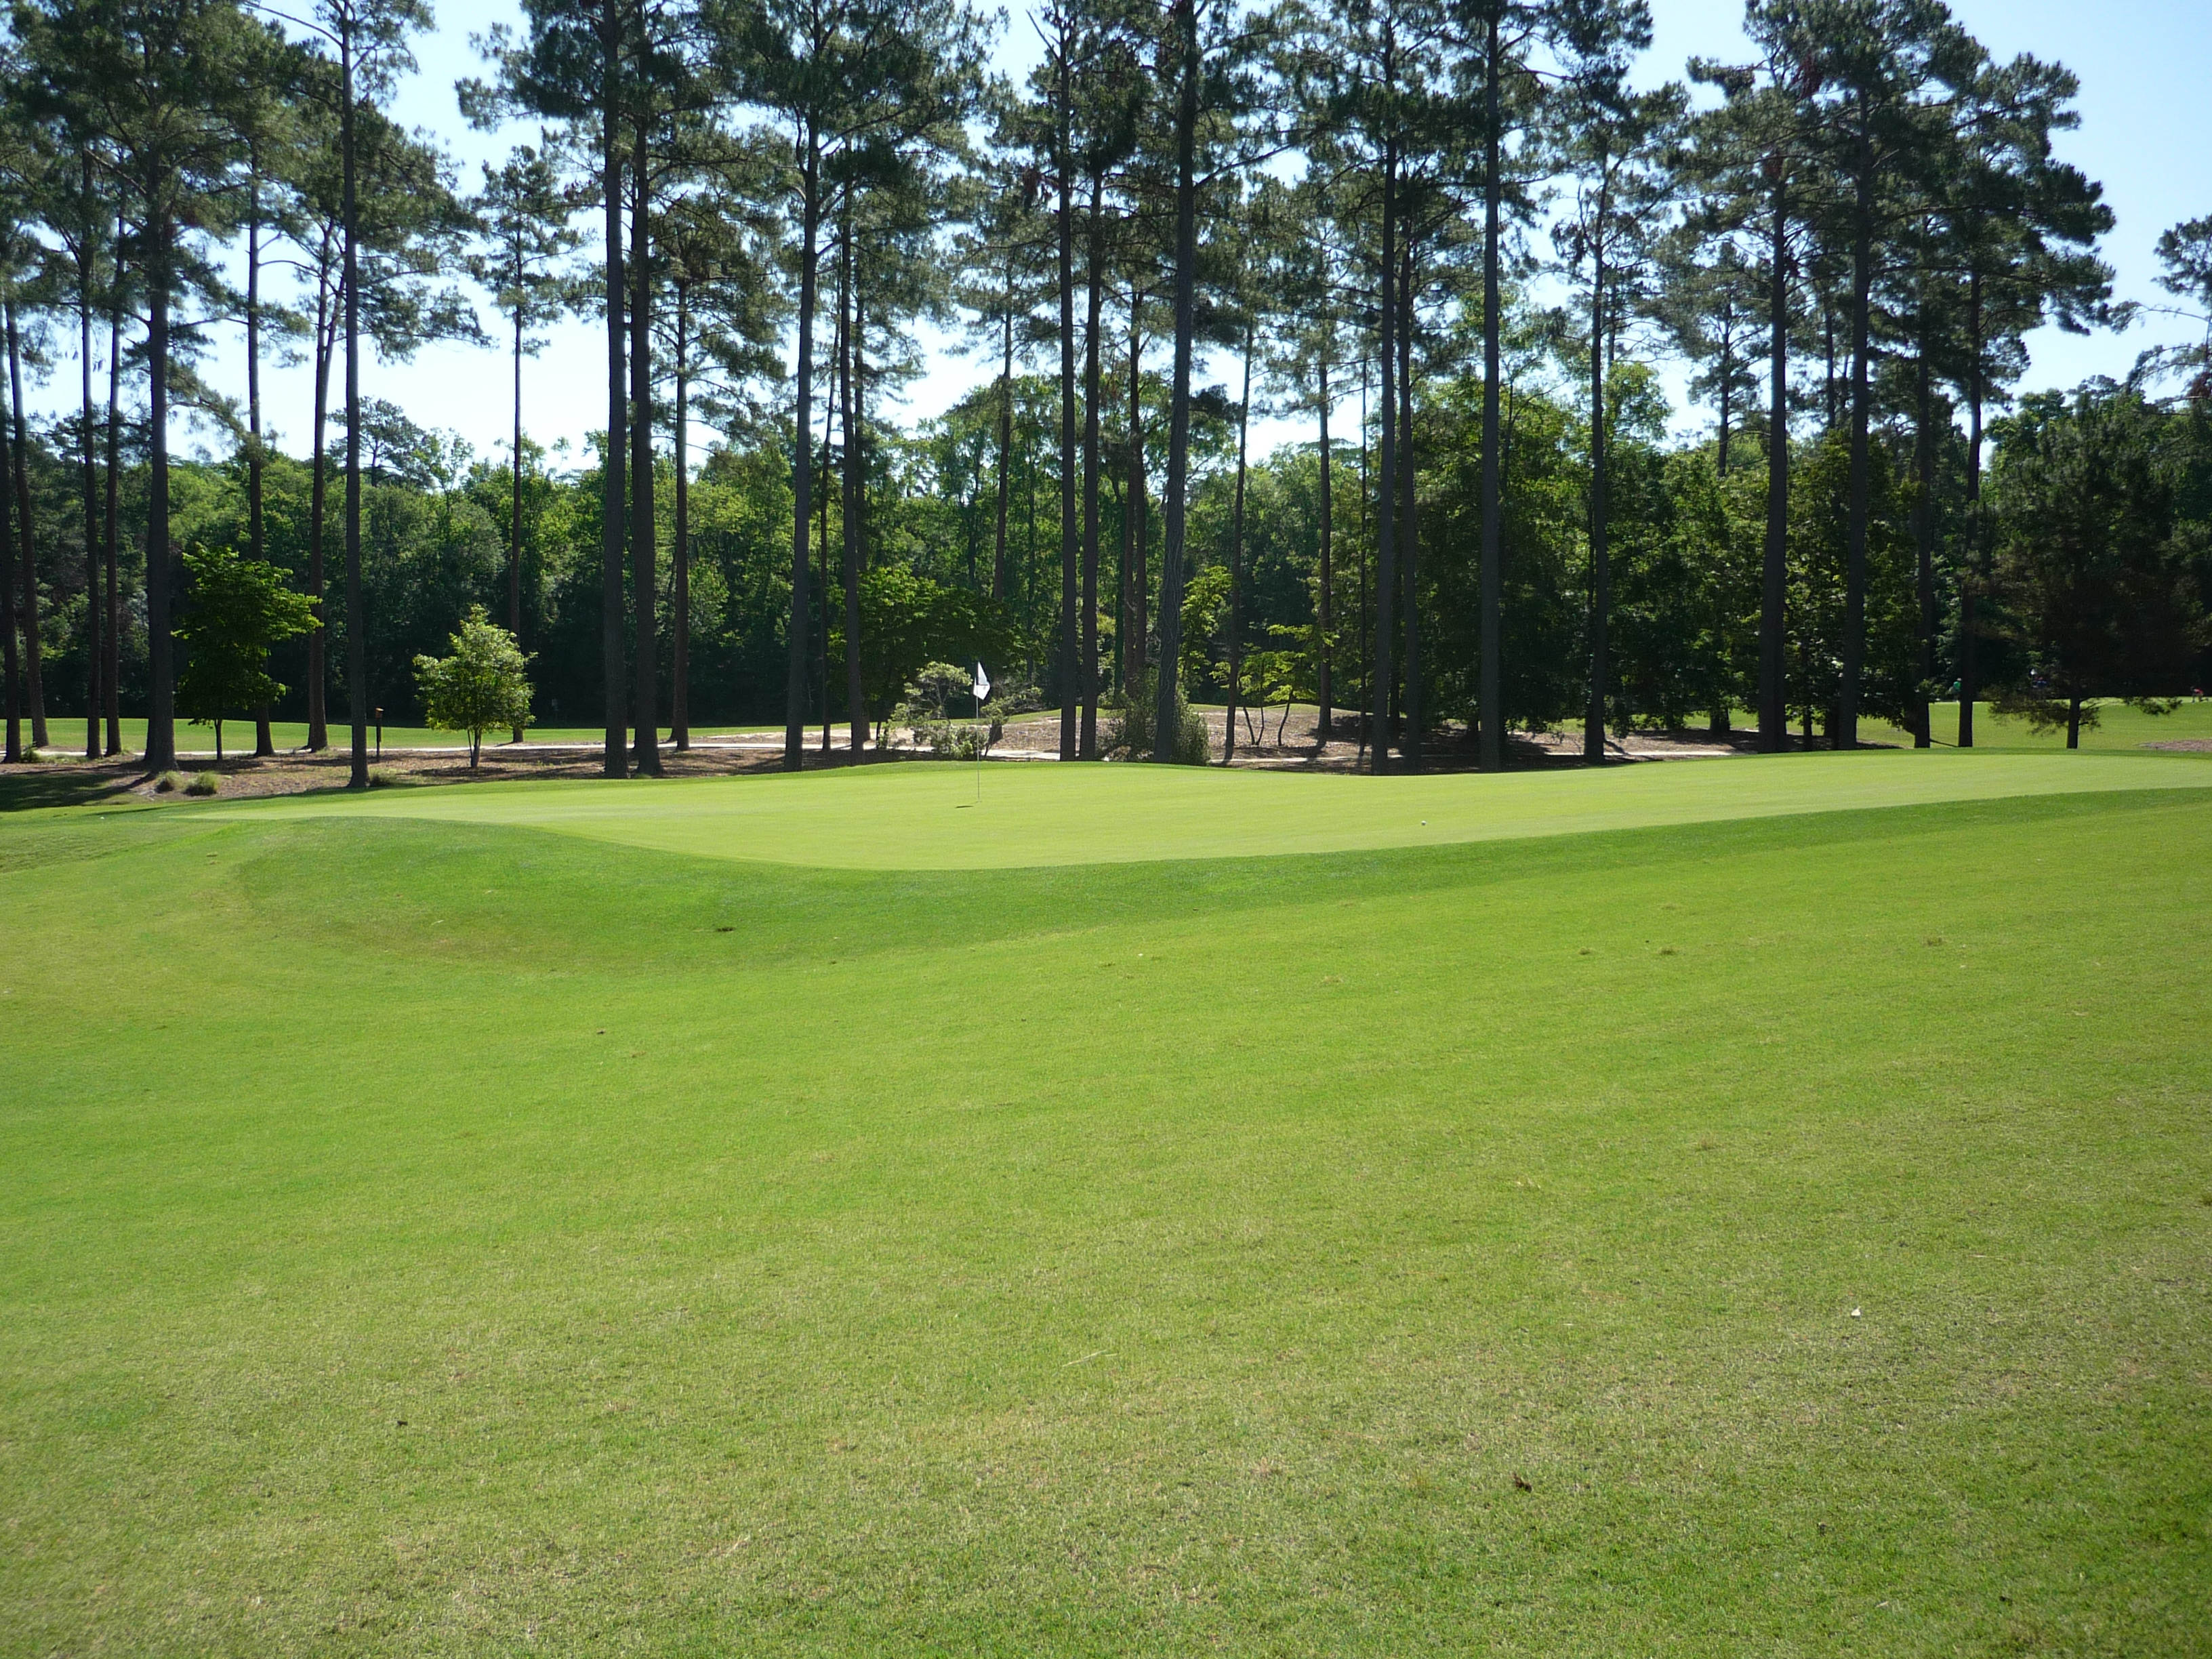
The green complex has some slope from front to back until you get to the middle where it flattens out.
Hole 12 – 317 yards – Par 4
This tee shot doesn’t require a lot of distance, but it demands accuracy. Deep bunkers to the left and trees on the right are the obstacles. A long iron is a smart play.
The green slopes from back left to front right. There is a ridge coming off the back right bunker that can influence putts from the right side of the putting surface.
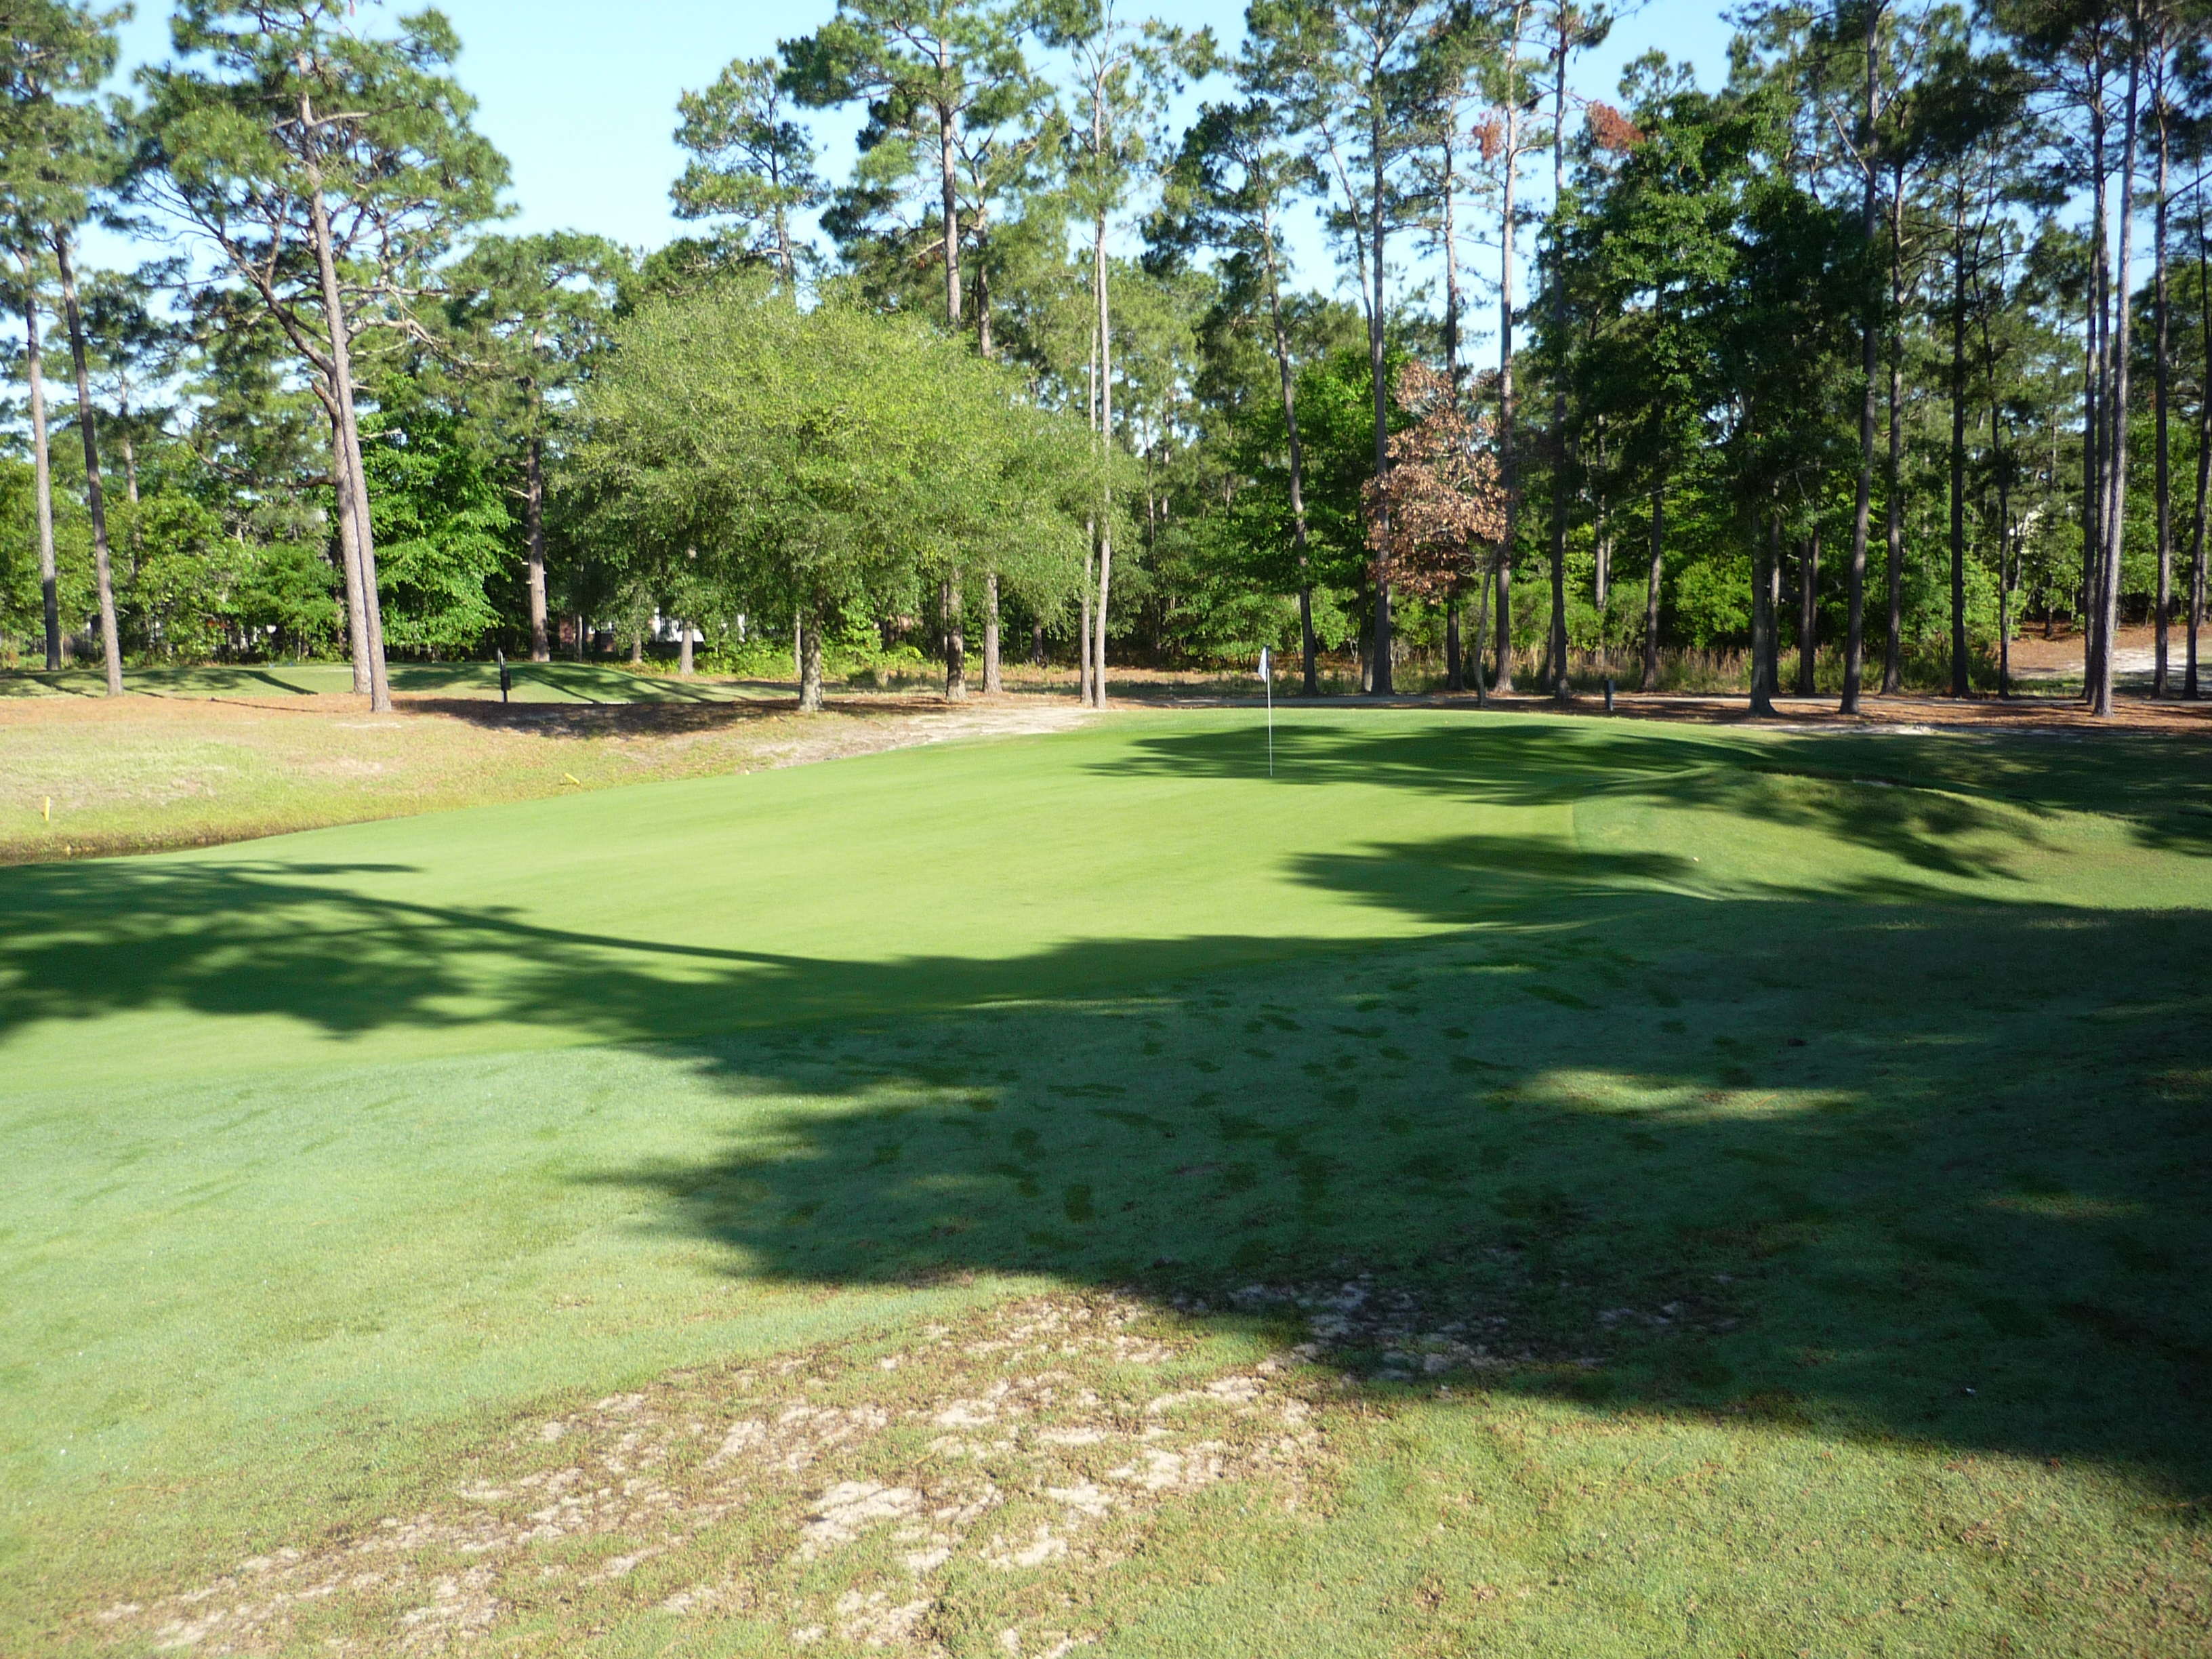
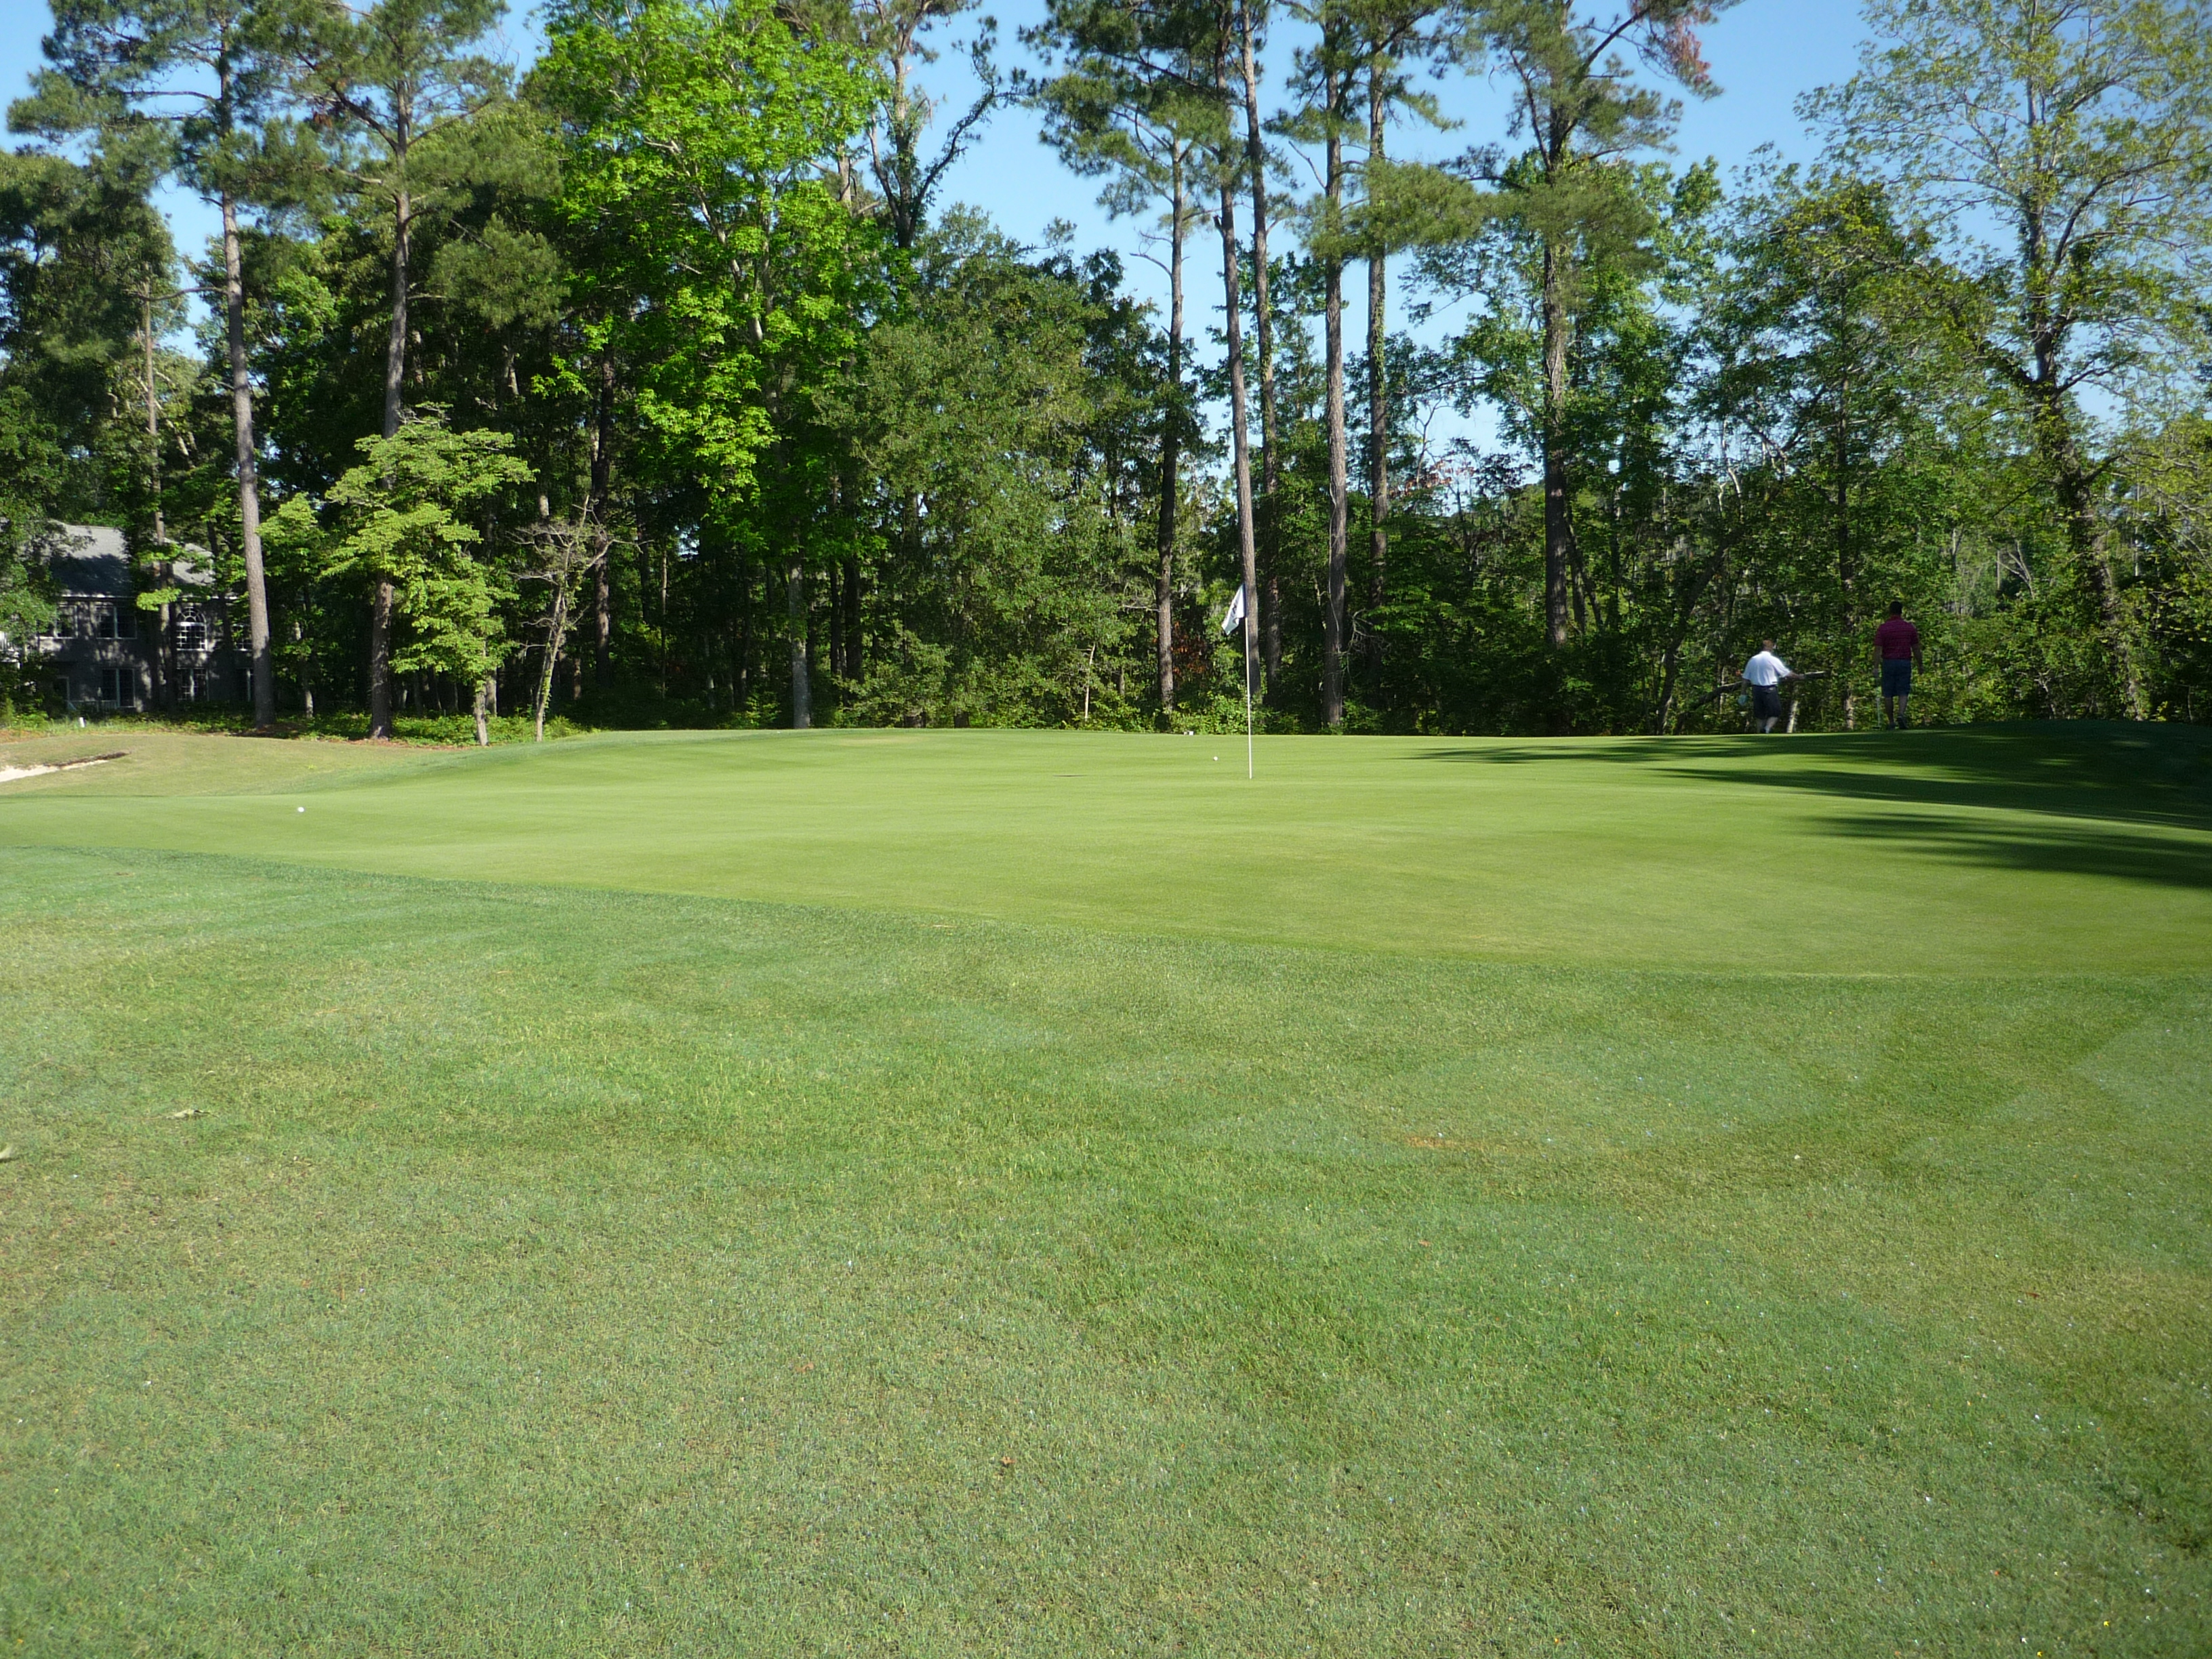
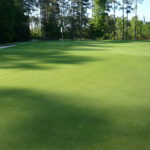
Hole 13 – 183 yards – Par 3
This one-shotter is a long, difficult hole. There is a large bunker to steer clear of, but the main goal here should be the middle of the green.
The green is quite flat and the picture says more than I could.
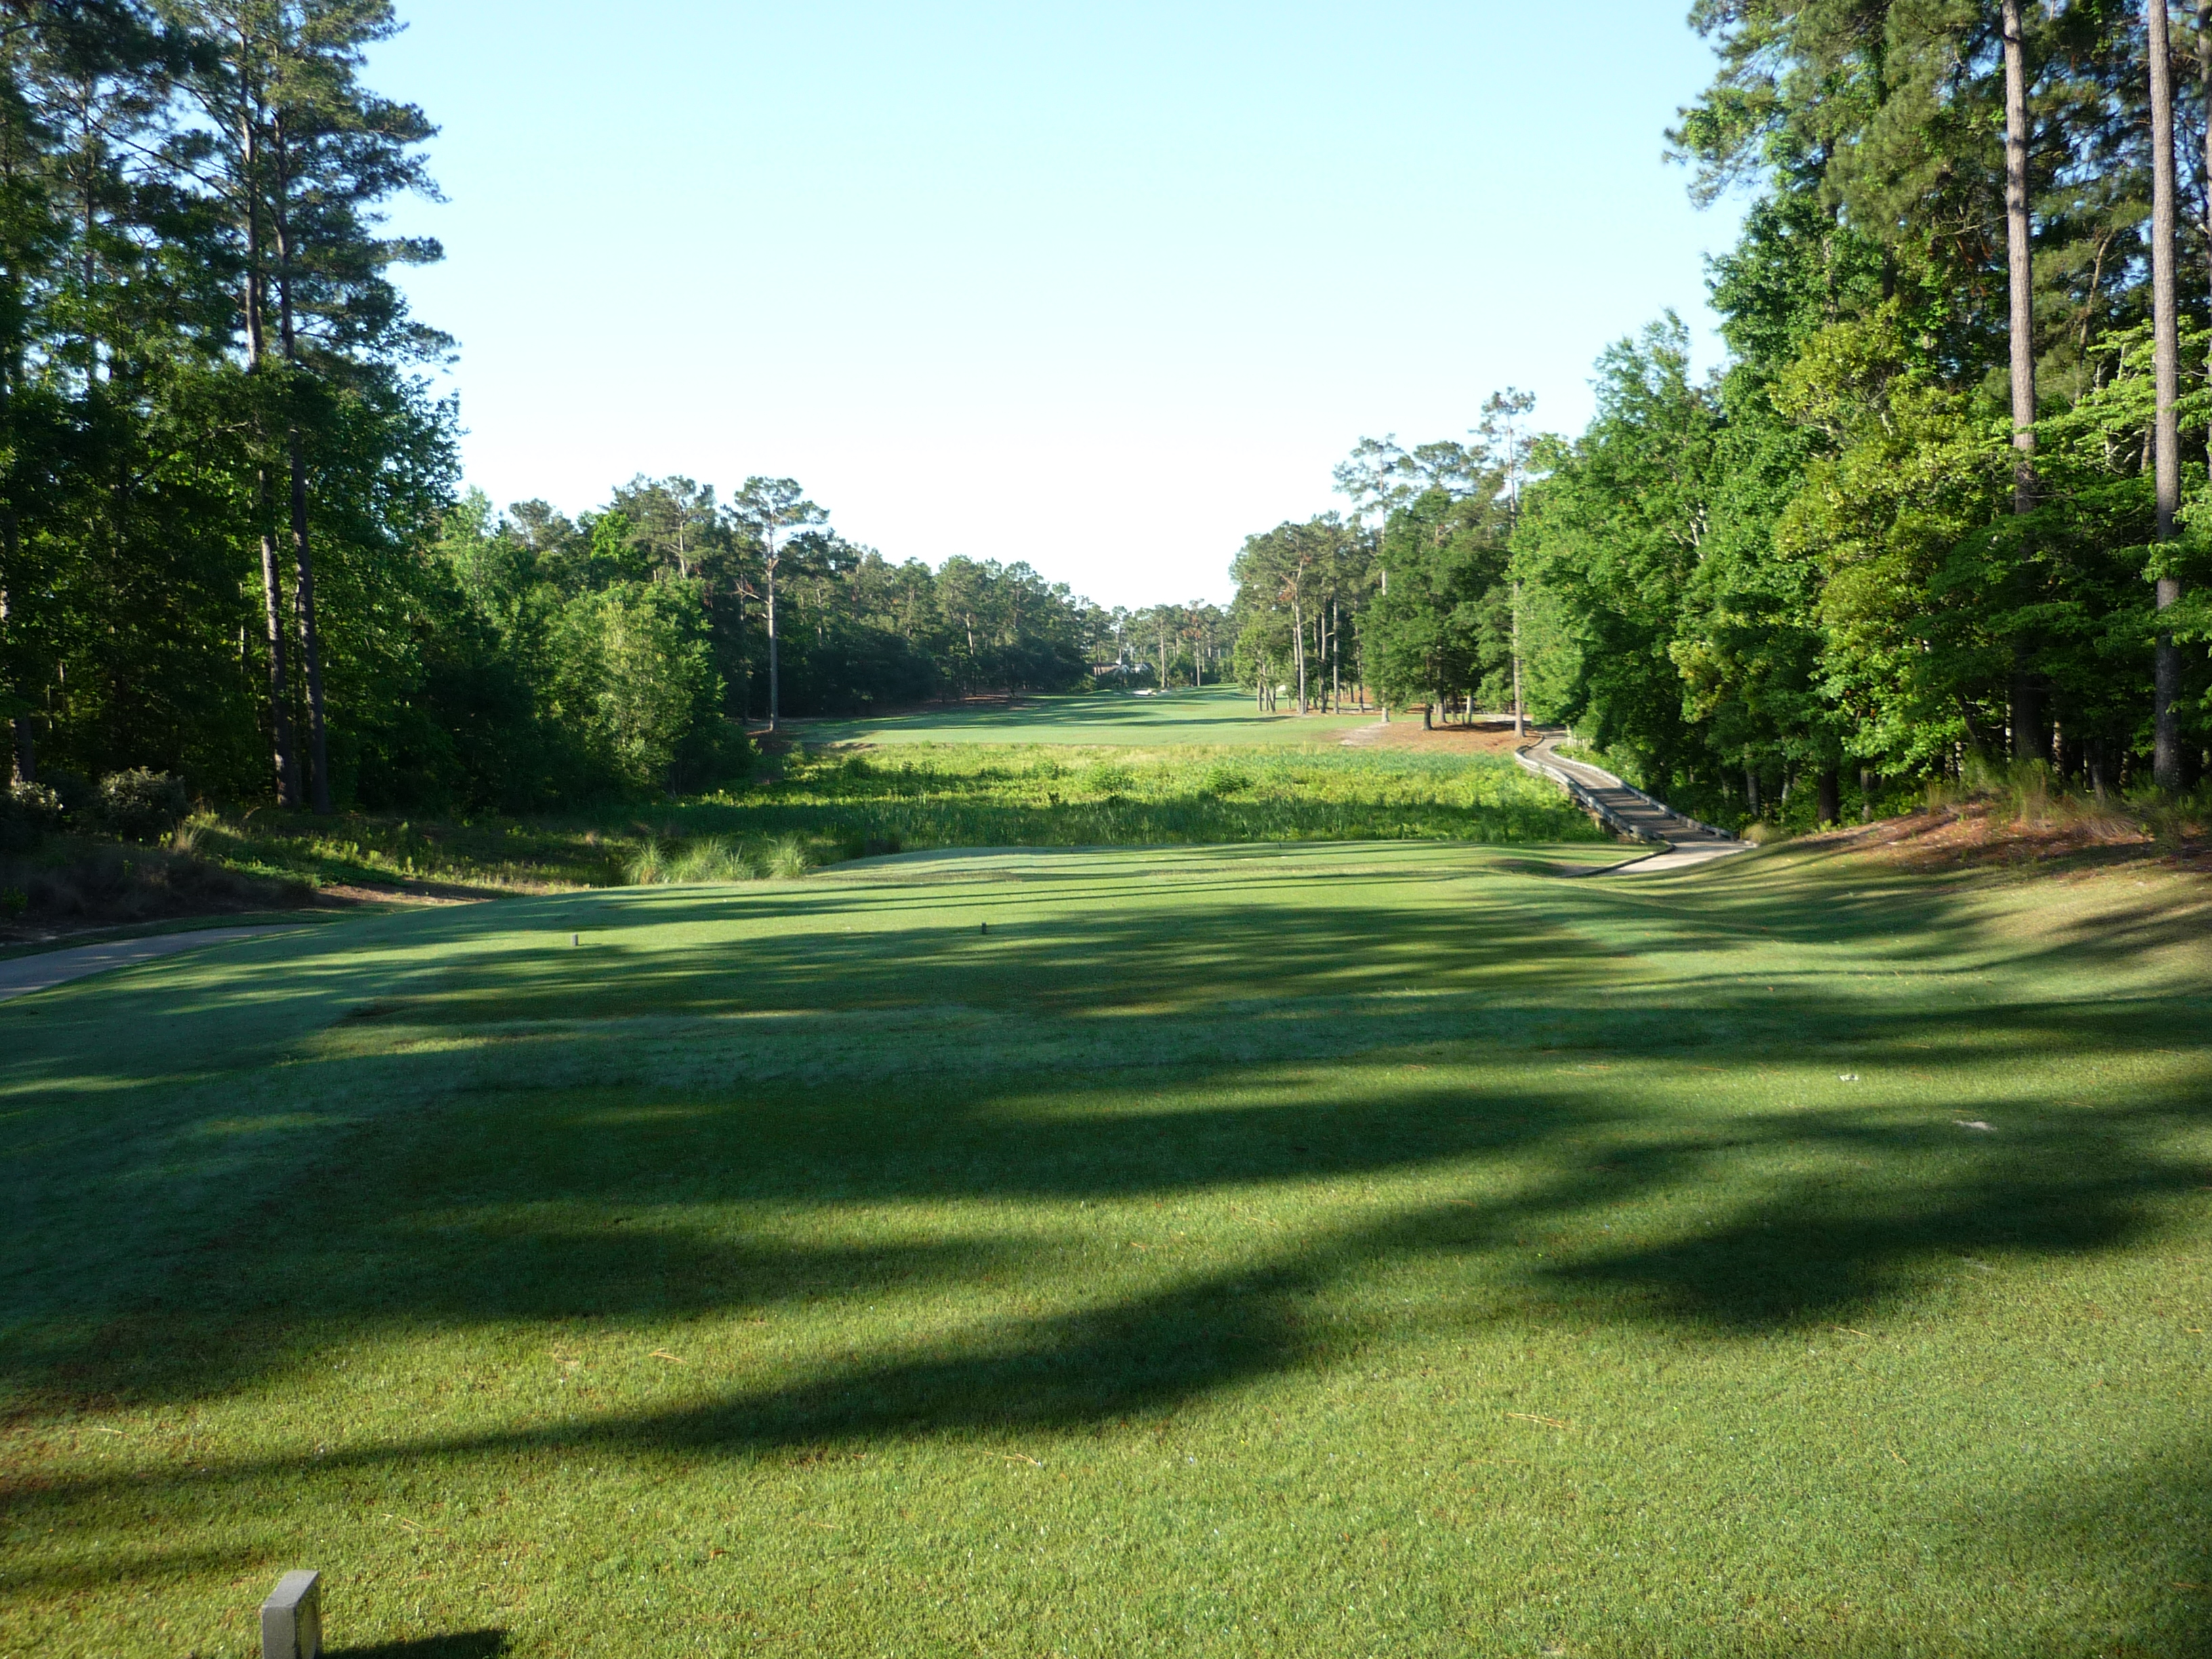
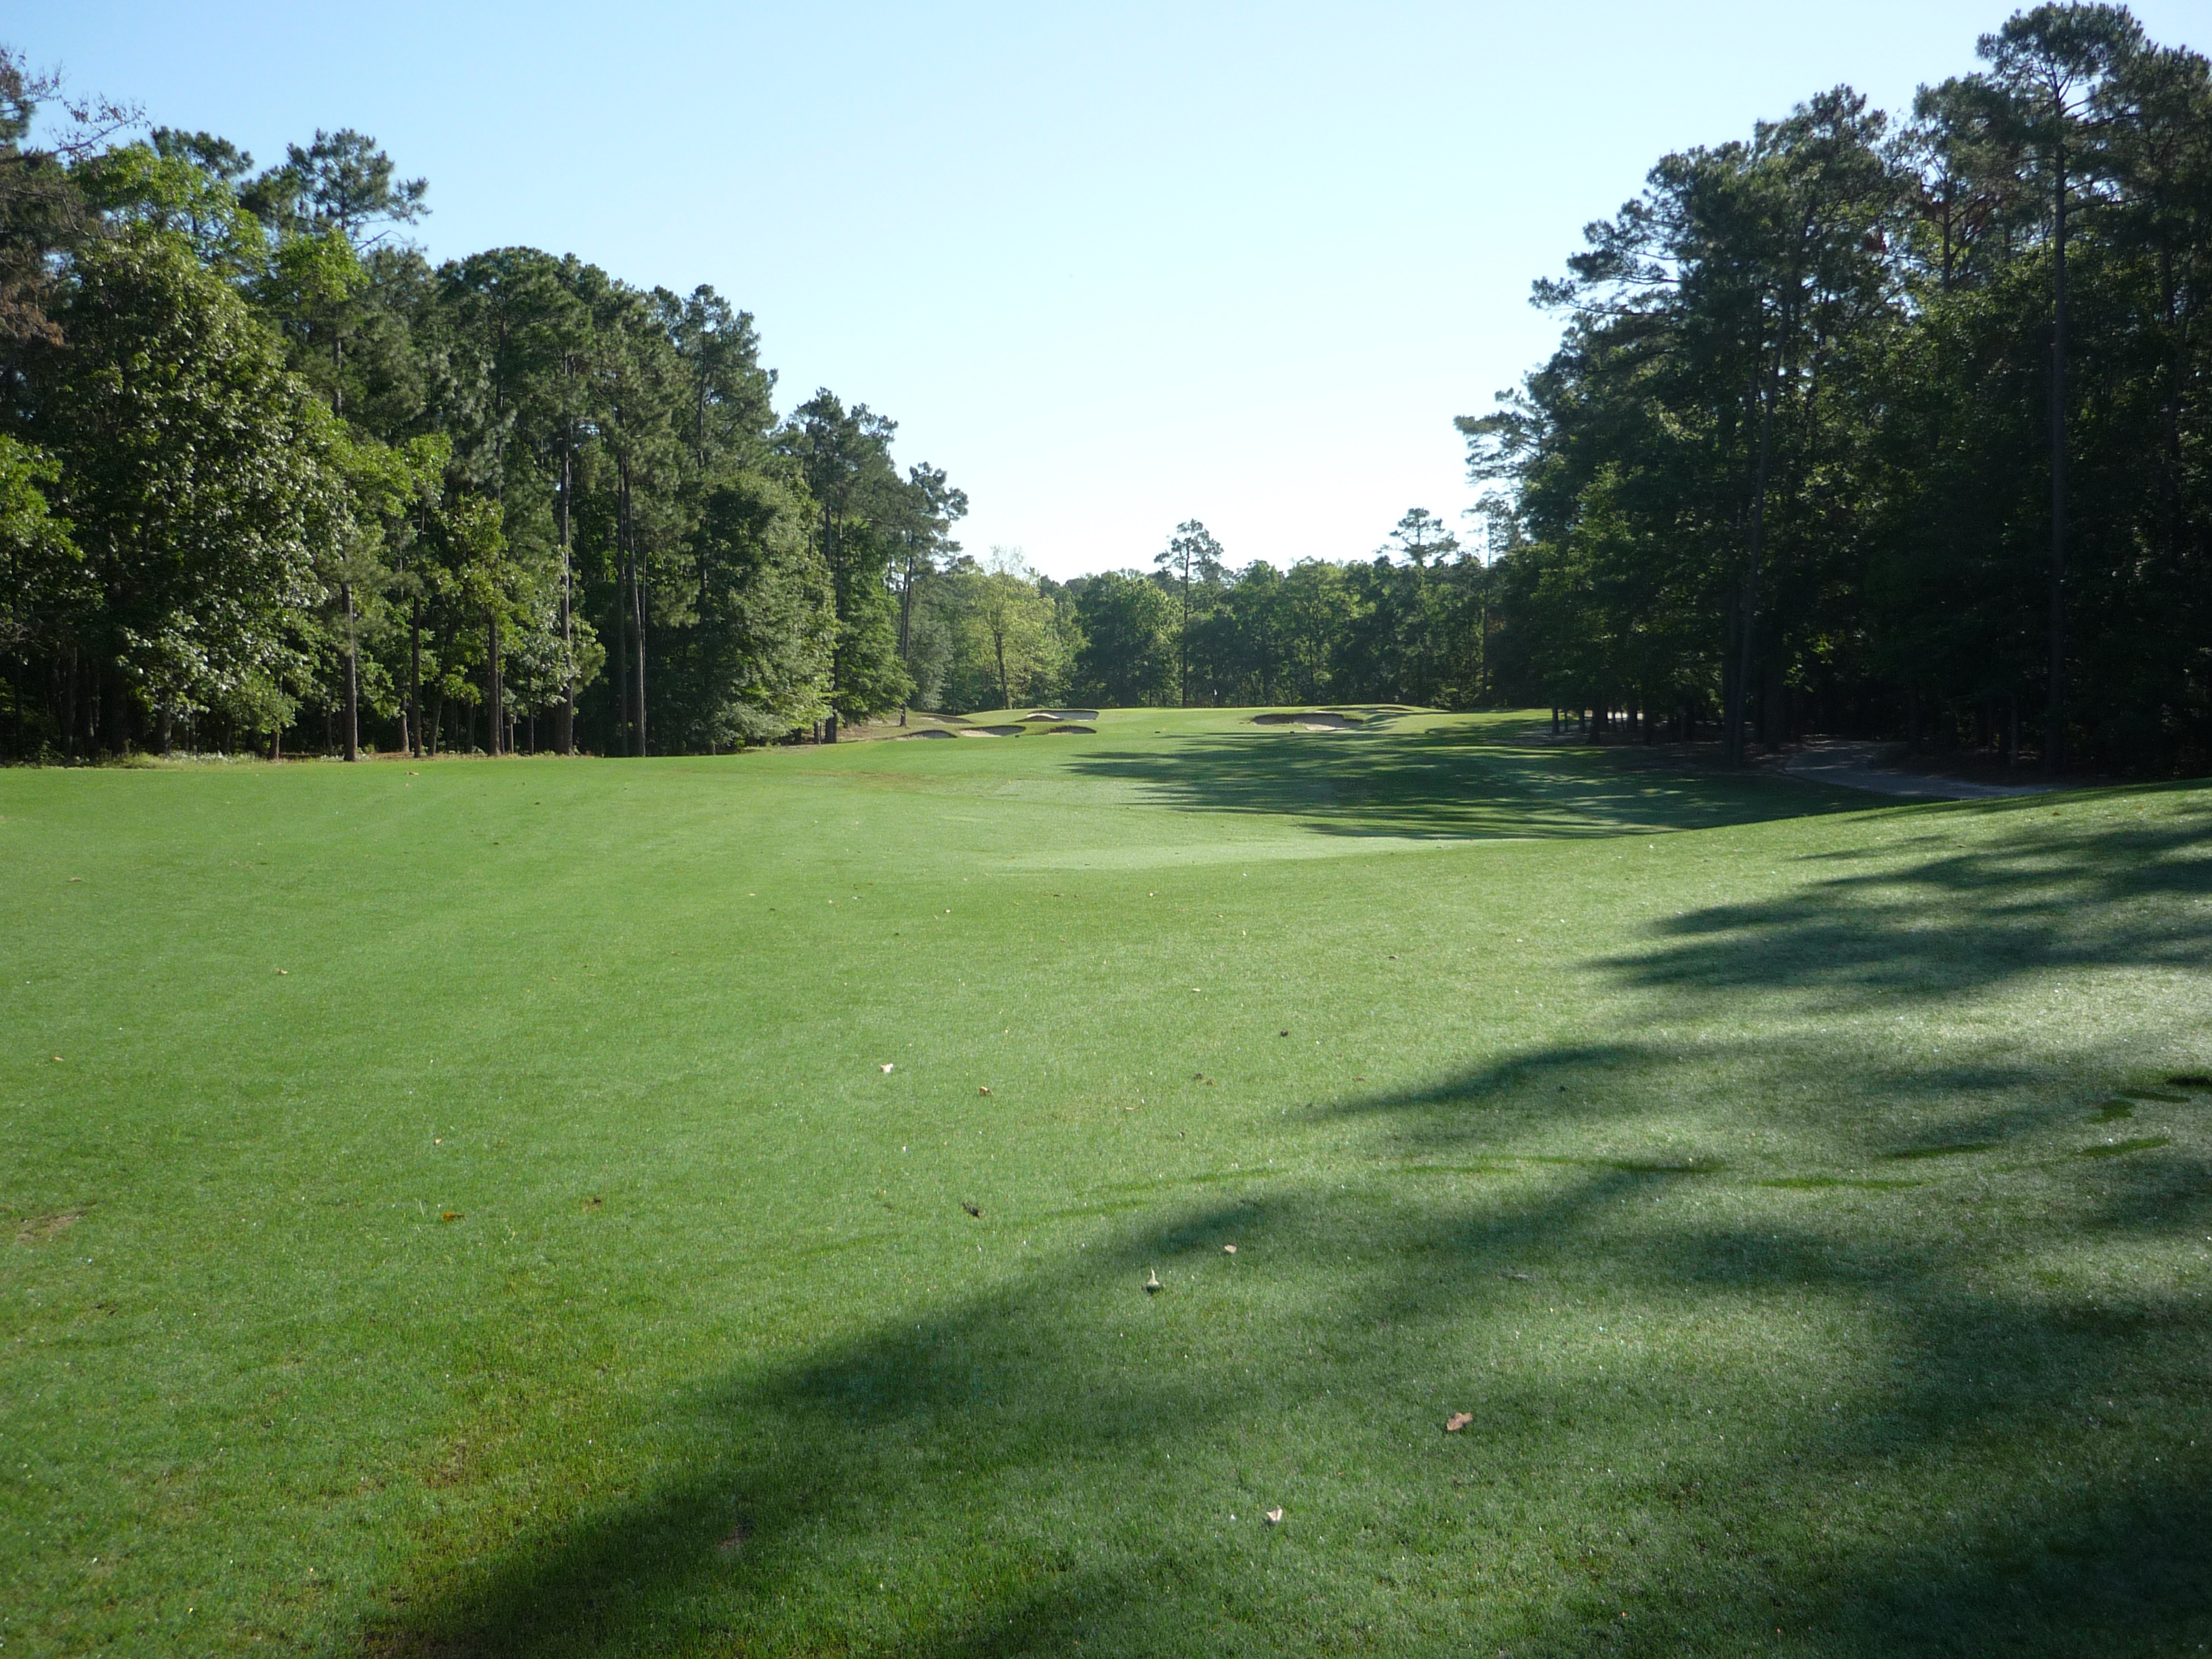
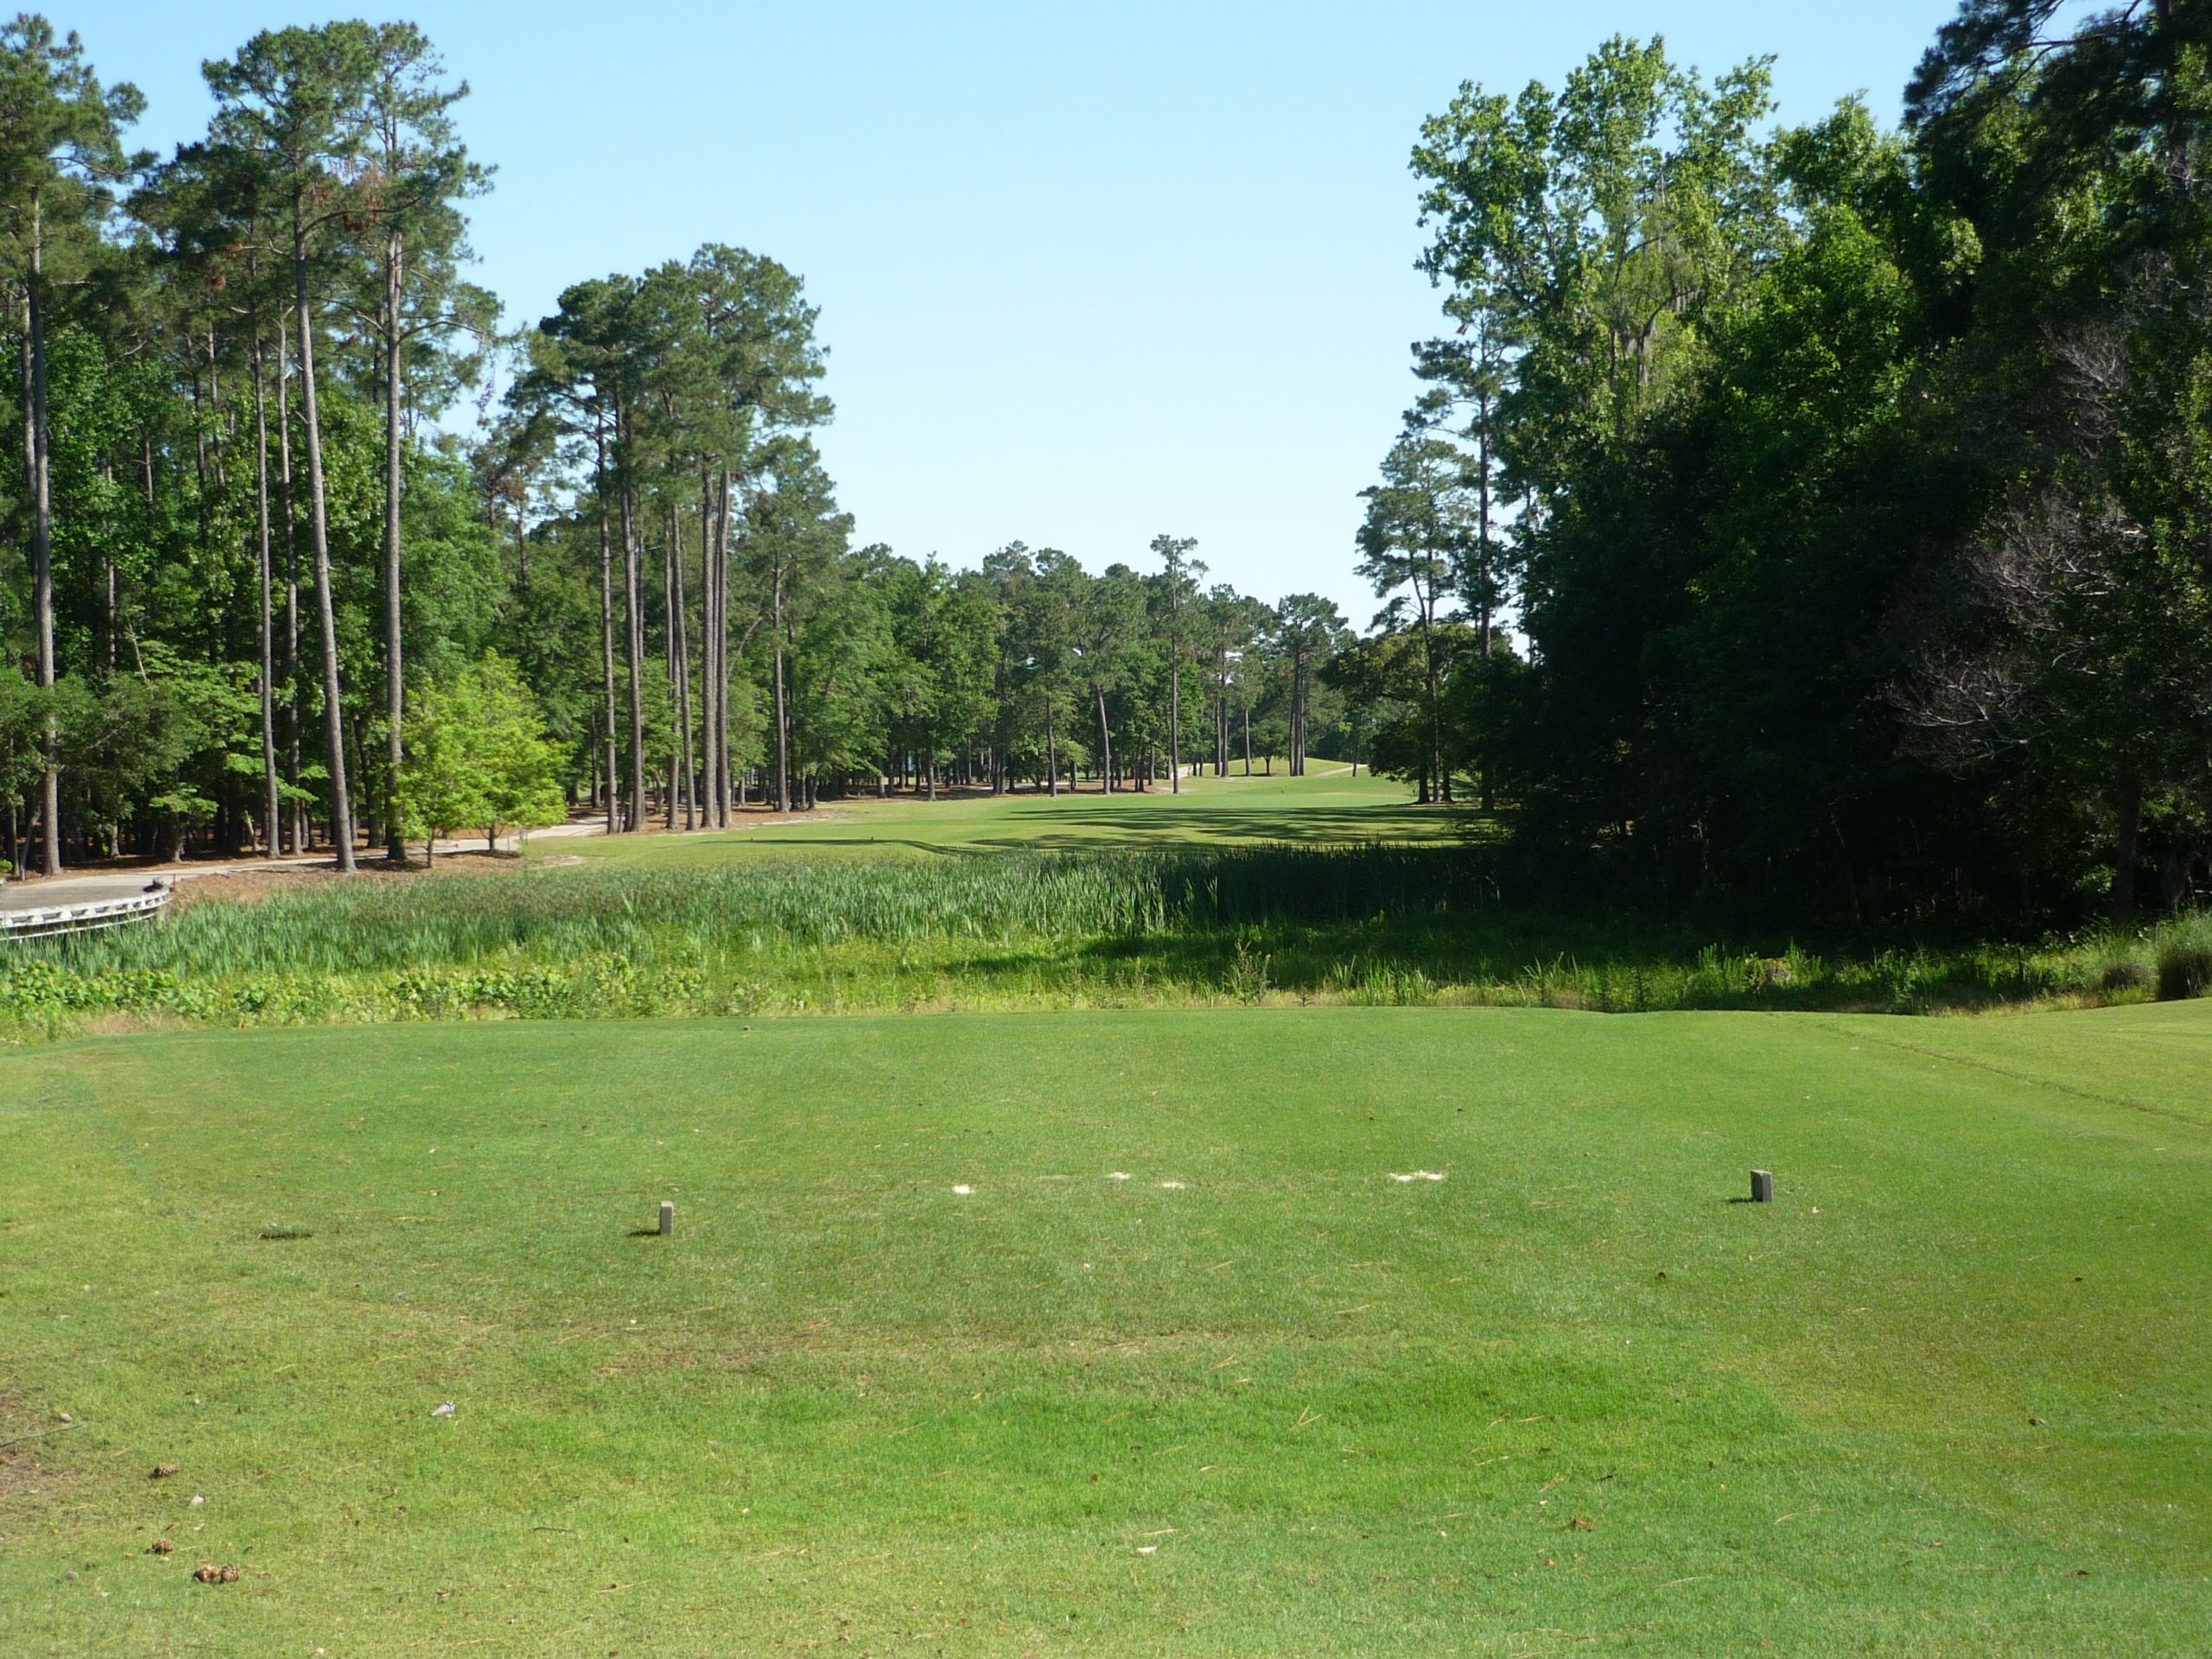
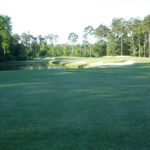
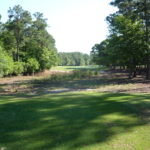
Hole 14 – 483 yards – Par 5
This hole is a dogleg left where your tee shot has to navigate bunkers on each side of the fairway. If you pick a good line and execute, getting on in two is definitely in play.
This photo is from the lay-up area. As you can see the green has deep bunkers right and left. Your only miss here should be short.
Hole 15 – 427 yards – Par 4
There is another forced carry here. Nothing fancy needed, just pipe a draw out there.
The green is long with a few bunkers. Once on the surface, the putting is pretty straightforward.
Hole 16 – 372 yards – Par 4
This tee shot is not too bad if you can block out the water. If you miss the fairway bunkers a short shot to set up a birdie awaits.
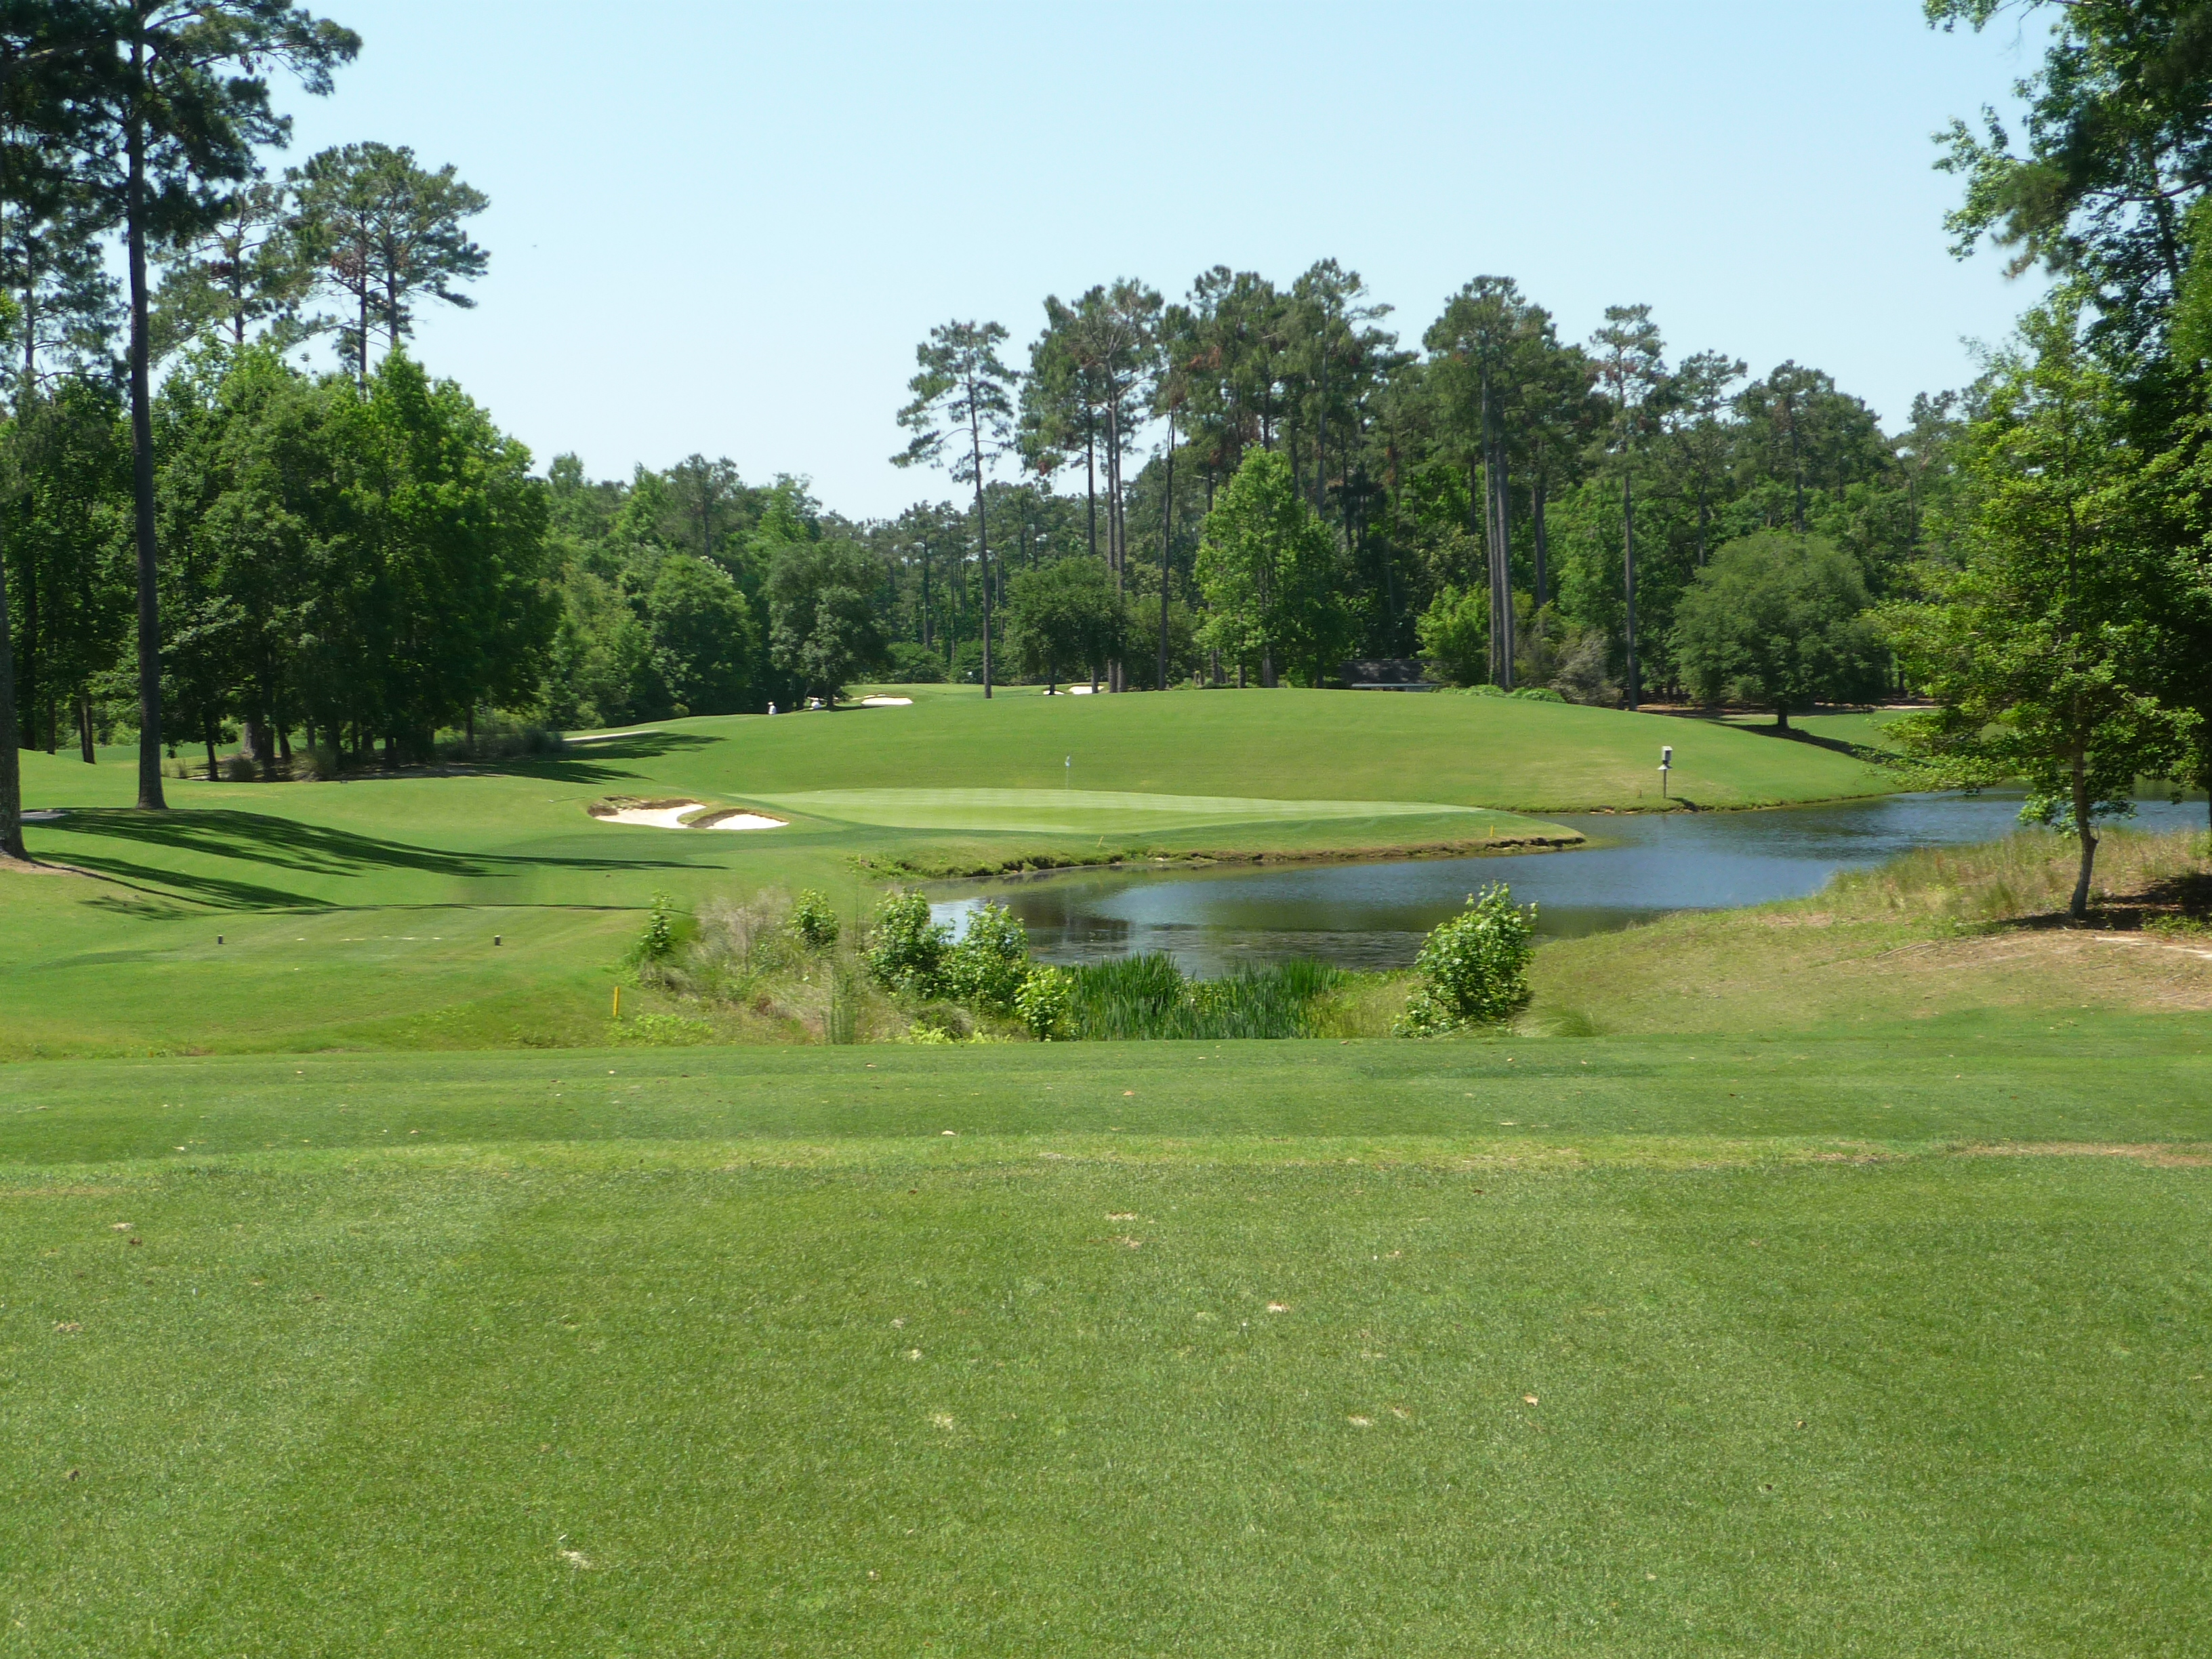
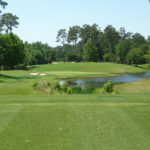
Hole 17 – 182 yards – Par 3
This shot plays to a peninsula green. The yardage plays about even with the card. A fade will be the easiest way to avoid most of the trouble.
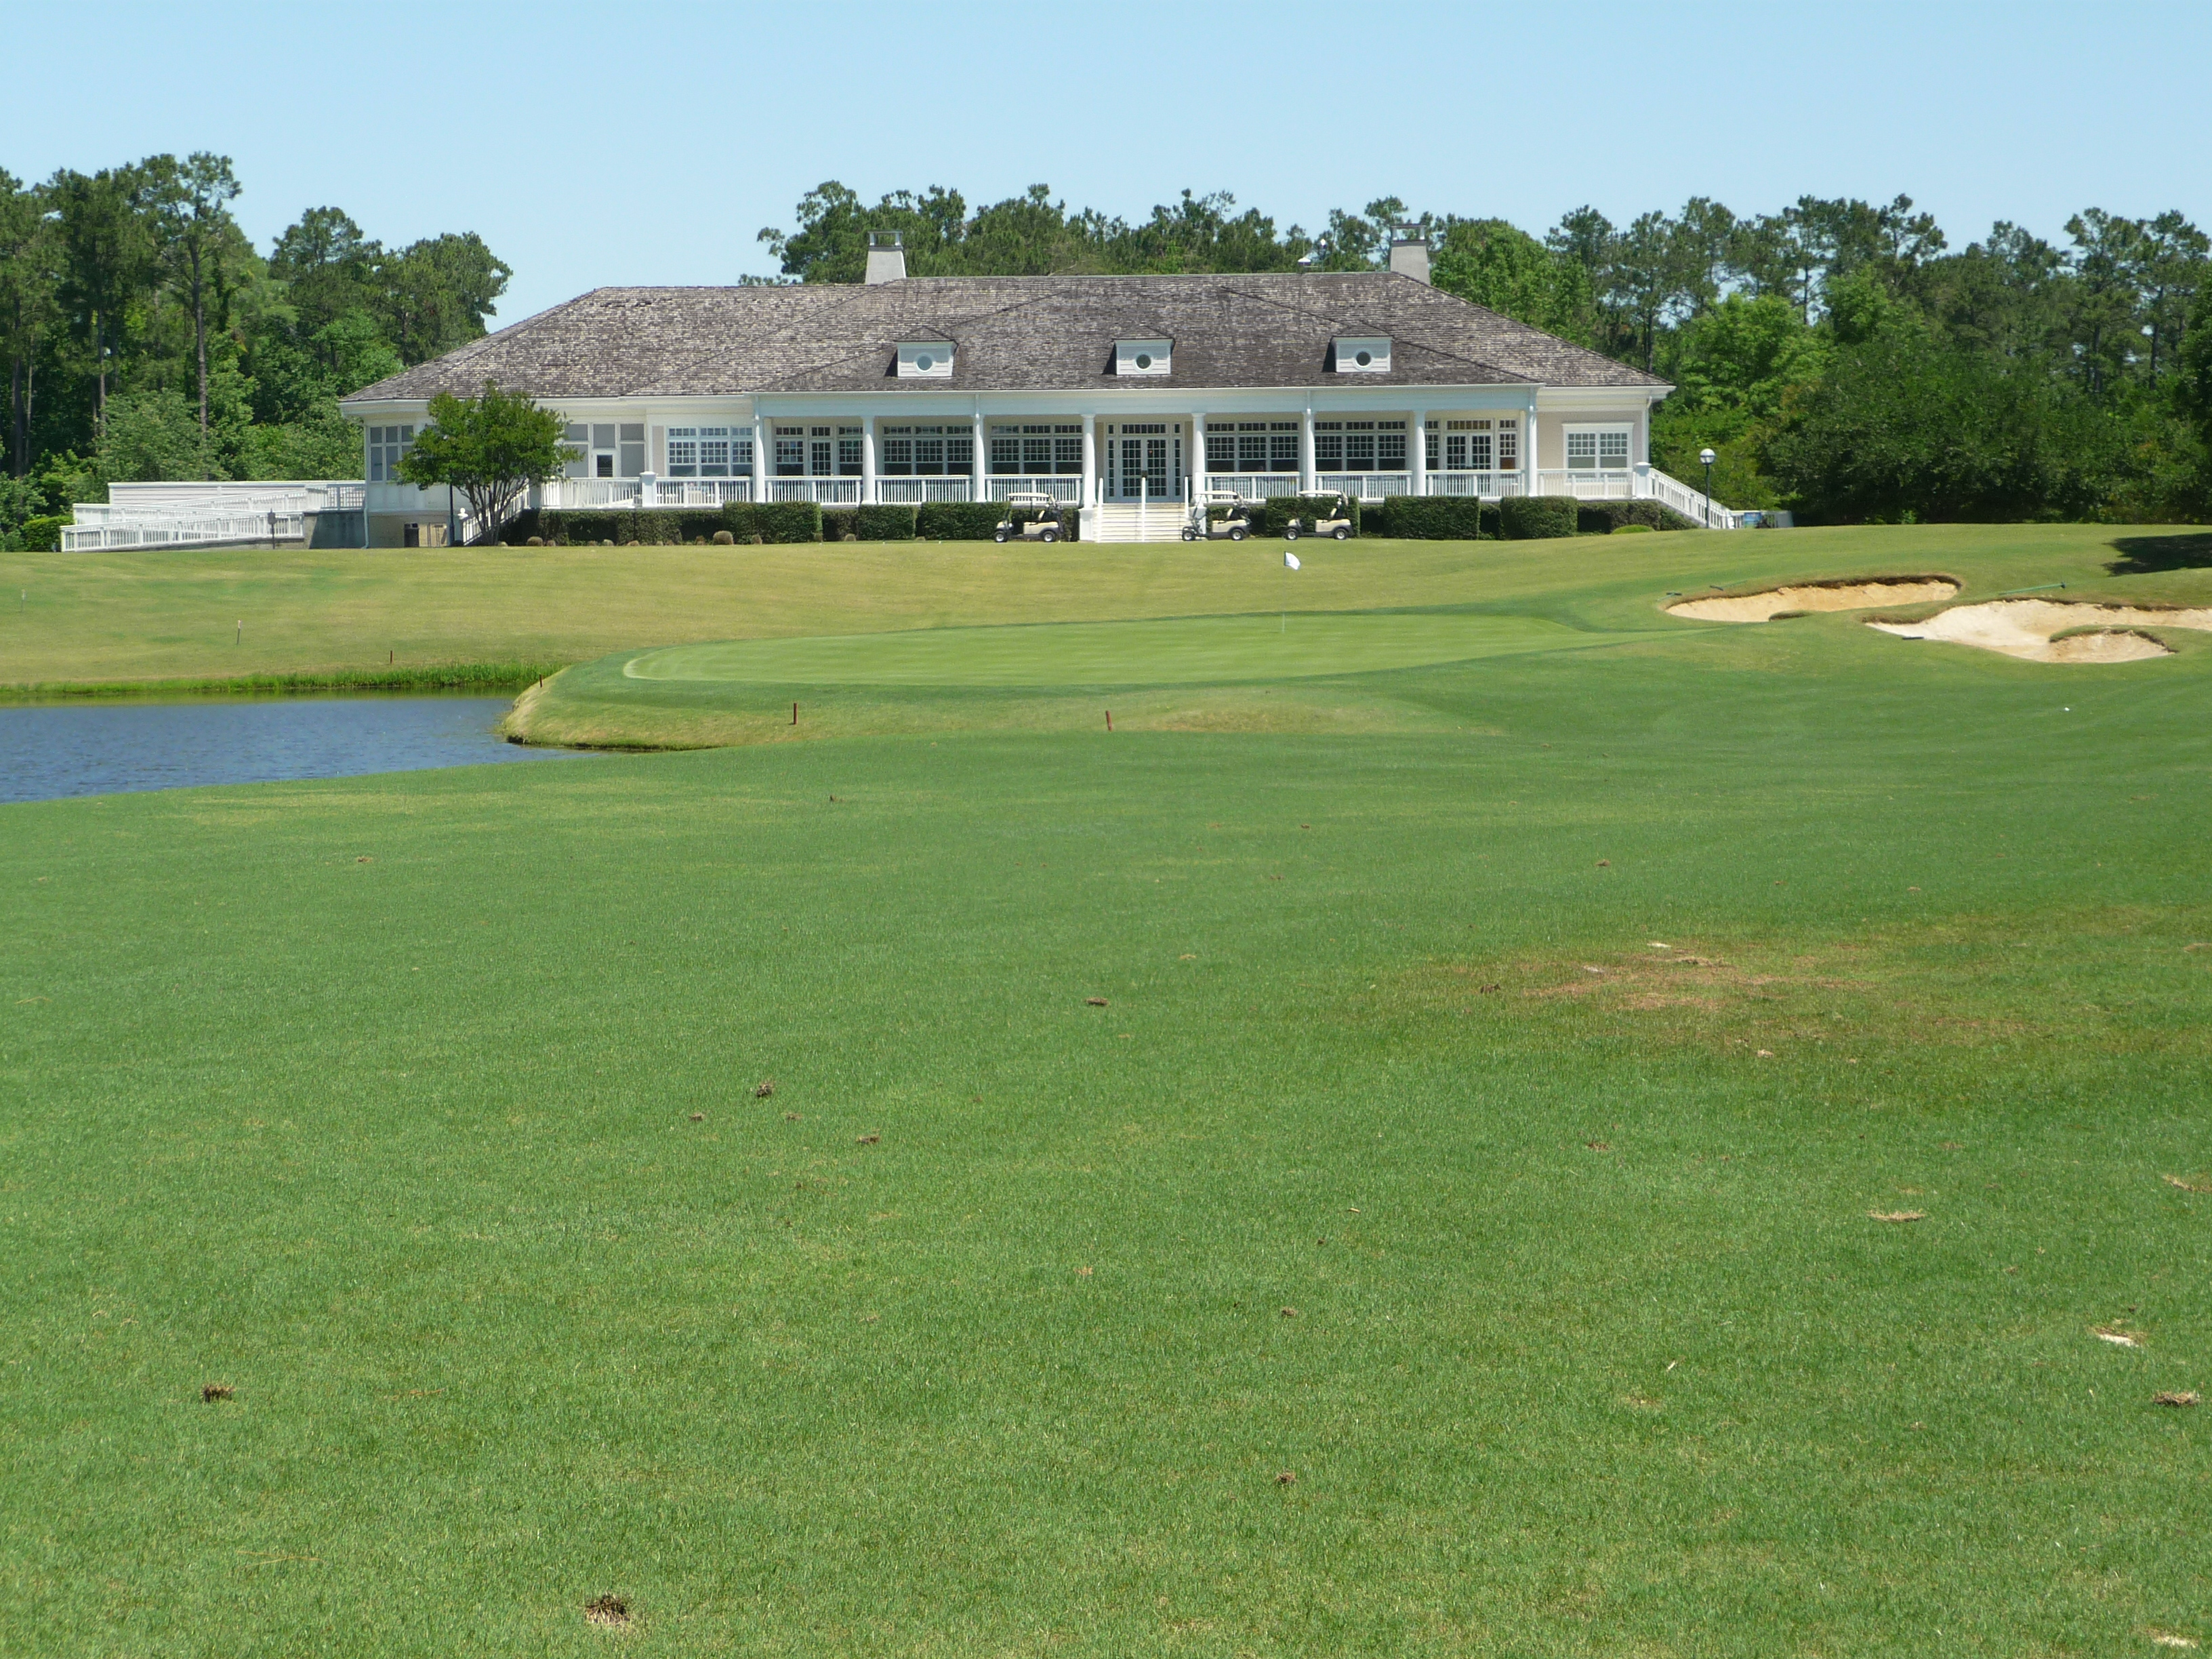
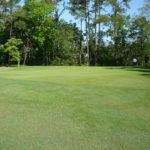
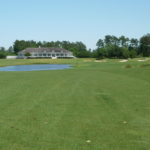
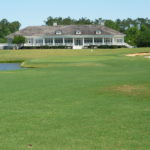
Hole 18 – 515 yards – Par 5
We’ve finally made it to the home hole. A straight drive is needed with the creek on the right.

The second shot, if going for the green, plays over water unless you hit a big draw. Otherwise, you can lay up to the fairway on the right.
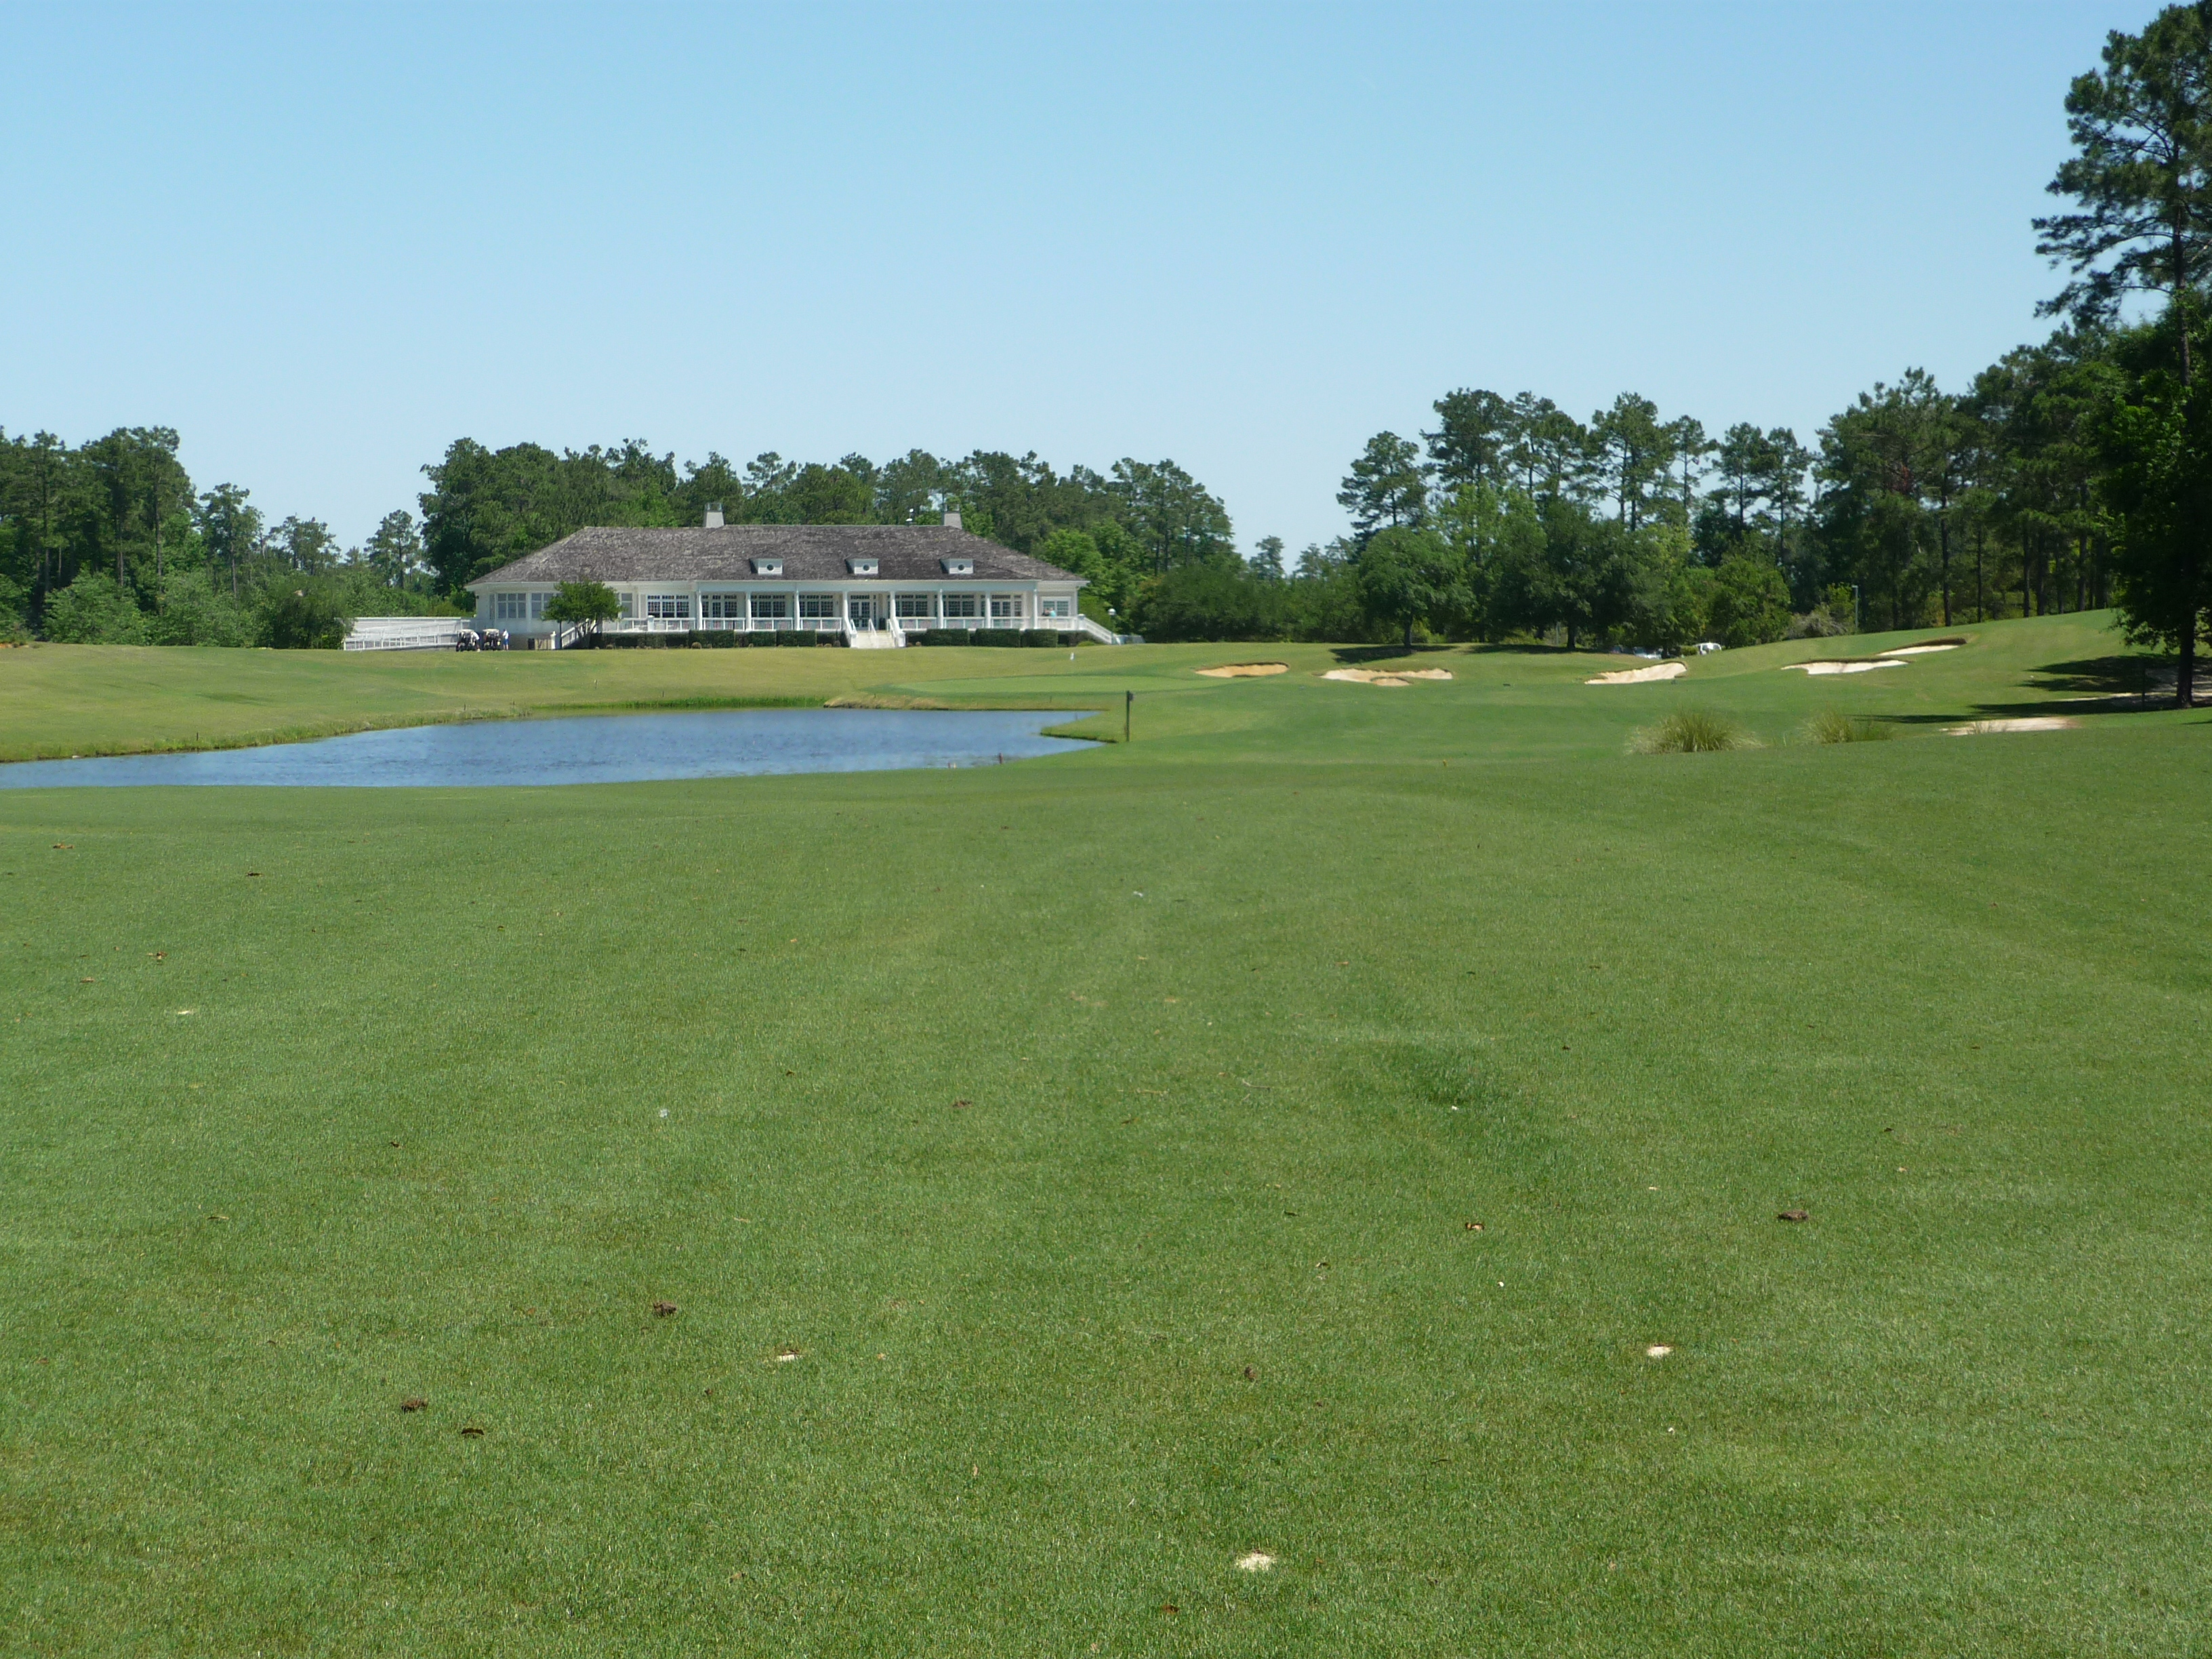
A shot played from the area in the photo below is not overly difficult. If you can find the green, a flattish putt is your reward.
Overall, the layout at TPC Myrtle Beach was demanding. I had to hit driver all day and it had to be accurate. The greens were pretty easy to putt in my opinion if you could read the grain.
I did have some problems with the course. I didn’t think the course conditioning was to the level it should have been since it is in the TPC network. A few of the greens were somewhat shaggy and there were bare spots throughout the course. Some of the fairways looked like they hadn’t been cut in a while. We did get a reduced rate so I think they were aware of the conditioning. I may have just gotten unlucky on the timing of when I played it. With that said, I went in May, so call them up to check course conditions if you are planning a trip to TPC Myrtle Beach around that time.


0 thoughts on “TPC Myrtle Beach”