We-Ko-Pa Golf Club (Cholla) – Played Spring 2018
- Rankings: Golf Magazine Public #37
- Location: 18200 East Toh Vee Circle, Fountain Hills, Arizona
- Year: 2001
- Architect: Scott Miller
- Course Access: Public
- Walking Rules: Carts Available
Score Card Information:
- Cholla: 7,225 yards, Par 72, 73.4 Rating/138 Slope
- Purple: 6,740 yards, Par 72, 70.7 Rating/133 Slope
- Composite: 6,436 yards, Par 72, 69.4 Rating/126 Slope
- White: 6,114 yards, Par 72, 67.5 Rating/119 Slope (Men’s), 73.6 Rating/130 Slope (Women’s)
- Green: 5,289 yards, Par 72, 69.3 Rating/124 Slope
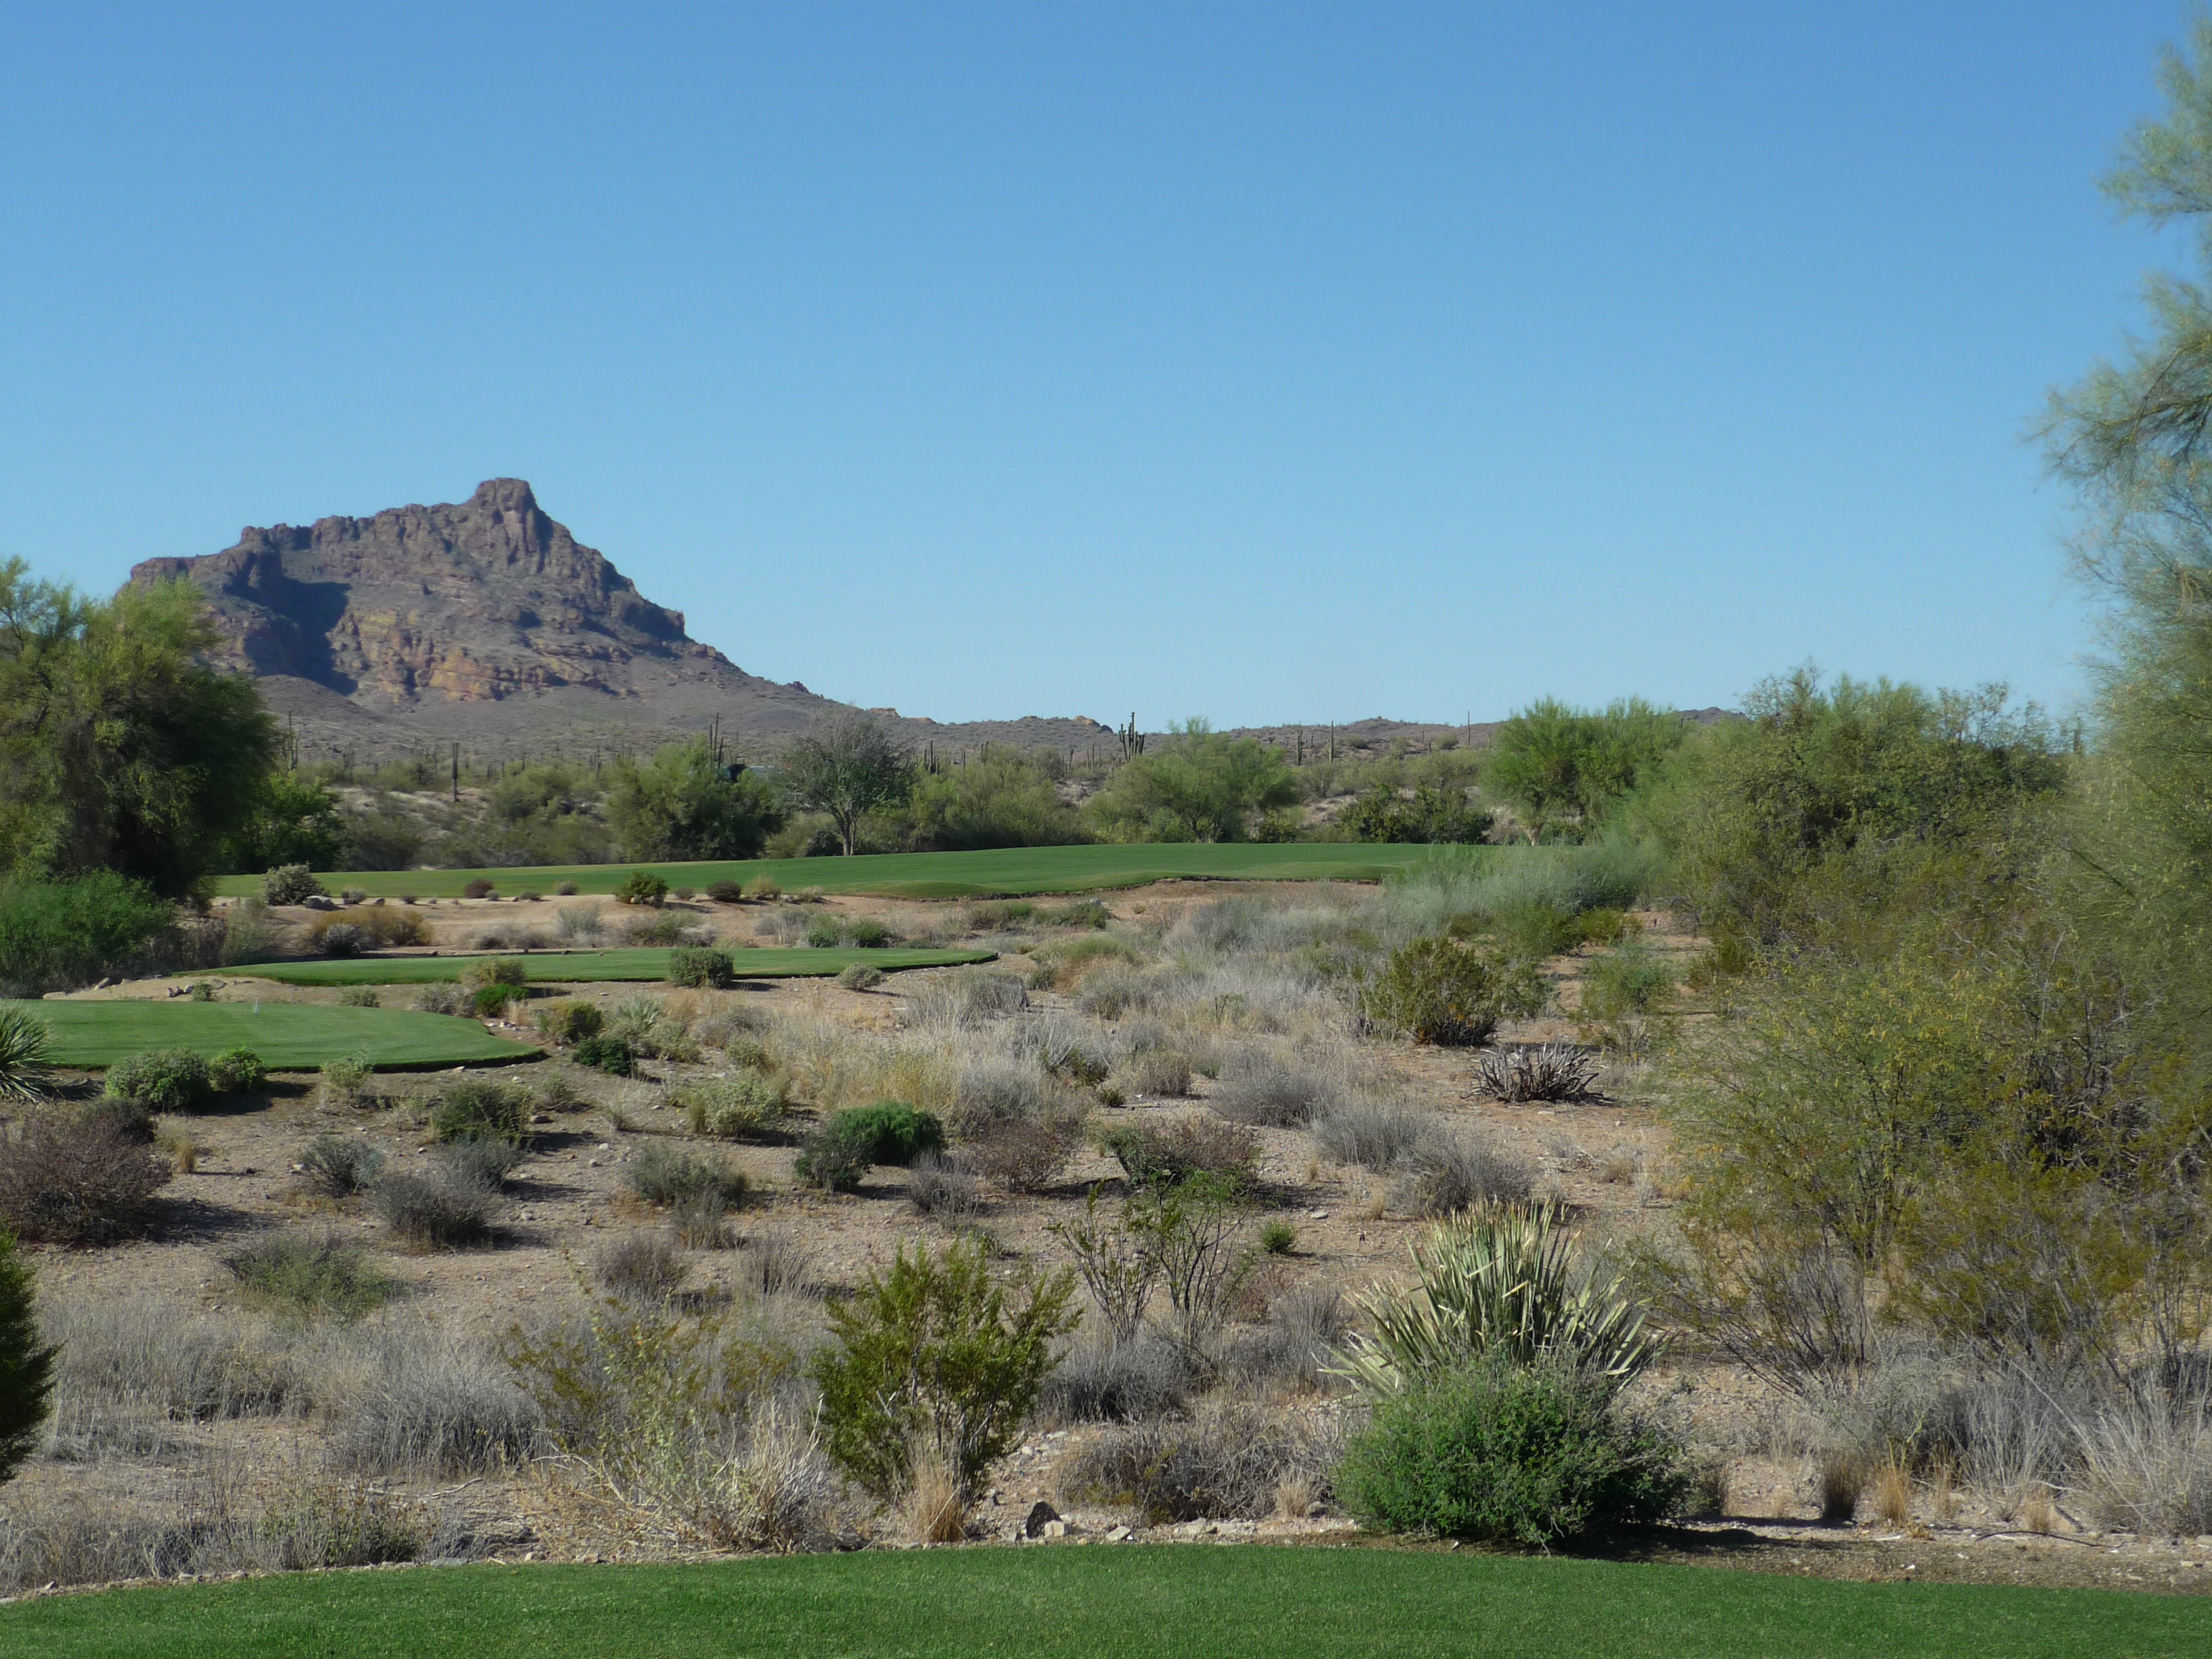
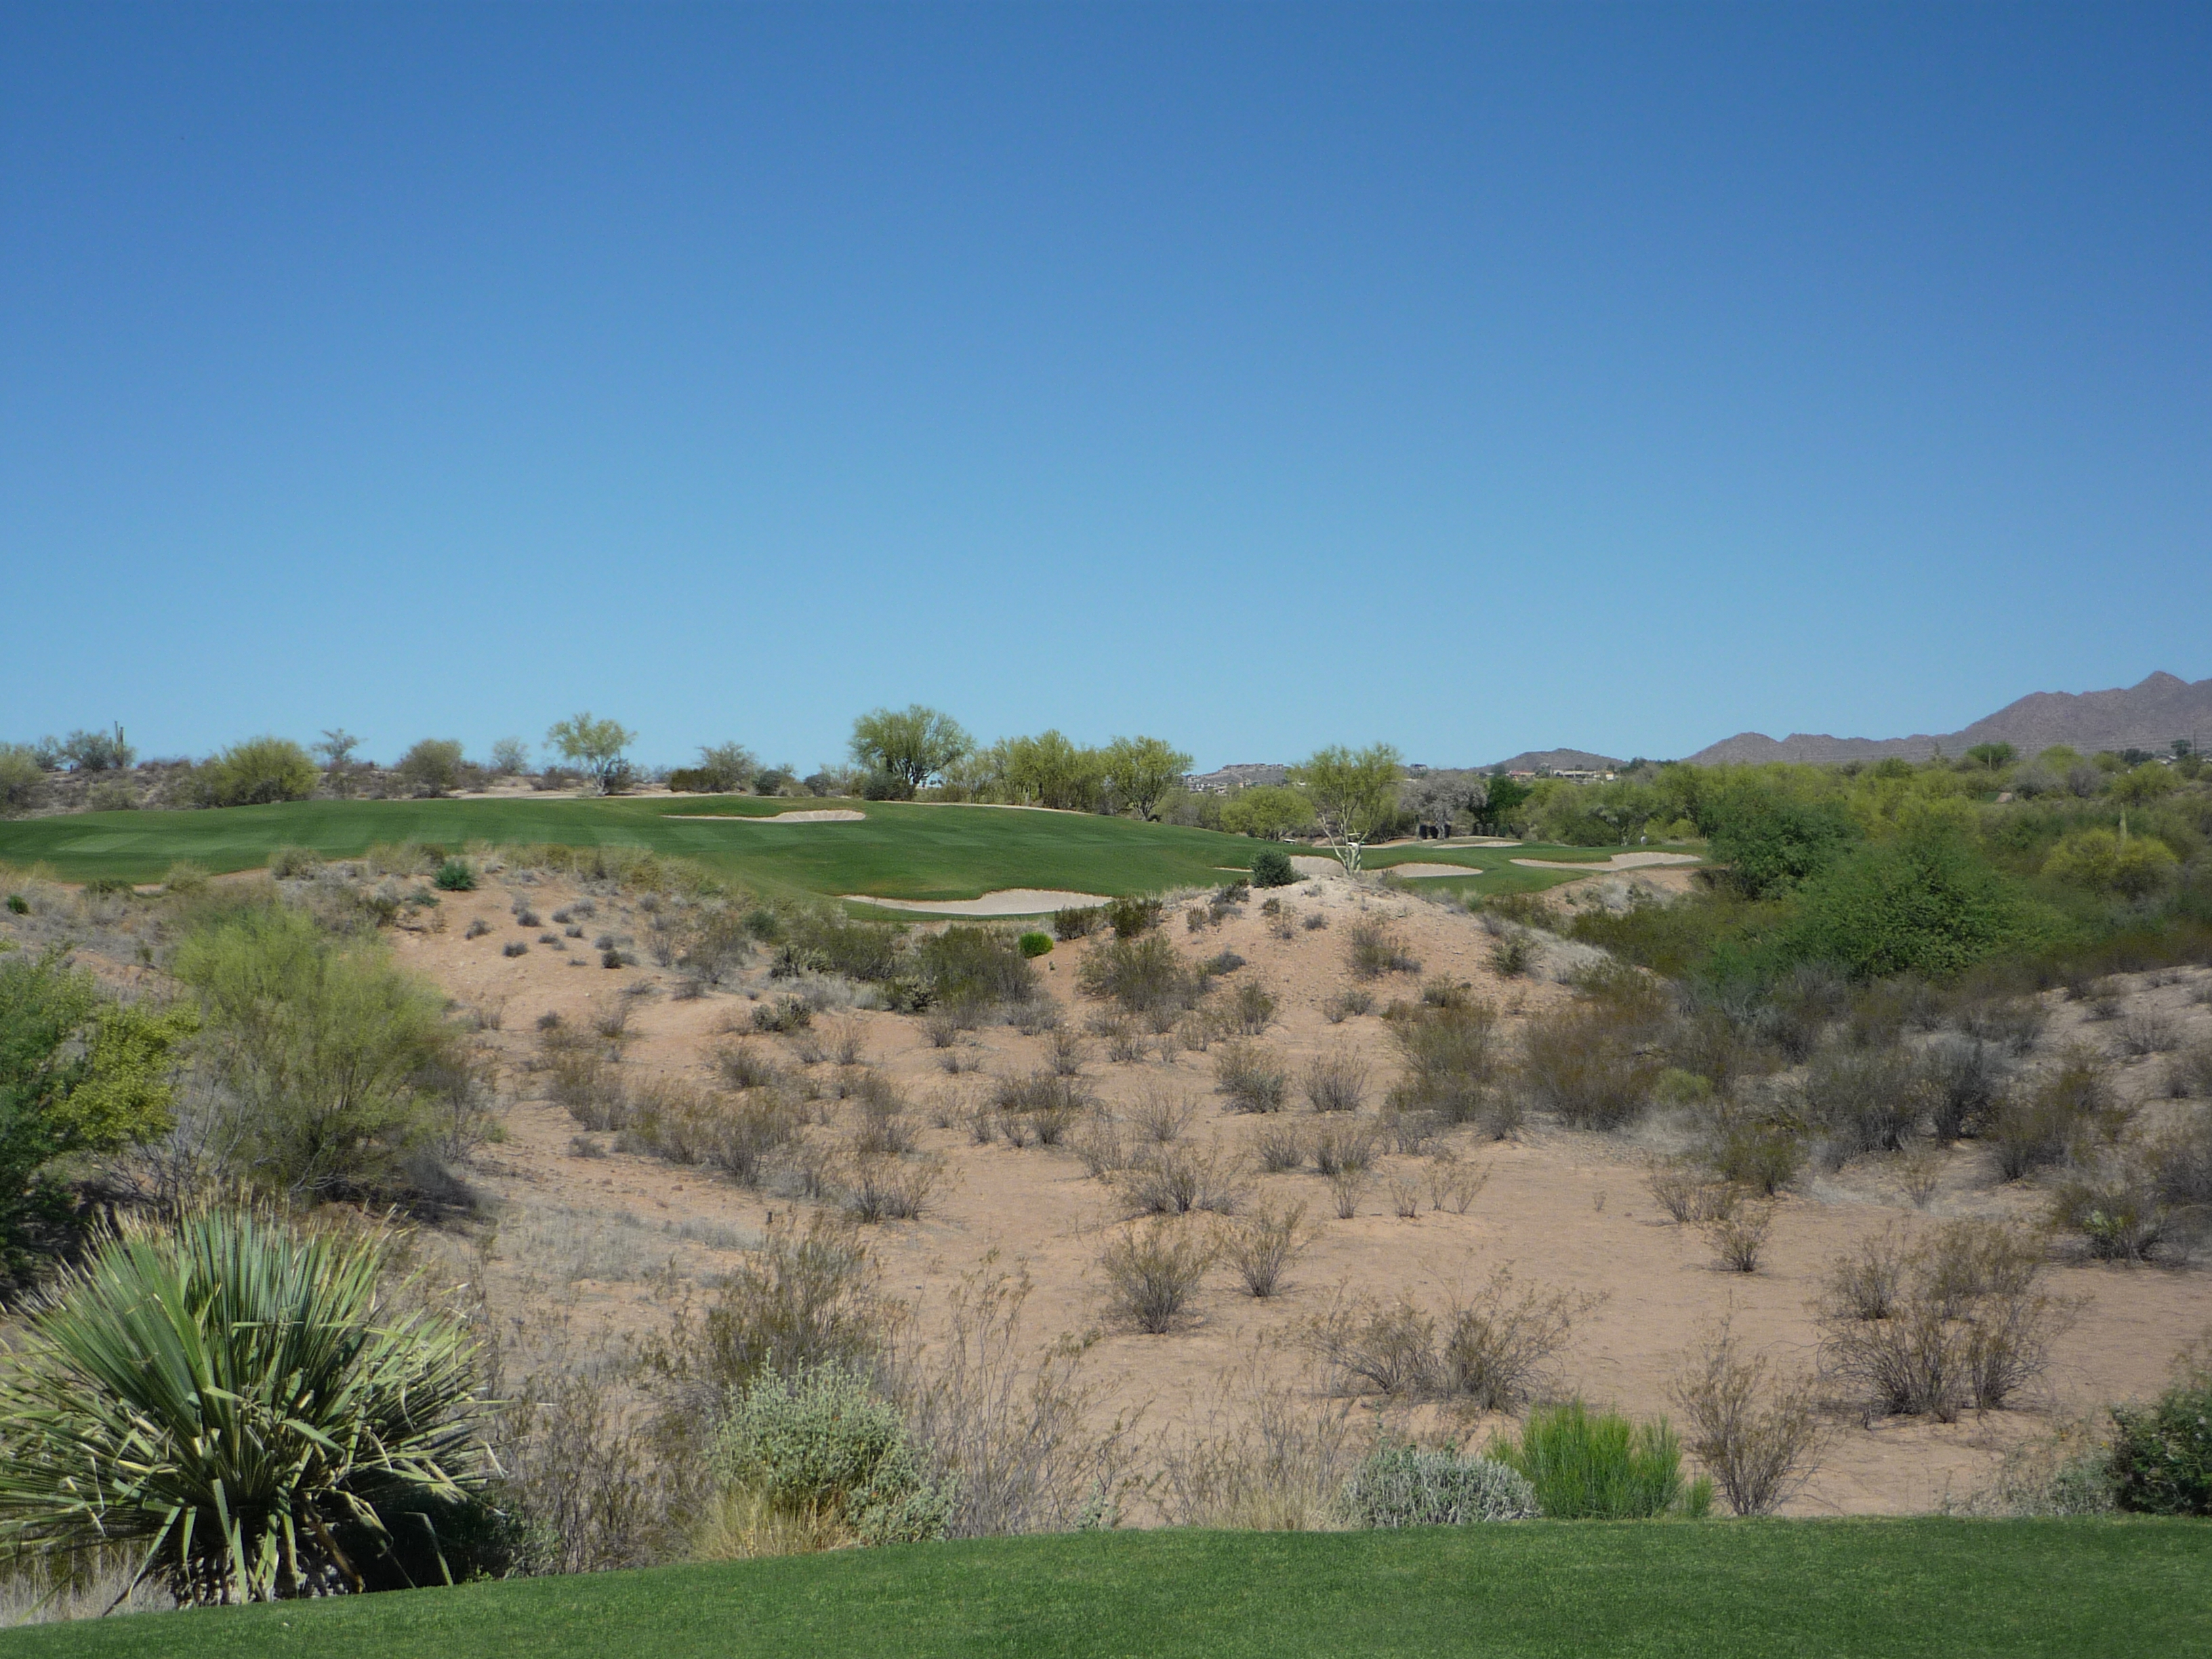
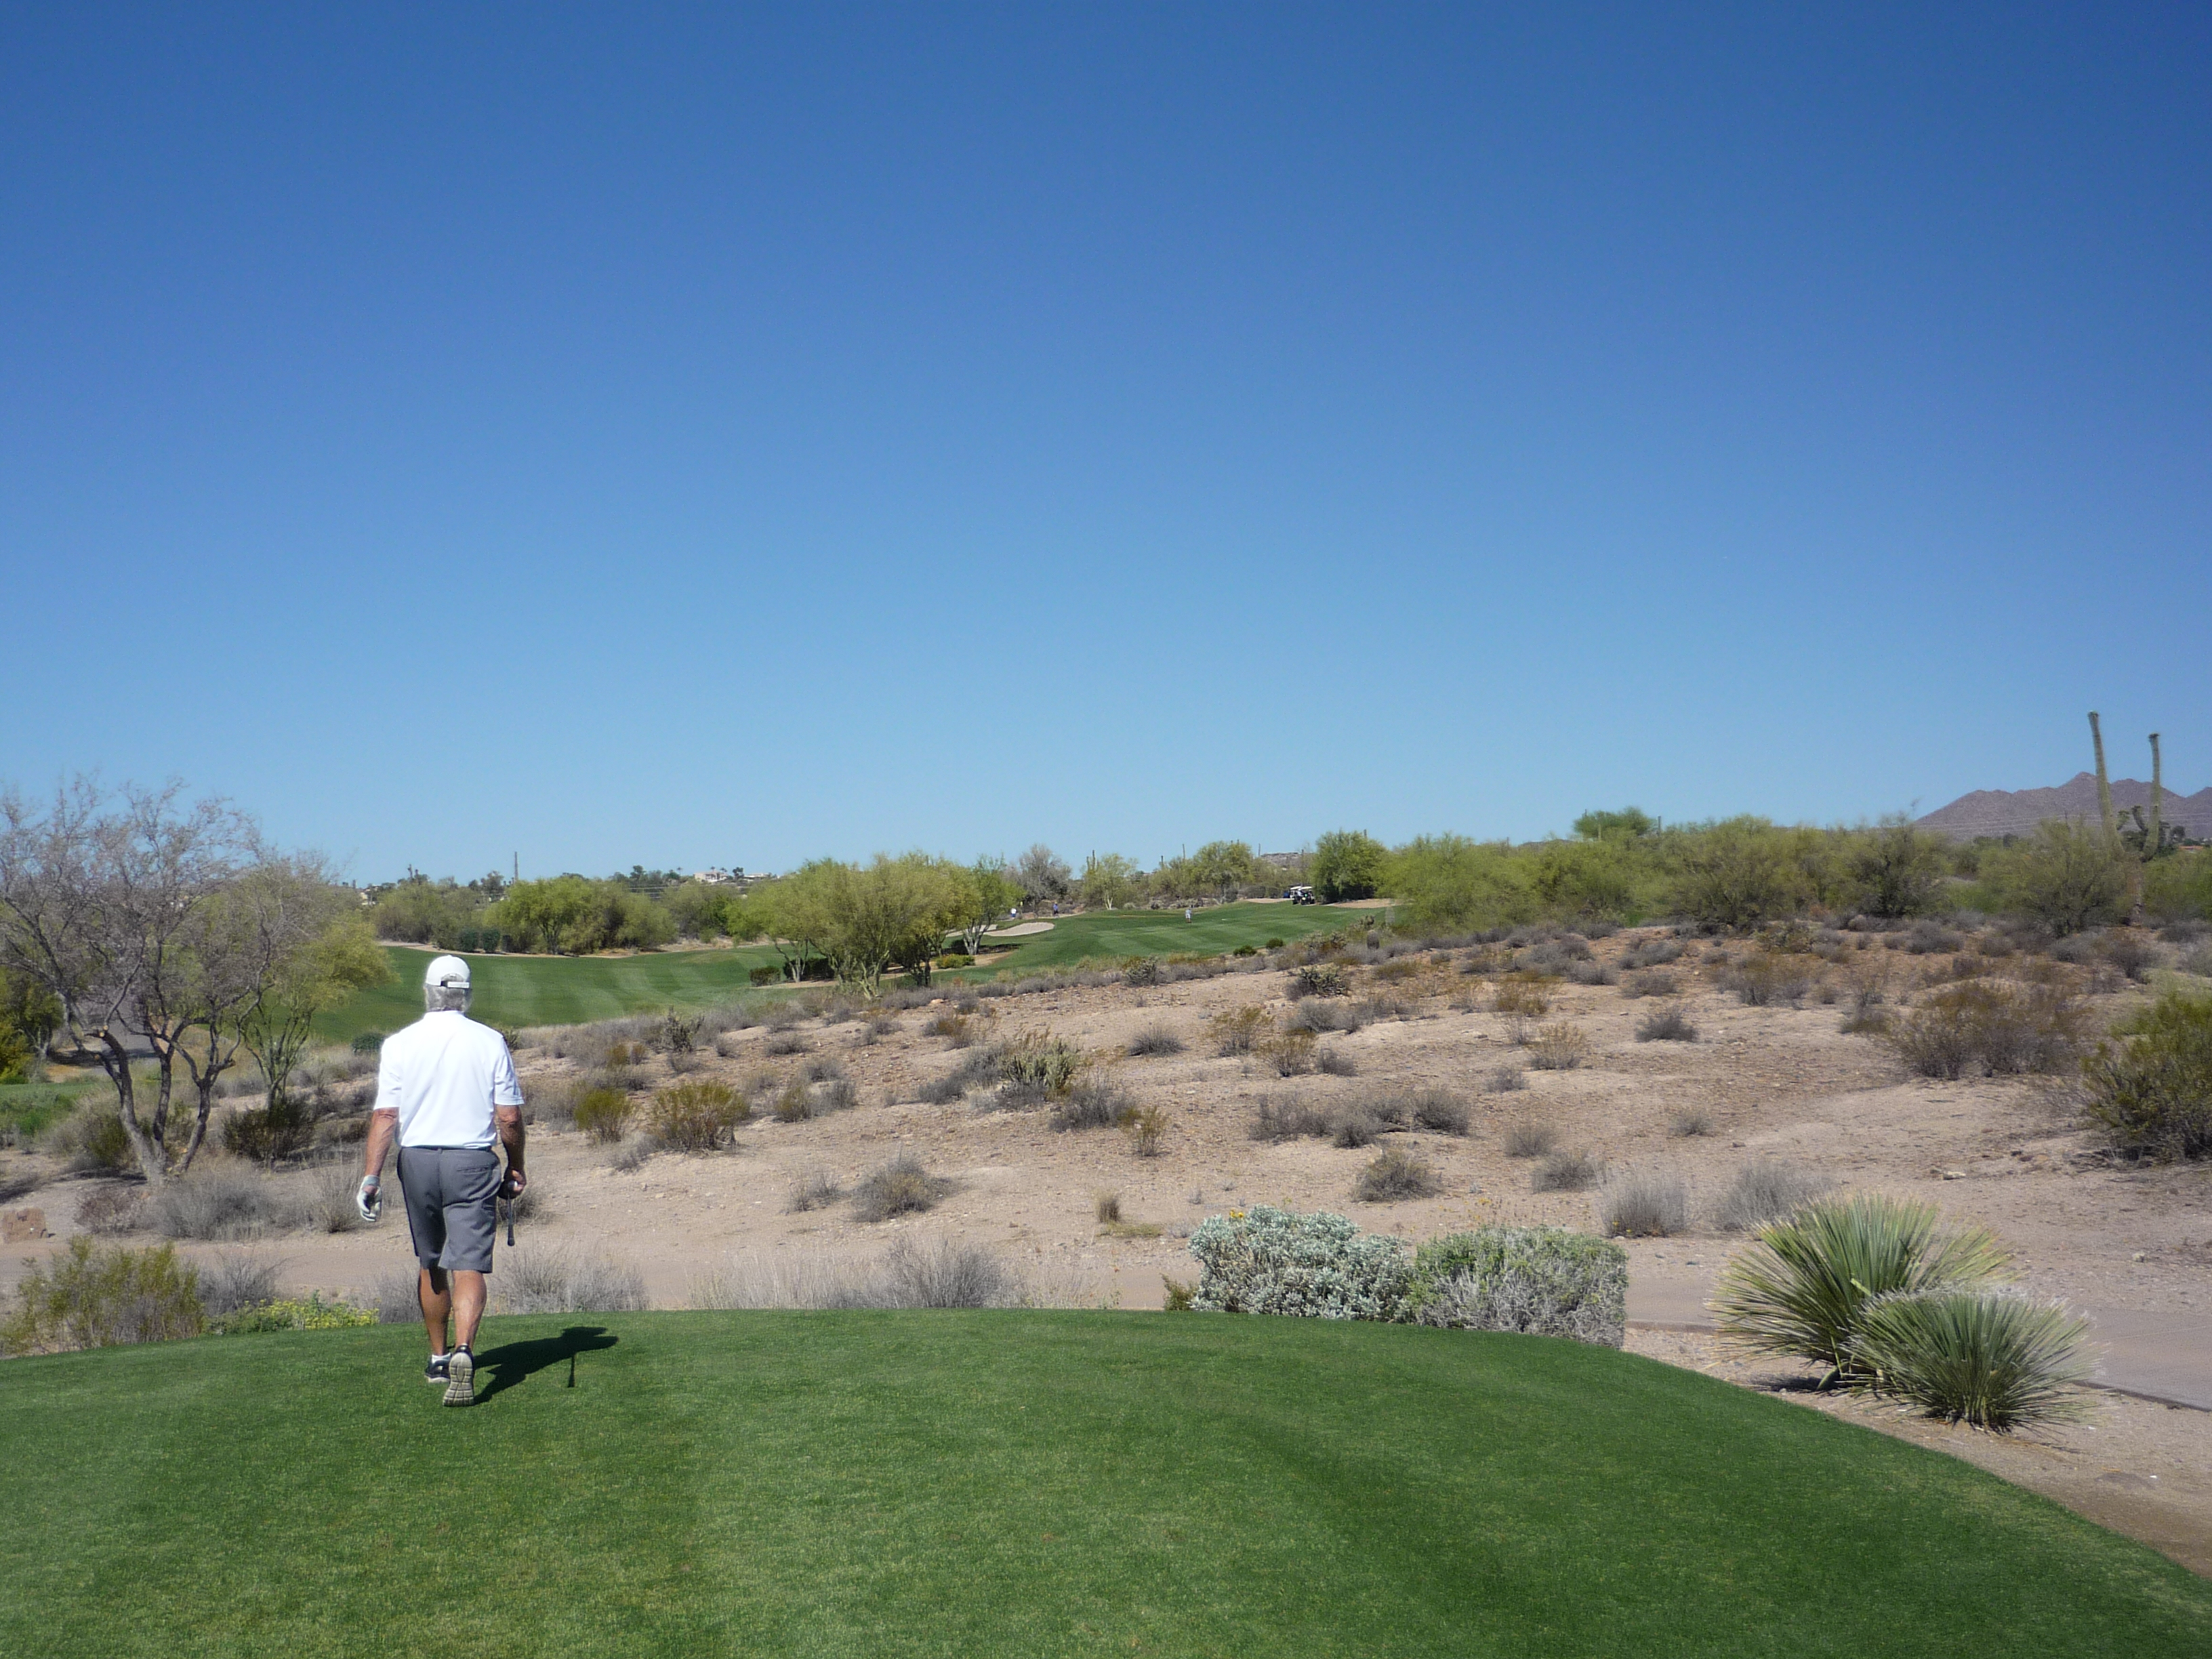
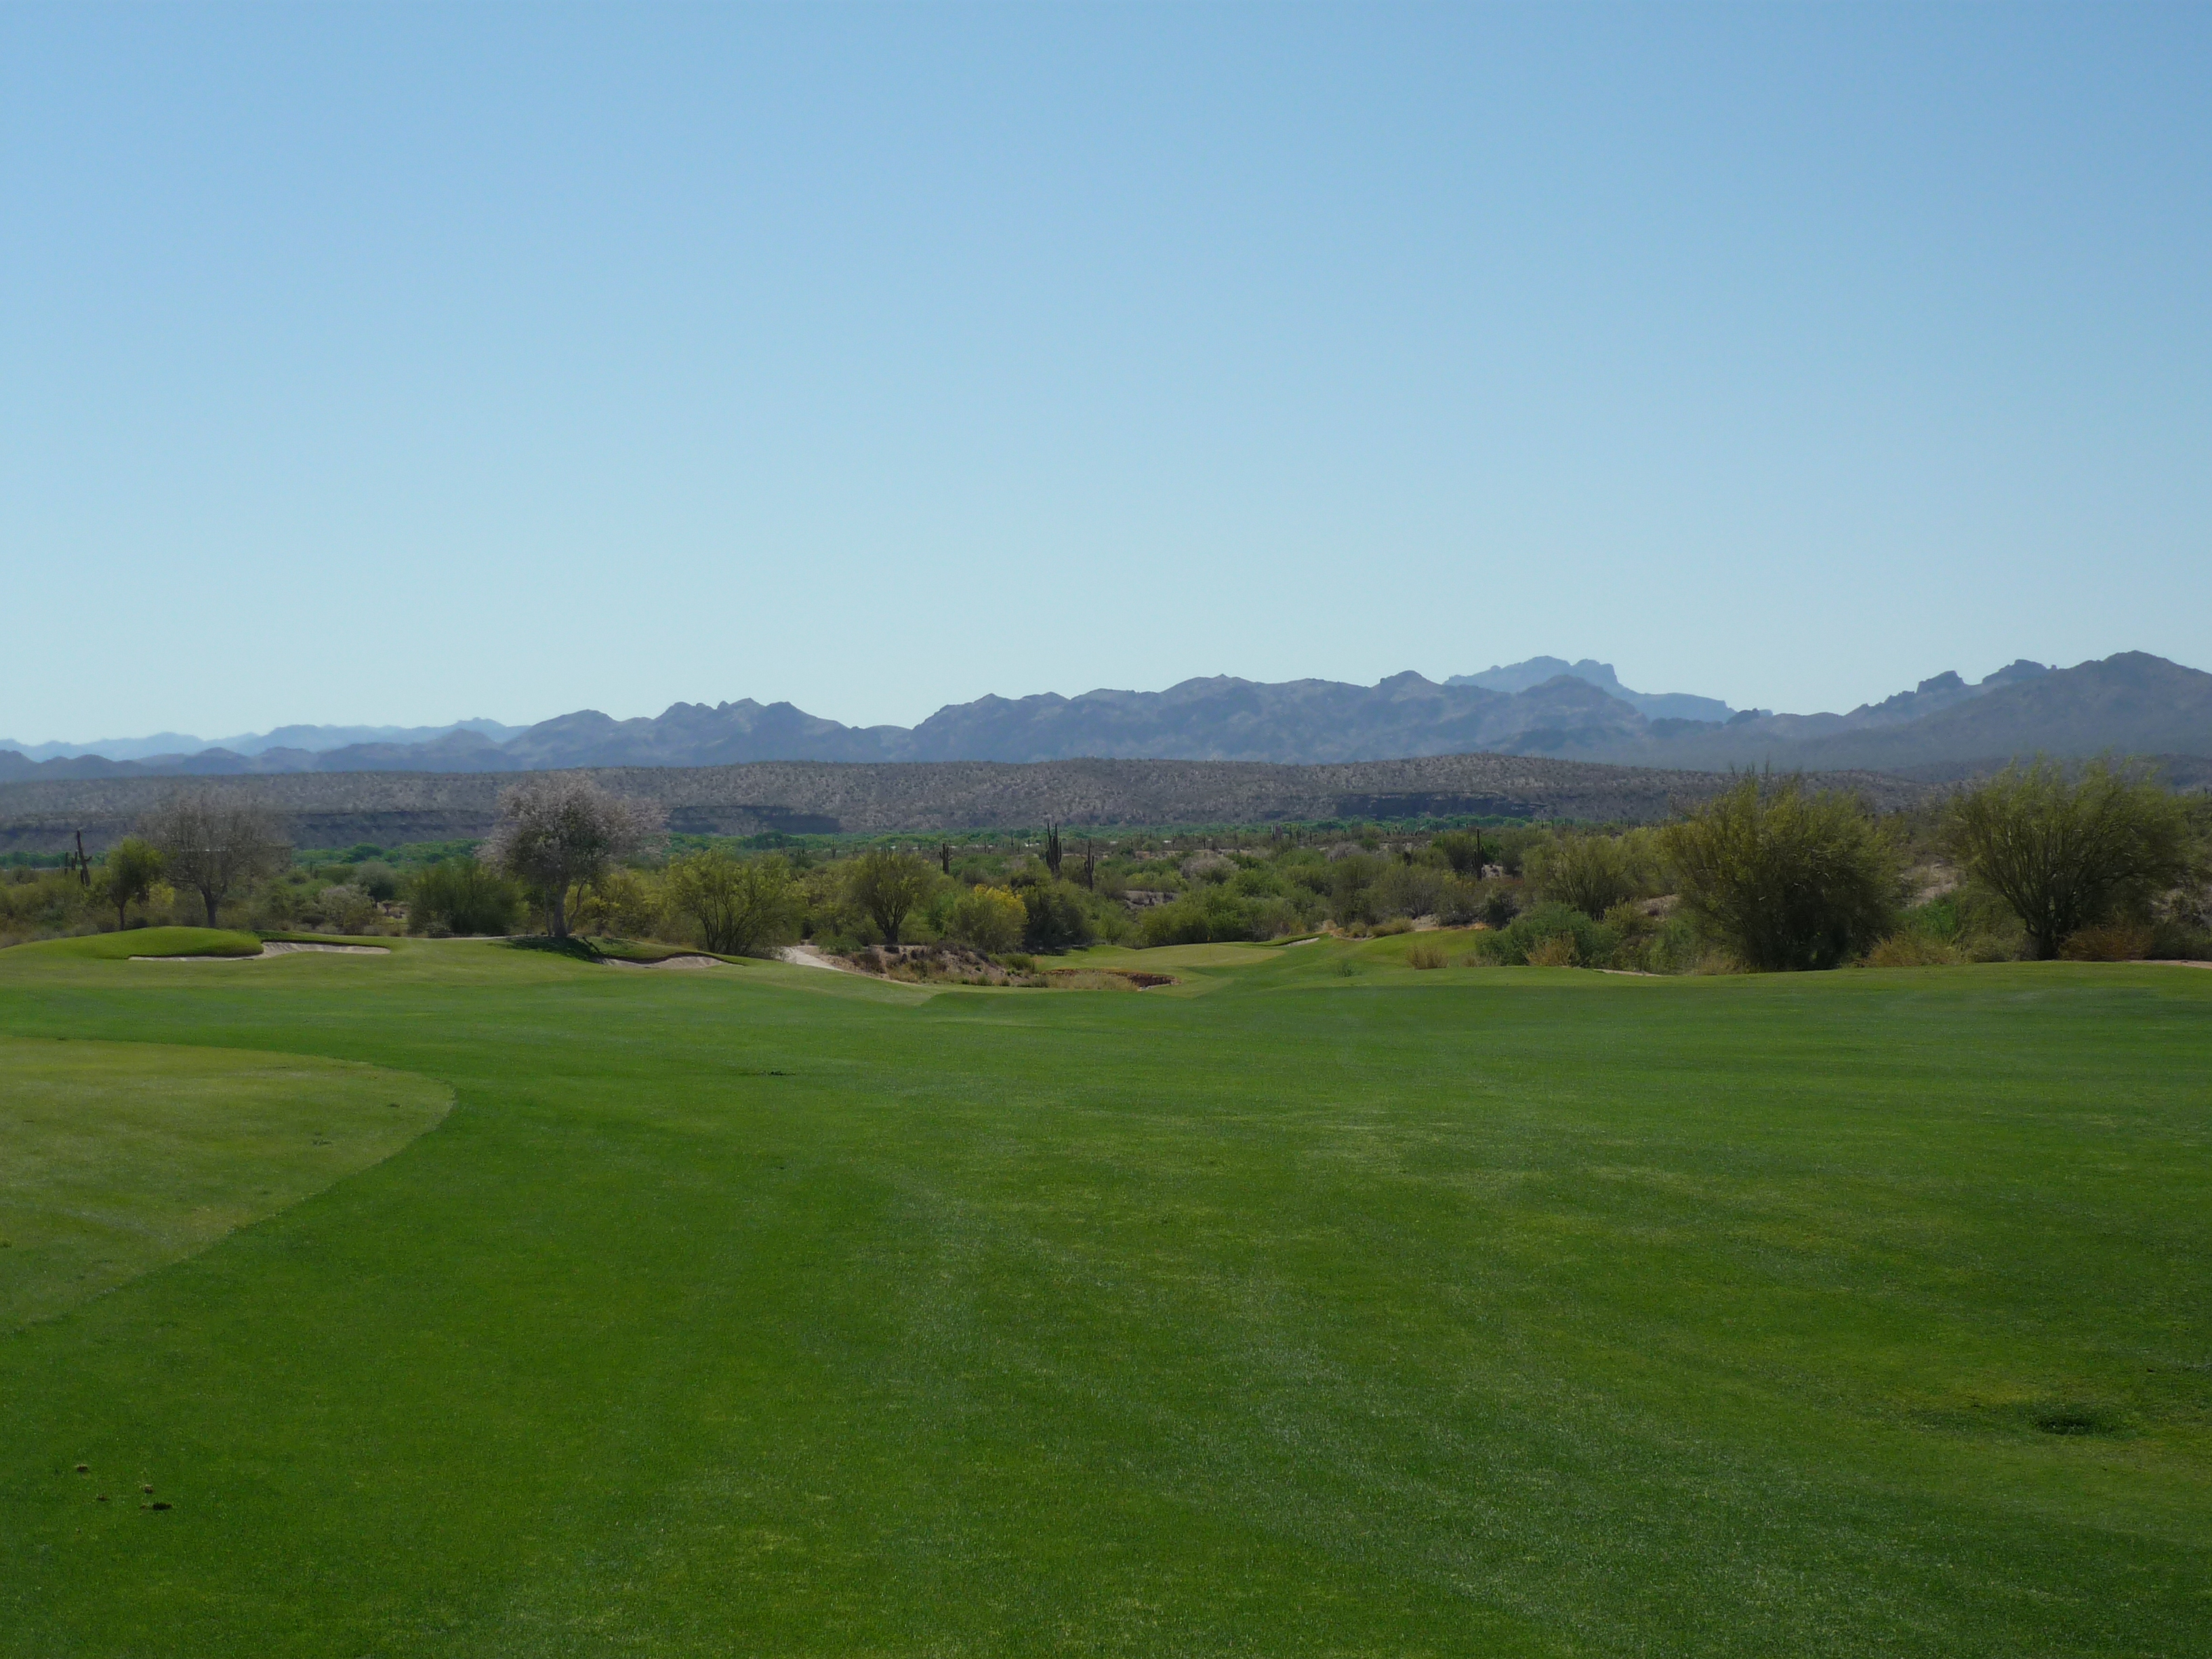
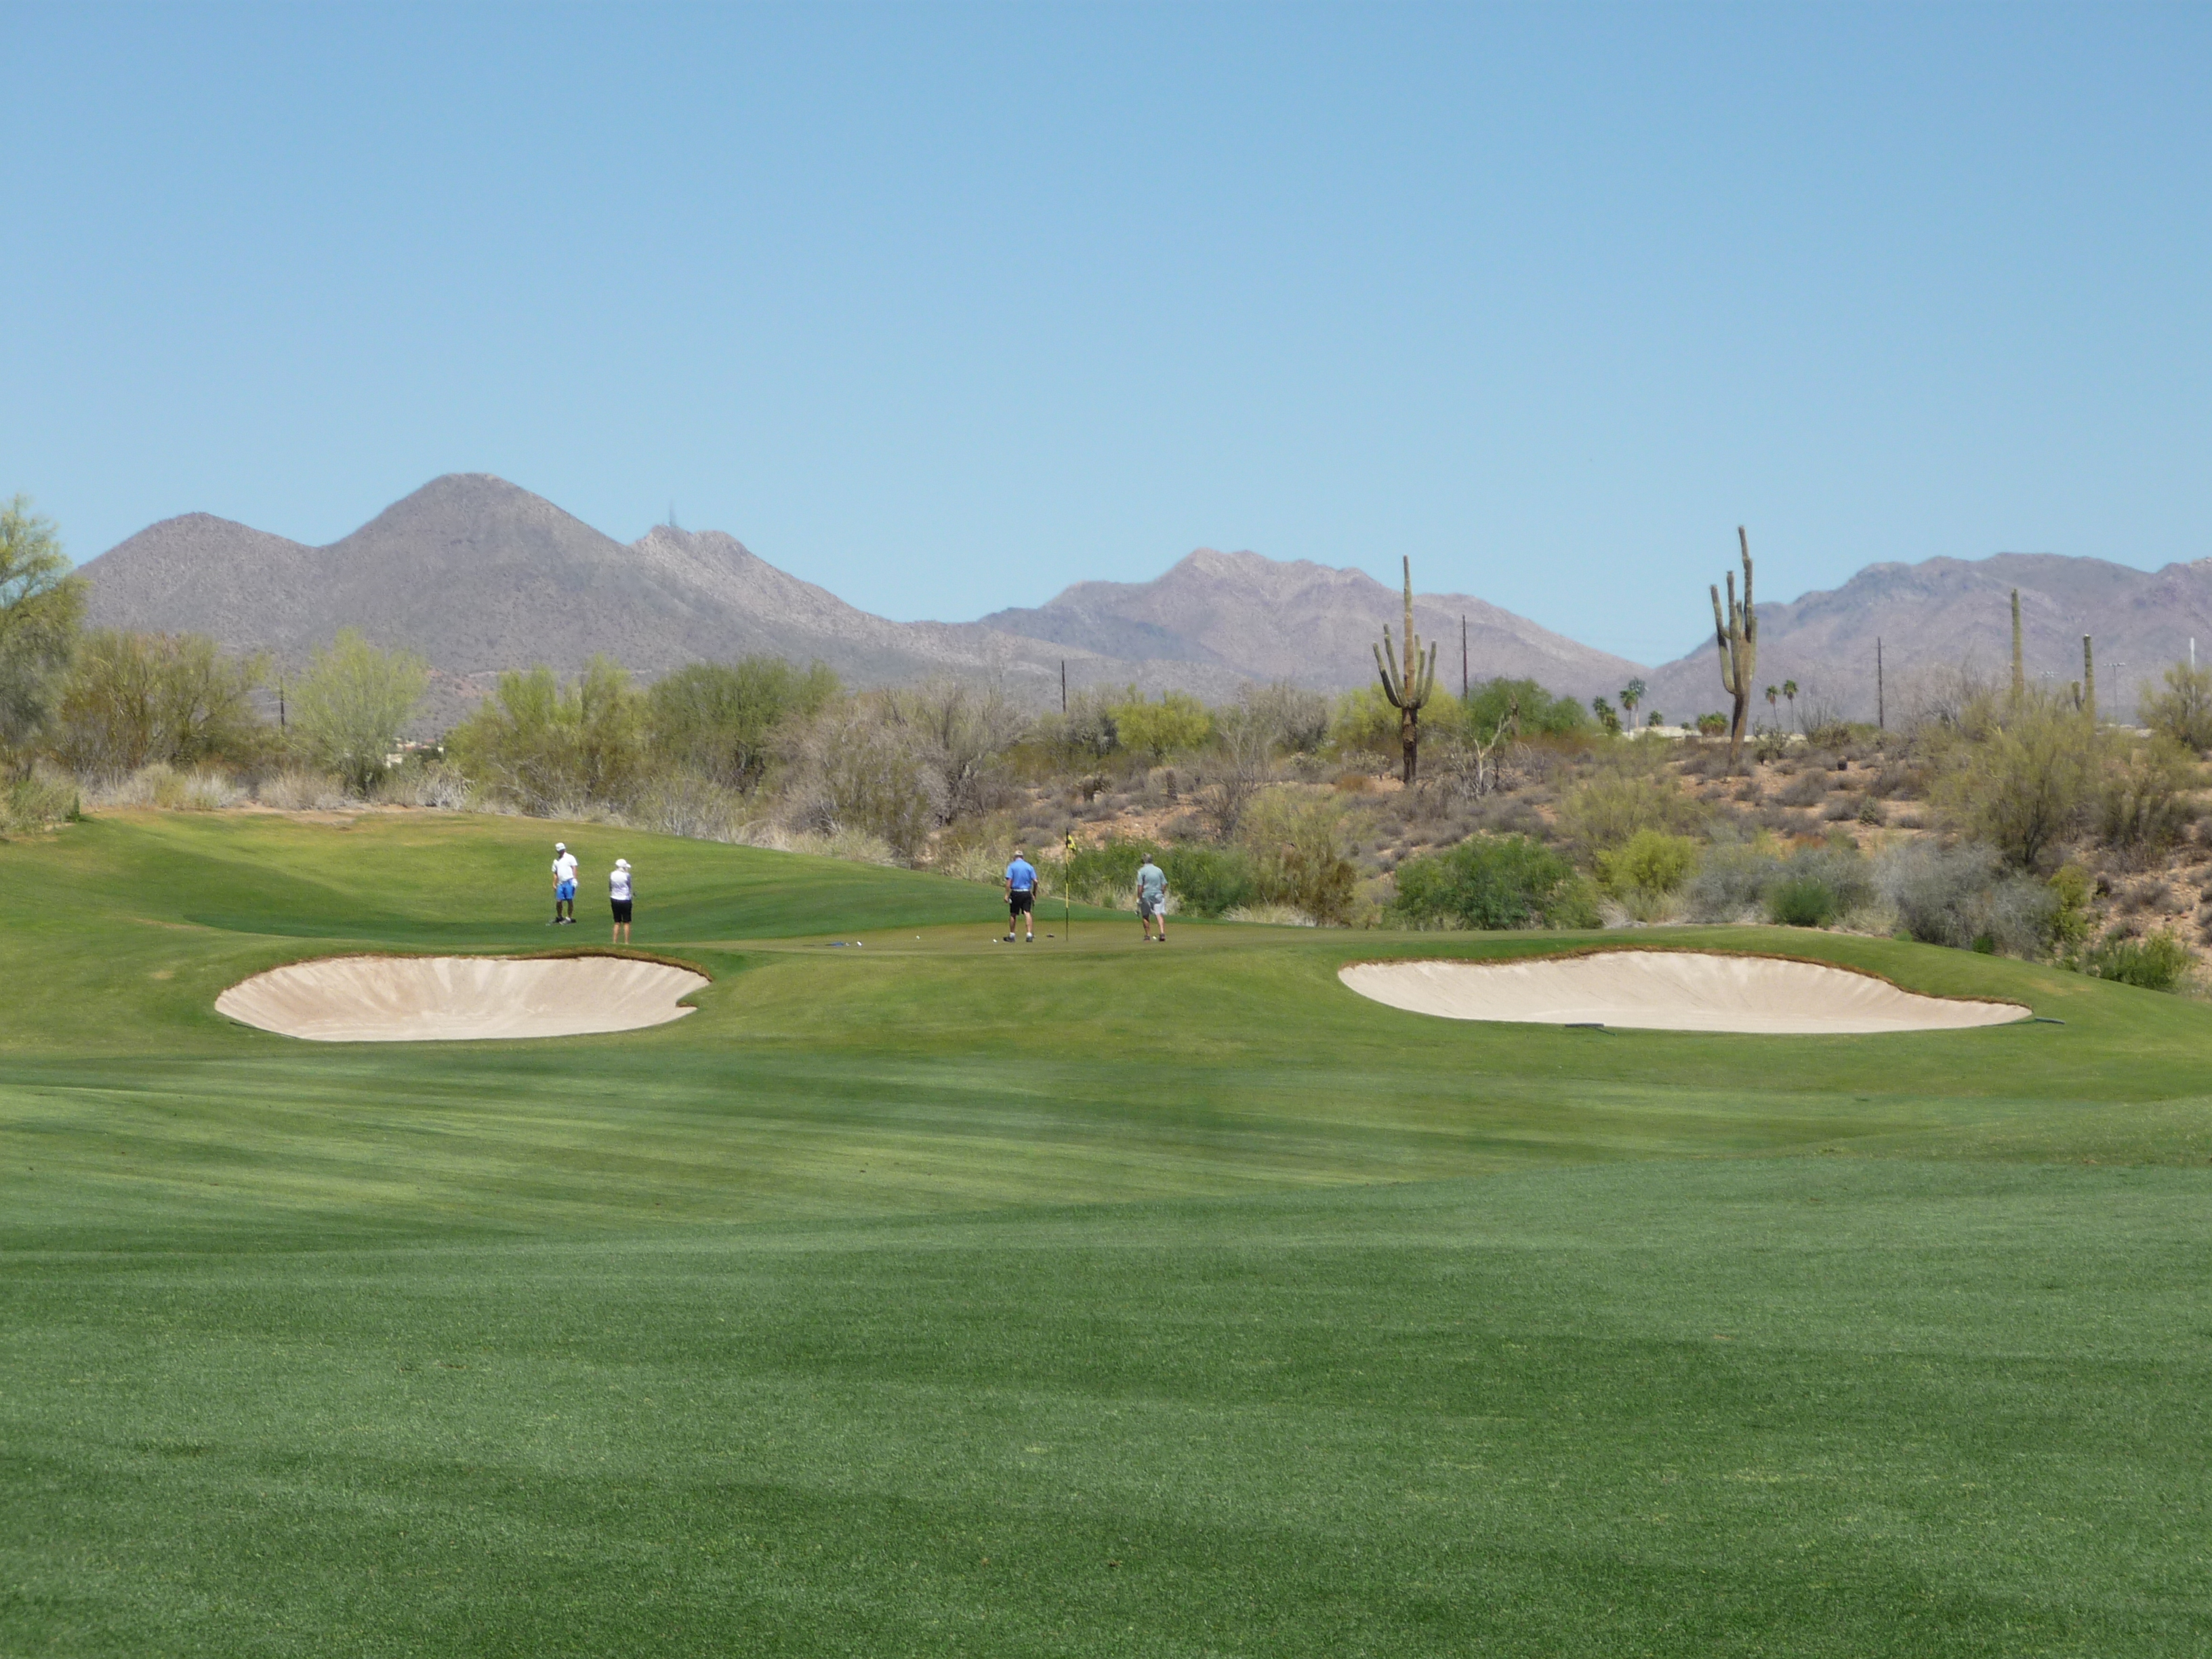
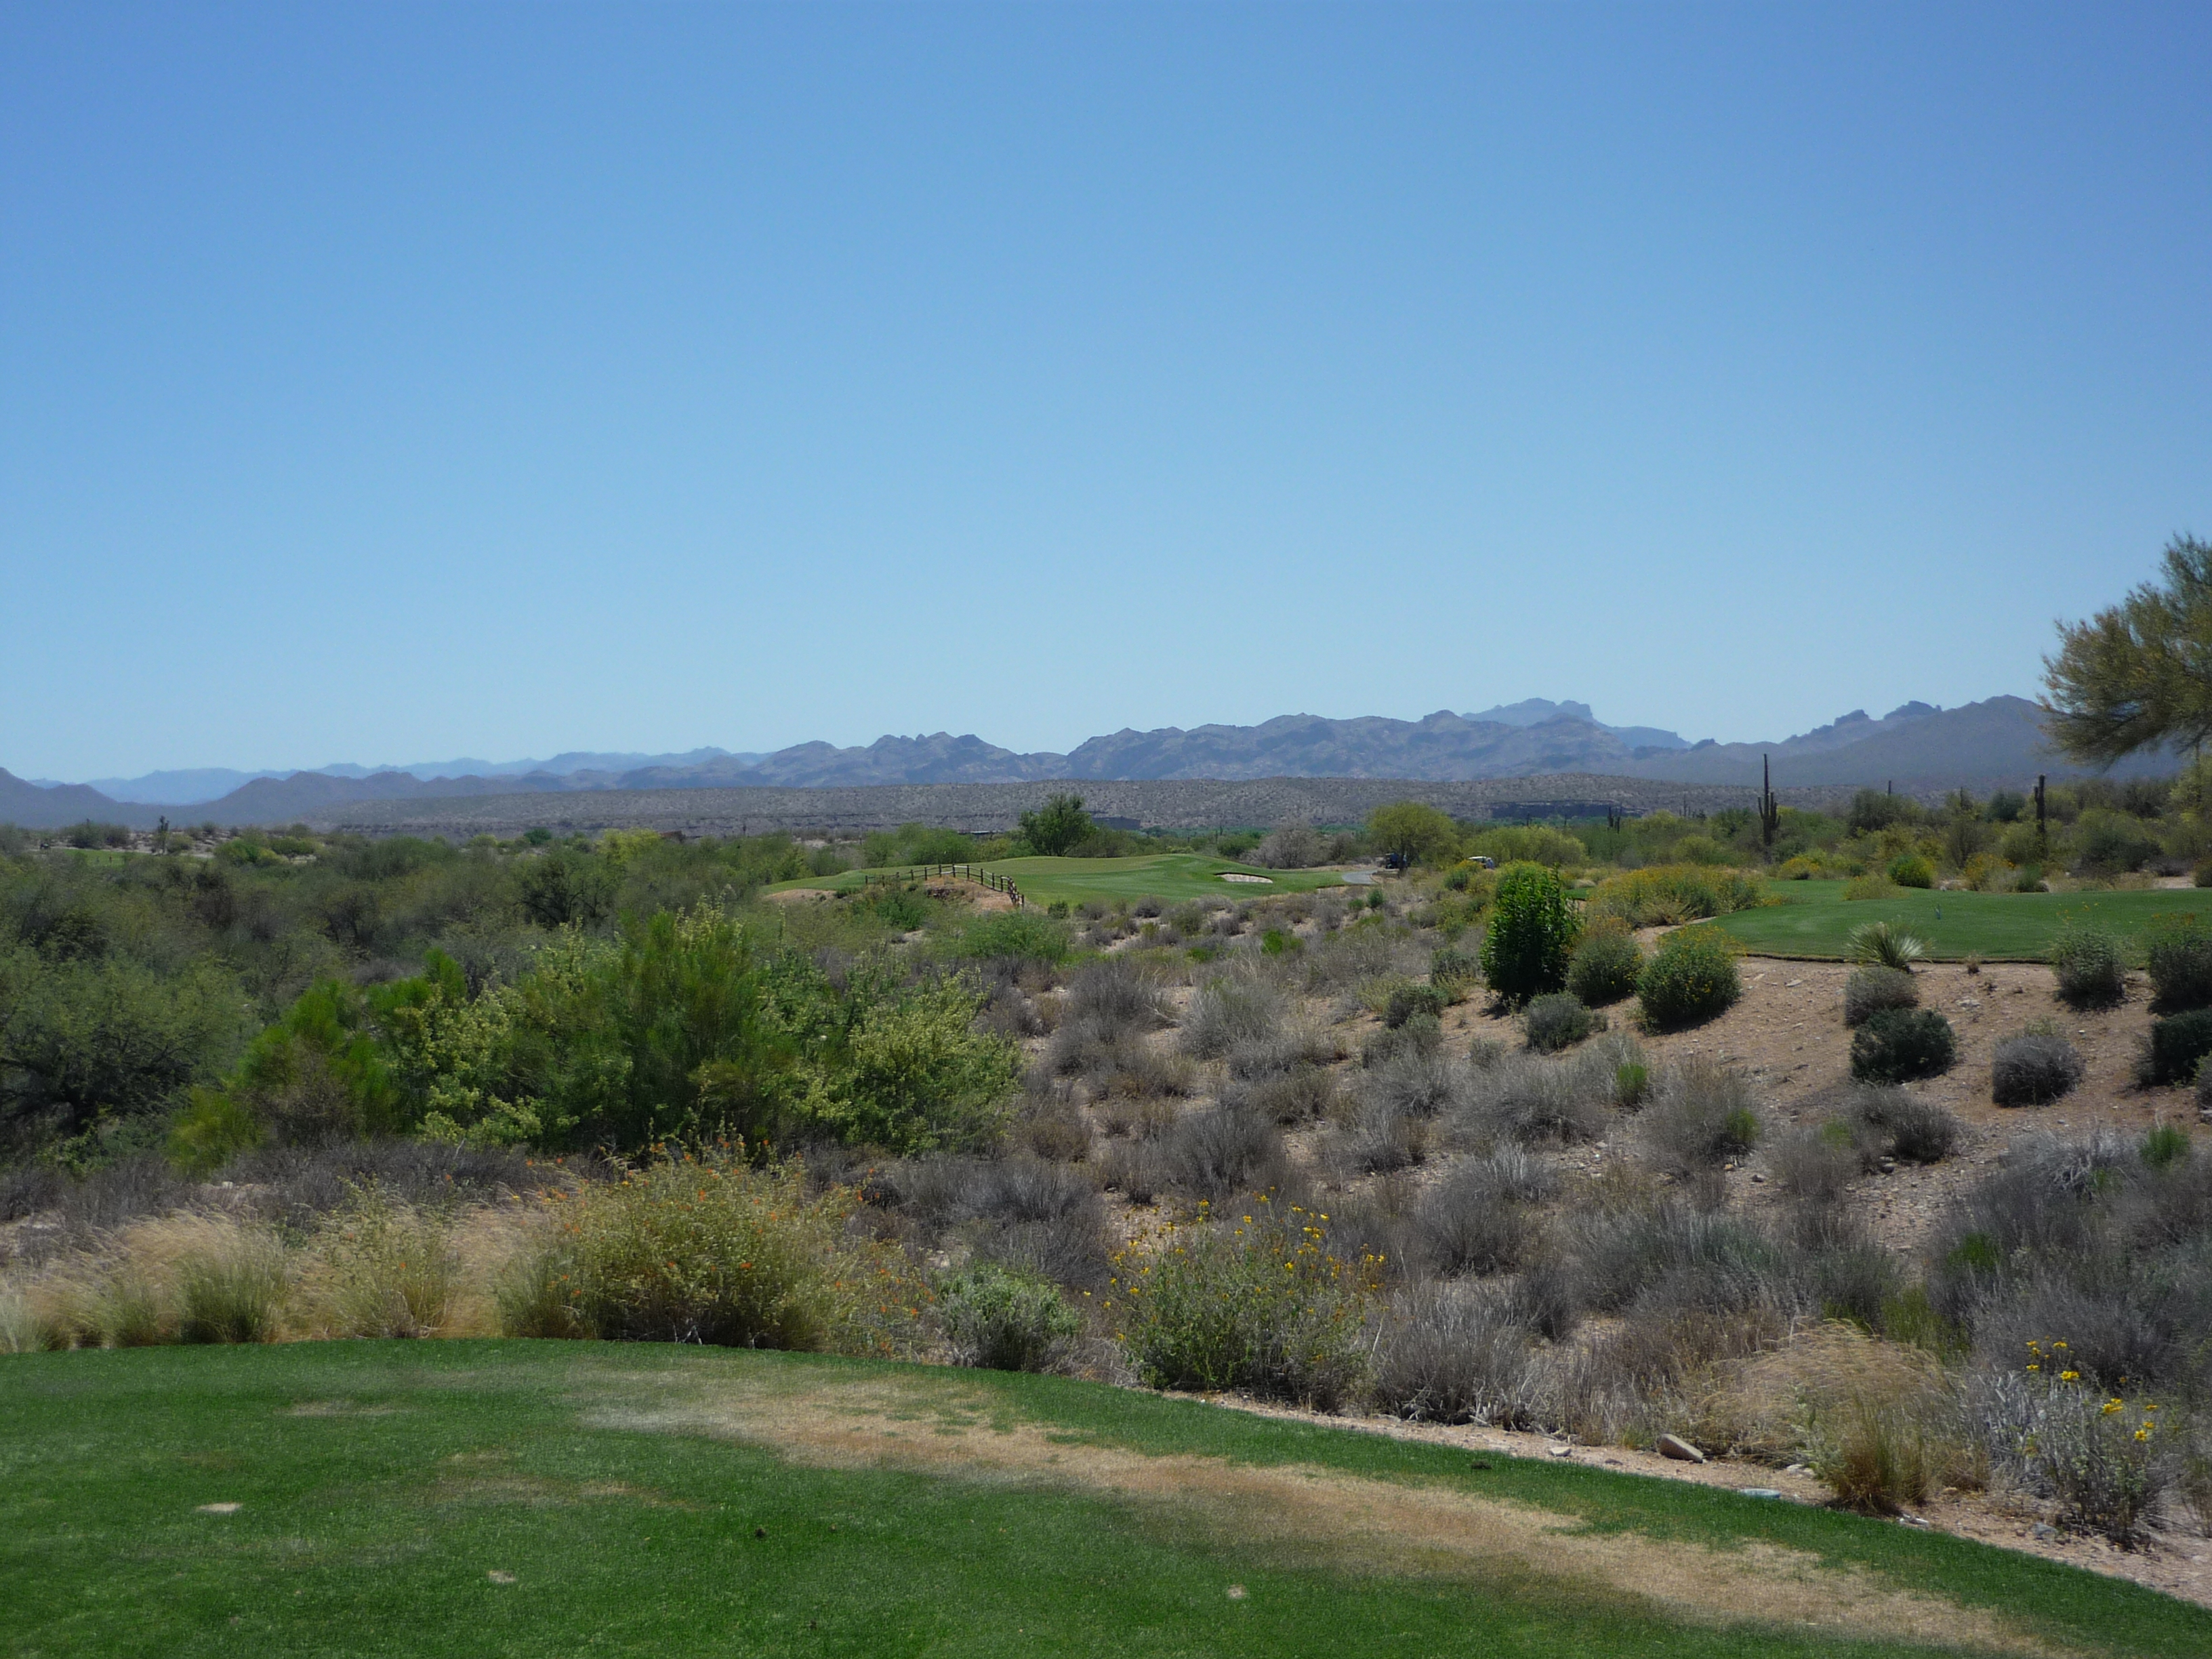
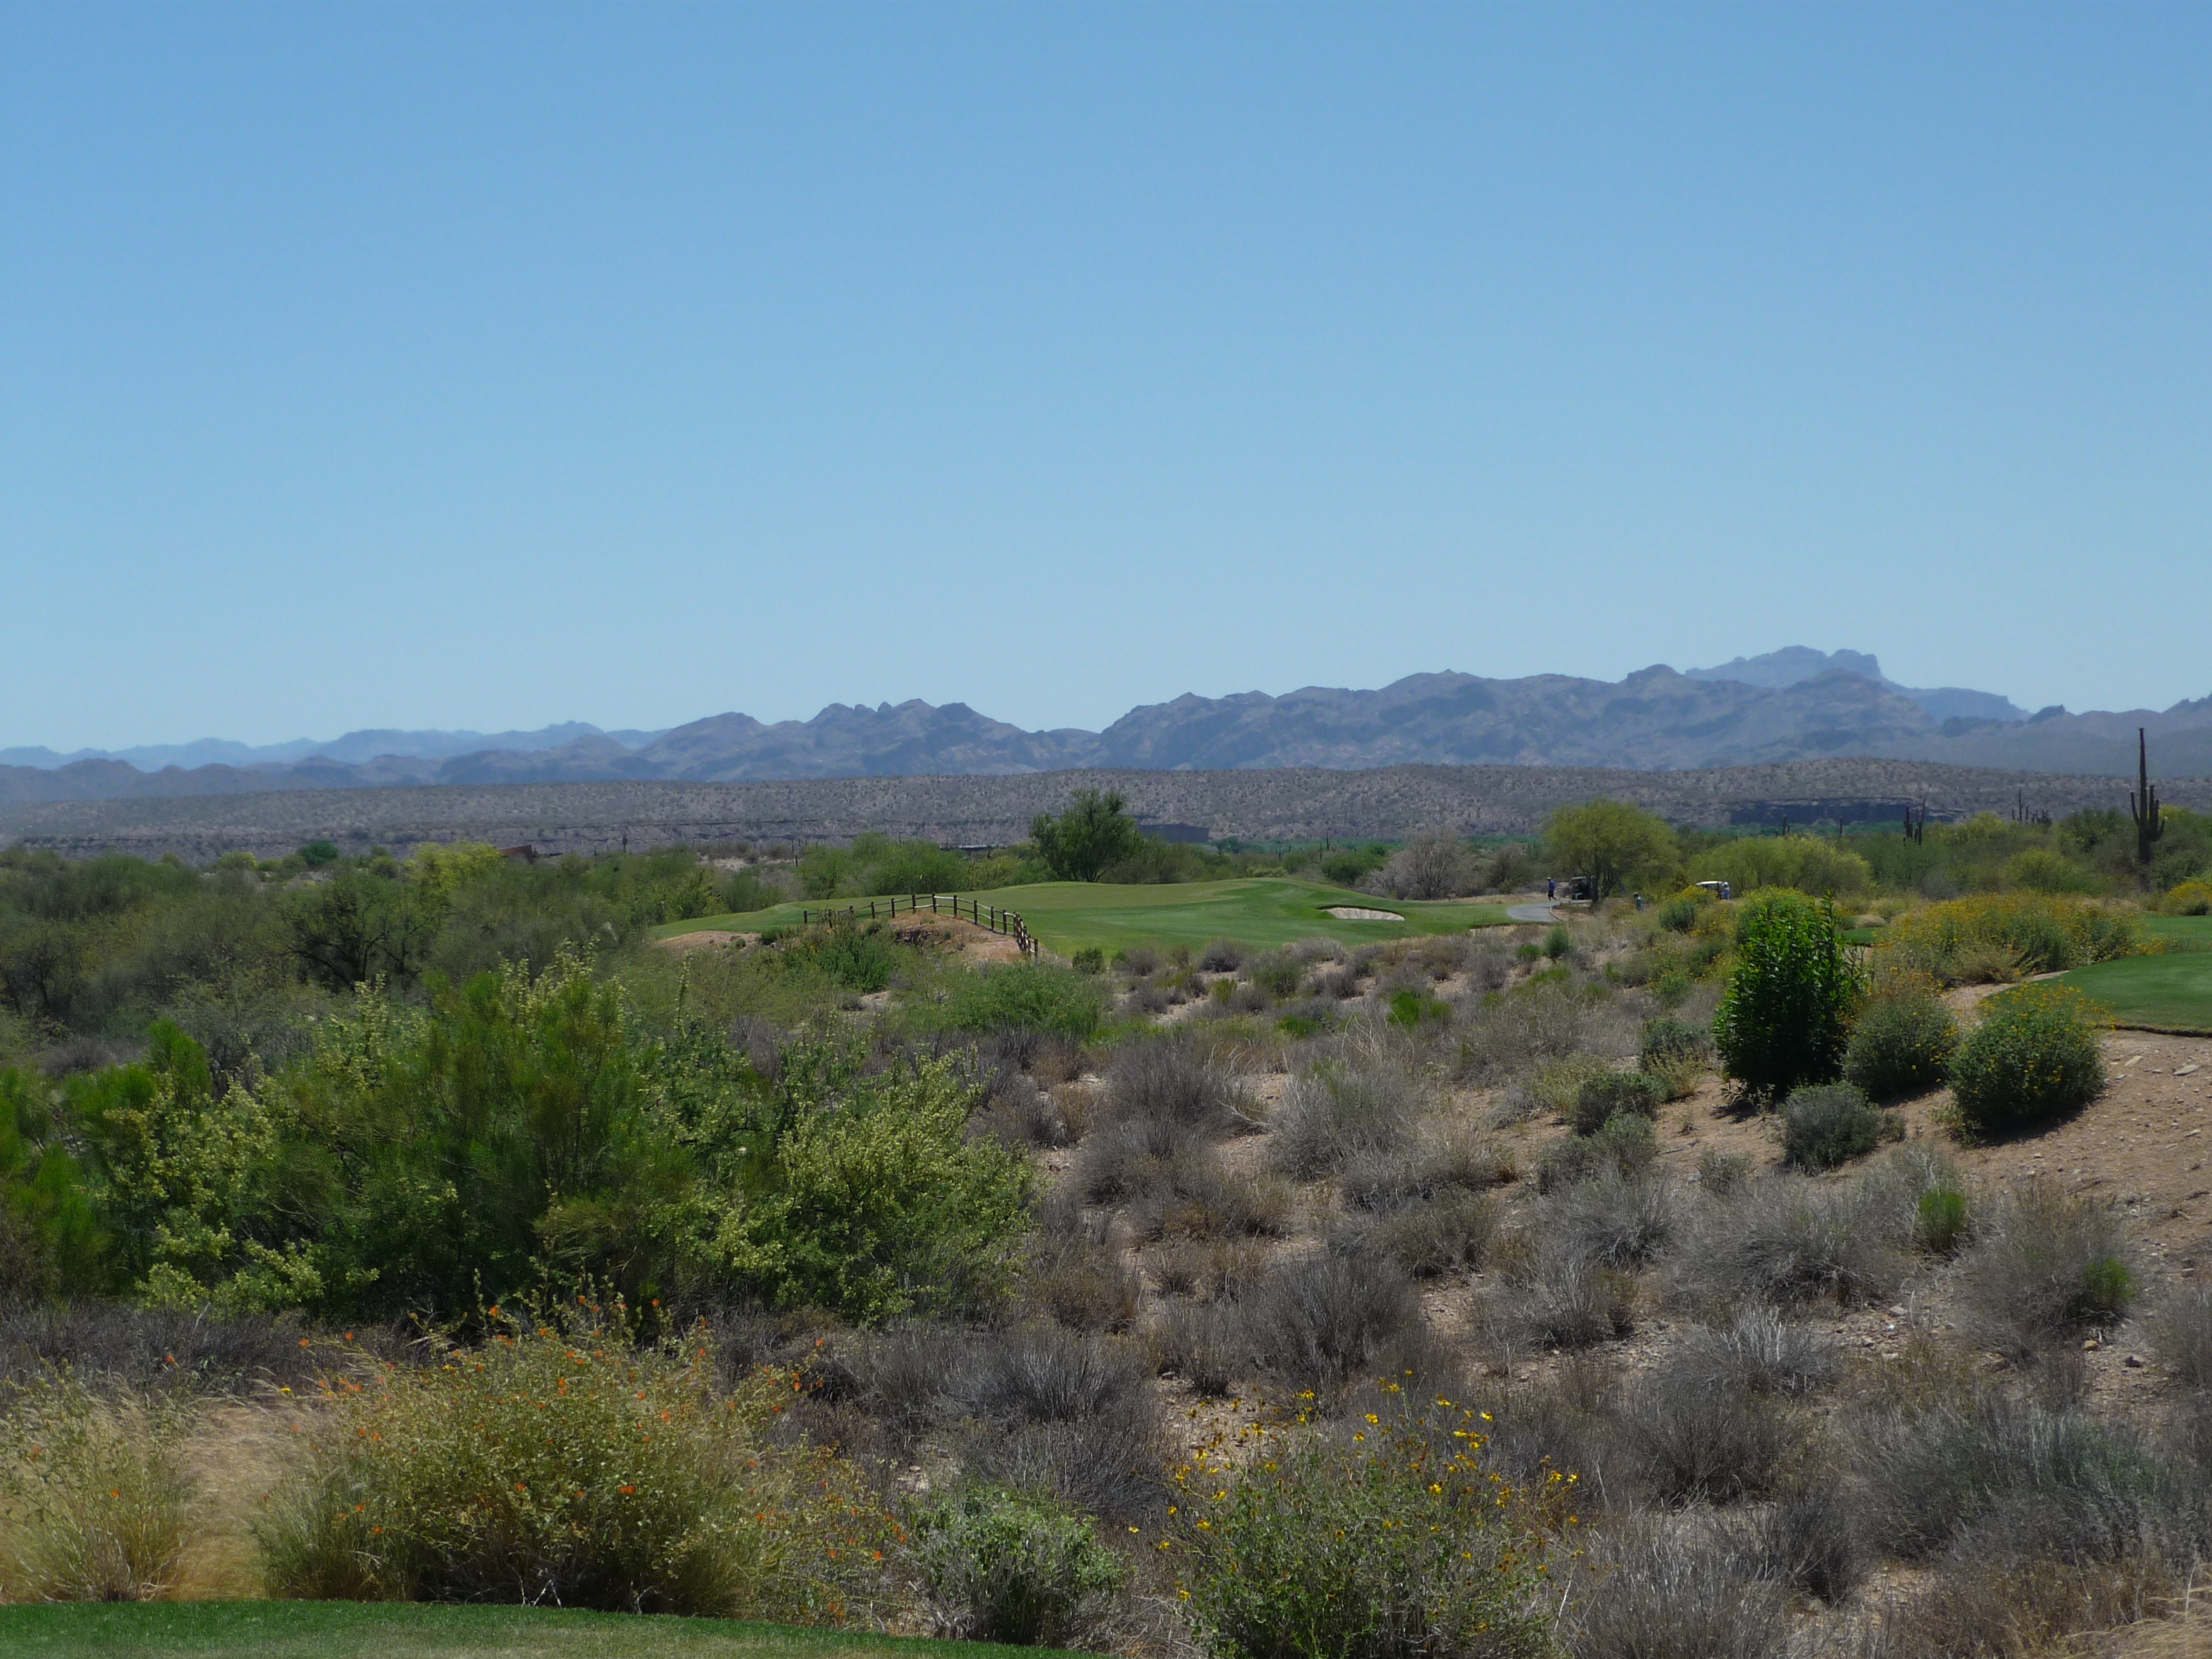
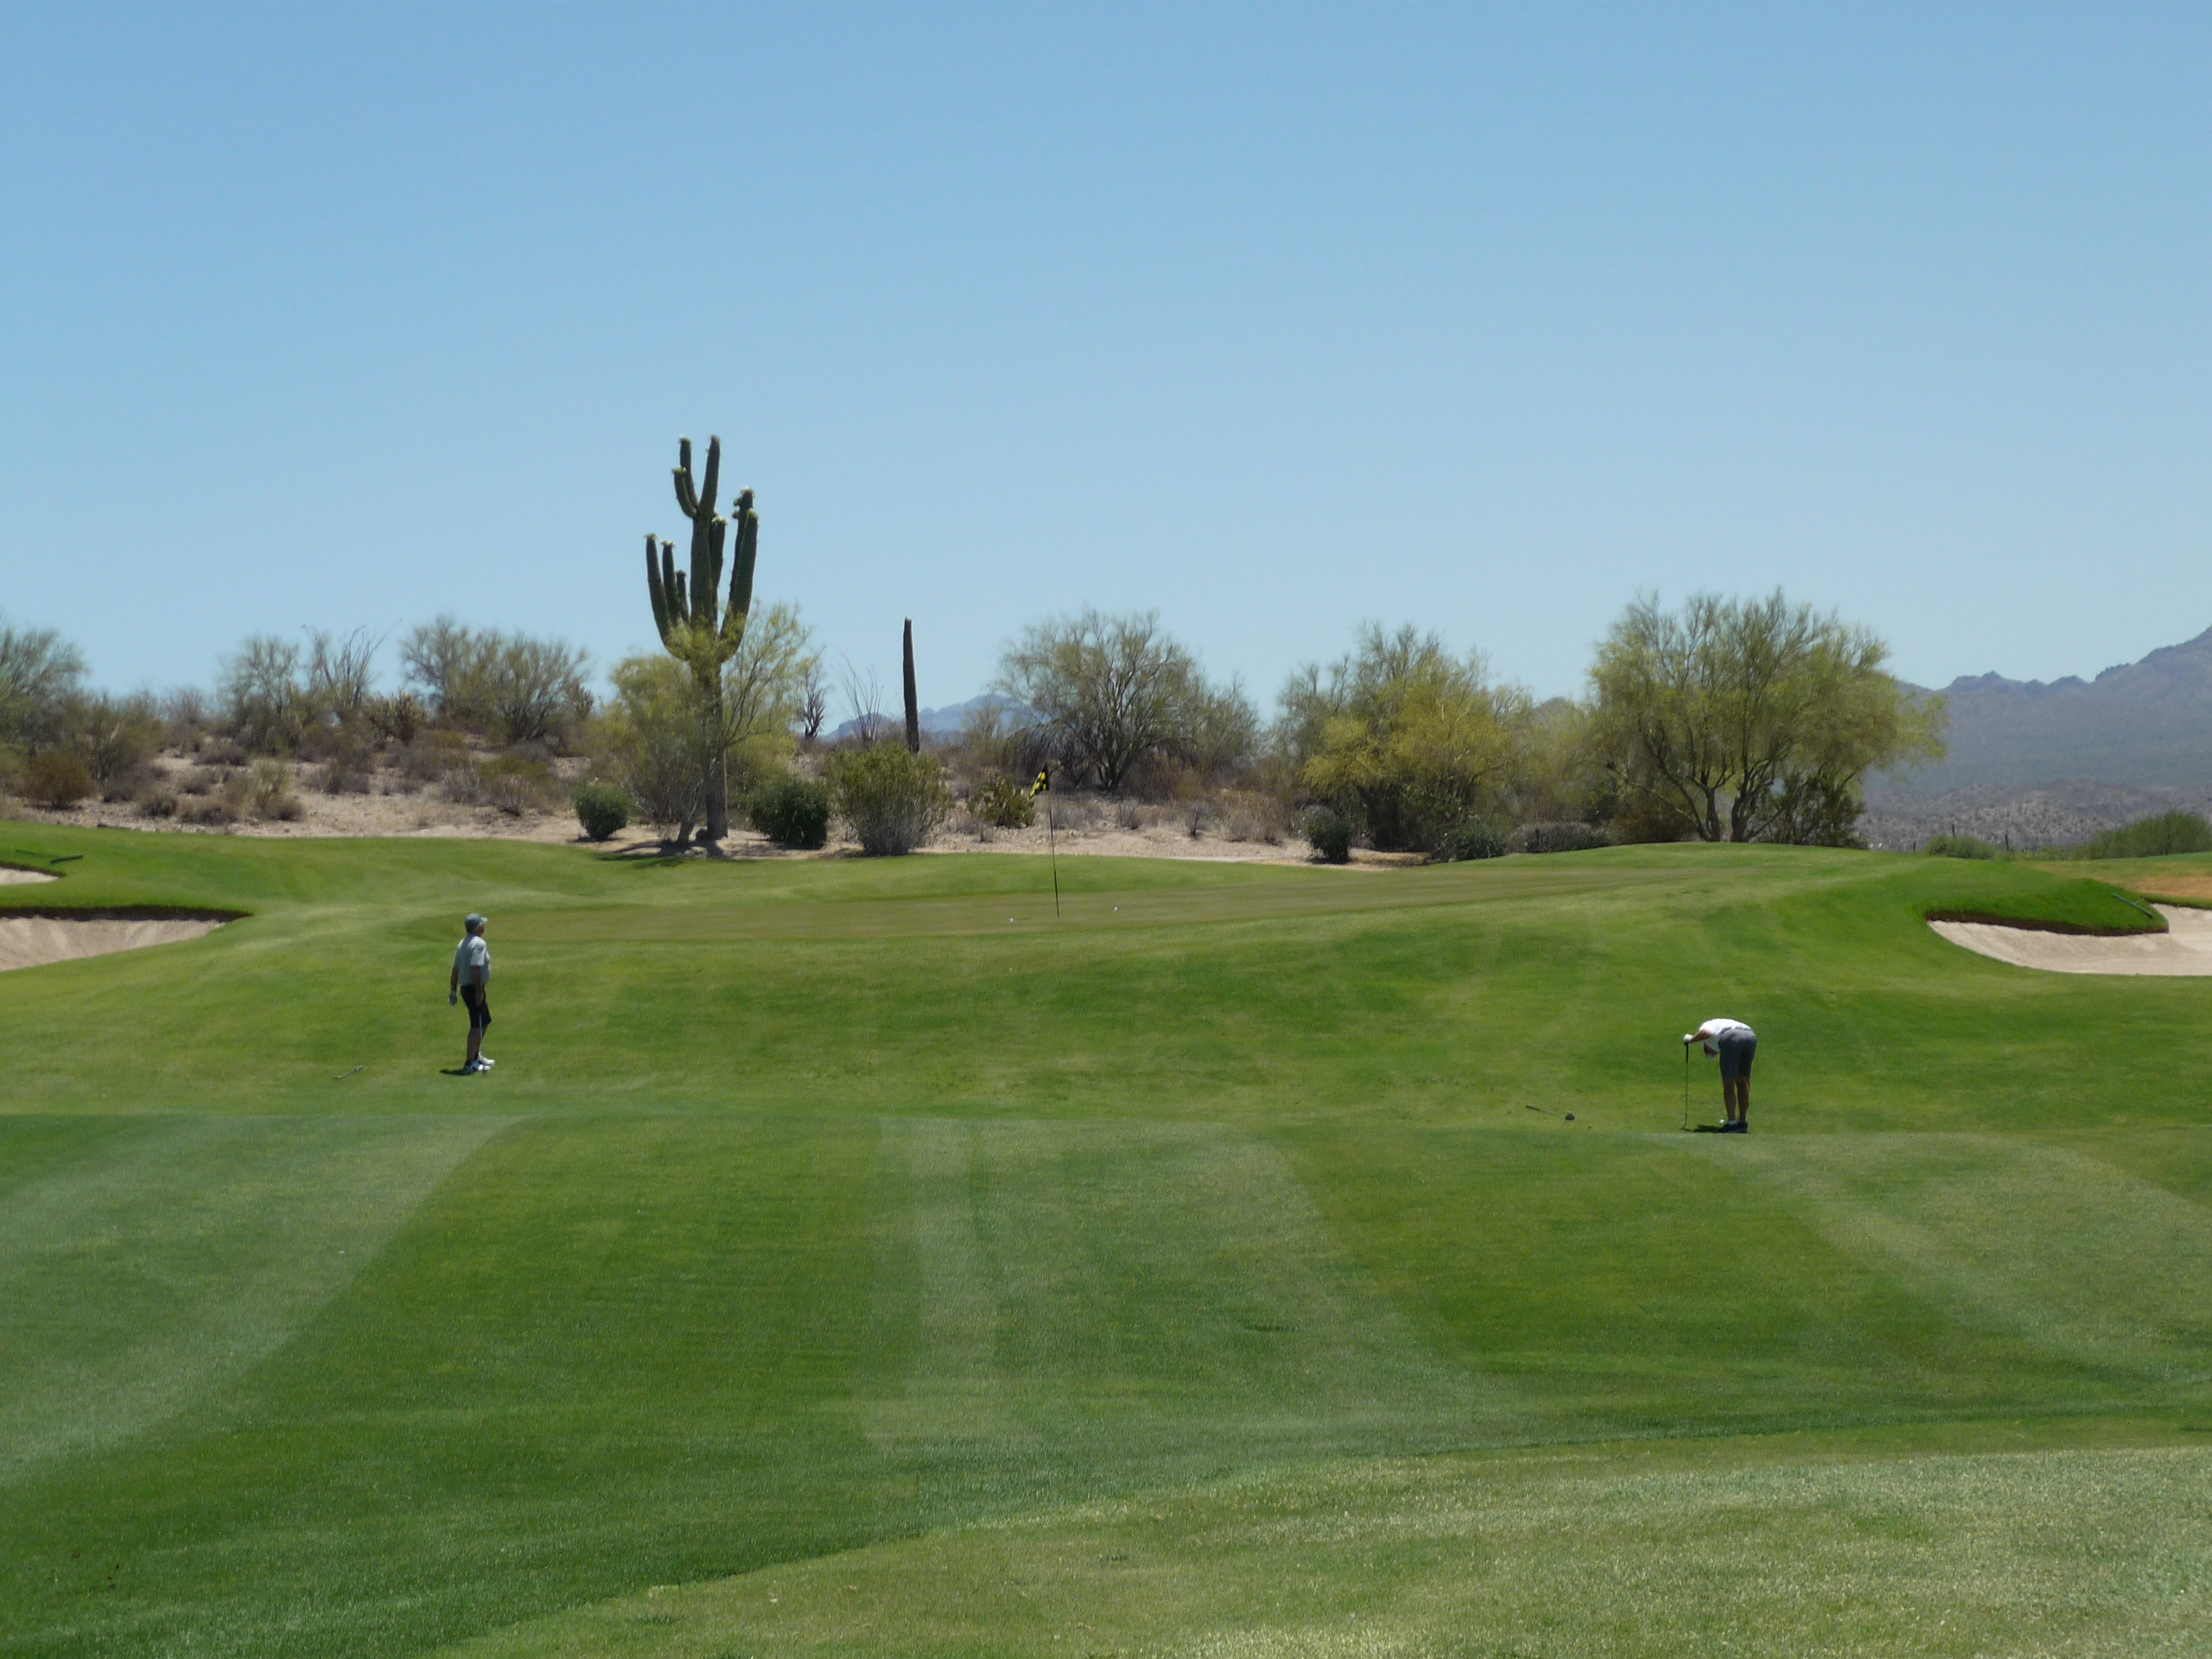
We-Ko-Pa Golf Club is home to two Top 100 tracks, the Cholla and Saguaro. They are situated on the Yavapai Nation so the surrounding land will never be developed. Due to this setting, you have great views of the mountains all around the course.
The course website details the history of the lands and the struggle with the US government over them. I highly recommend reading it to learn more about We-Ko-Pa.
Along with golf, there is a casino on site. So if golf doesn’t go your way you can try your hand at the tables.
My second day in Arizona saw me tackling the 36 holes of We-Ko-Pa. I woke up early and headed over to the club for my first go around with the Cholla course. I was lucky to get paired with a couple of buddies who were out enjoying the course. One of them was local, the other from Michigan. They were longtime friends and all-around great guys. We had a great time during the round.
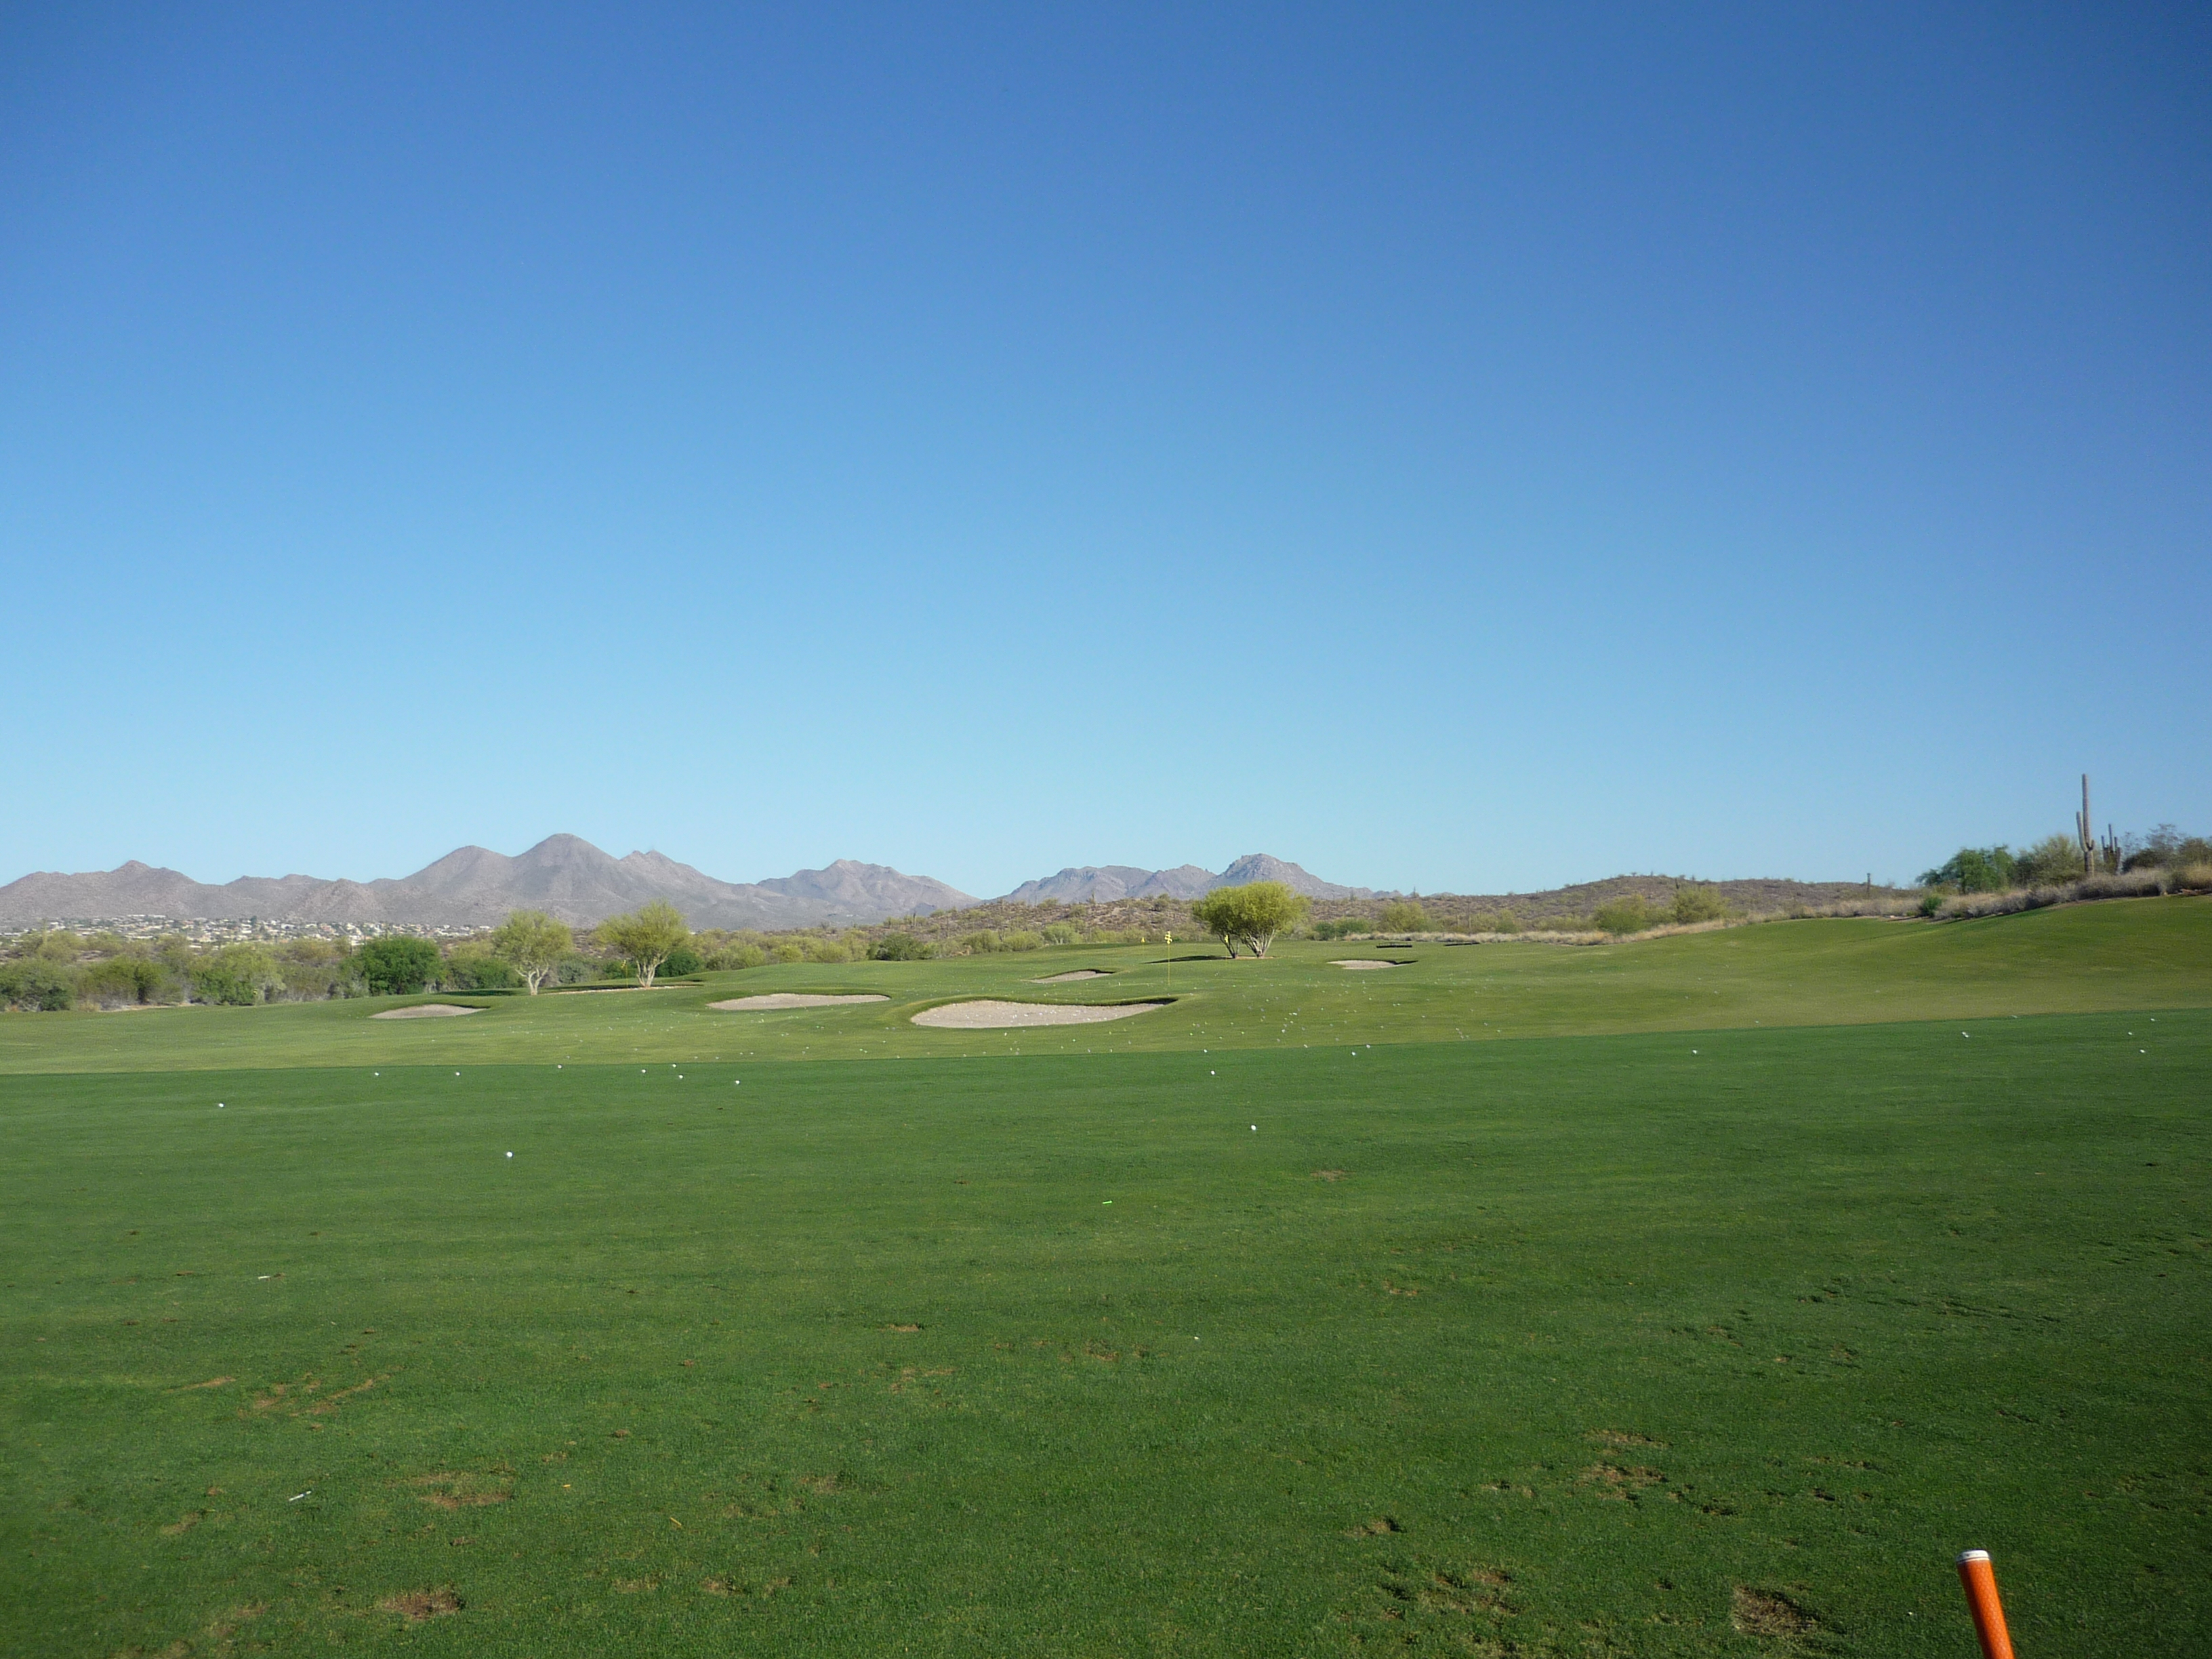
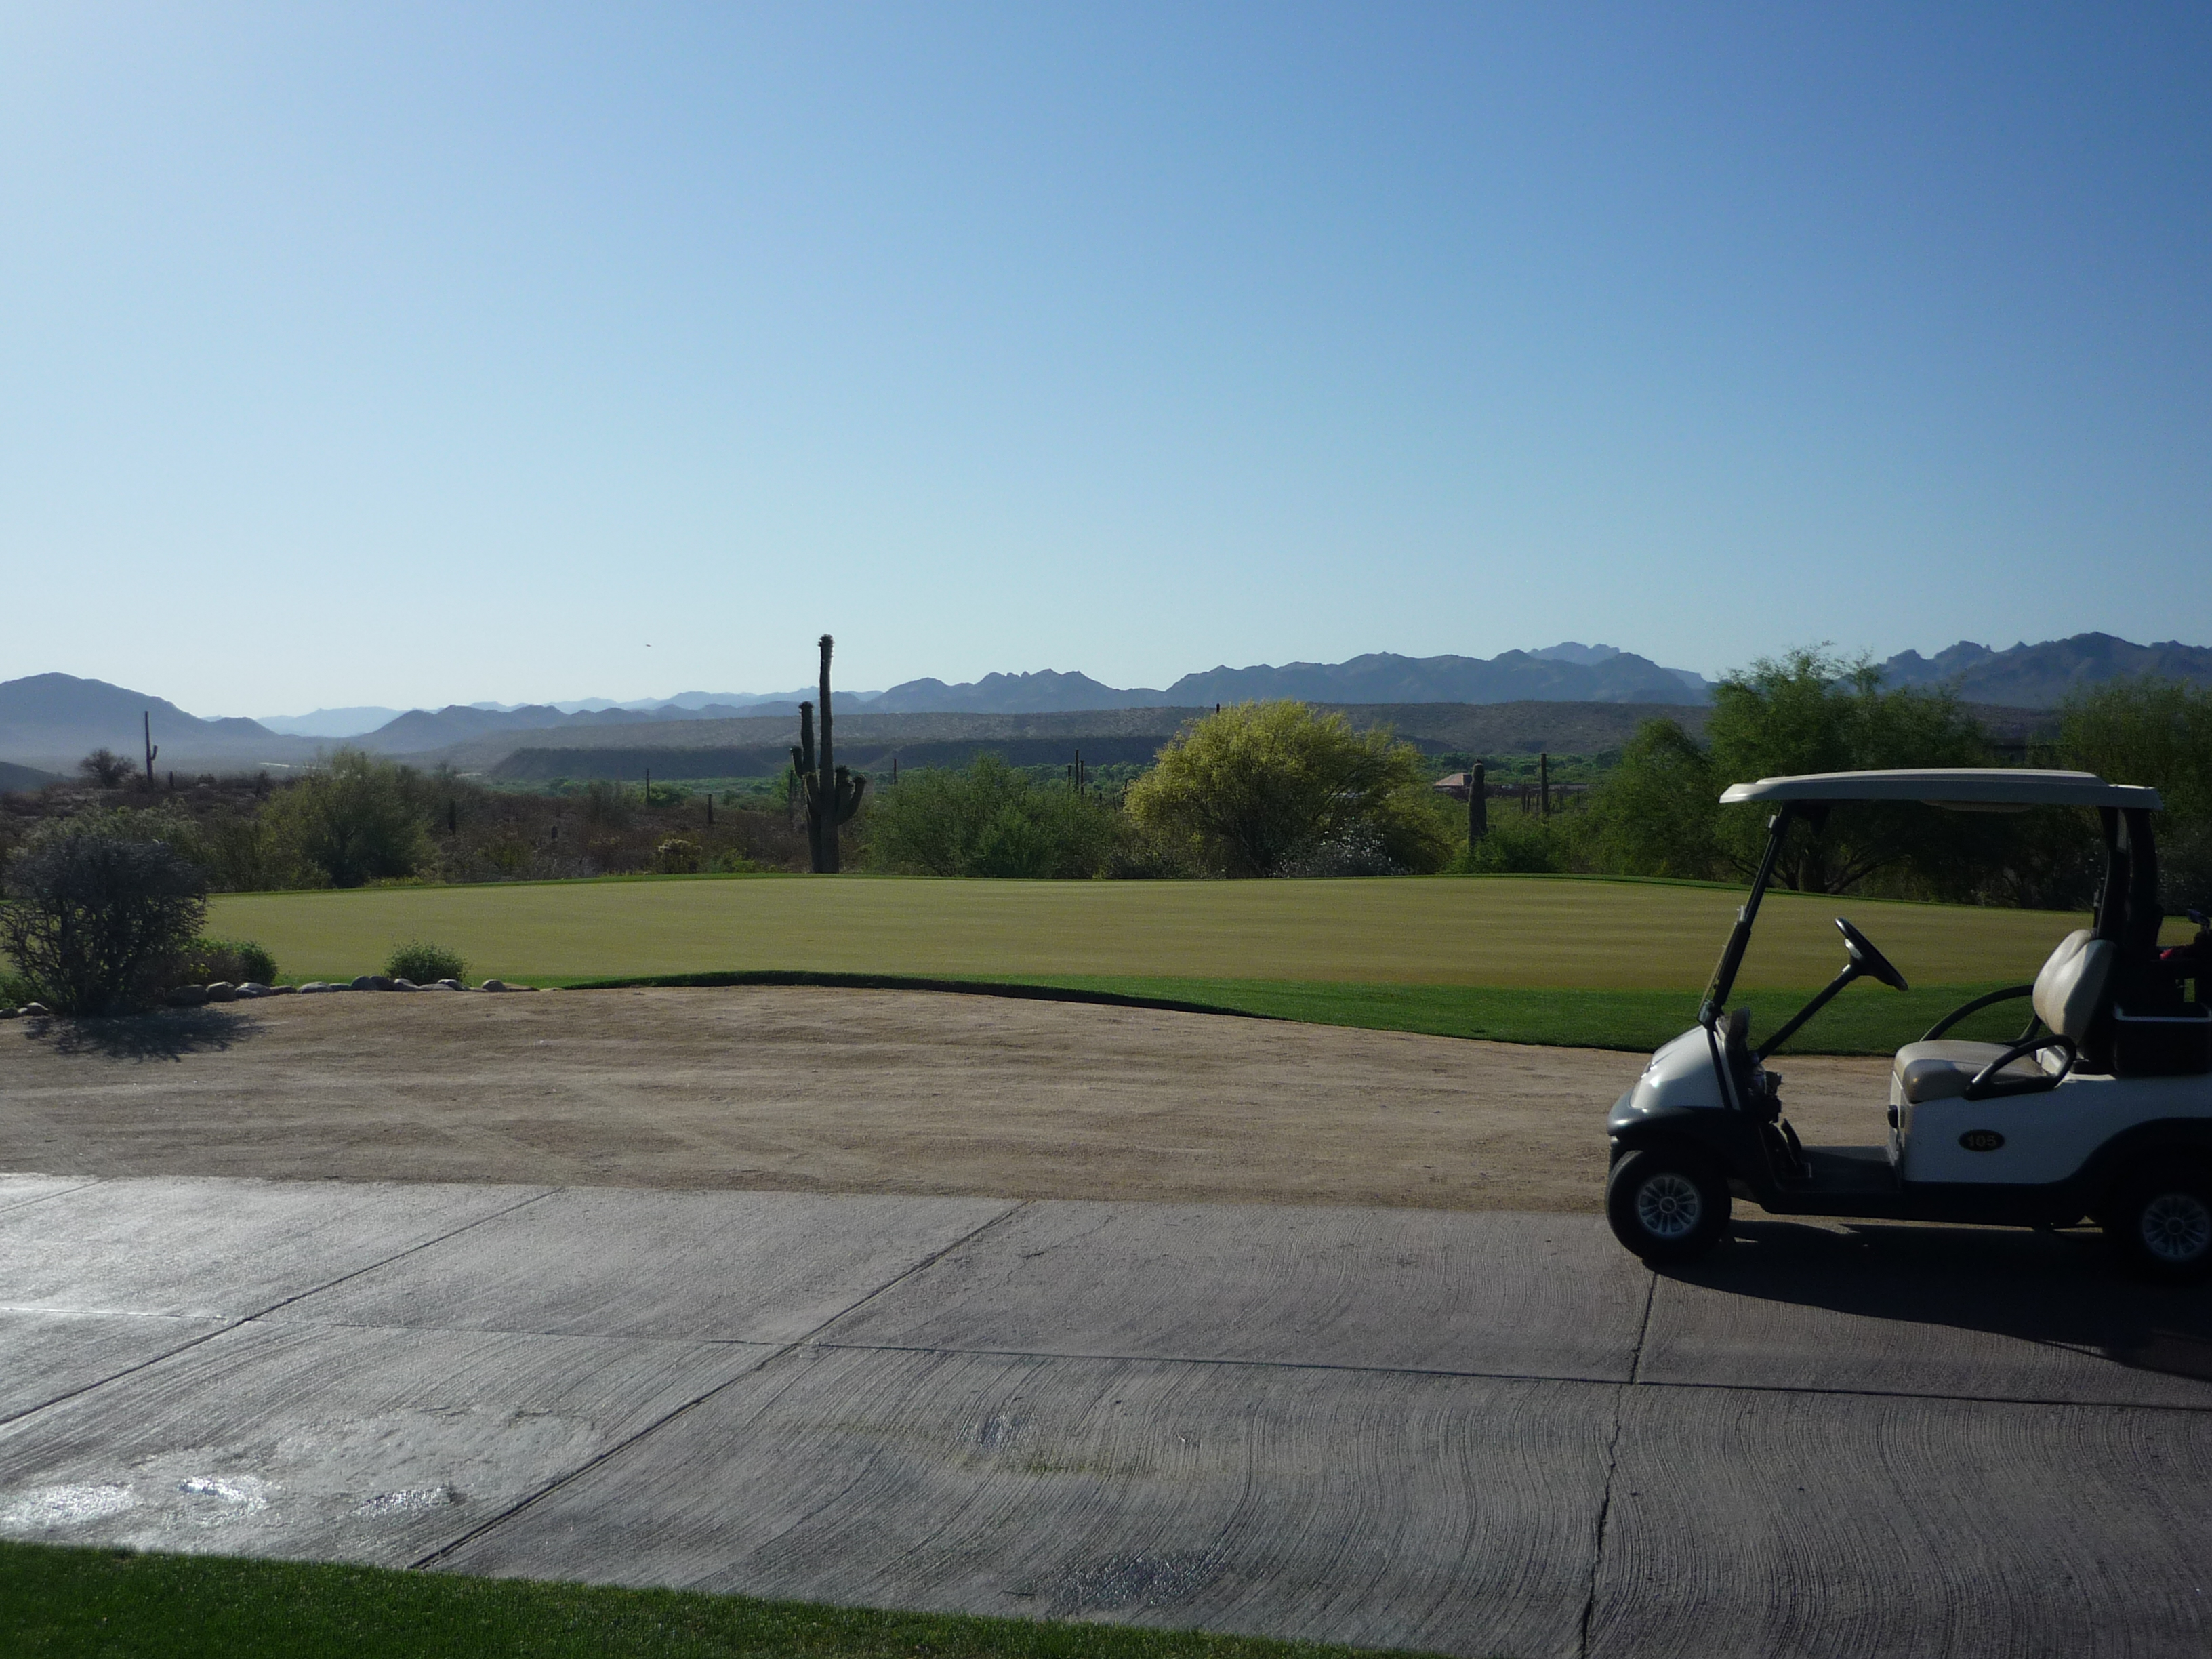
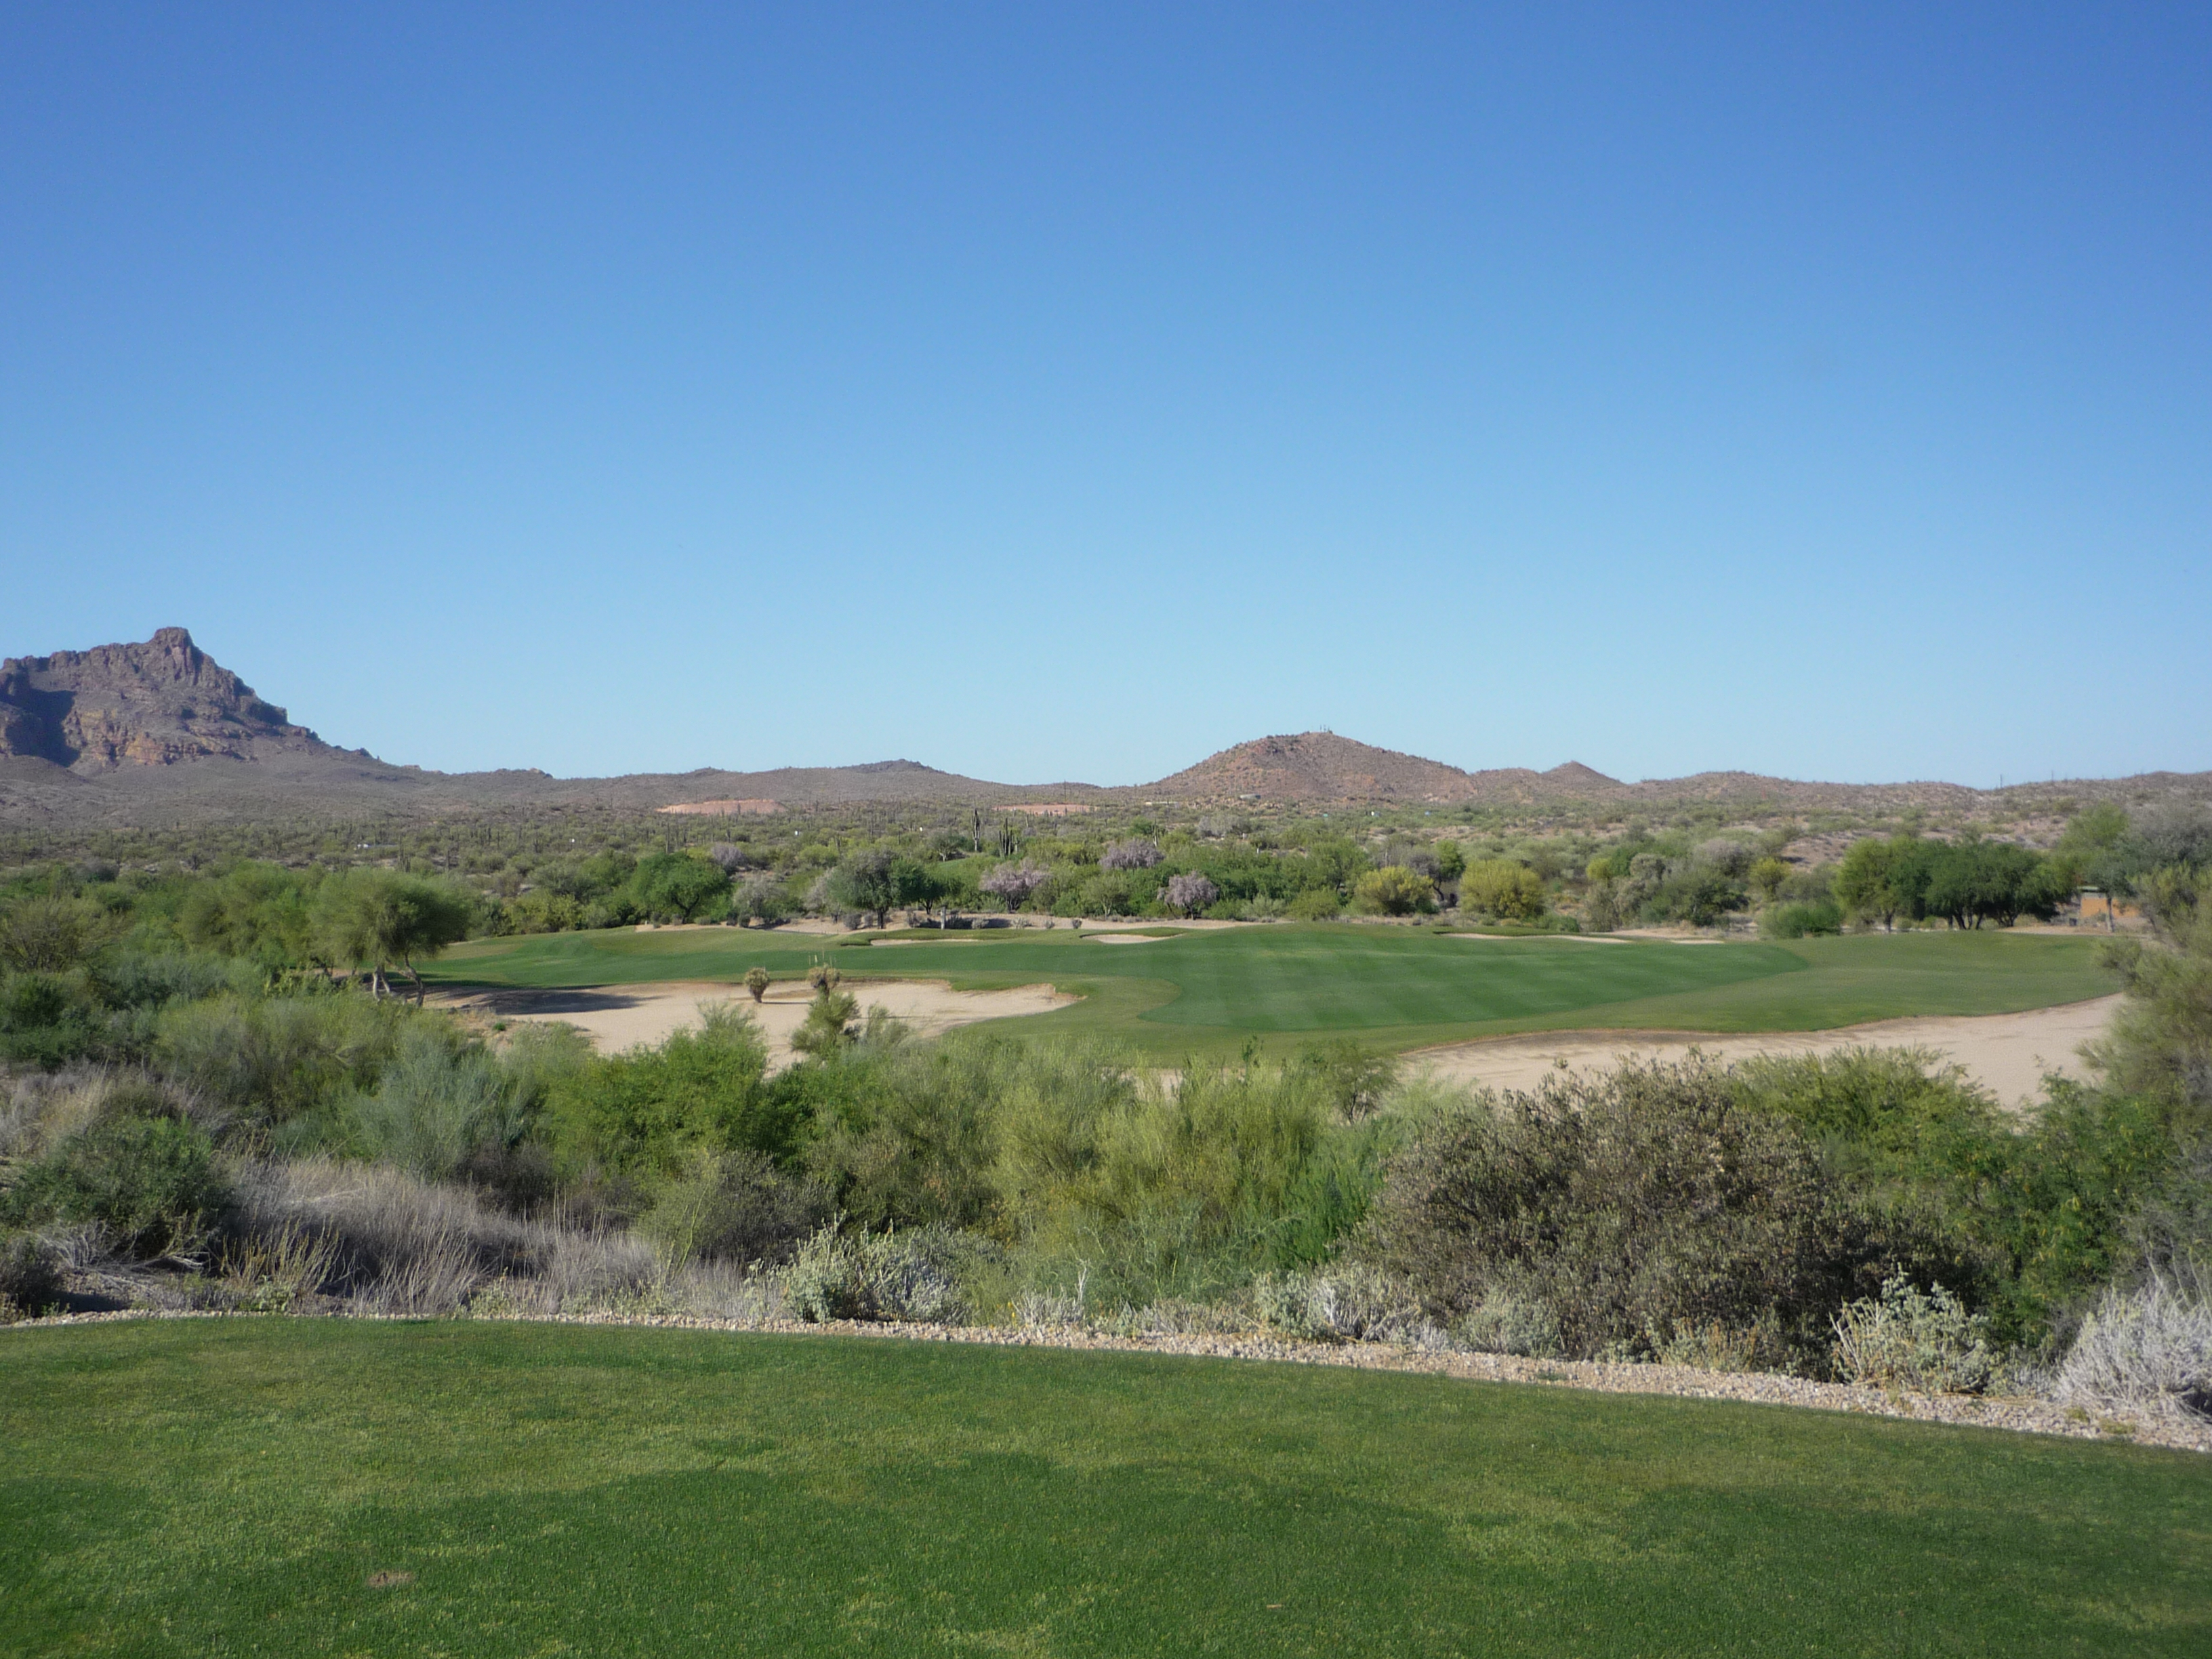
Above and below are pictures of the practice facilities. These photos give you an idea of the surrounding scenery.
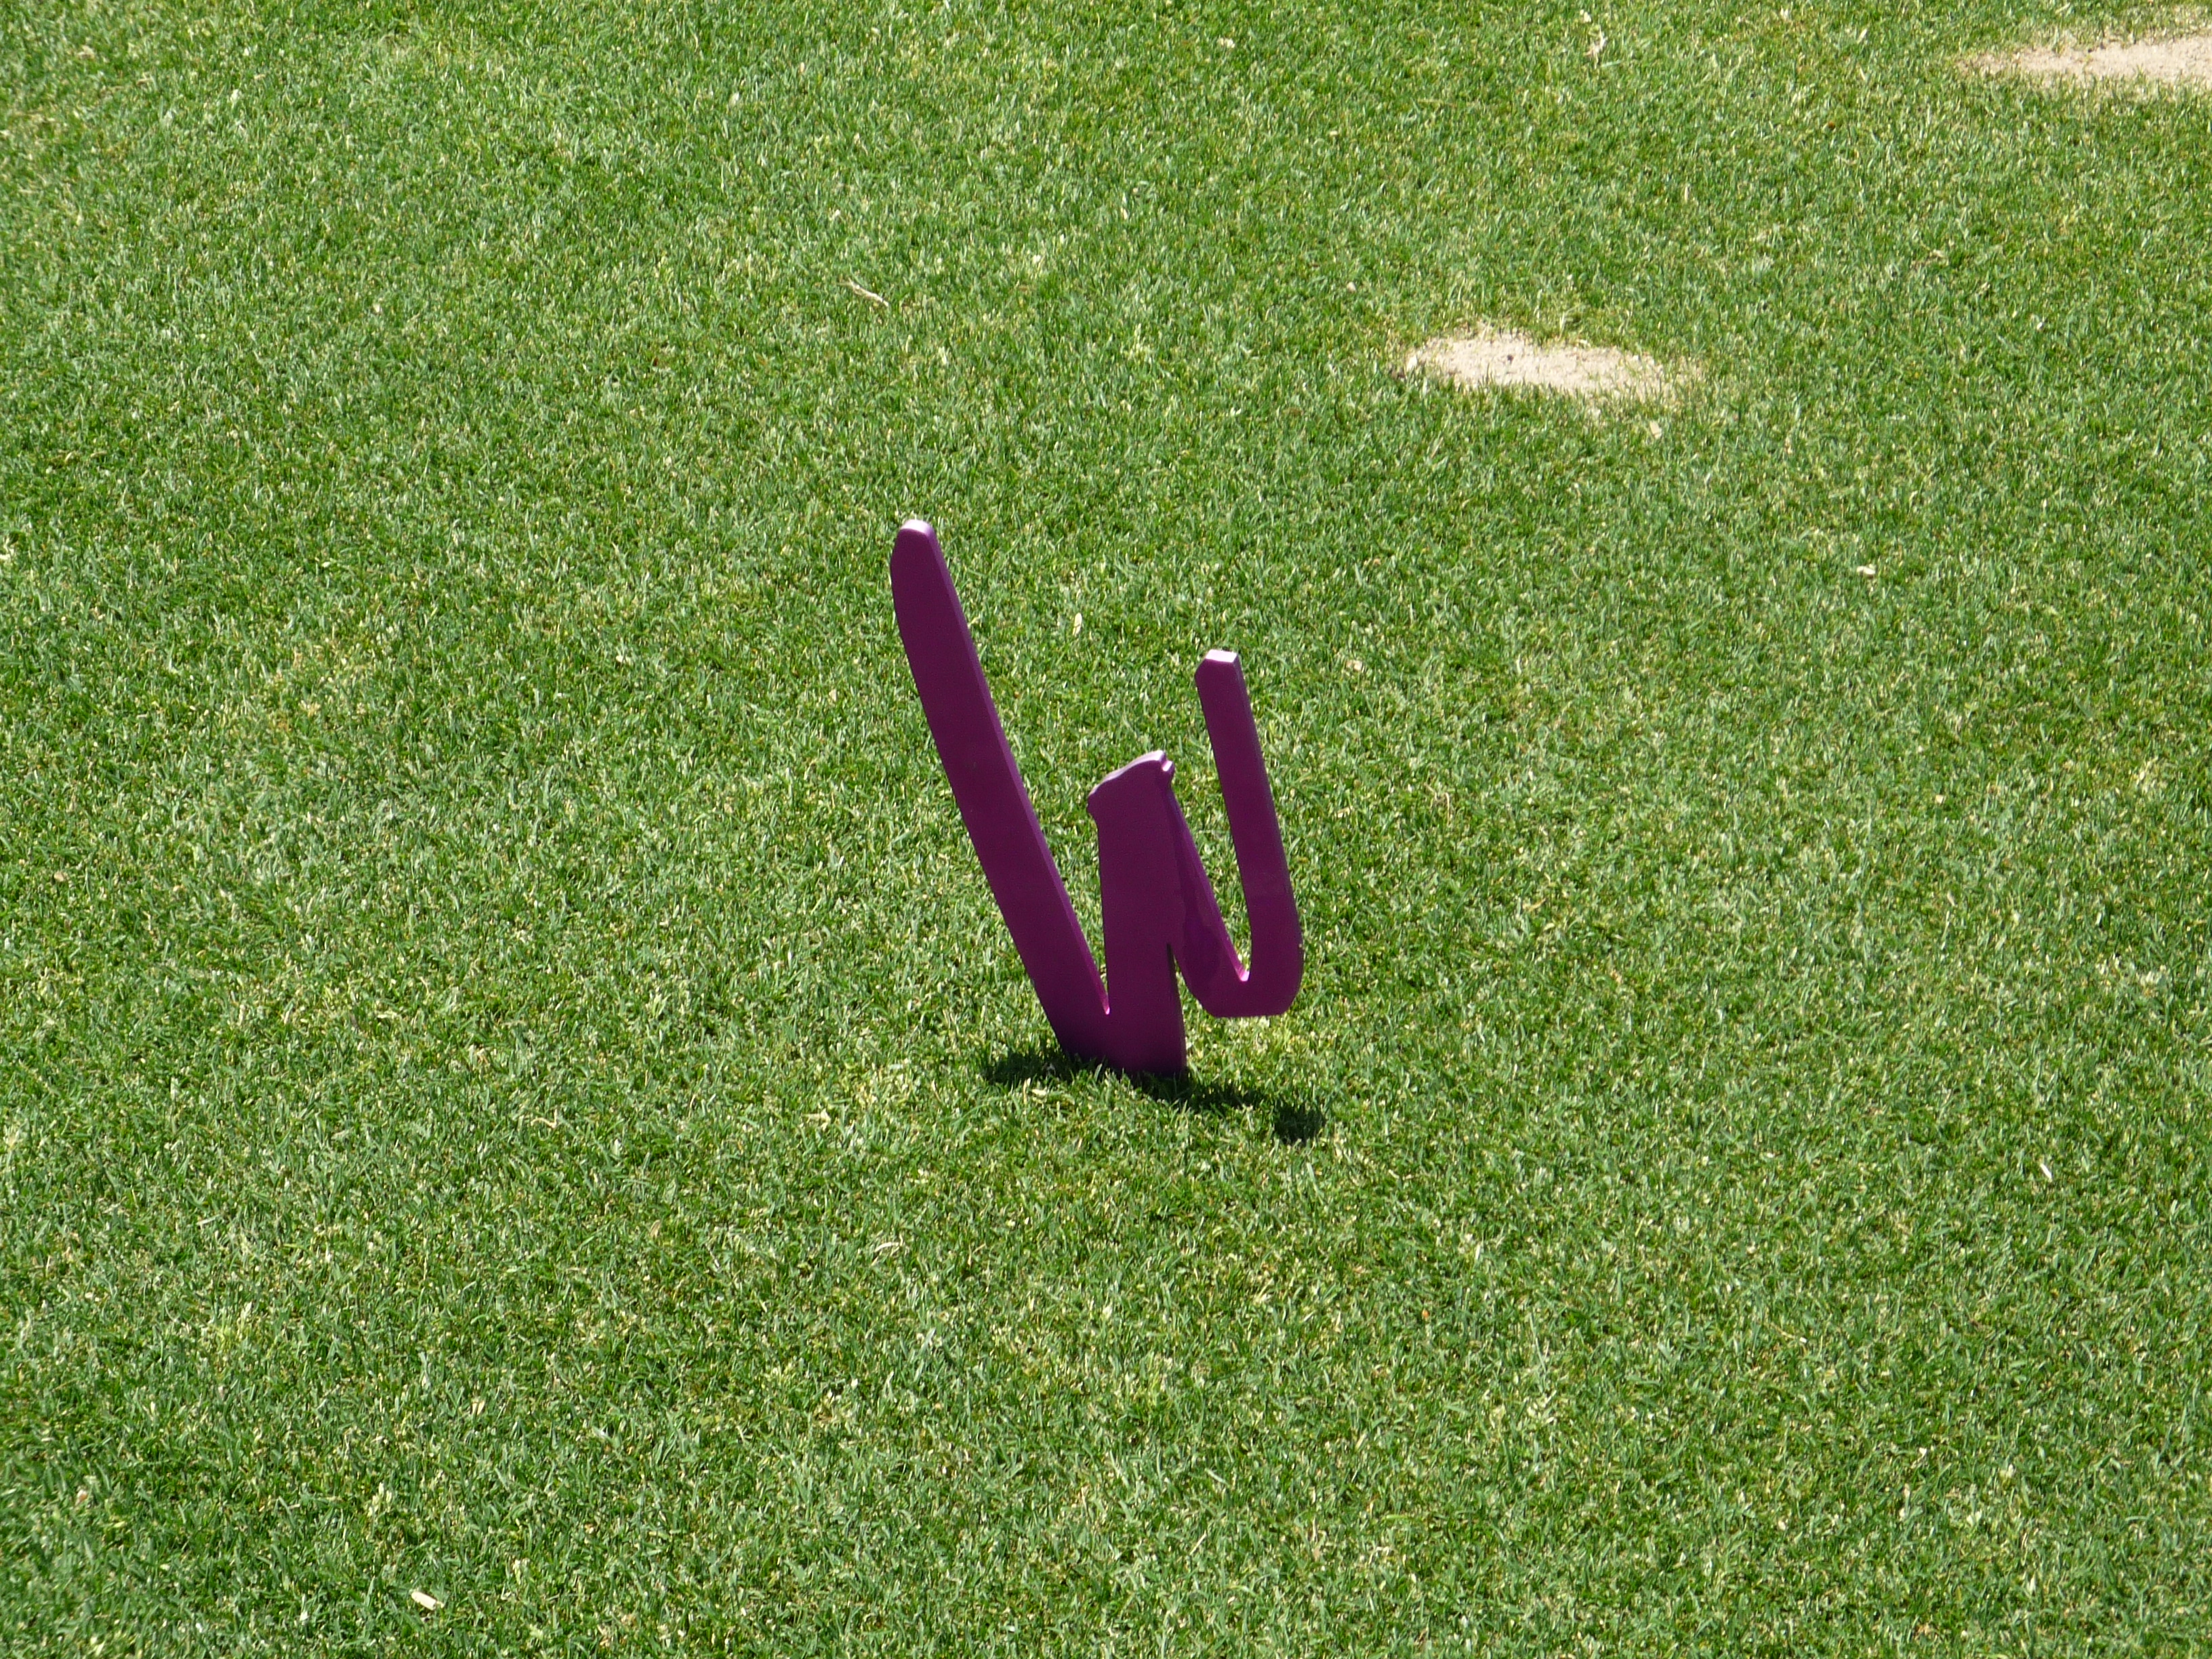
Here is a look at the trendy tee markers.
Onward with the course tour. We played the composite tees so all yardages are in reference to those.
Hole 1 – 332 yards – Par 4
You can take advantage of this short dogleg left if you are aggressive. The further left you aim the shorter the approach shot. From the elevated tee you should get plenty of distance.
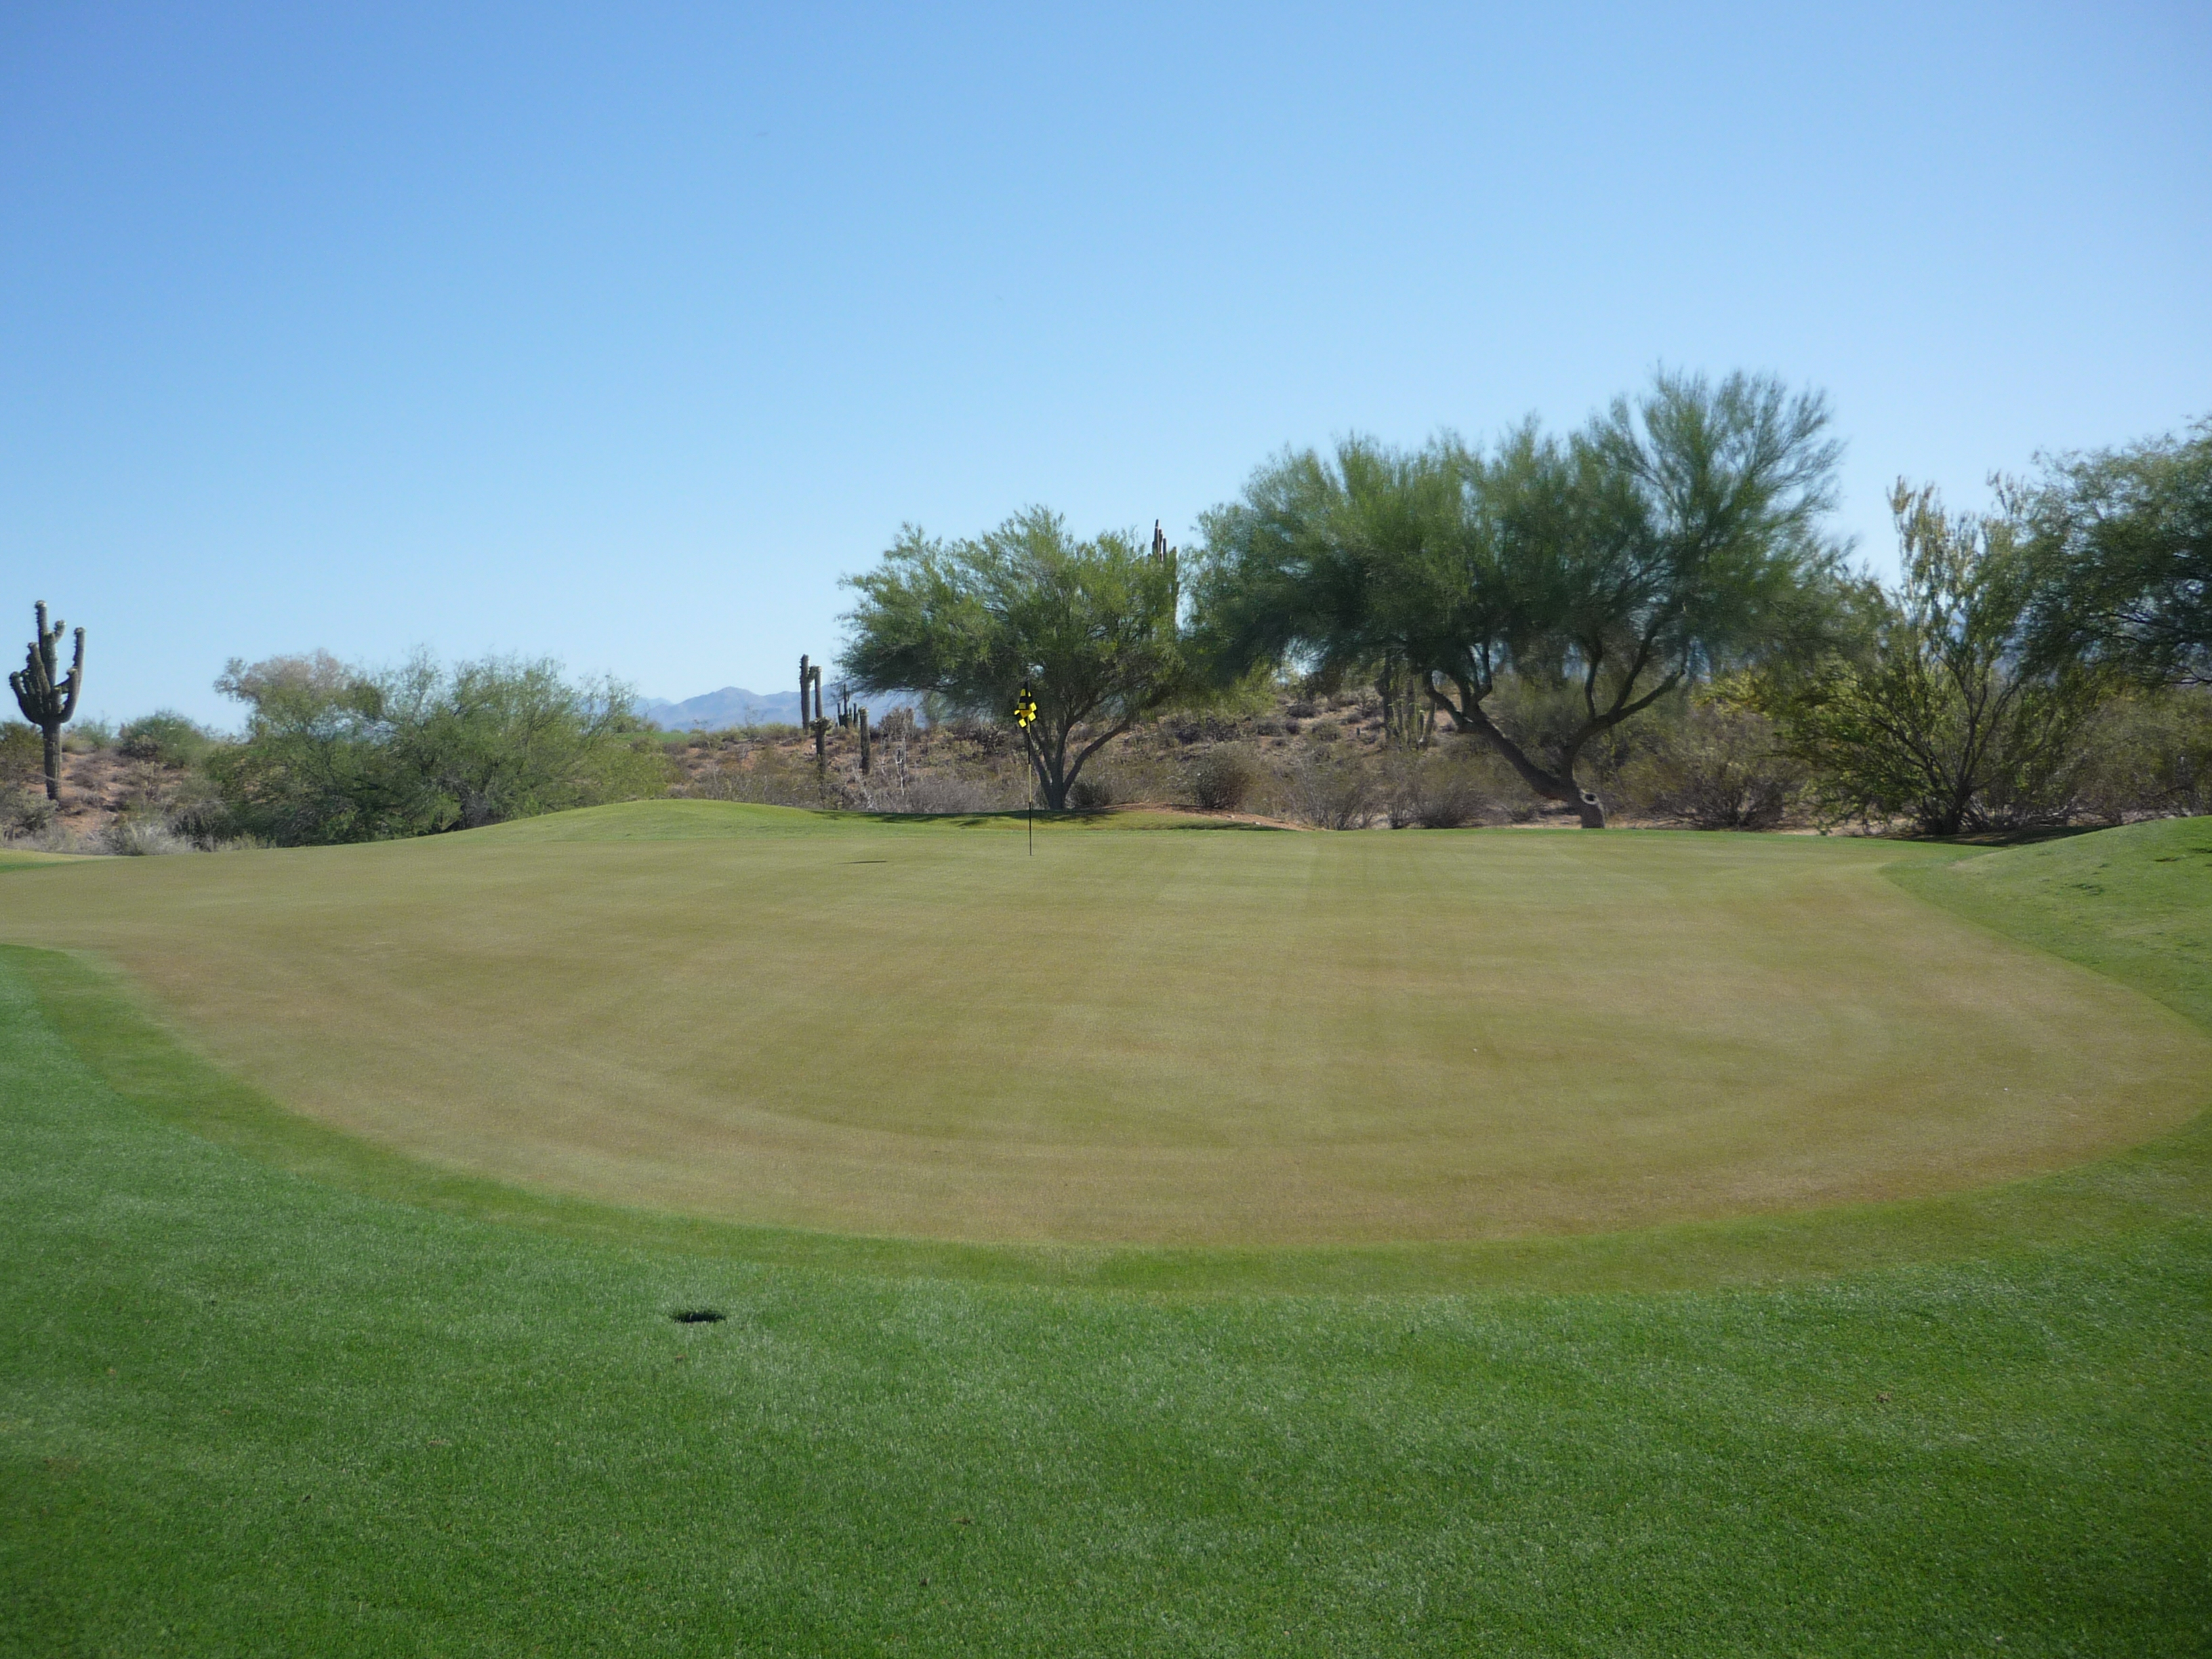
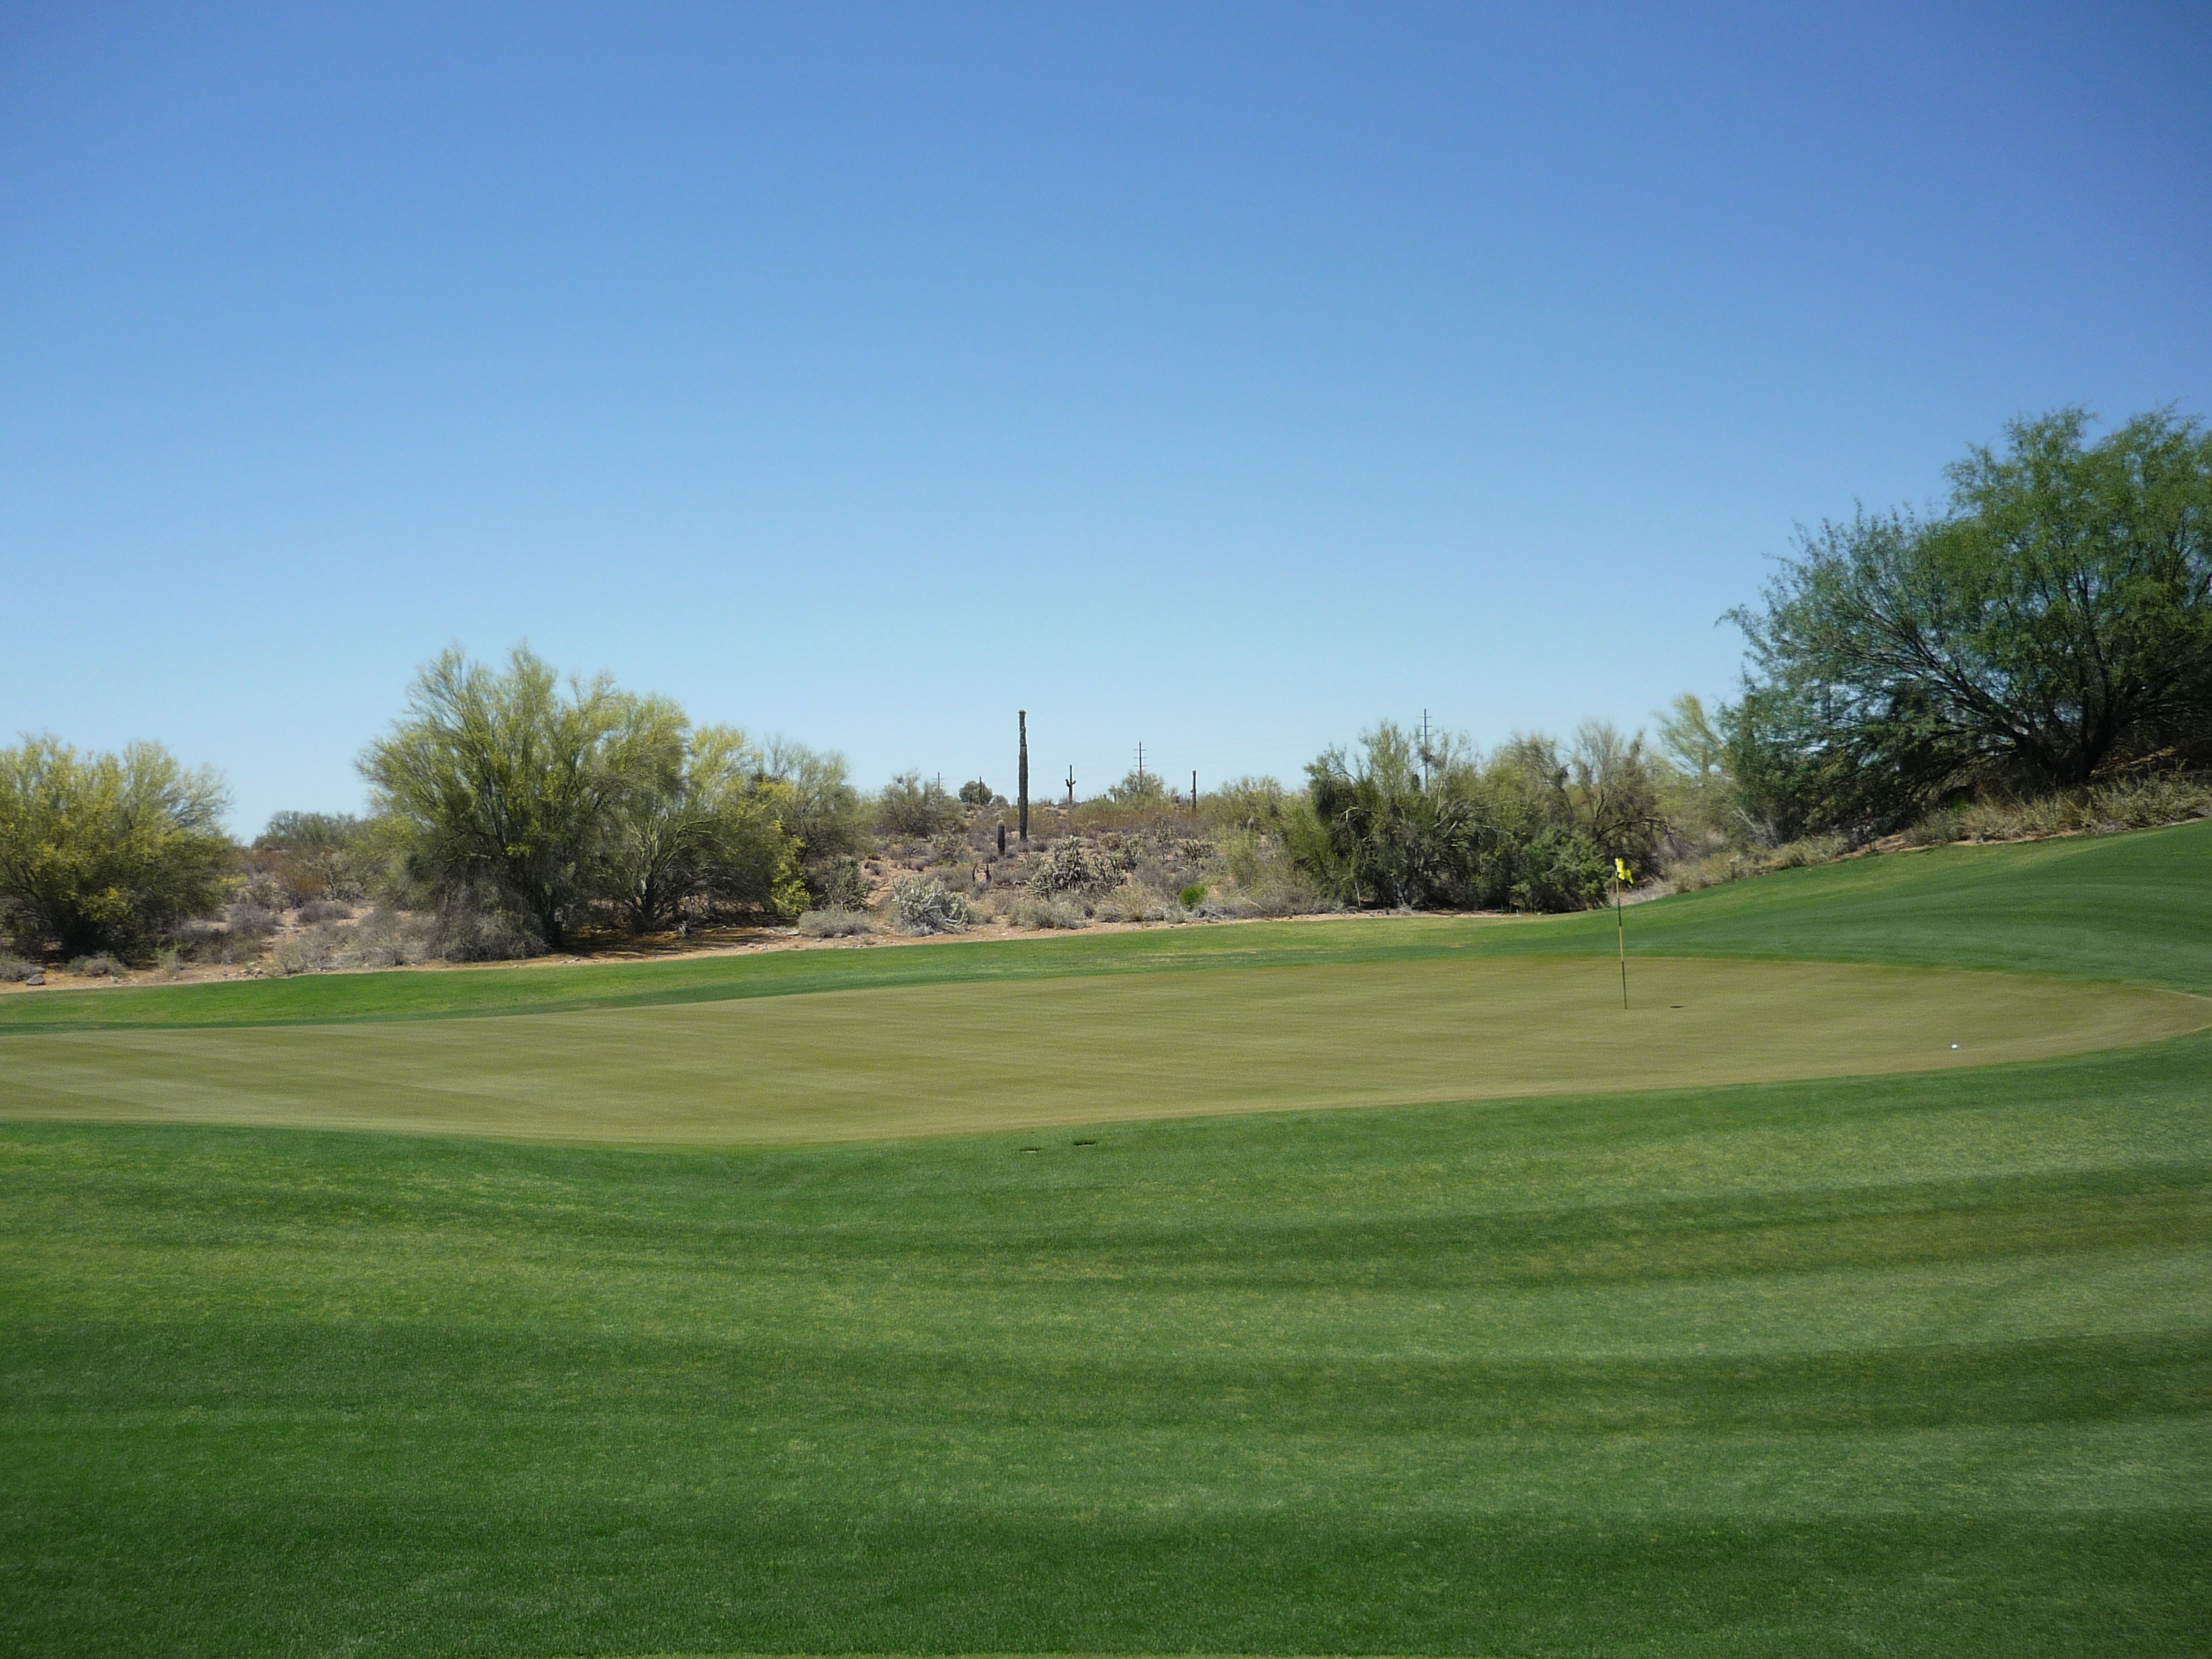
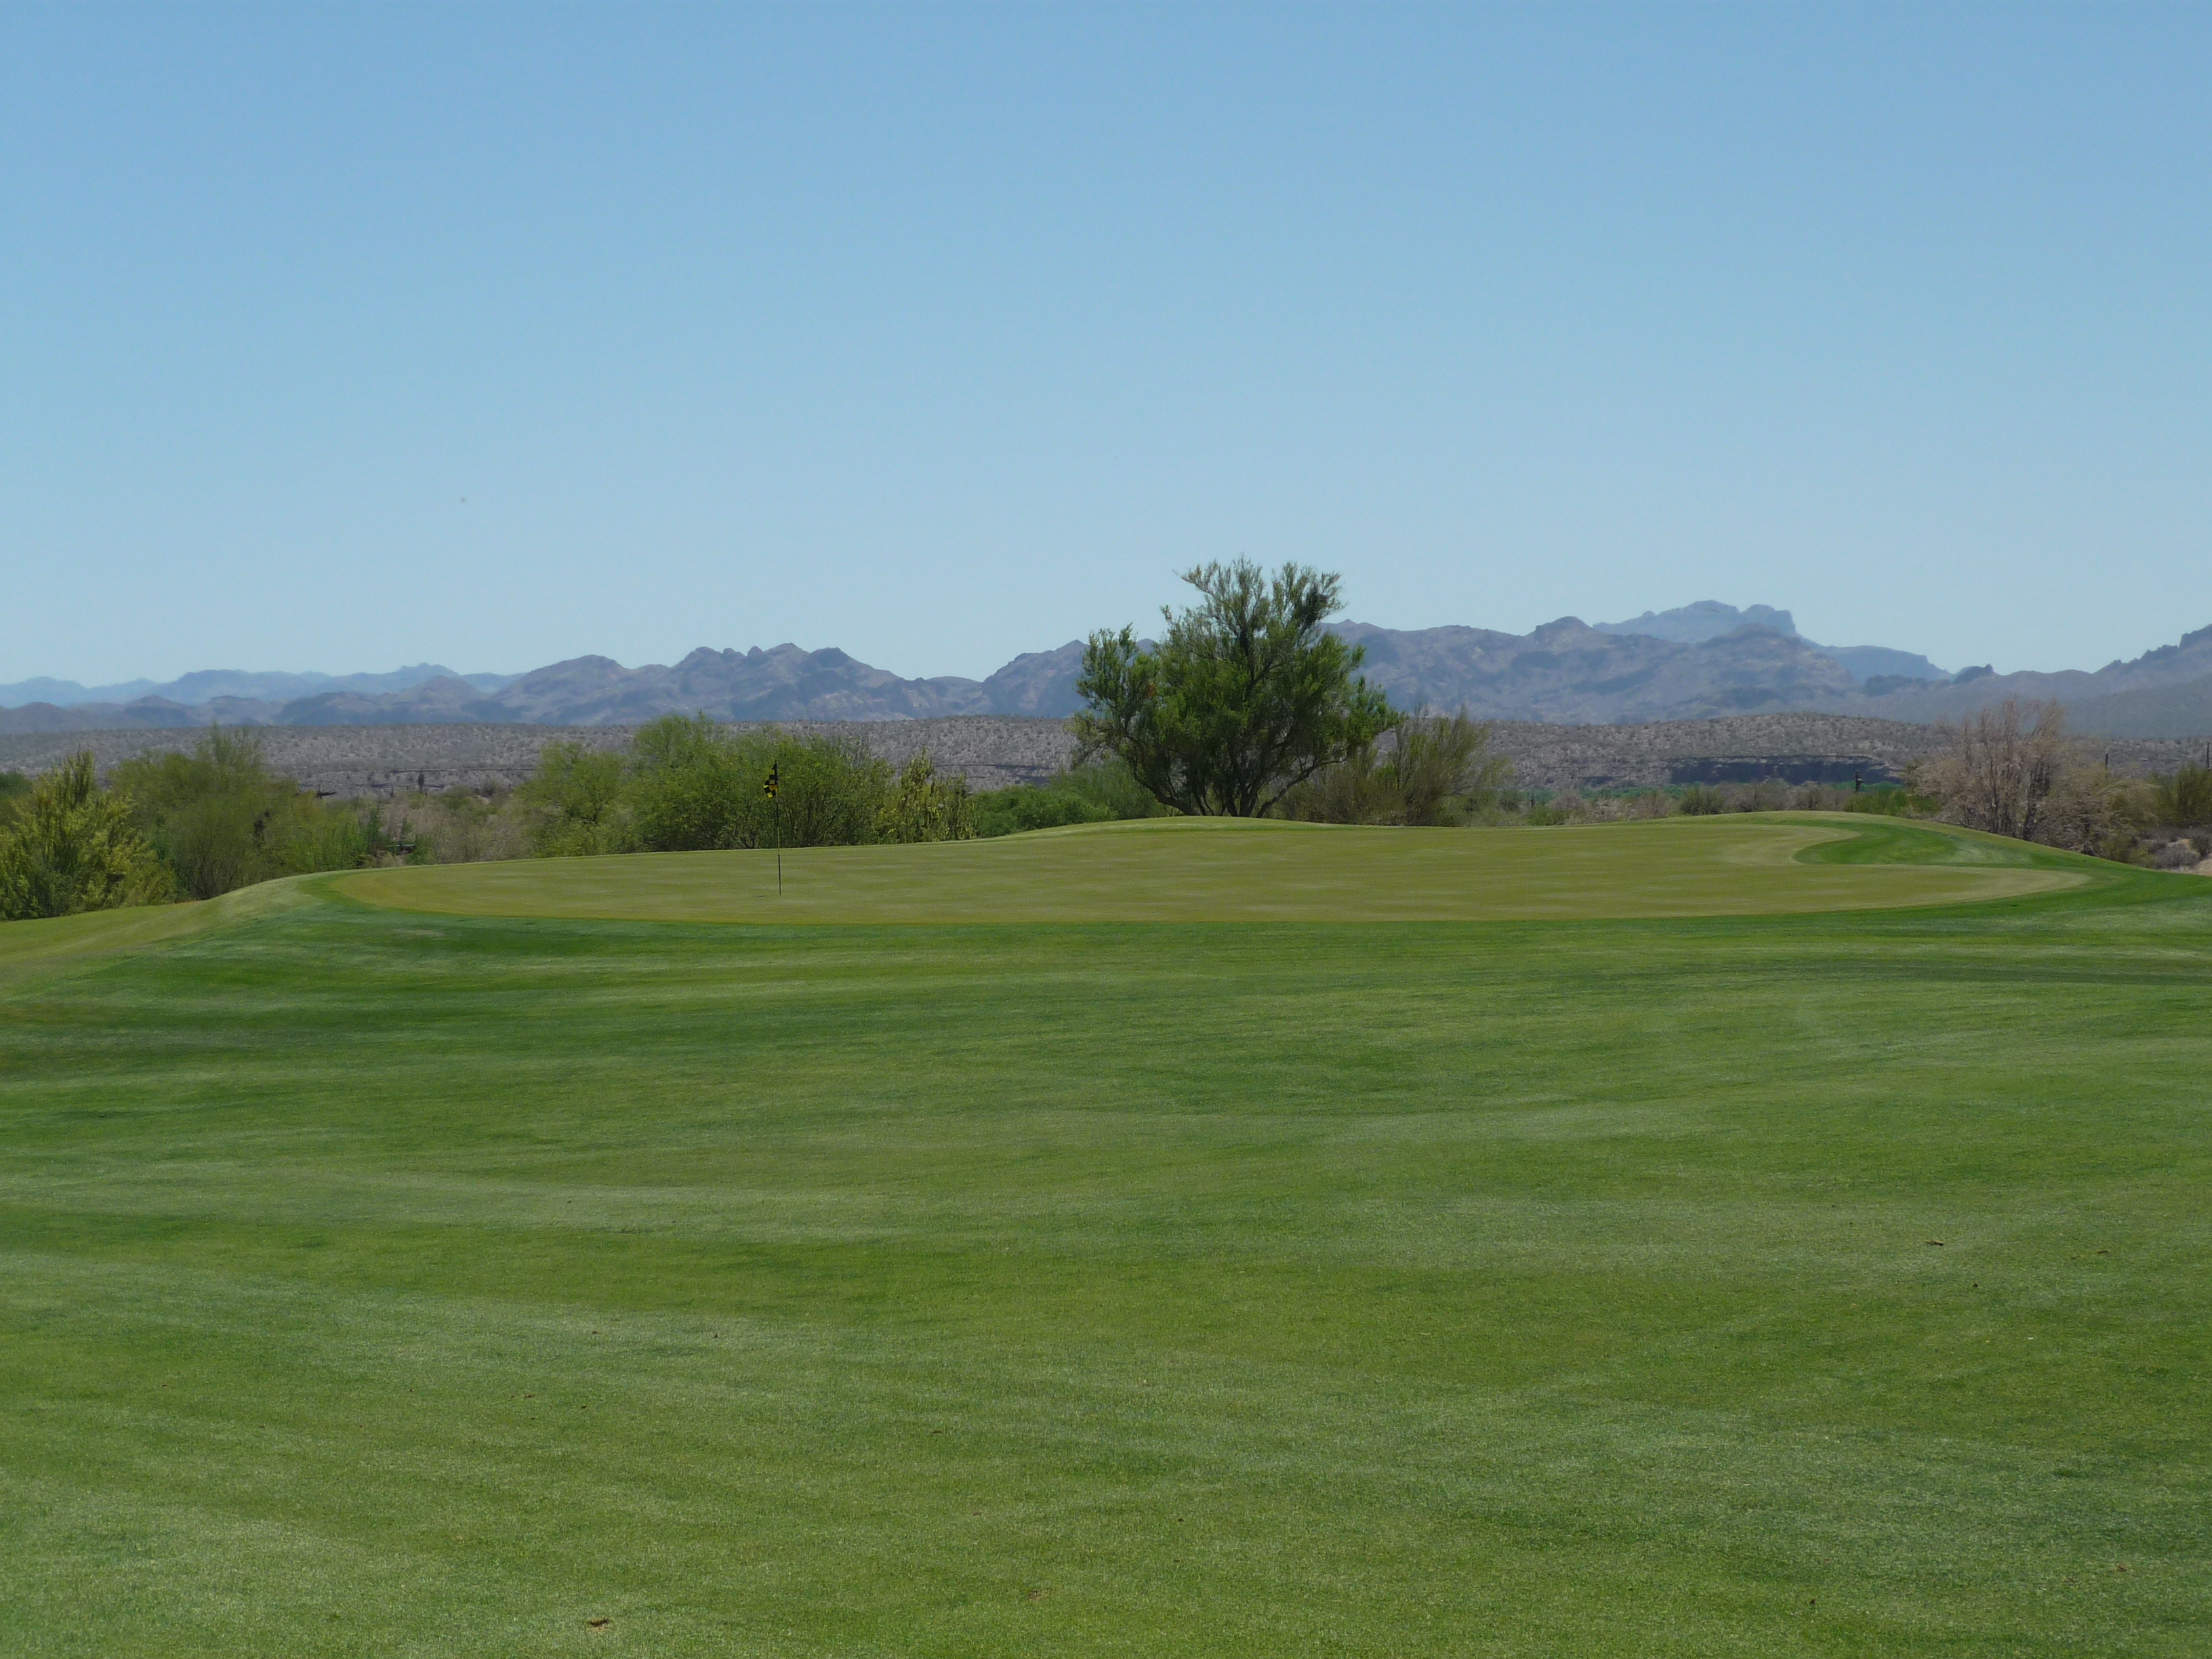
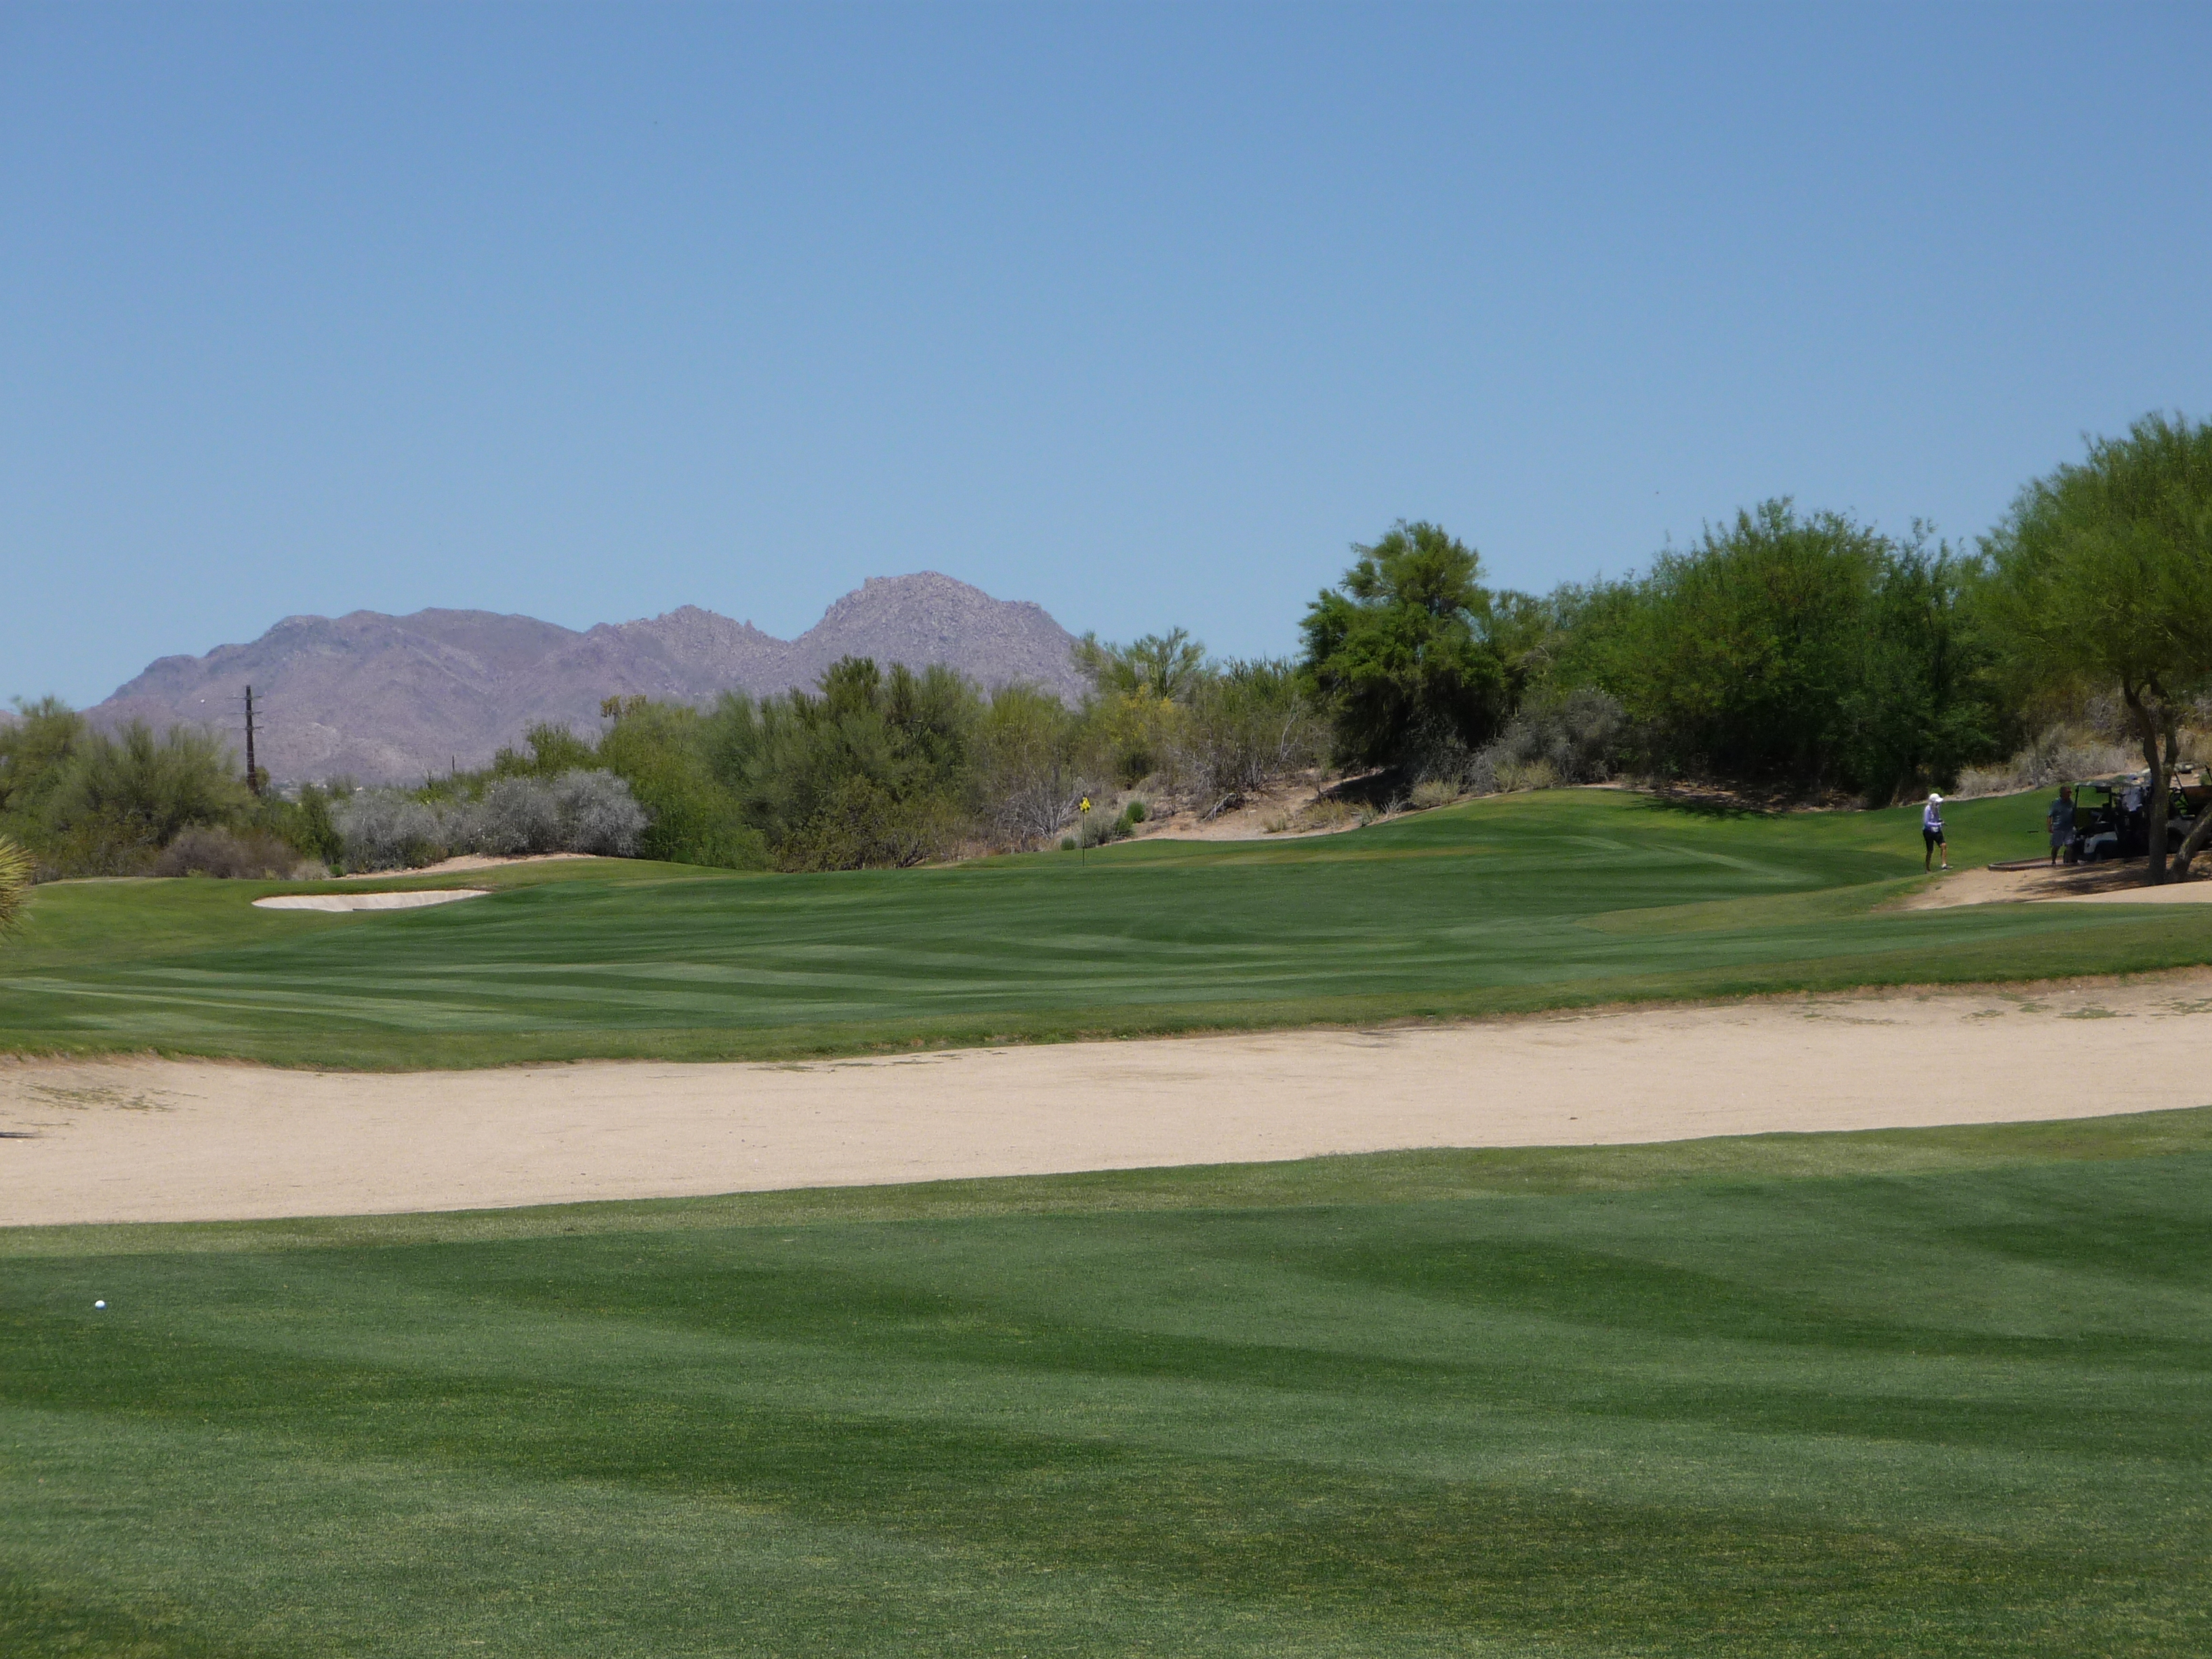
Below is a look at the approach from about 100 yards.
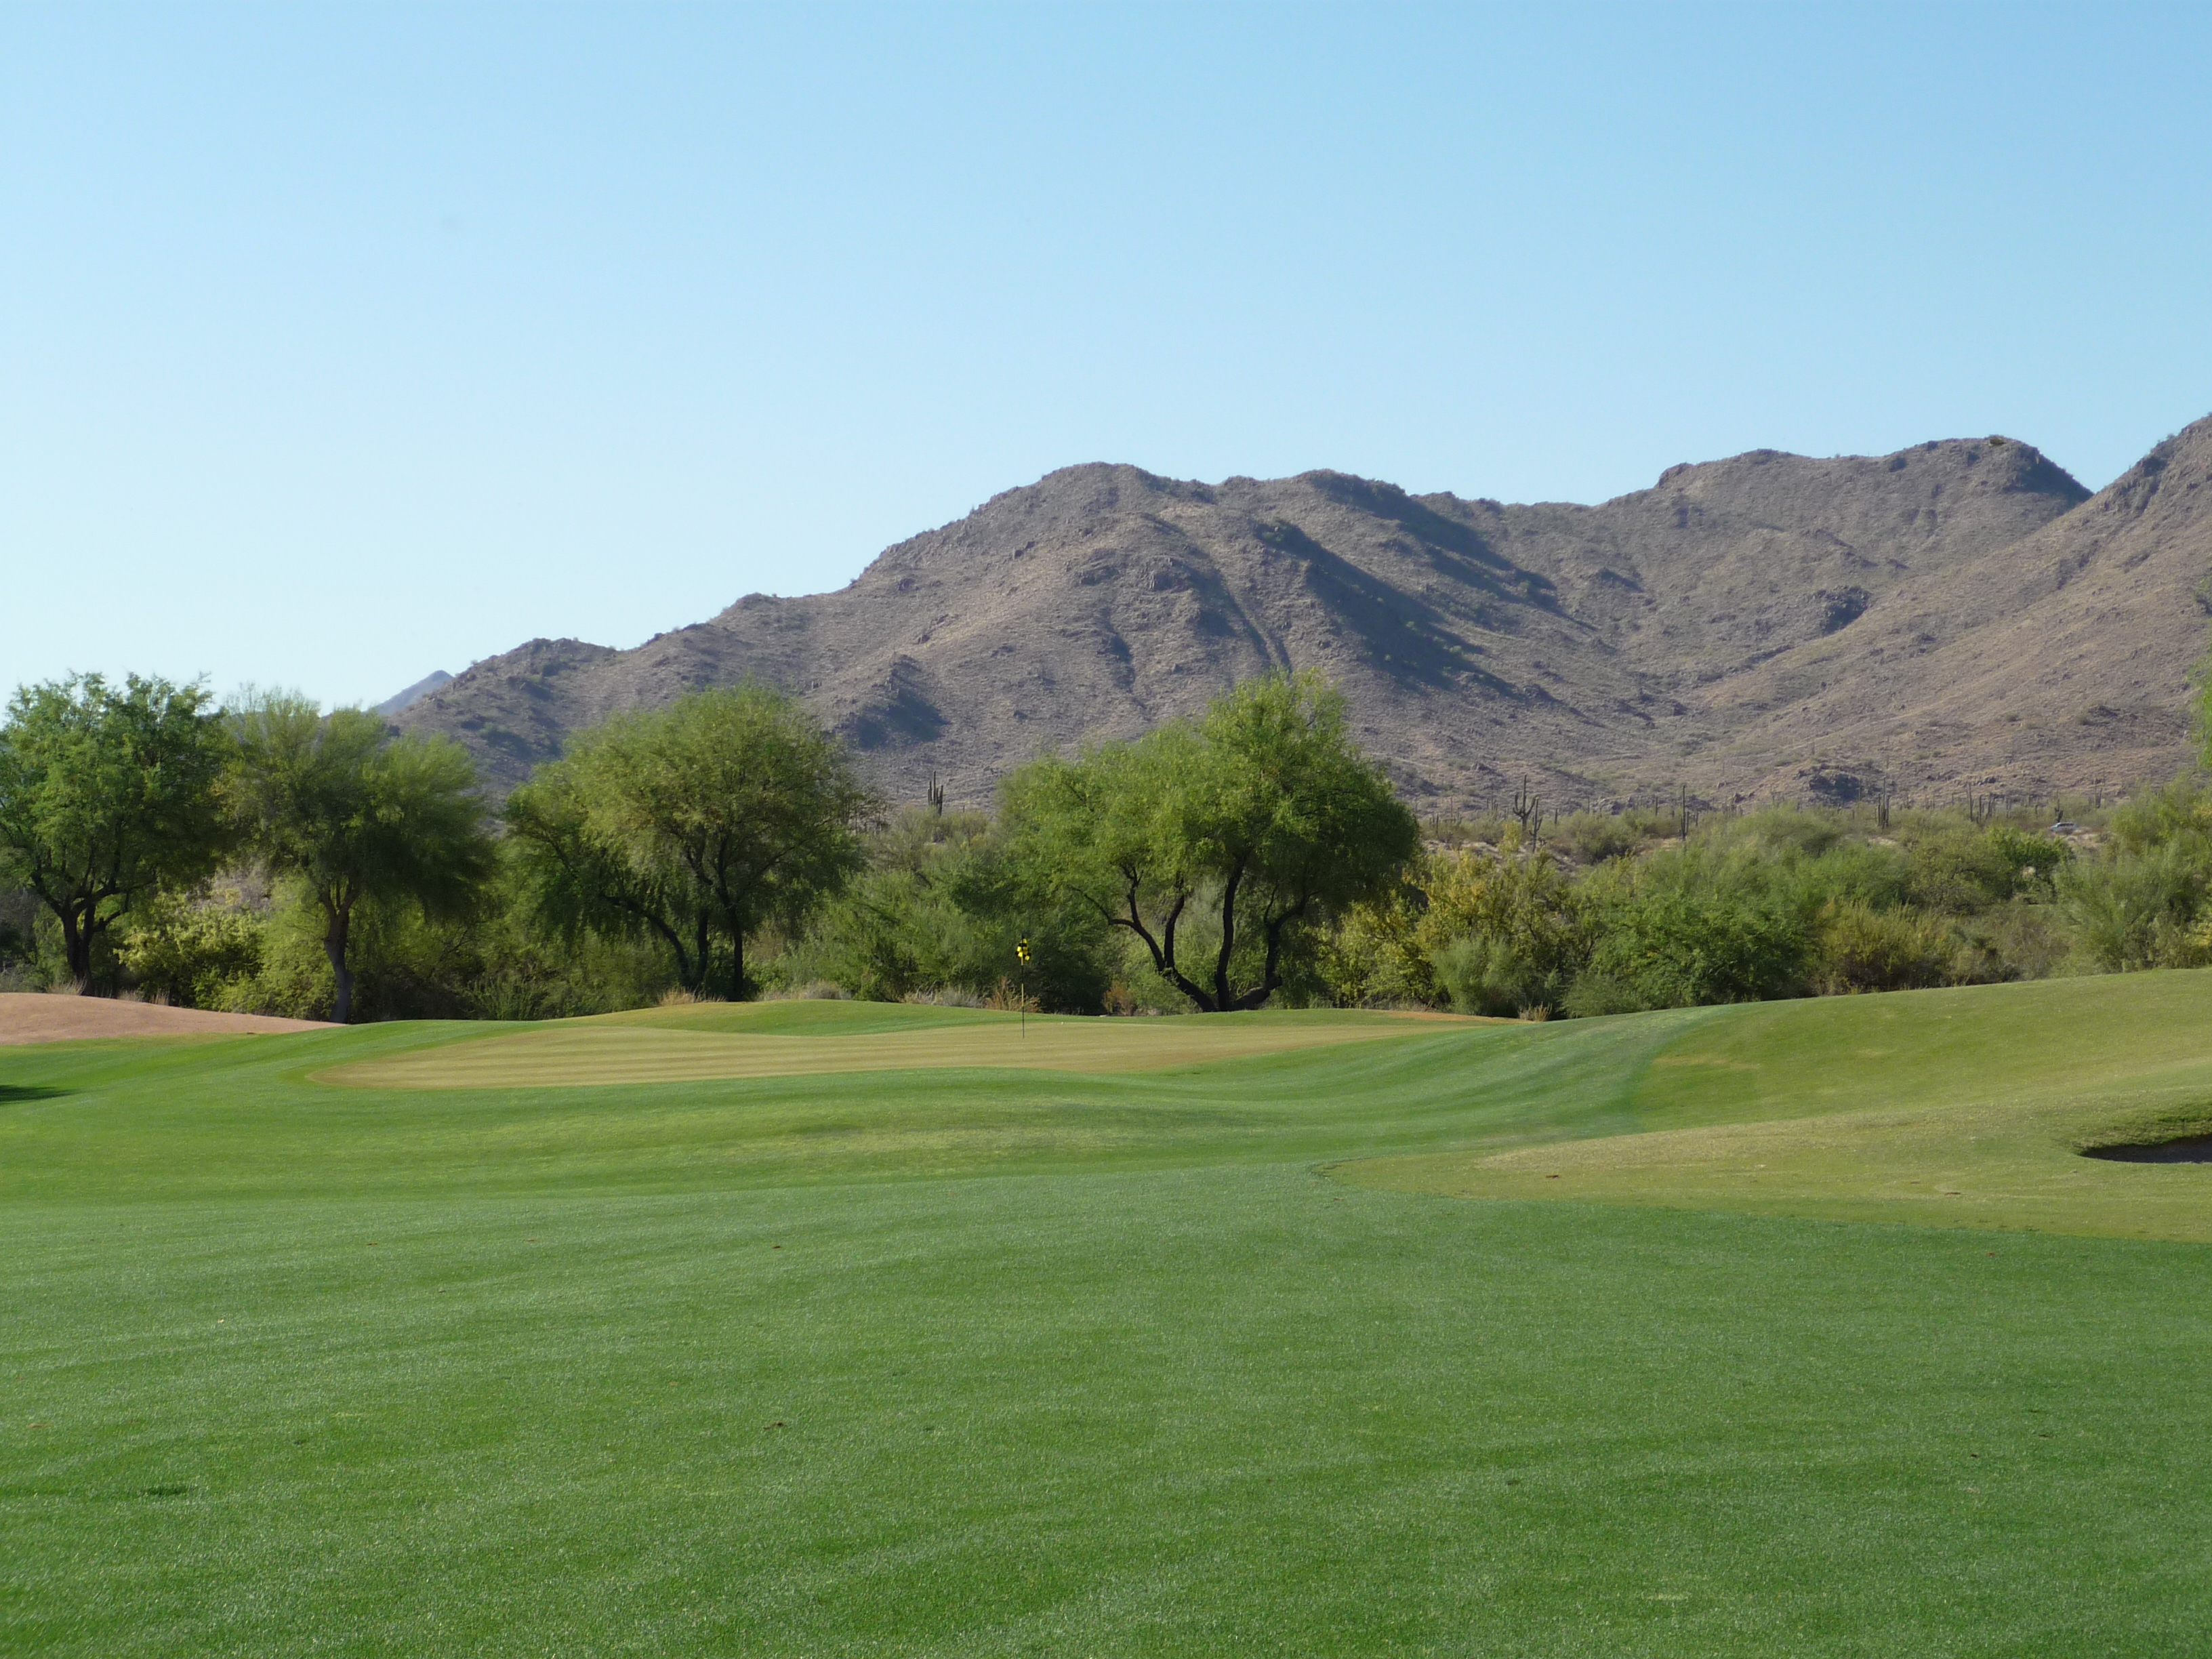
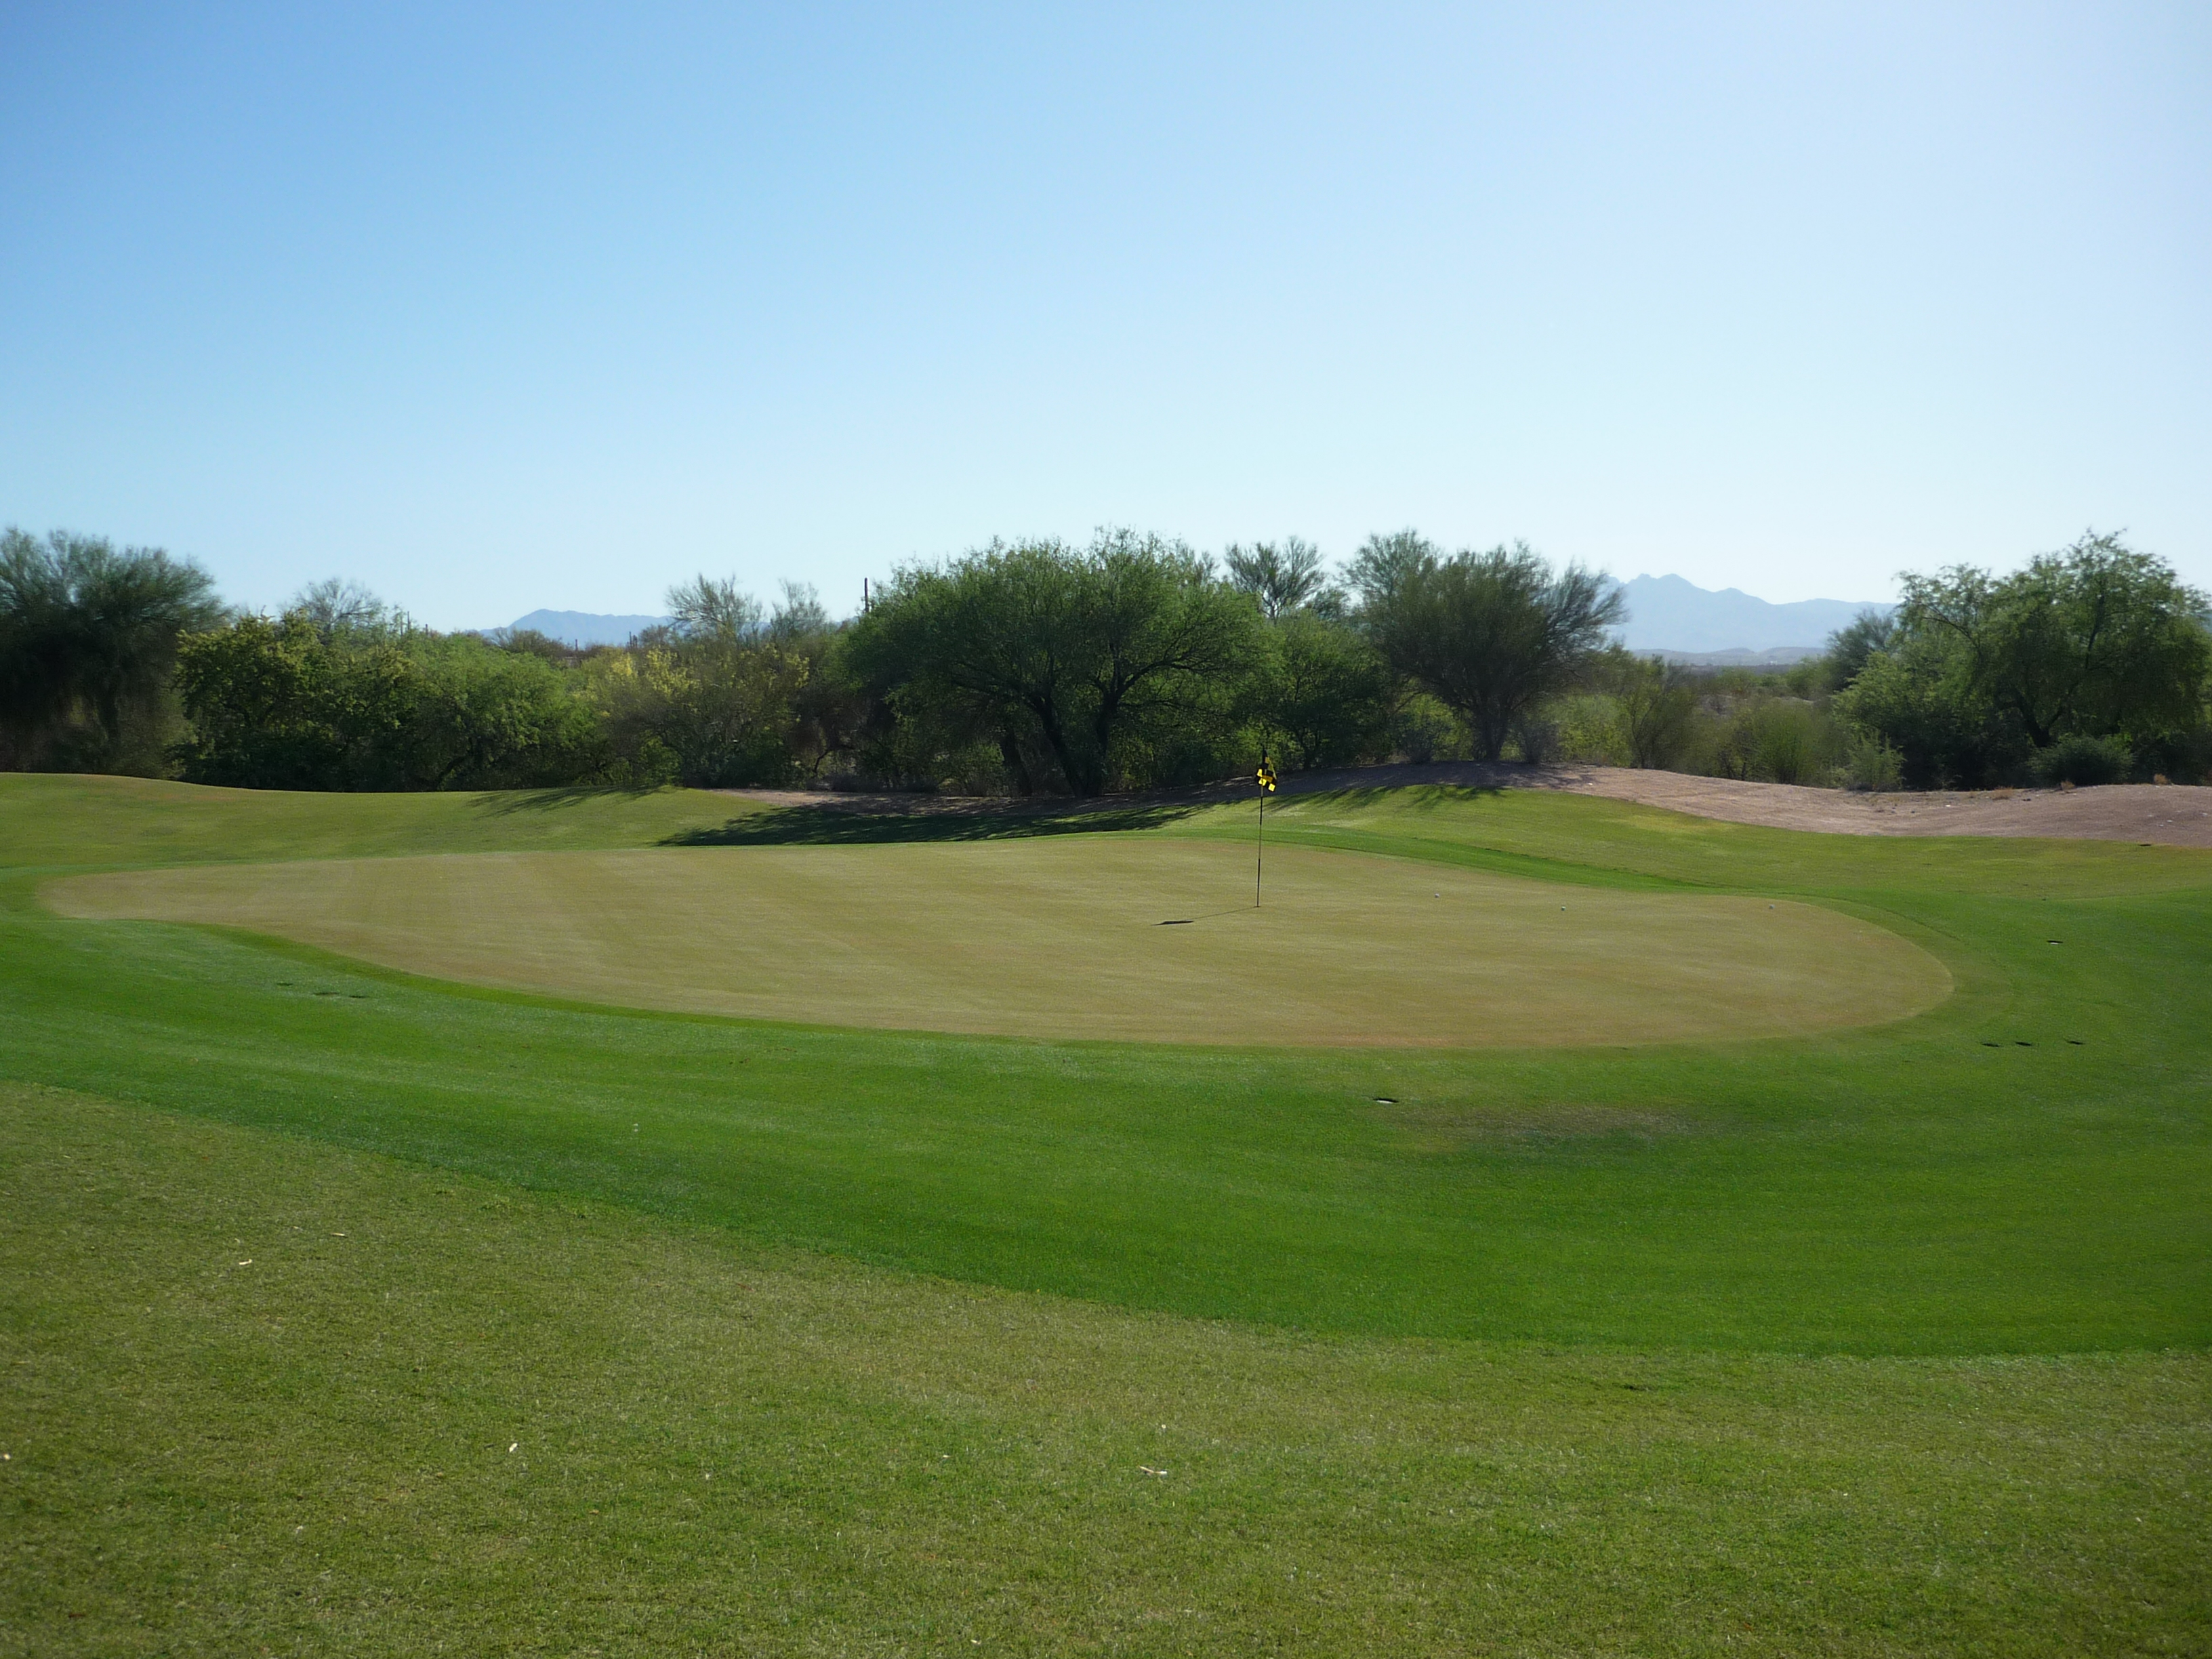
This look at the green shows the mounding around the outskirts of the surface.
Hole 2 – 574 yards – Par 5
This is a three shot hole for most players. The angles play with your mind here as well. A desert wash bisects the fairway and you need to know the right line and distance for aiming.
I played it up the right side and had this angle.
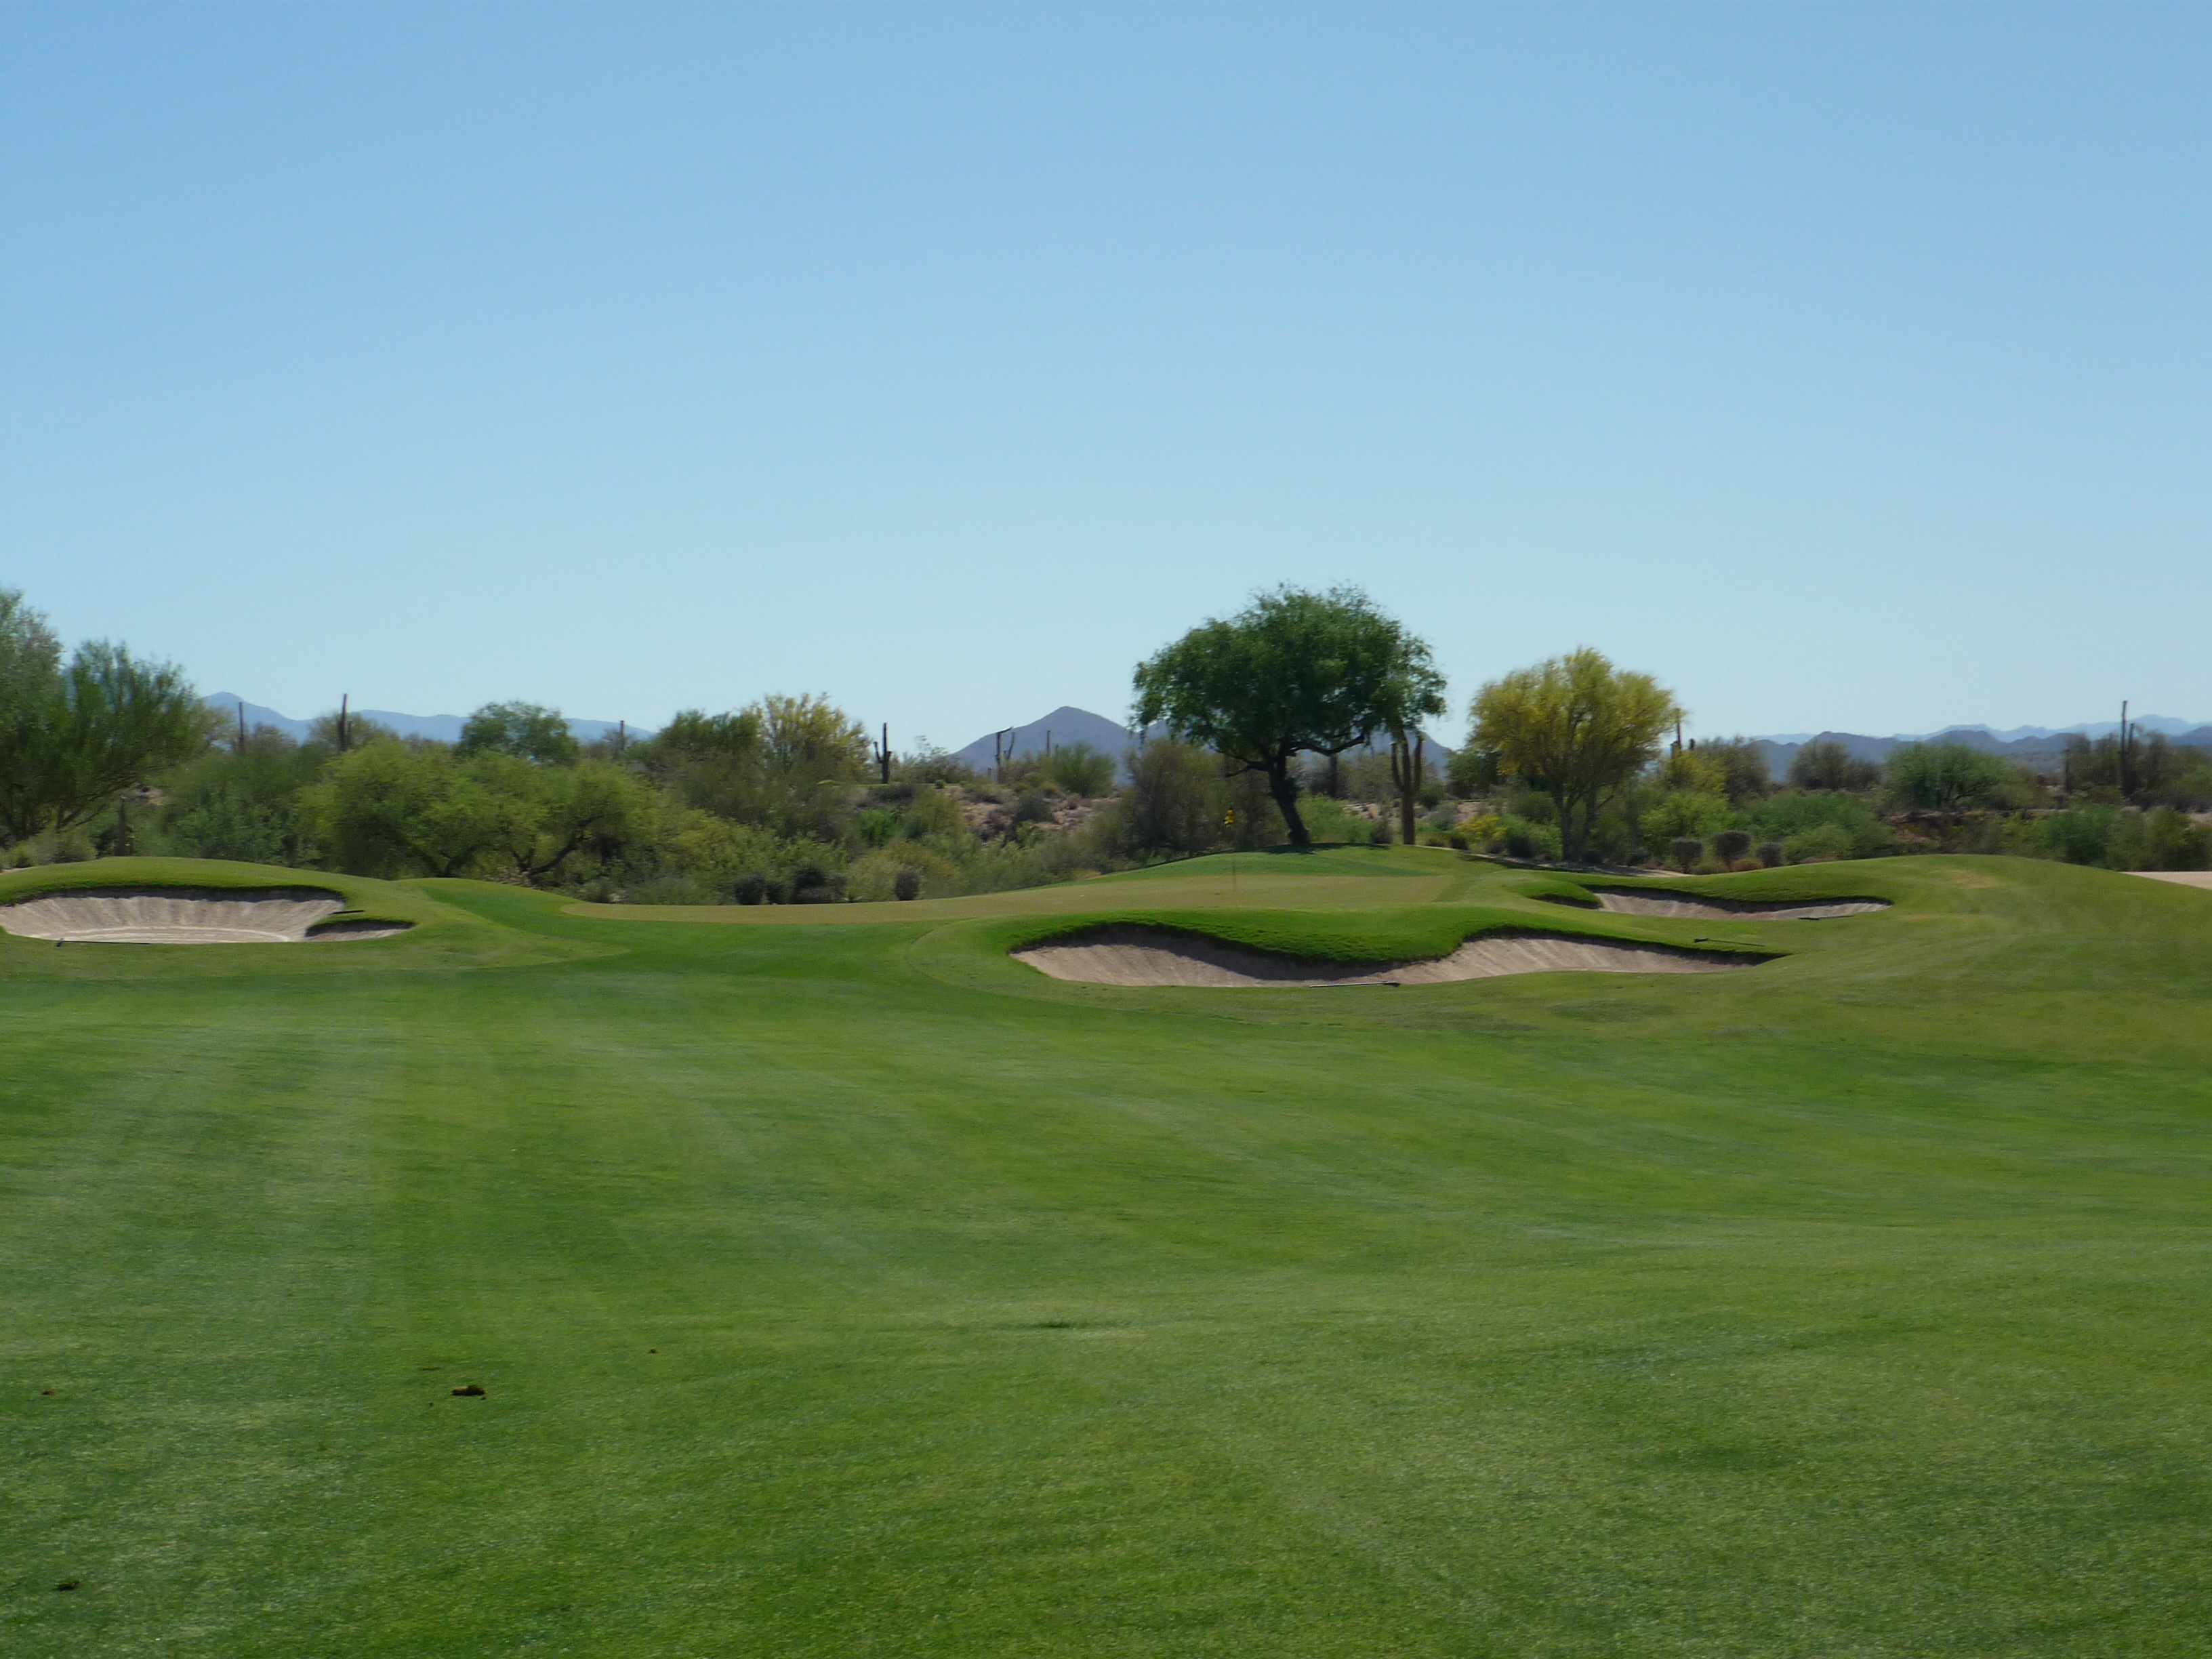
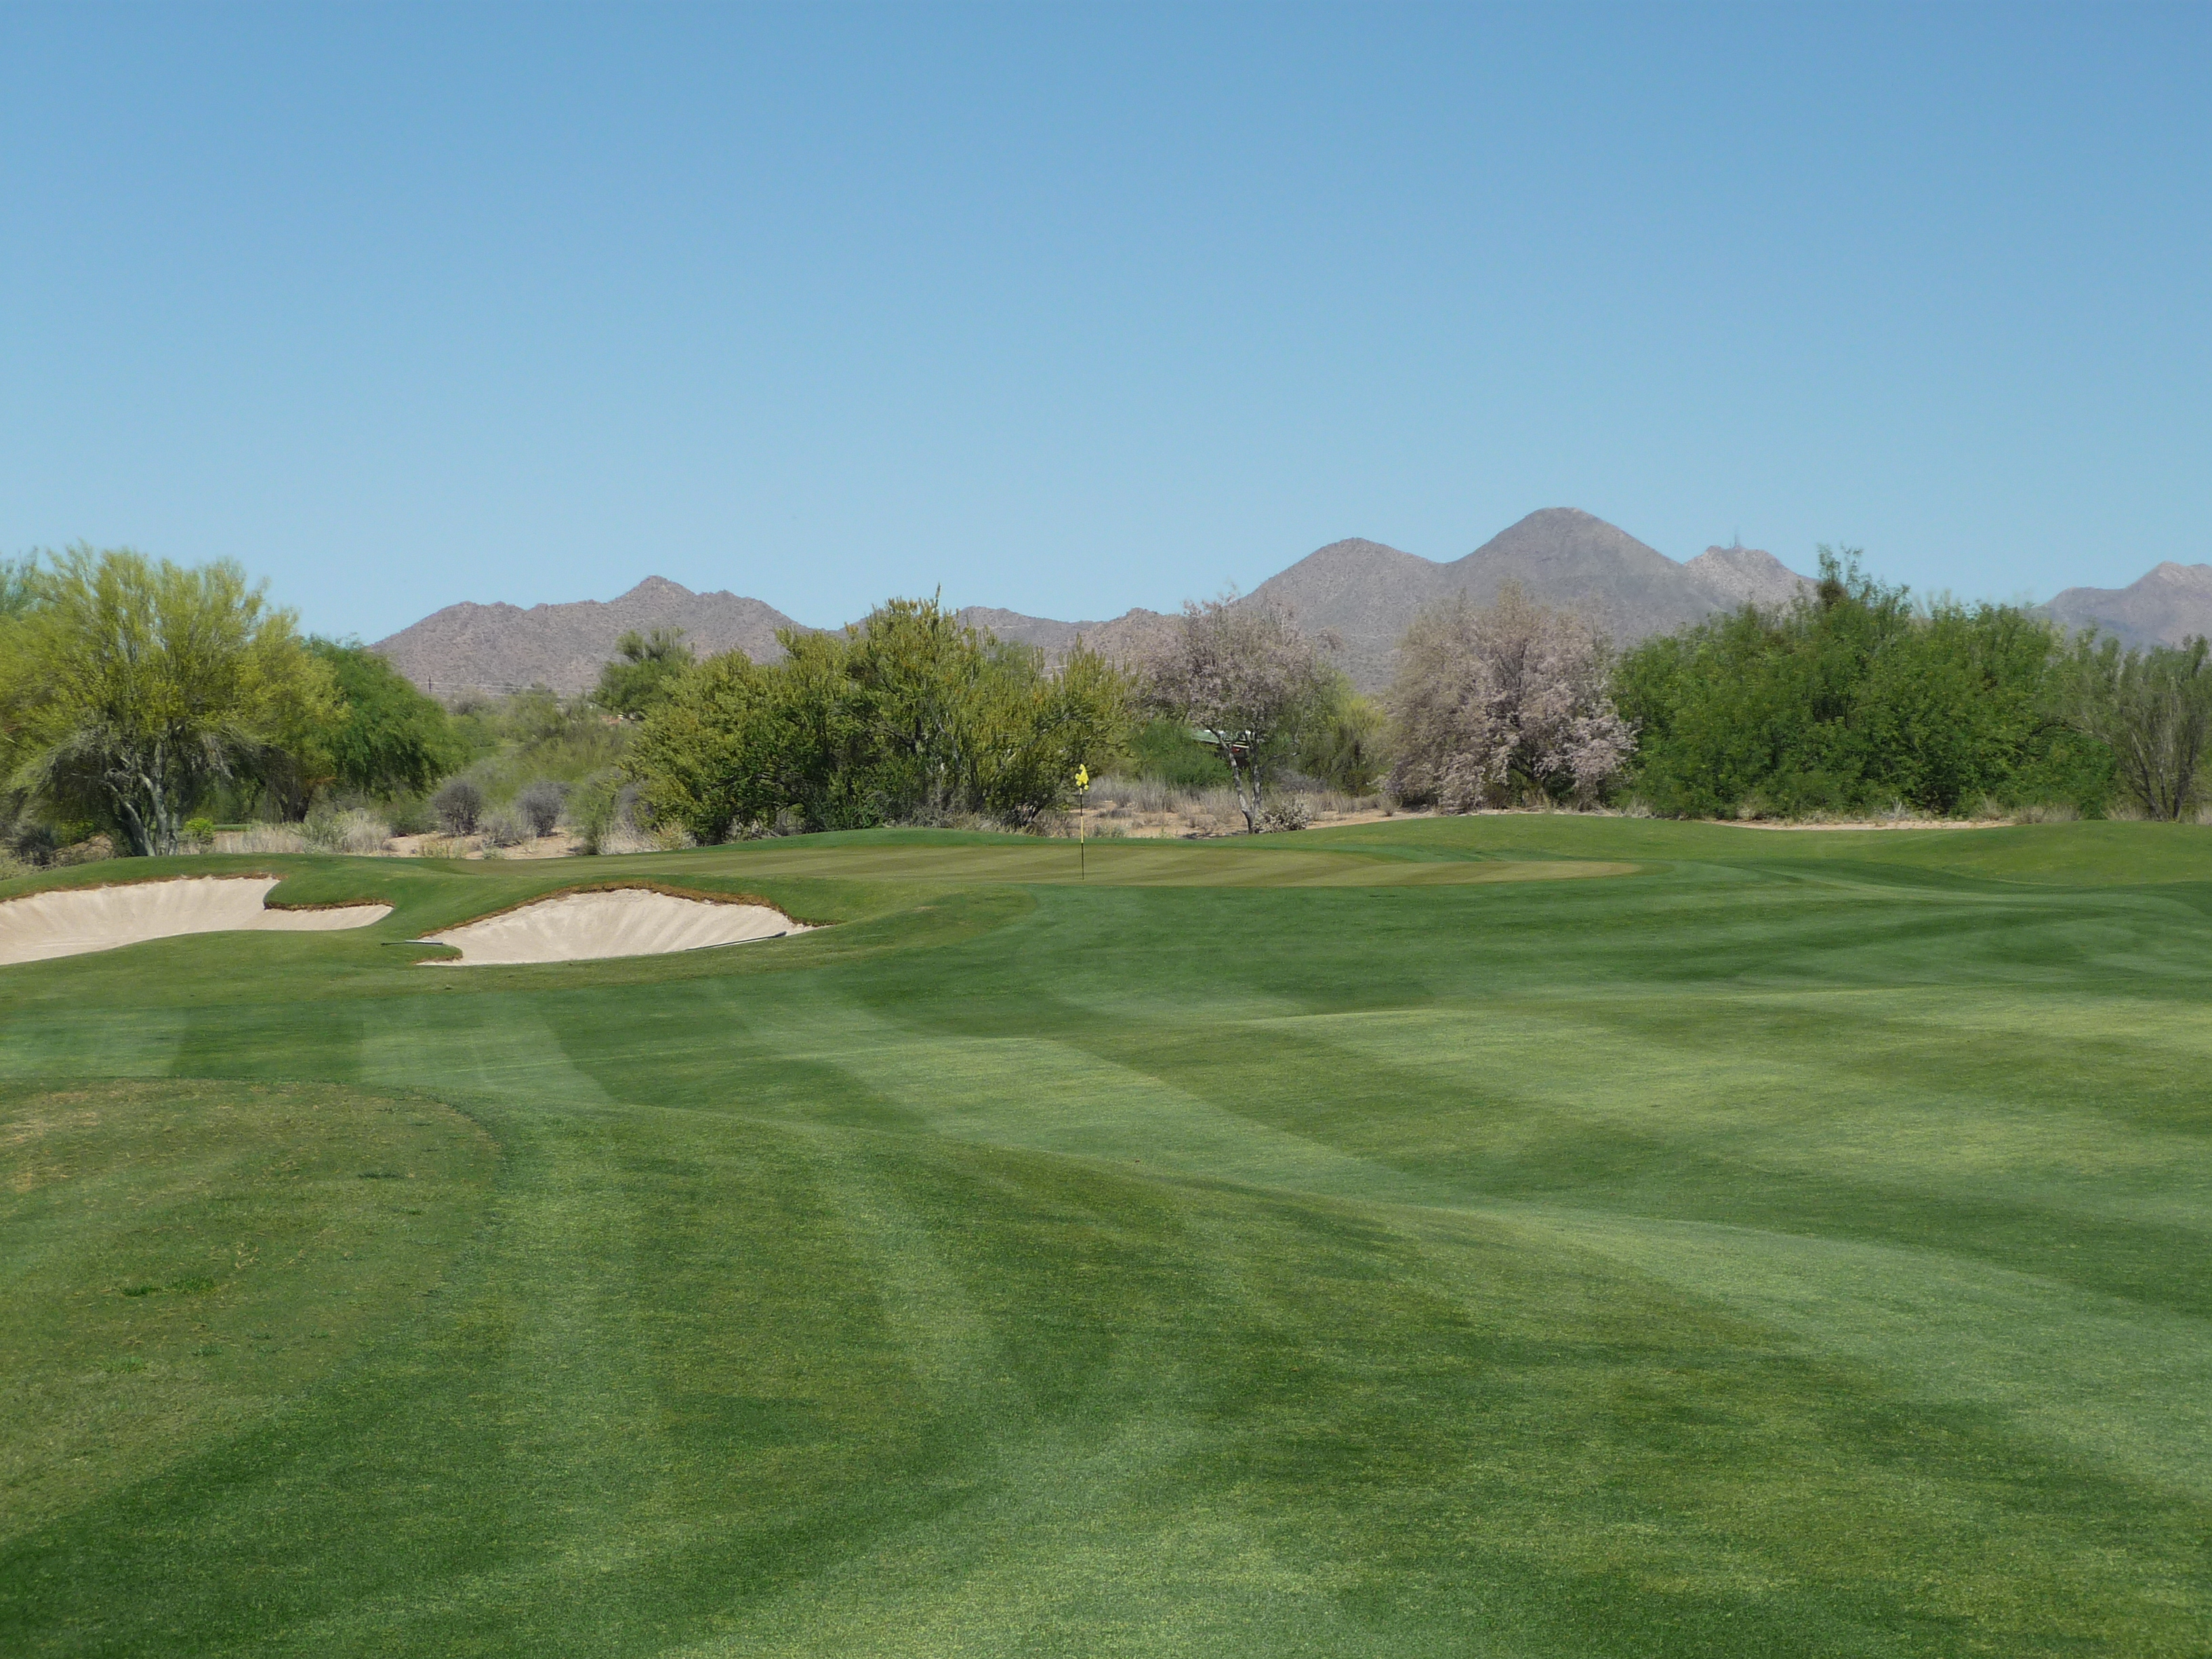
 The approach plays over a cluster of bunkers that are well short of the green. The green is slightly elevated.

The grass around the green is very short resulting in runoffs for shots that miss. This short grass gives you the opportunity to take out the putter from off the green.
Hole 3 – 150 yards – Par 3
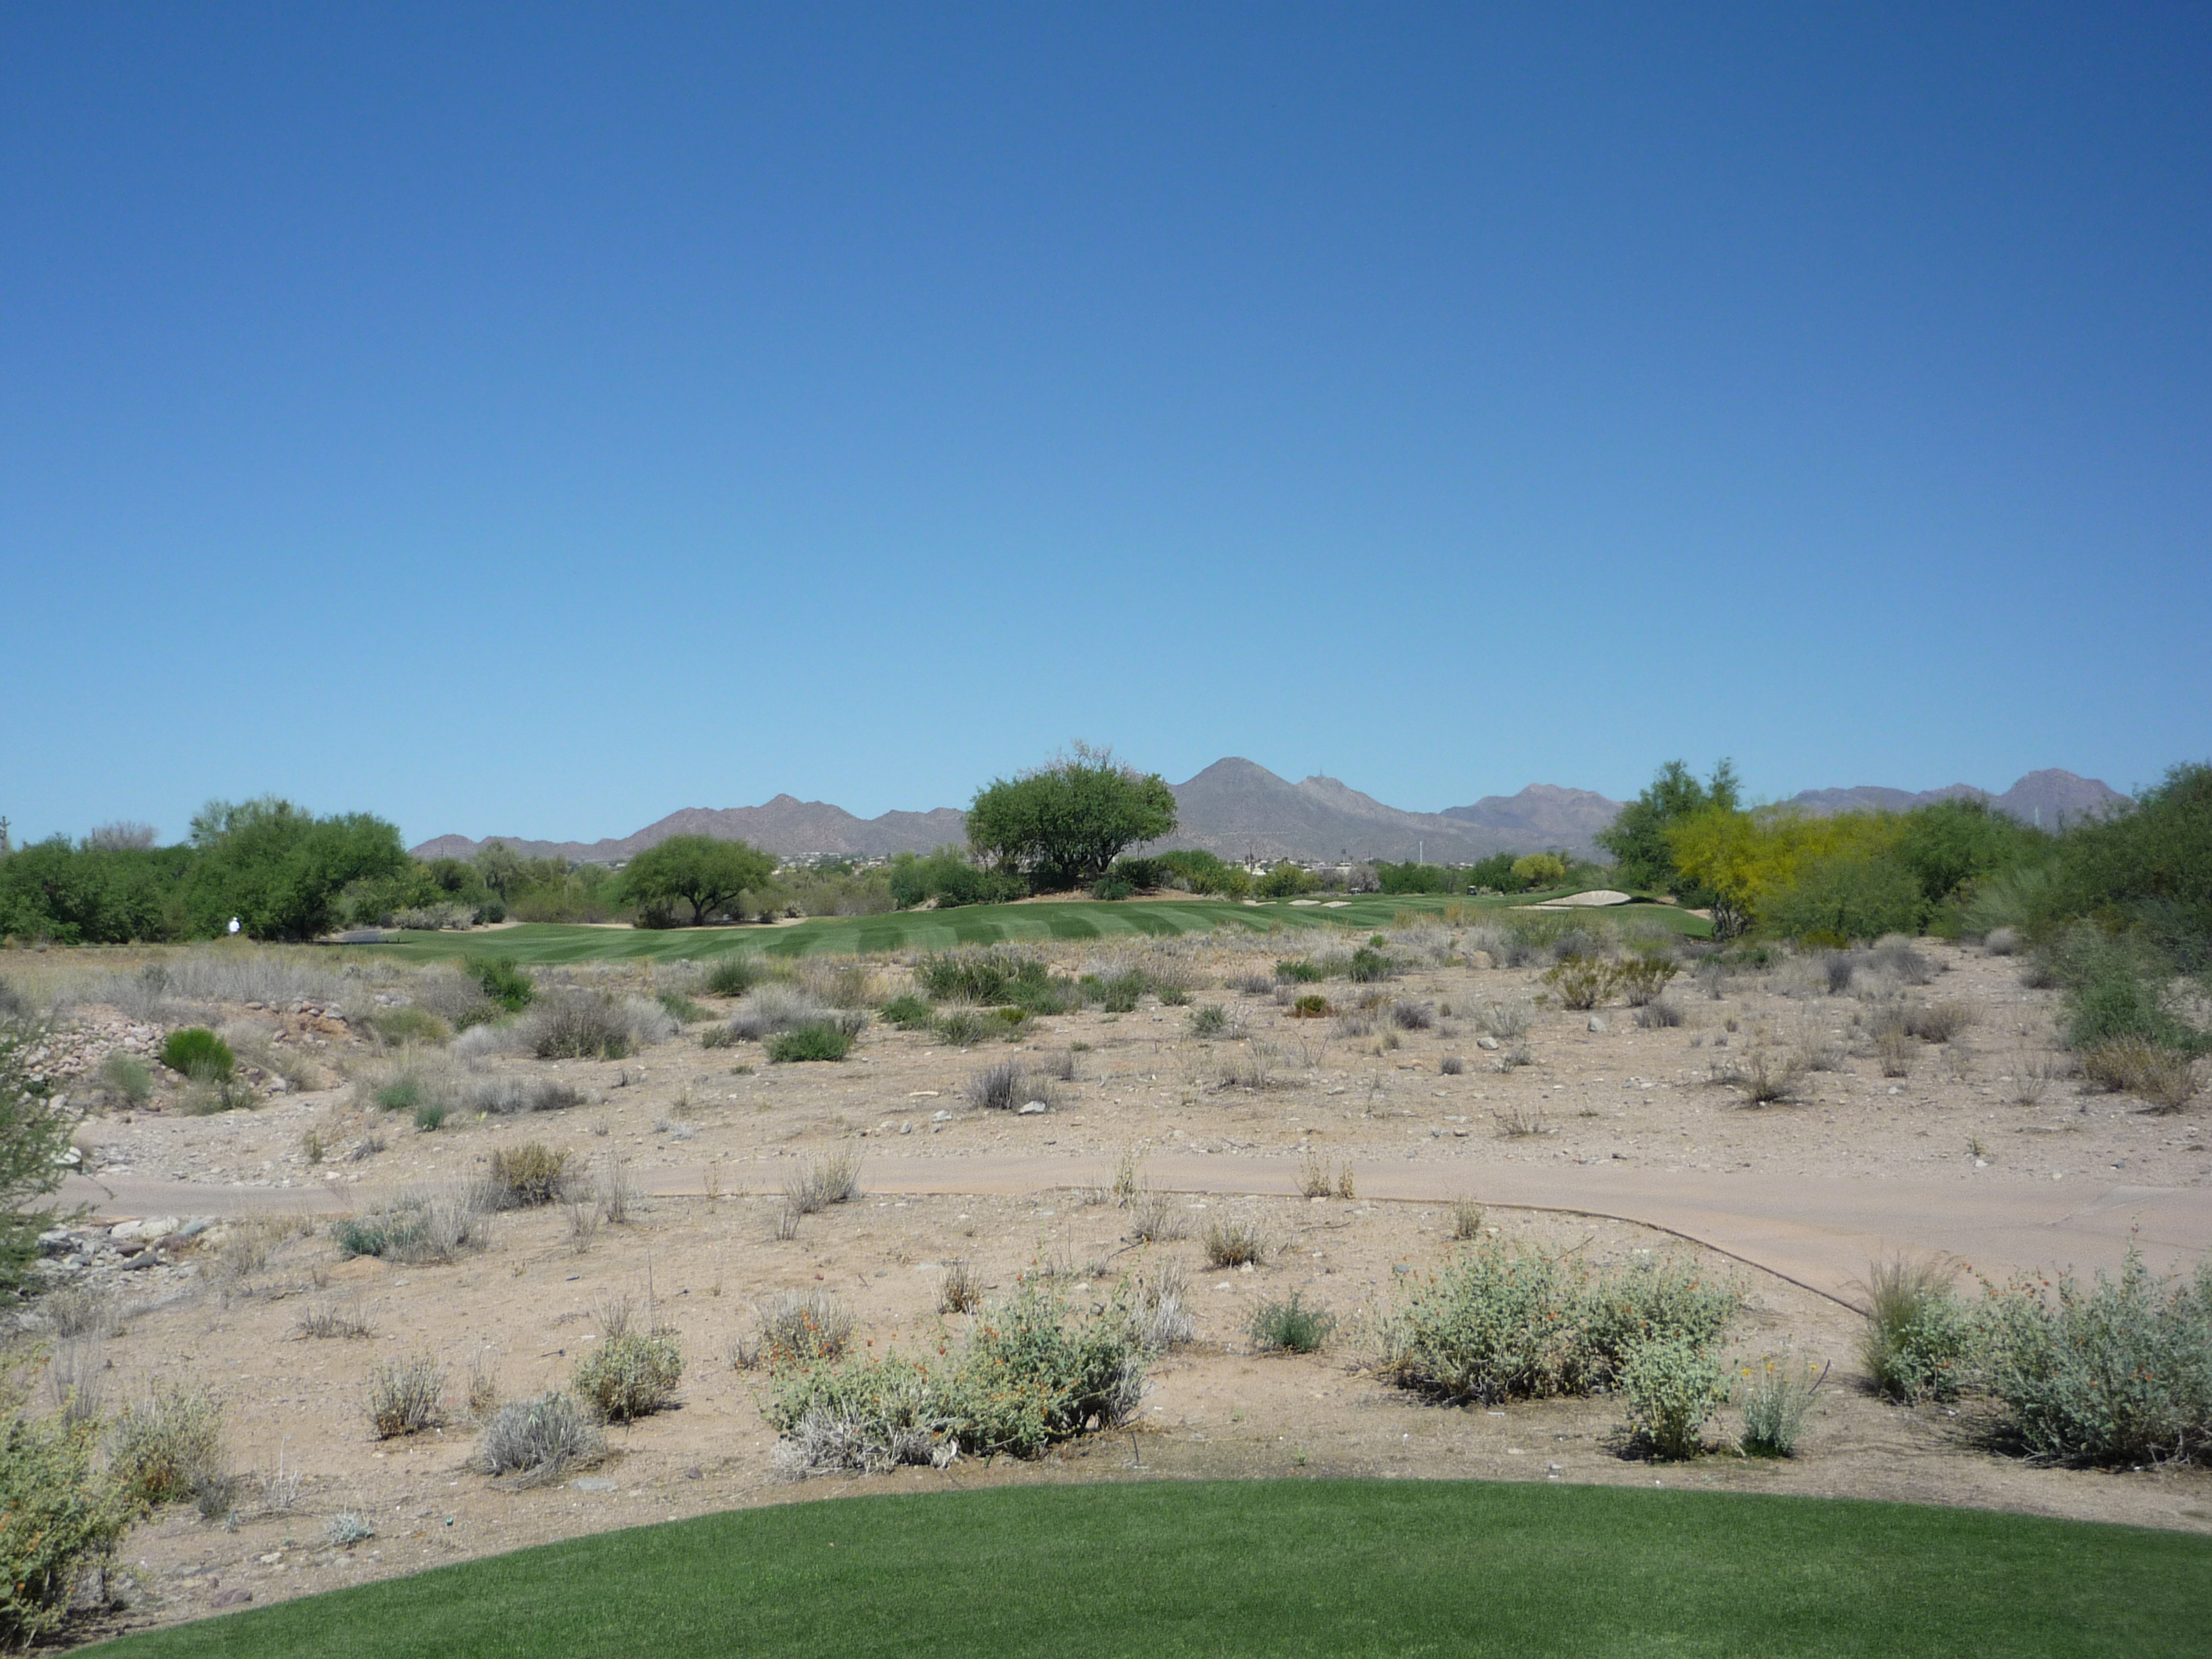
You have to cross mostly desert to get to this green. Luckily, it’s not too long.
The green has two bunkers on the right side, one short and one long. If you pull your shot there is some grass before it transitions to desert.
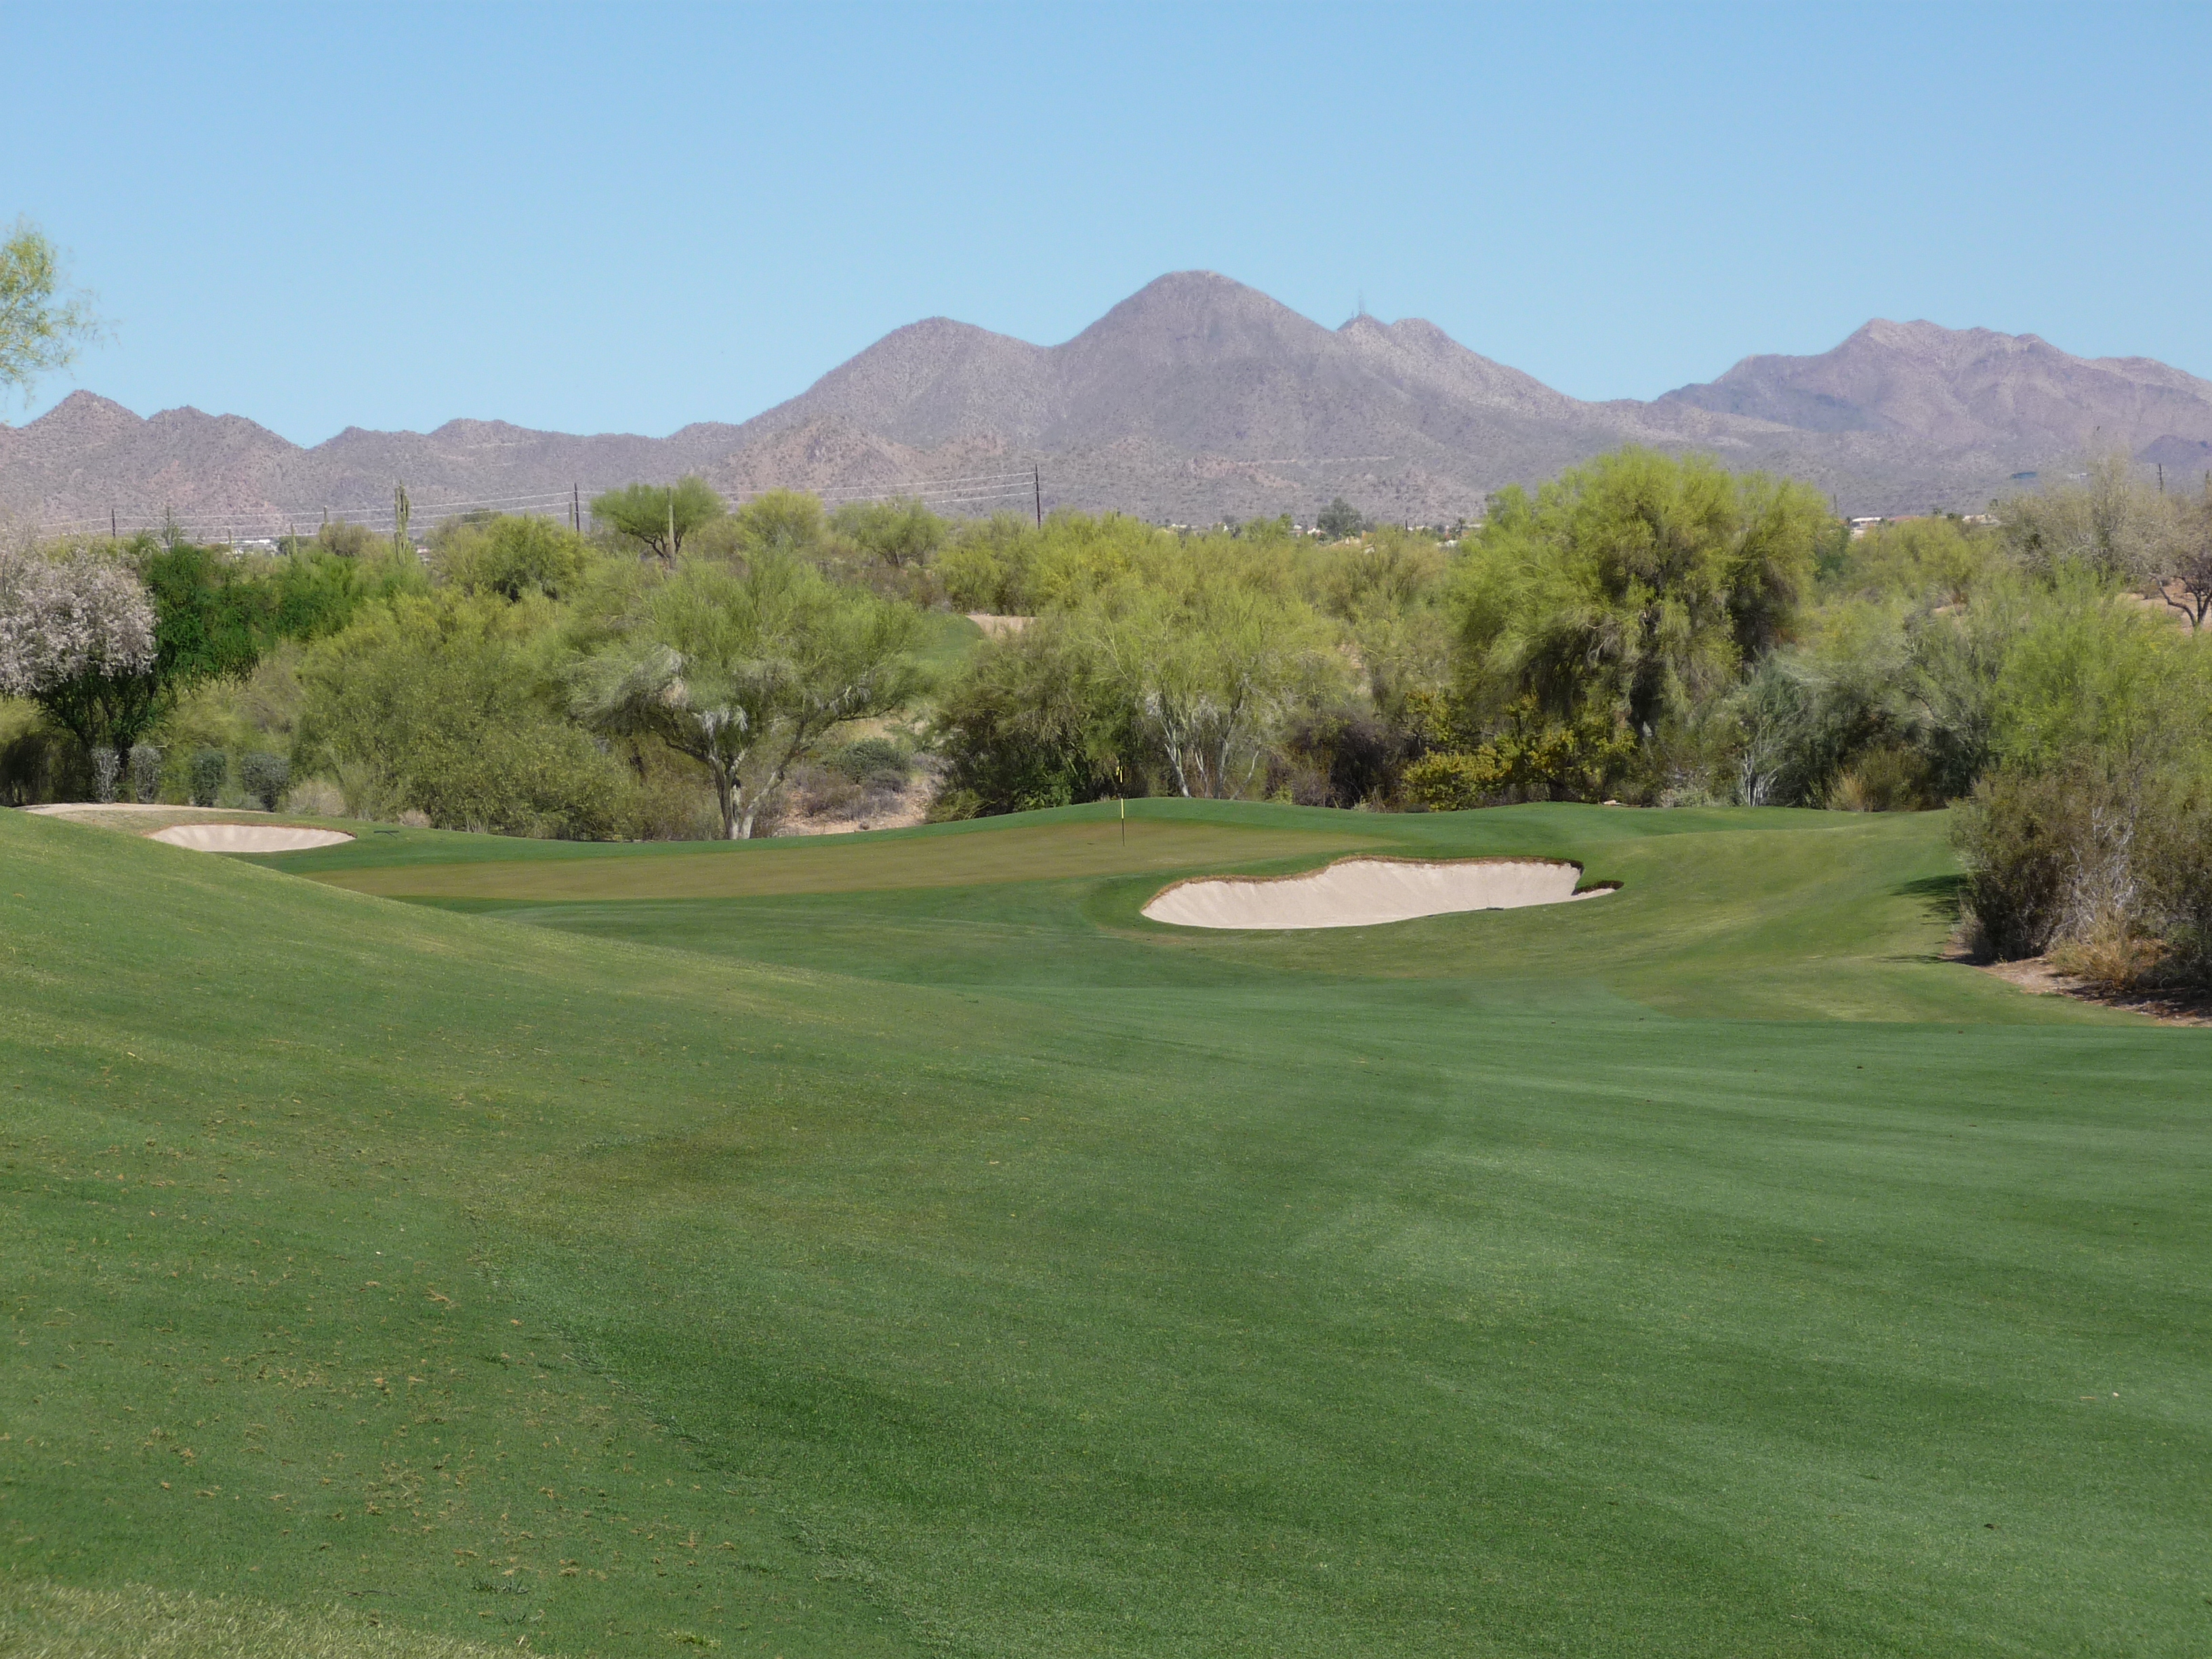
Hole 4 – 389 yards – Par 4
This hole is straightaway, but the fairway pinches in some about halfway home. A fade works best here.
I mentioned the fade because if you overcook a draw you can run through the fairway like I did. Below is the view down to the green from the left side of the fairway.
This angle is from short, right of the green. Two bunkers are present with short grass ringing the front.

Hole 5 – 155 yards – Par 3
We have another short par 3 here that is similar in length to the one before. It plays ever so slightly downhill with bunkers on the right and behind.

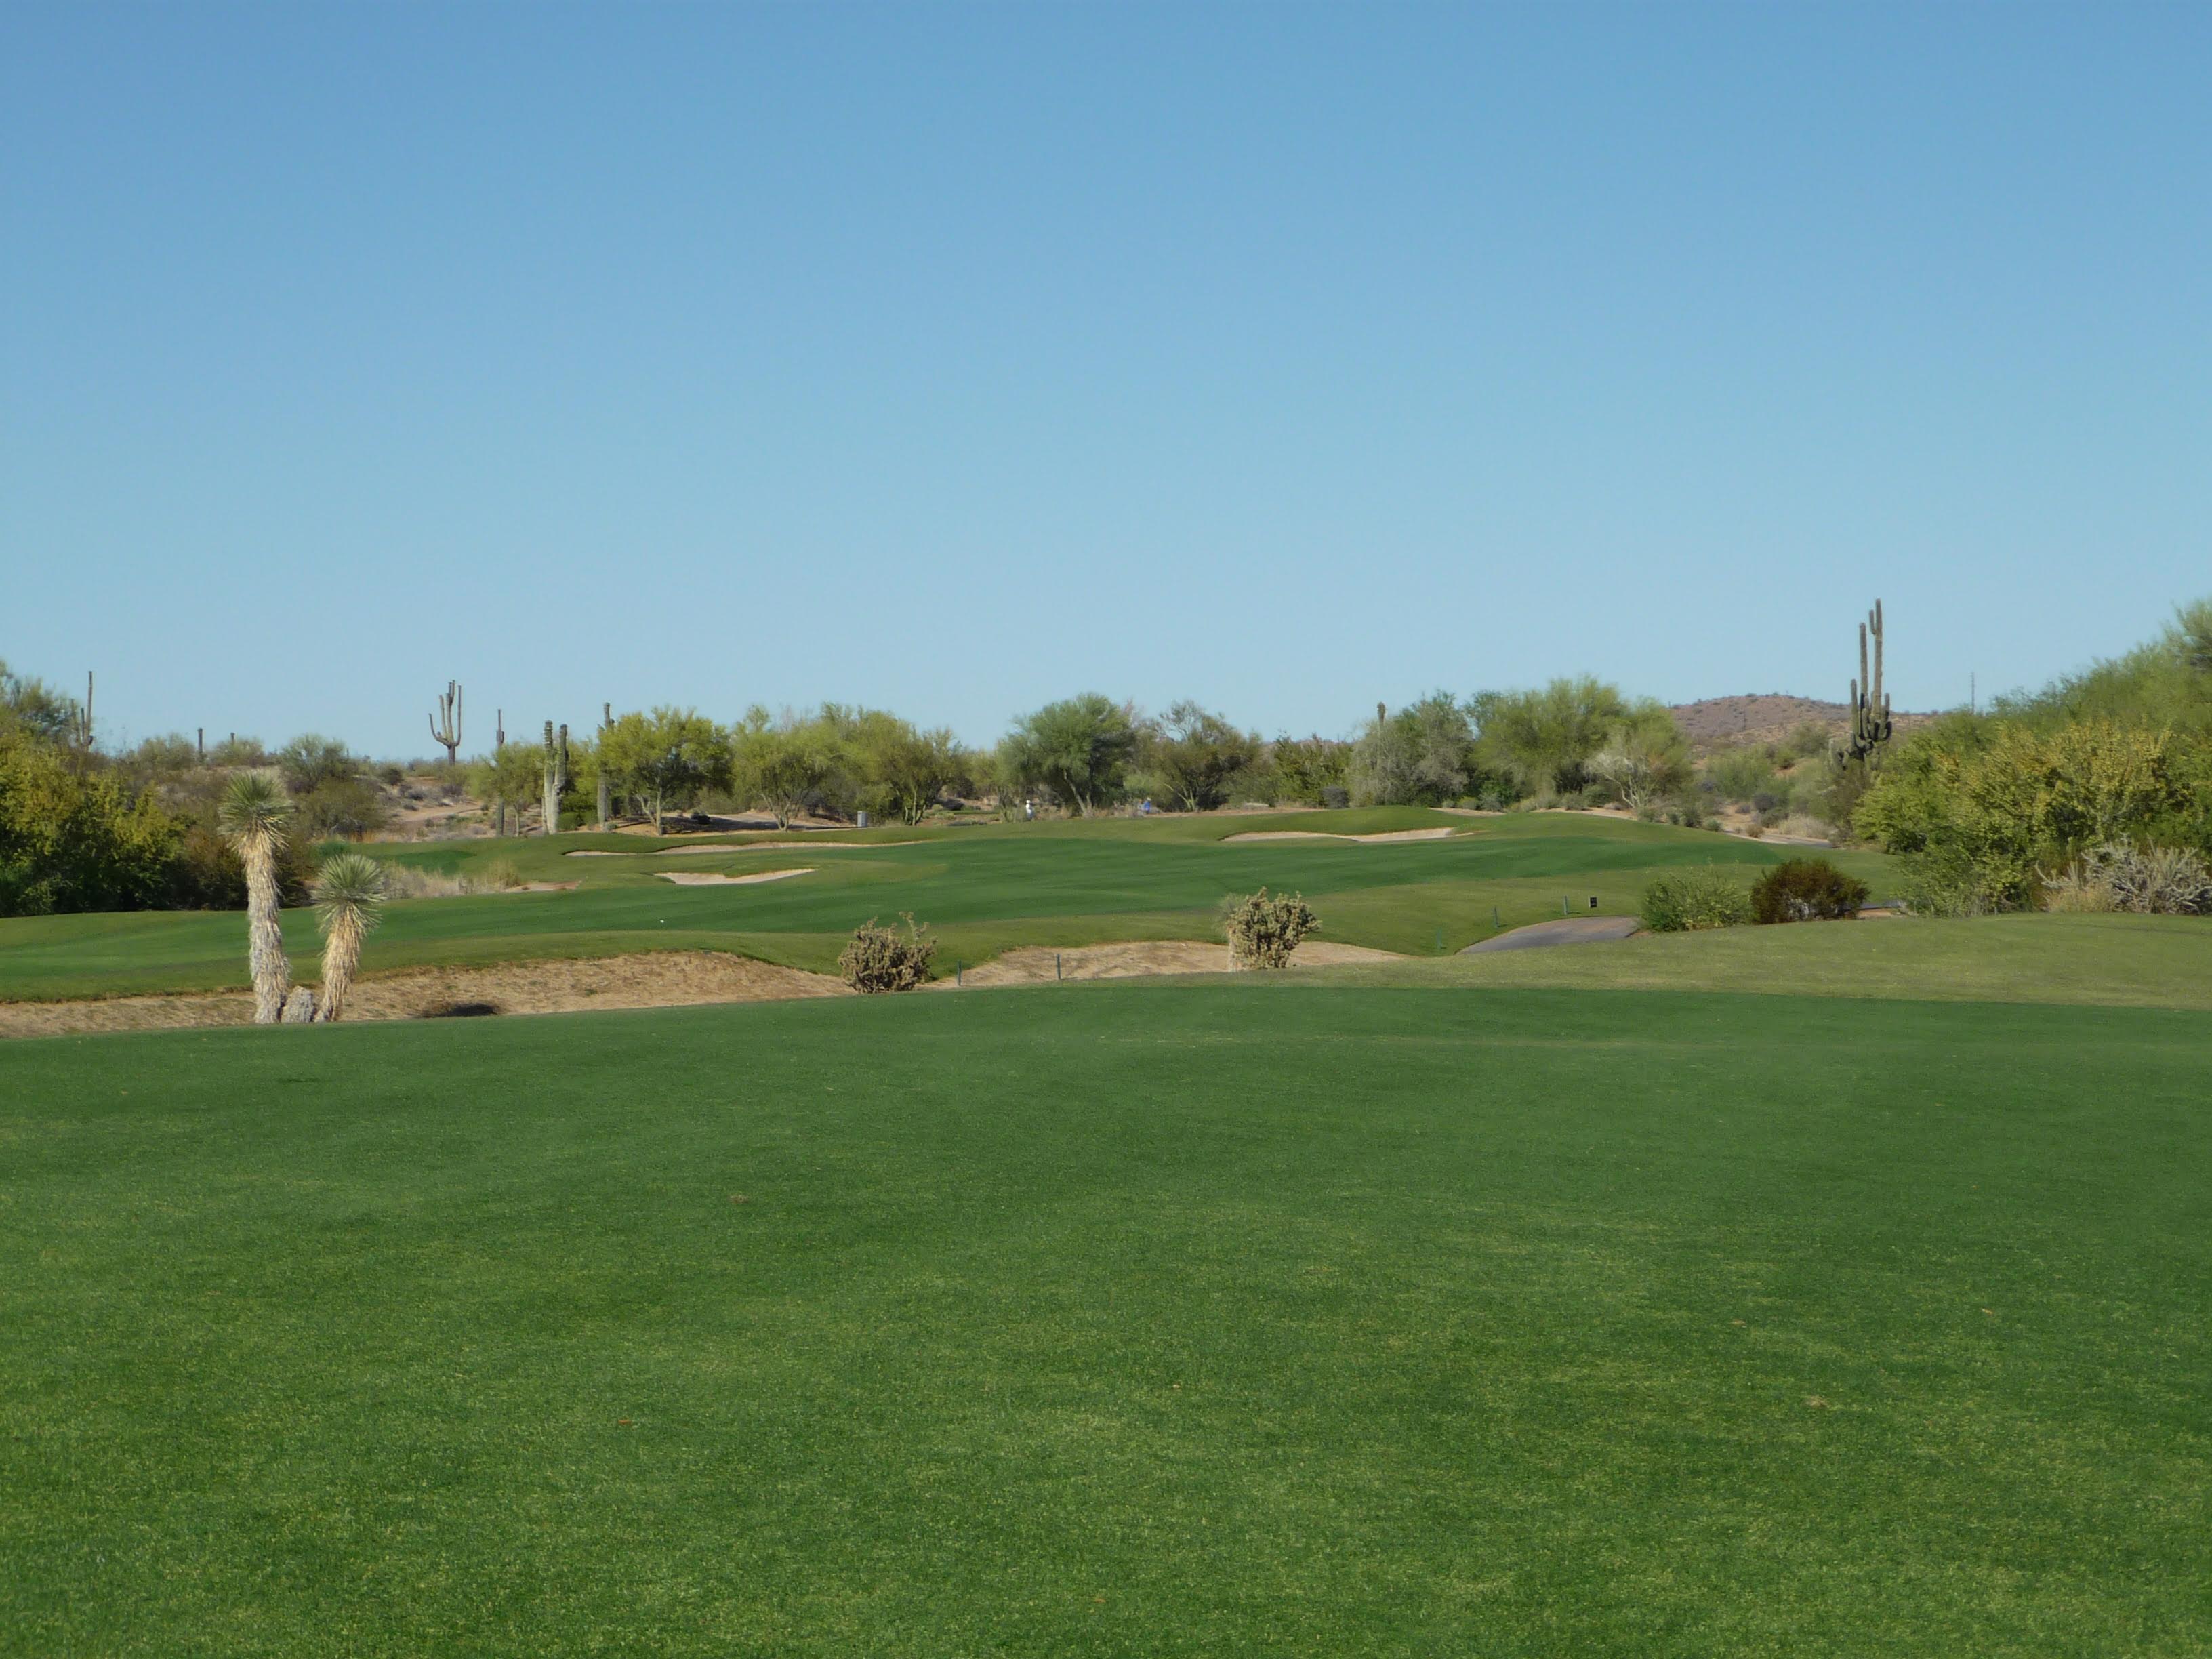
Hole 6 – 371 yards – Par 4
The fairway is angled to the tee boxes on this hole that moves to the right. Picking an aim point is crucial as you need to match up the distance and line correctly.
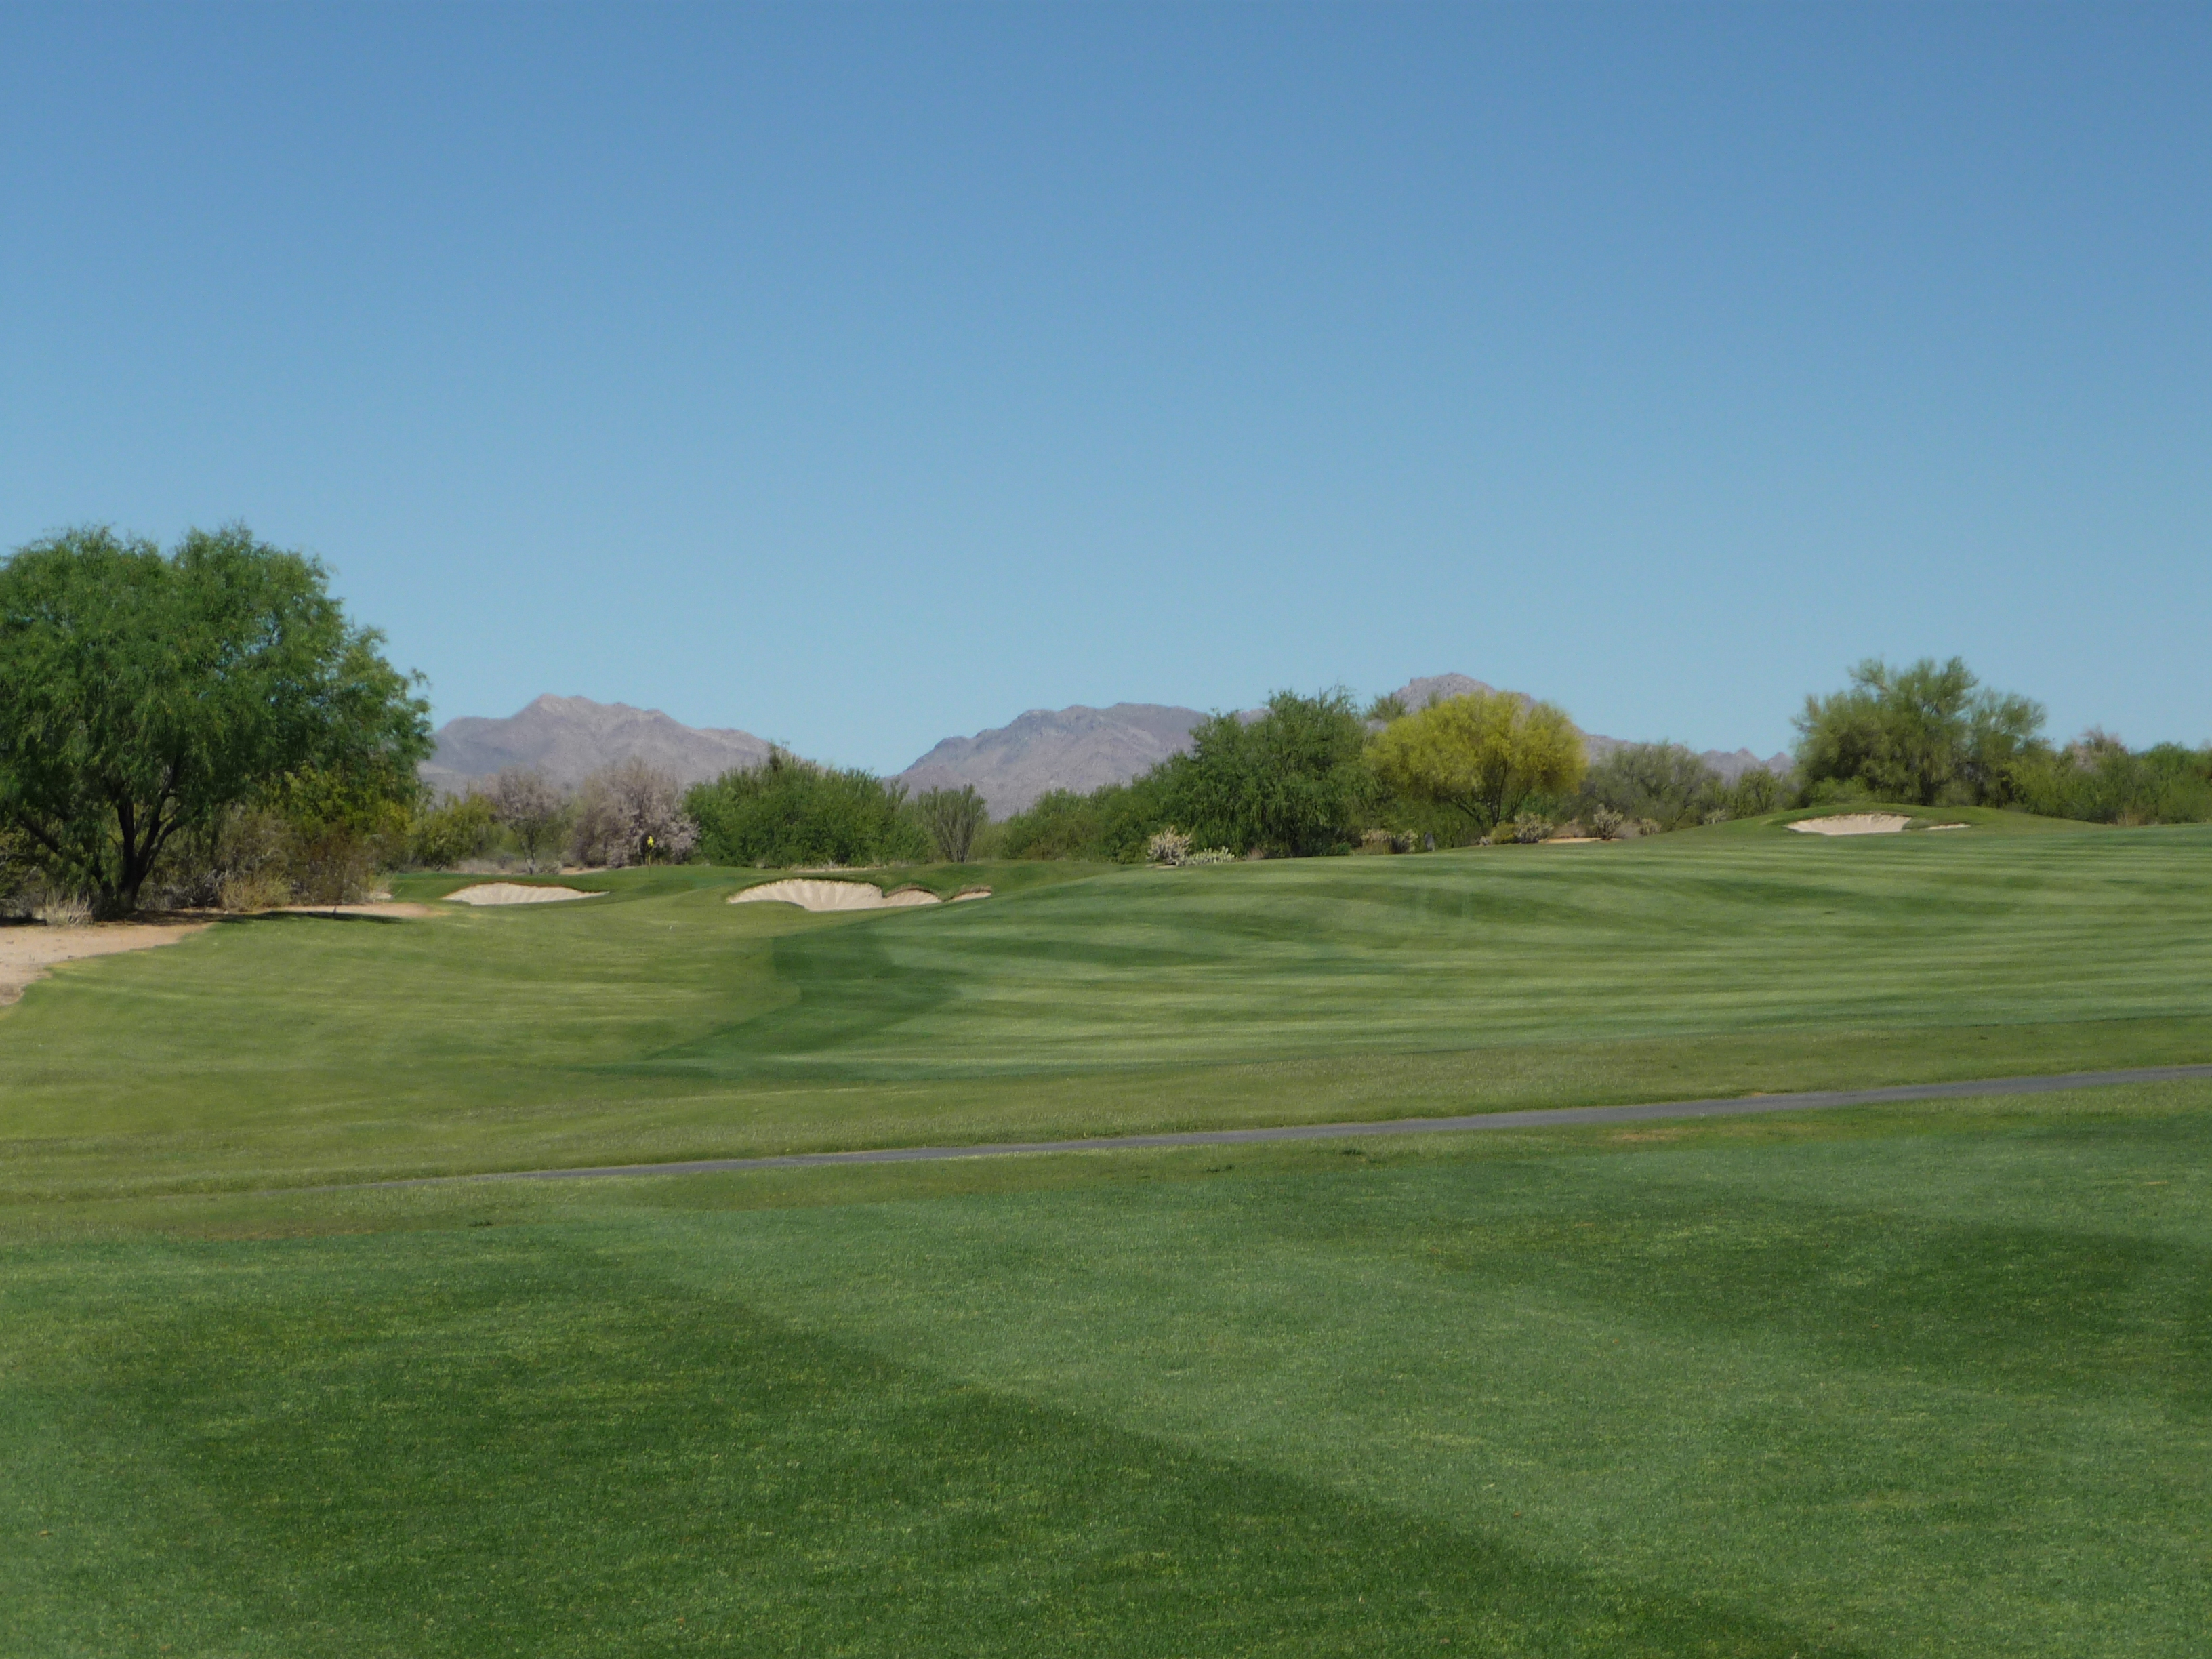
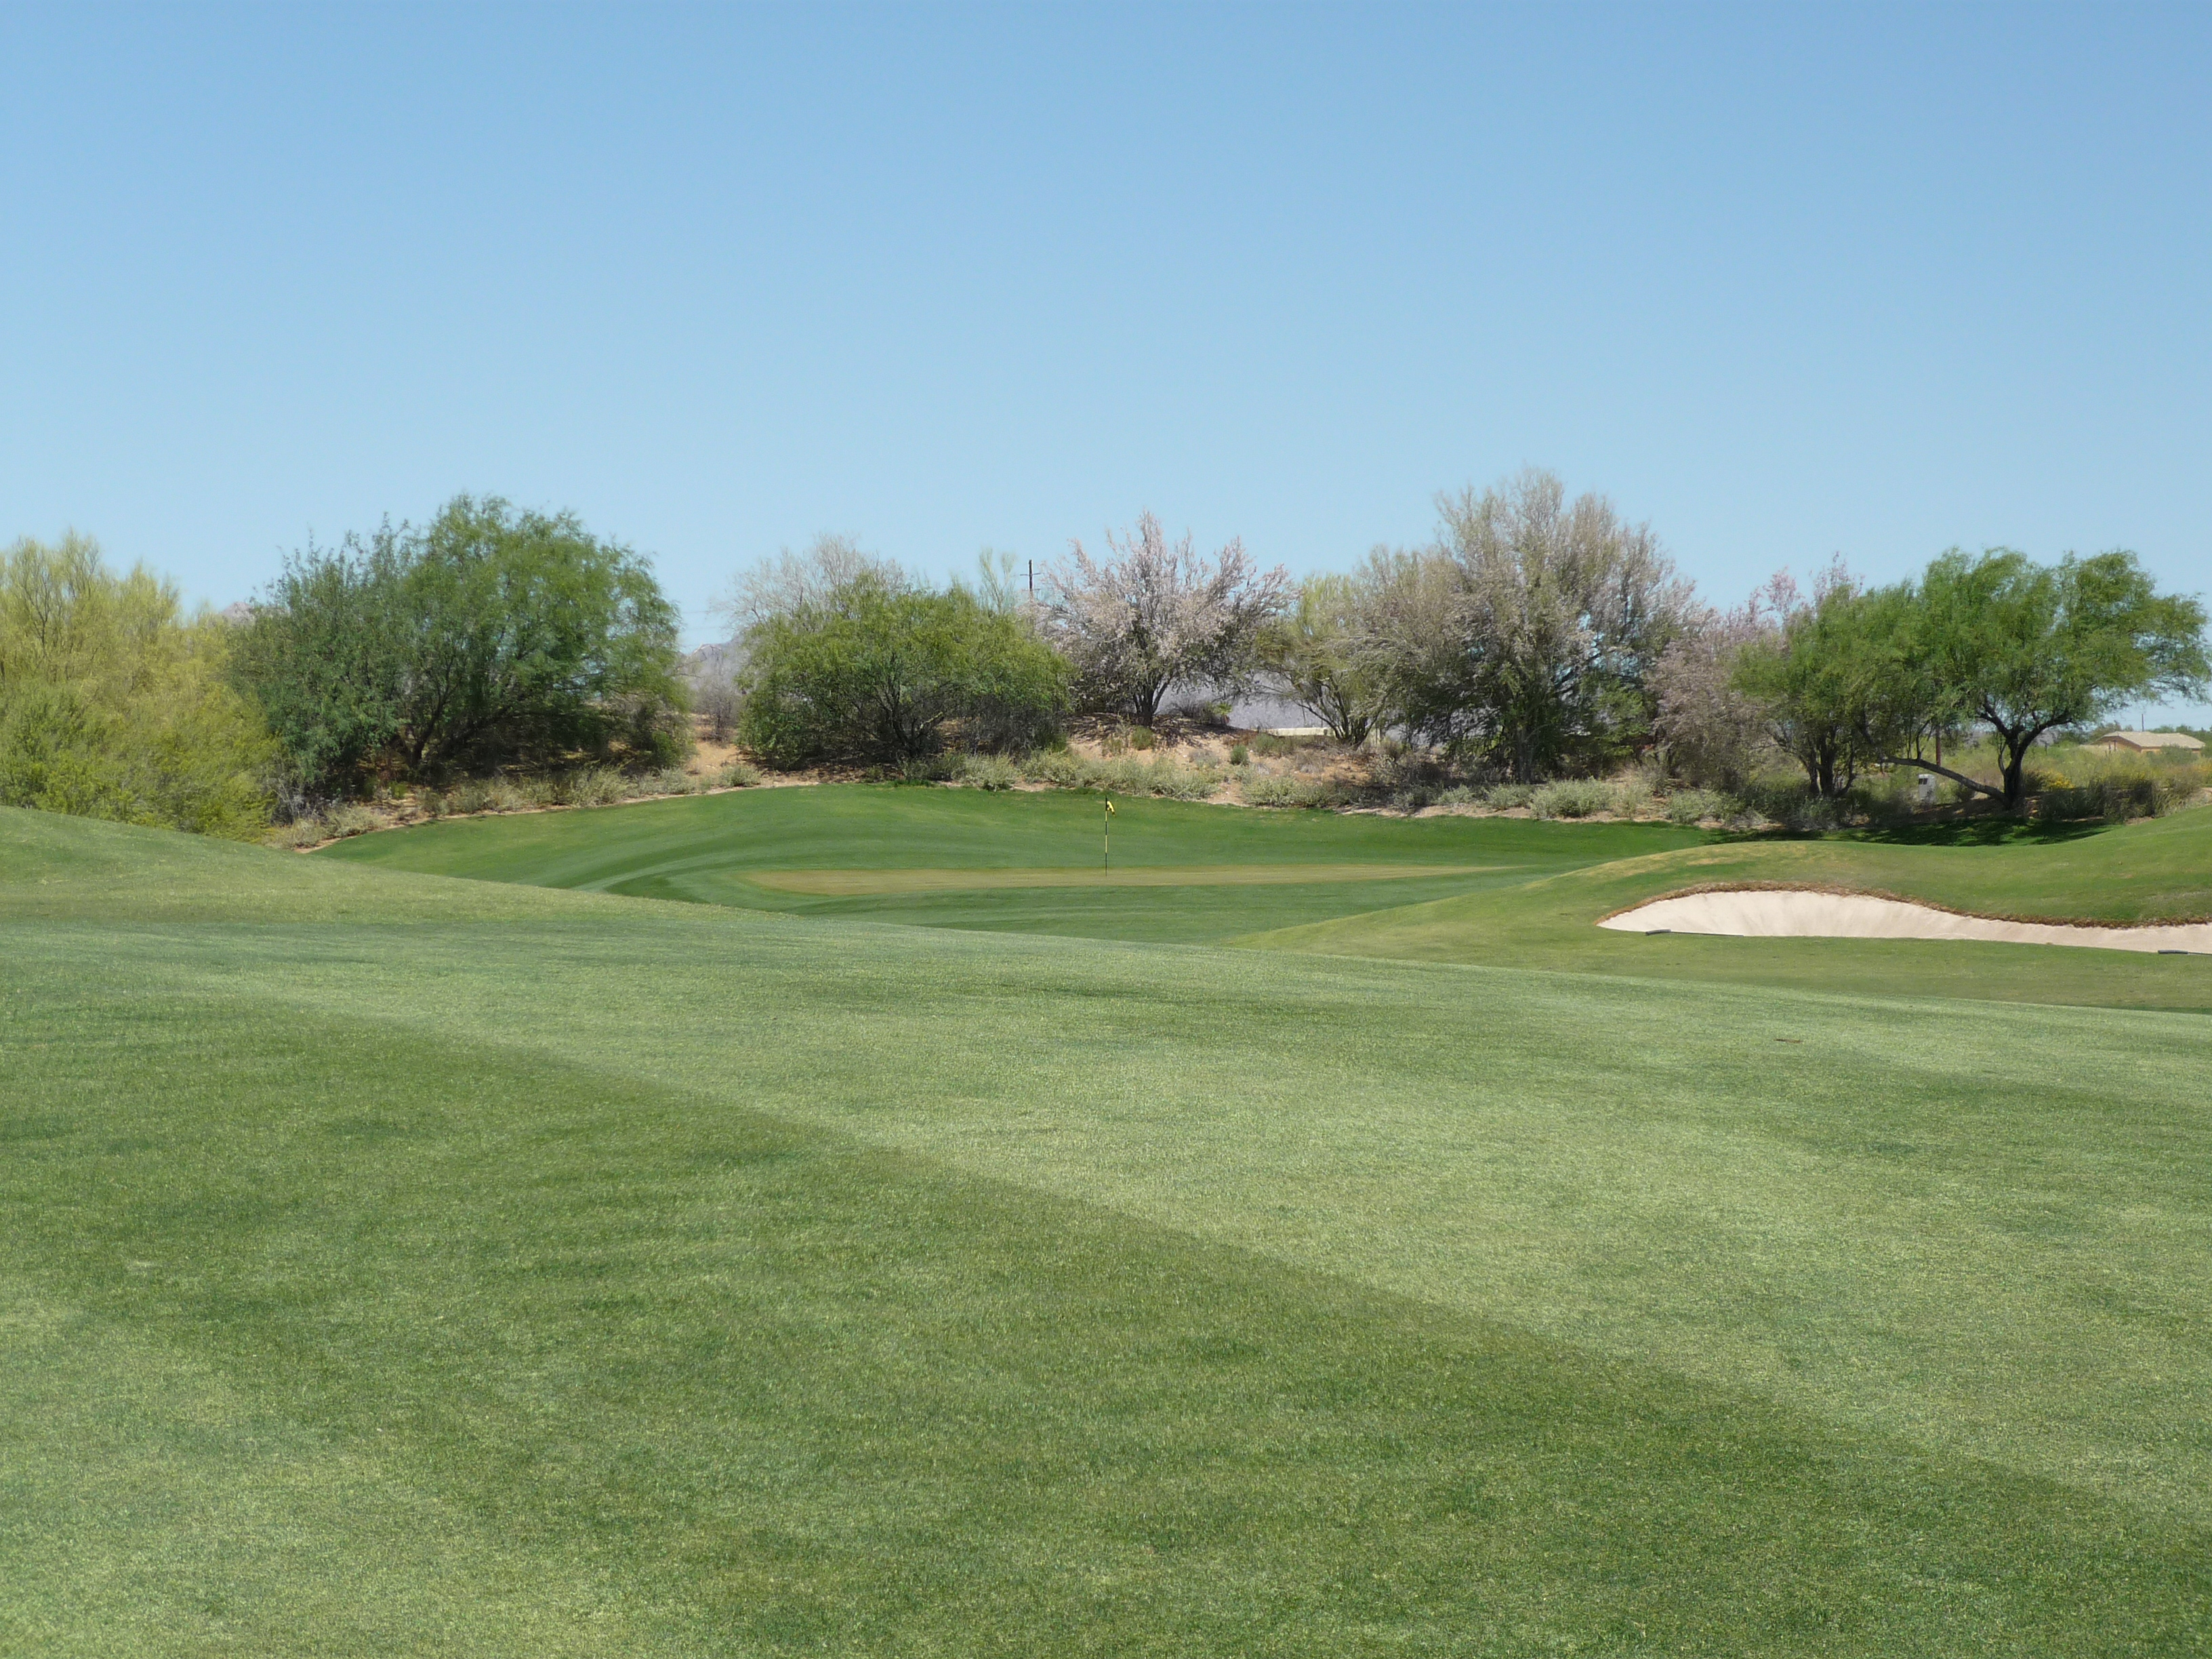
The photo below illustrates the slope found in the fairway. The green provides a large target.
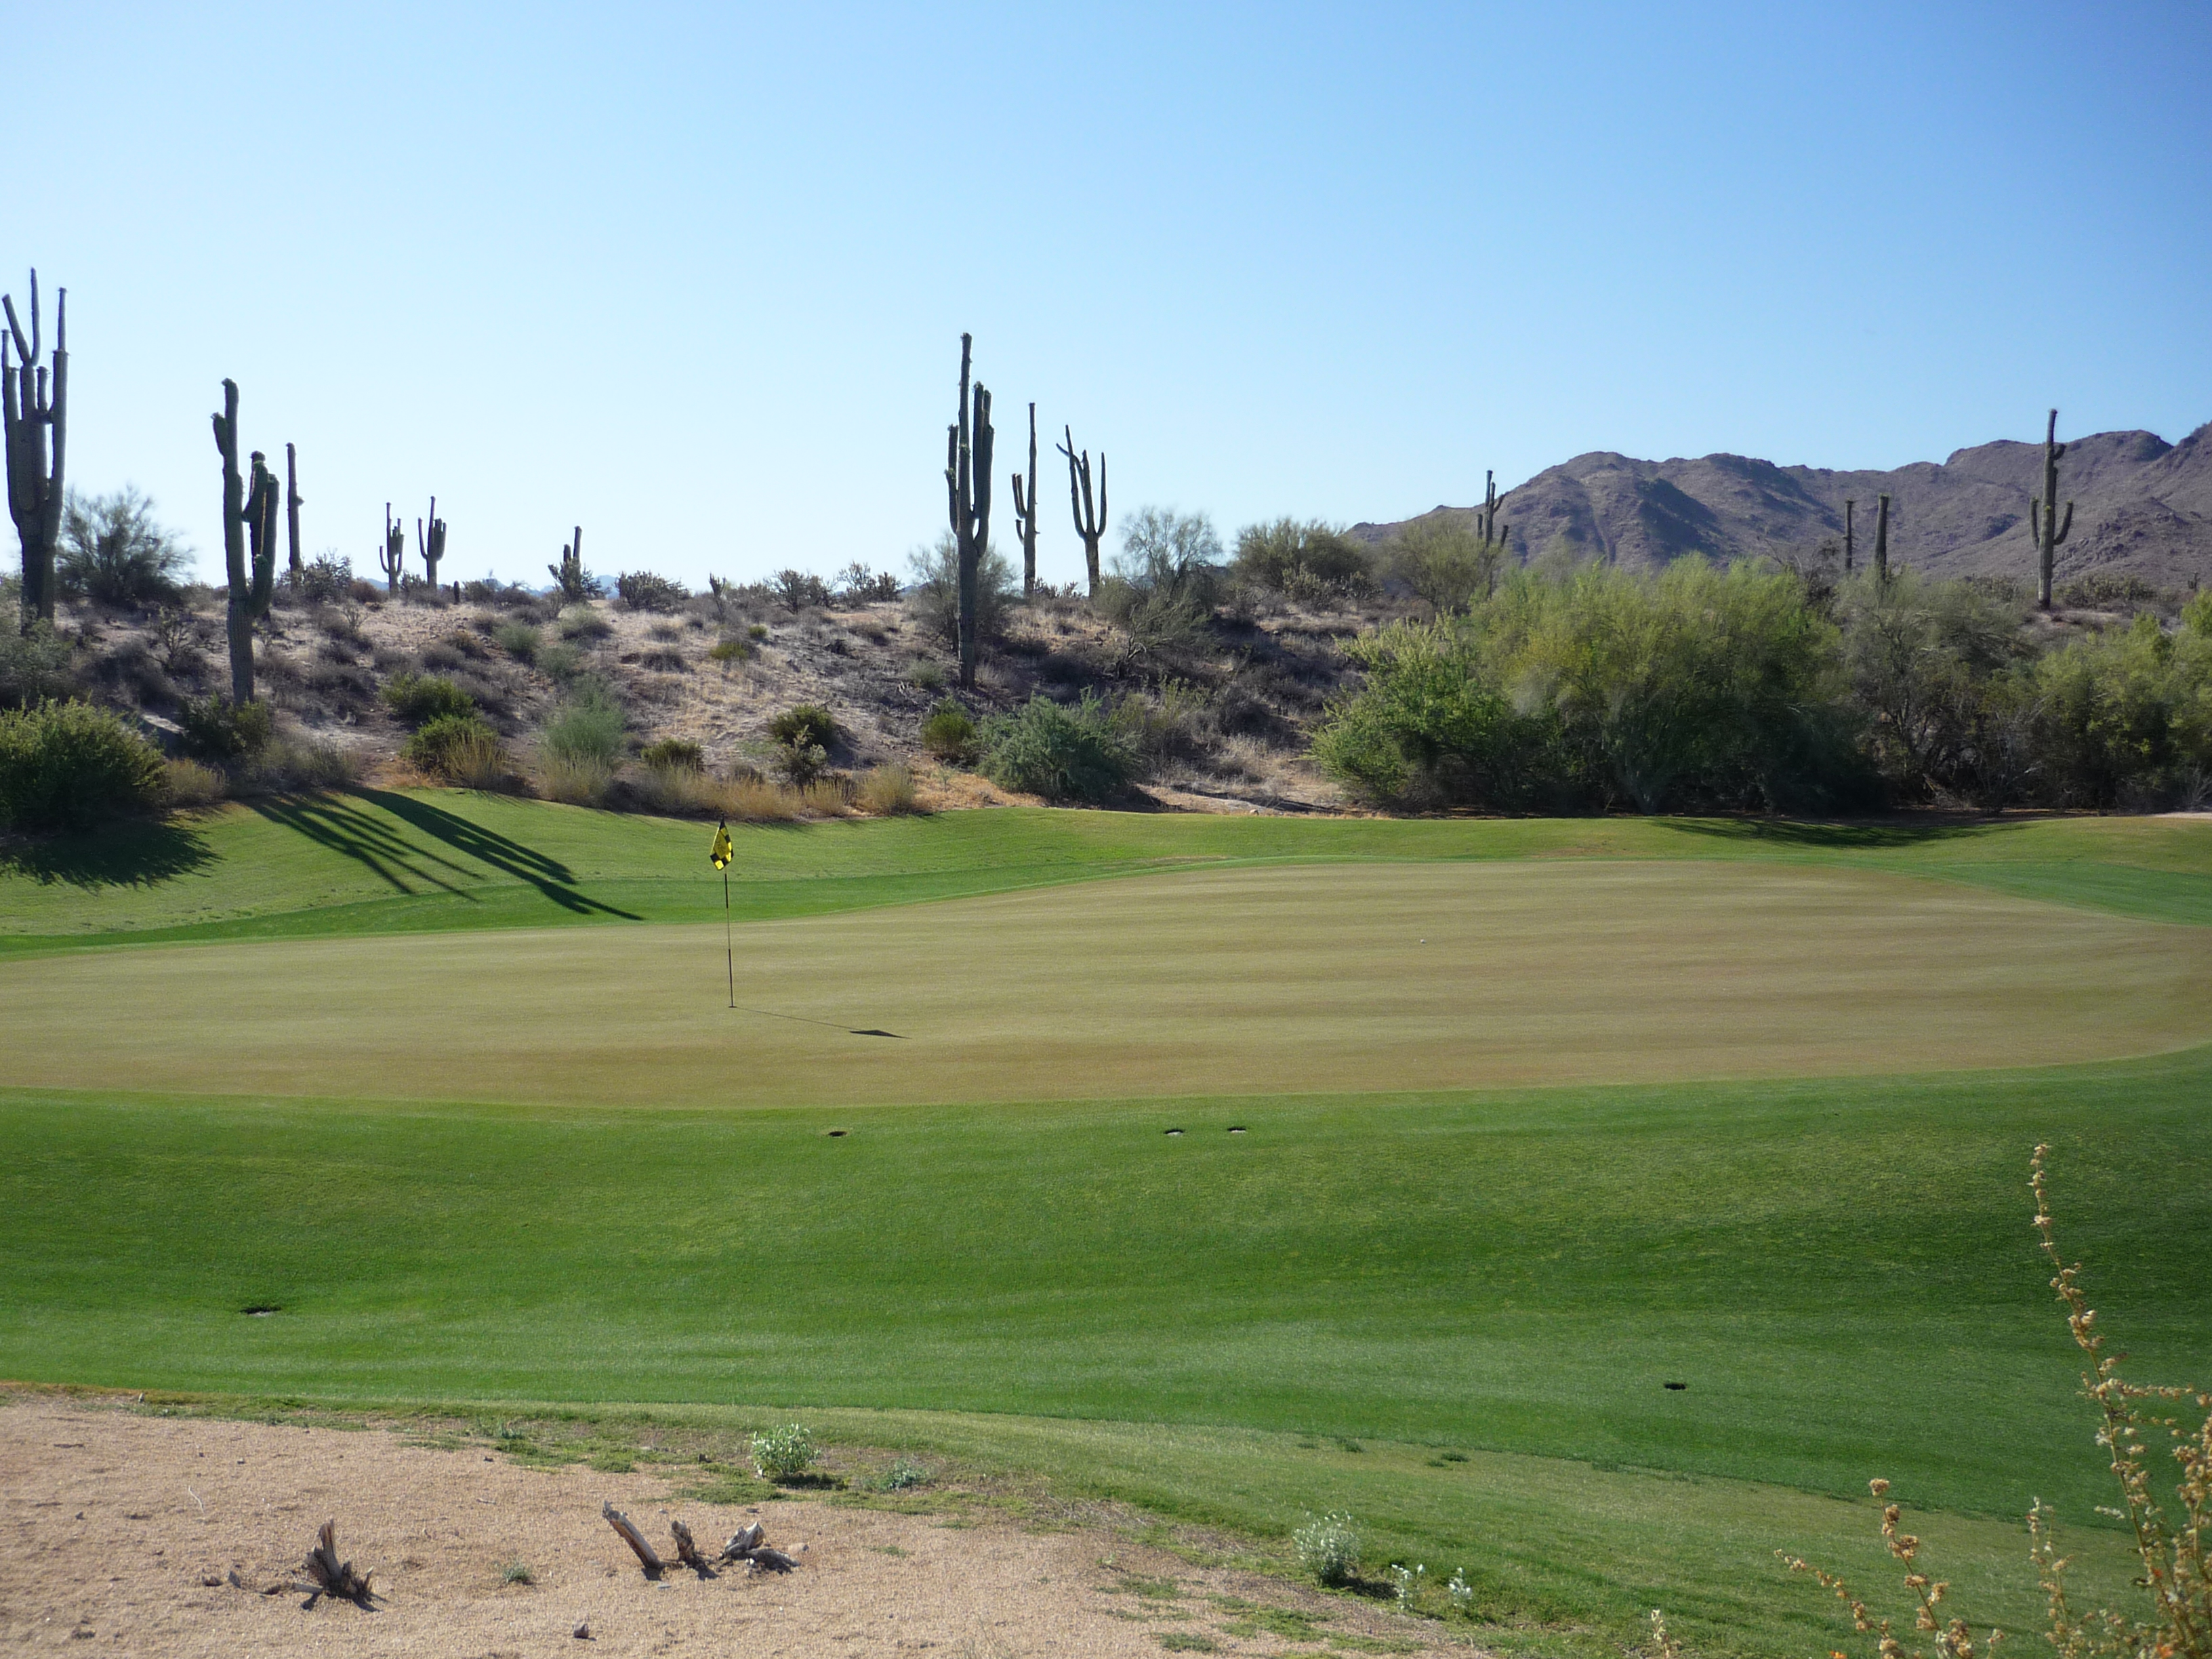
Here is a closer look at the green and back down the fairway.
Hole 7 – 323 yards – Par 4
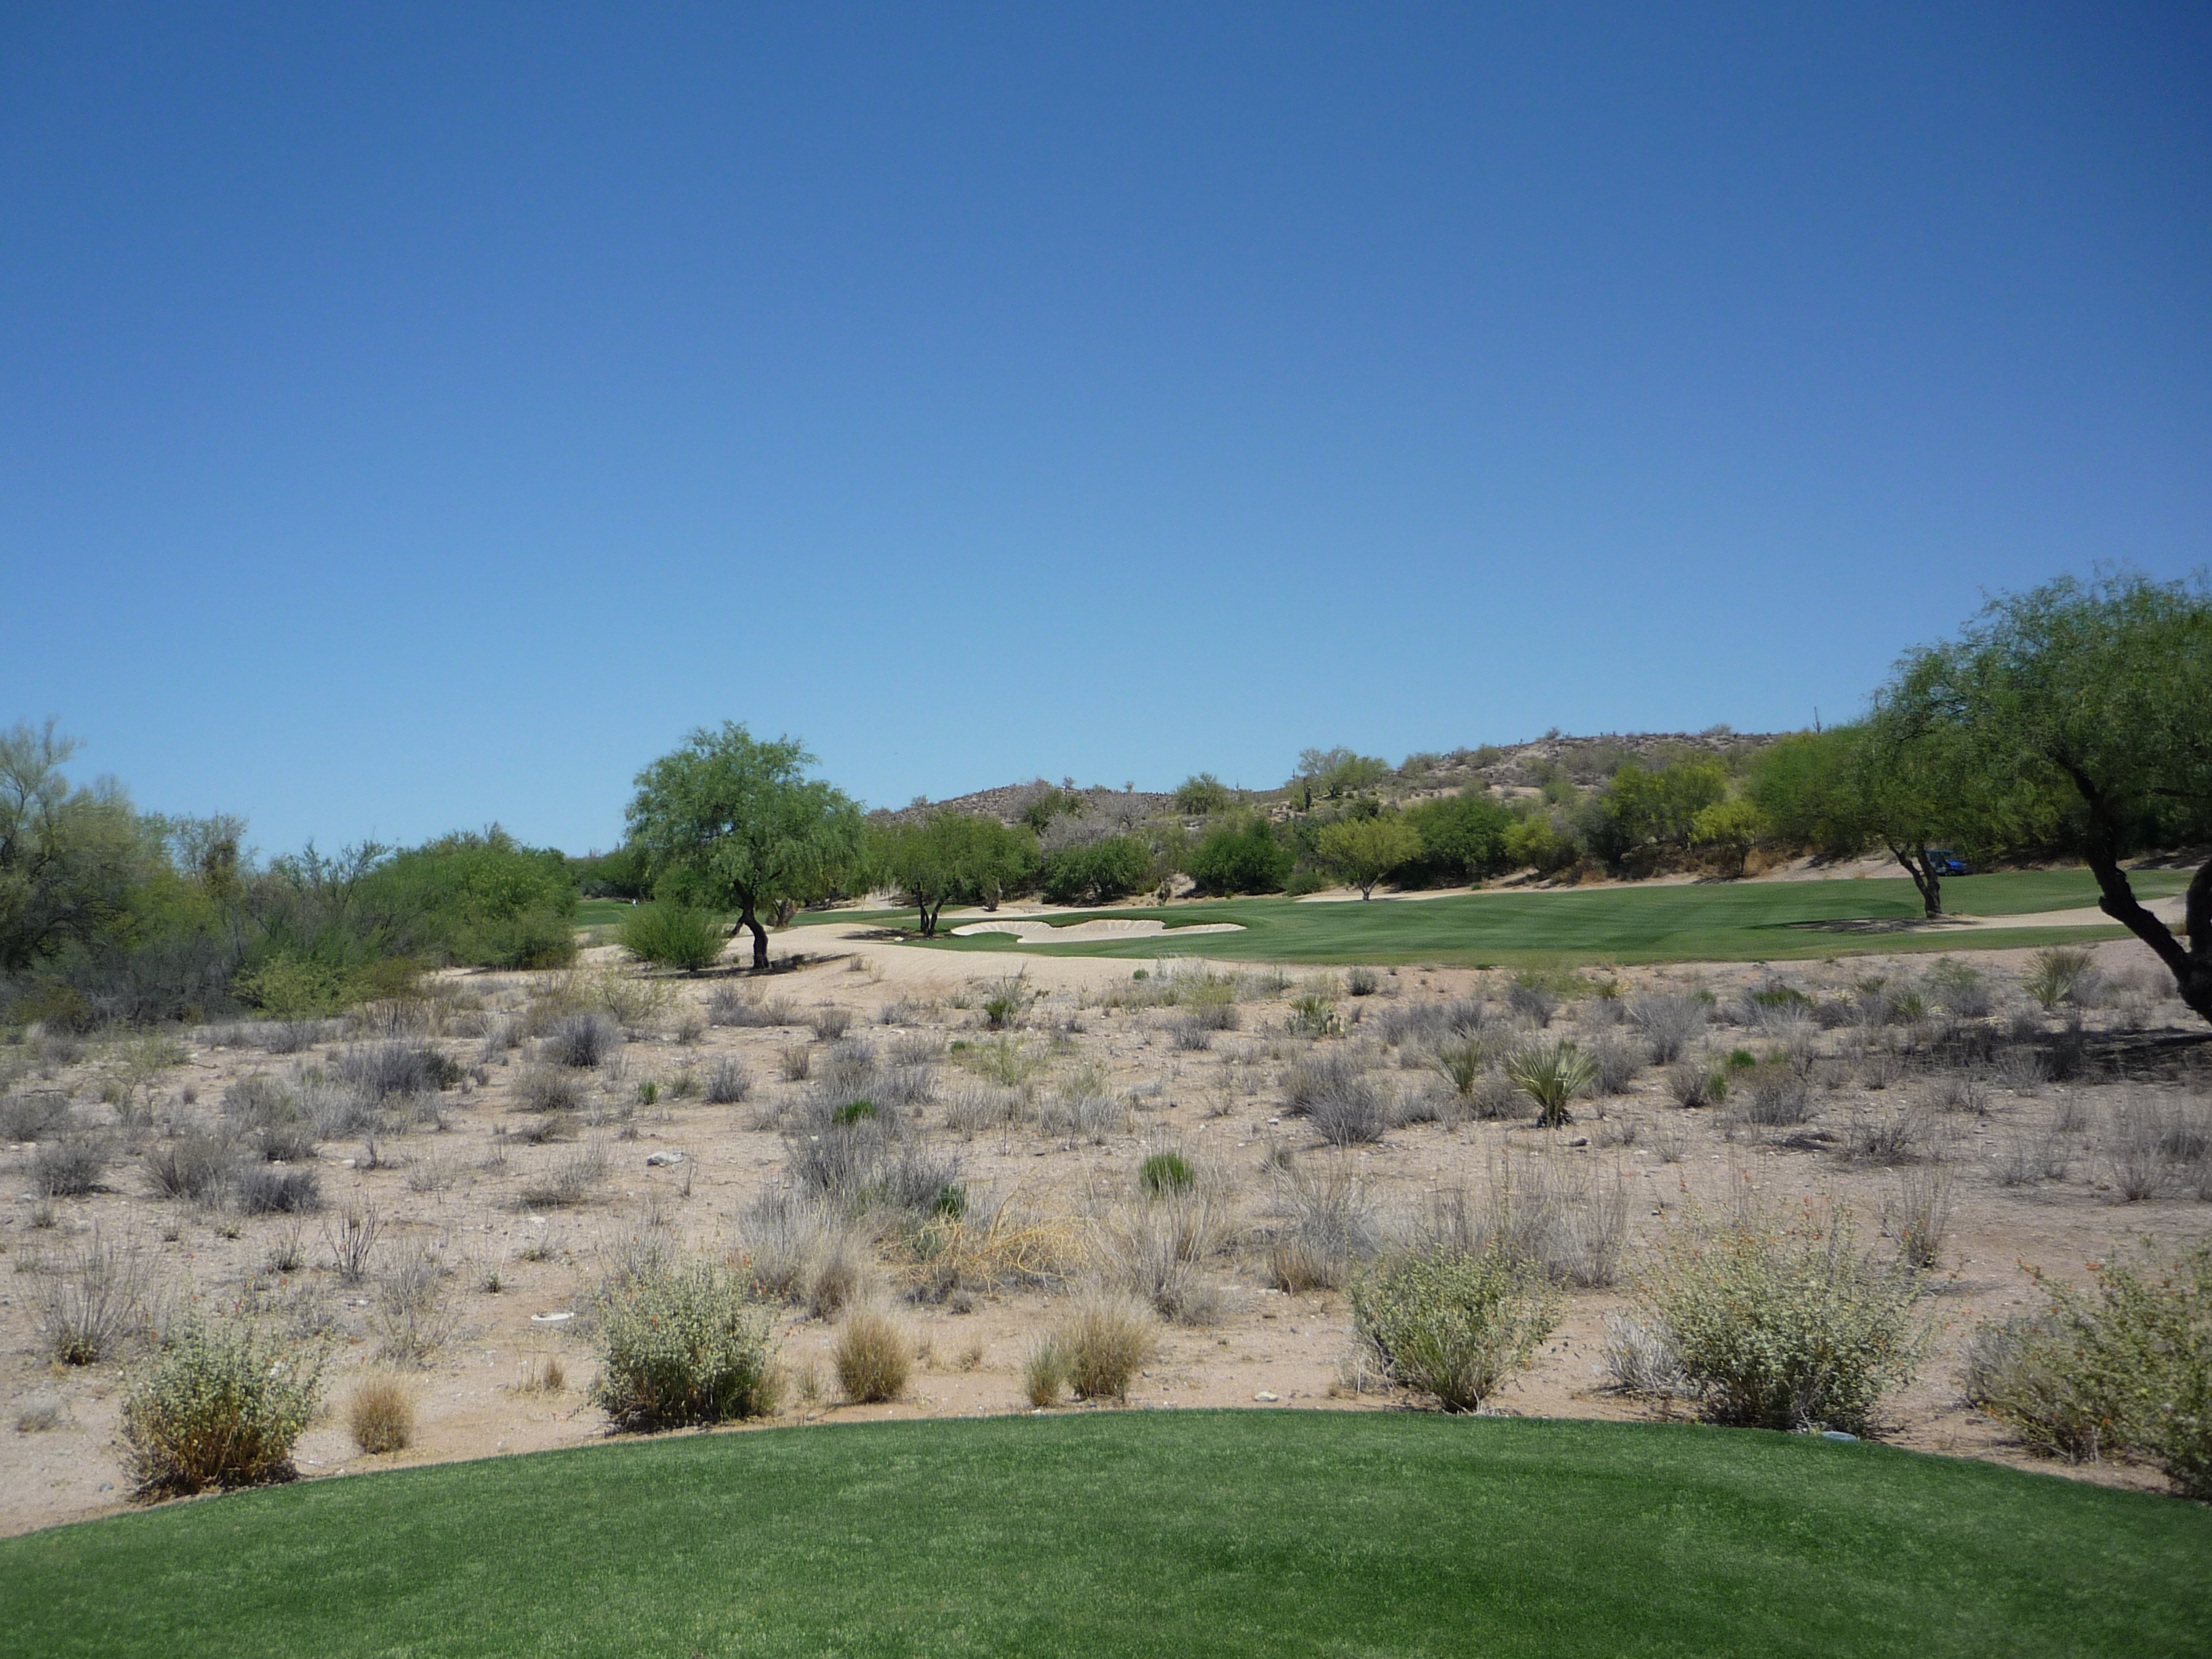
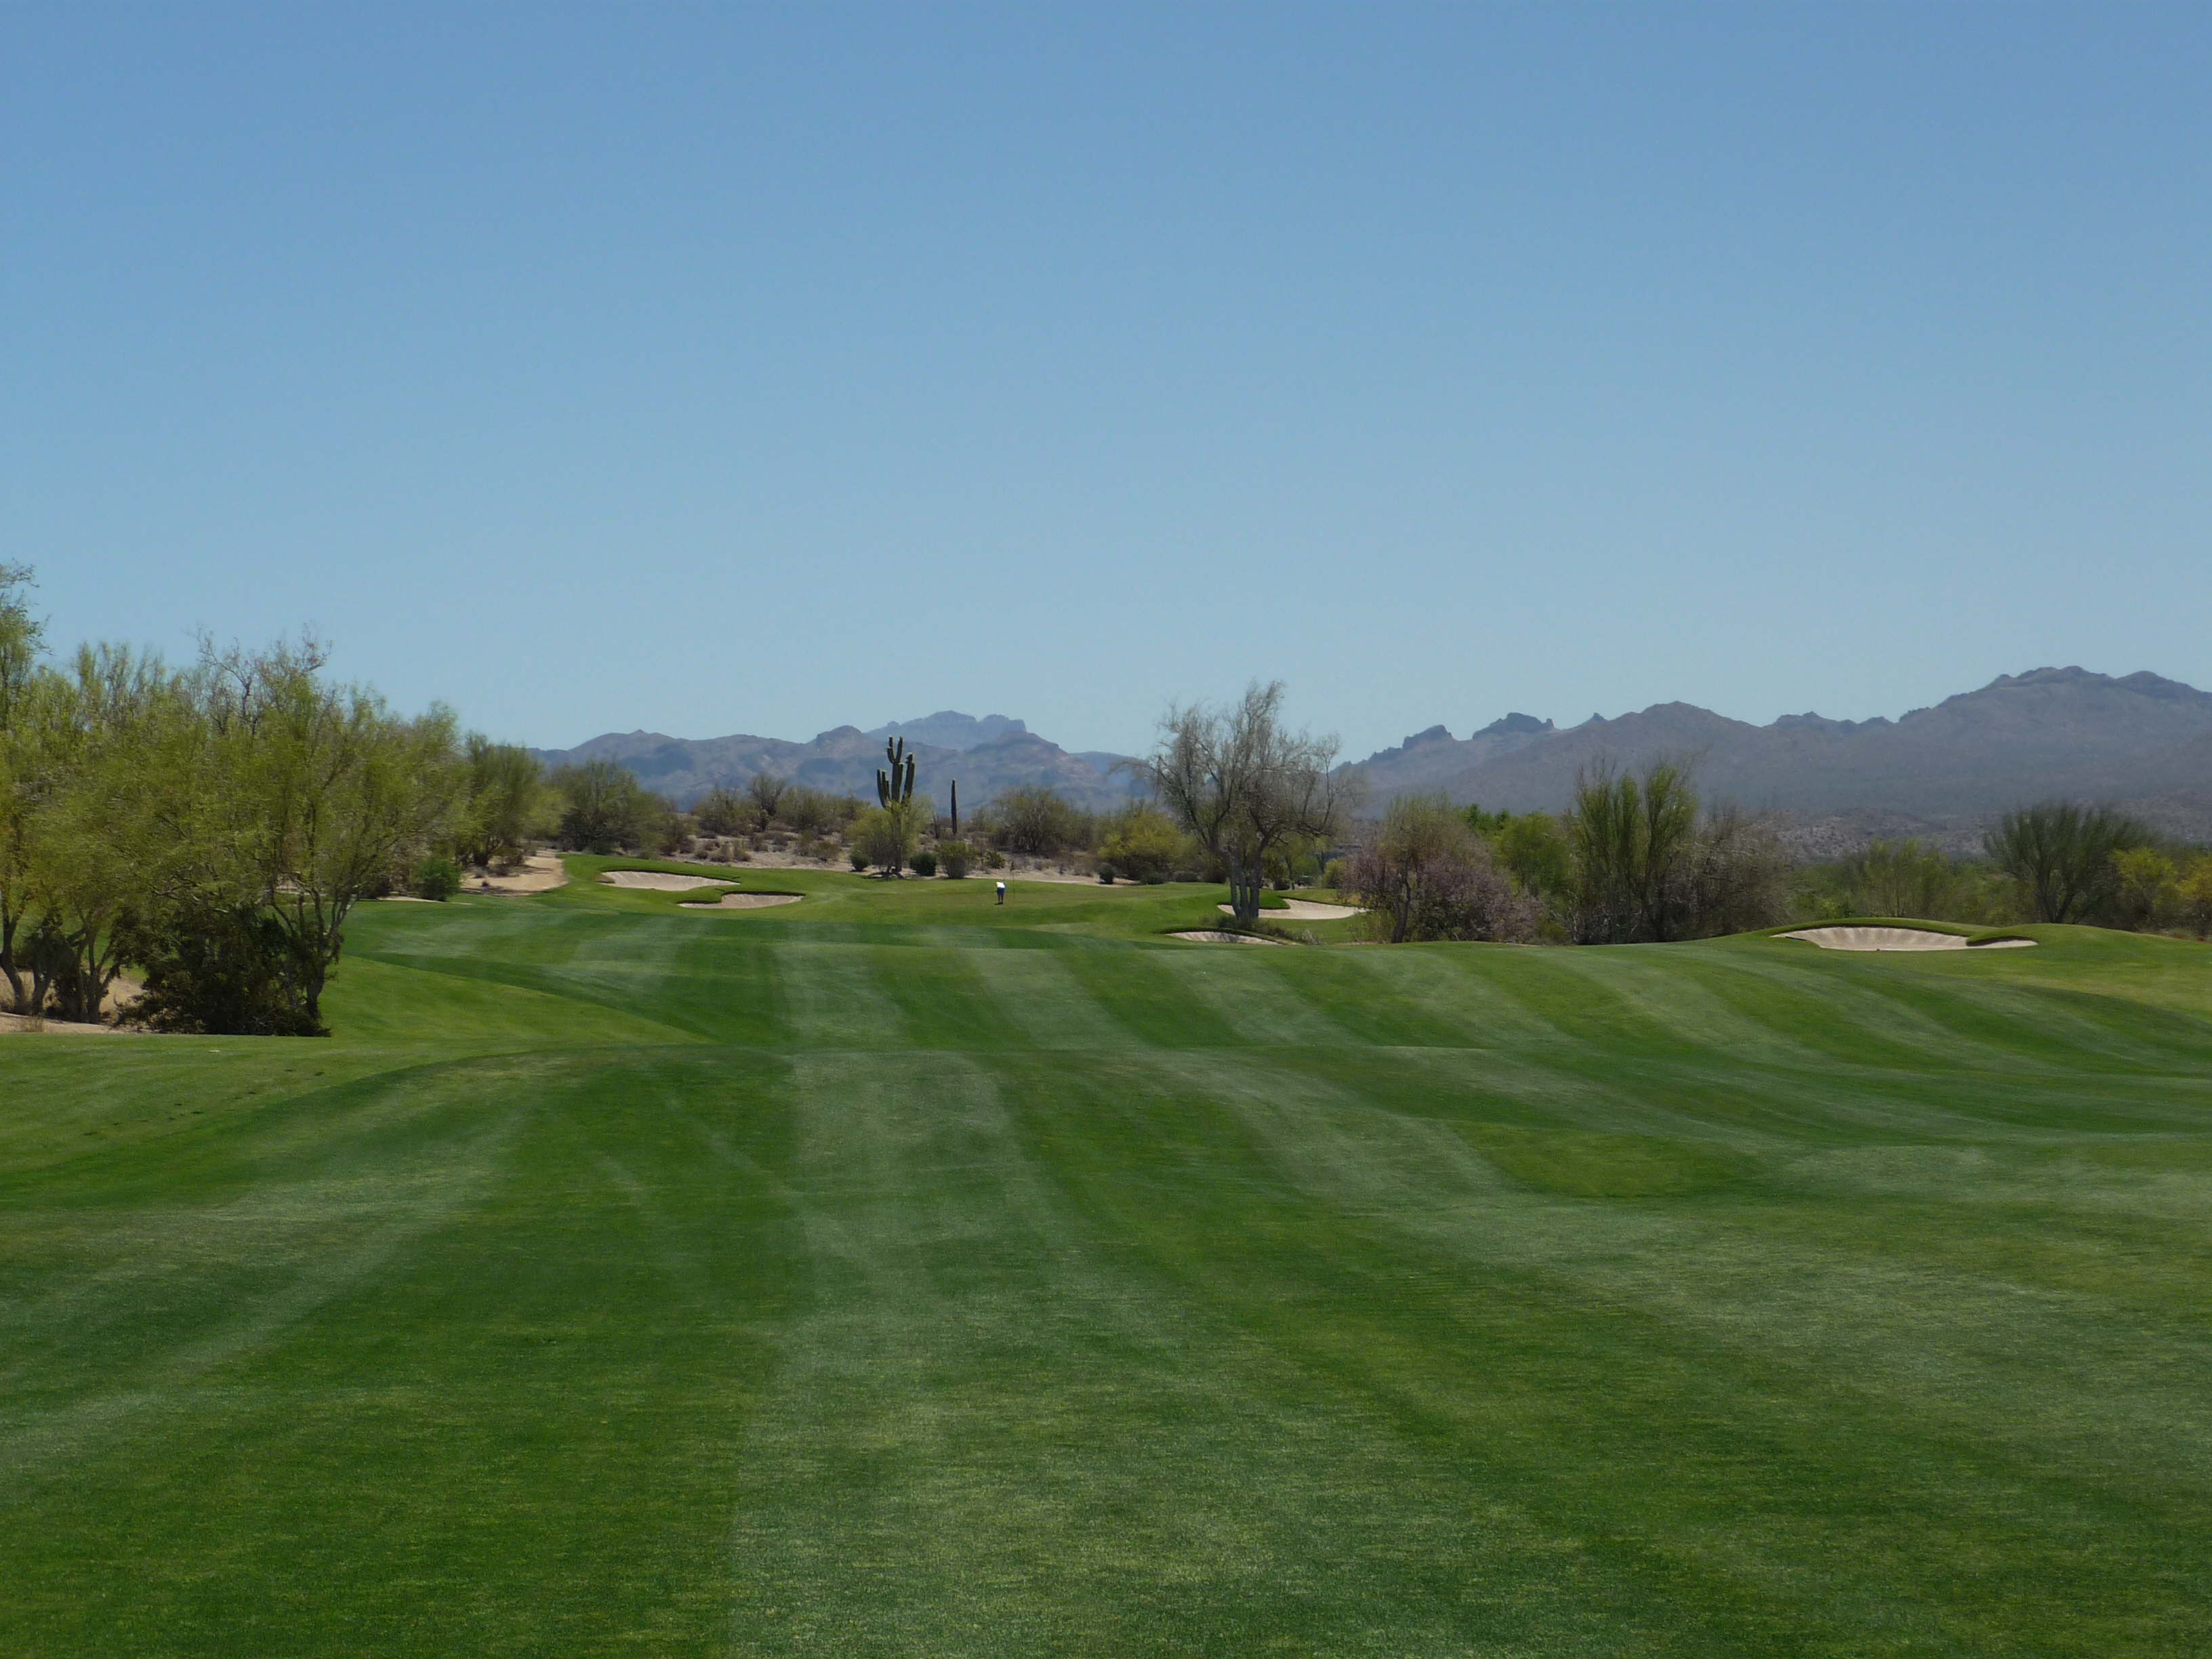
This is an interesting hole. There is a patch of desert and trees in the middle of the fairway. A good drive from our tees can carry it and leave you with a short second shot. The smart play is to either side which you can get to with a wood or long iron.
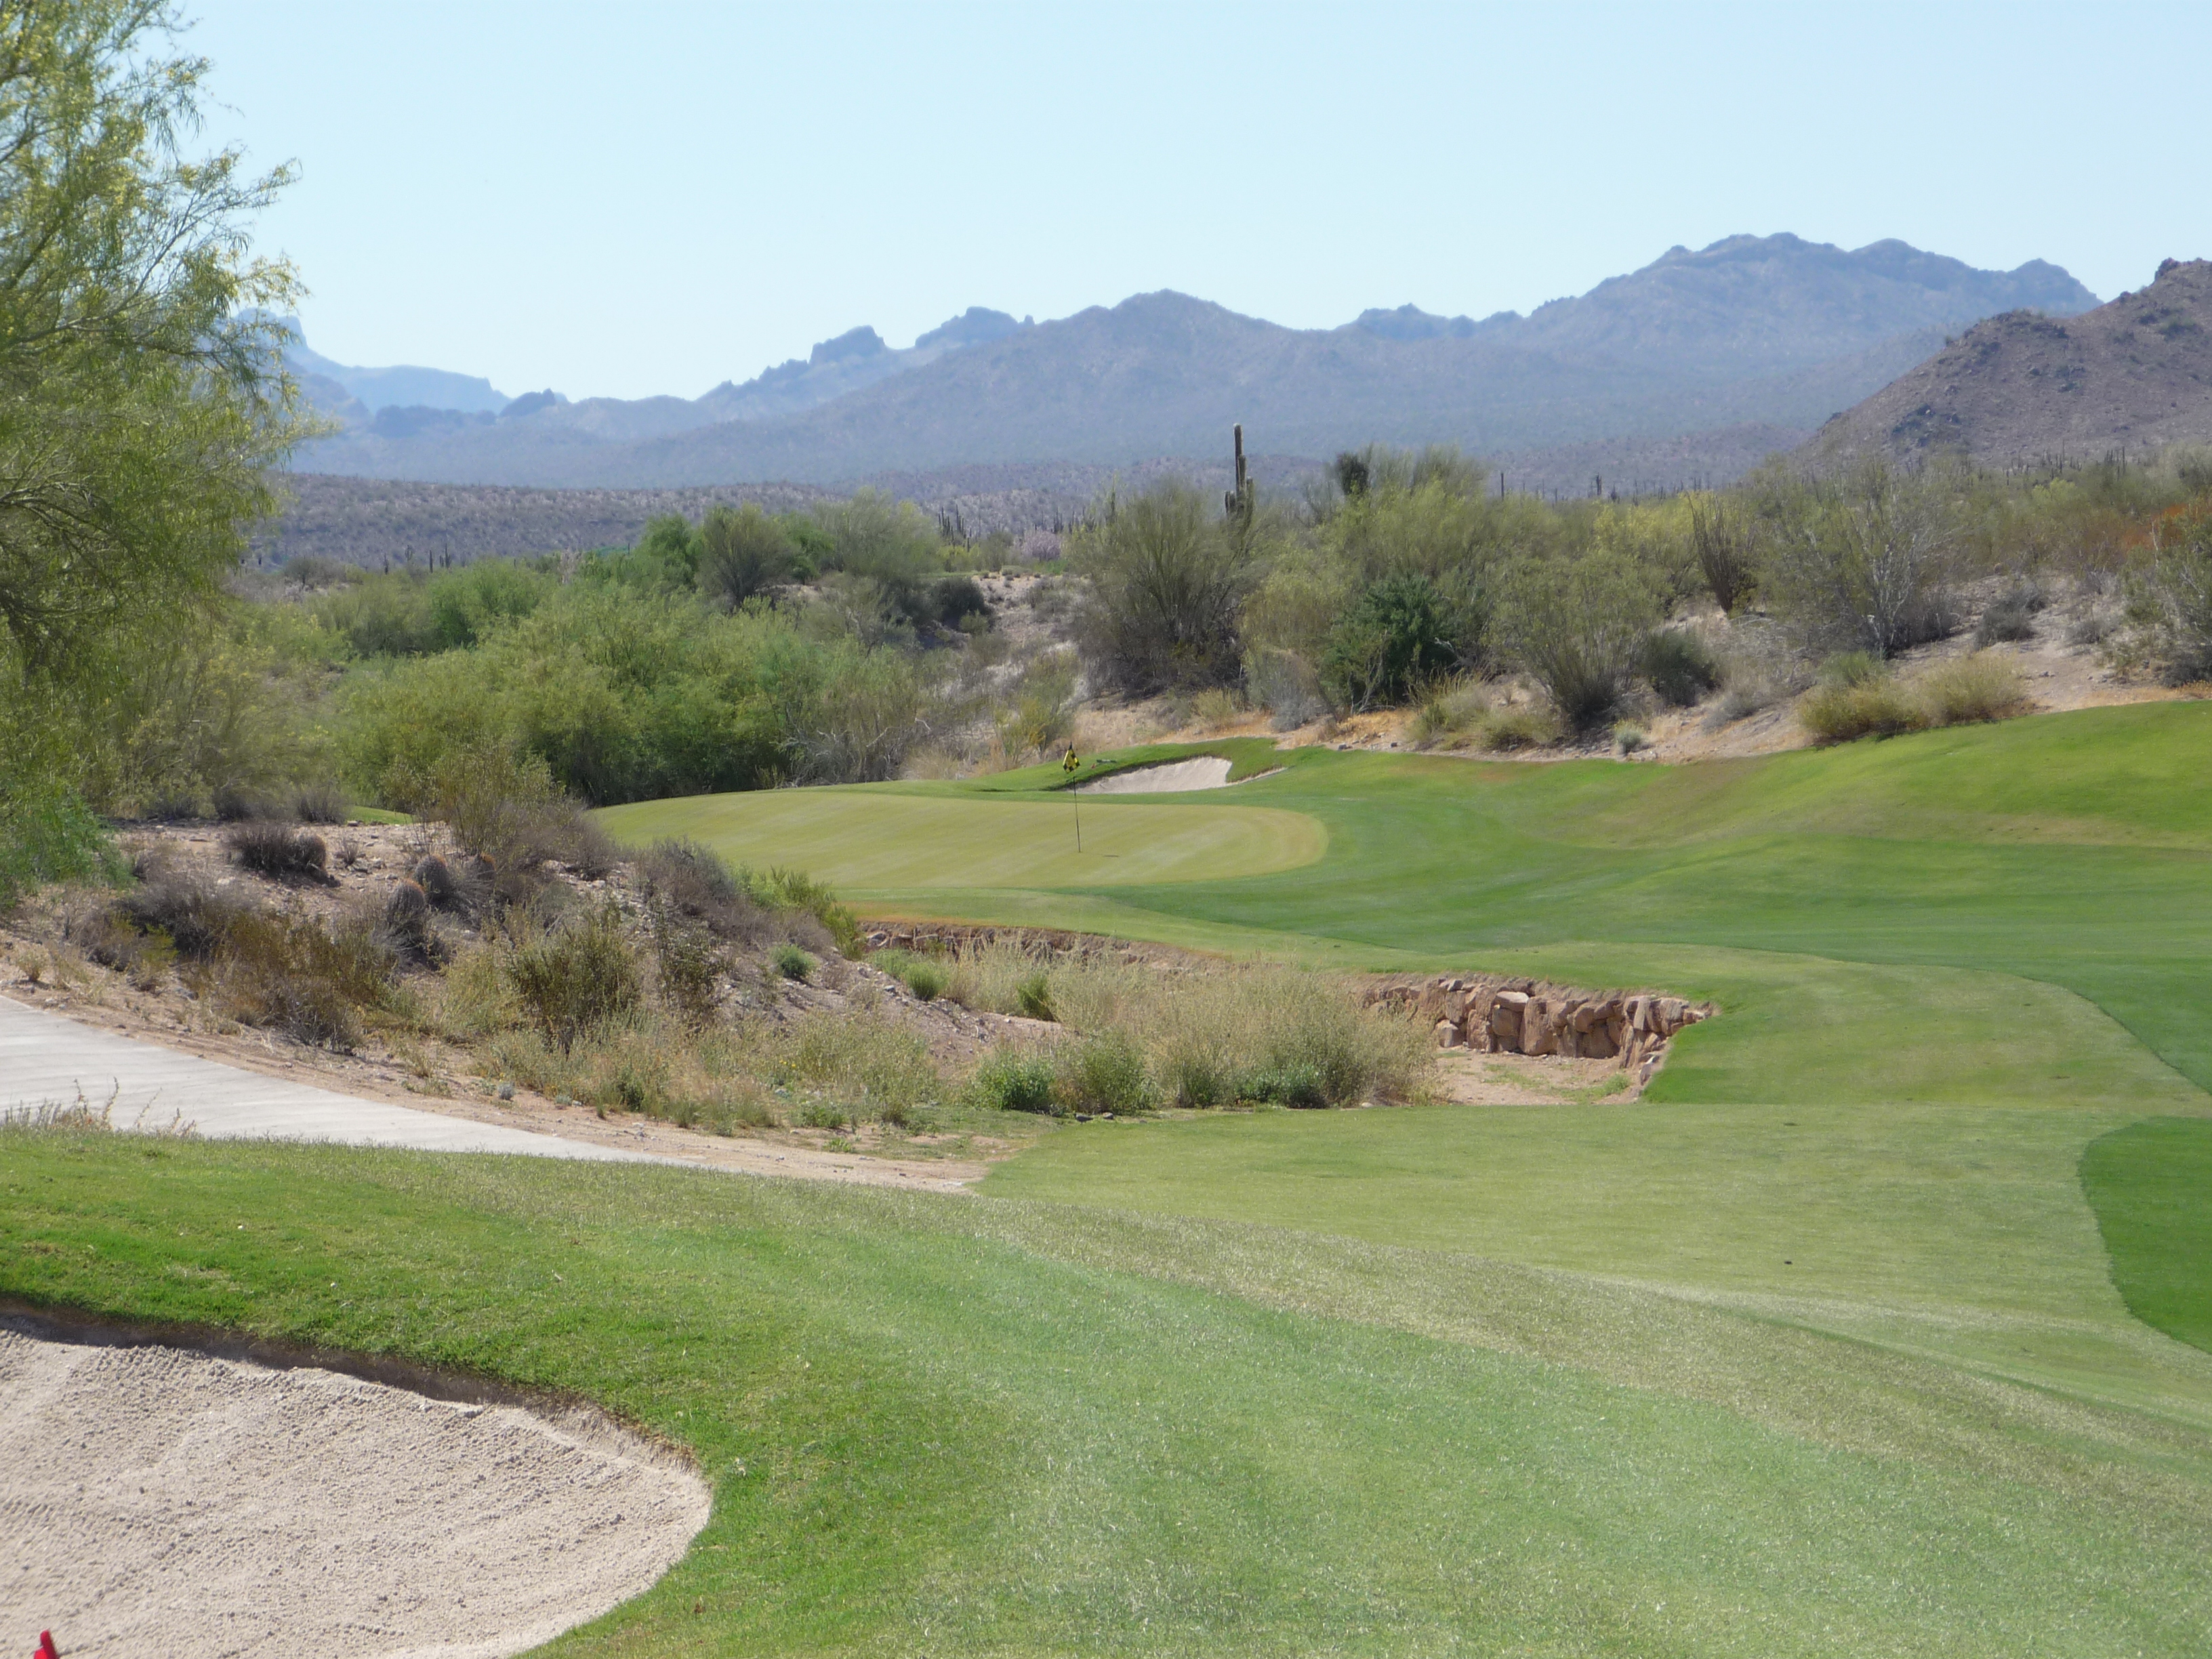
I took my drive up the left side and had this uphill shot into the green. On this side you have to traverse three large bunkers to get to the green.
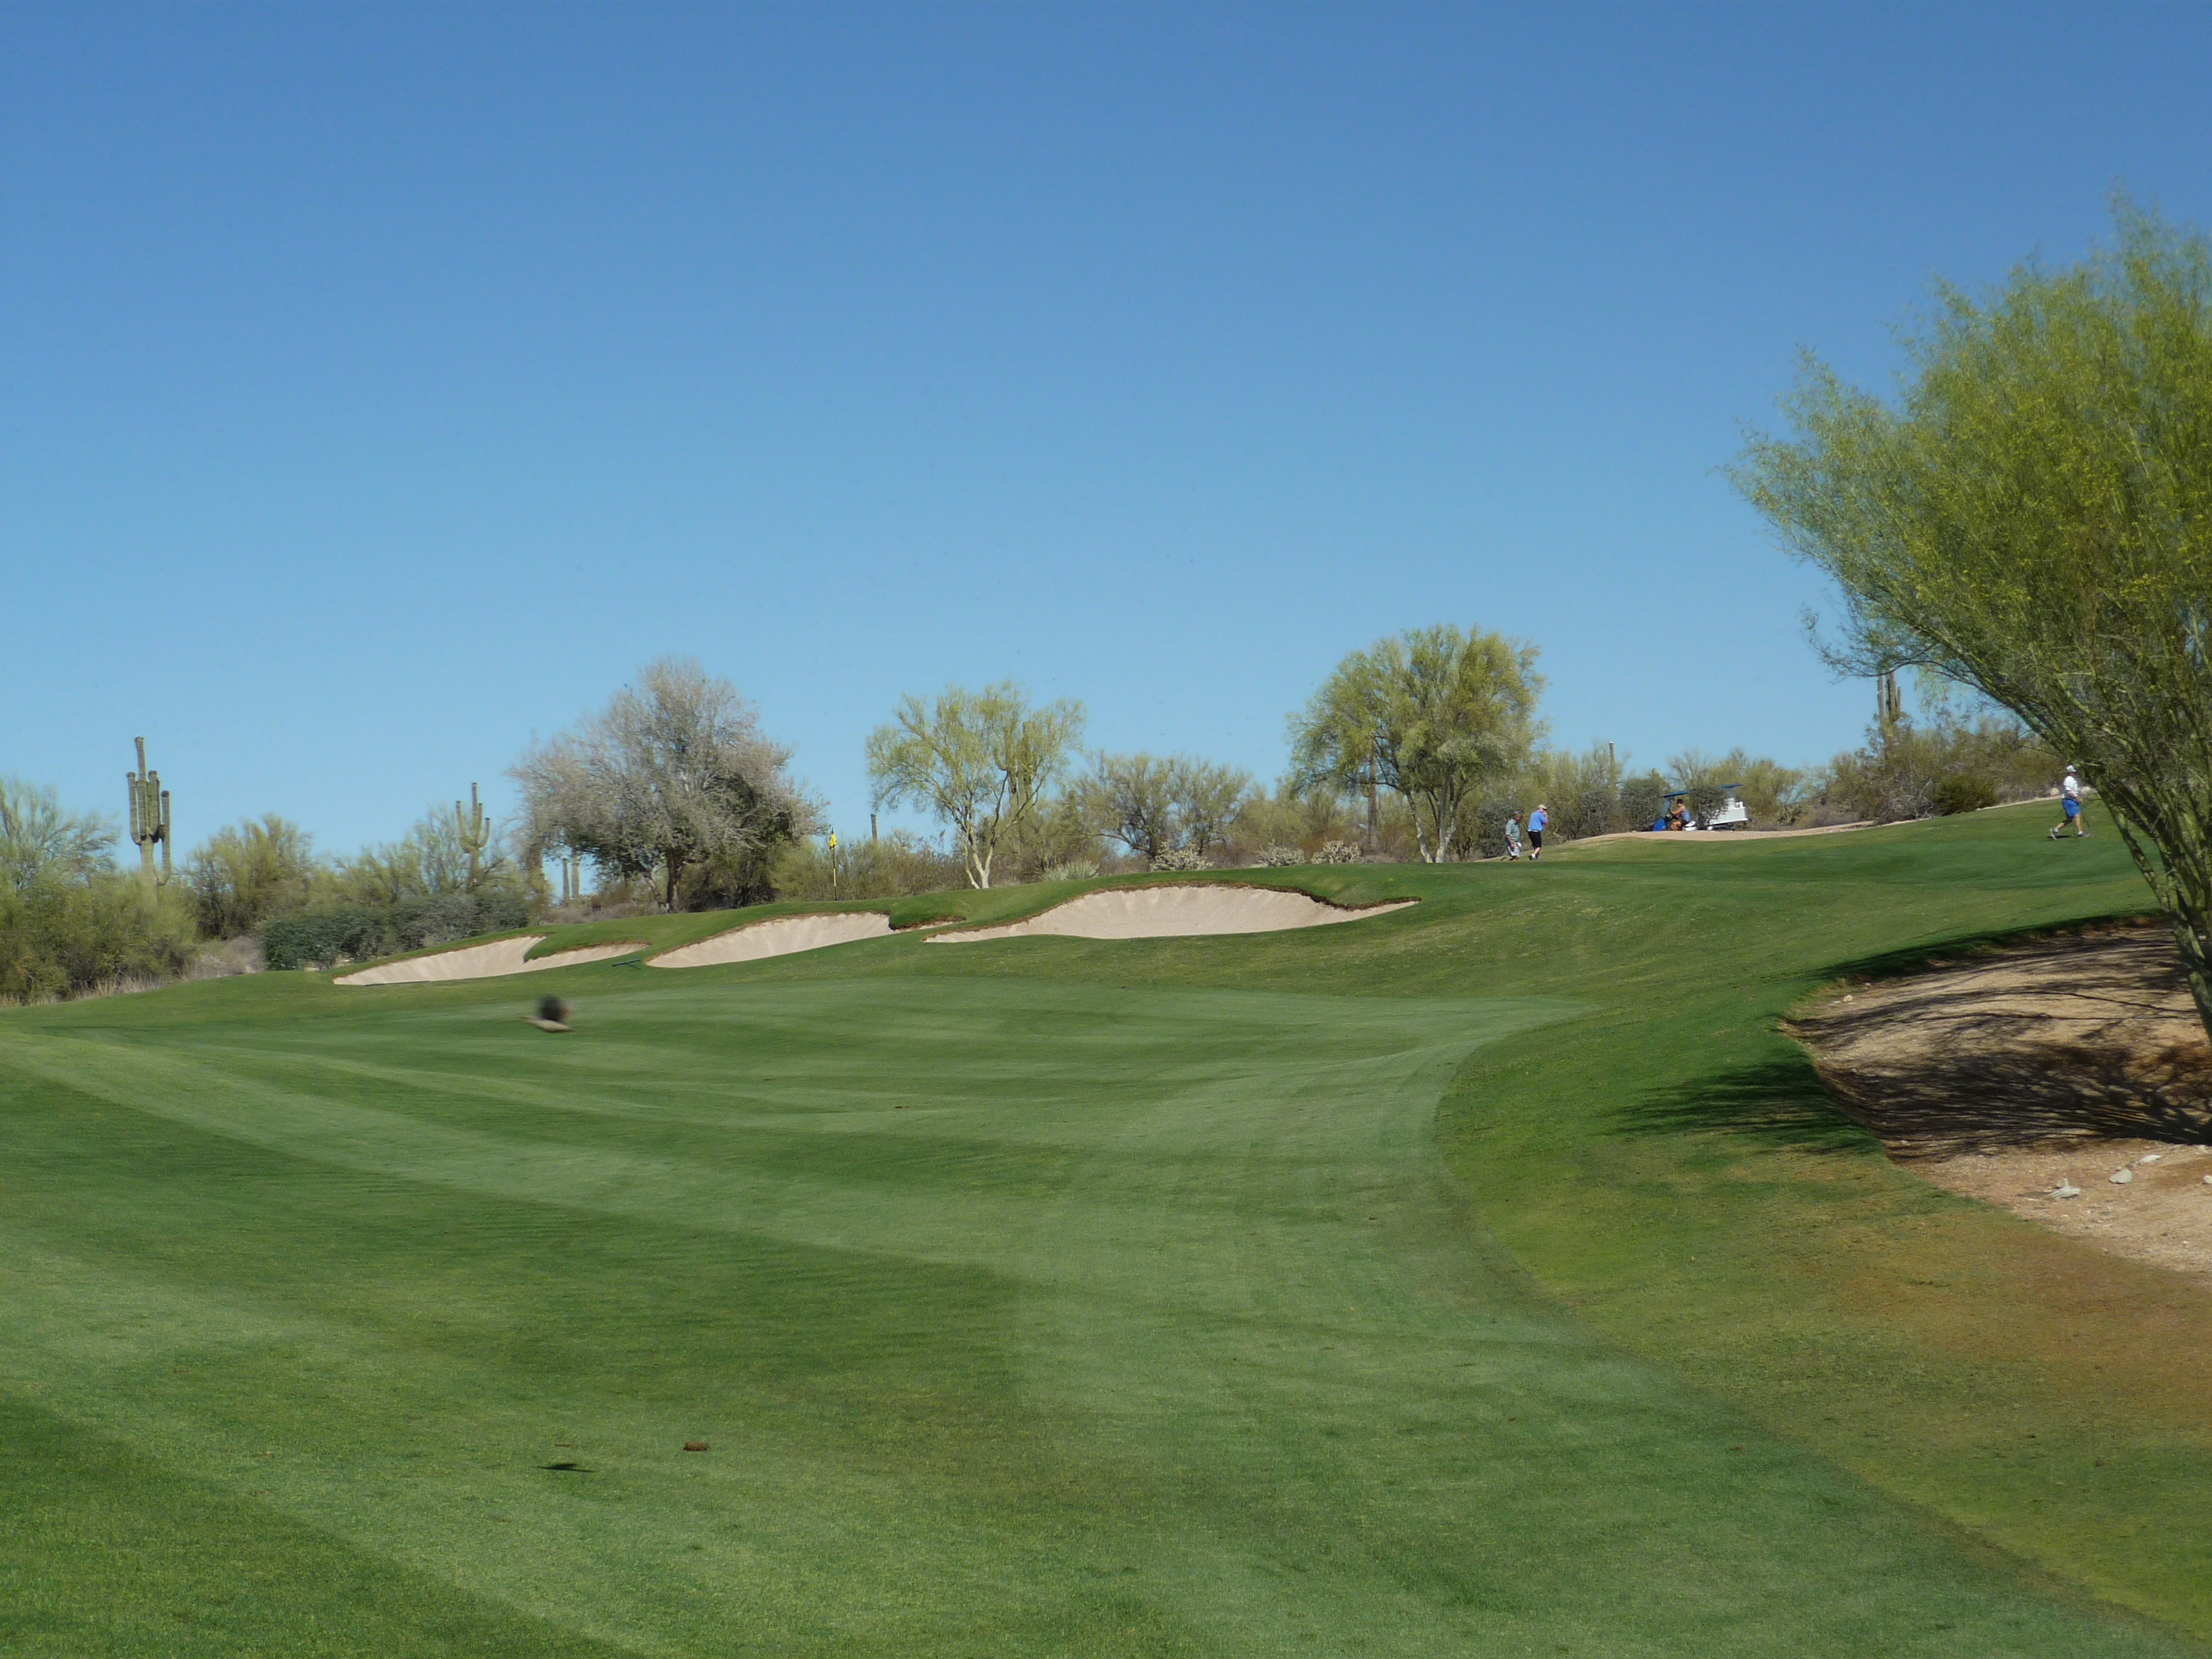
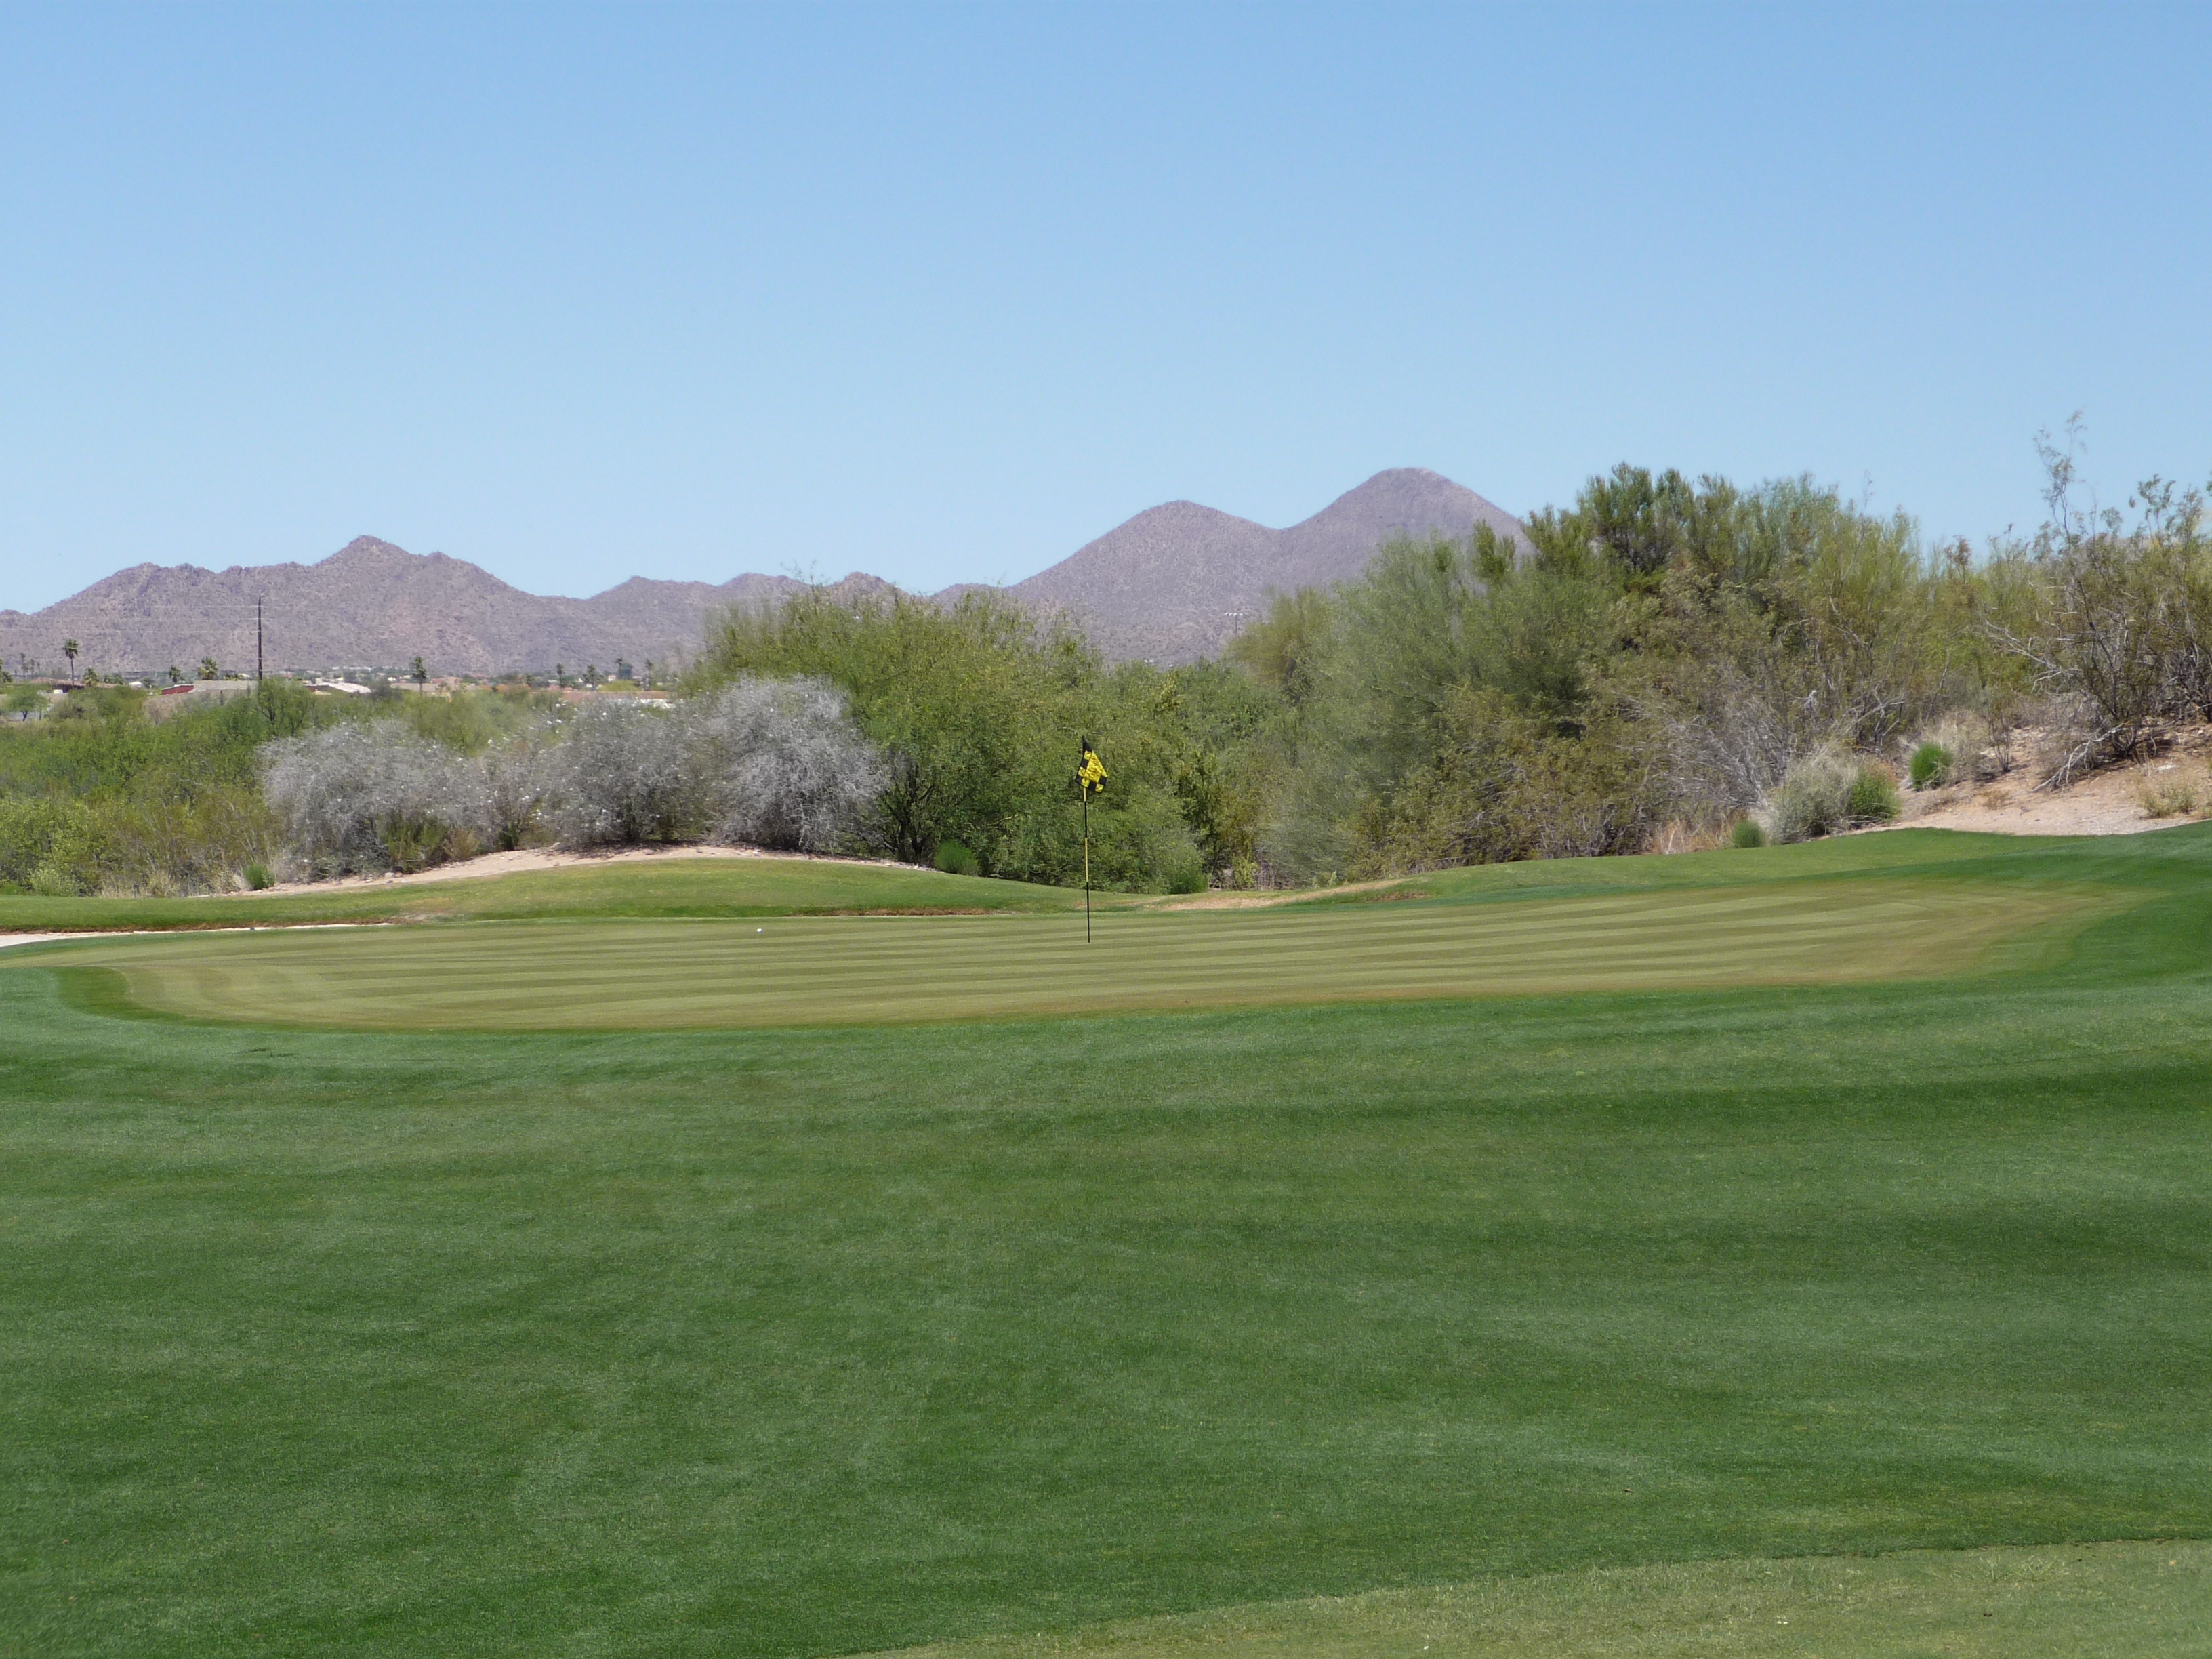
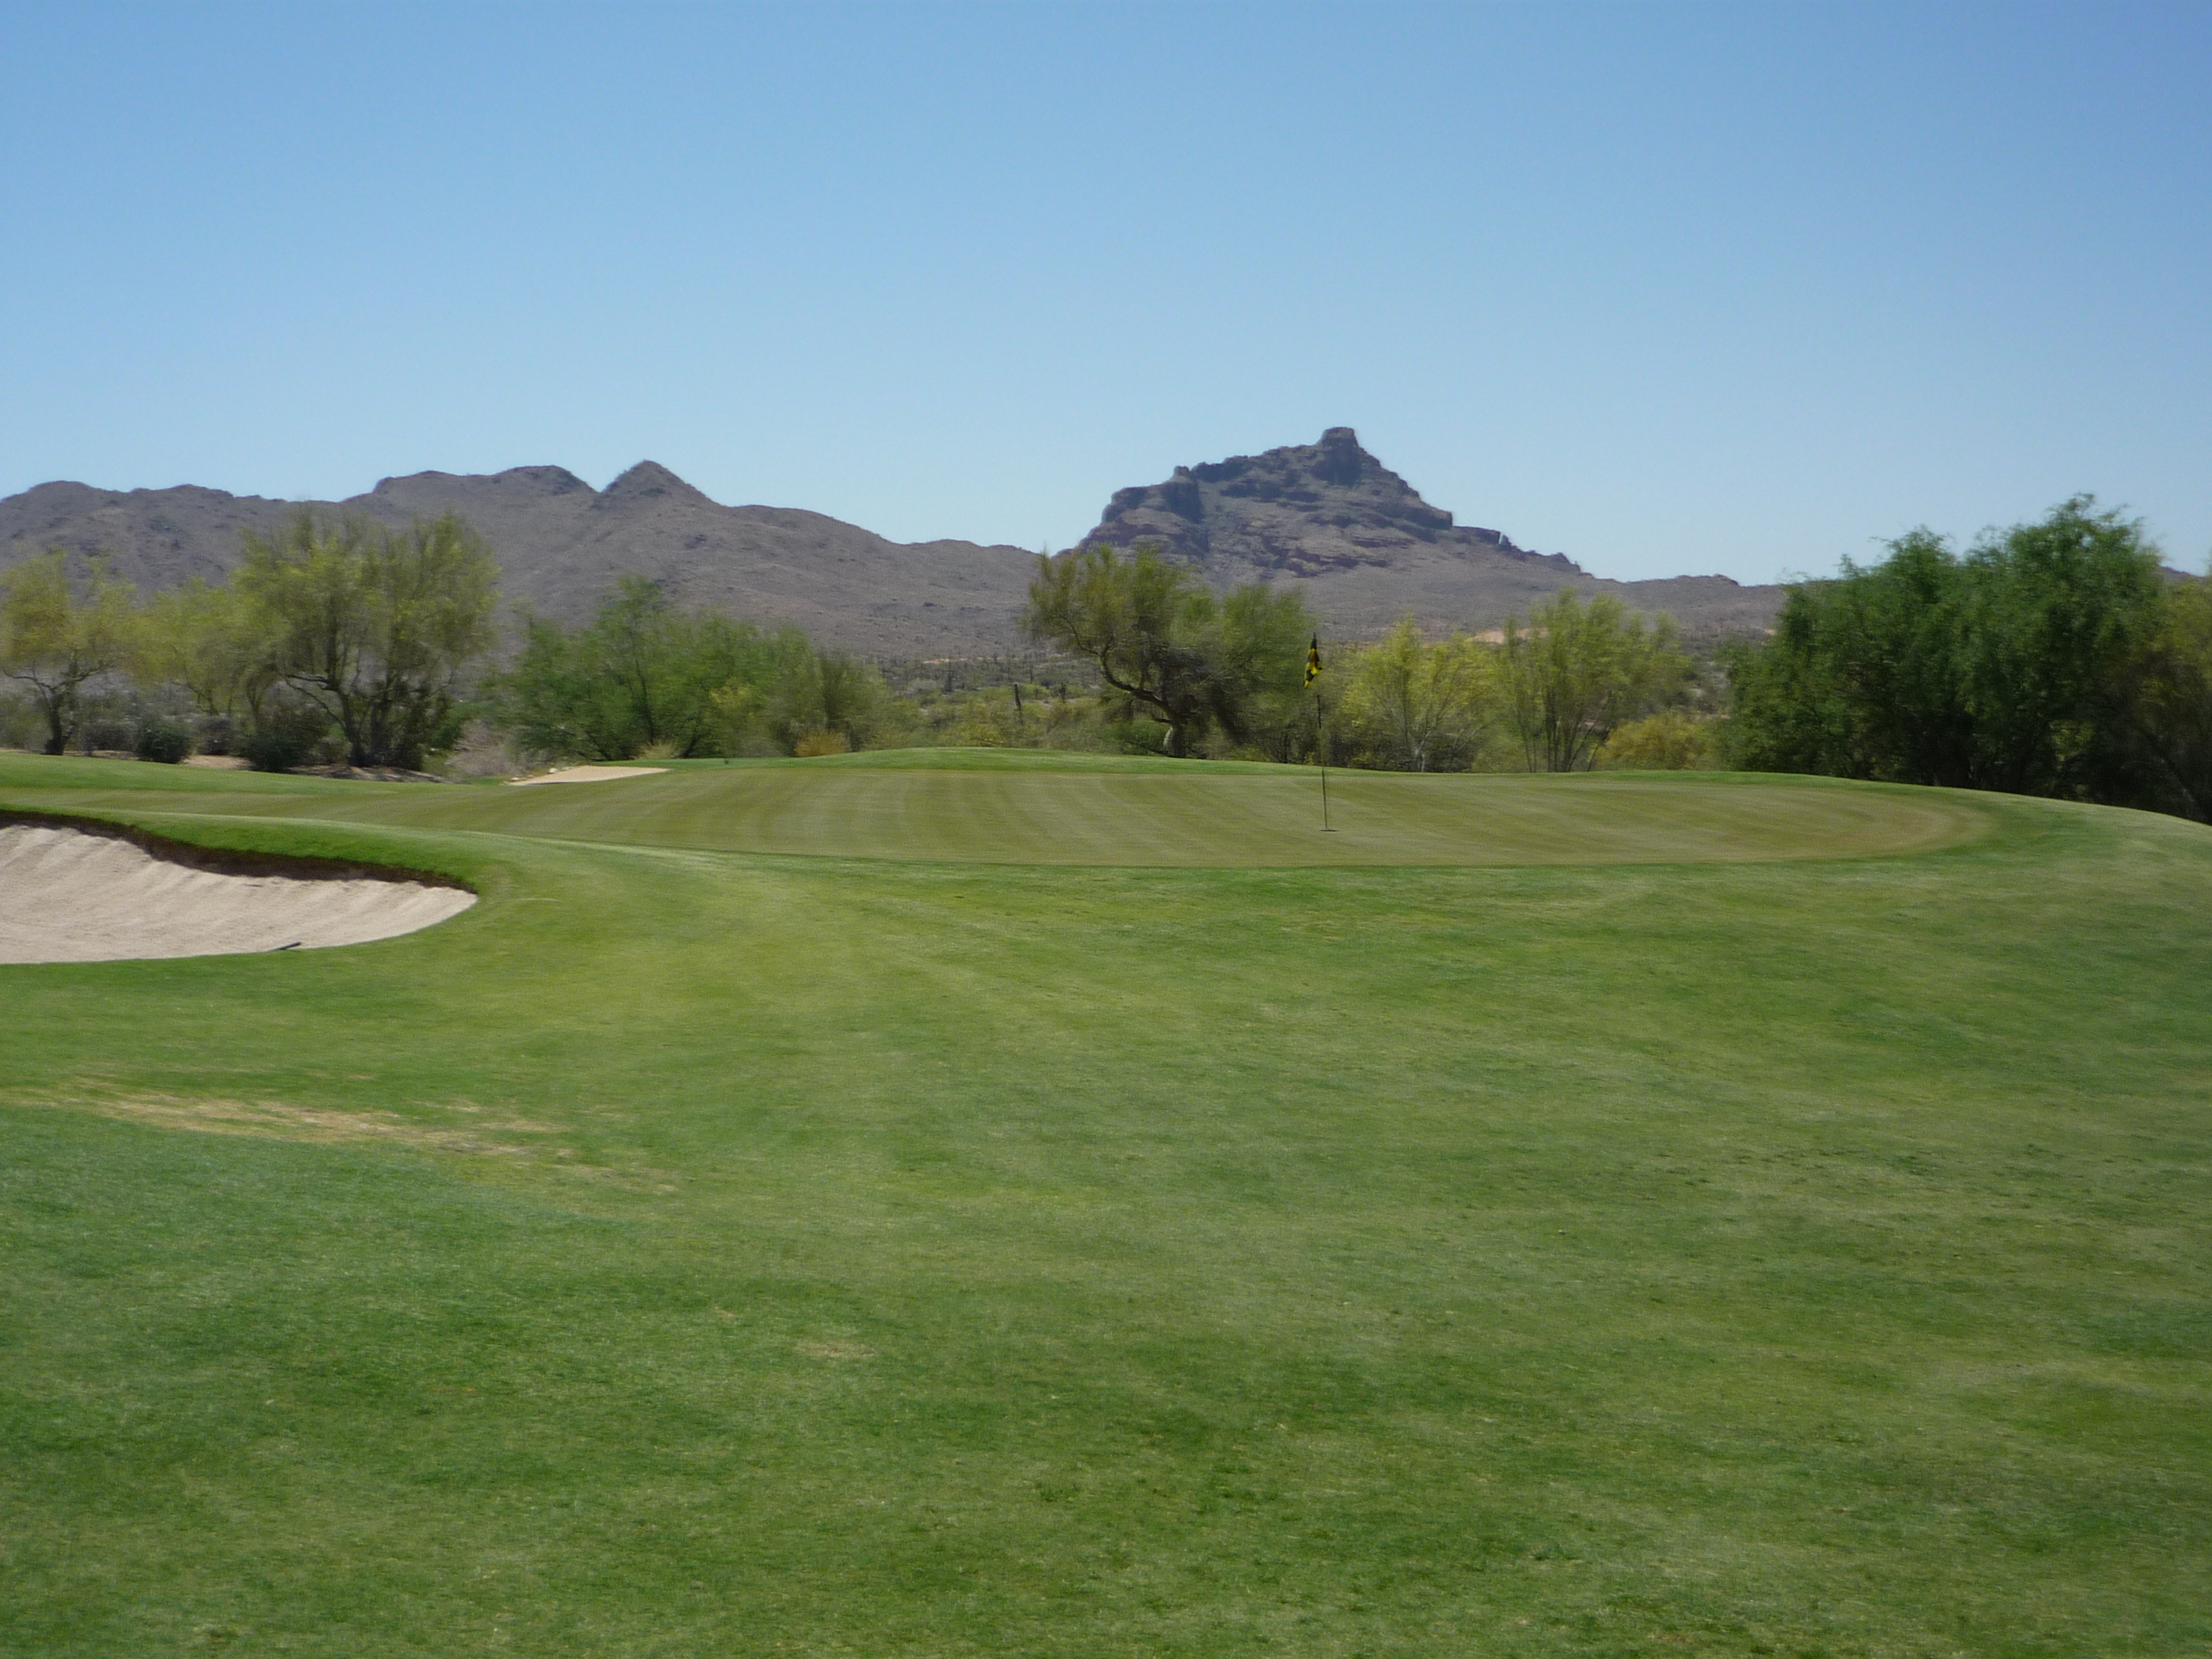
This was one of the smaller greens here, but the surface is flat. This one is a birdie shot for sure.
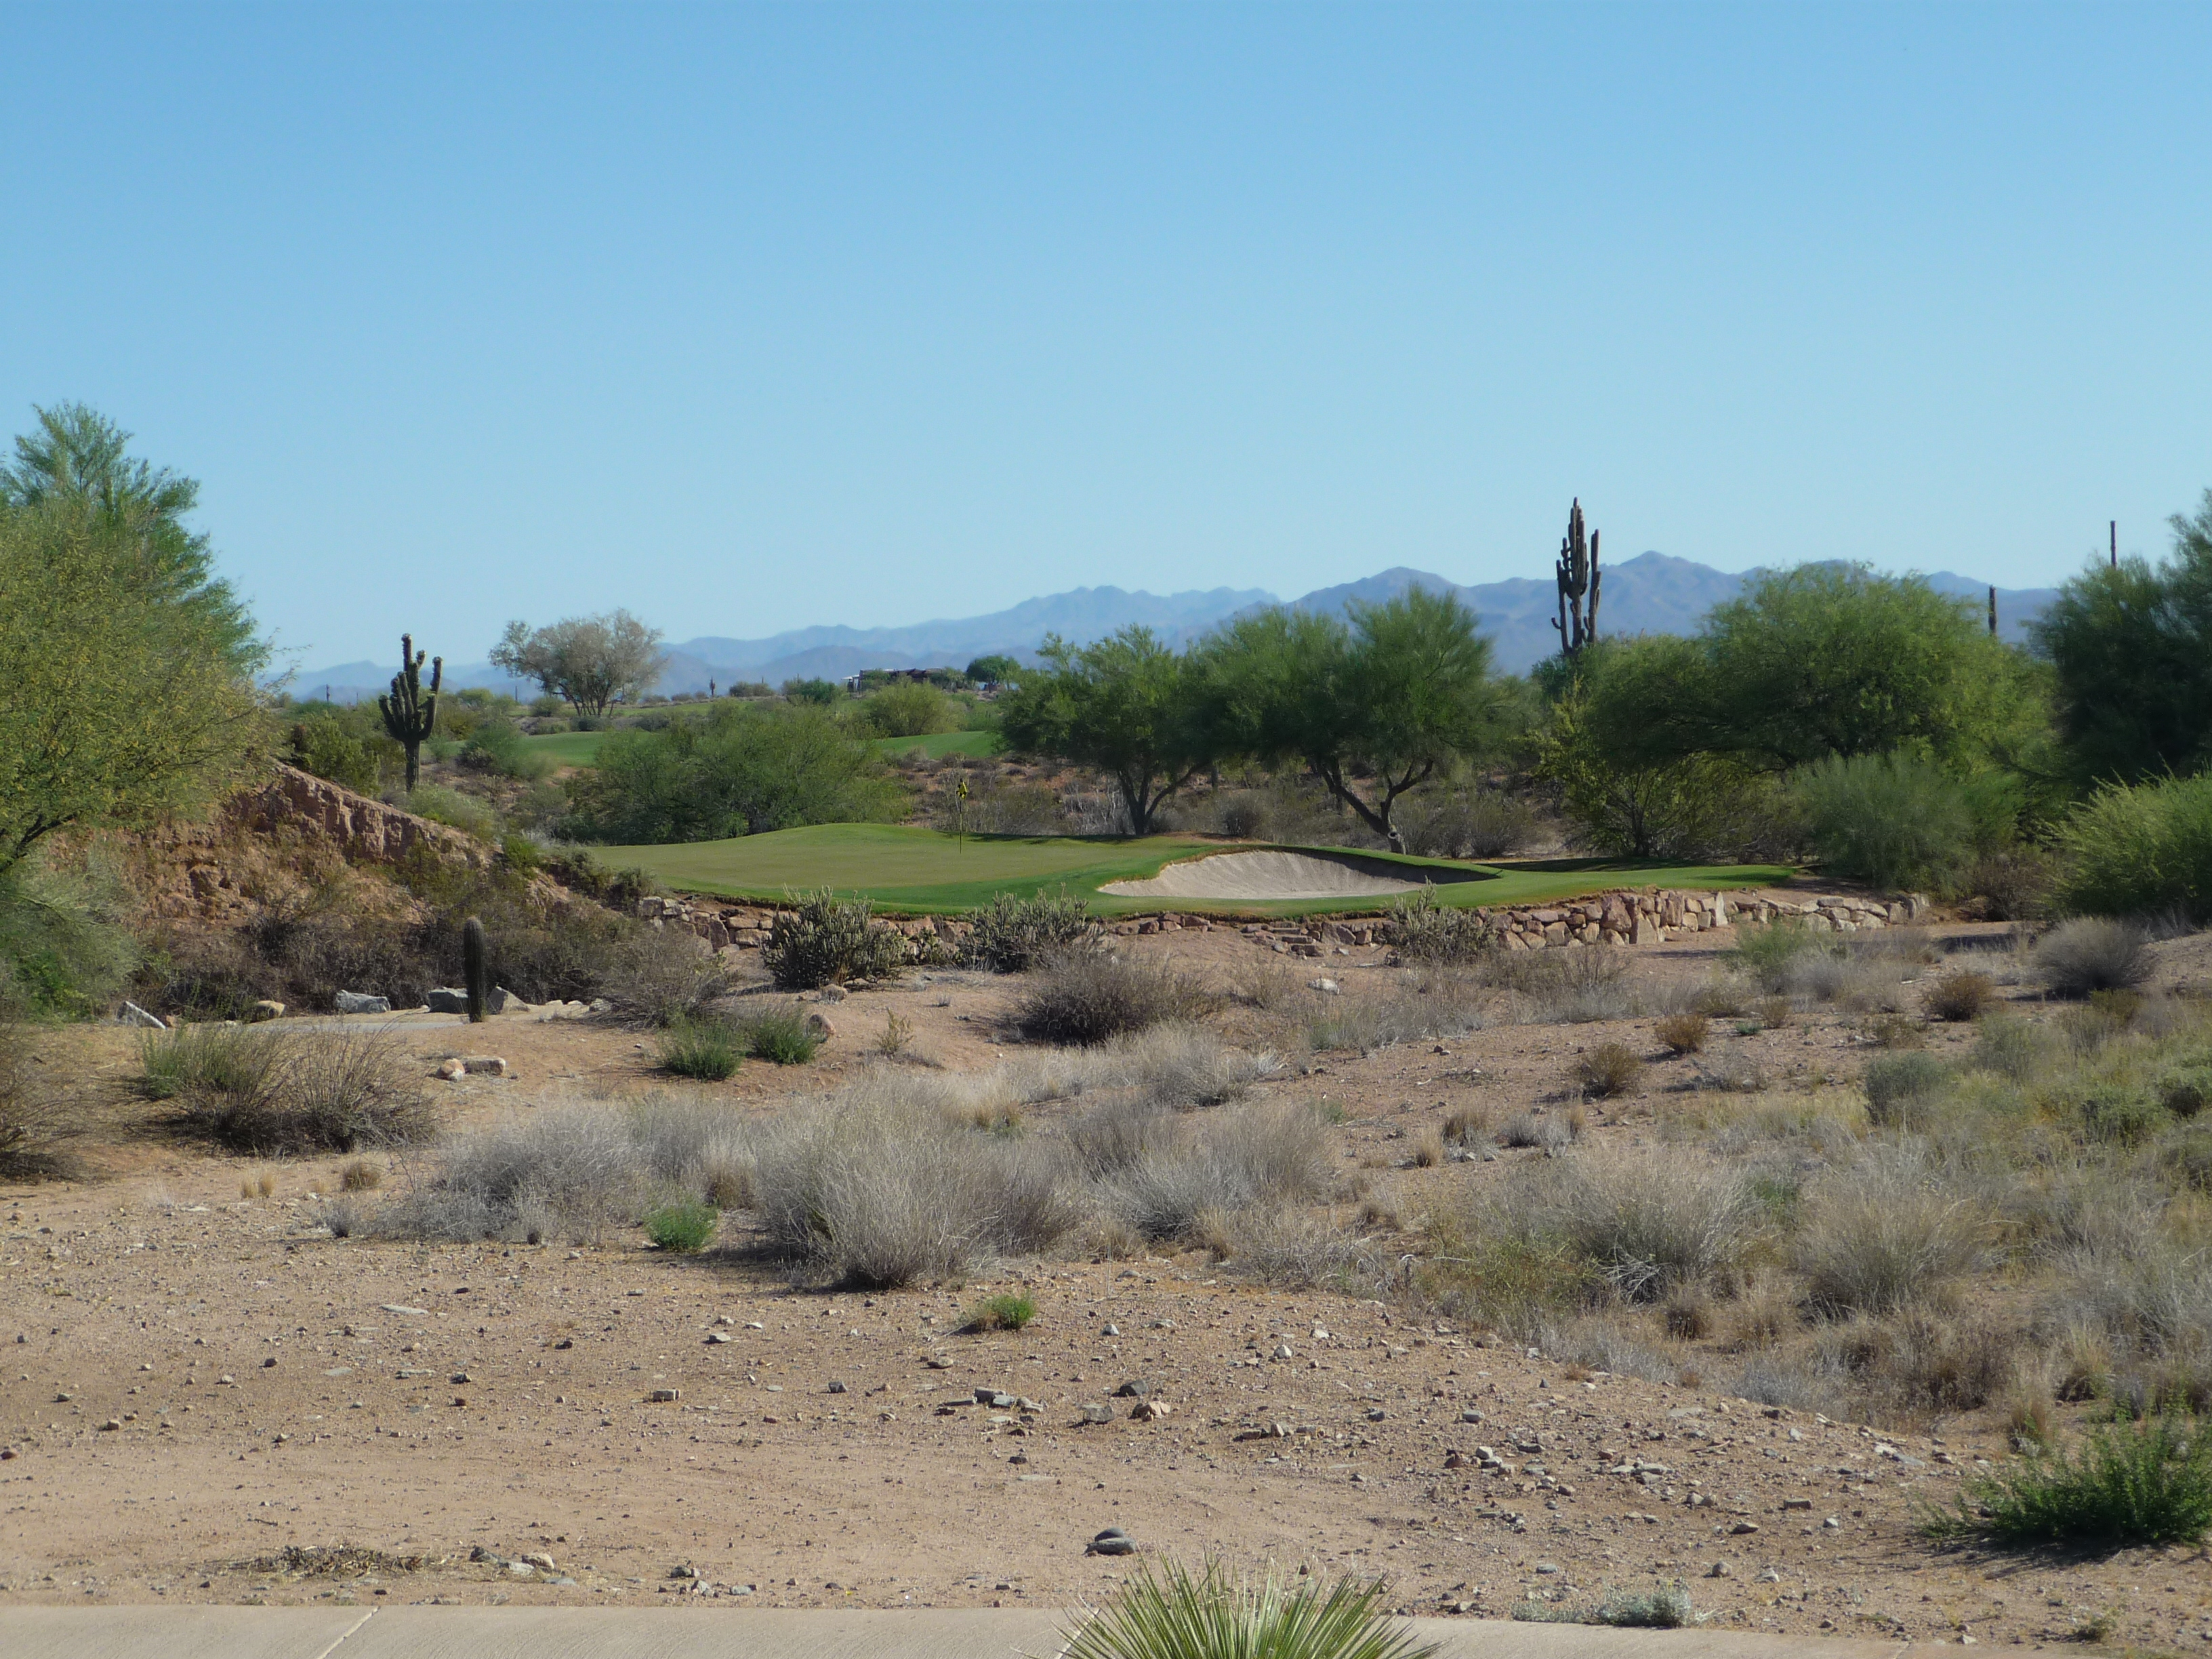
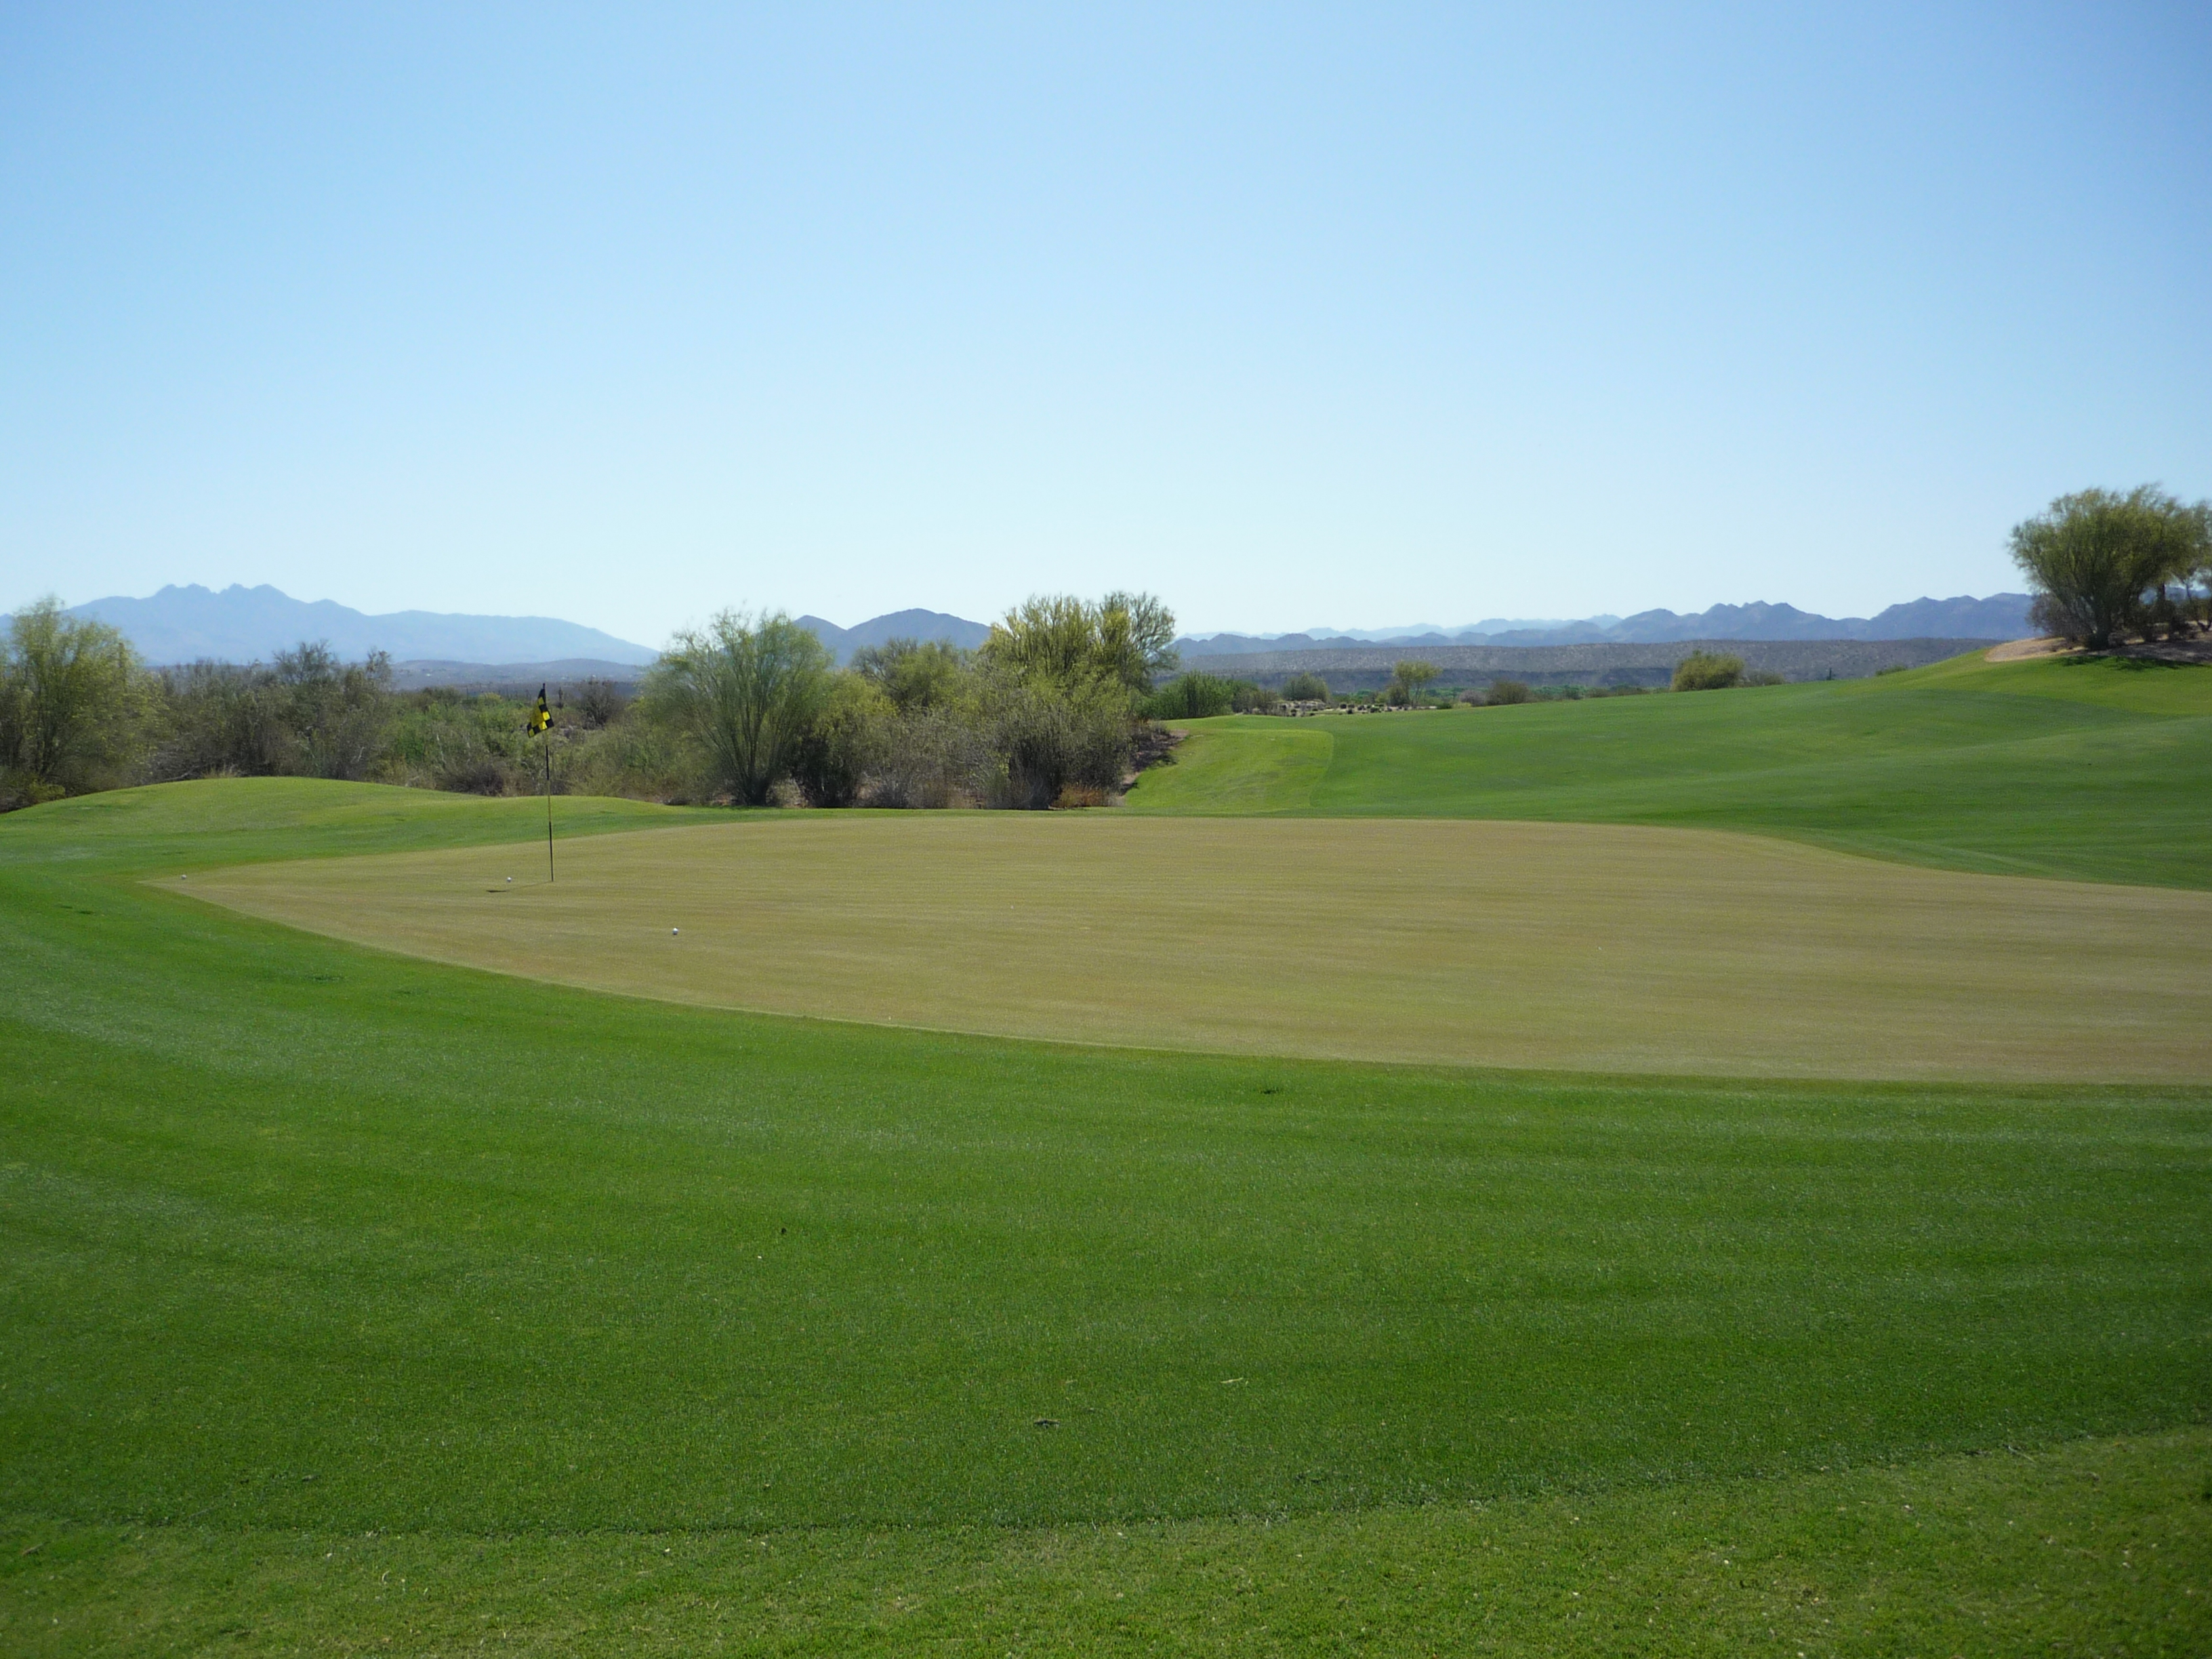
Hole 8 – 558 yards – Par 5
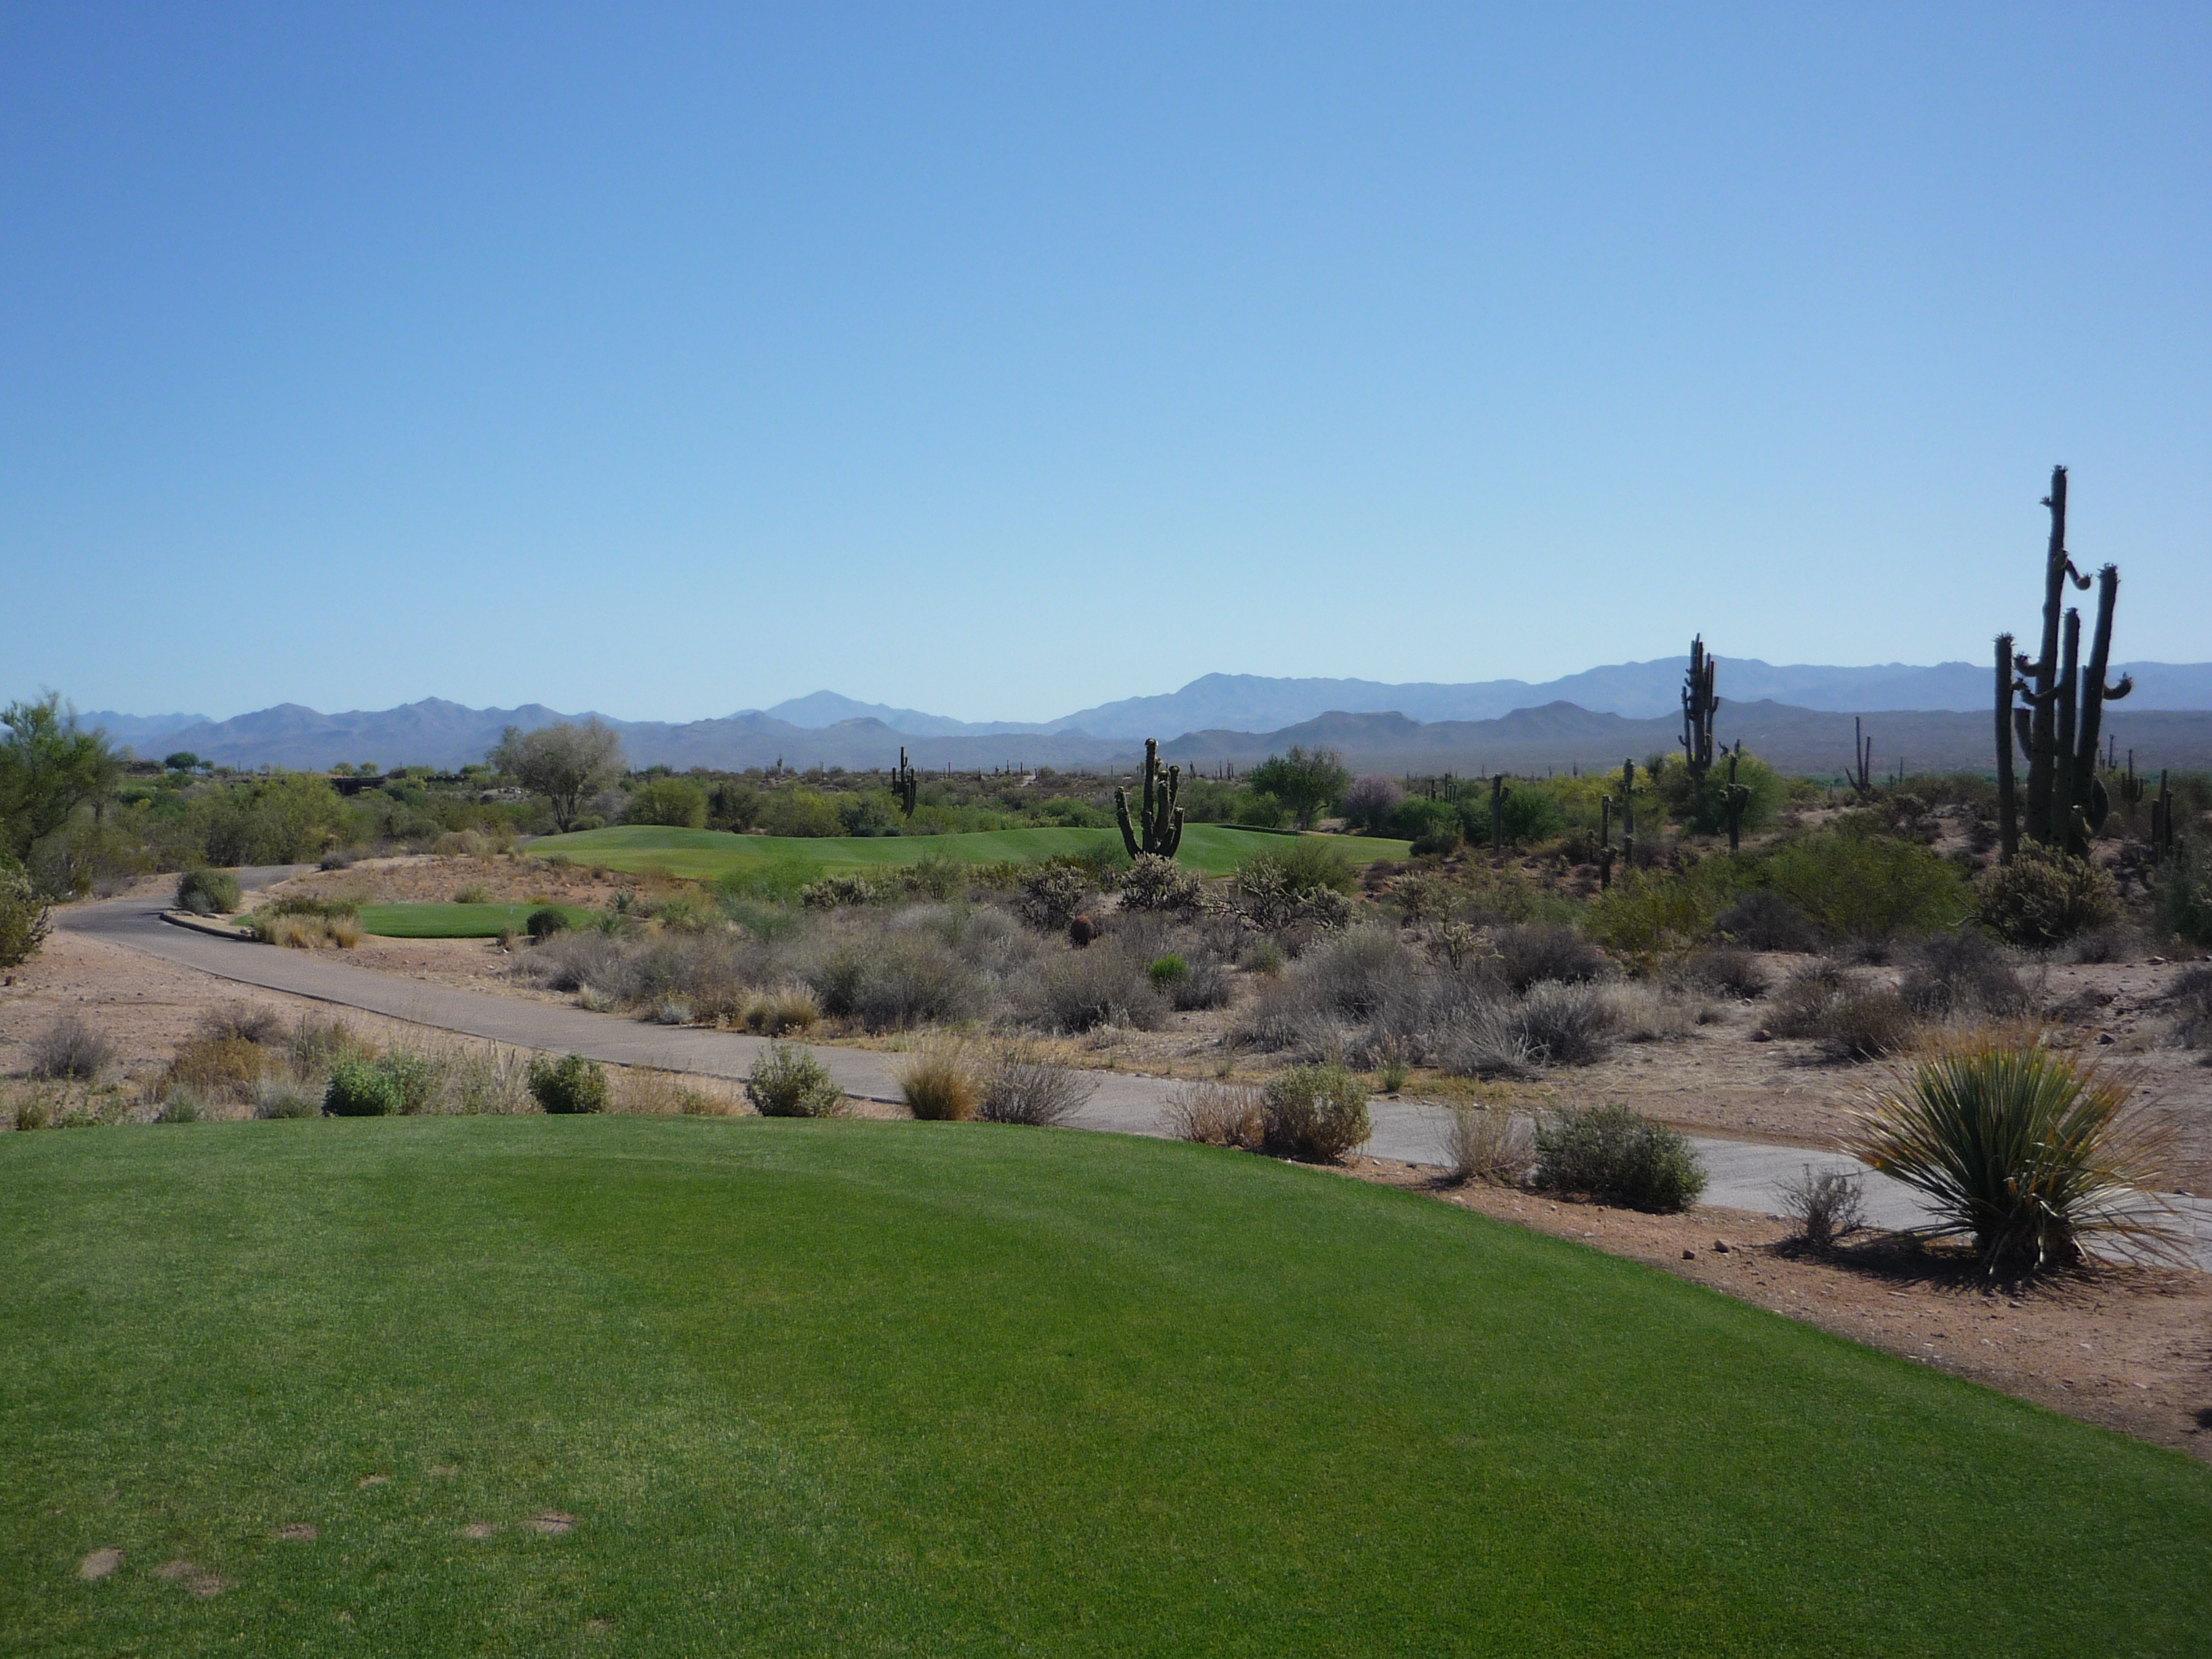
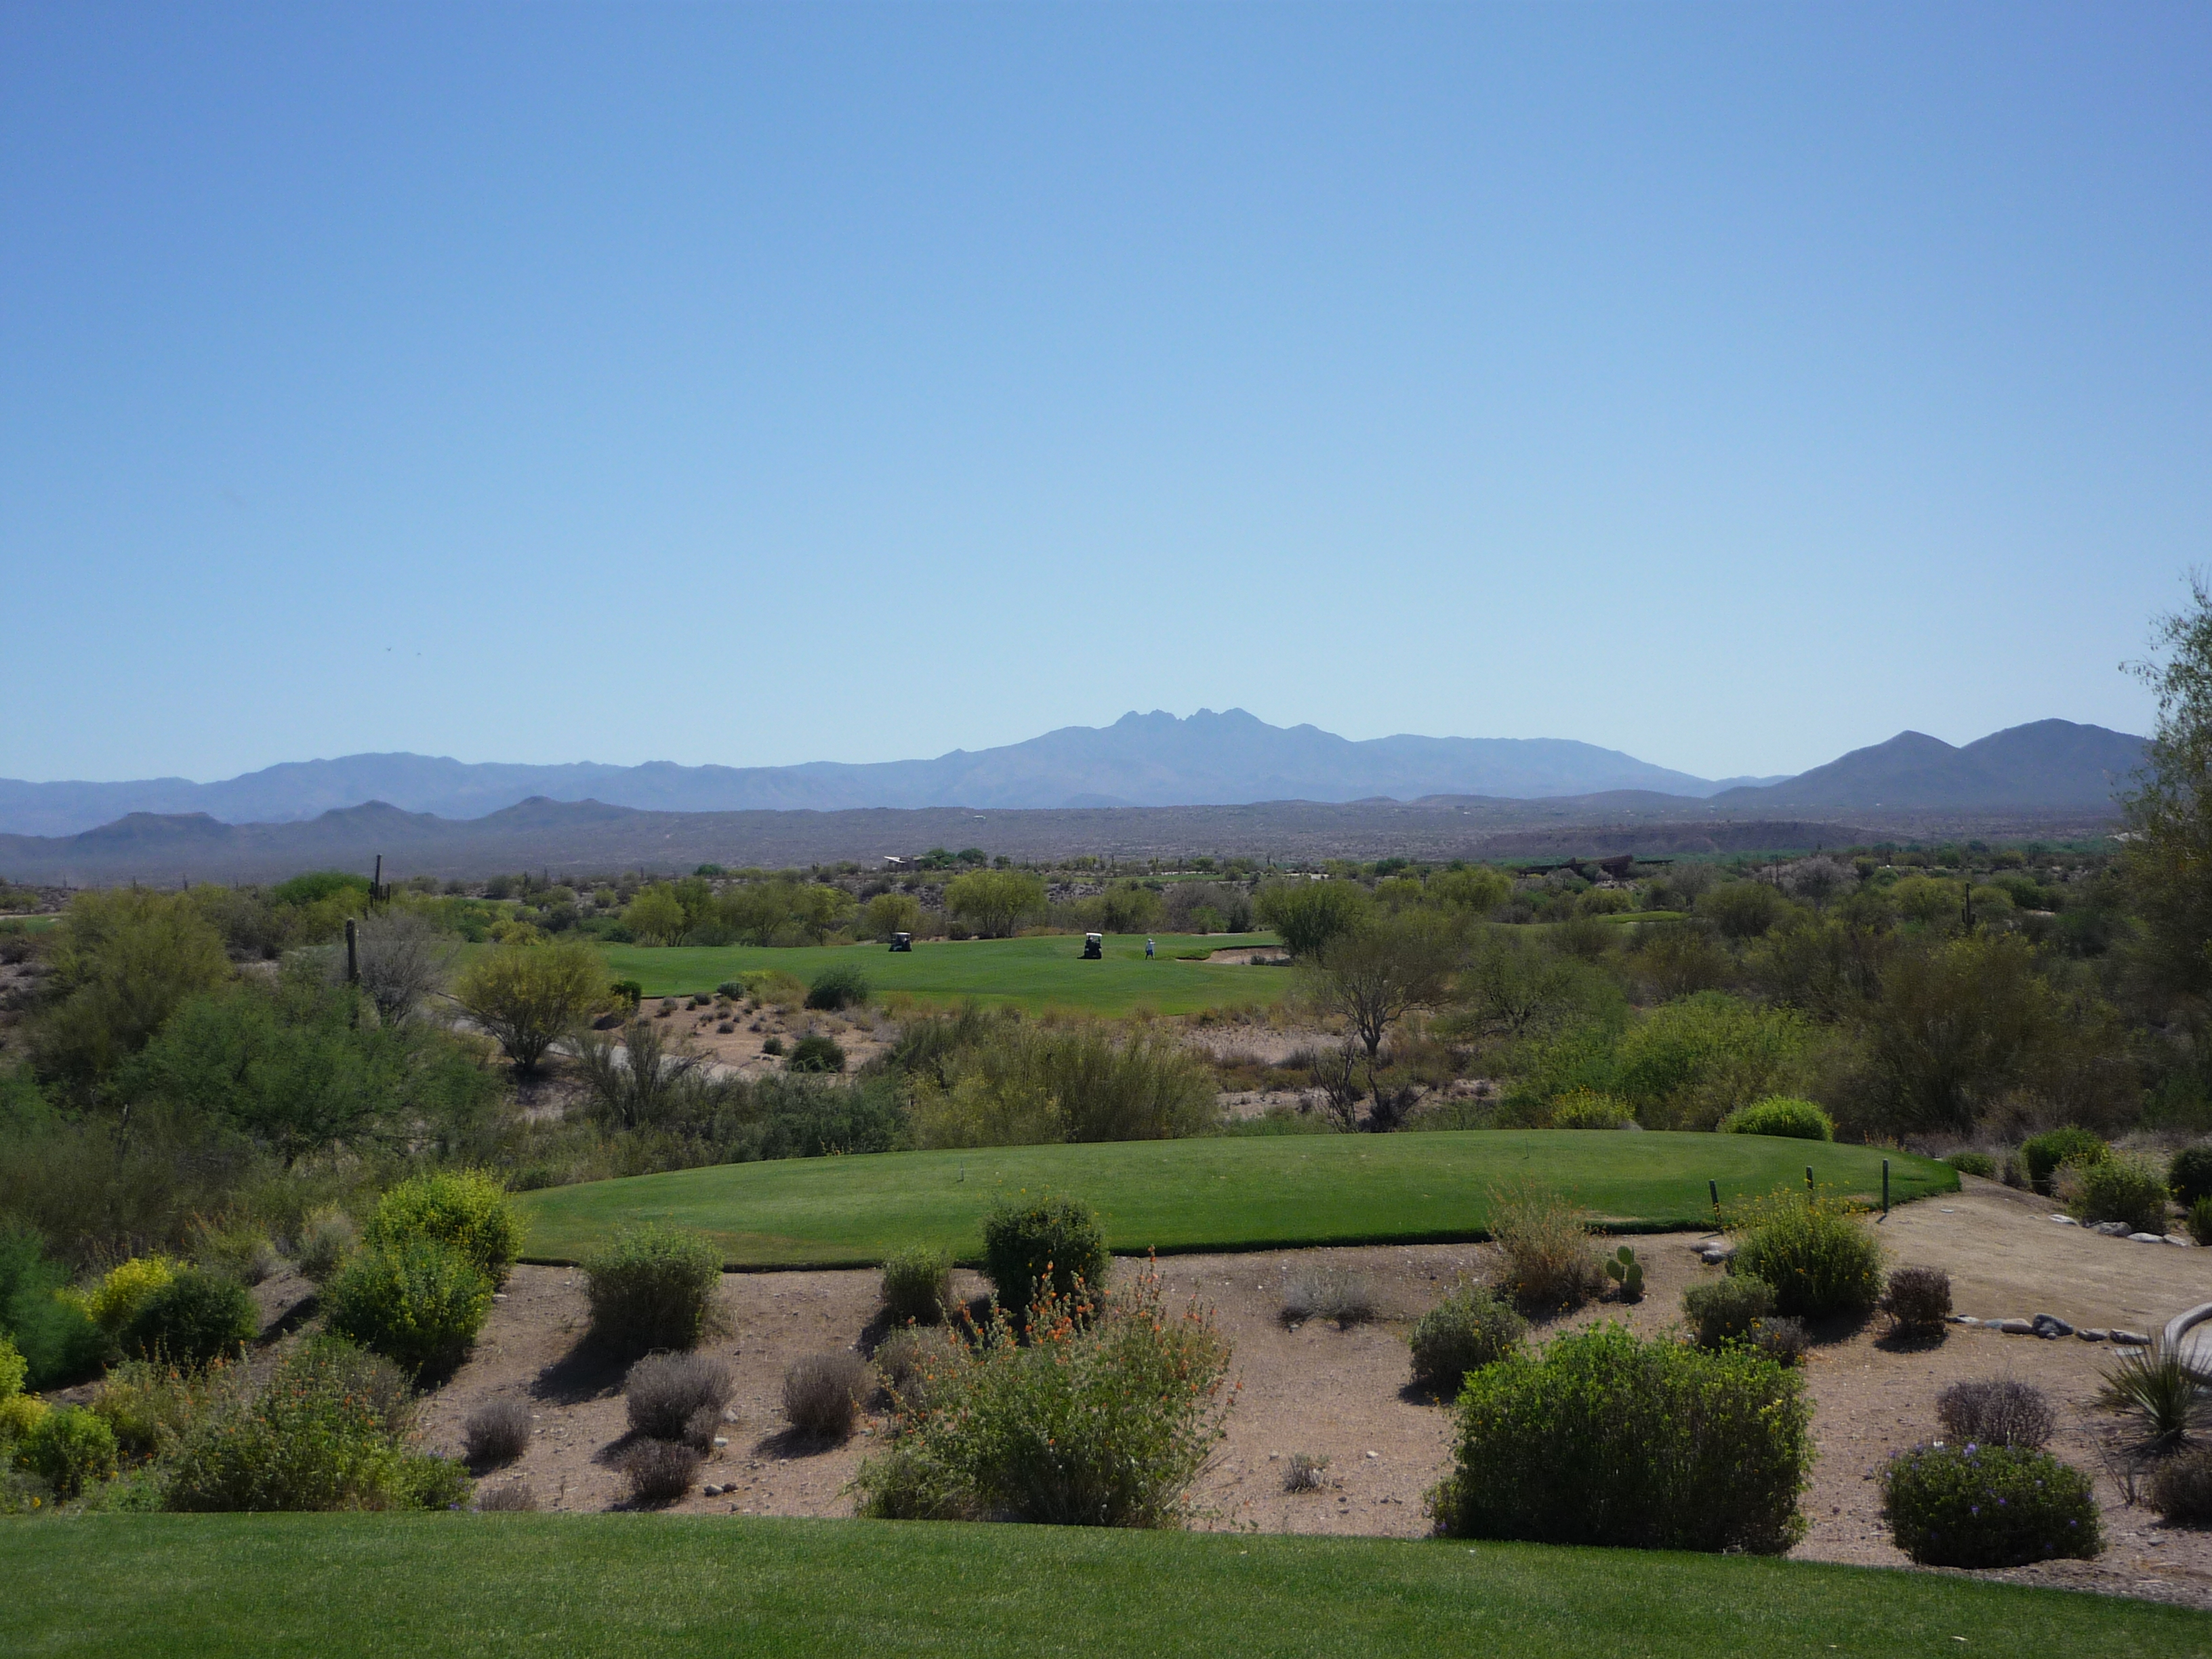
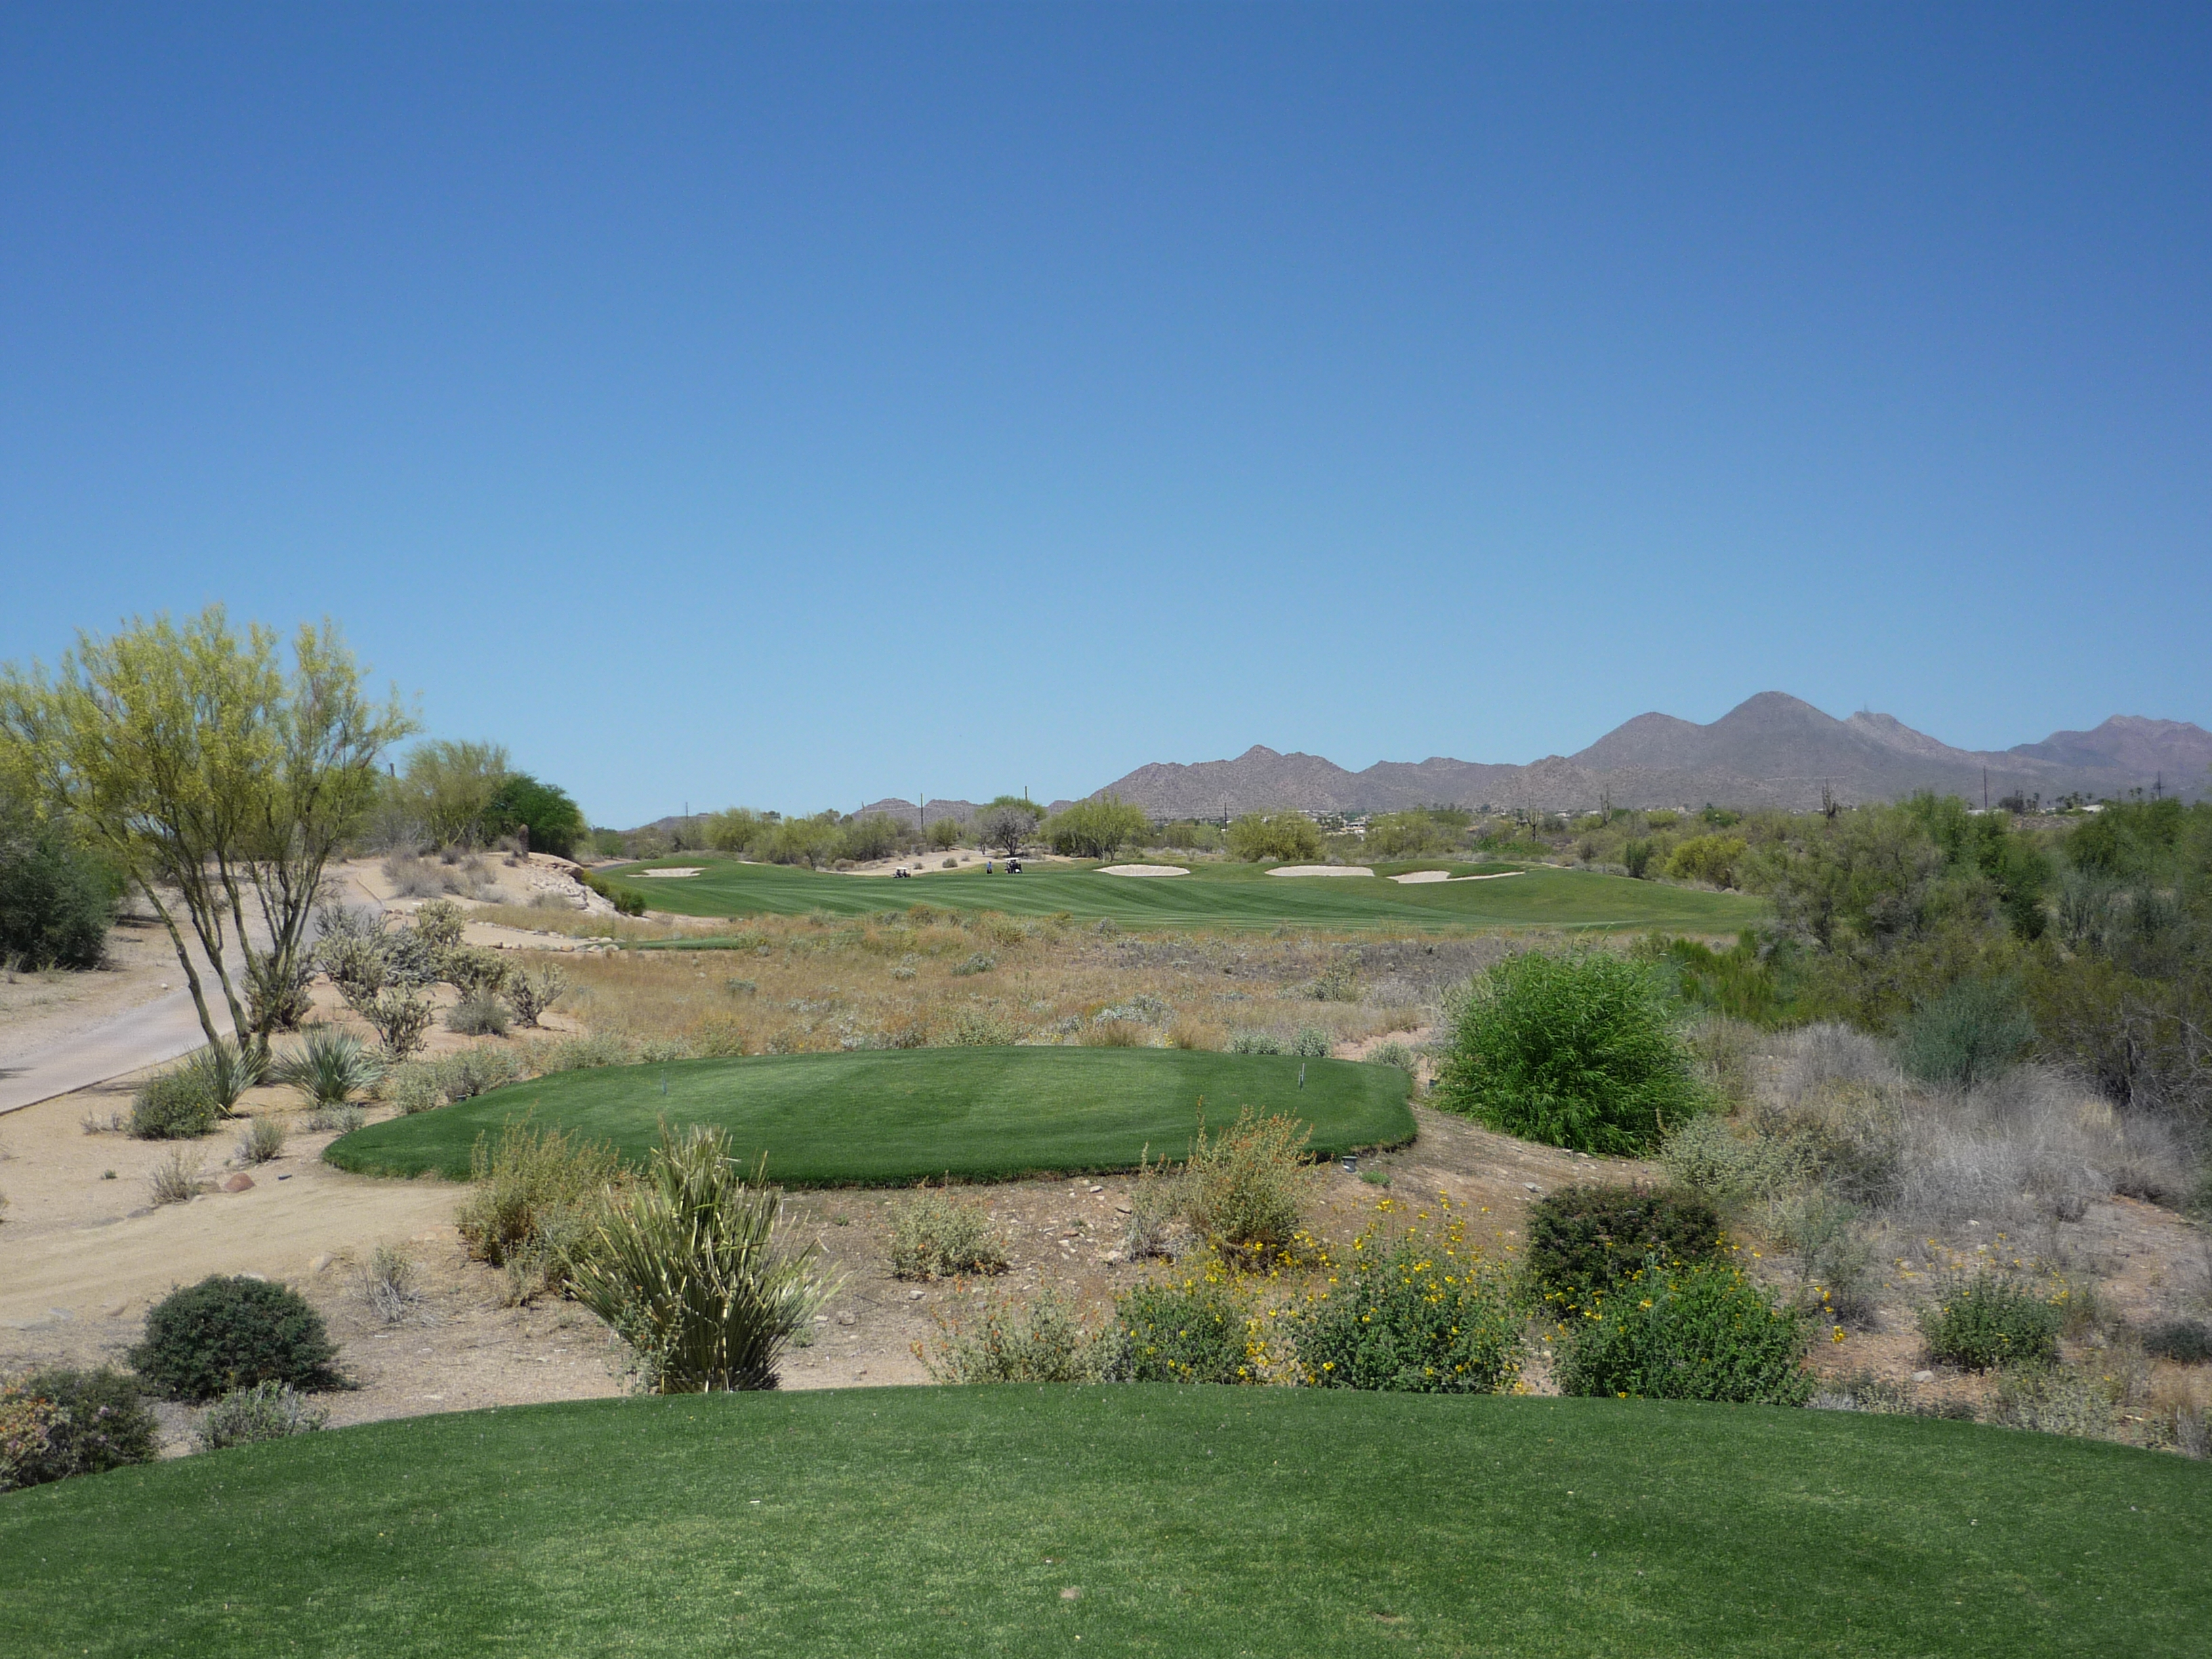
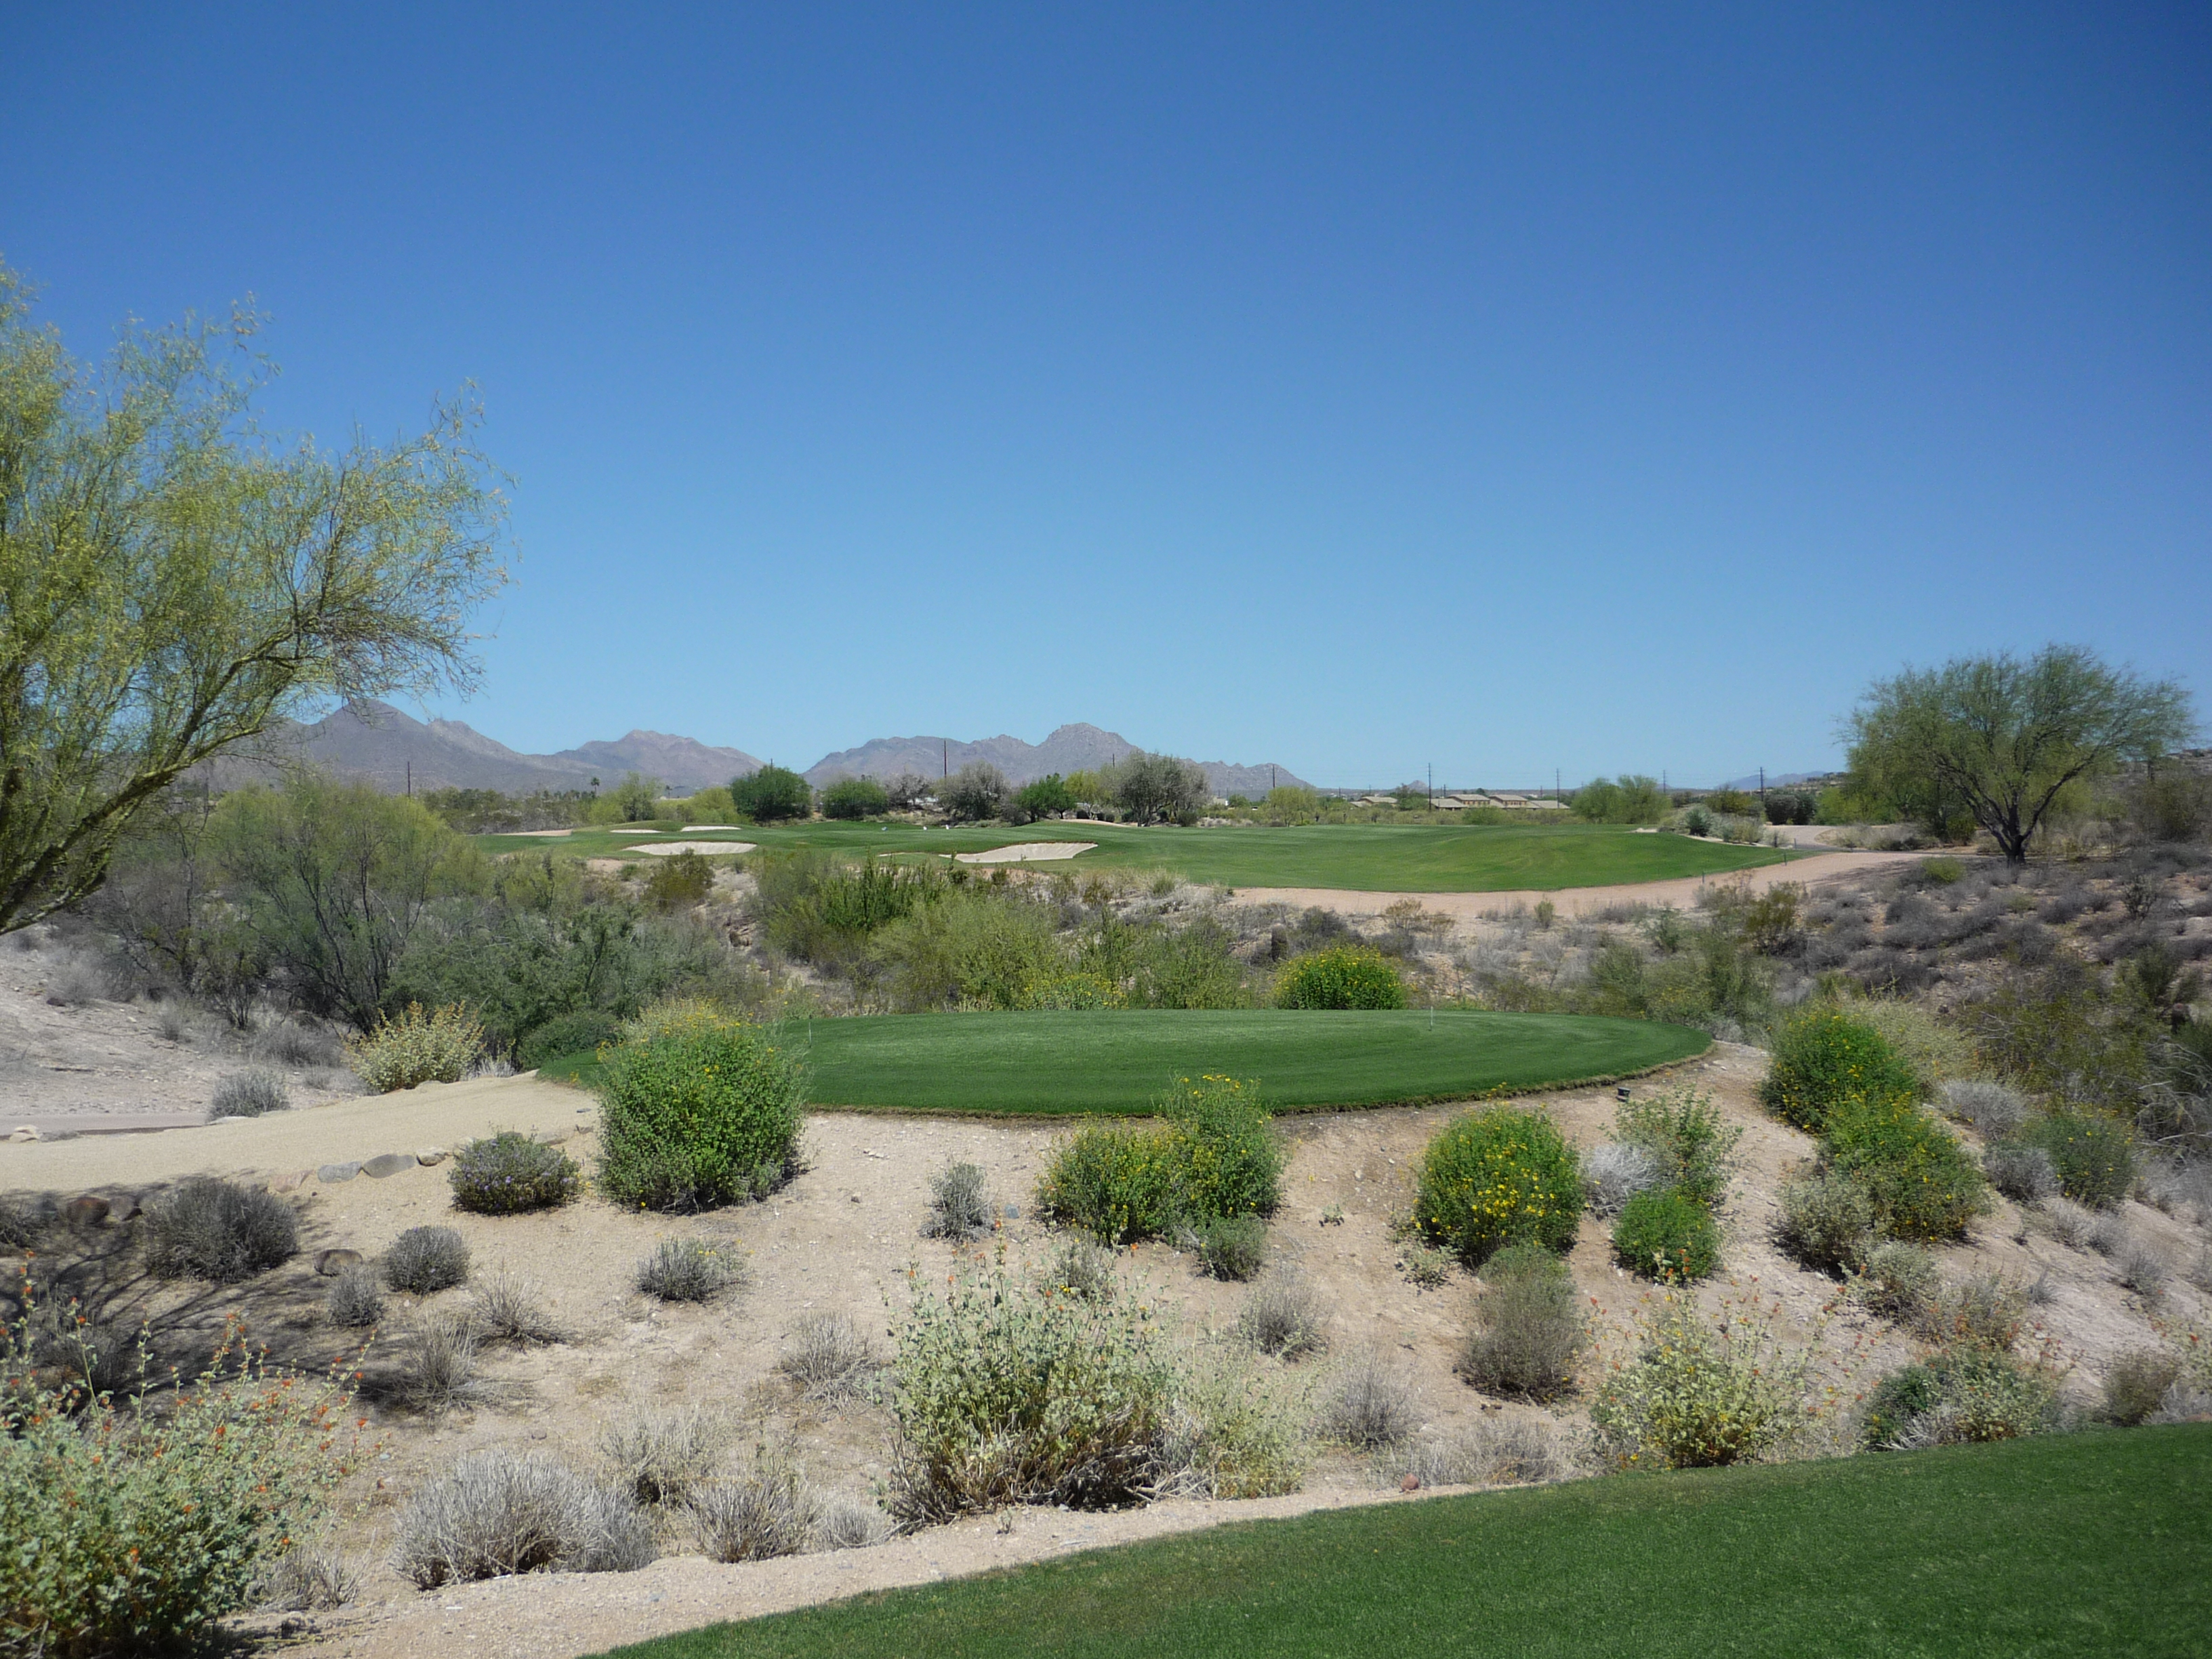
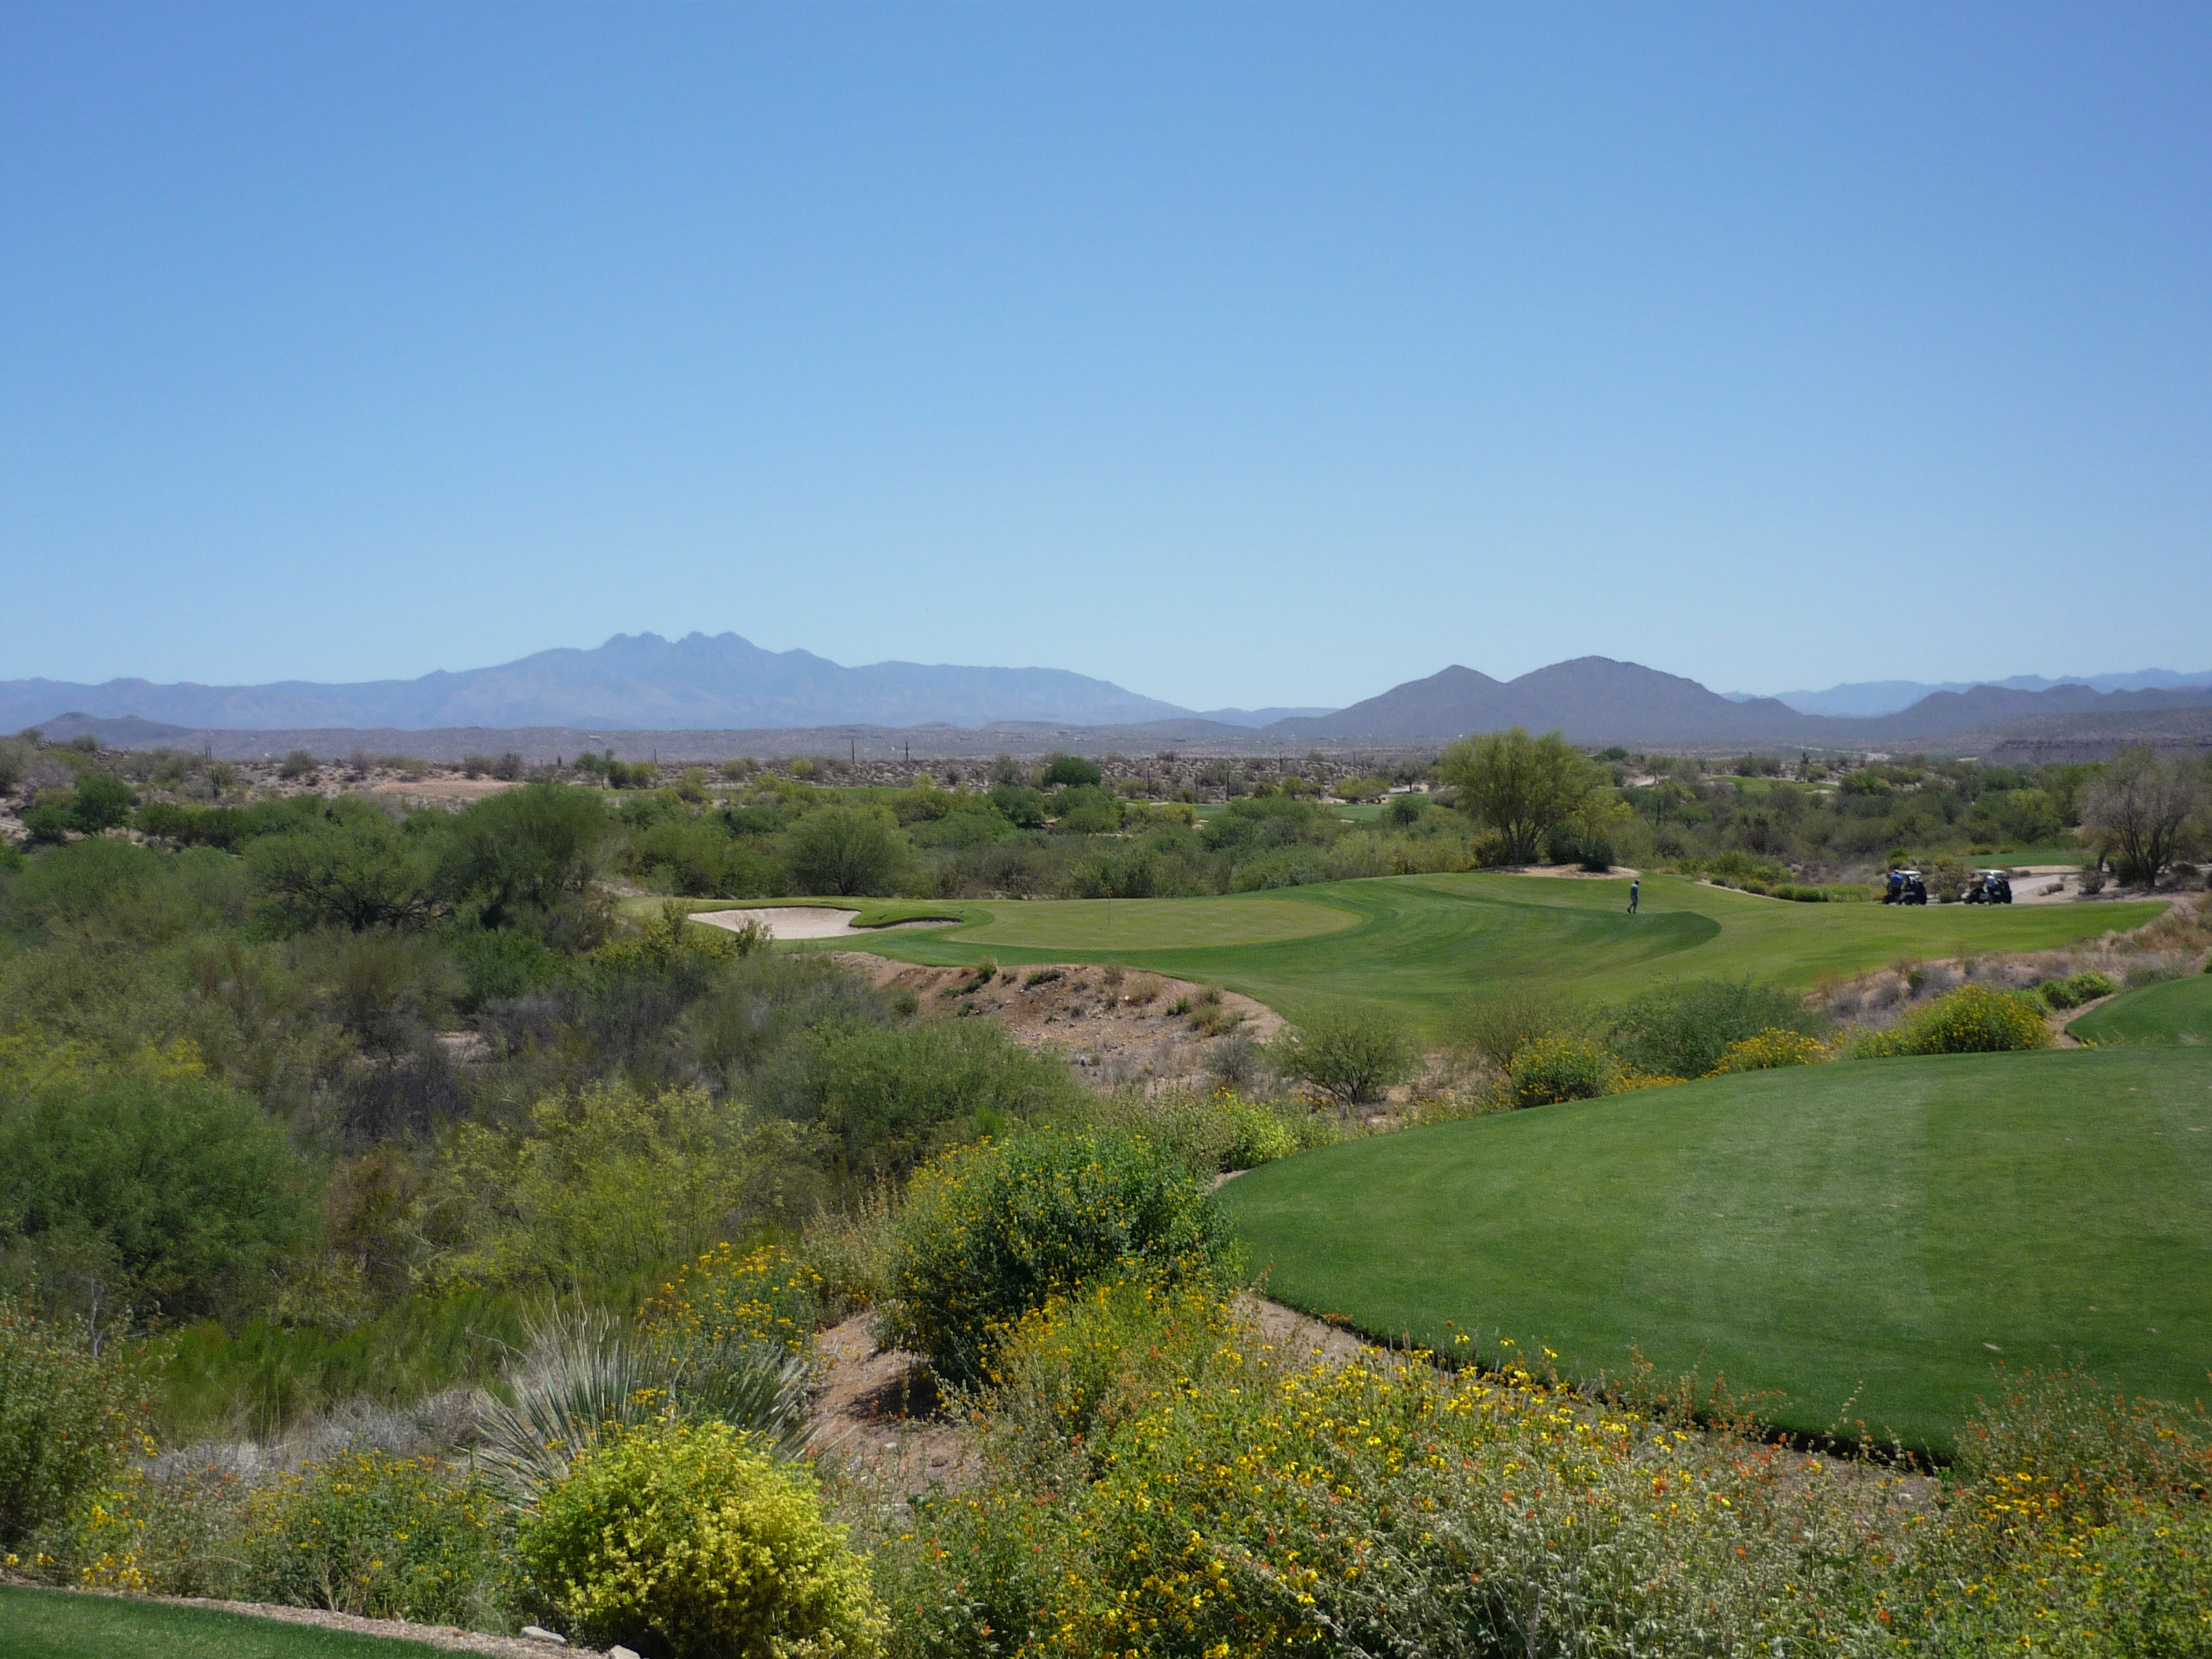
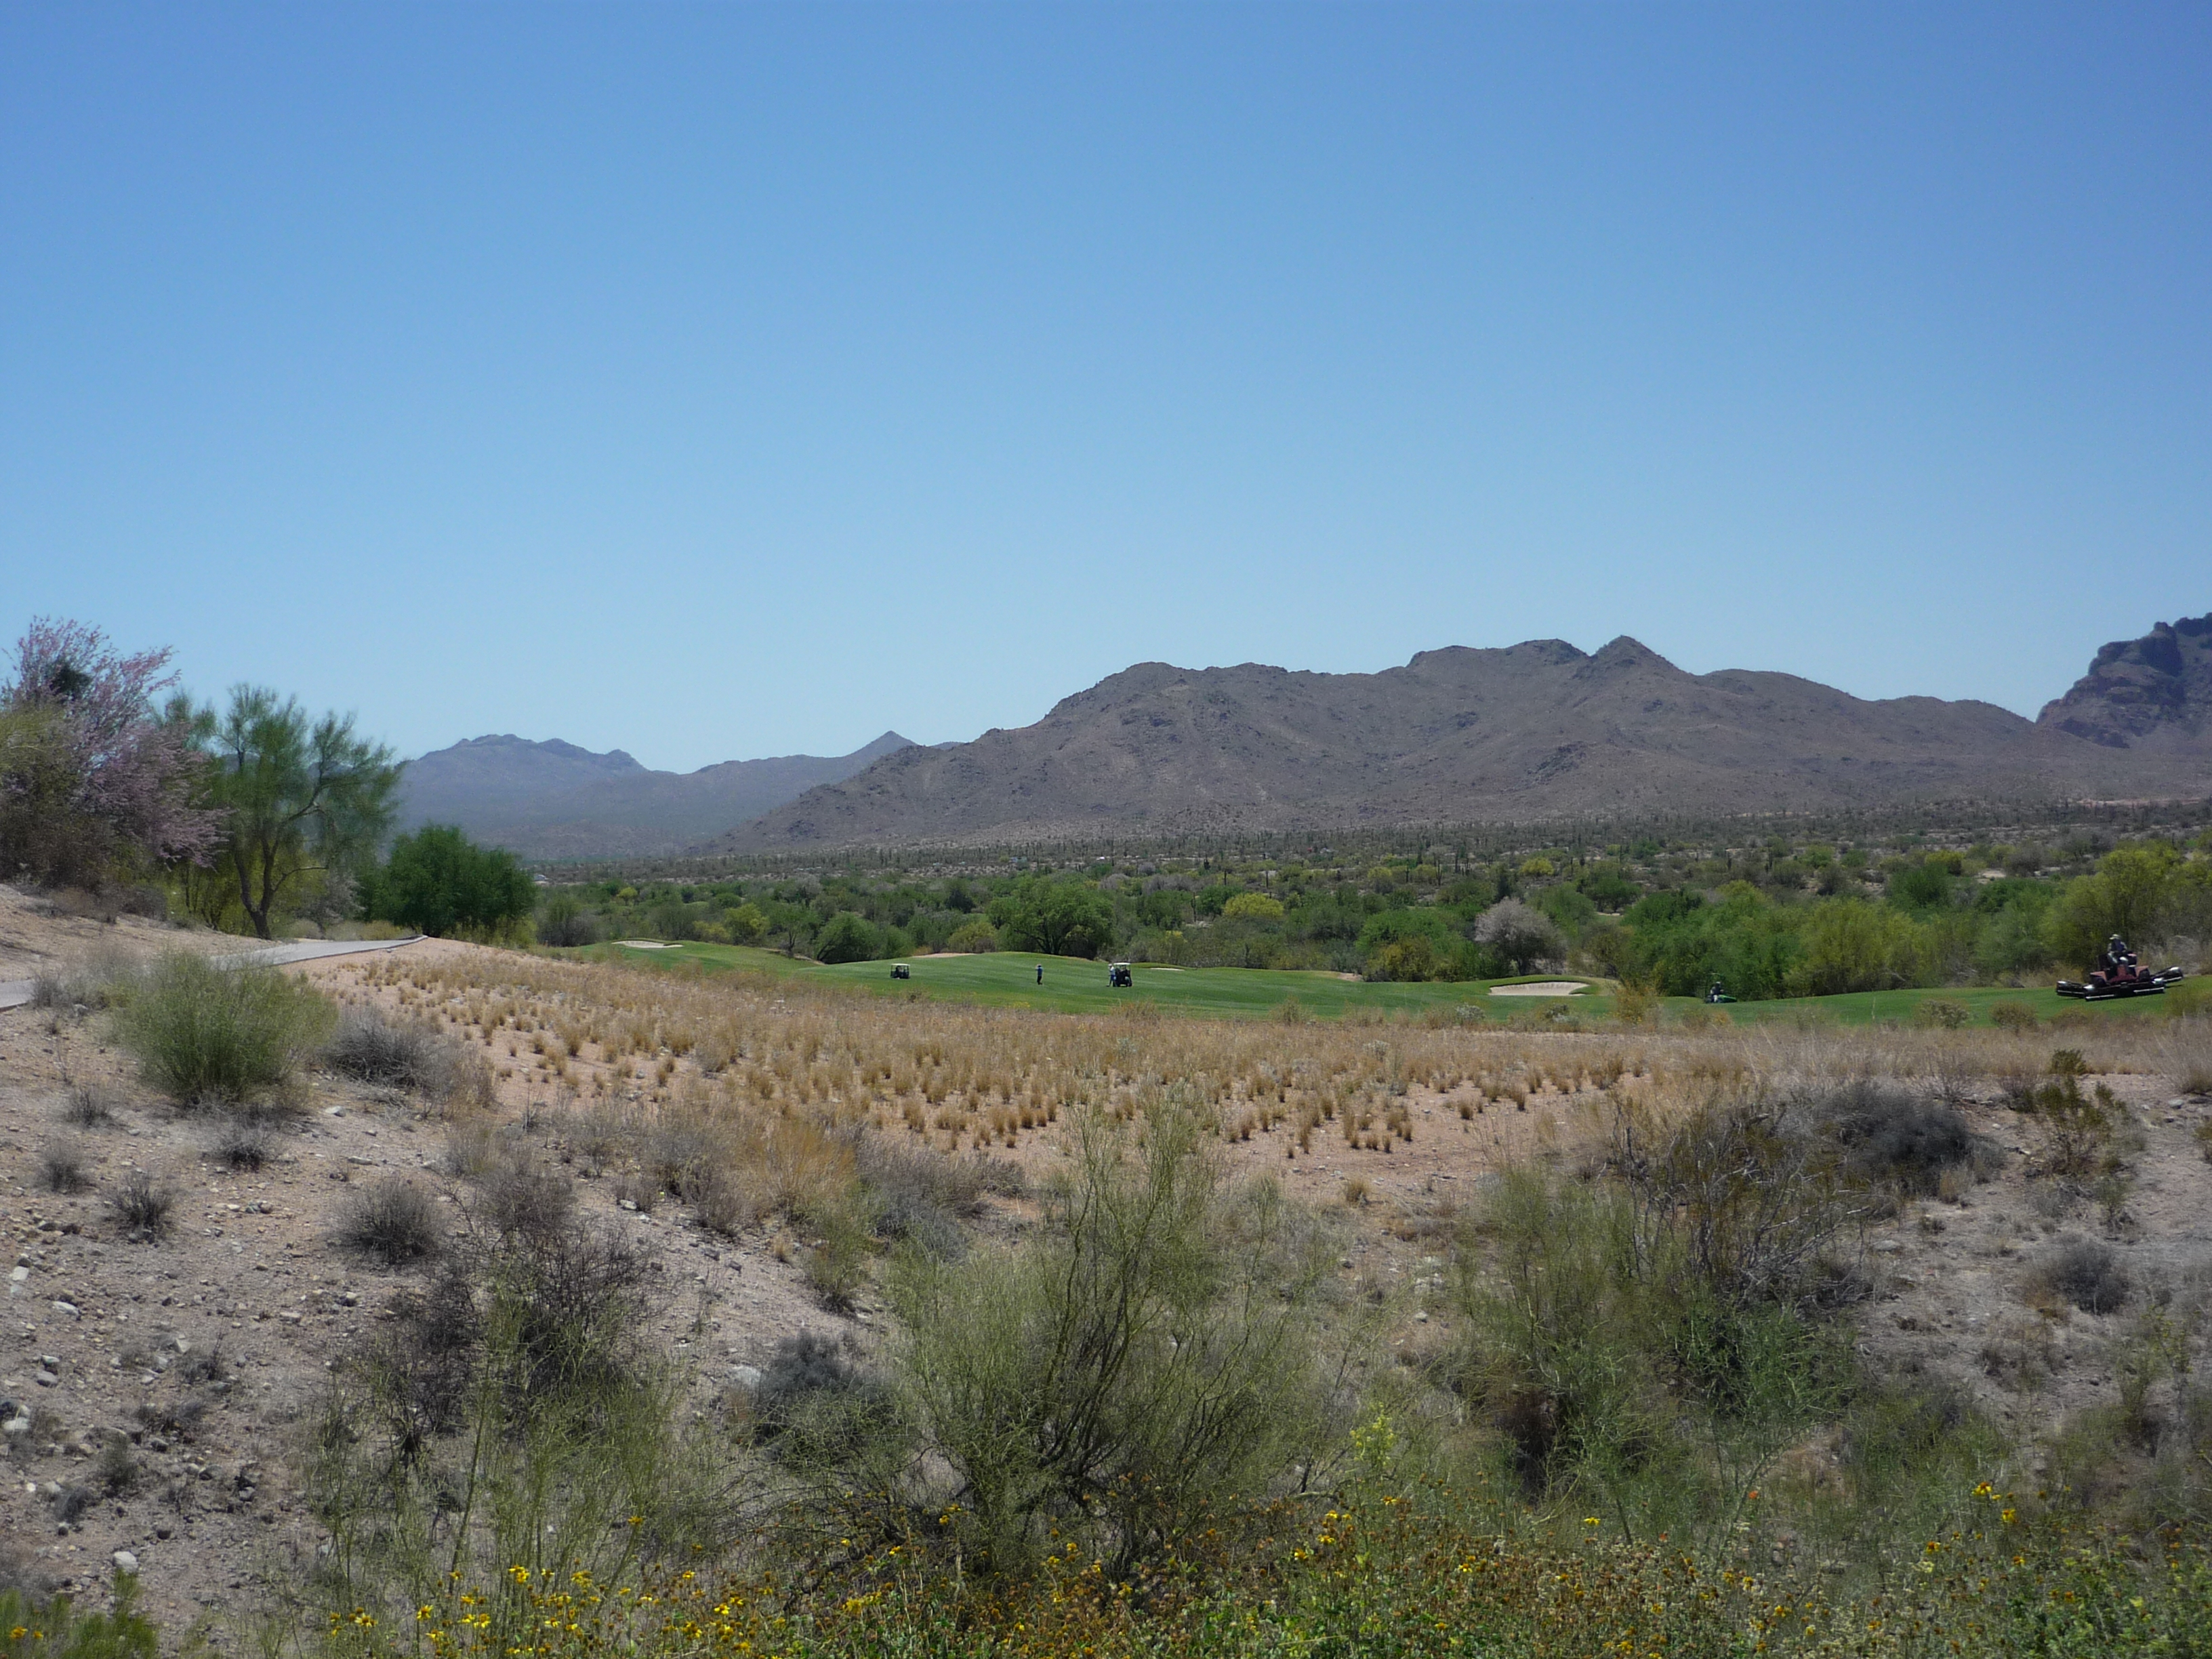
You get one of the better views from this tee. You can see the Four Peaks straight ahead. The name is pretty self-explanatory, but the view is awesome. From this elevated tee the hole doglegs right.
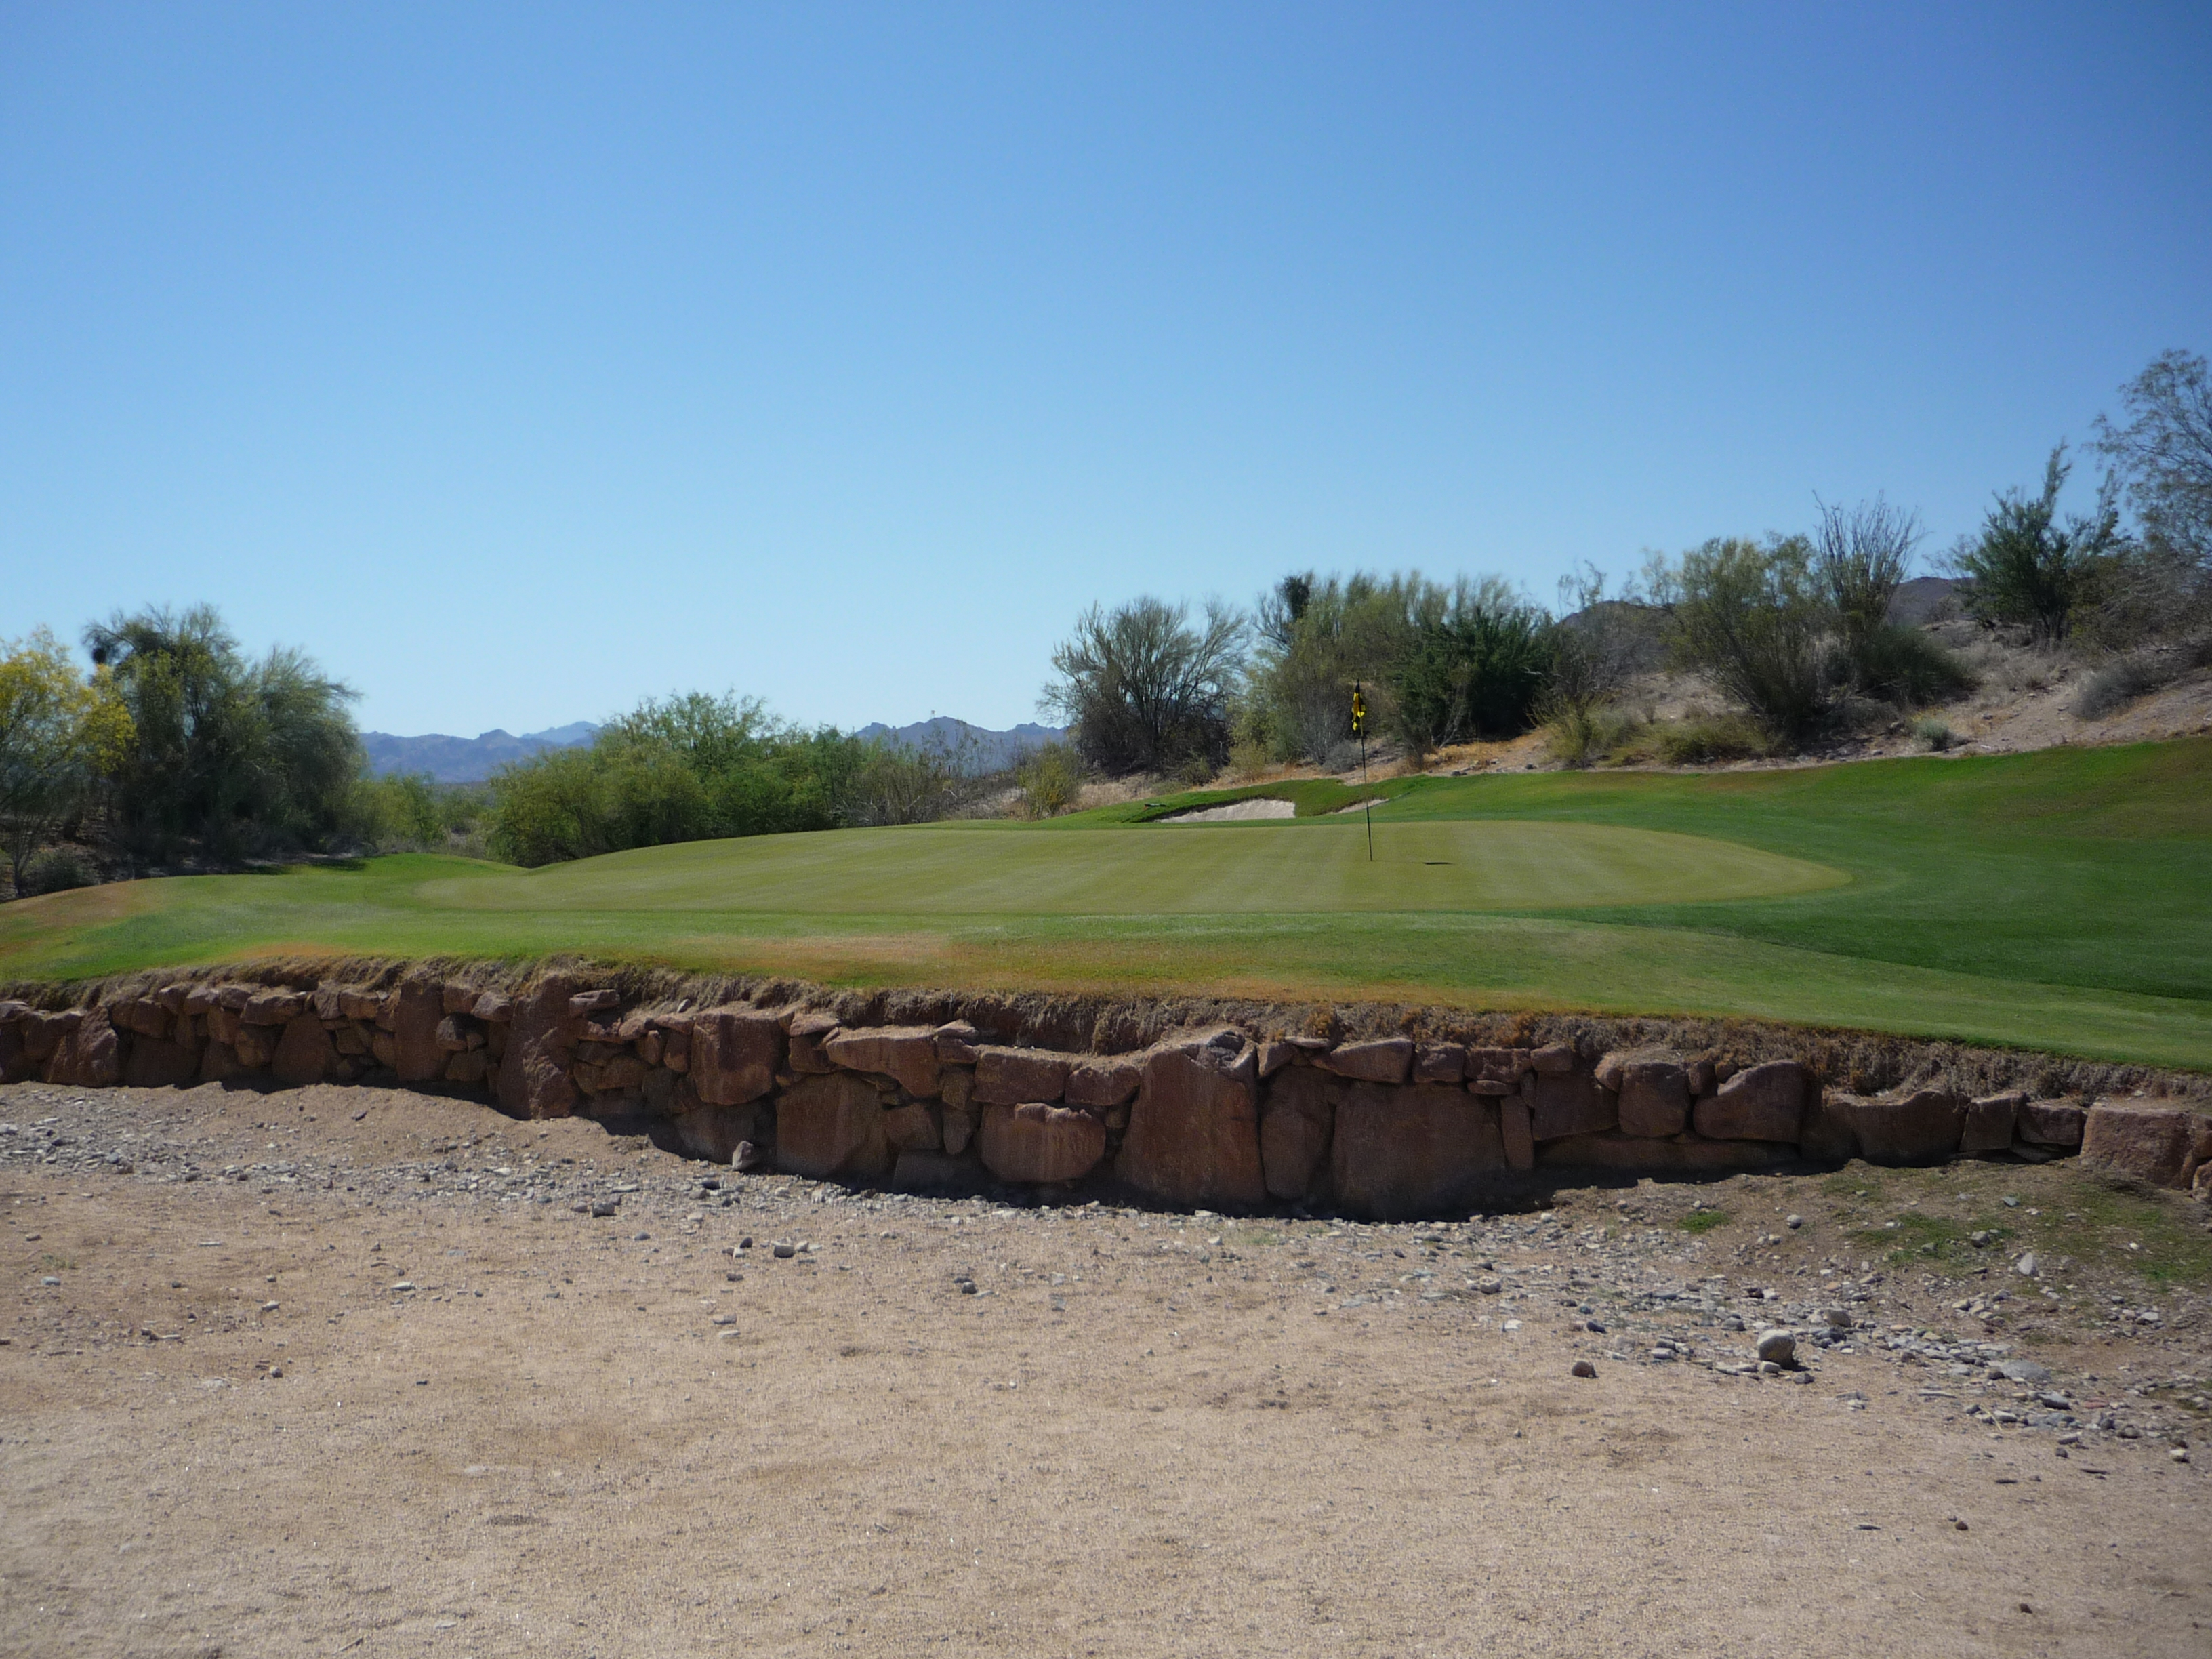
As the hole continues you edge further right and down the hill. This plays shorter than the card due to the slope. Be careful on layups though because the fairway gets quite narrow.
You can see what I mean below.
I enjoyed the look of this wall with the desert abutting the green. Very different and cool.
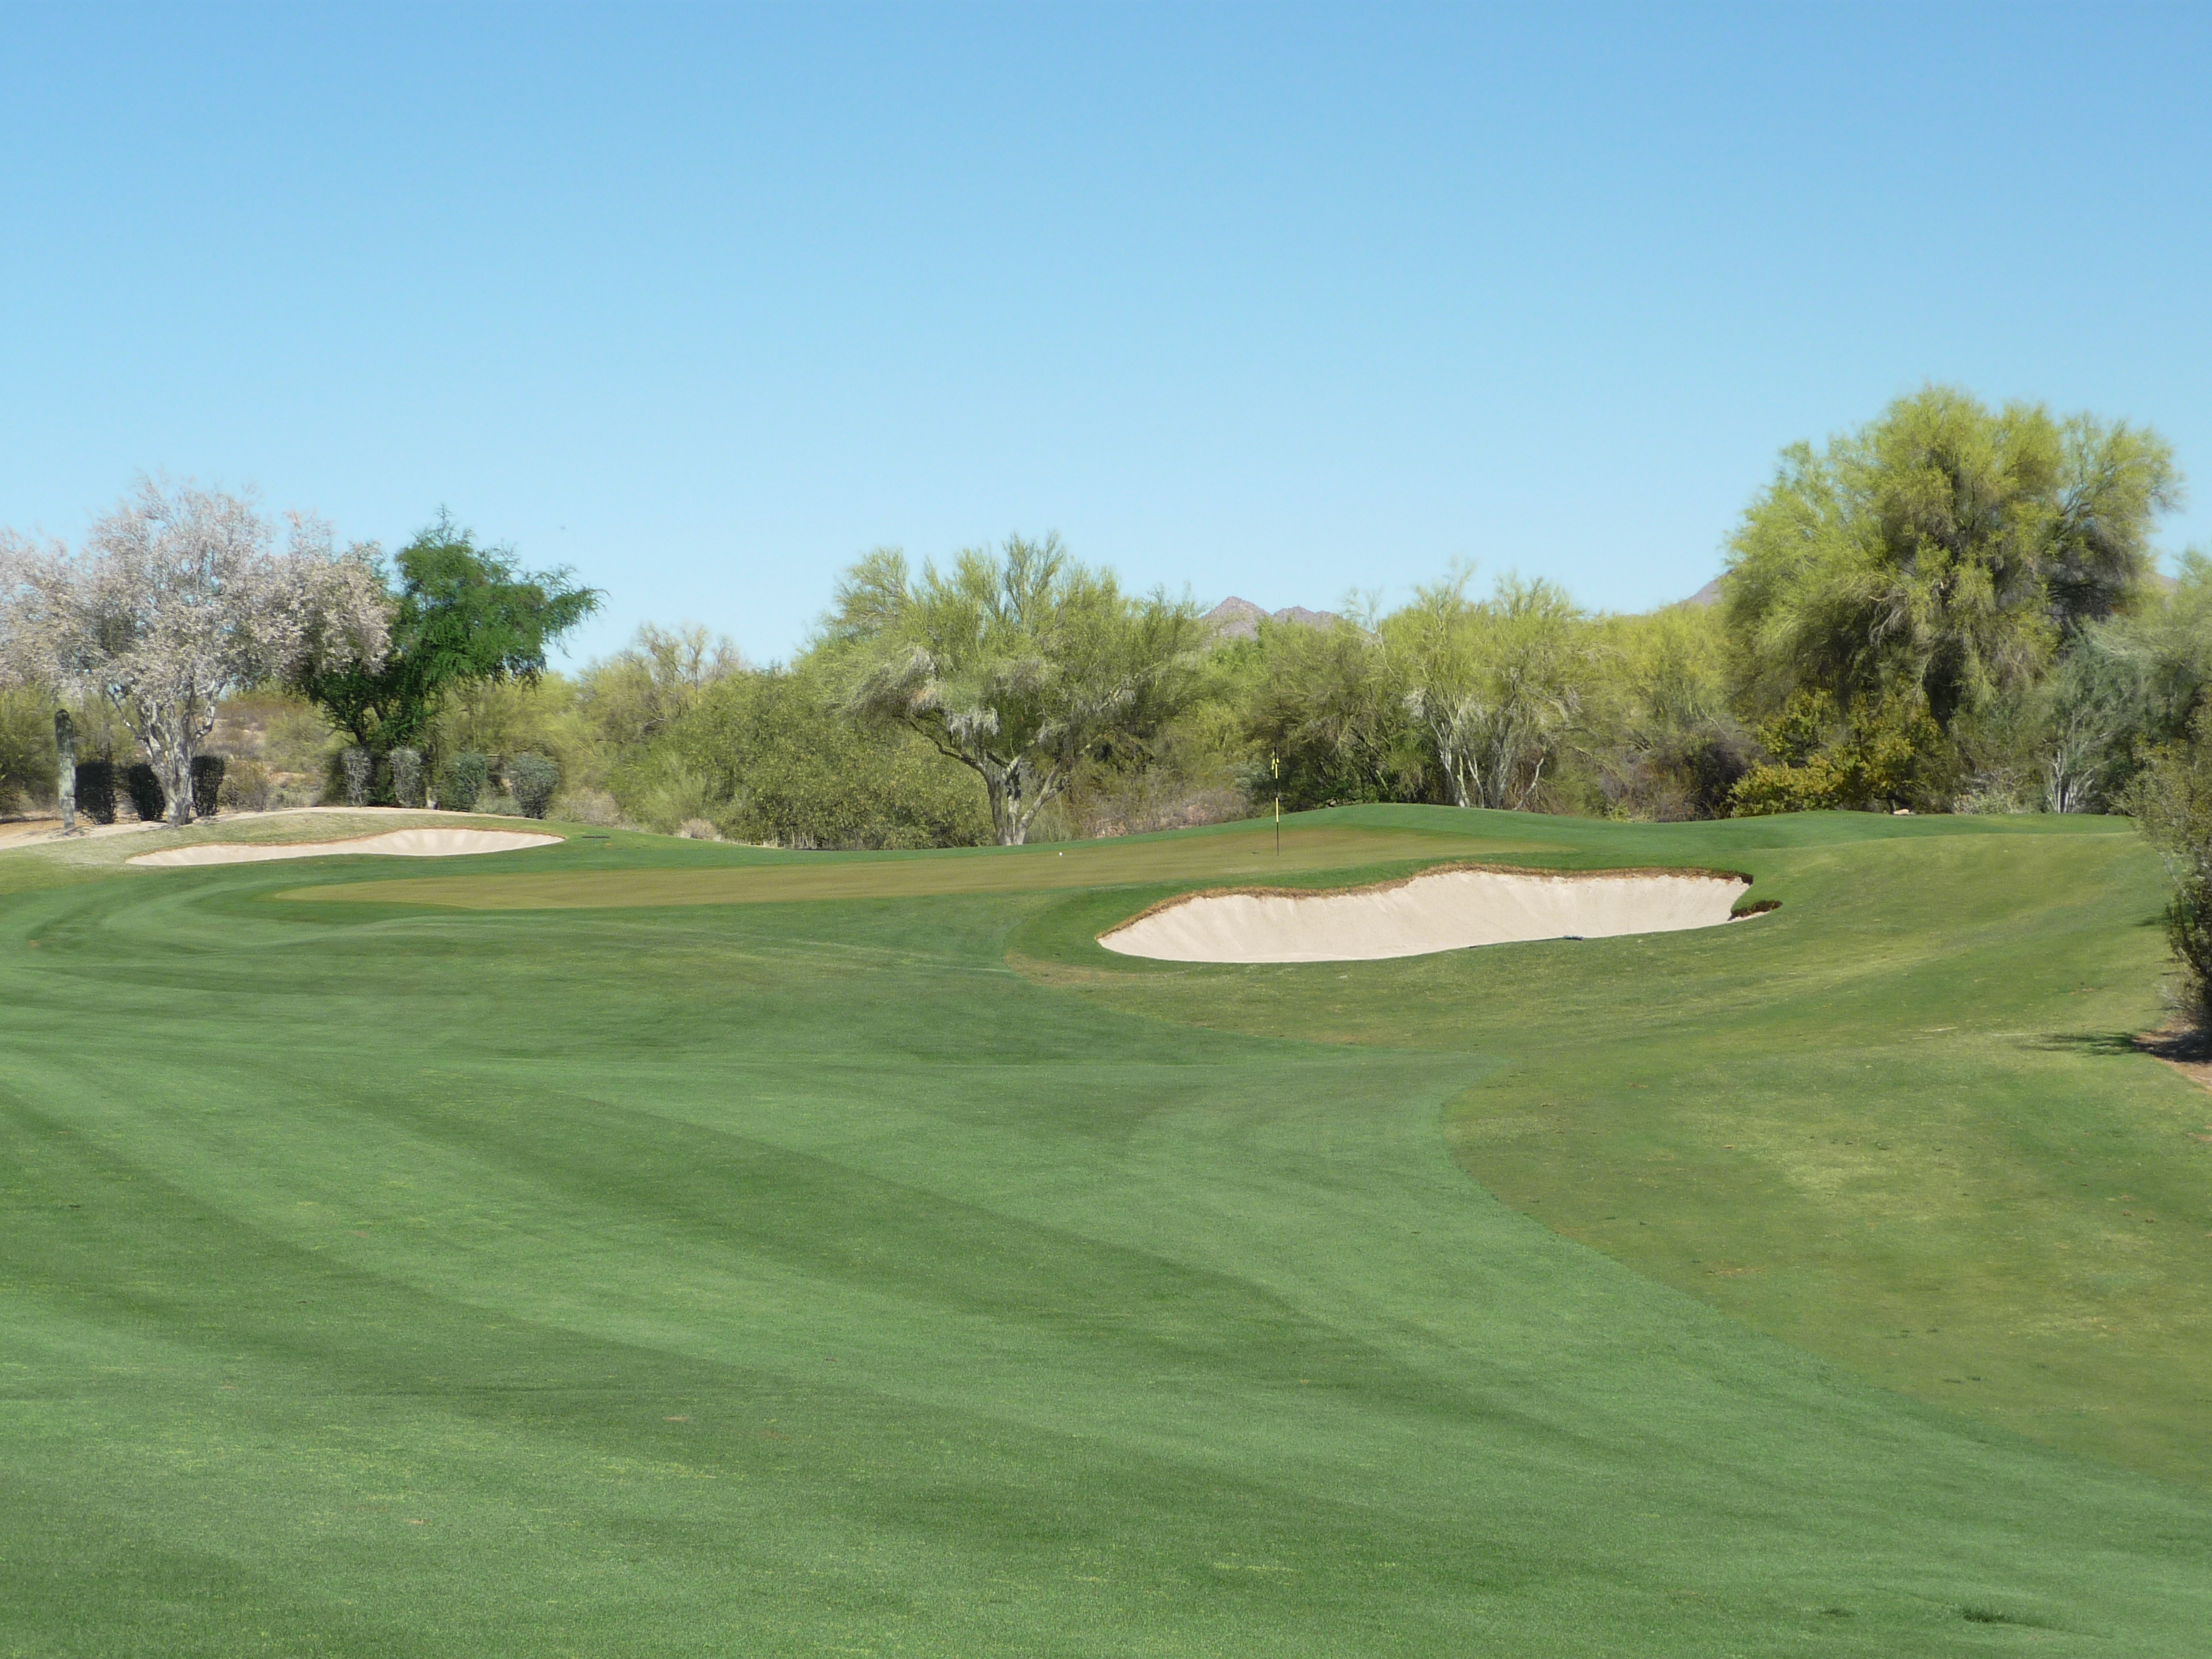
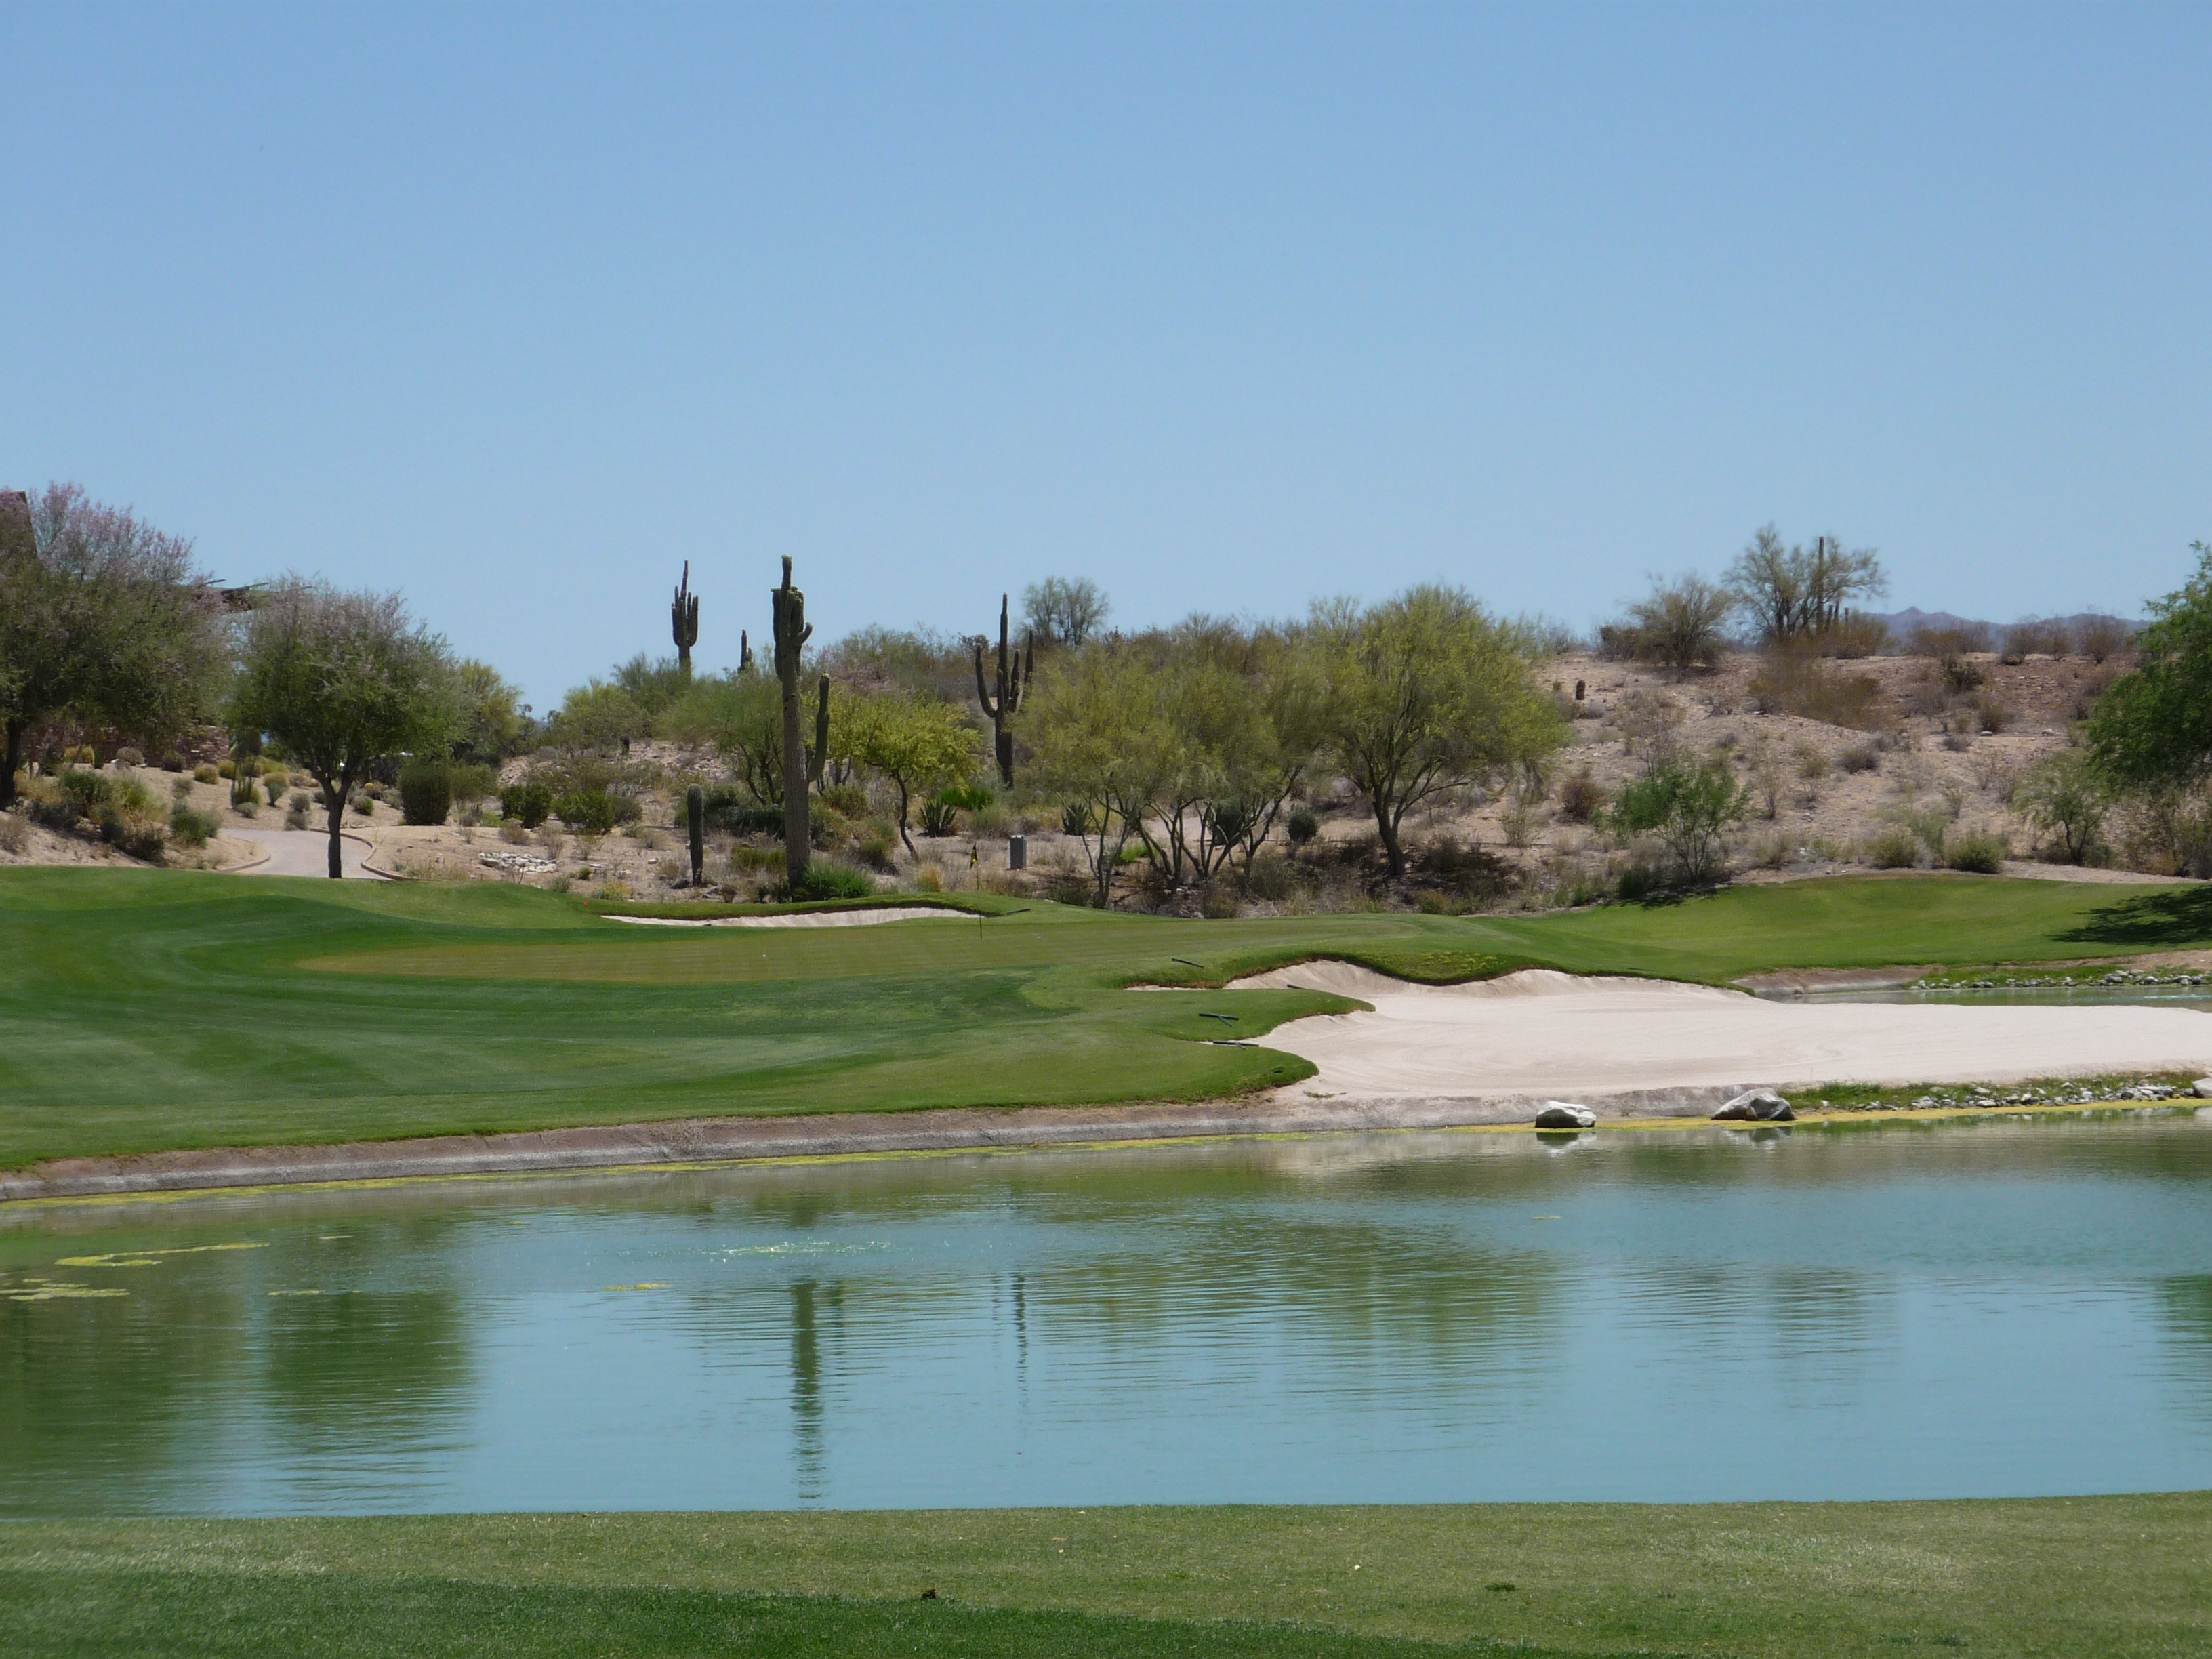
Hole 9 – 384 yards – Par 4
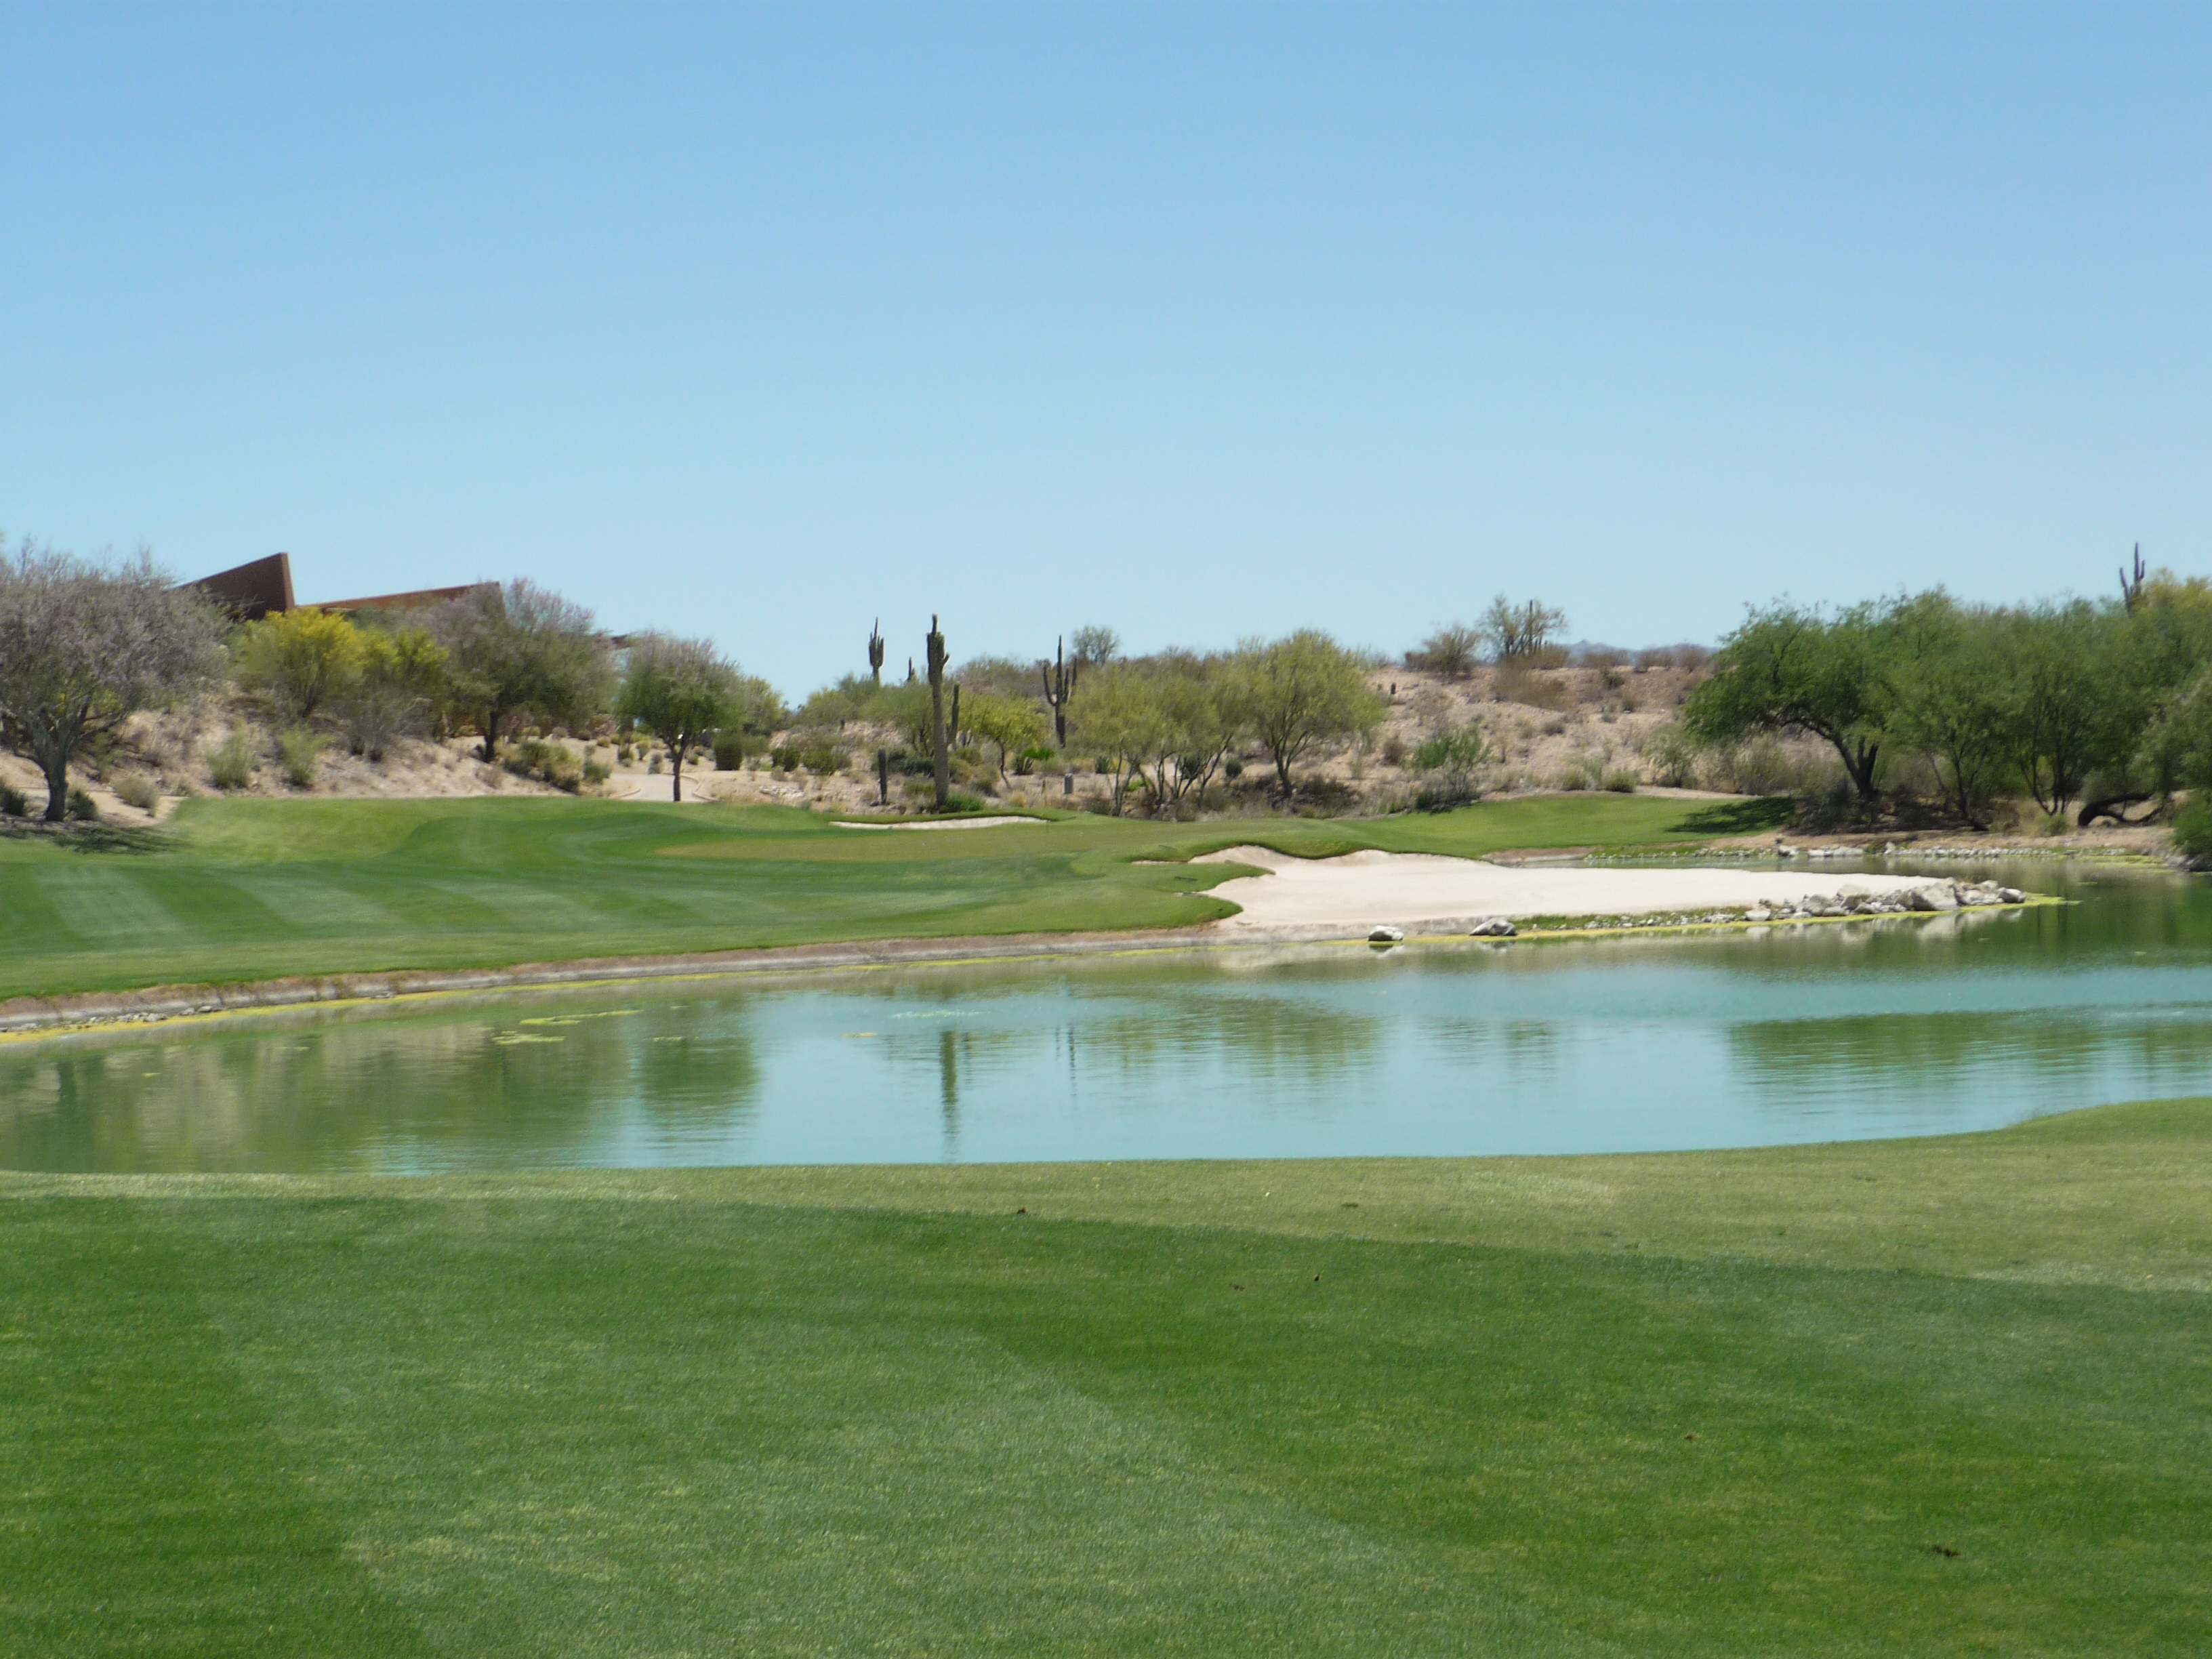
You get a large target here if you can clear the trio of bunkers in the middle of the fairway. Some of the only water on property rests of to the right closer to the green.
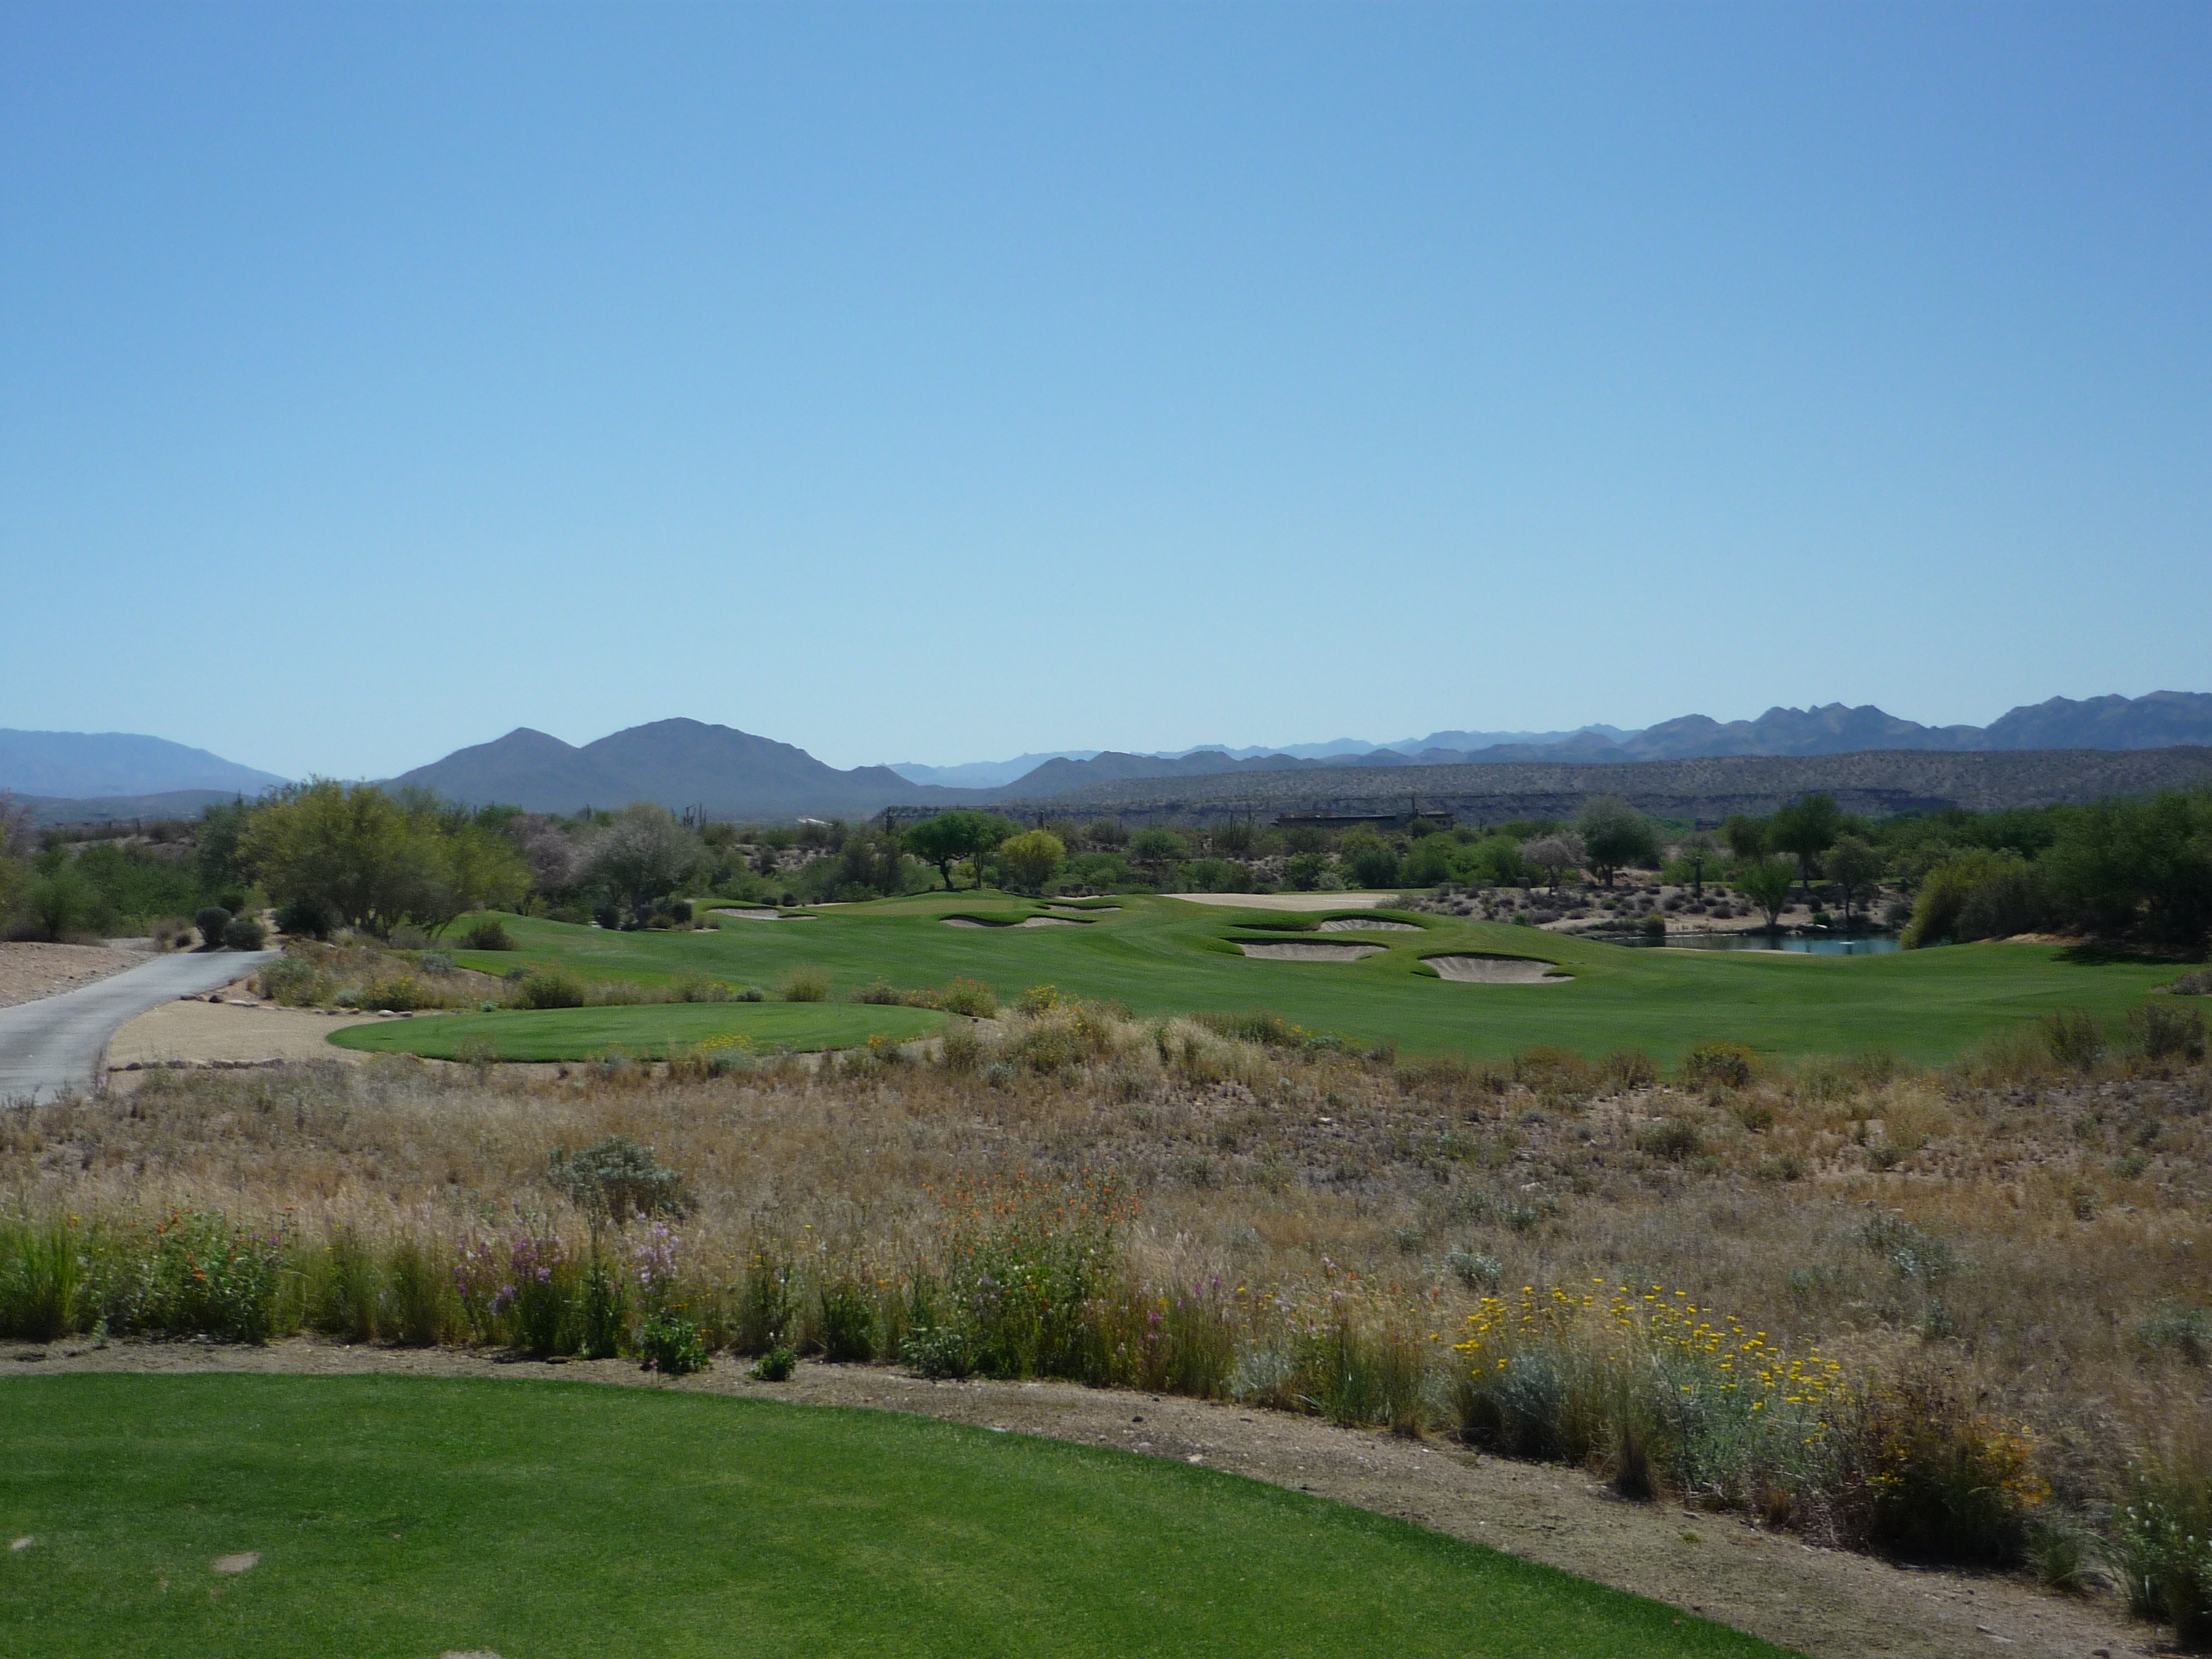
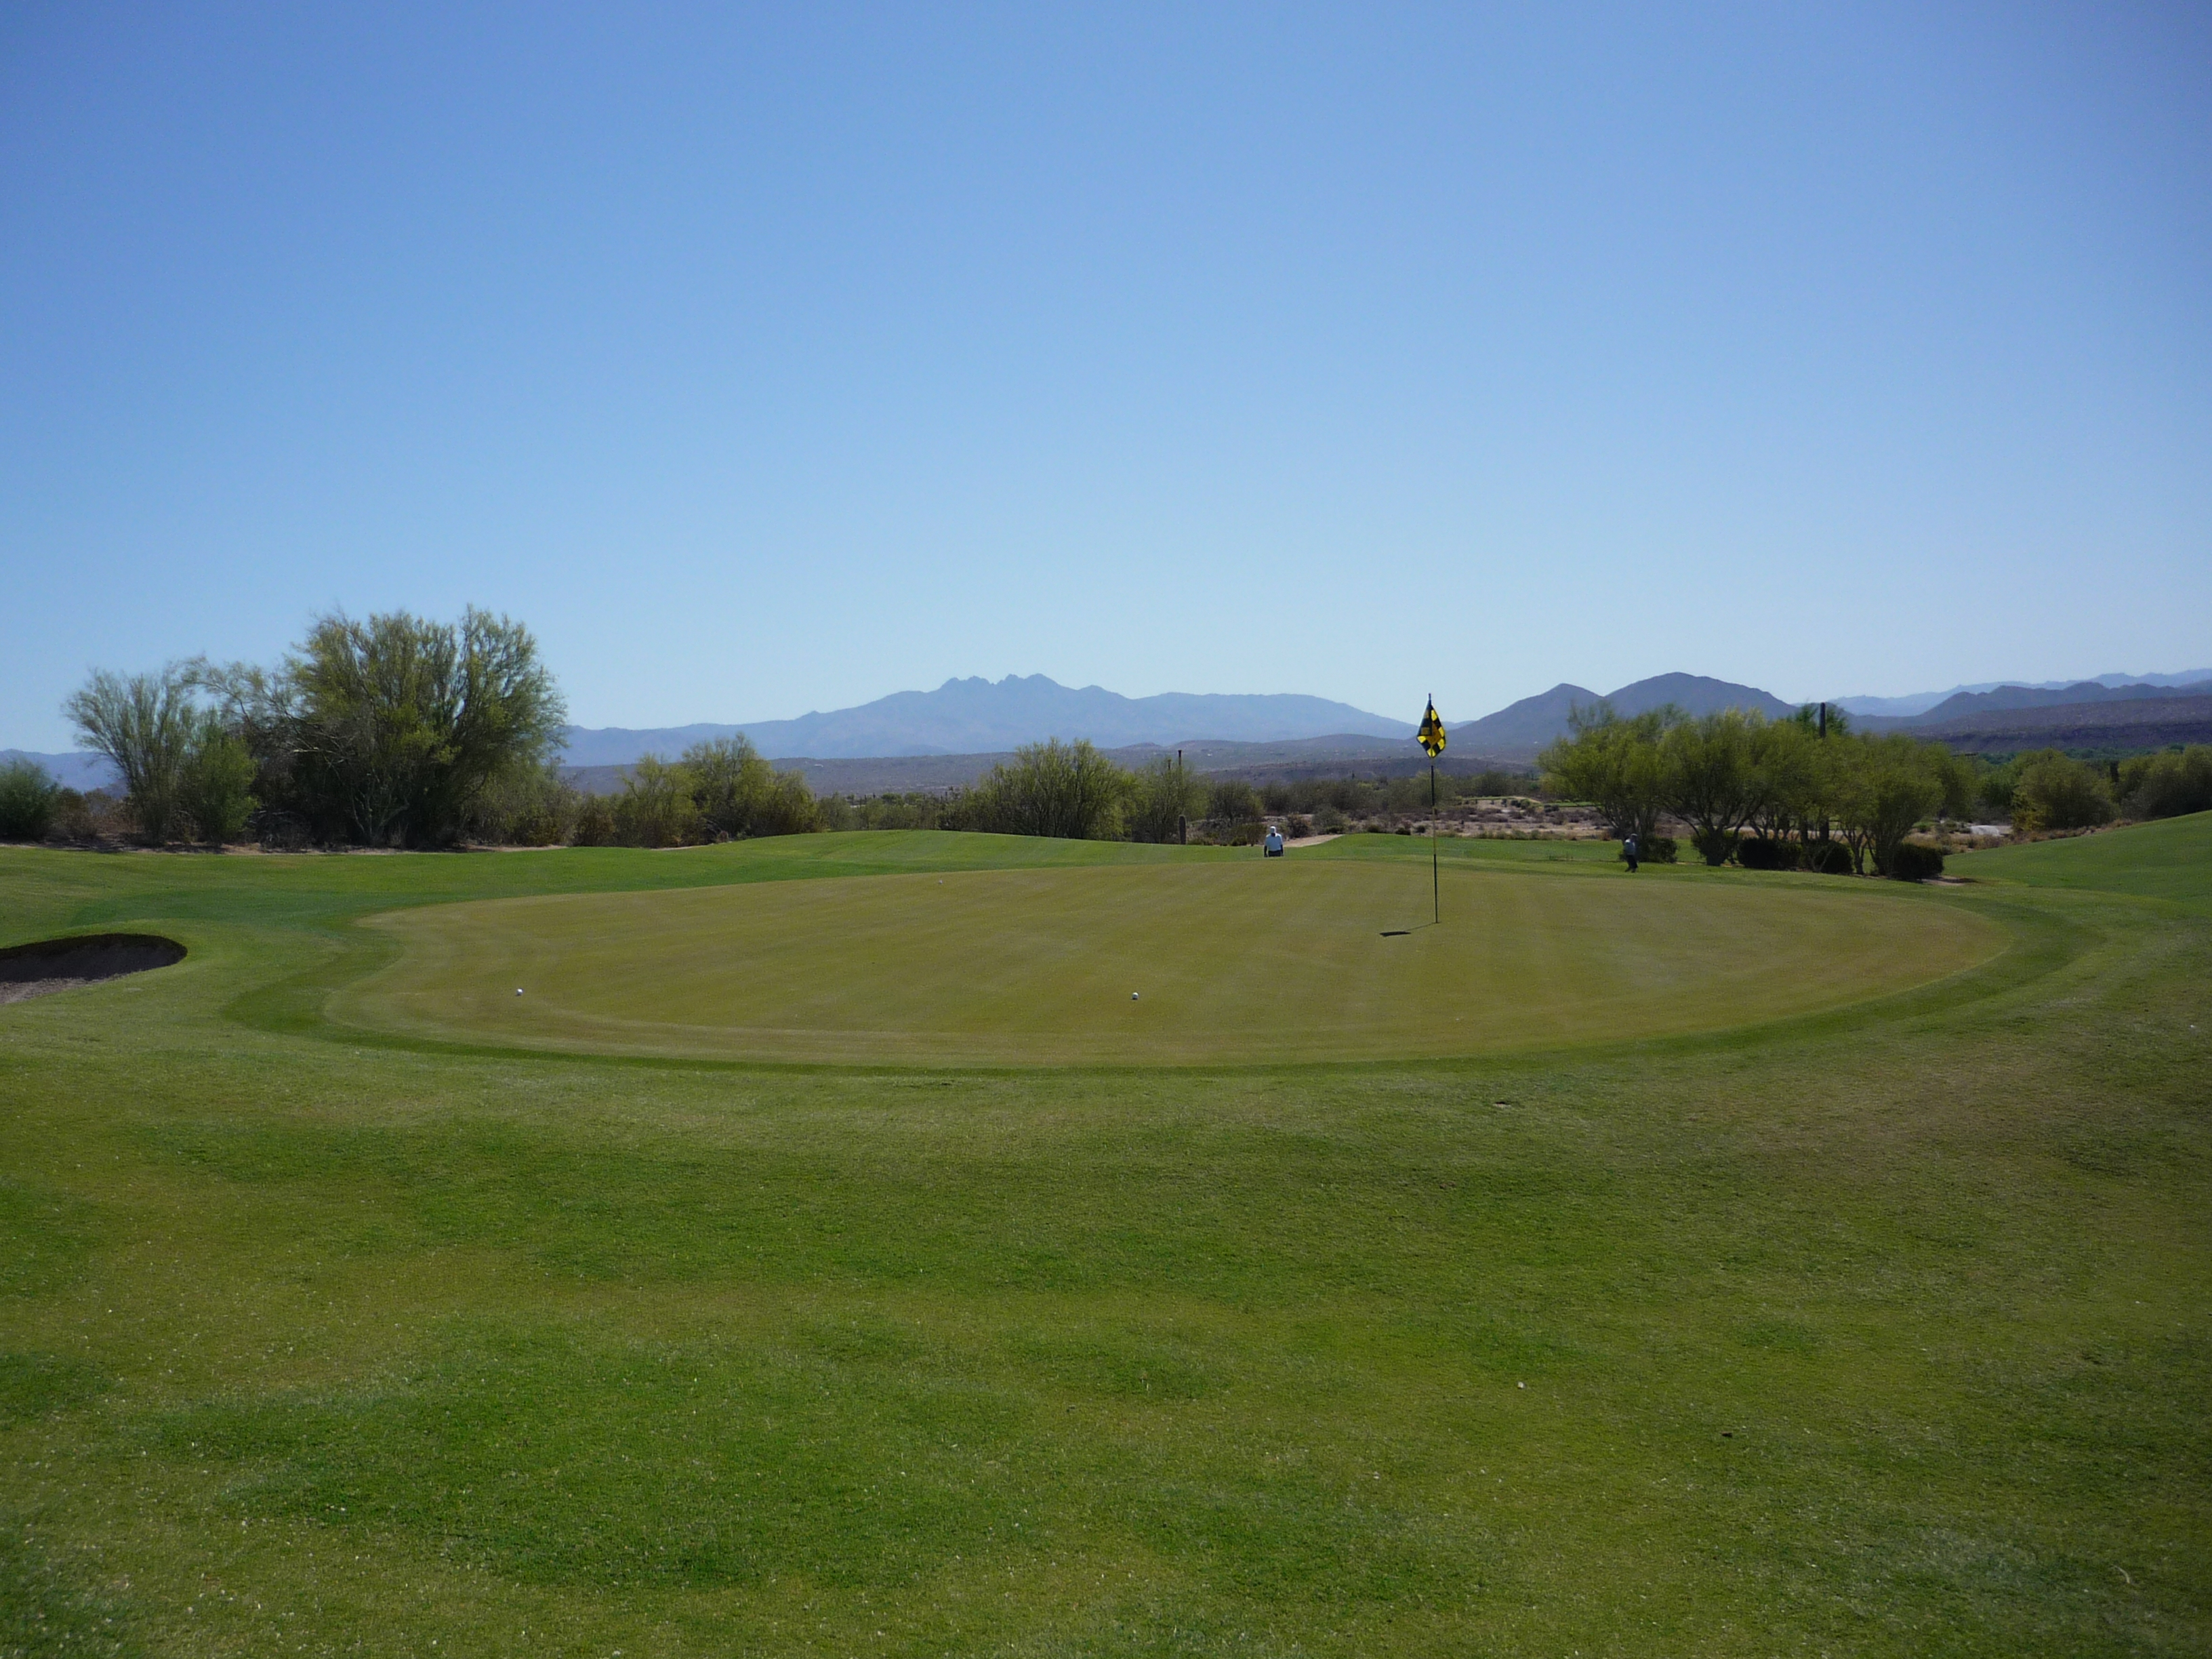
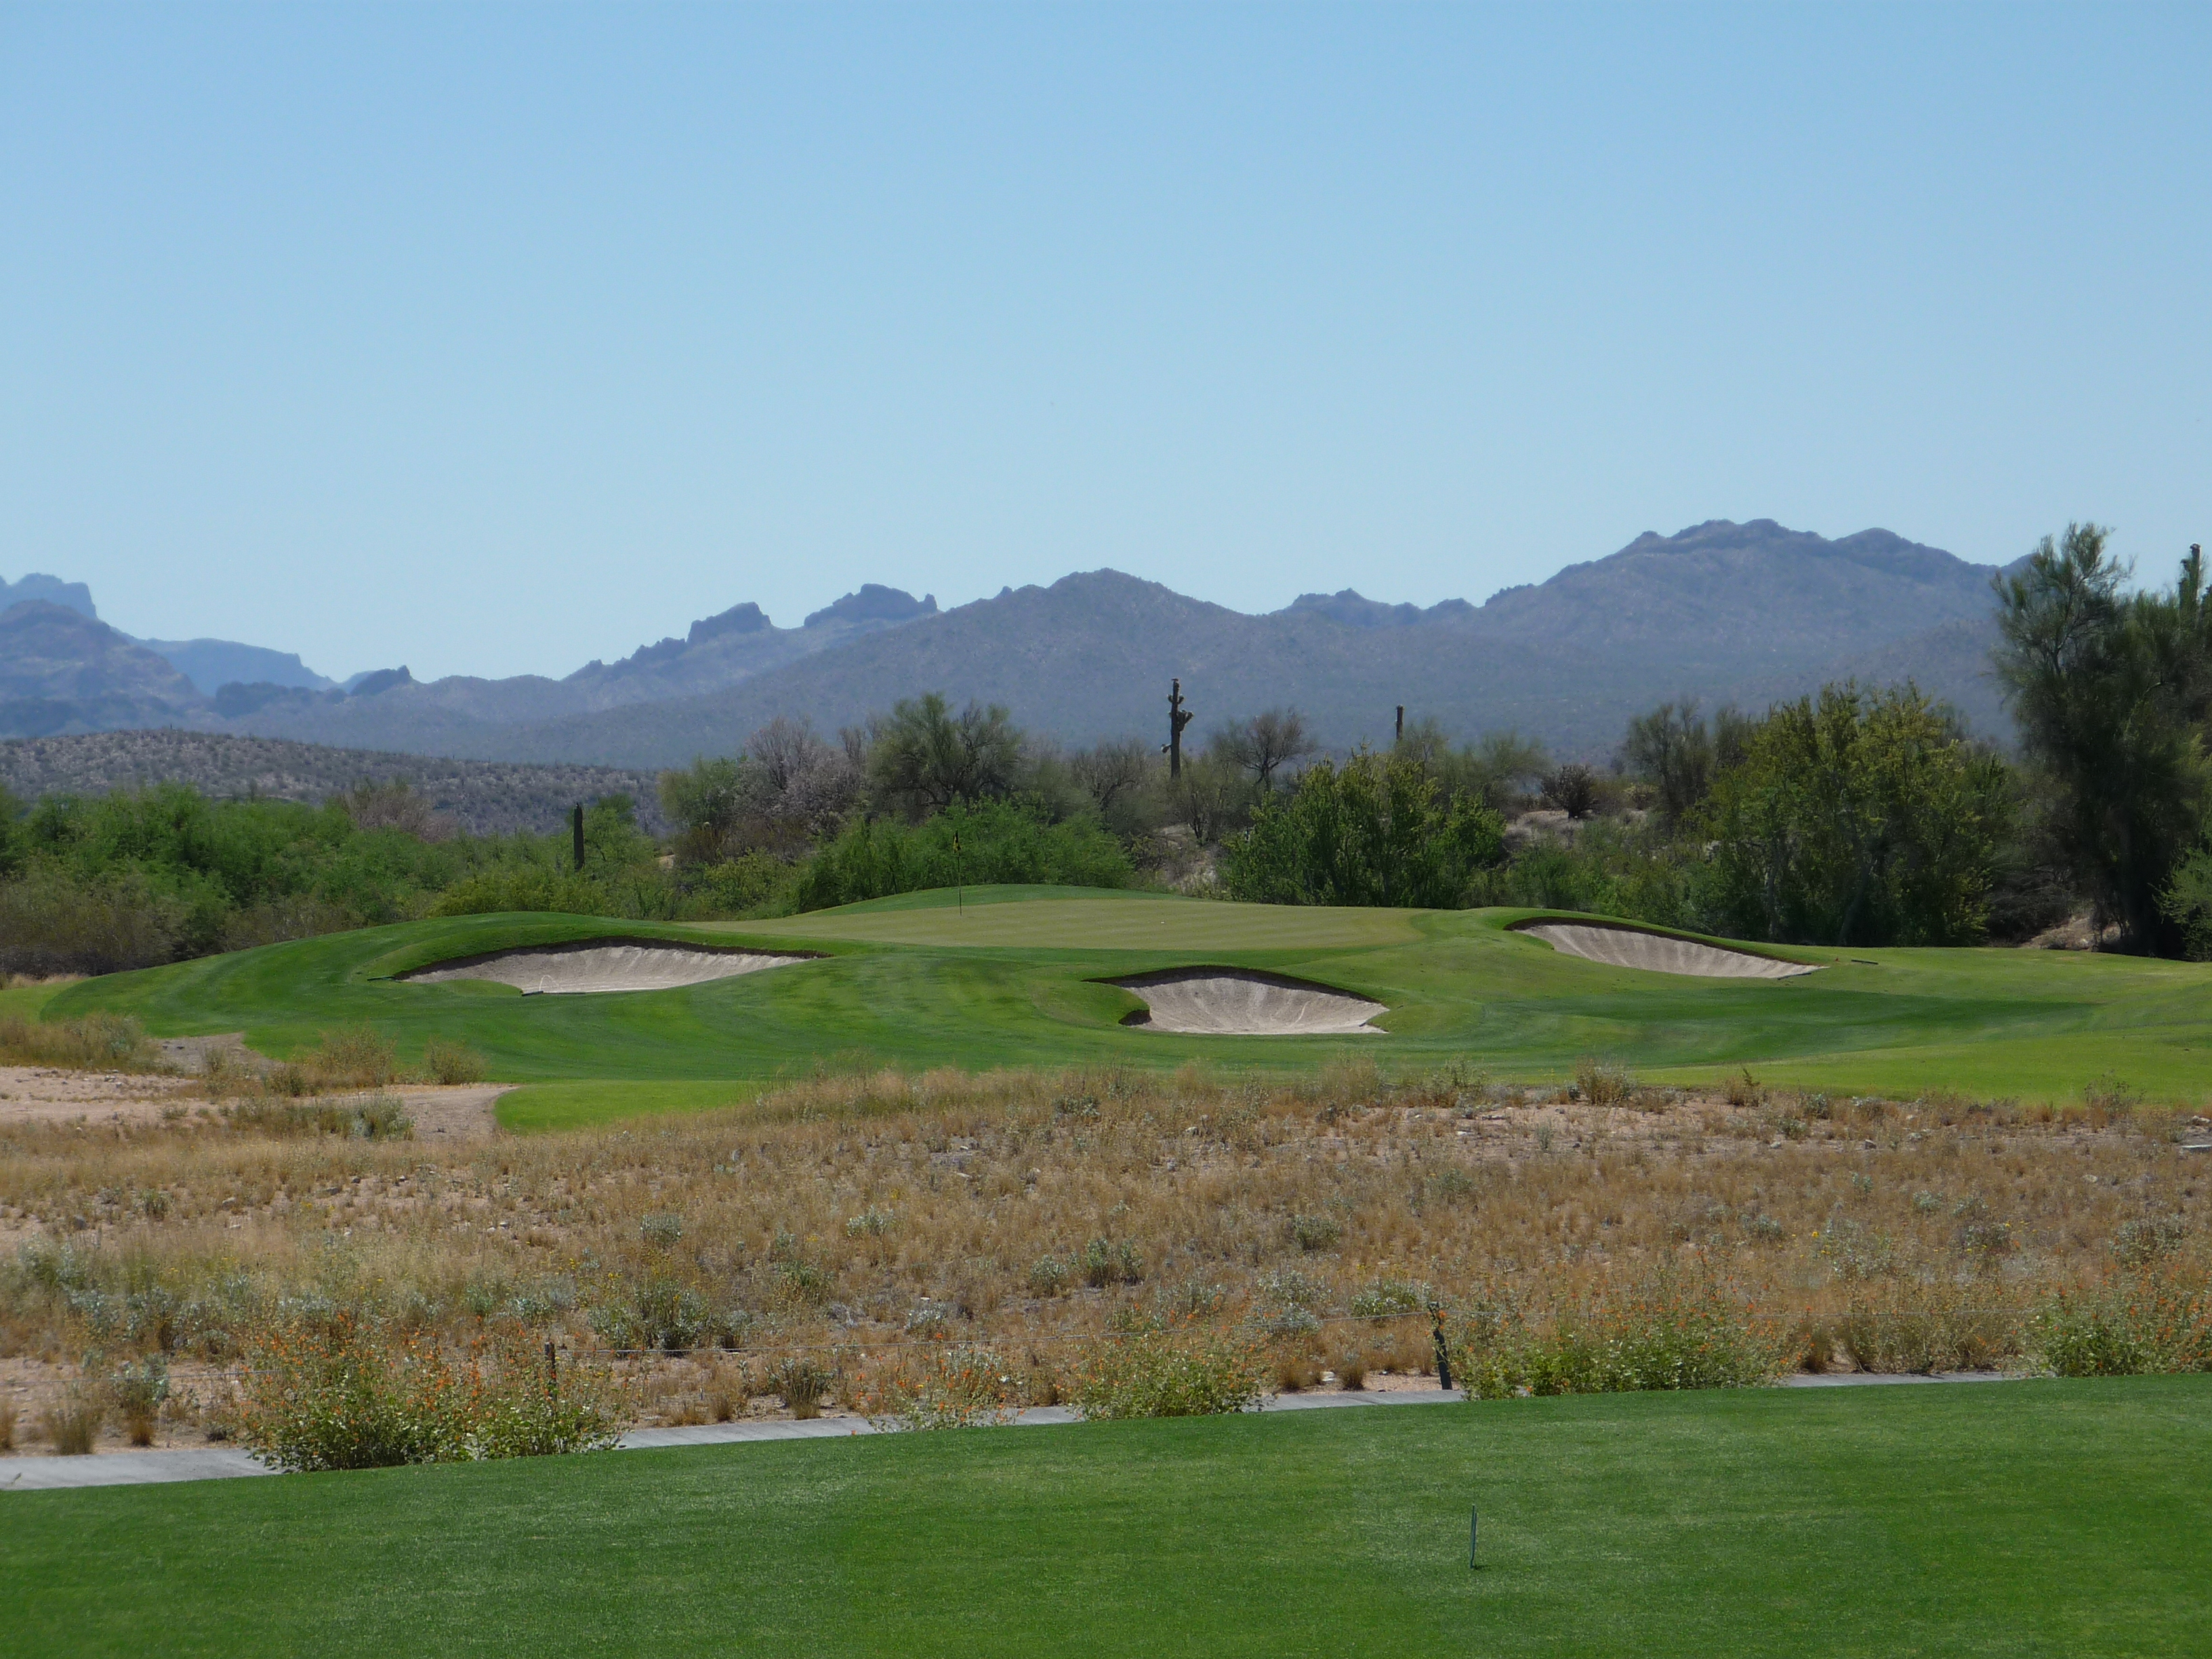
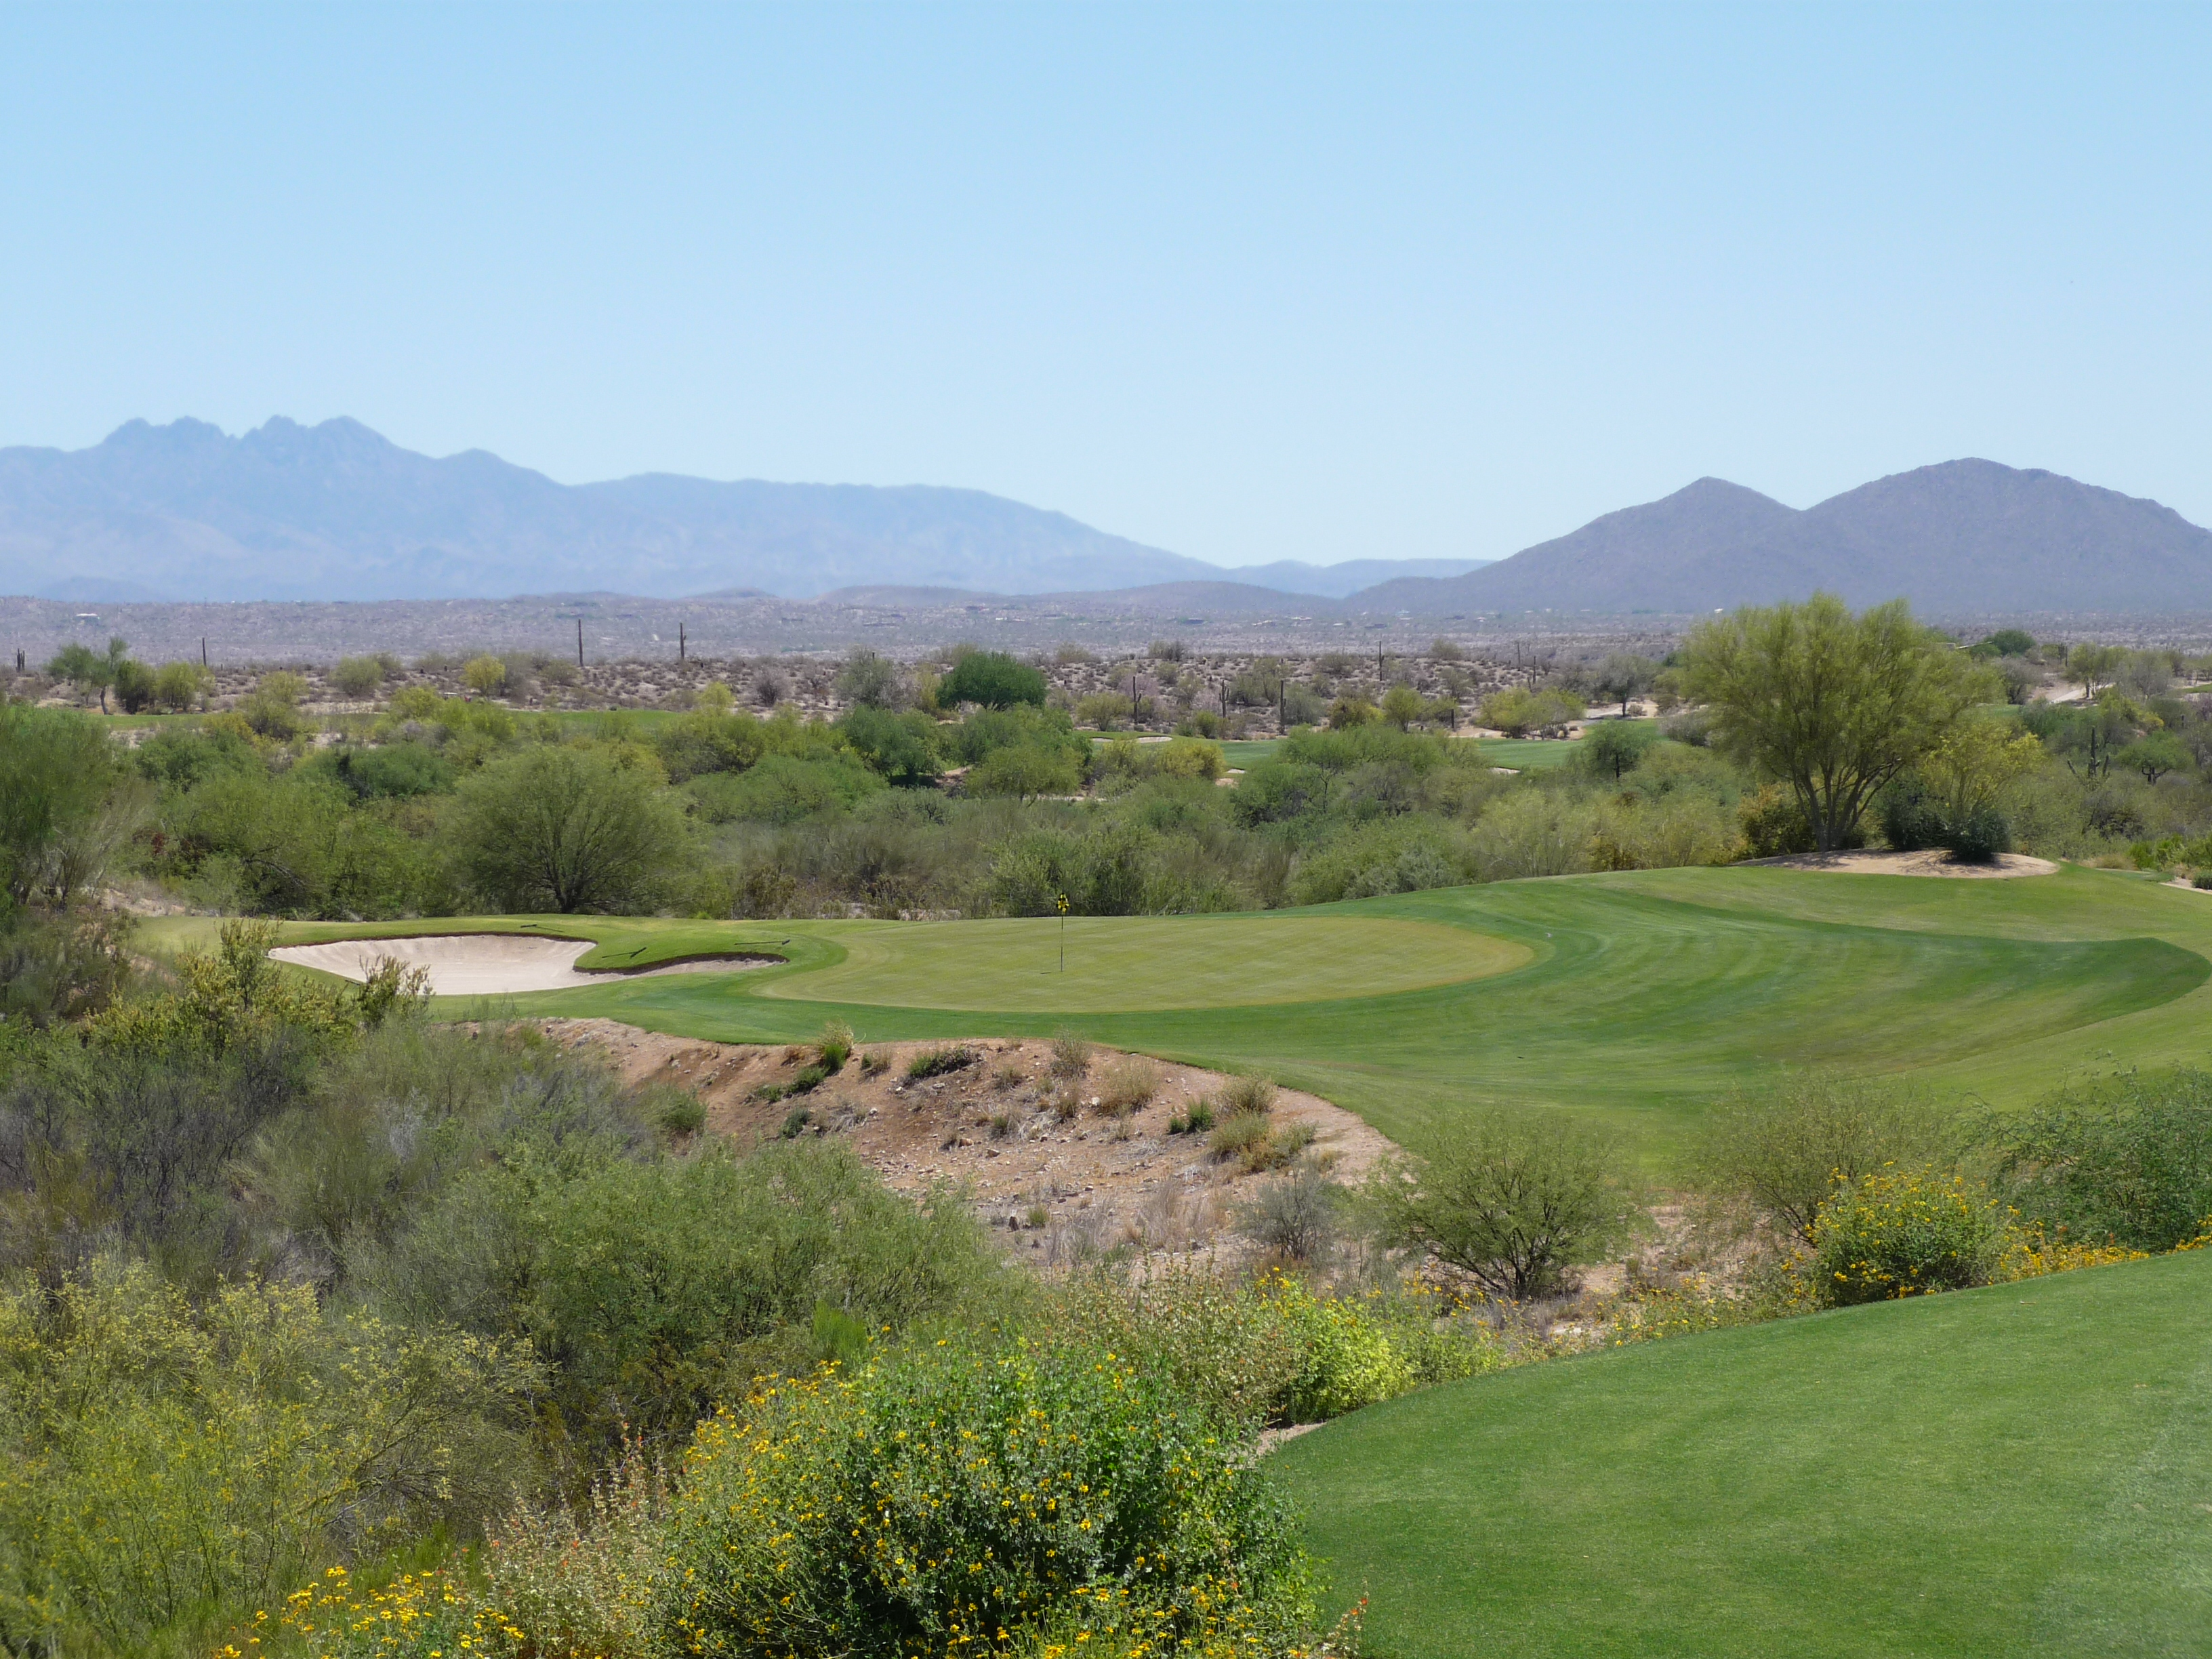
The front of the green is marked with sand traps so make sure to take enough club.
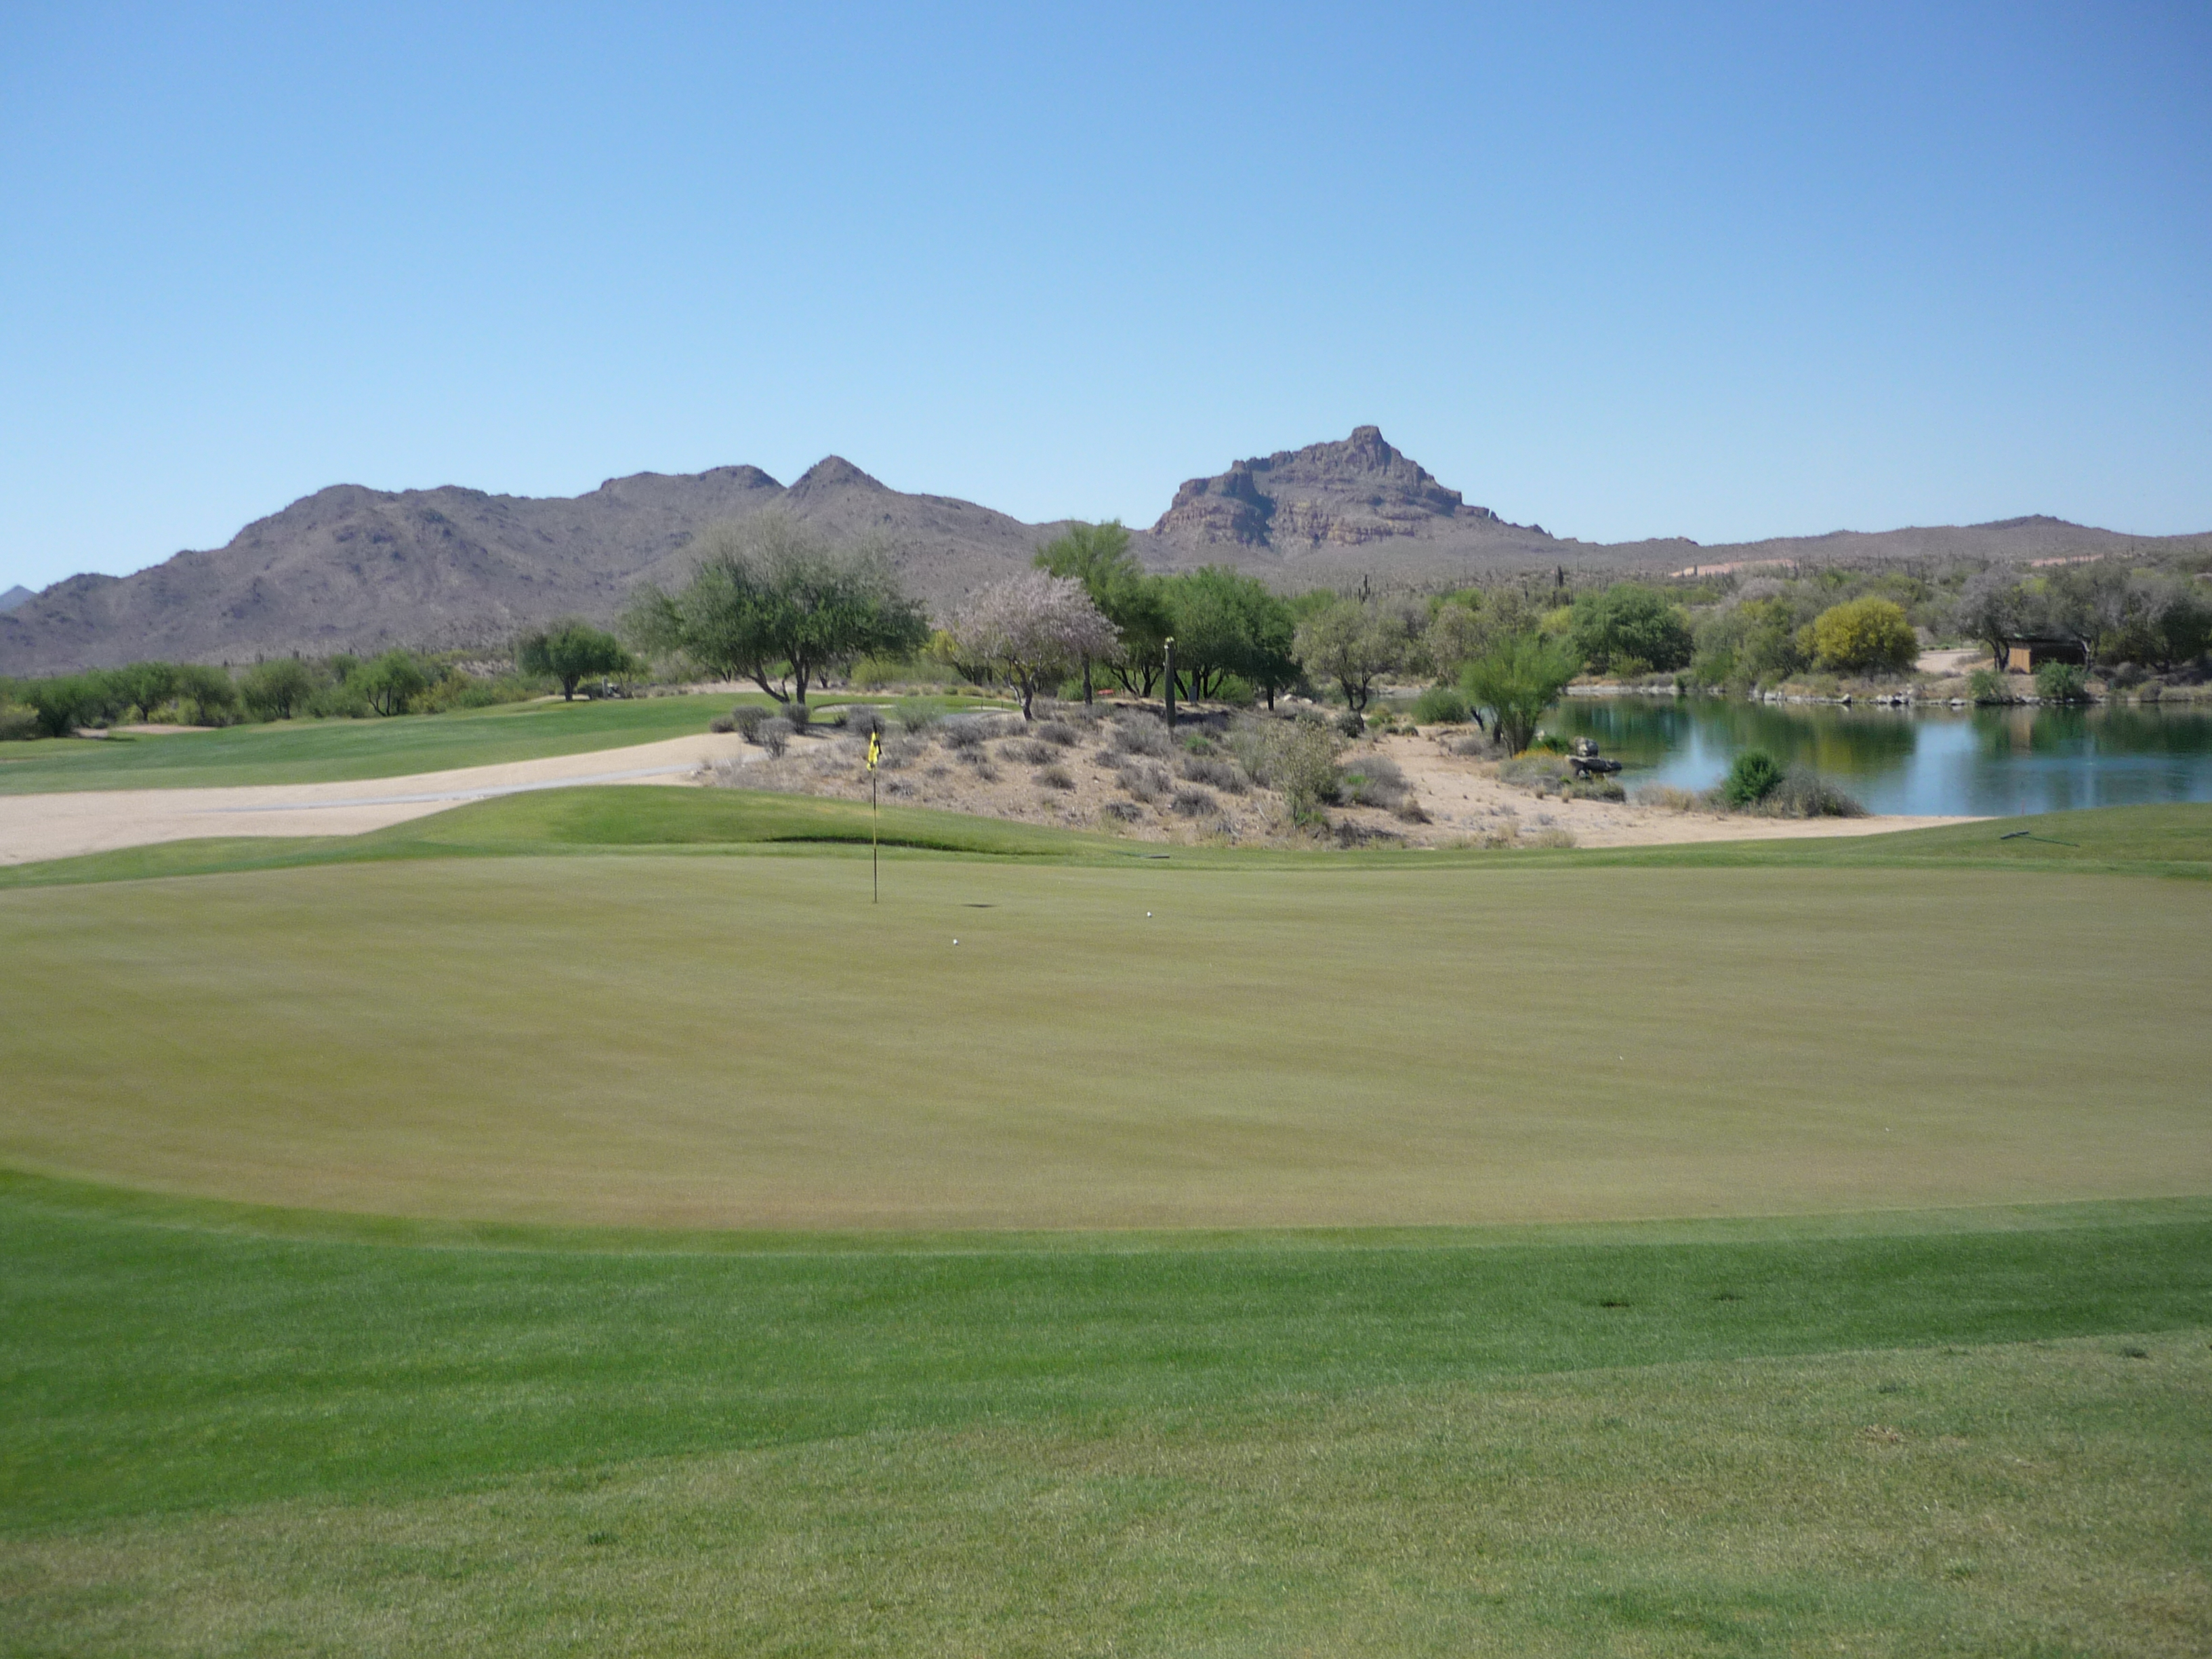
Here is a look at the green from behind.
Hole 10 – 538 yards – Par 5
This long hole is mostly straight. There are a couple patches of trees in the middle of the fairway, but they are easily avoided. You can rip the driver.
Here’s the look at the second shot.
The third shot is a green light situation with a front pin. With sand to the left being the only thing you need to worry about.
Hole 11 – 187 yards – Par 3
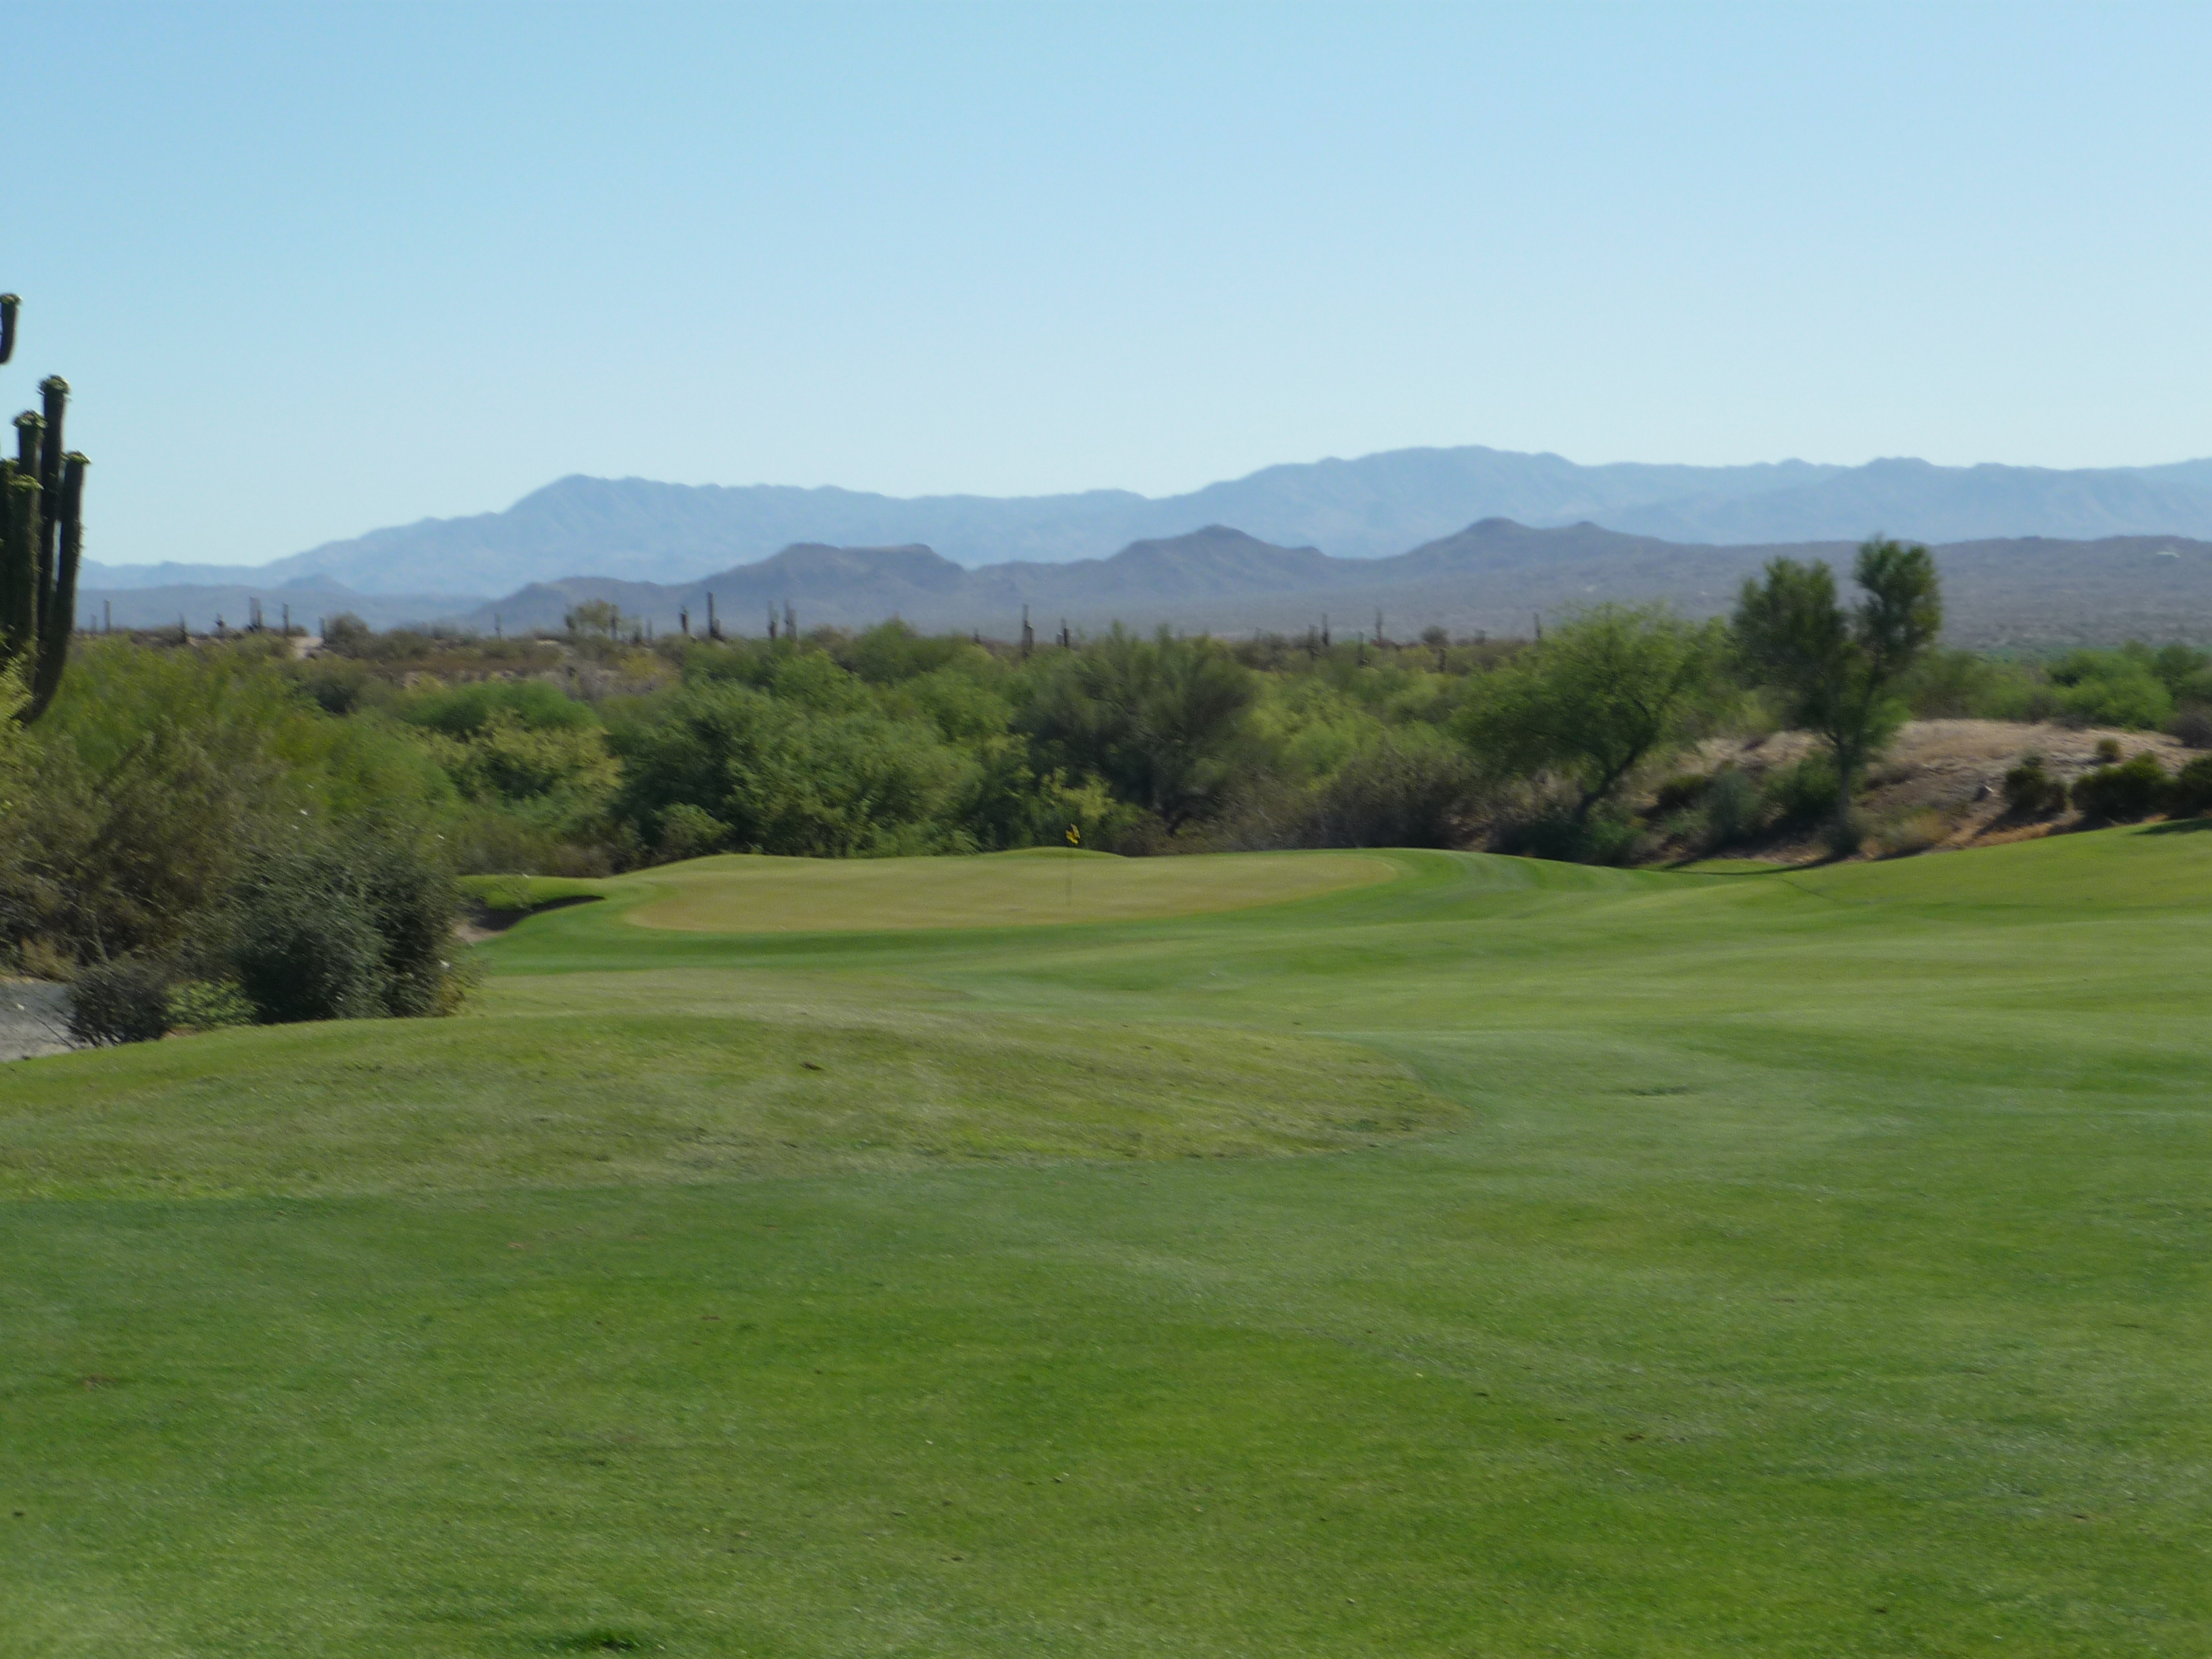
You get a pretty view here with a middle or long iron in your hand. All you need to do is get it on the green.
Hole 12 – 361 yards – Par 4
The fairway here starts to go to the left and then back to the right. Driver is not necessary. The landing area is pretty big.
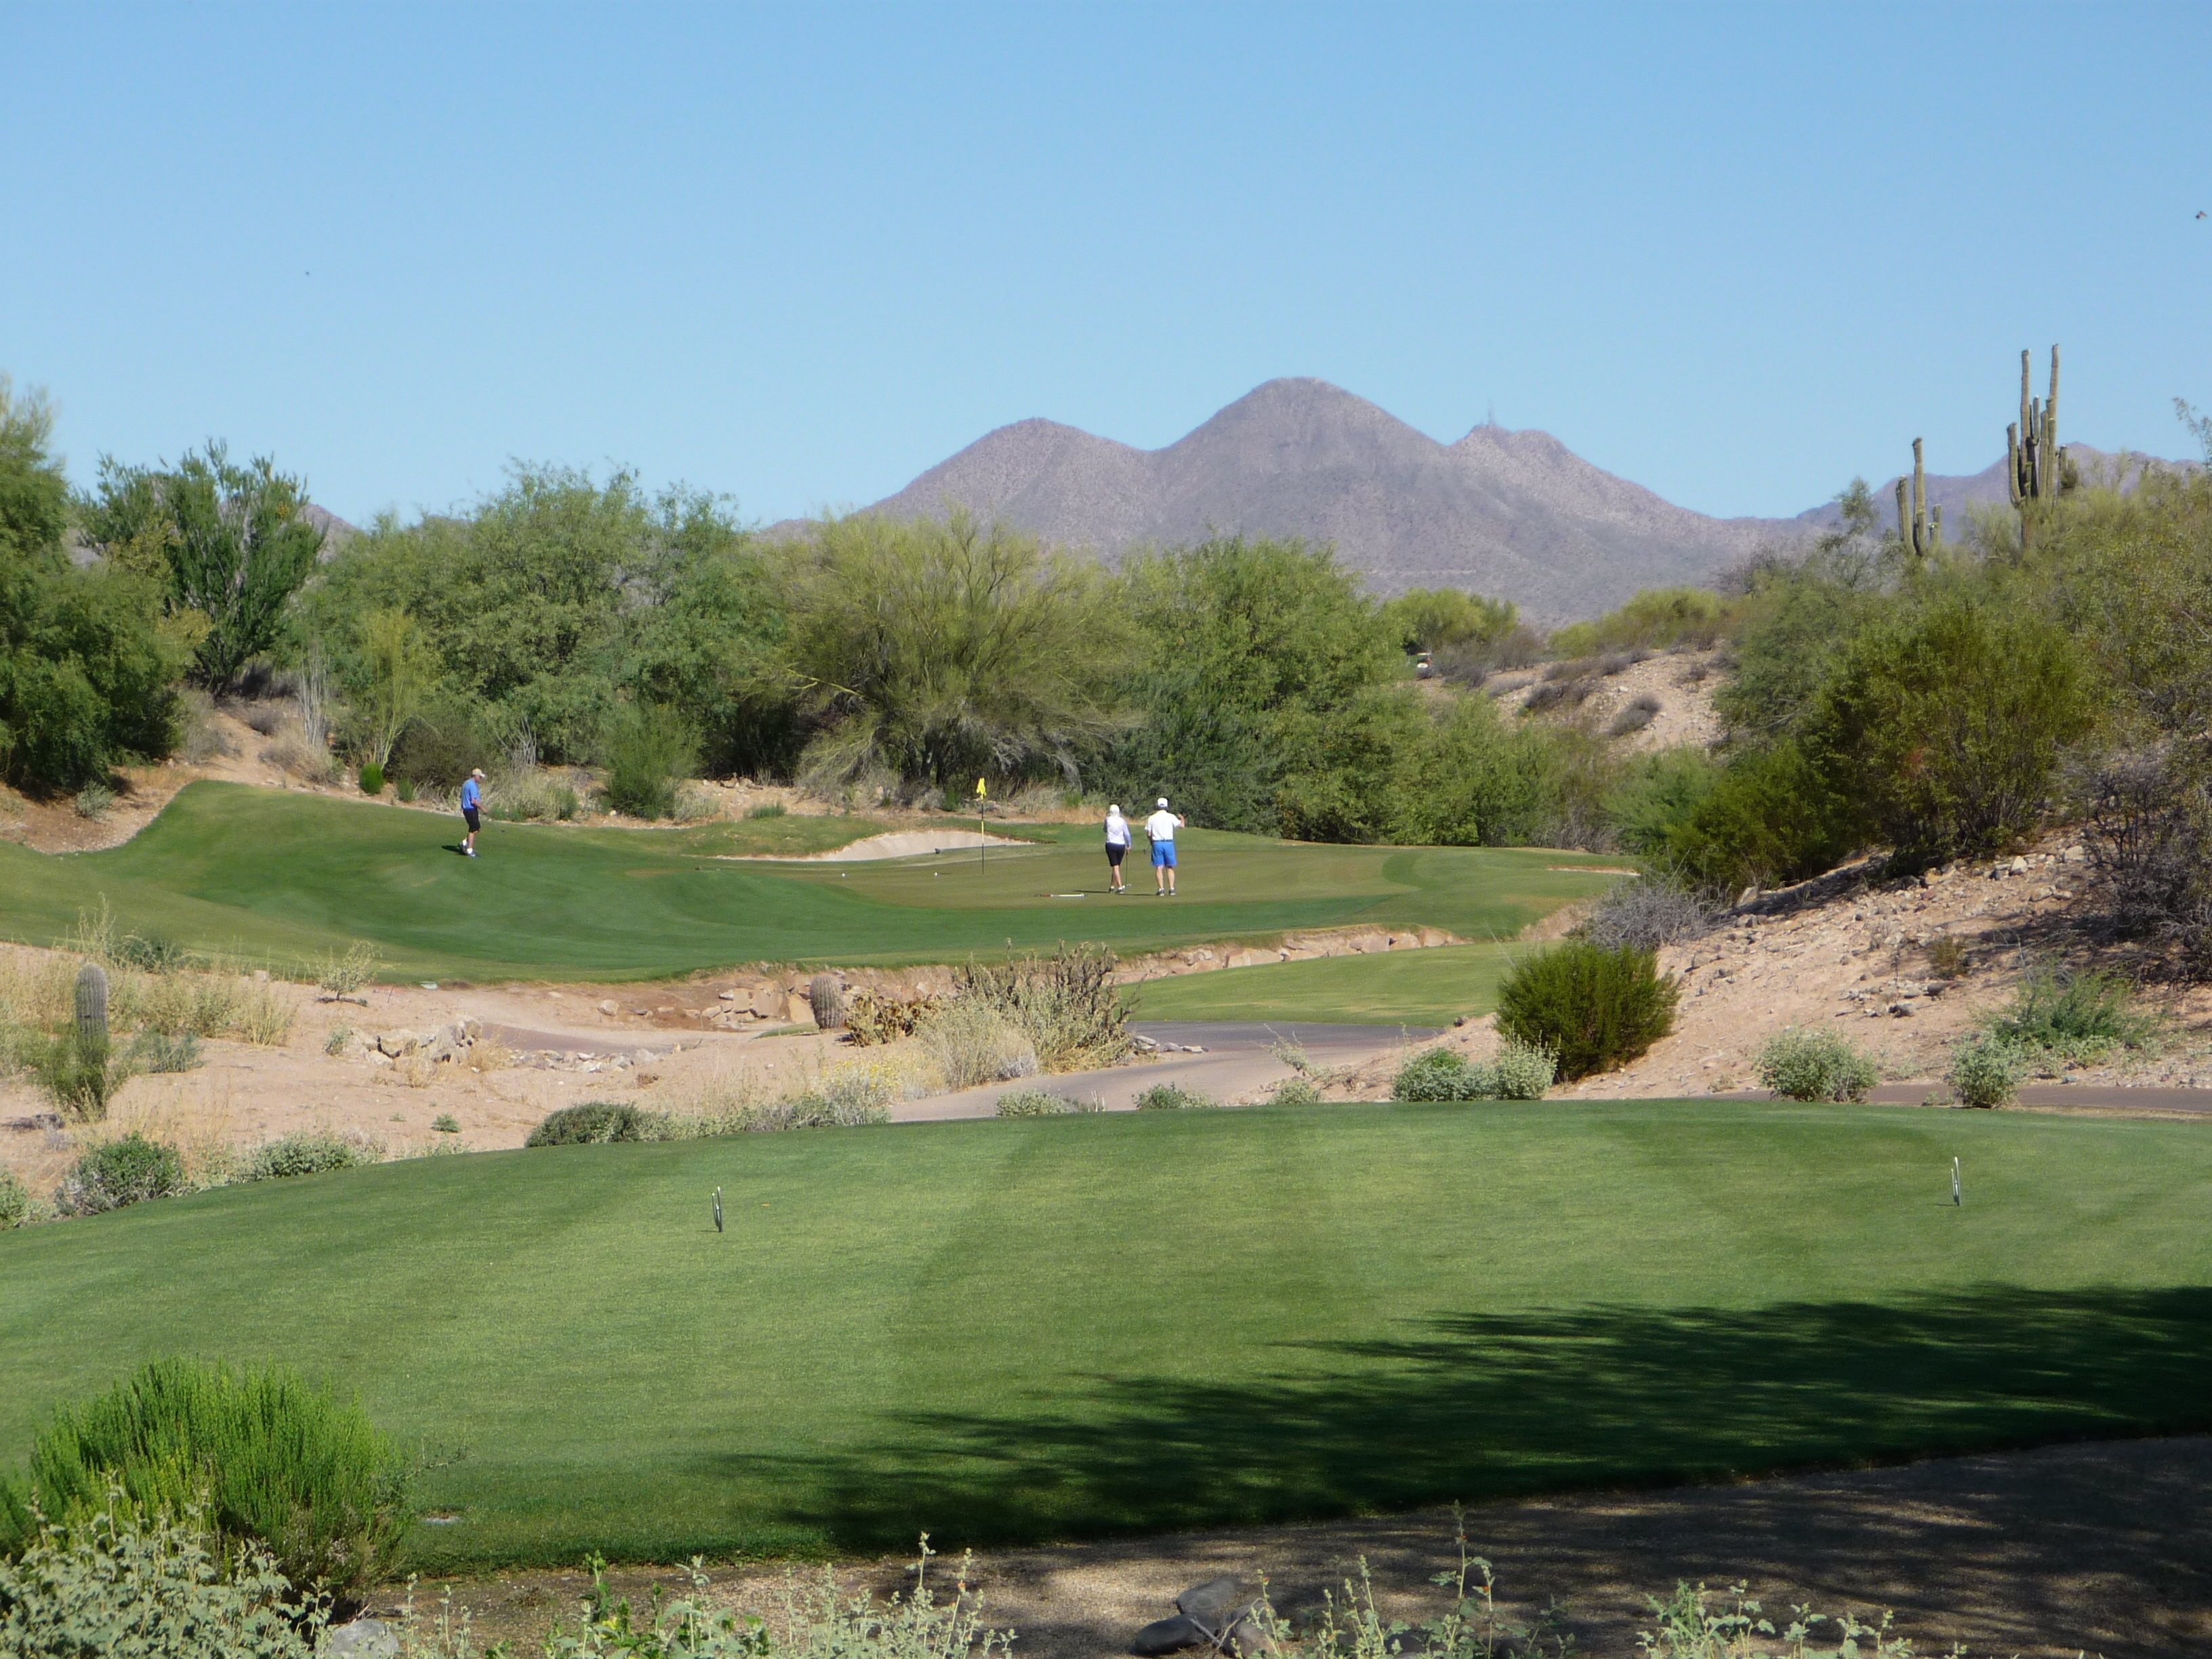
The approach shot is all in front of you. Avoid the bunkers and you’ll have a chance at birdie.
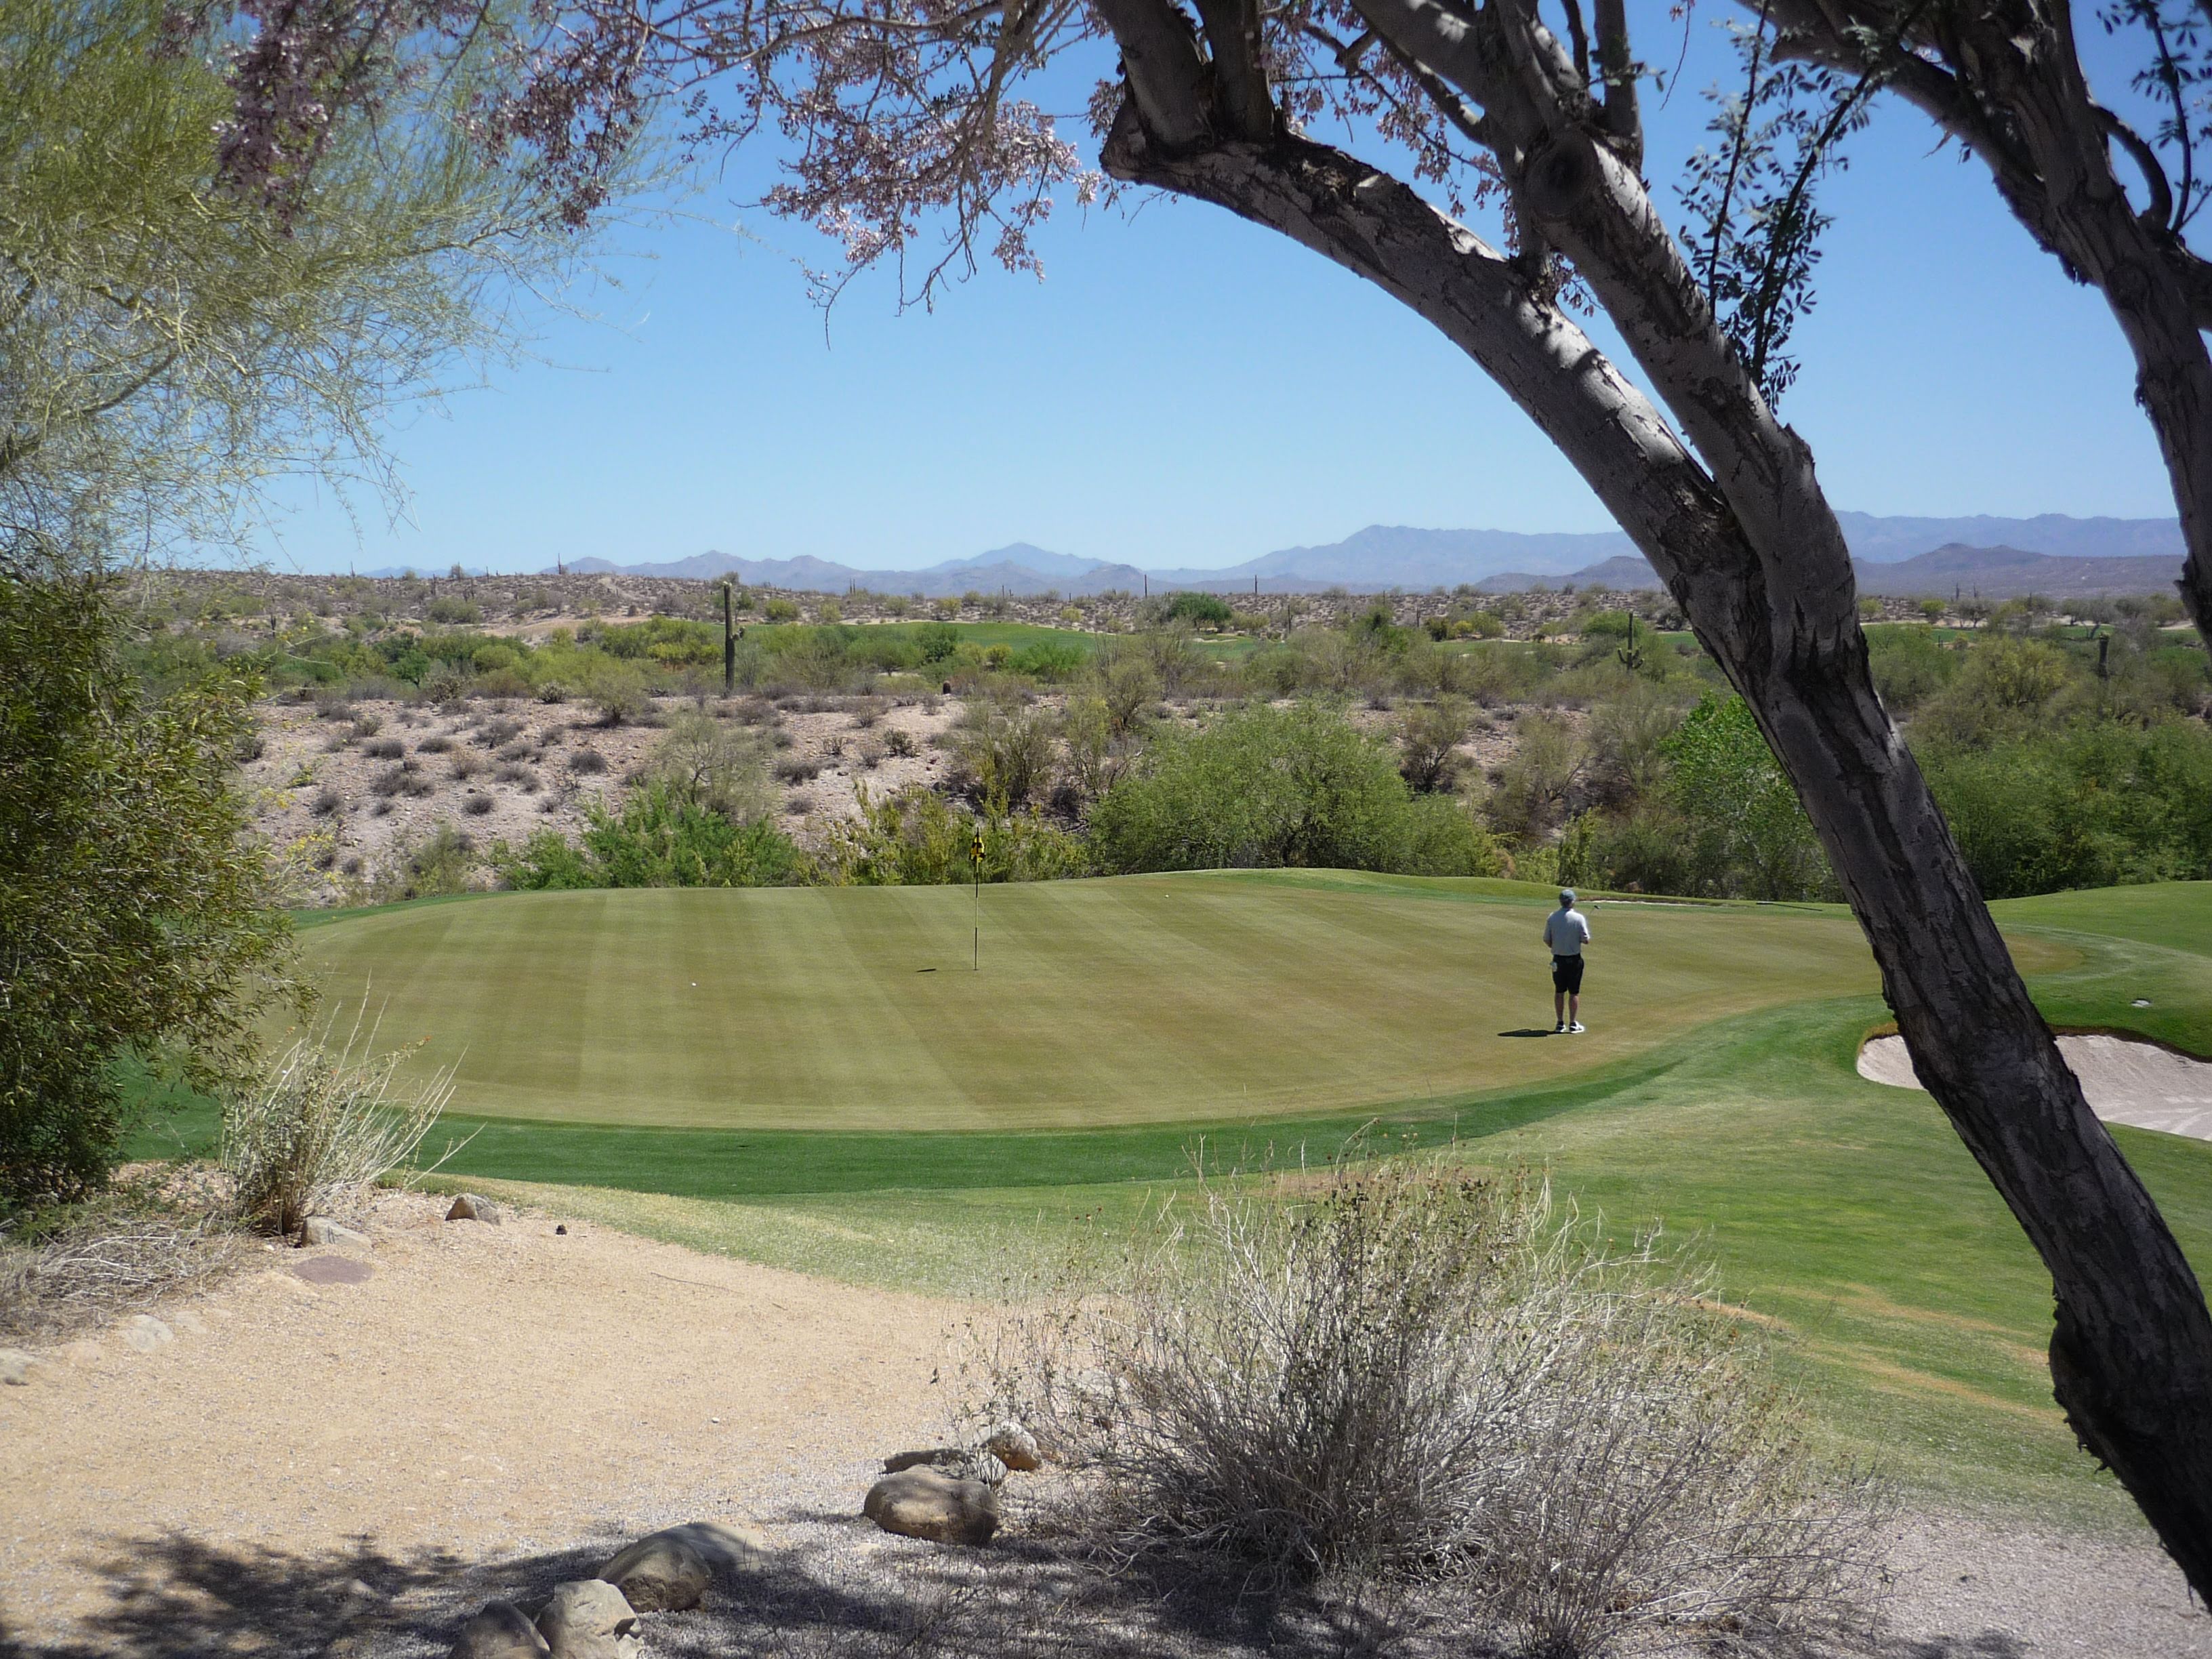
I enjoyed this view from the shade down to the green. You don’t want to miss long or right. This smallish putting surface means you’ll have a decent look at birdie if you hit it.
 Hole 13 – 347 yards – Par 4
This is a big fairway with a portion that juts out to the left. A small tree is in the fairway, but shouldn’t hinder you.
The green sits in a bowl somewhat. The backside can serve as a backboard with shots that have spin.
Here is a look at the green.
Hole 14 – 159 yards – Par 3
This is a weird hole. It is almost a dogleg left par three. It plays downhill to a green backed by two bunkers.
Hole 15 – 299 yards – Par 4
Longer hitters can have a legitimate go at this one. Beware the left miss though as the desert is close on that side. It barely looks like the fairway is out there.
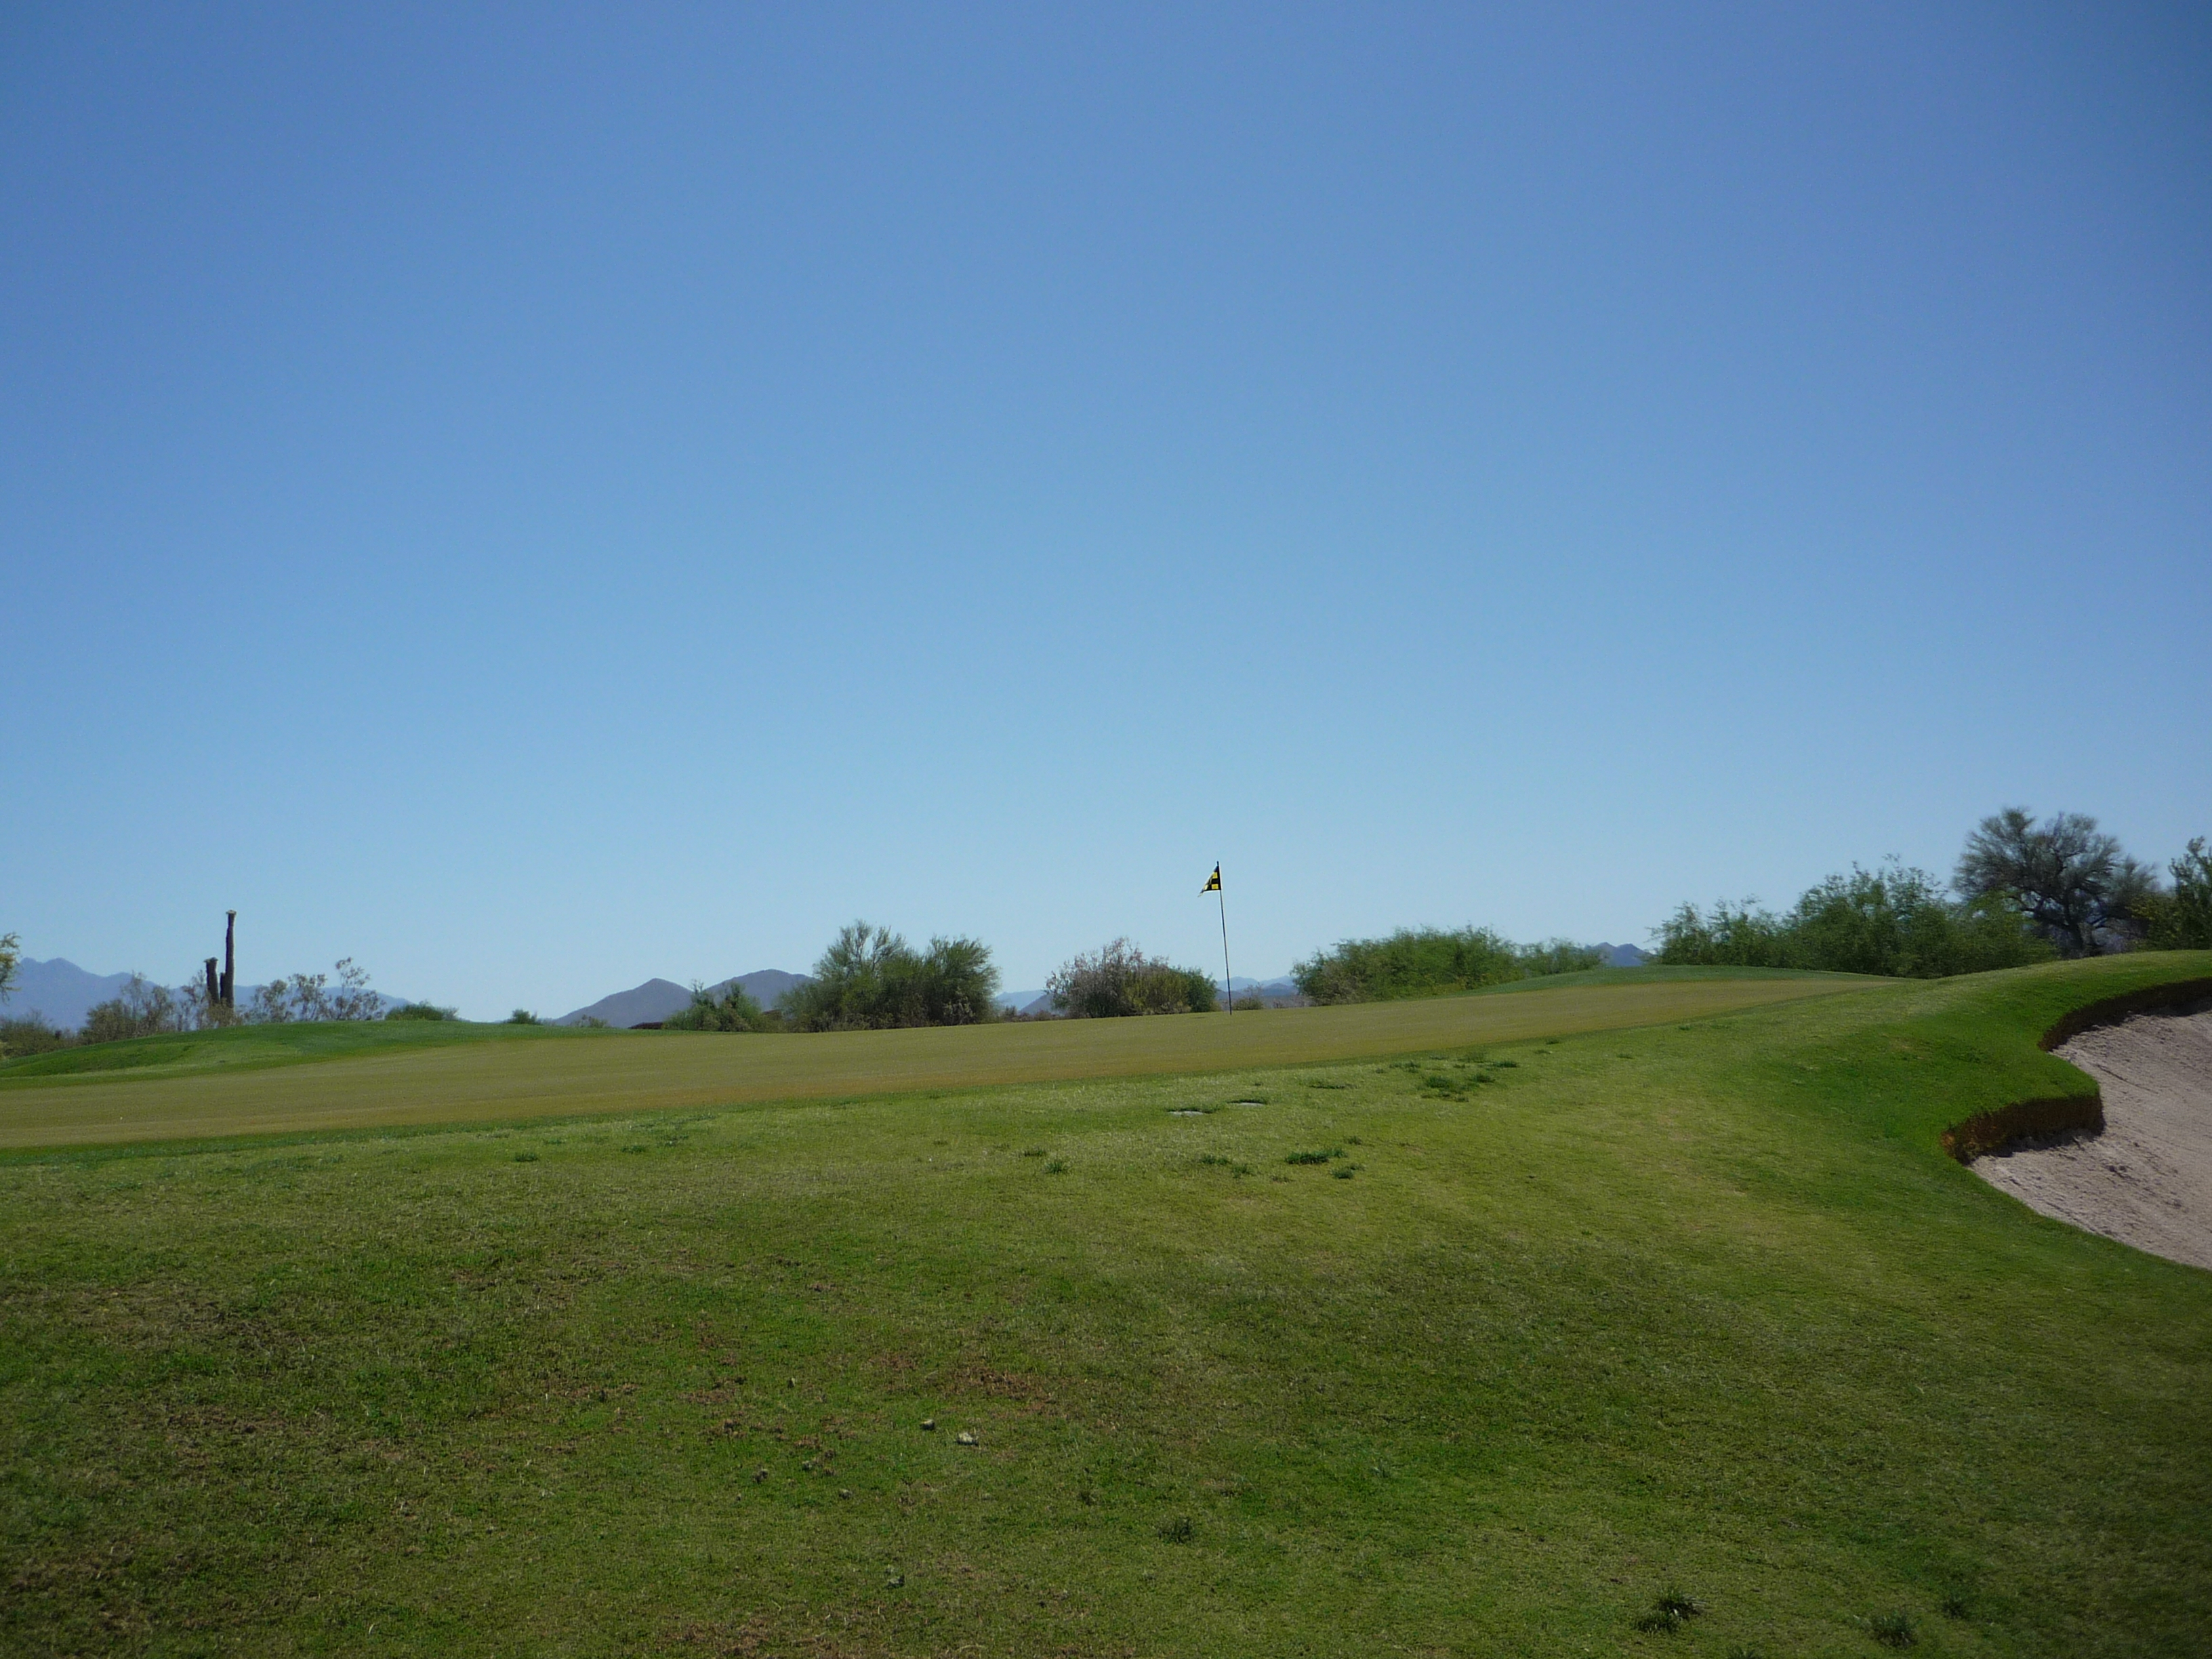
The view below shows the opening into the front of the green where drives can bounce up.
Hole 16 – 374 yards – Par 4
This hole doglegs left, but you need to be careful if you’re trying to cut the corner. A desert wash bisects the fairway as the hole bends to the left. You also have the large bunker on the left to avoid.
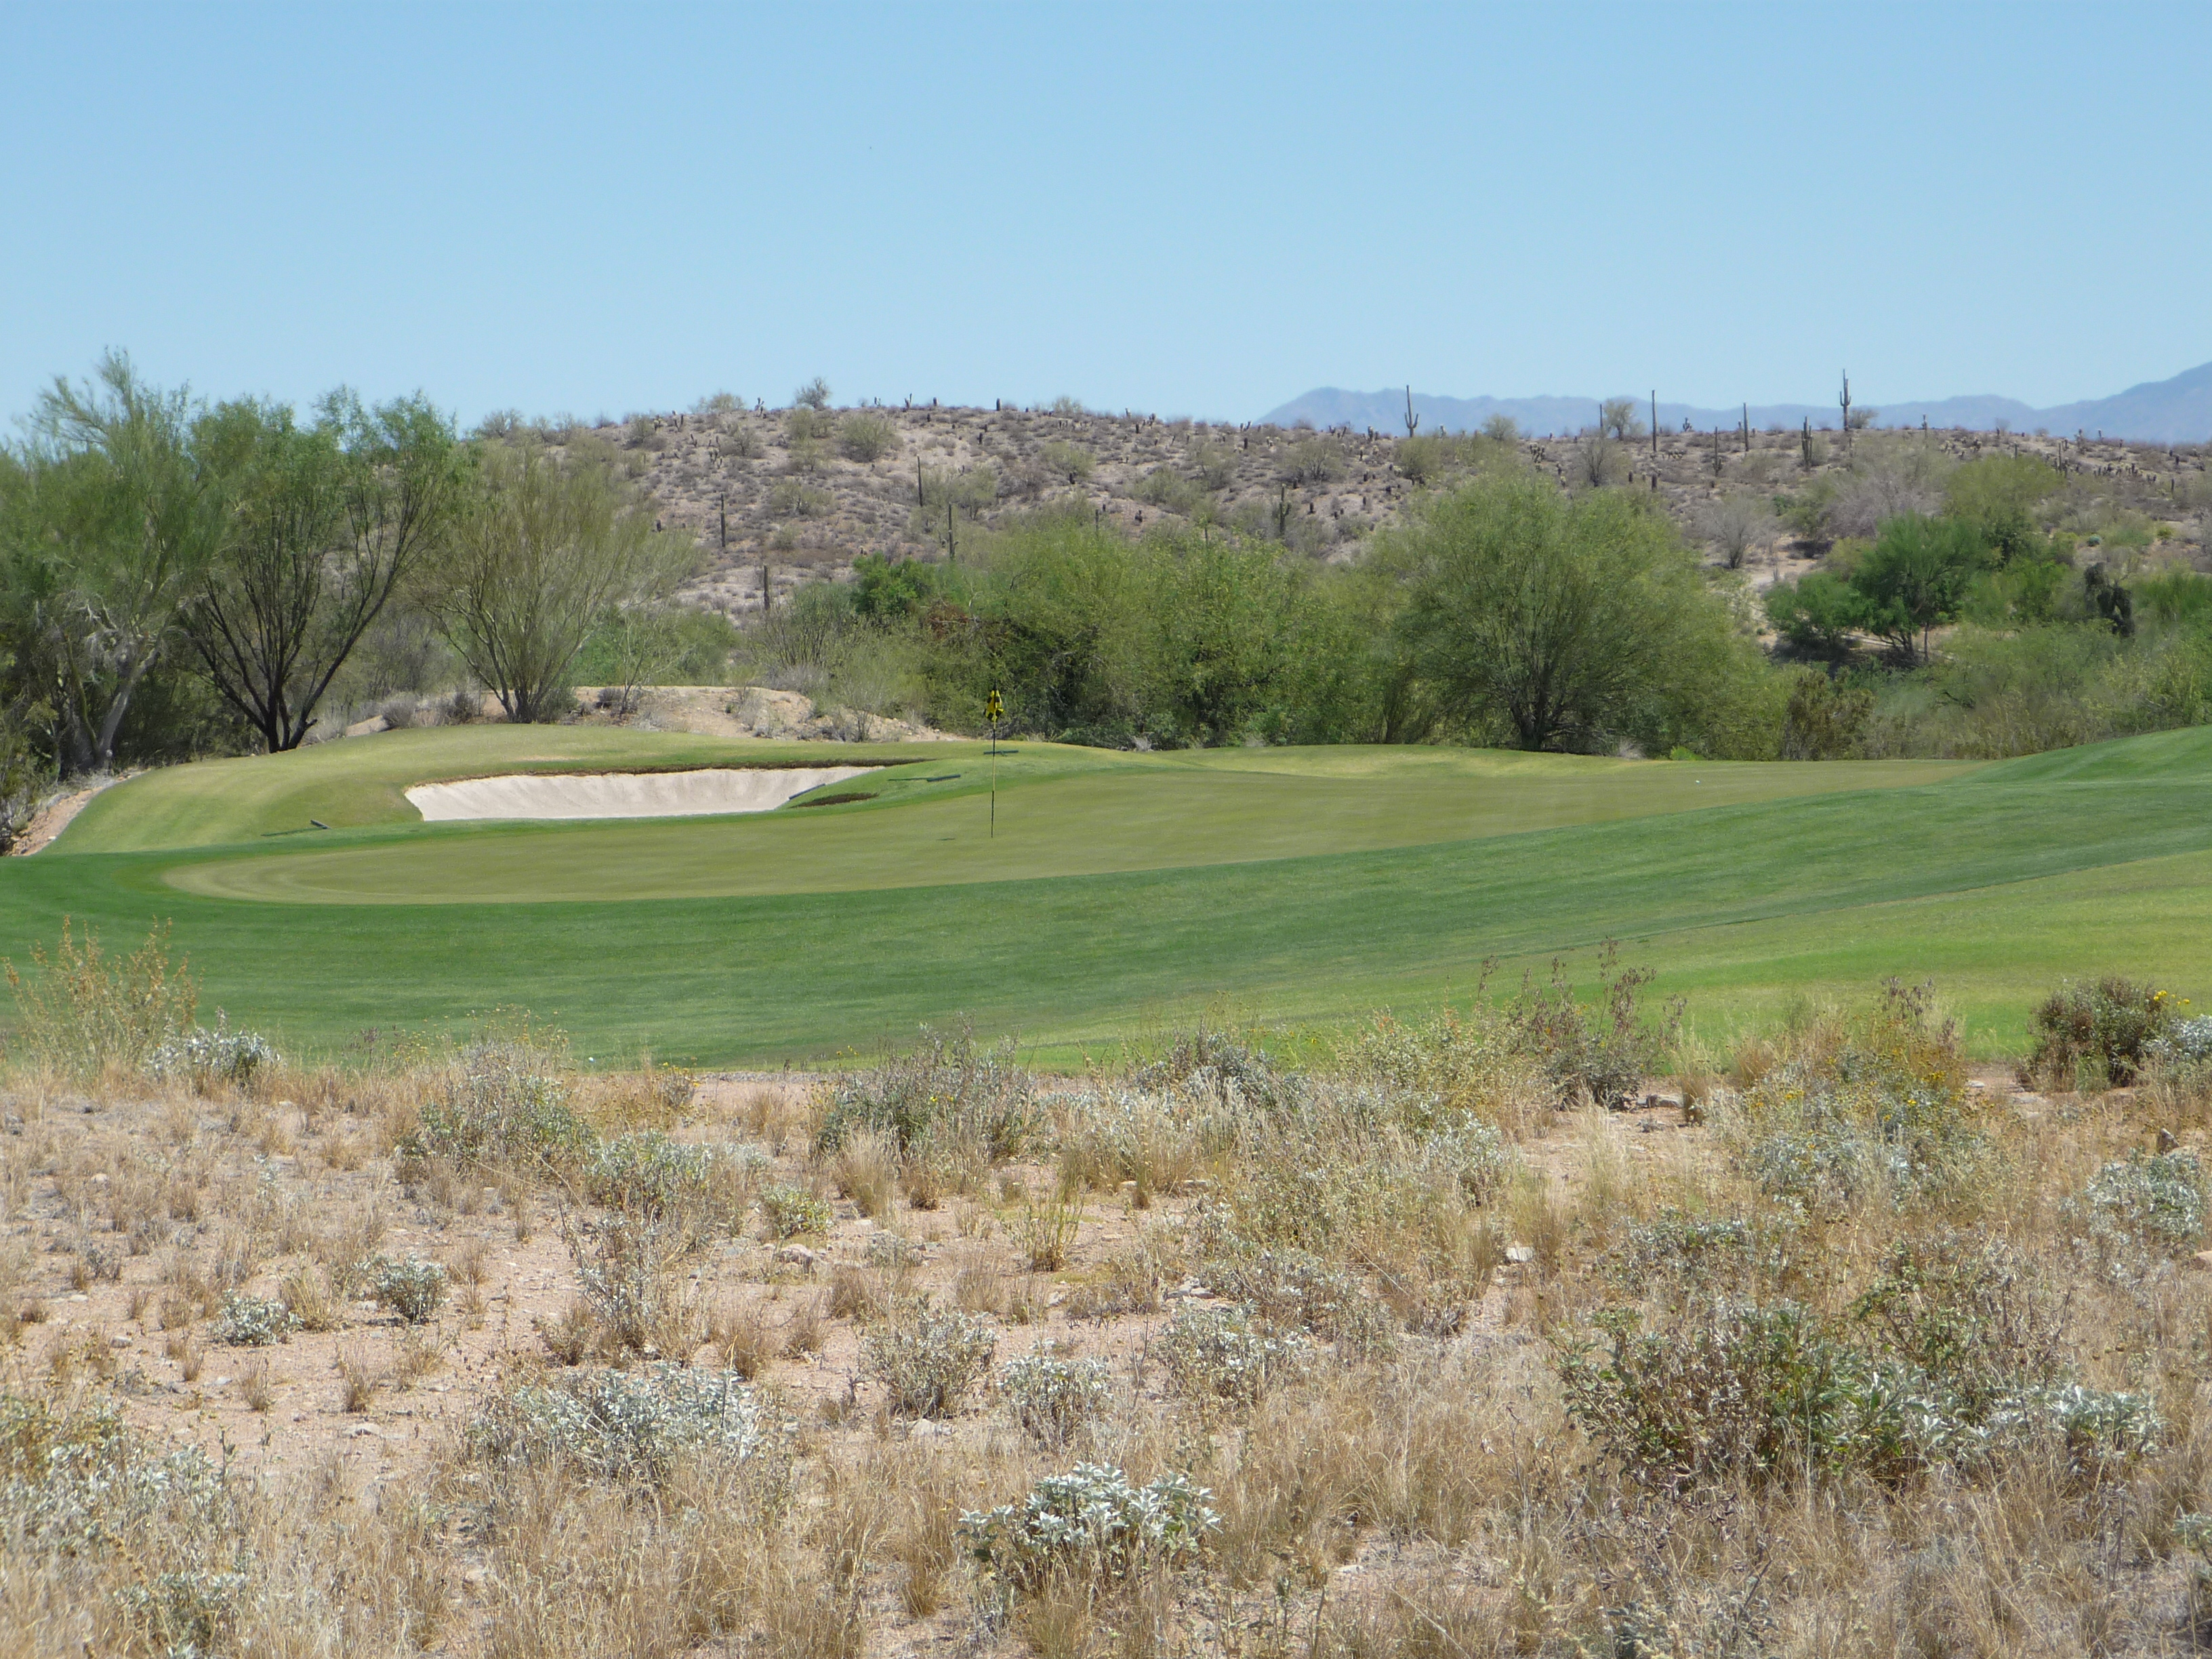
From this view of the approach, you can see the wash going across the fairway. The shot plays a bit uphill with a bunker guarding the back, left of the green.
Below is a closer look at the green.
Hole 17 – 528 yards – Par 5
You can bust a big drive here with the downhill slope. The hole bends to the left making a draw the preferred play.
Here is a look at the second shot.
If you are going to it in two your ball needs to carry most of the way due to the slope in front of the green. You also have to avoid the bunkers on each side.
The green doesn’t have much slope to it and is on the smaller side.
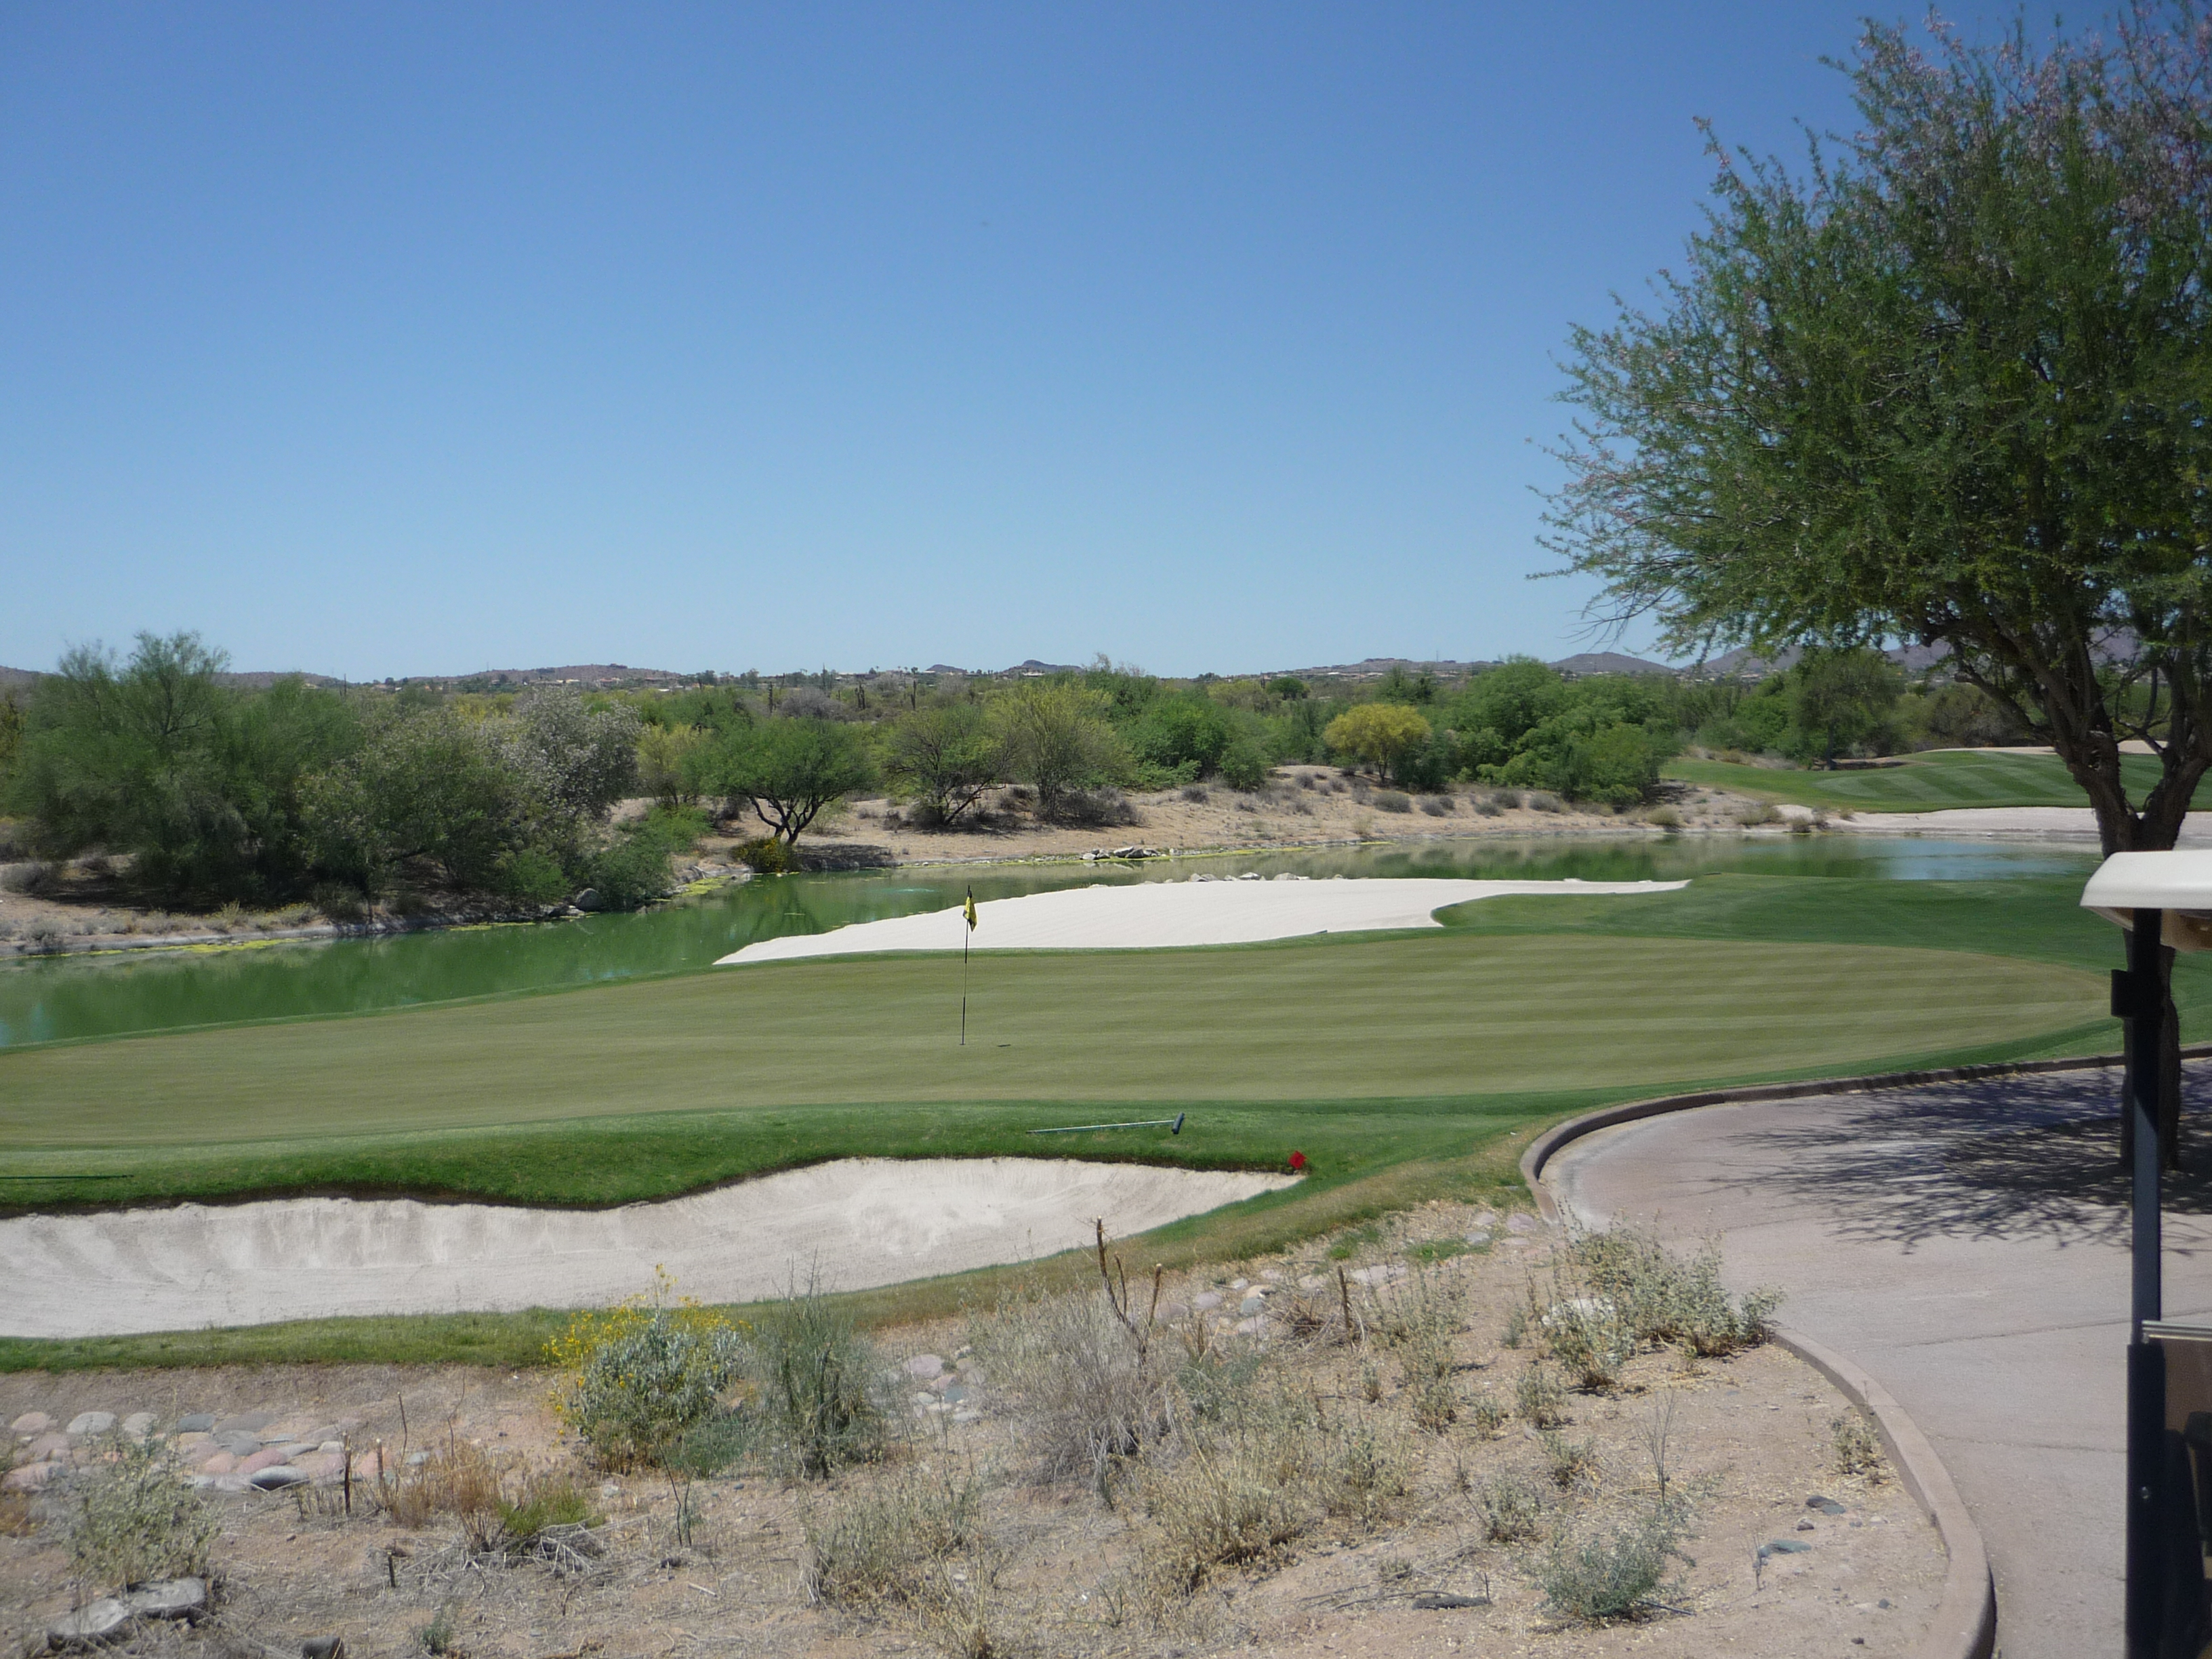
Hole 18 – 407 yards – Par 4
The finisher is an interesting hole. It has two fairways split by bunkers. The right section plays down to the water. The left is much farther up and is left of the water. Only big hitters should go left.

Below is the view from the right where I hit my drive. From here you have to take on the water, but there is plenty of room short of the green that is dry.
Below you see the green and space in front. The water does continue up the right side (left from this angle) to the green. So don’t bail out right.
The Cholla course provided a fun start to the day at We-Ko-Pa. The greens were a little on the slow side because they had been doing some work on them, but that didn’t take away from the experience in my opinion. They were upfront with us at the start, which goes a long way.
When you pair a fun course with two genuinely interesting/likable guys you have the formula for a good day. I enjoyed my first round at We-Ko-Pa immensely.