
We-Ko-Pa Golf Club (Saguaro) – Played Spring 2018
- Rankings: Golf Magazine Public #40
- Location: 18200 East Toh Vee Circle, Fountain Hills, Arizona
- Year: 2006
- Architects: Bill Coore & Ben Crenshaw
- Course Access: Public
- Walking Rules: Carts Available
Score Card Information:
- Saguaro: 6,966 yards, Par 71, 72.0 Rating/137 Slope
- Purple: 6,603 yards, Par 71, 70.2 Rating/132 Slope
- White: 6,252 yards, Par 71, 68.8 Rating/125 Slope
- Composite: 5,786 yards, Par 71, 66.9 Rating/120 Slope (Men’s), 72.0 Rating/128 Slope (Women’s)
- Green: 5,061 yards, Par 71, 67.0 Rating/109 Slope
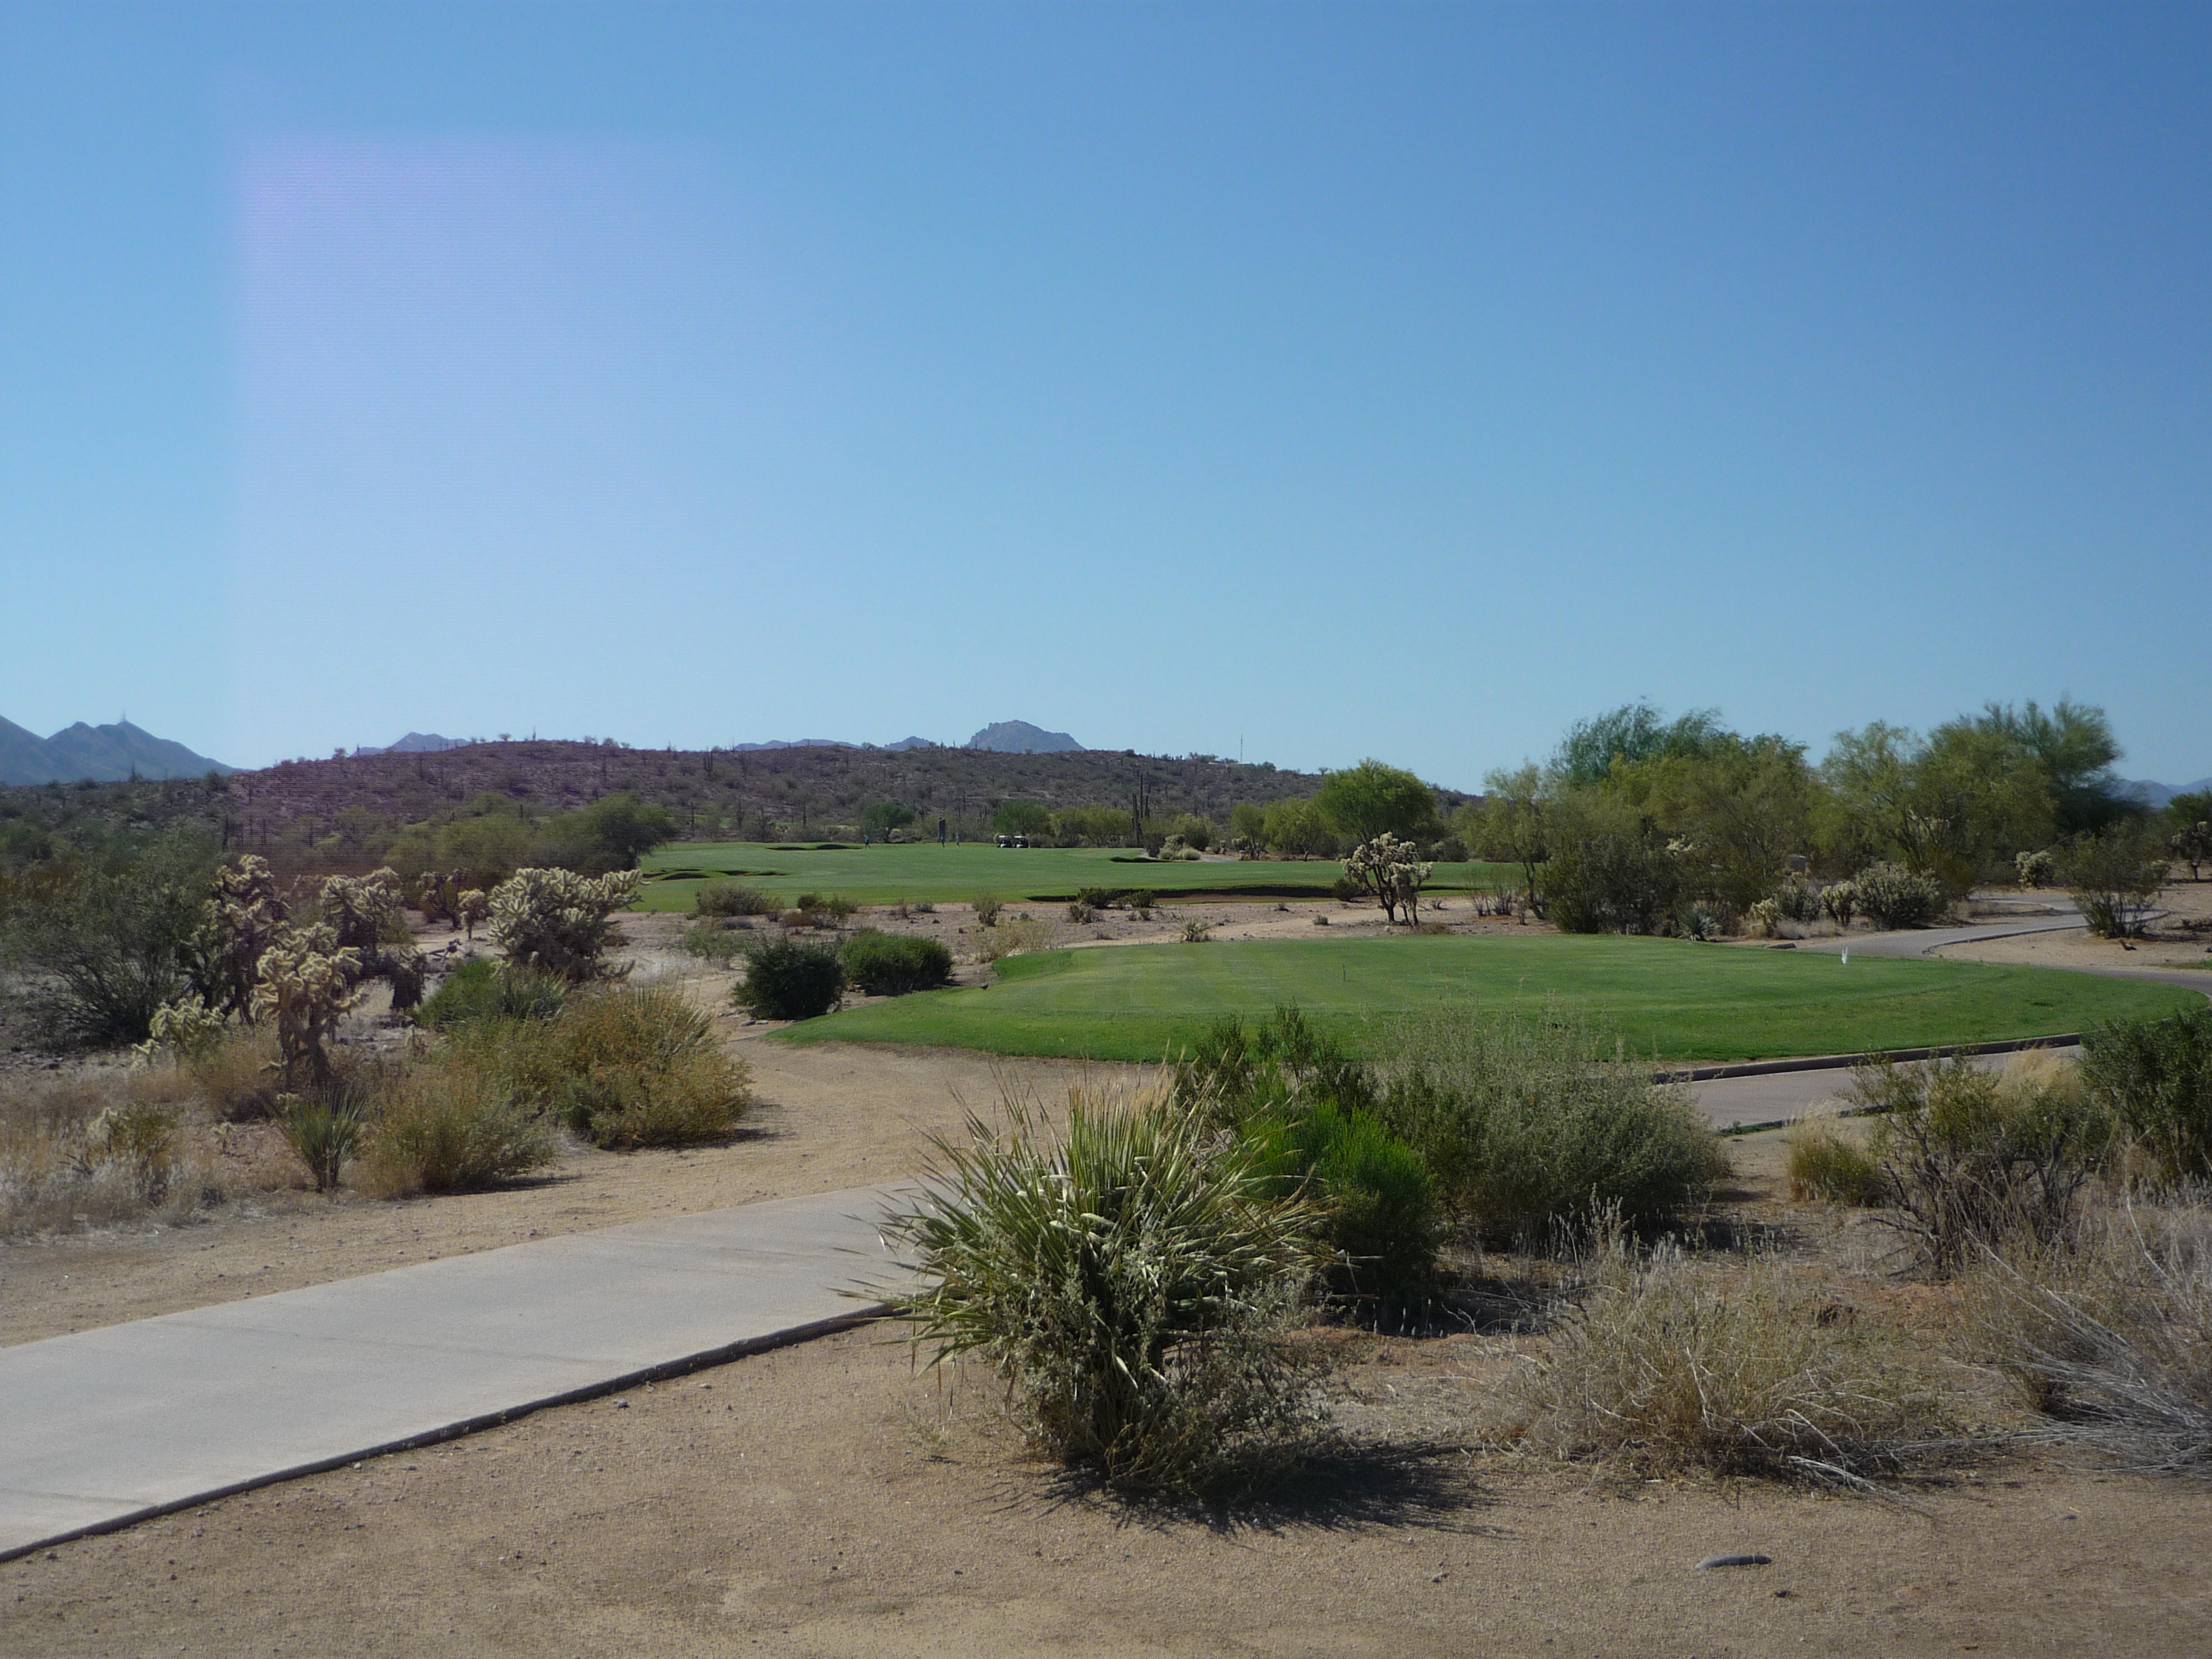
After playing the Cholla course in the morning, I headed into the clubhouse for a rest and some food. The onsite menu here was pretty solid.
After some reapplication of sunscreen, it was back out on the course for the Coore & Crenshaw 18.
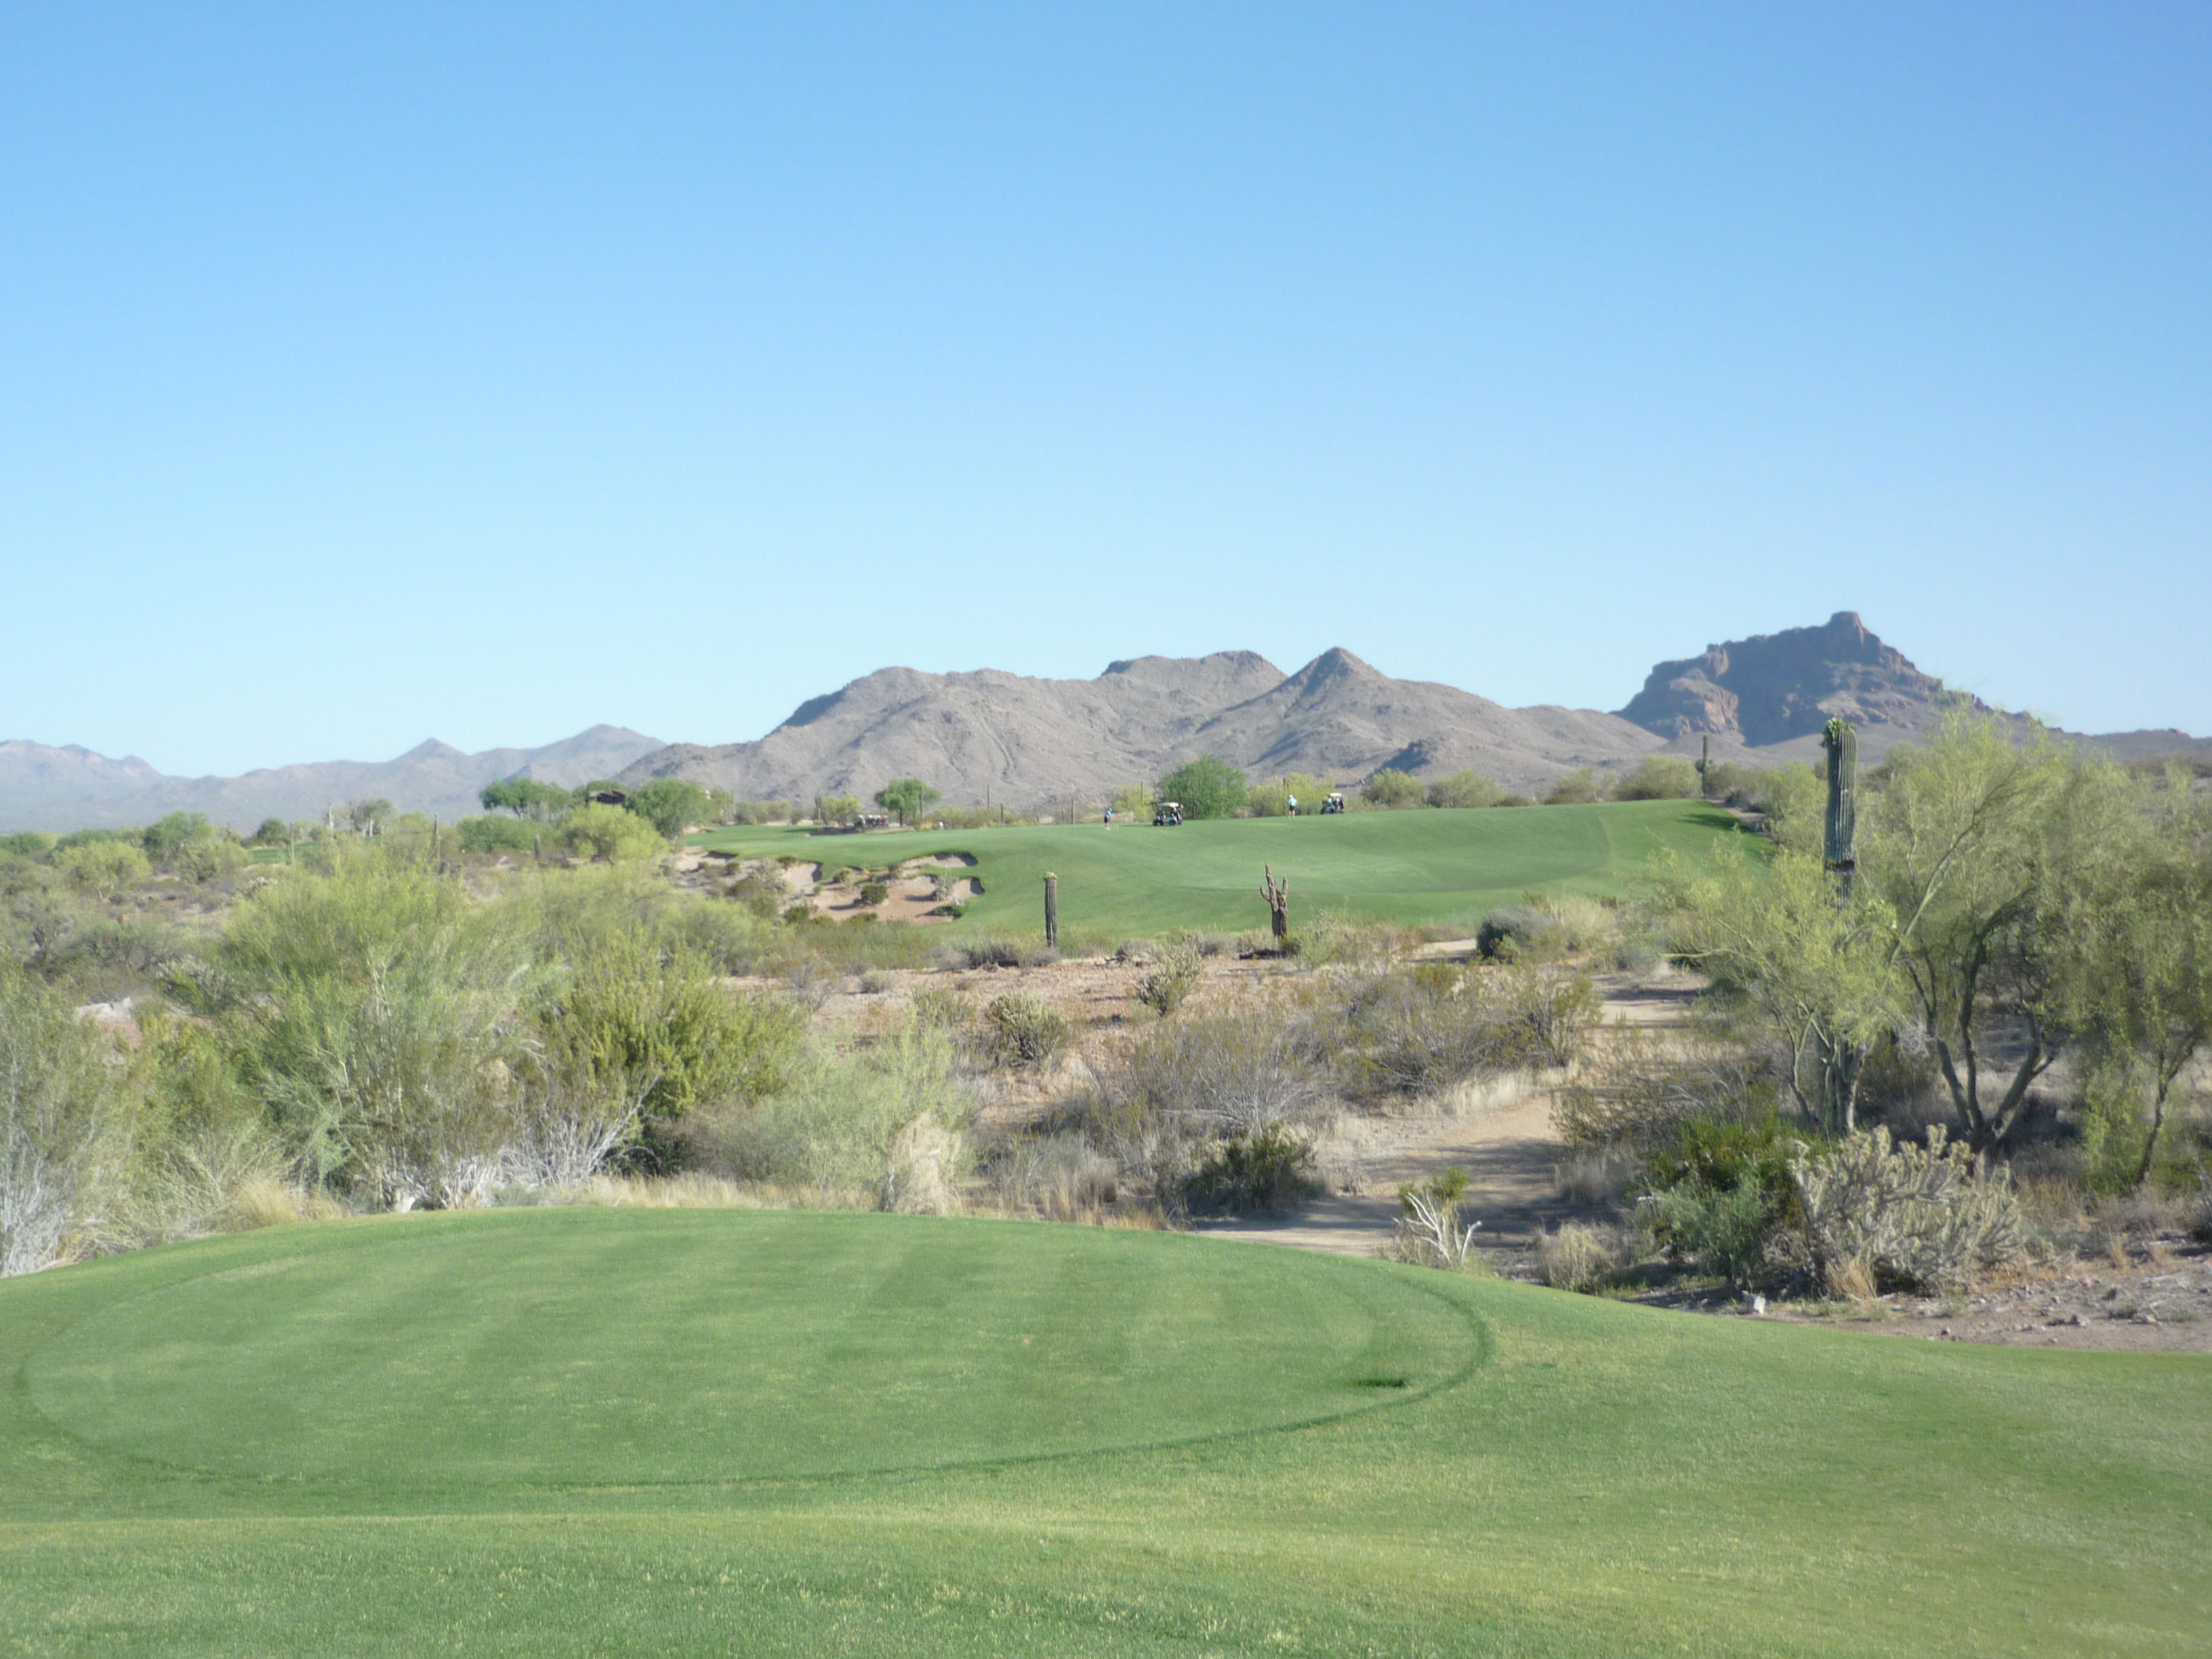
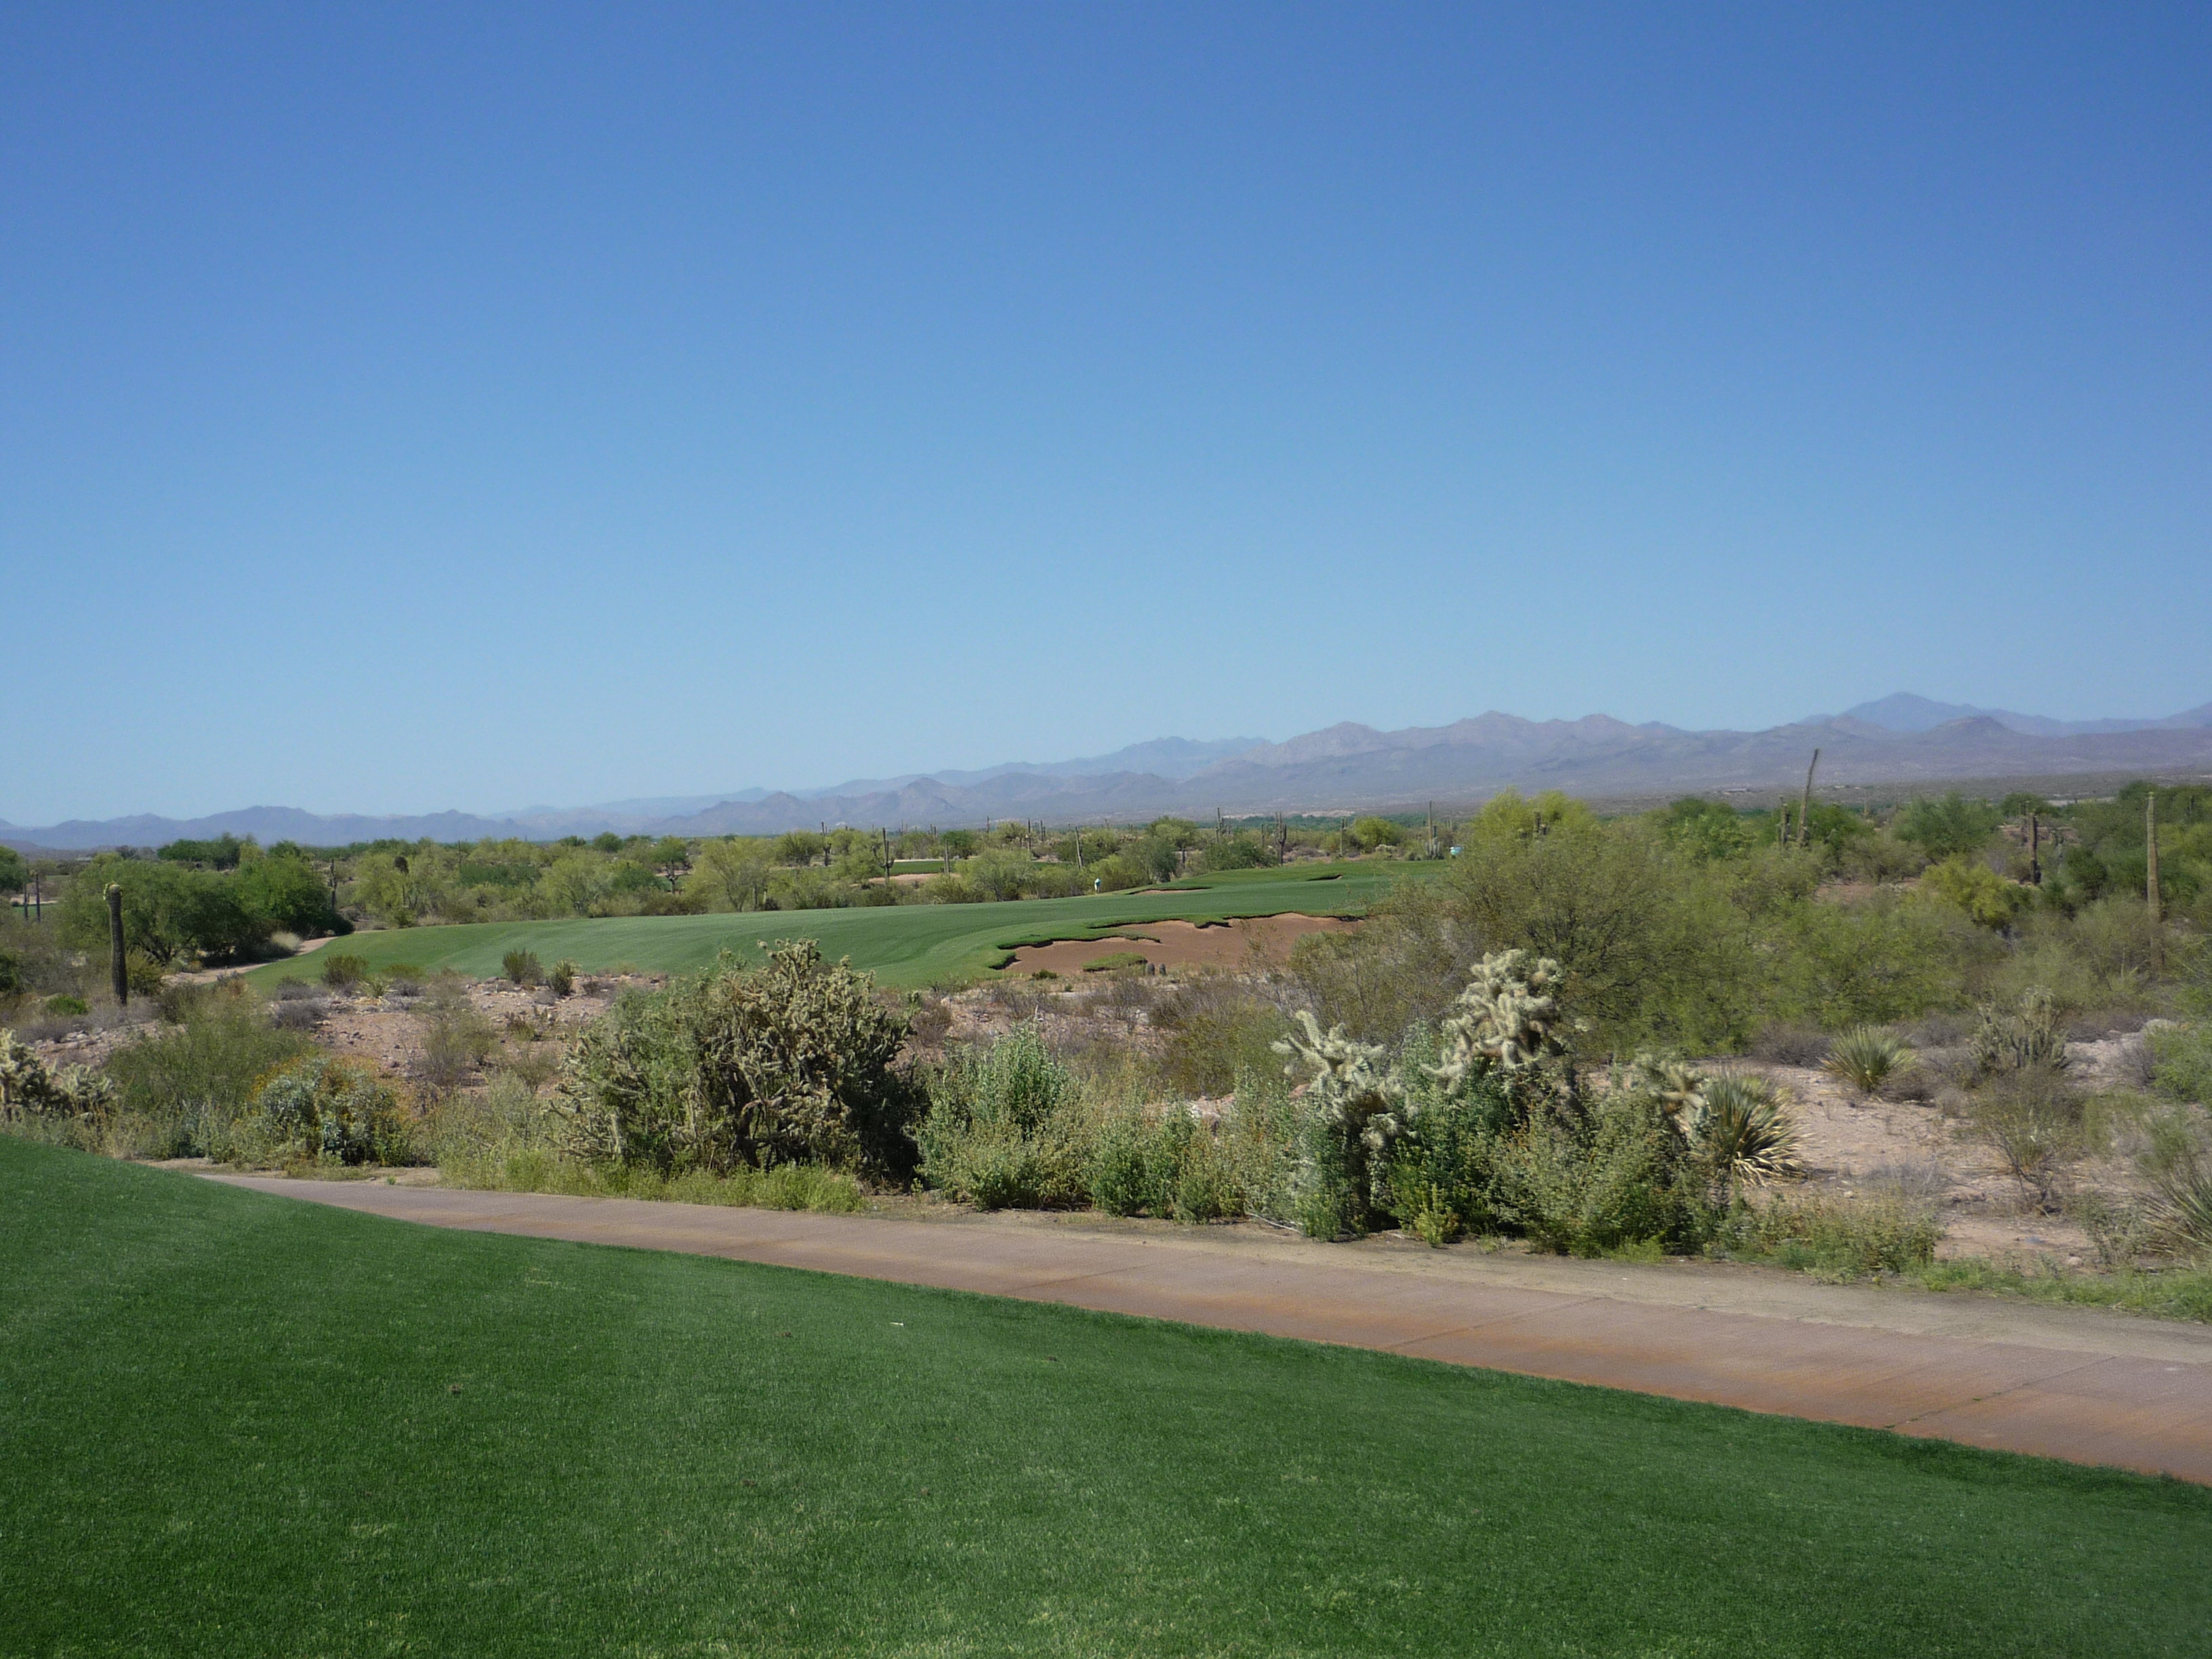
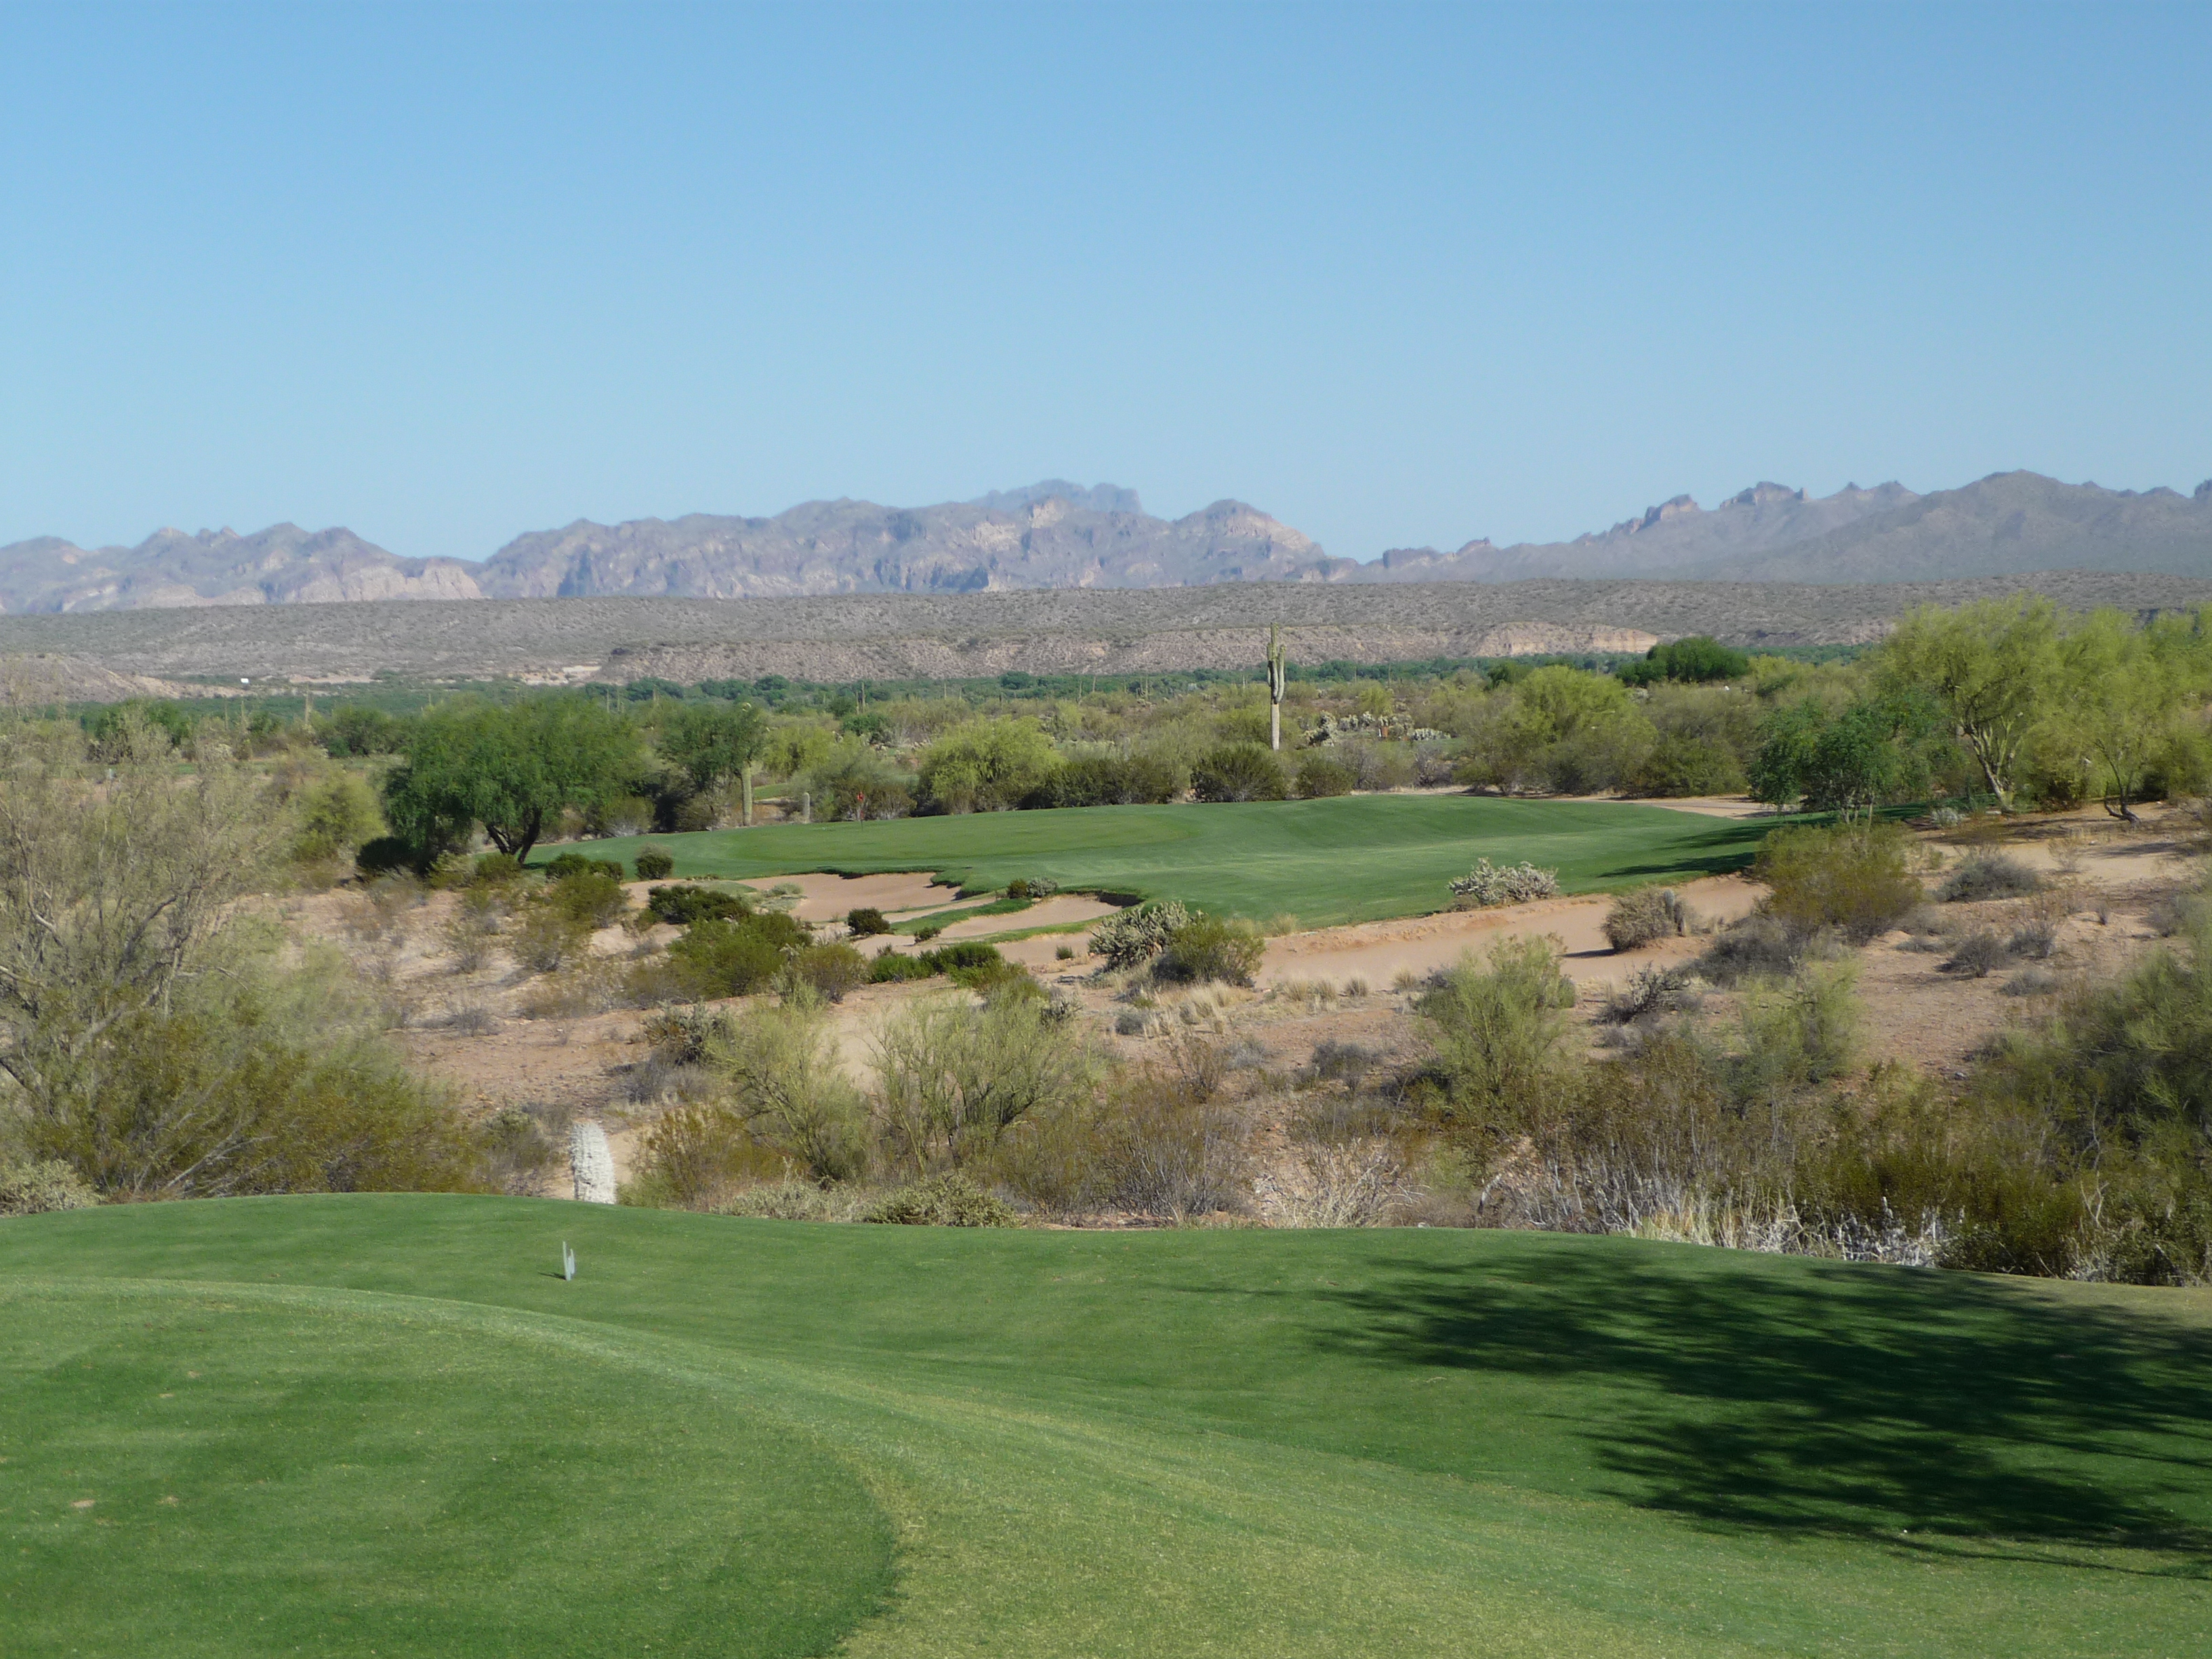
Hole 1 – 443 yards – Par 4
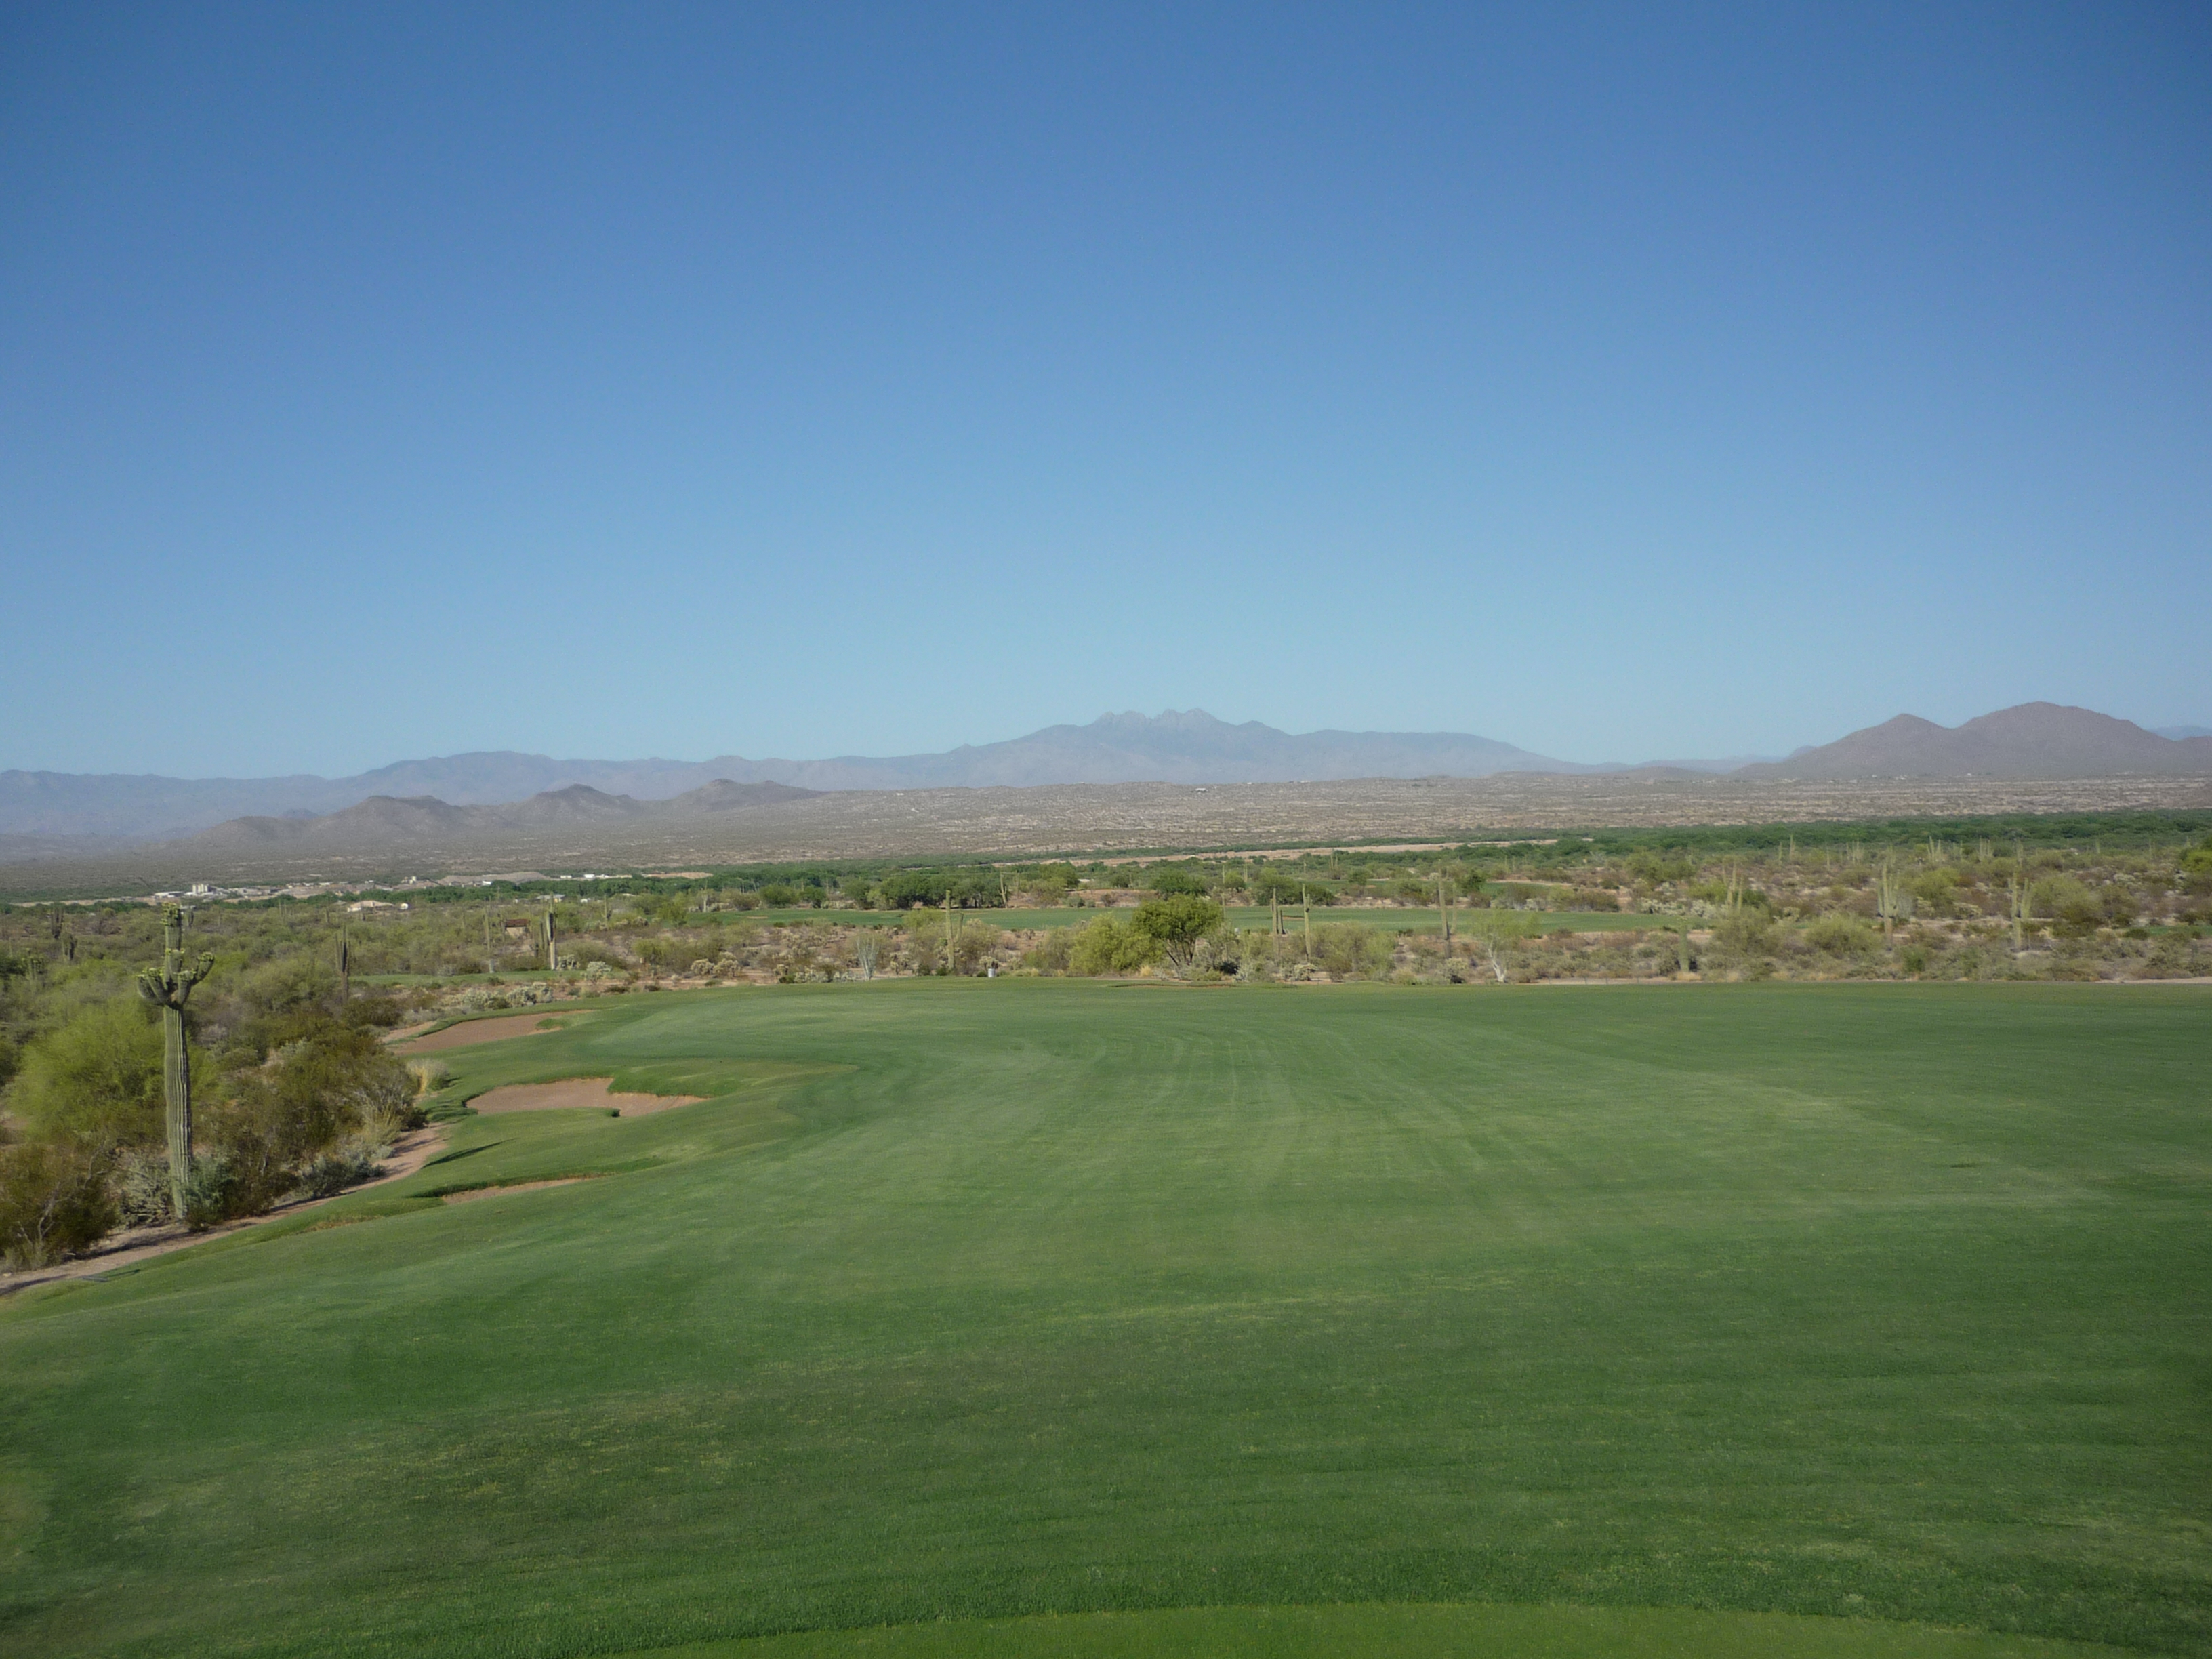
The first is on the longer side, but you are presented with a large fairway. The best line is up the left side of this fairway.
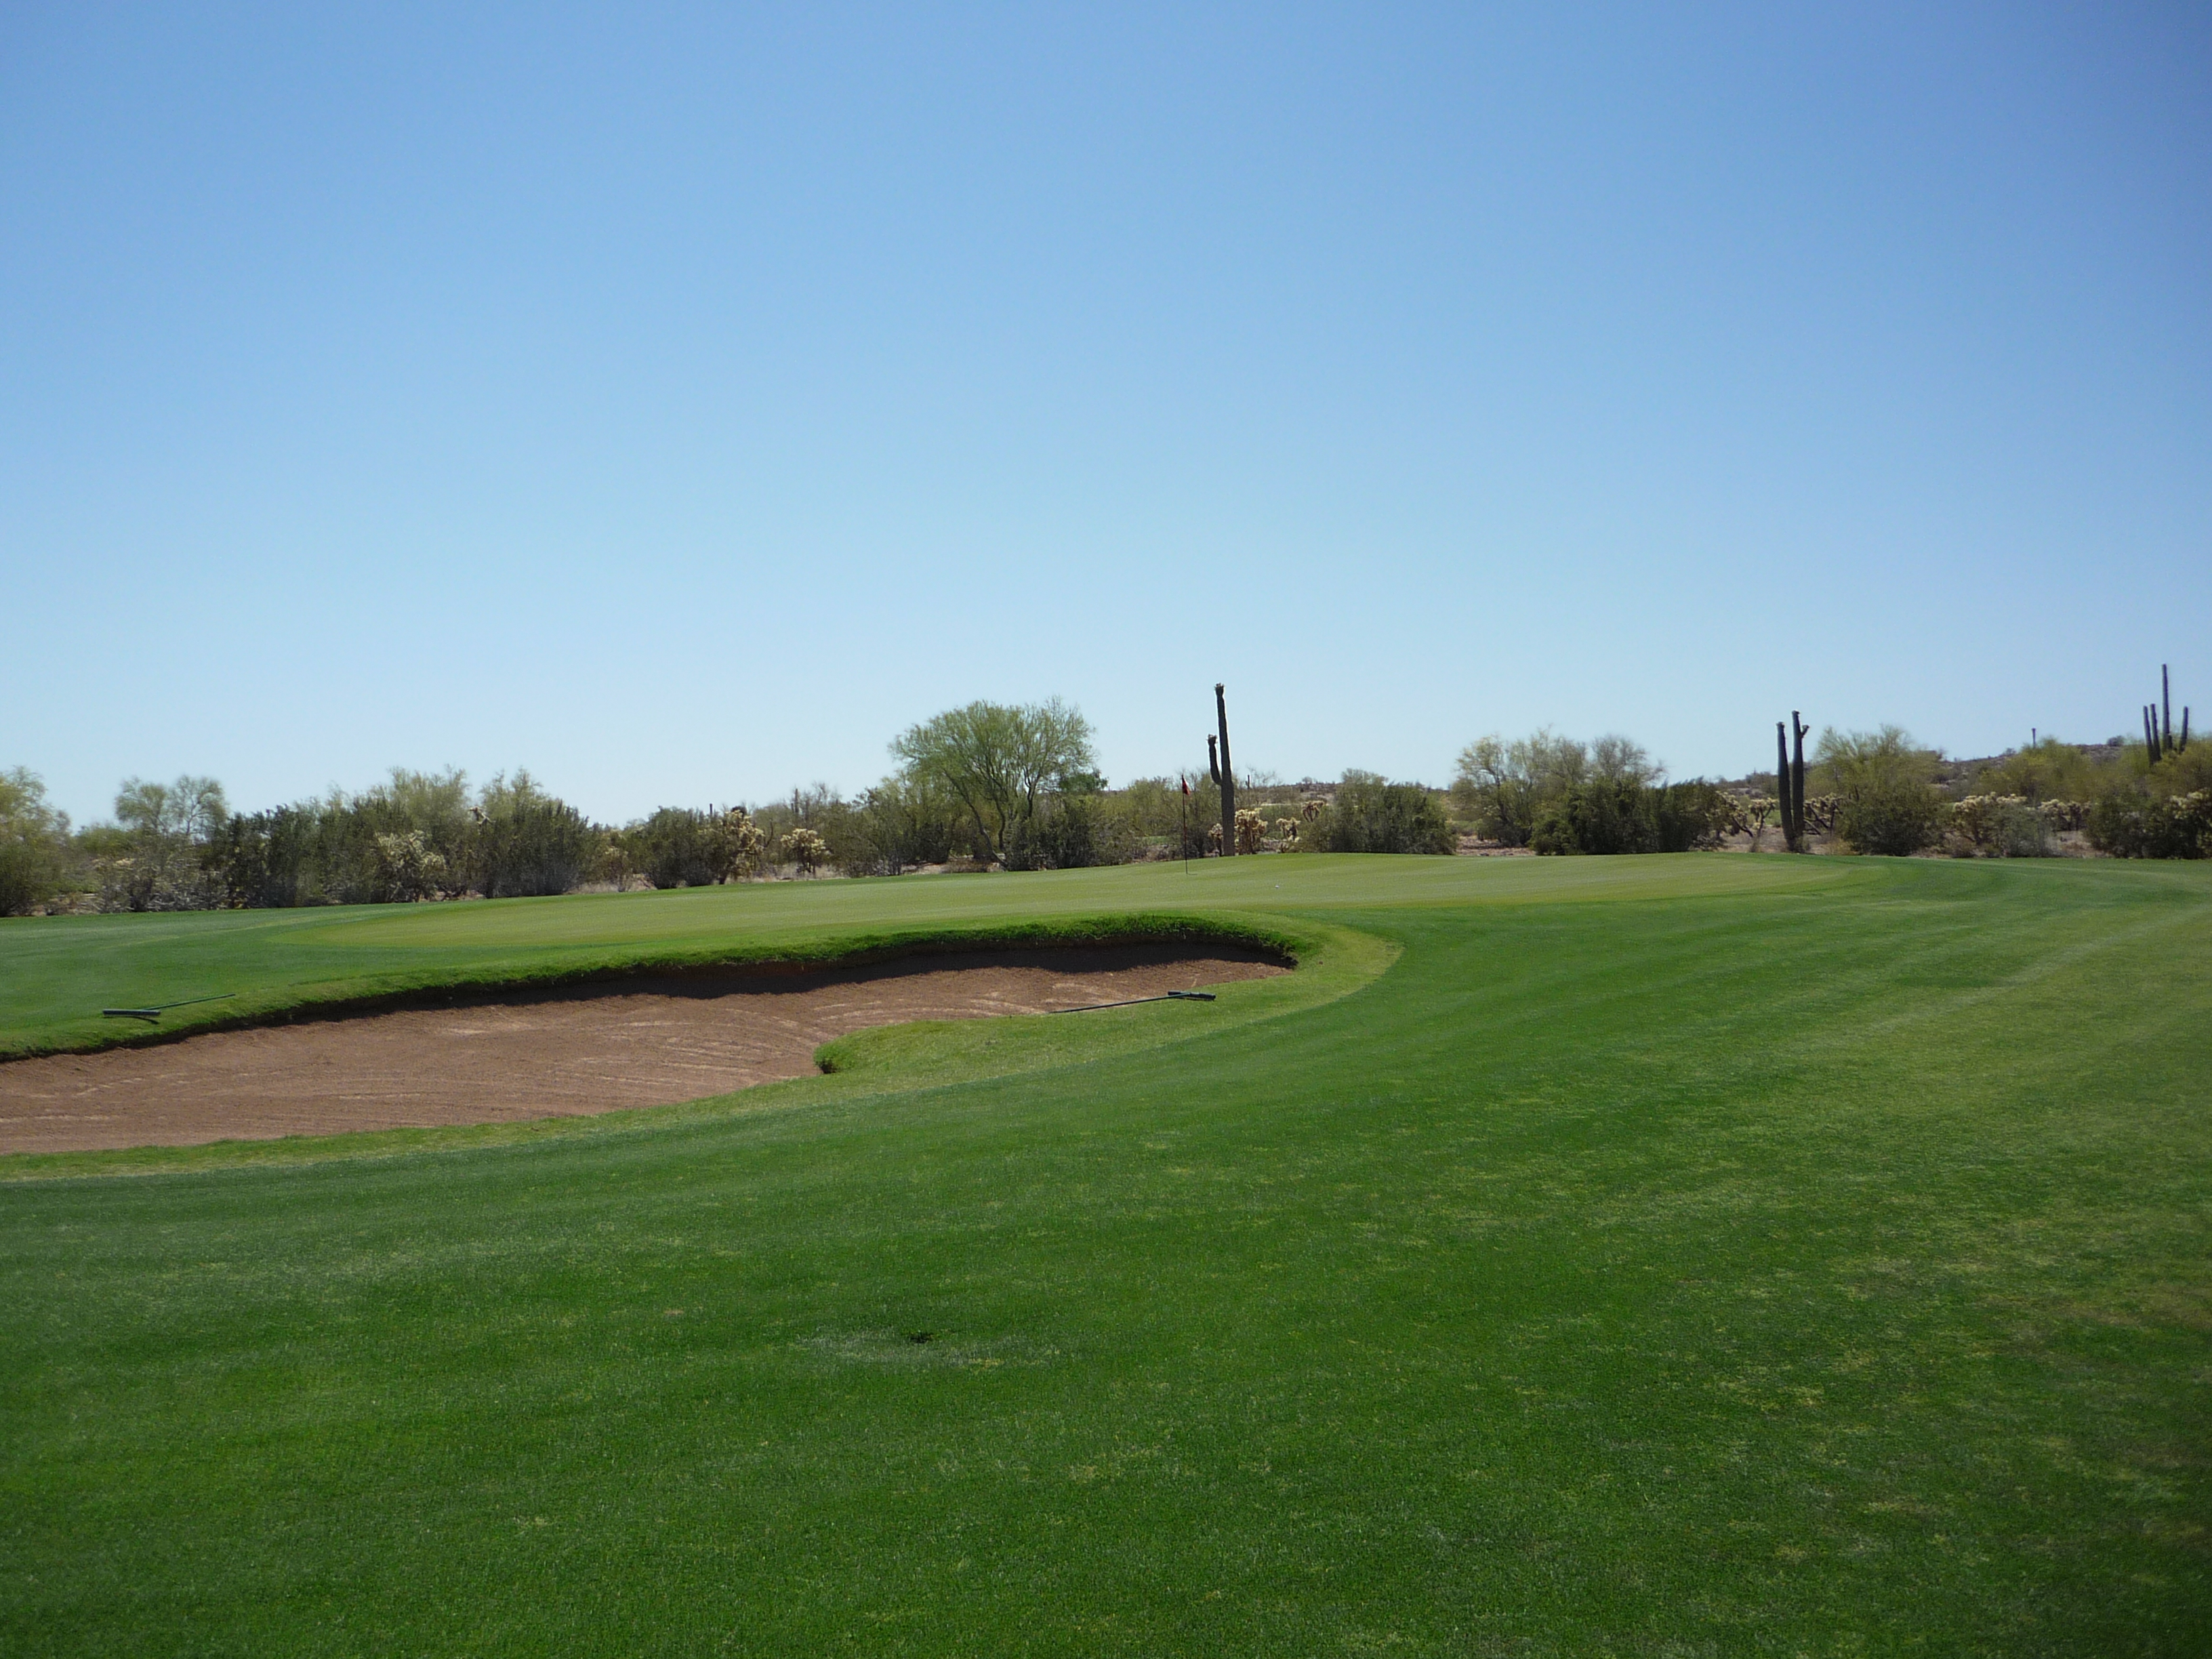
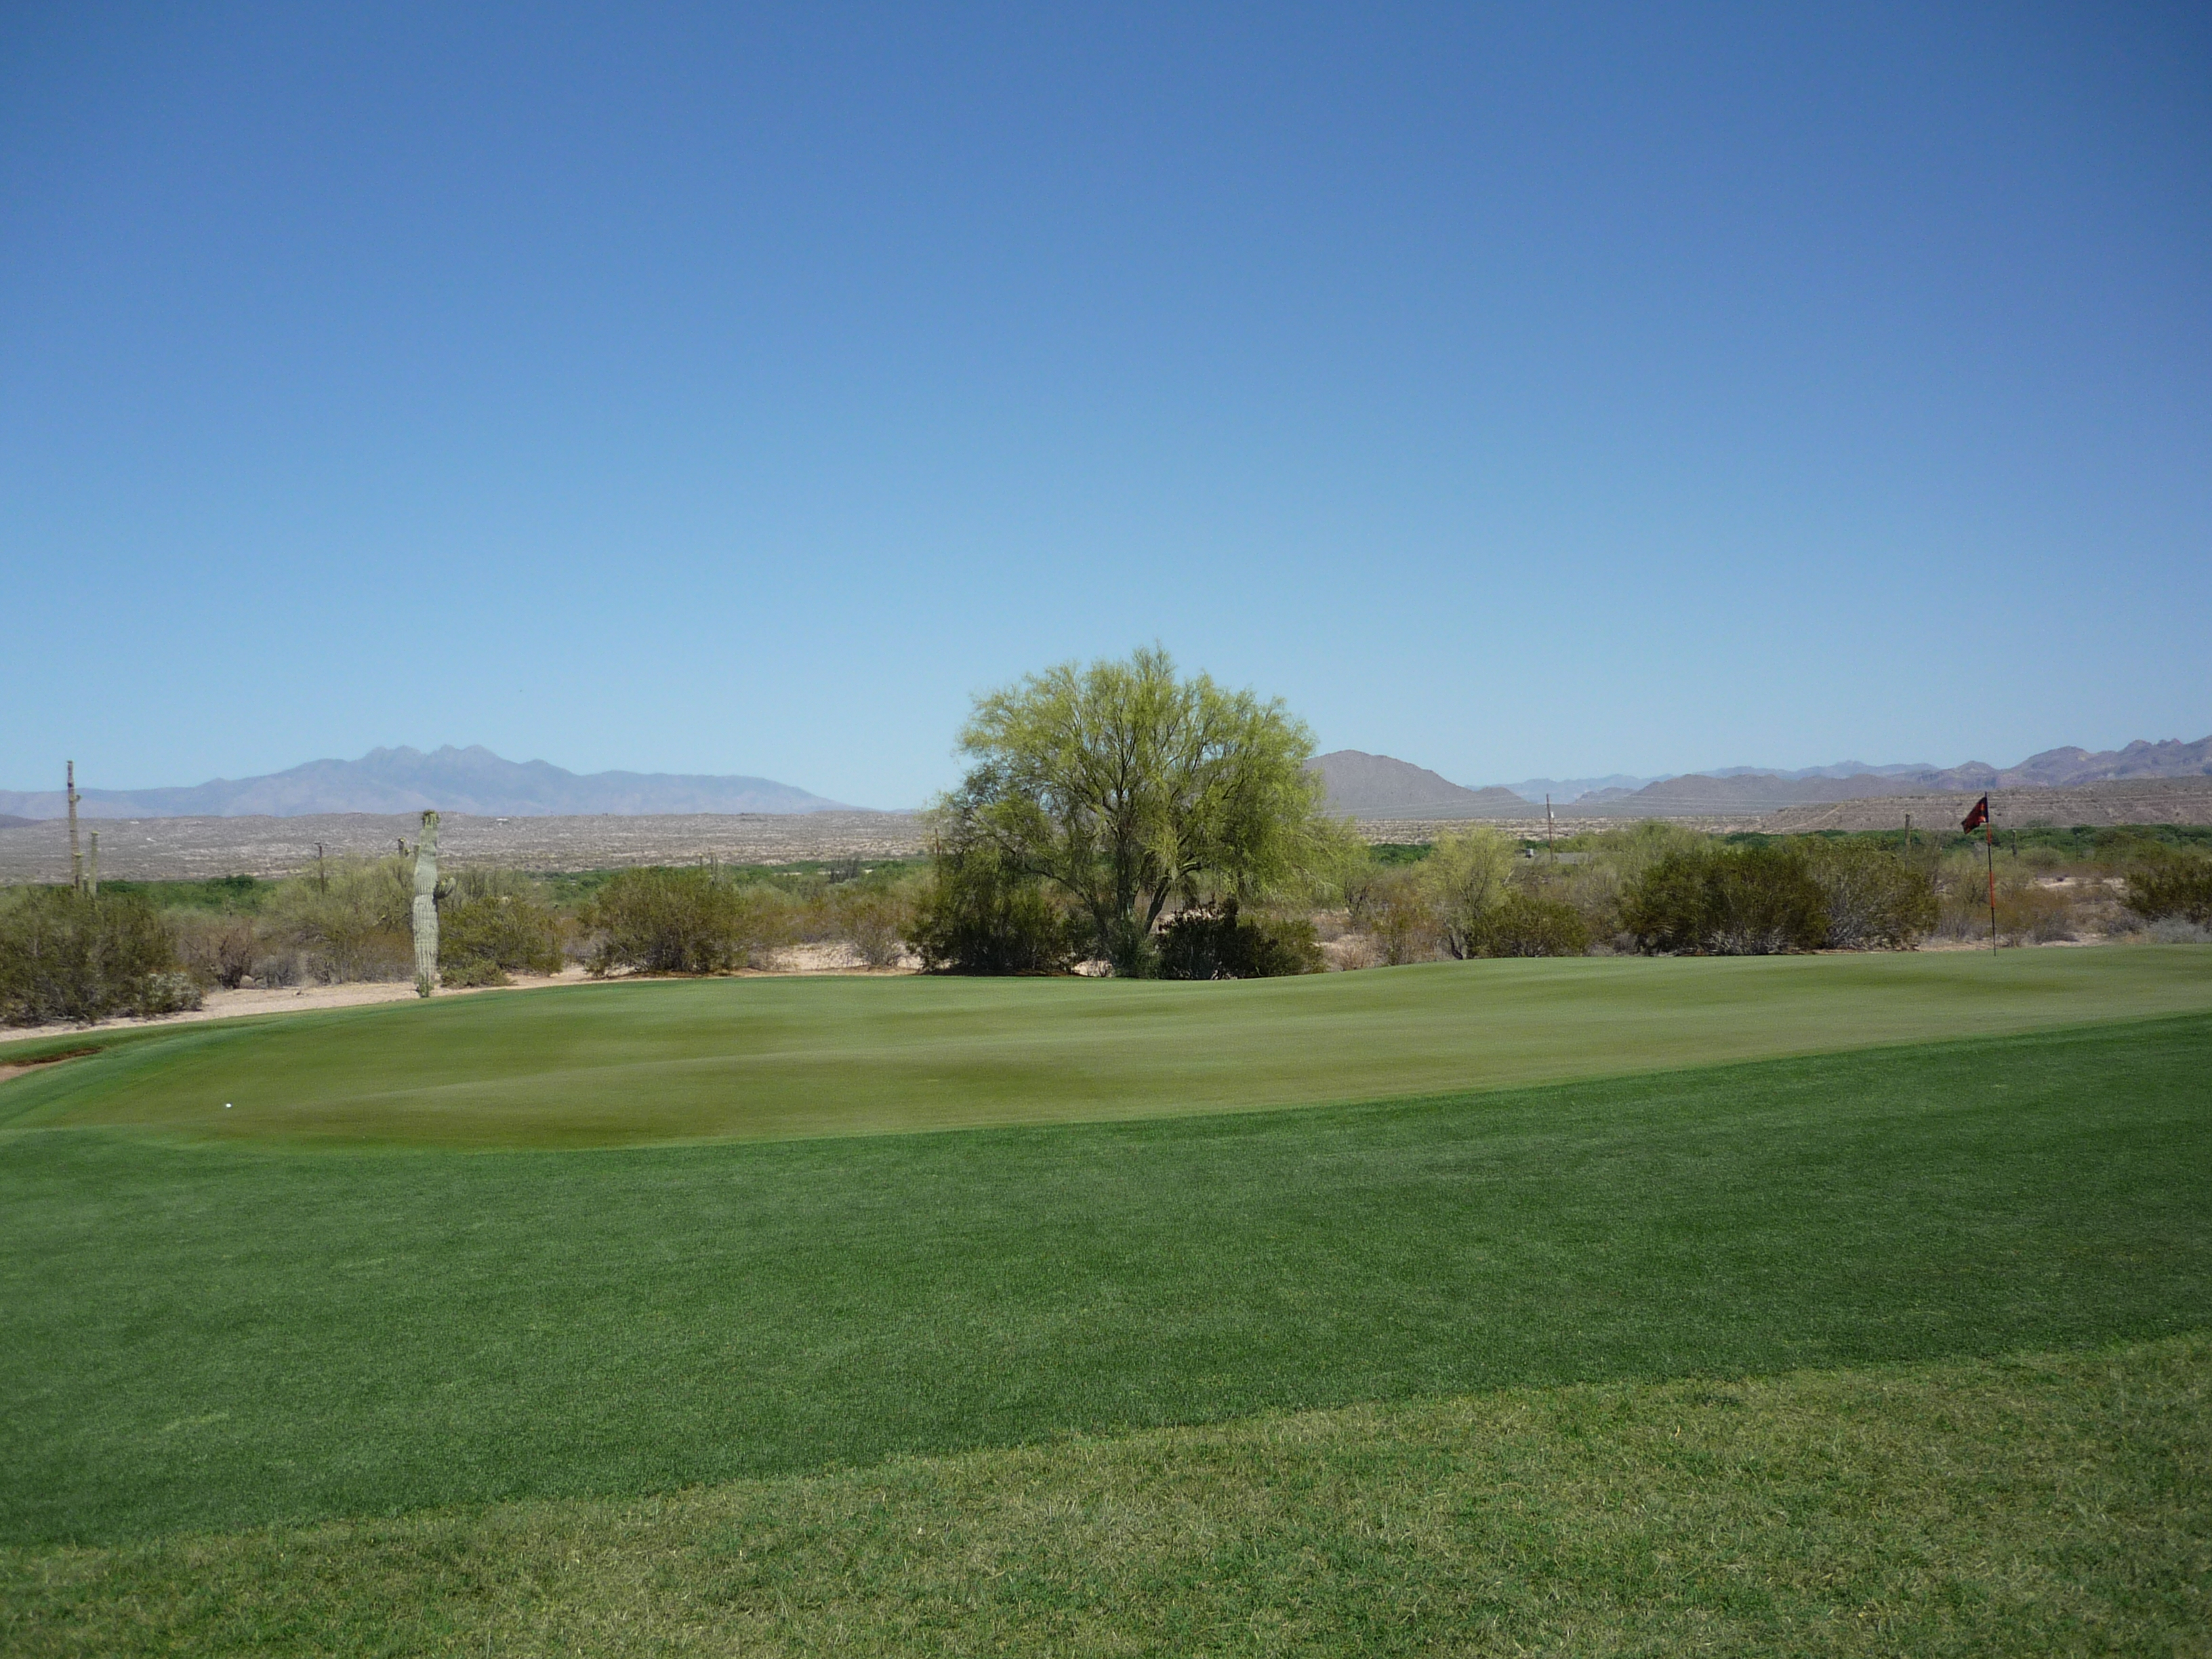
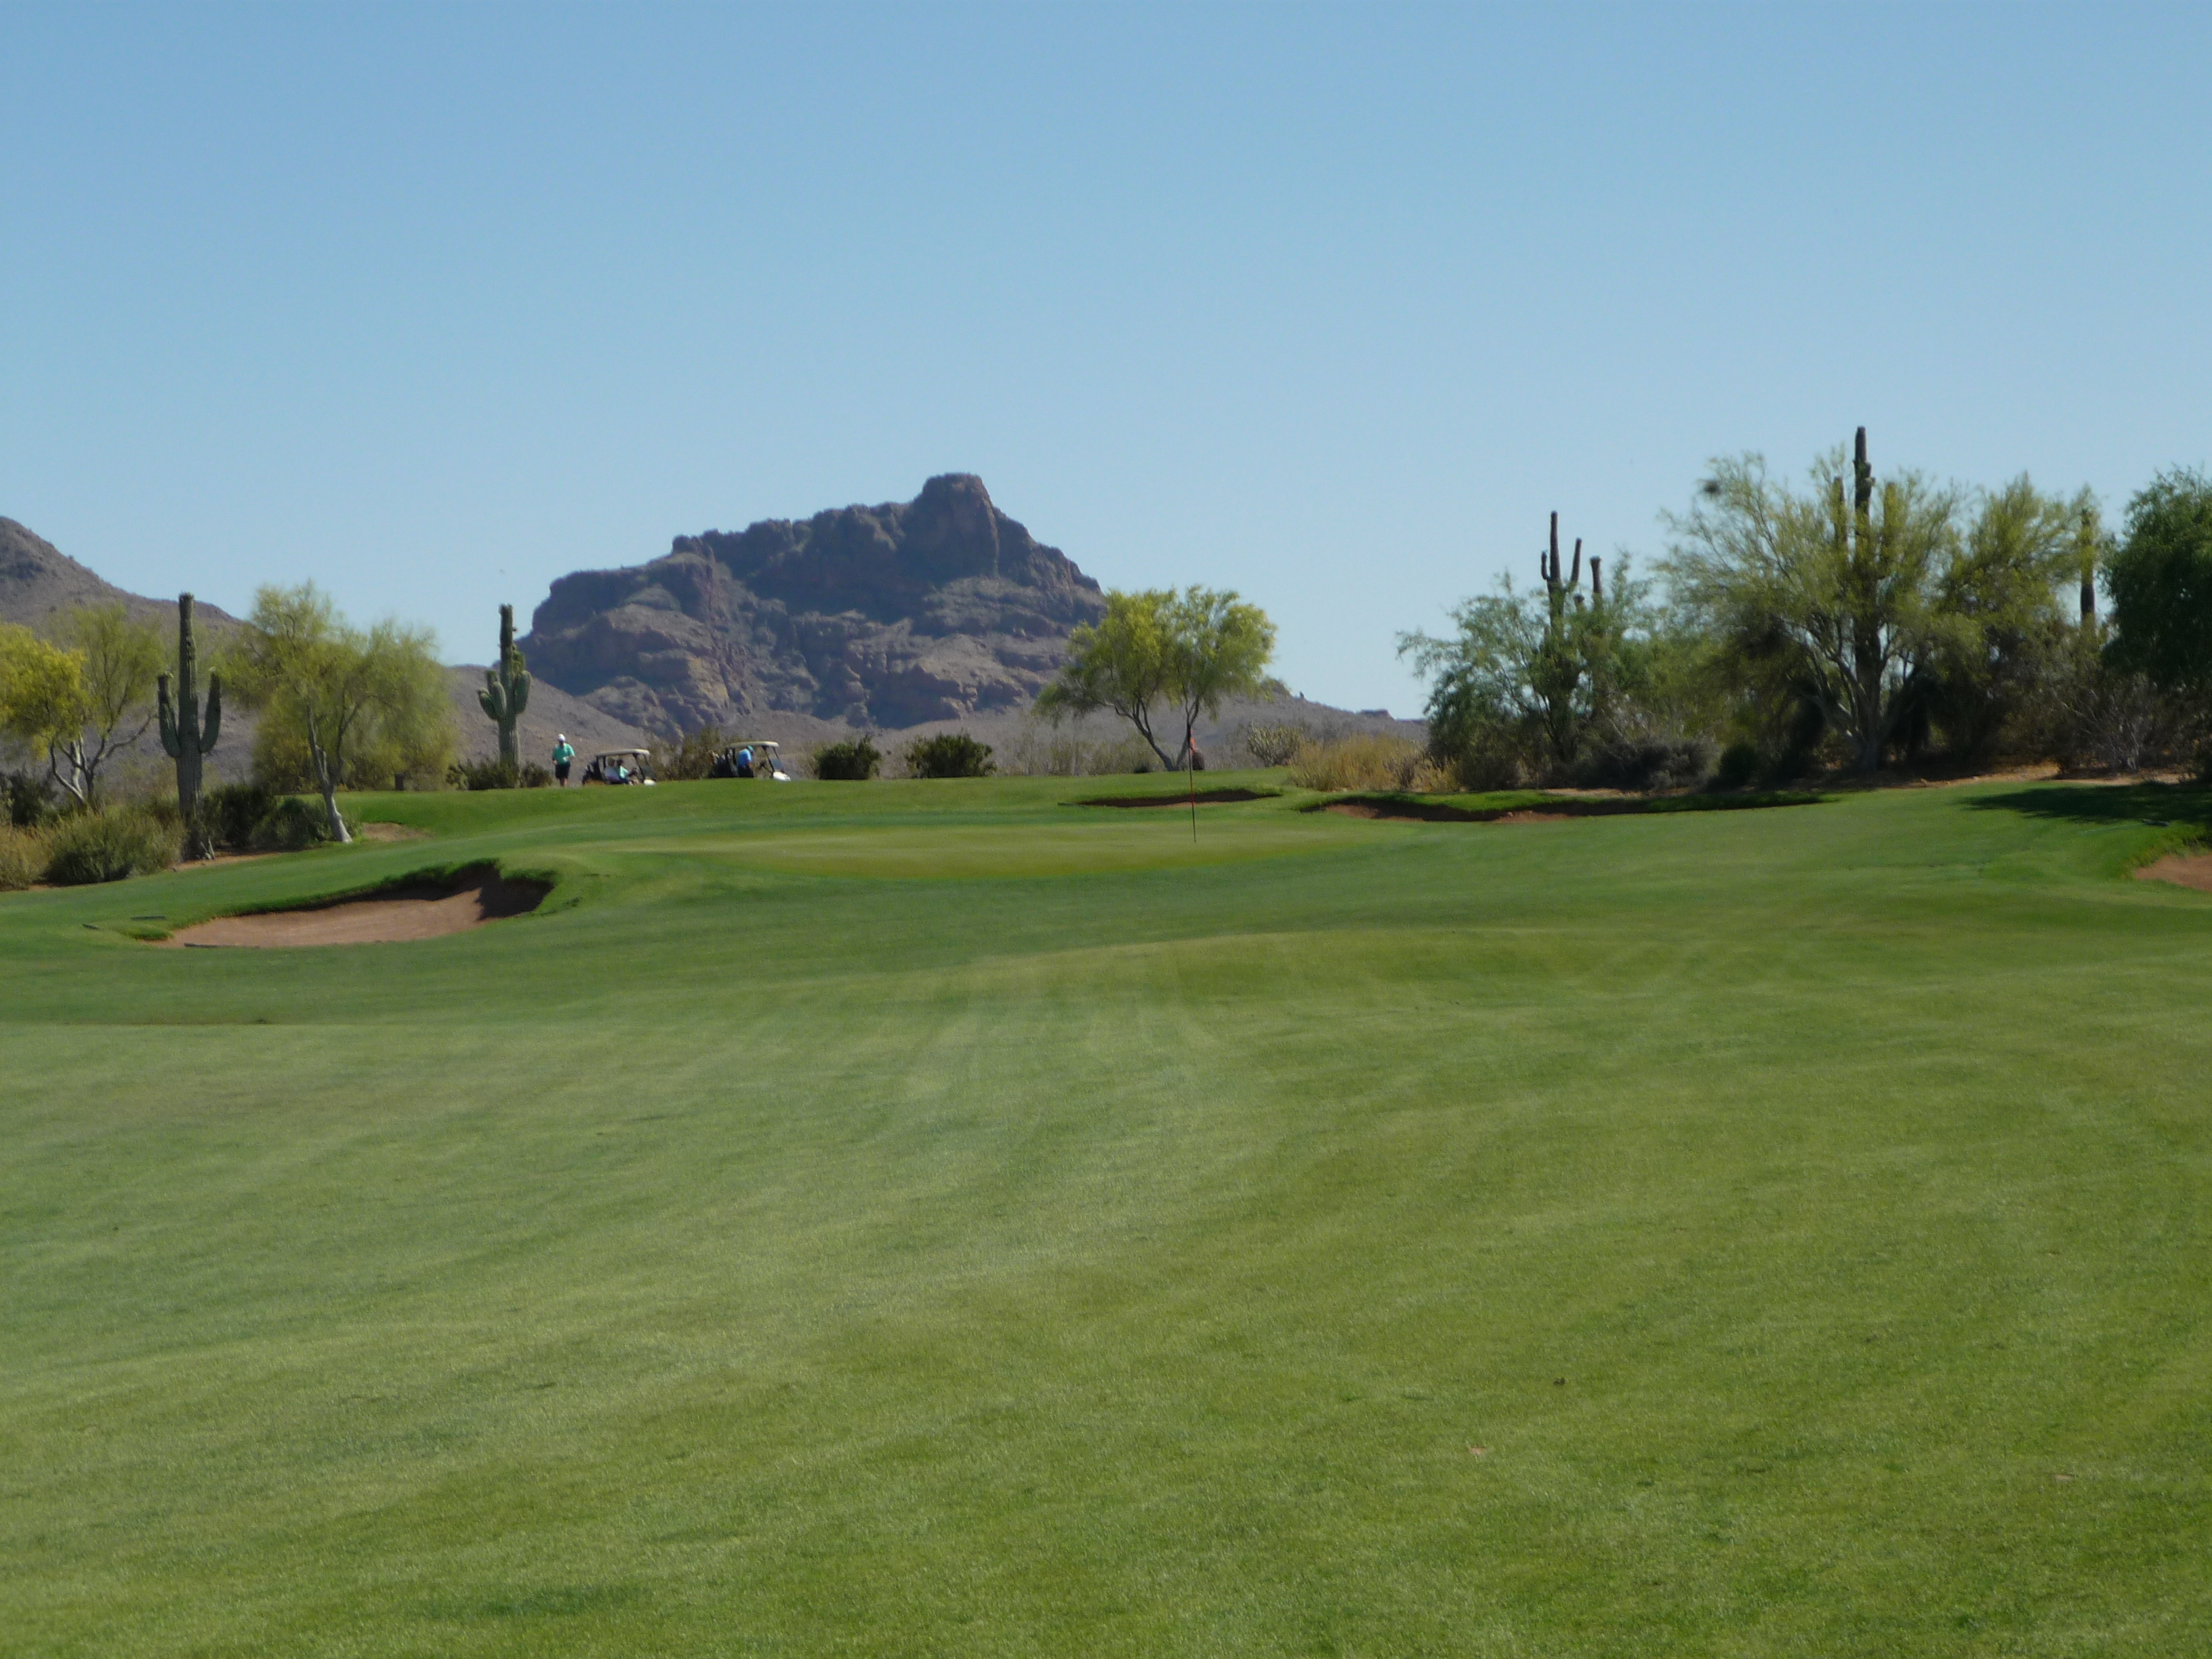
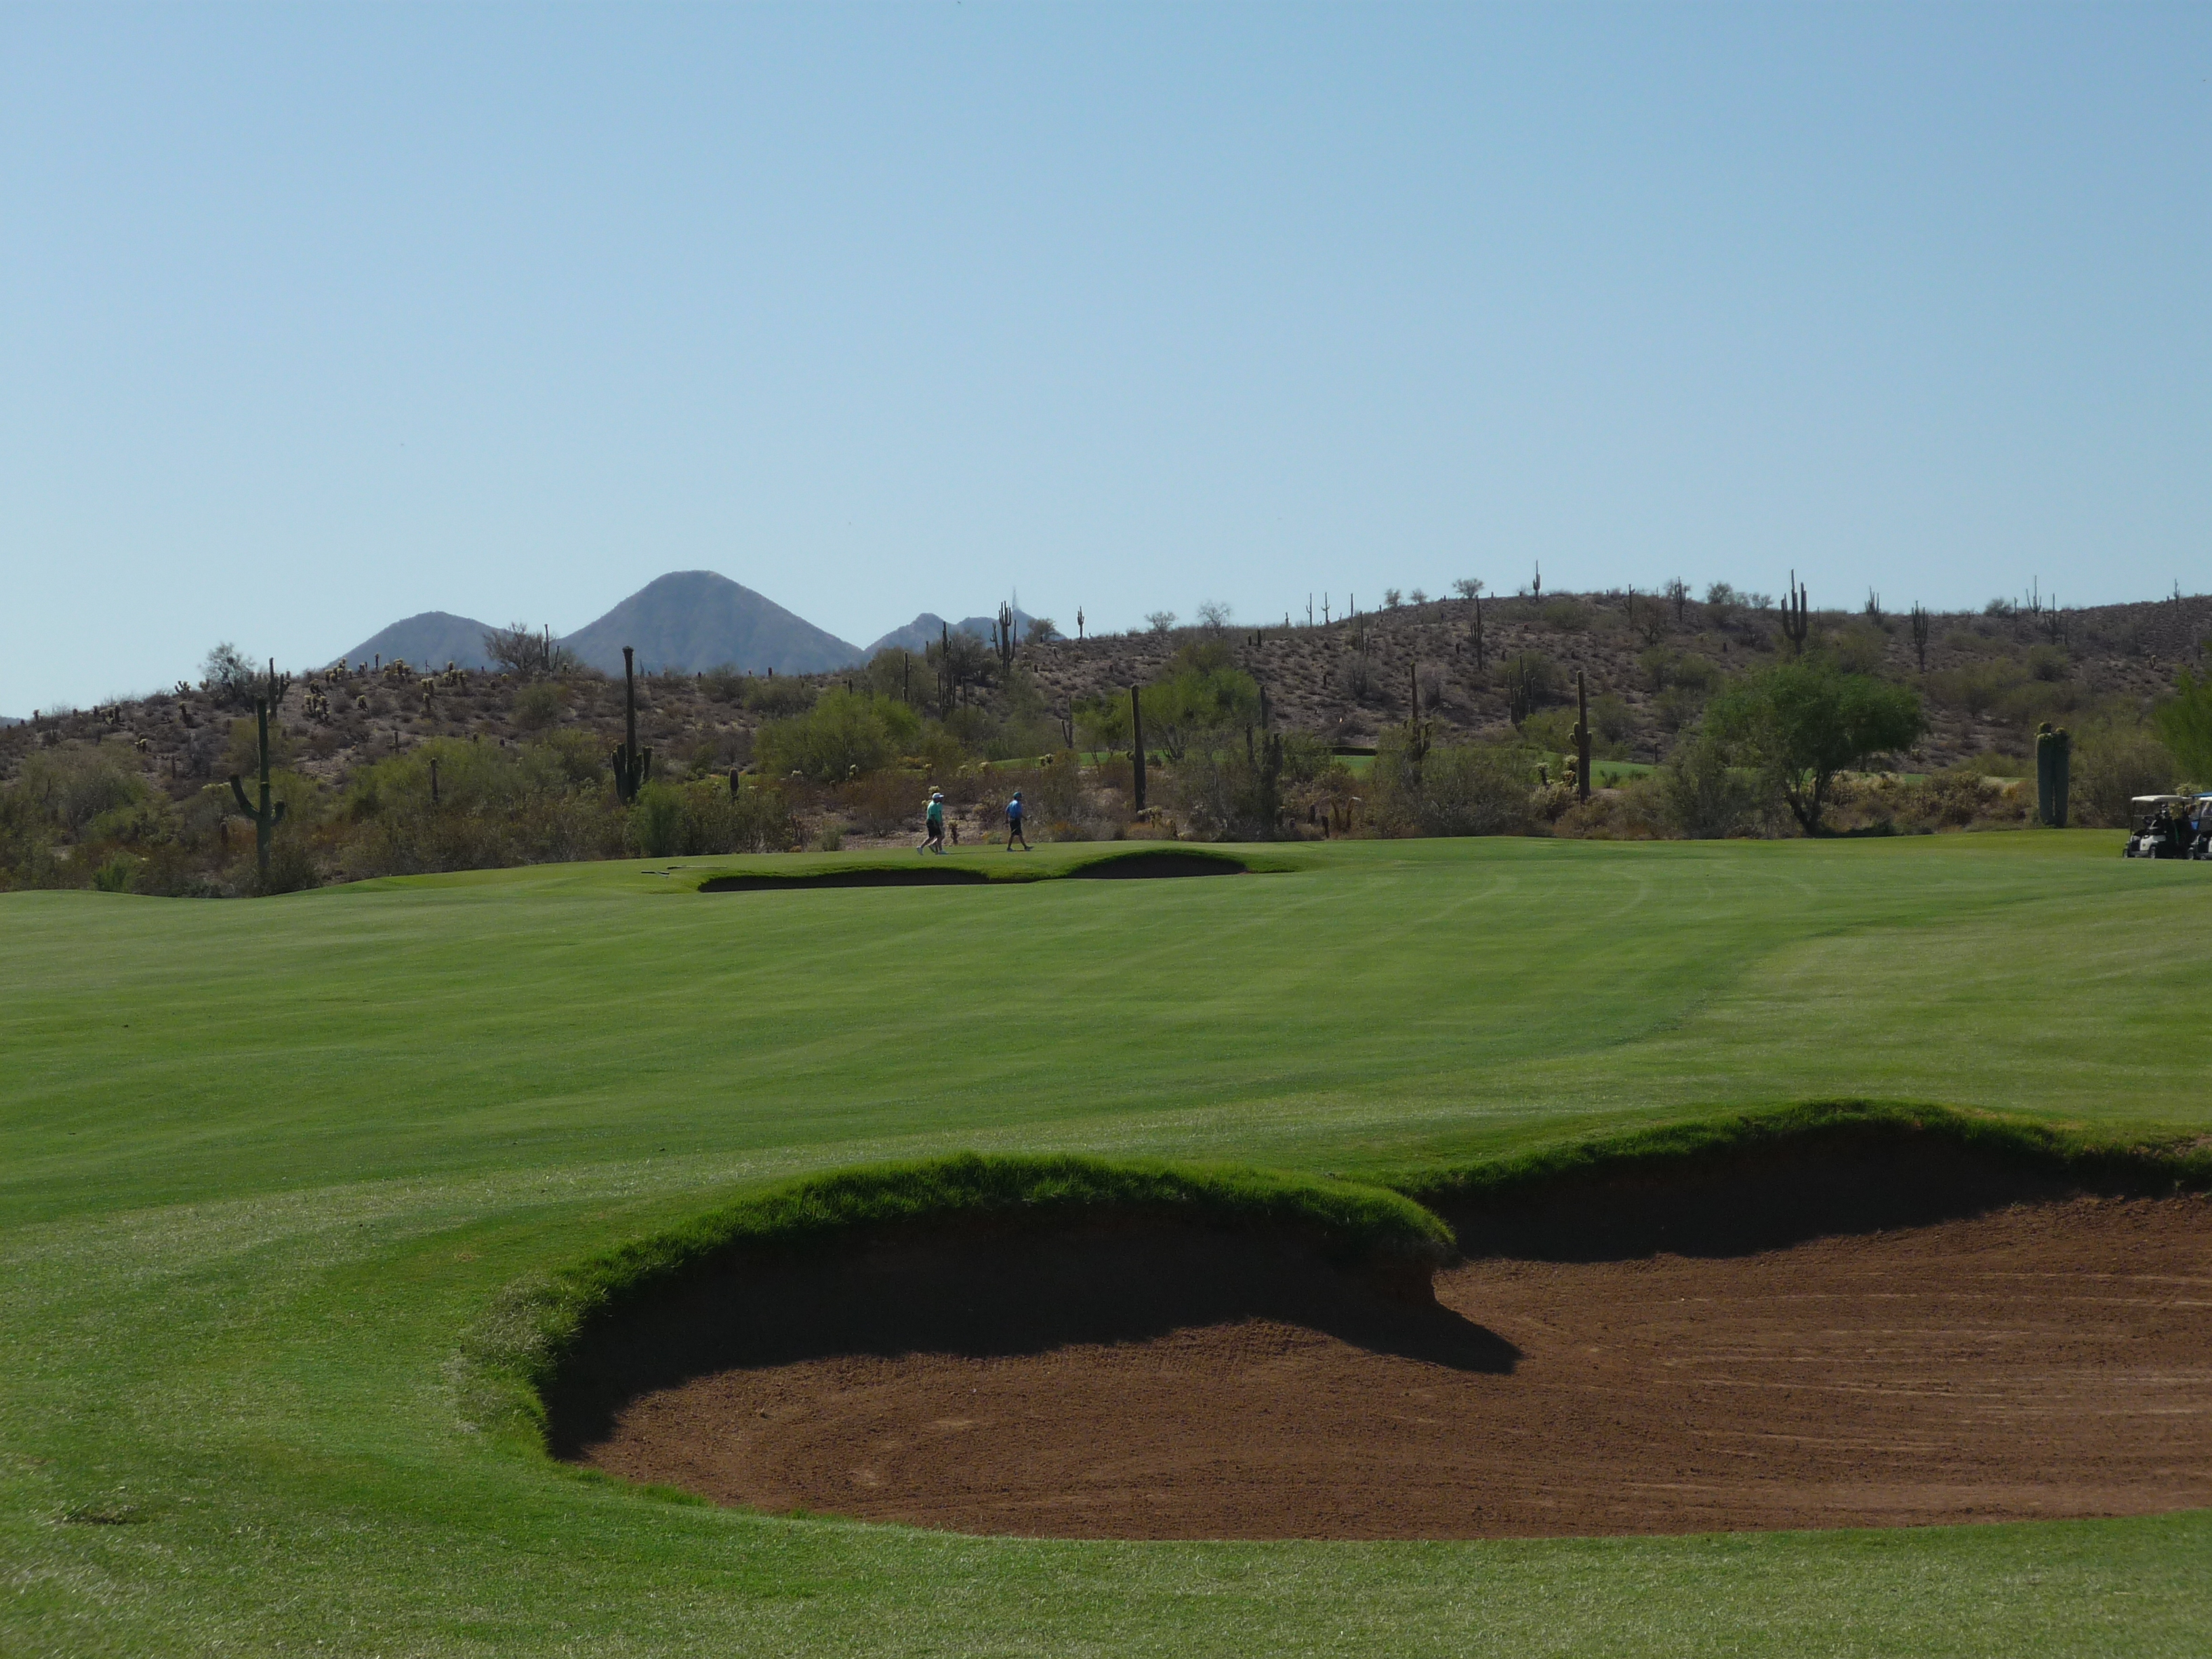
From the left side of the fairway you have a clean look at the green. A large bunker guards the right side, but the green is otherwise safe.
Here is a closer look at the putting surface.

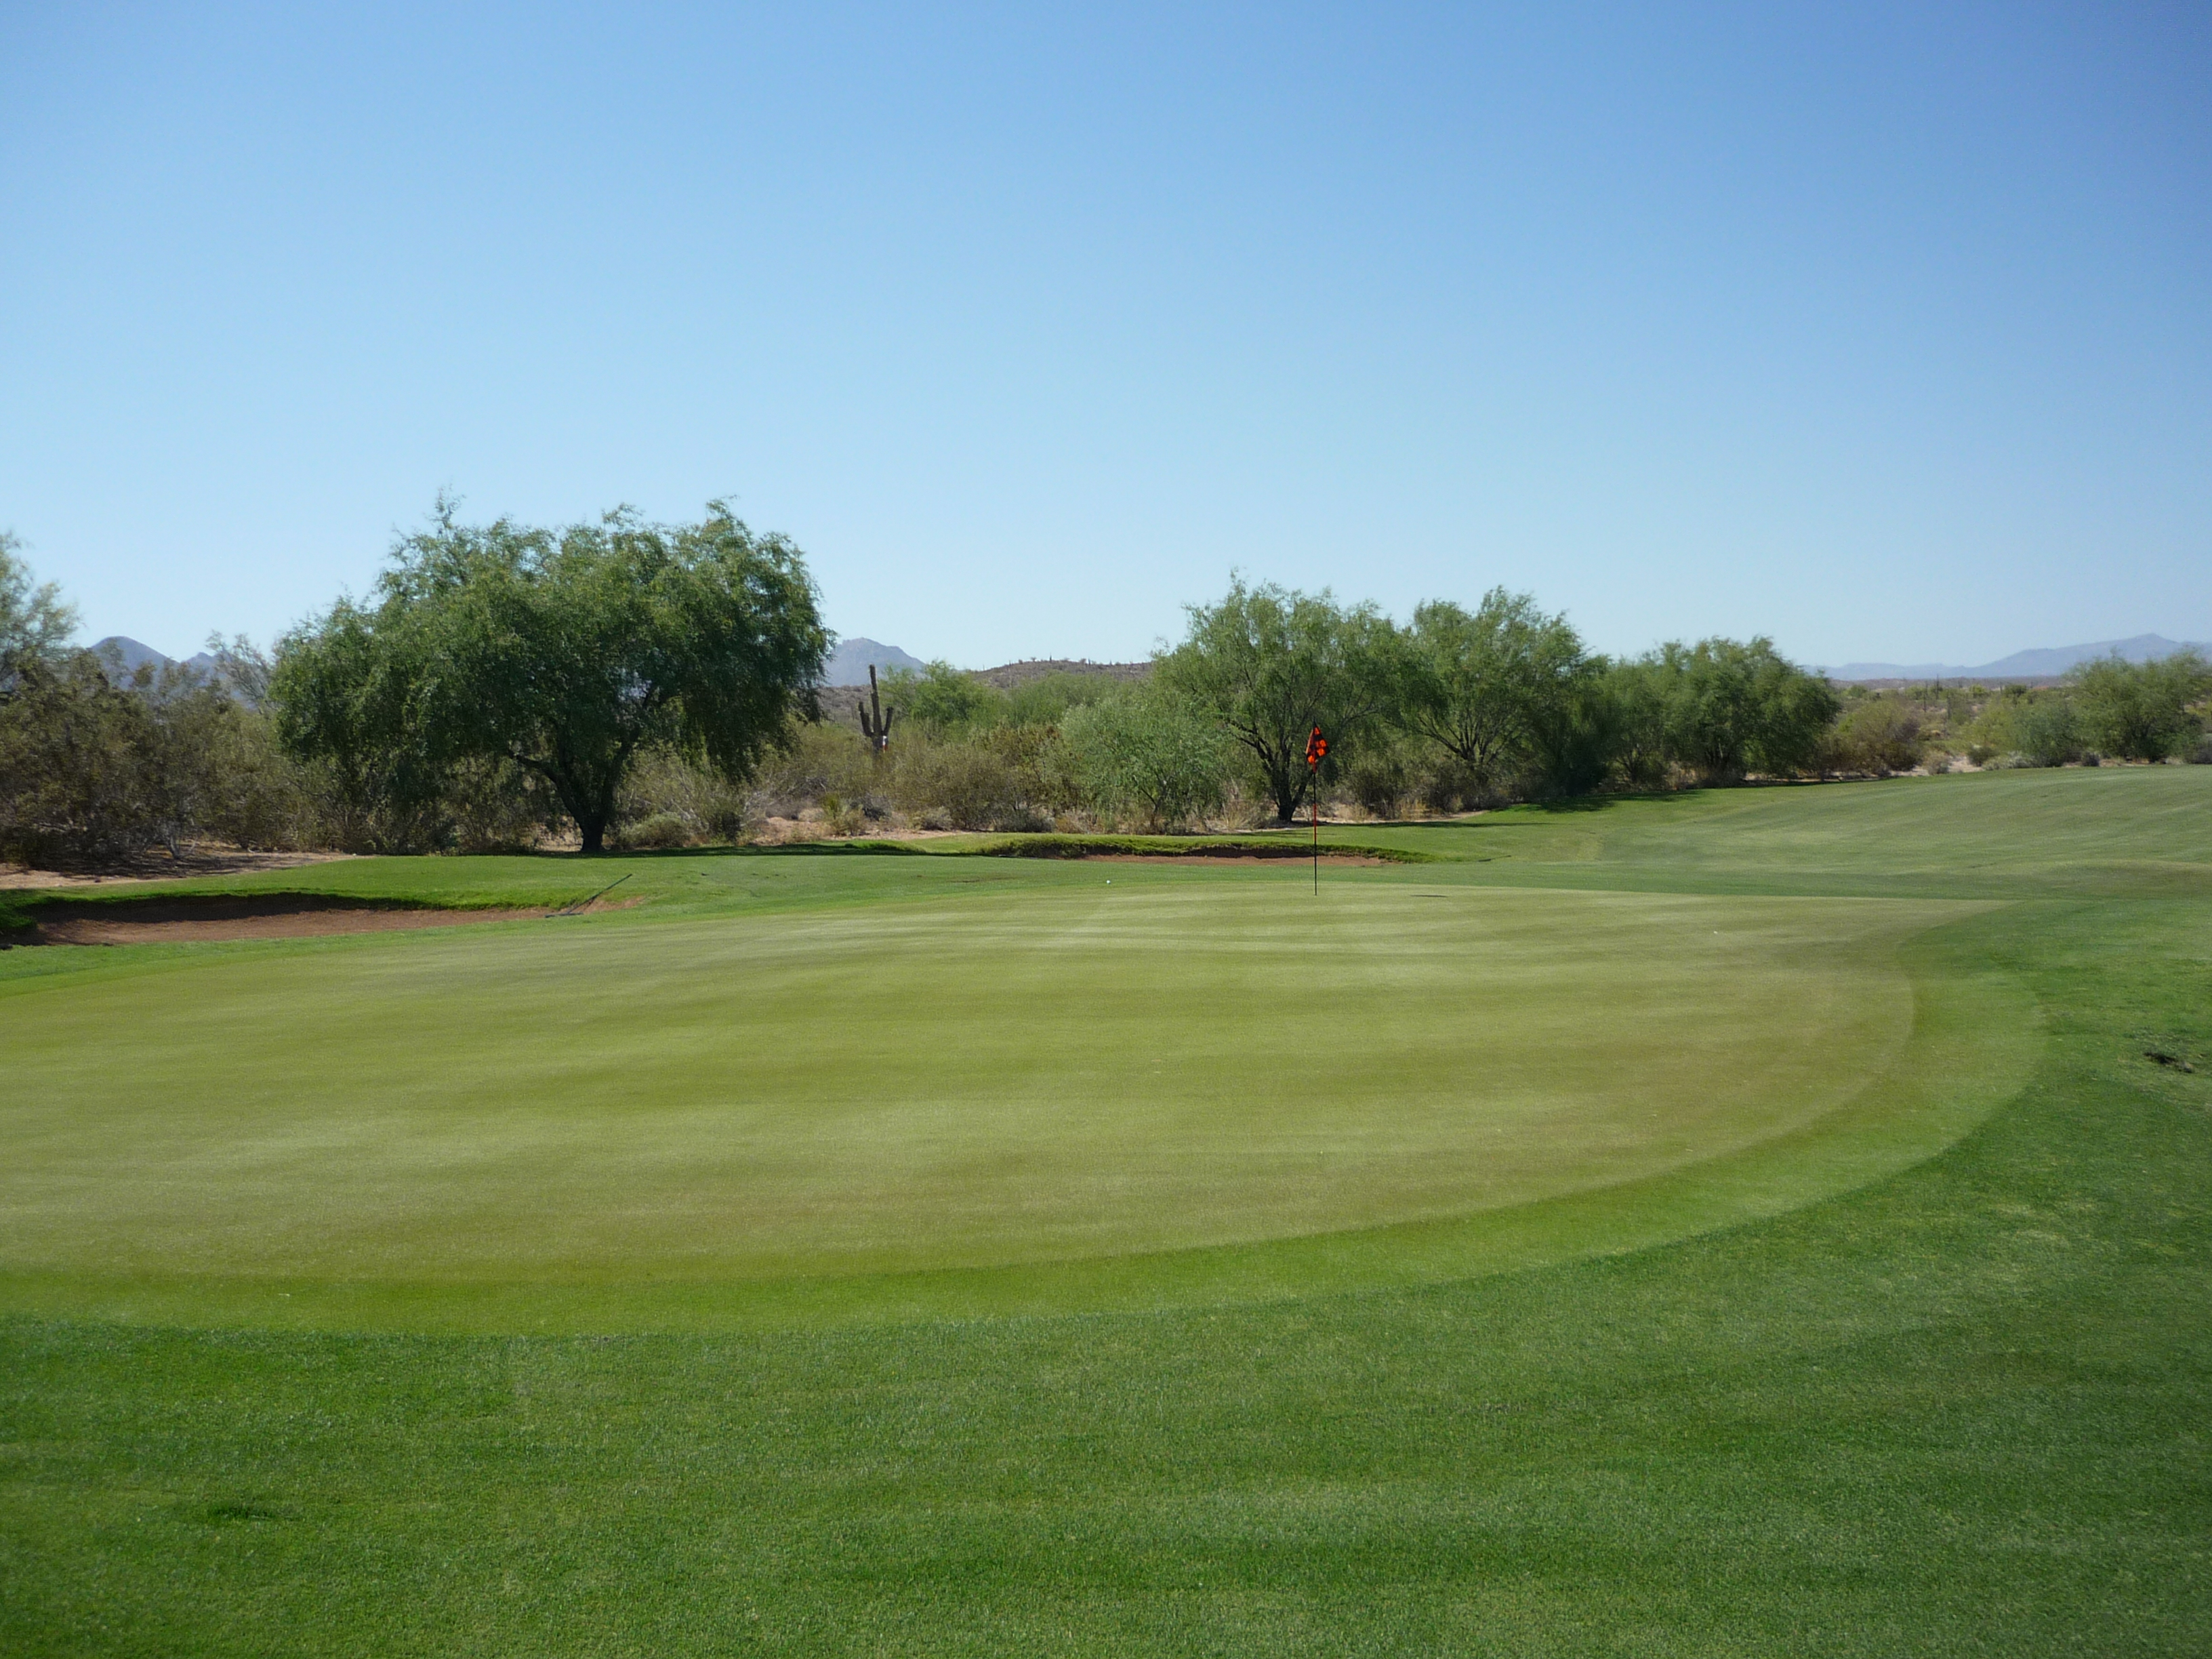
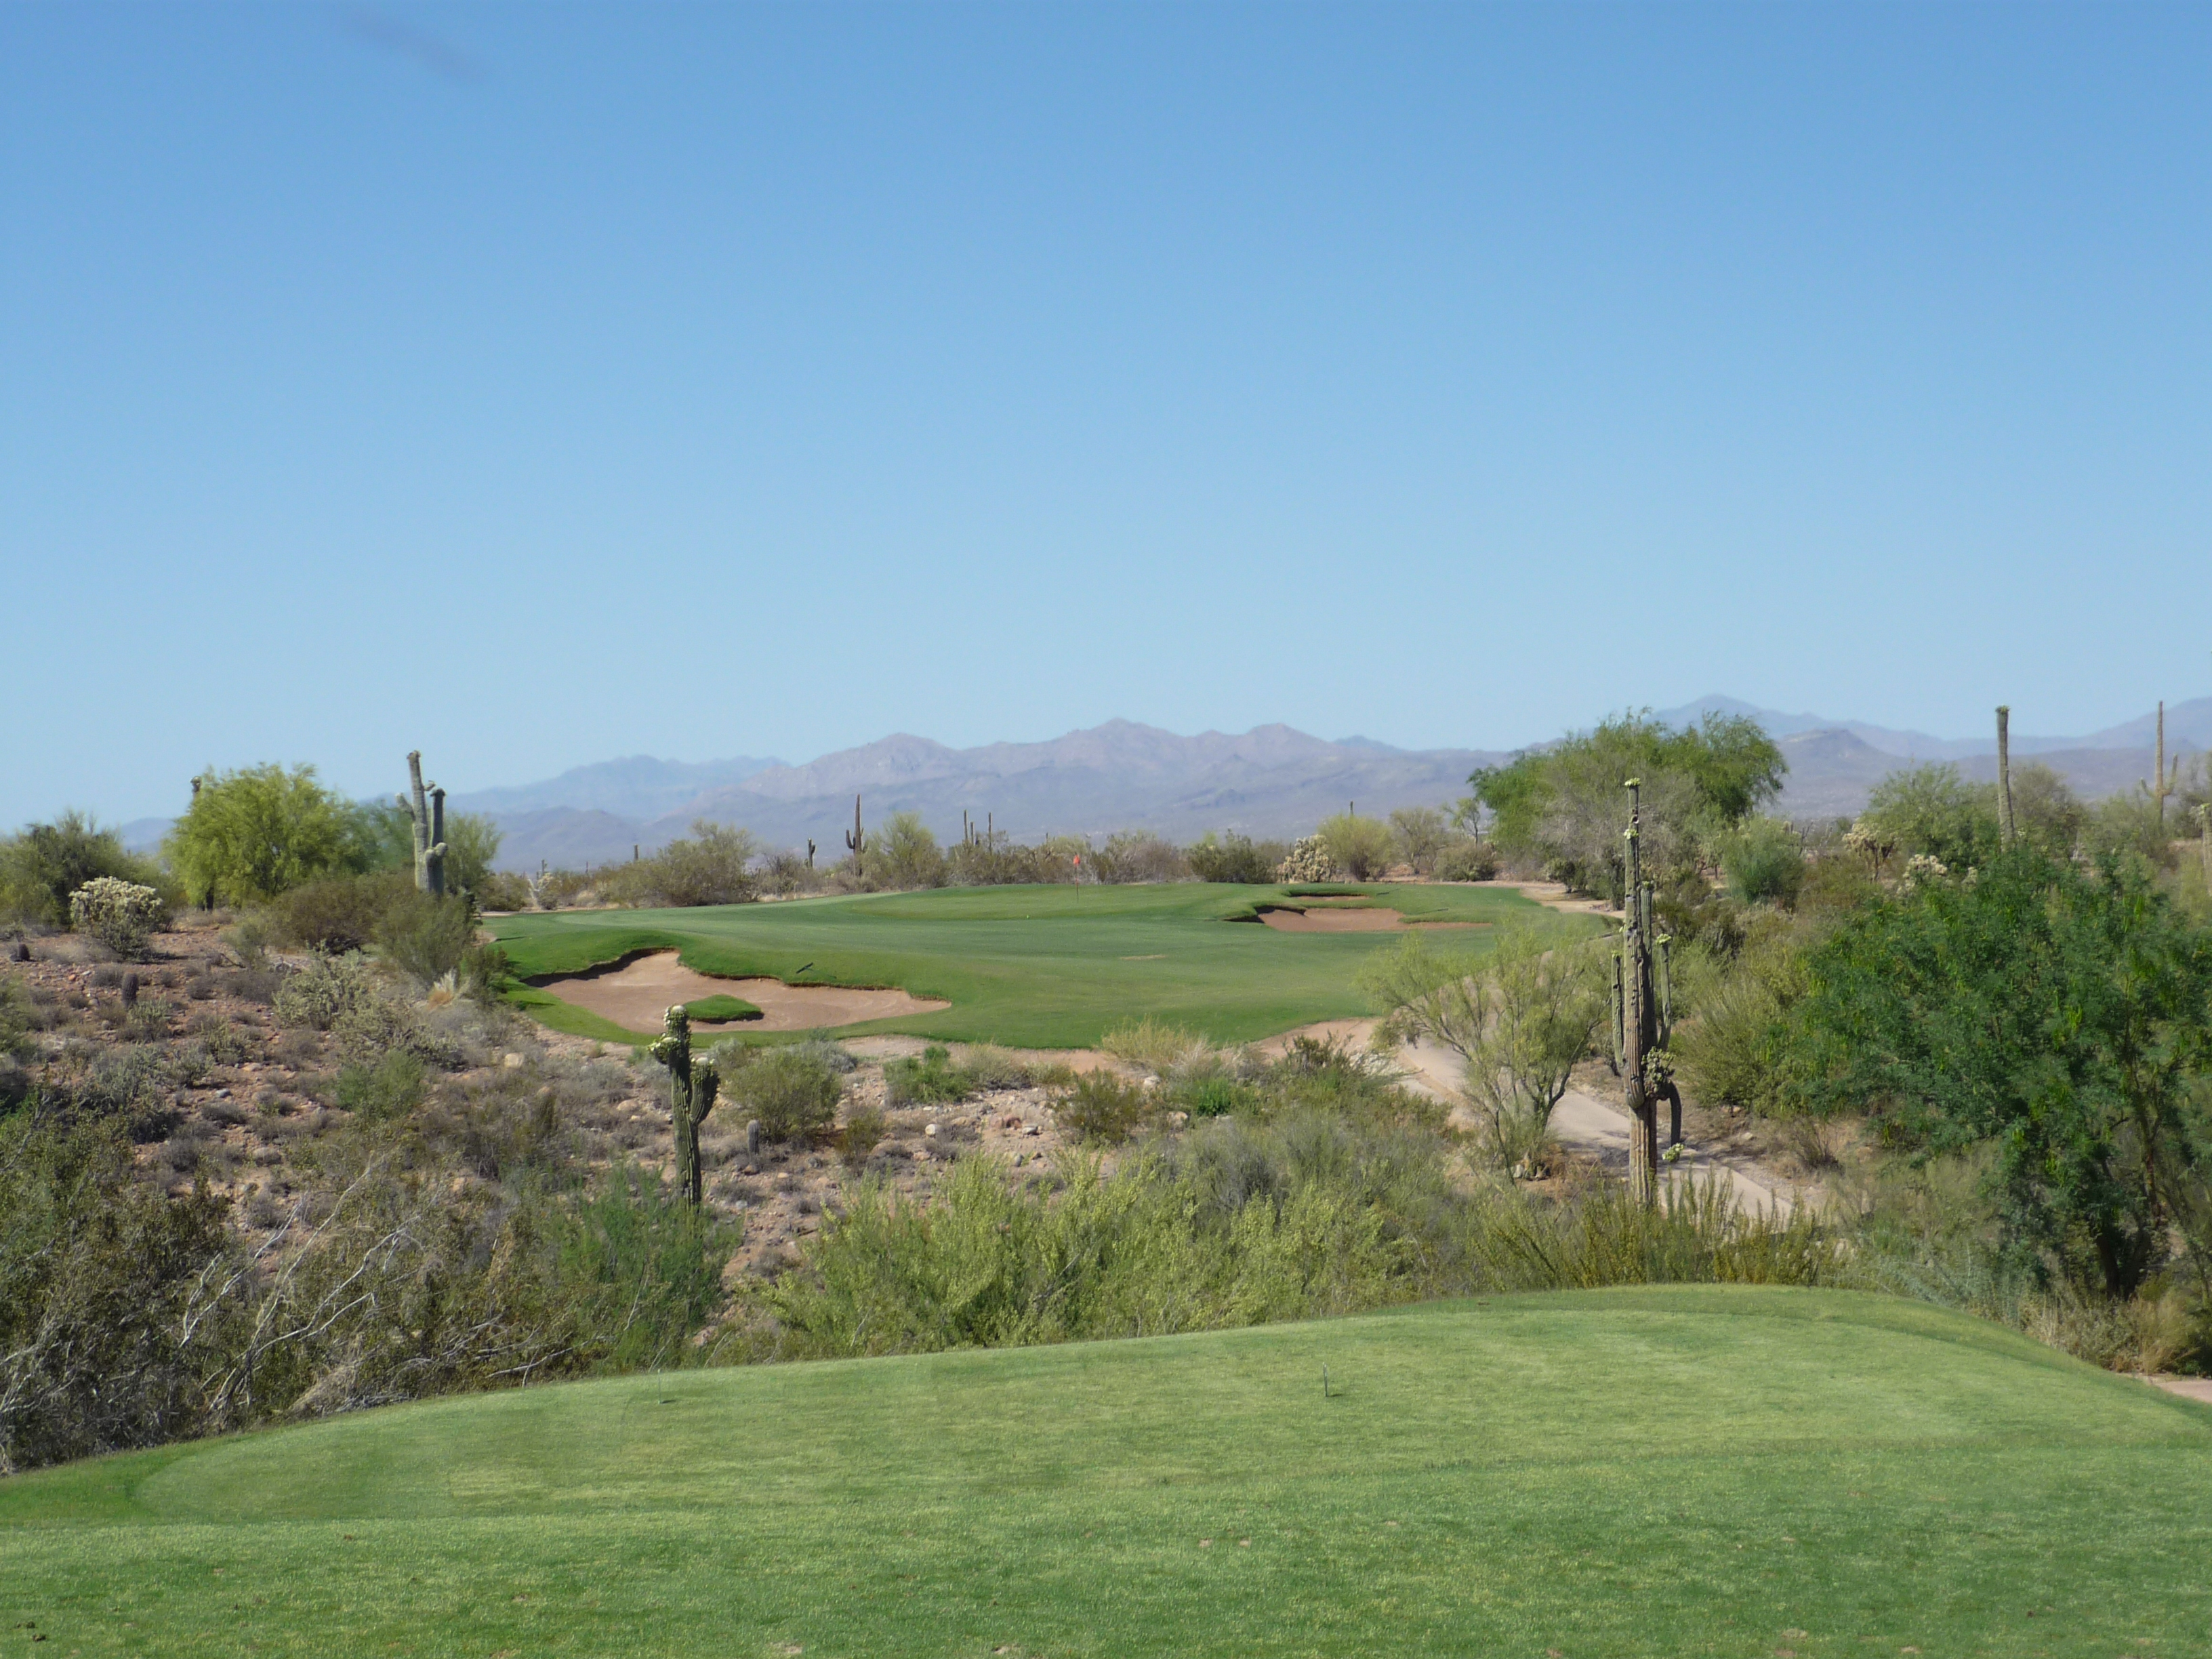
Hole 2 – 299 yards – Par 4
The C&C crew love a driveable par 4. This one can be done and is set up to entice you. The fairway is plenty wide and the green is open in front.
Here is a view of the approach when you take less club off the tee.
The green is pretty flat, which is welcoming to those going for it. Bunkers are present on the right side, but cannot be seen from this angle.
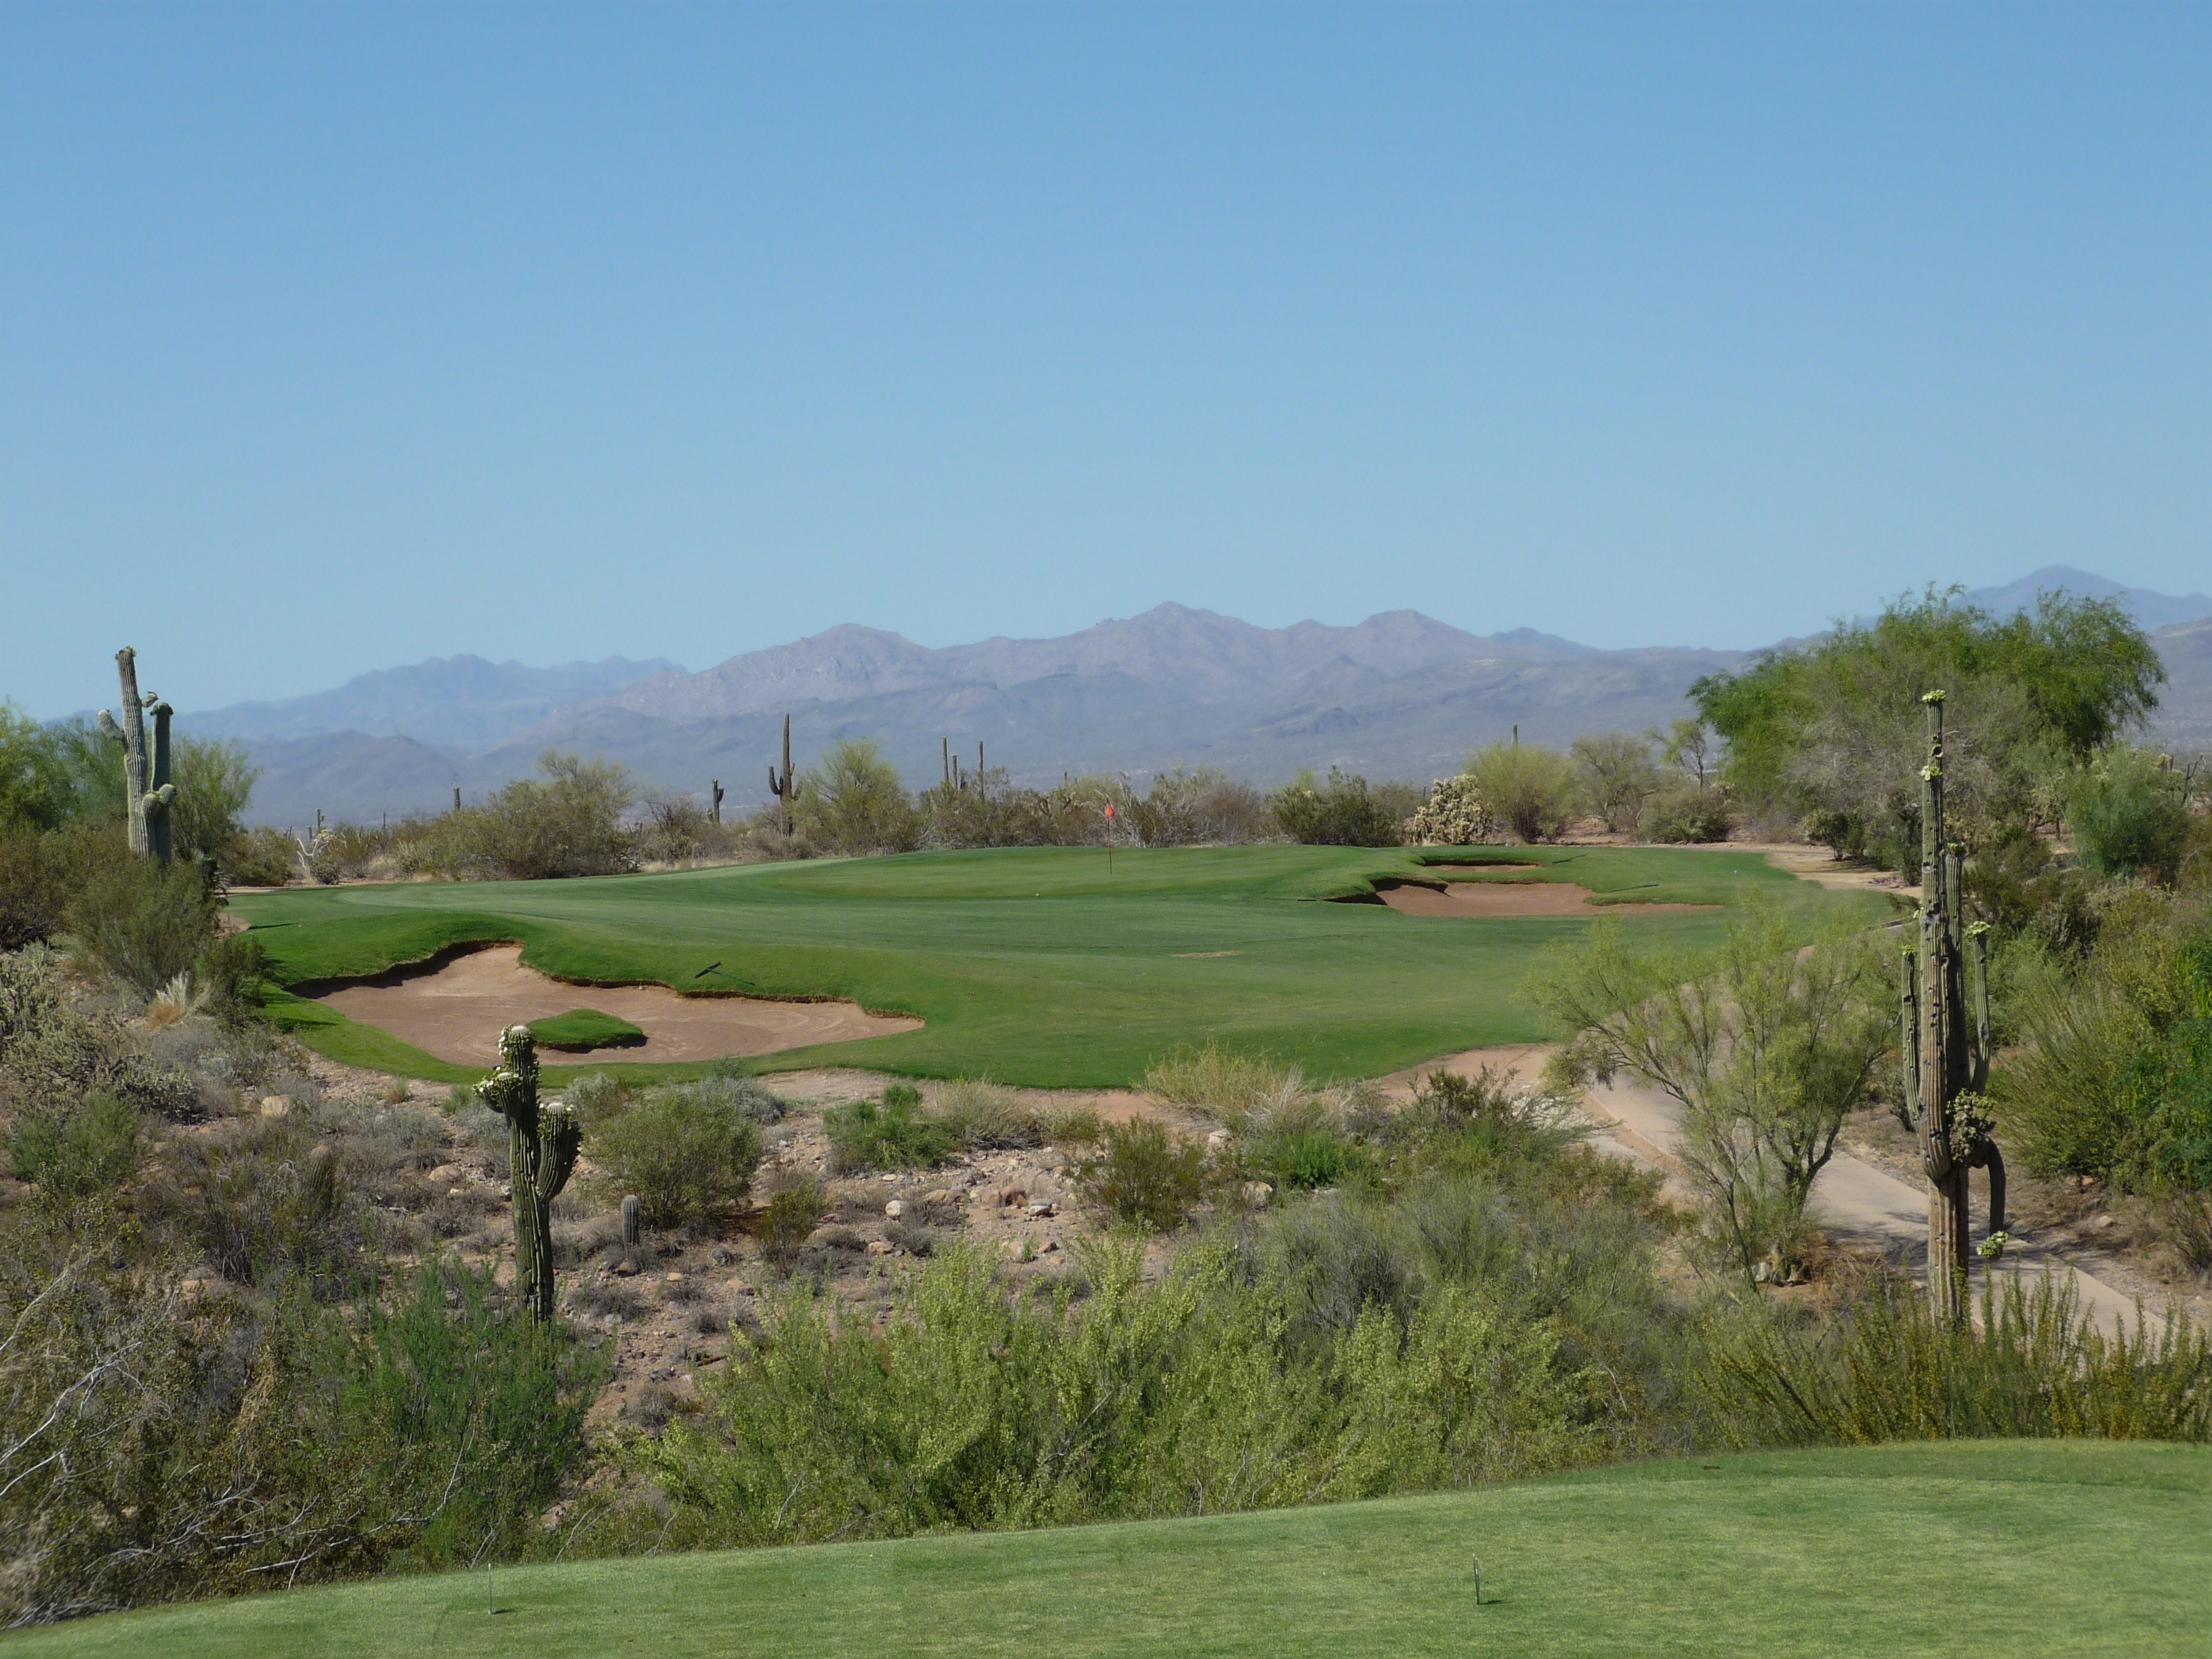
Hole 3 – 383 yards – Par 4
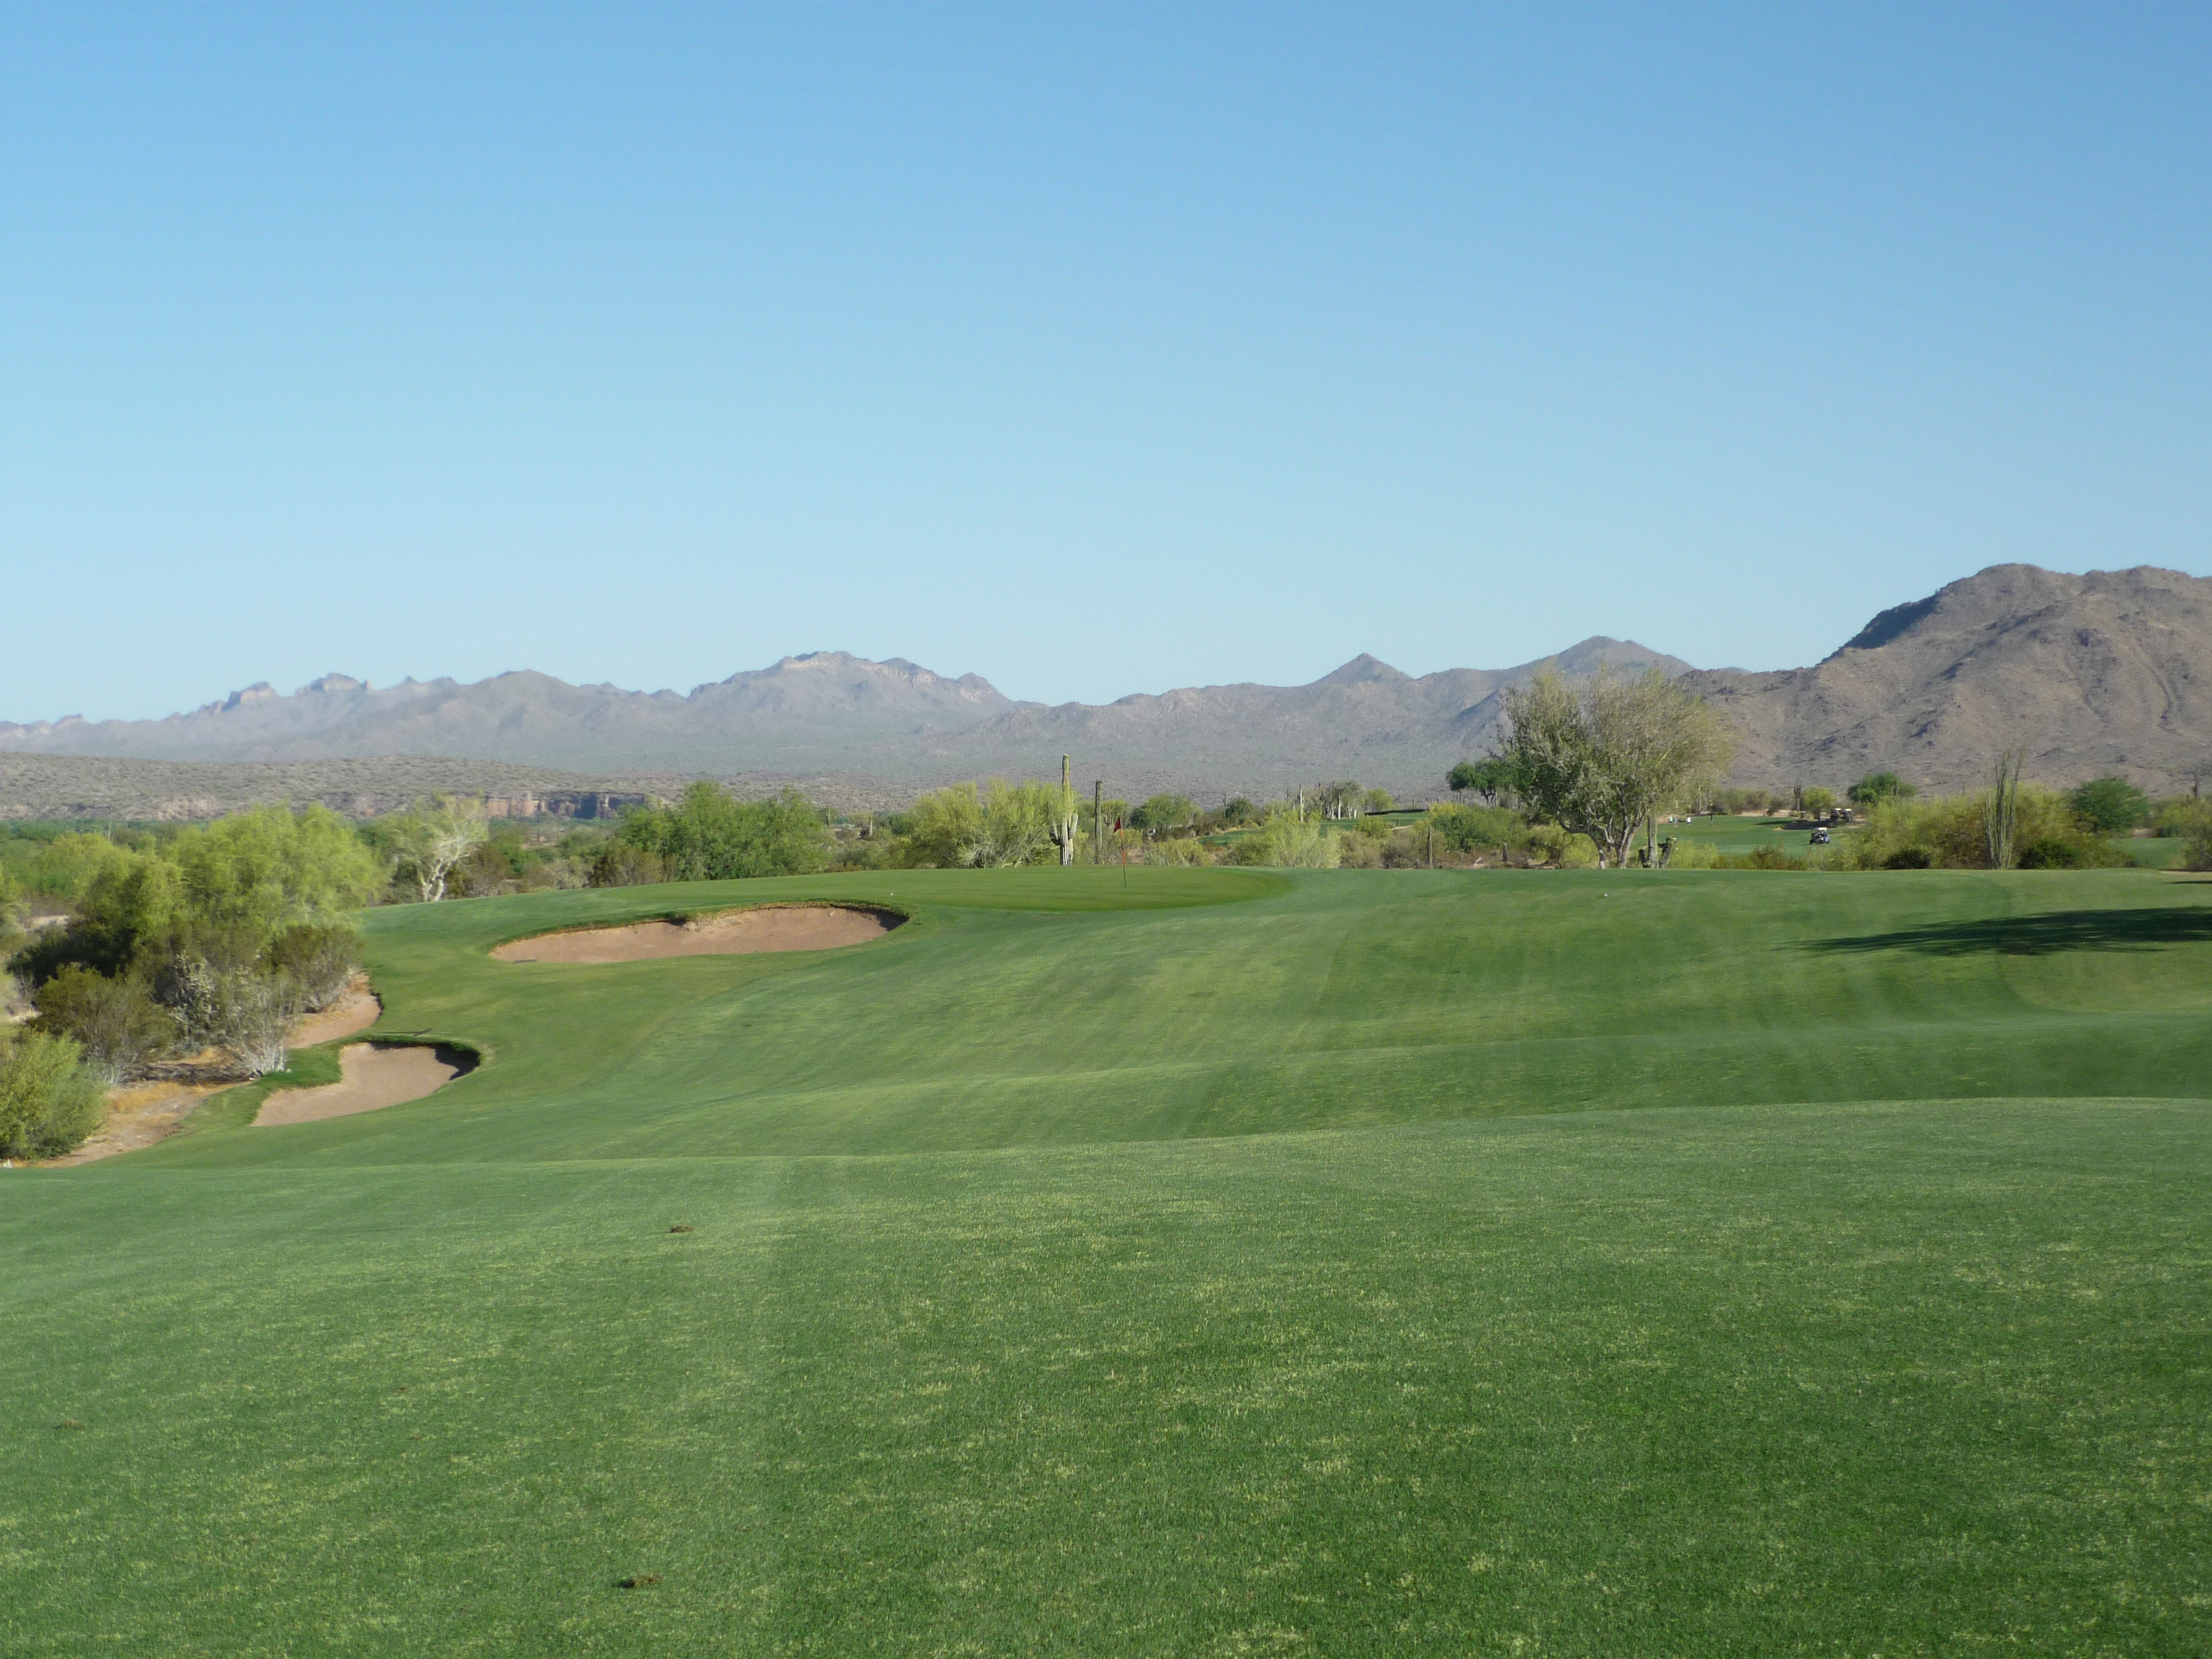
The third is a big dogleg to the left. An ample fairway calls for a draw to shorten the hole as much as you can. If you go through the fairway on the right there is a fairway bunker waiting.
As you round the corner the green comes into view. Two front bunkers sit on each side of the green with a run up area between them.
Below is the green from the right. There’s not too much undulation.
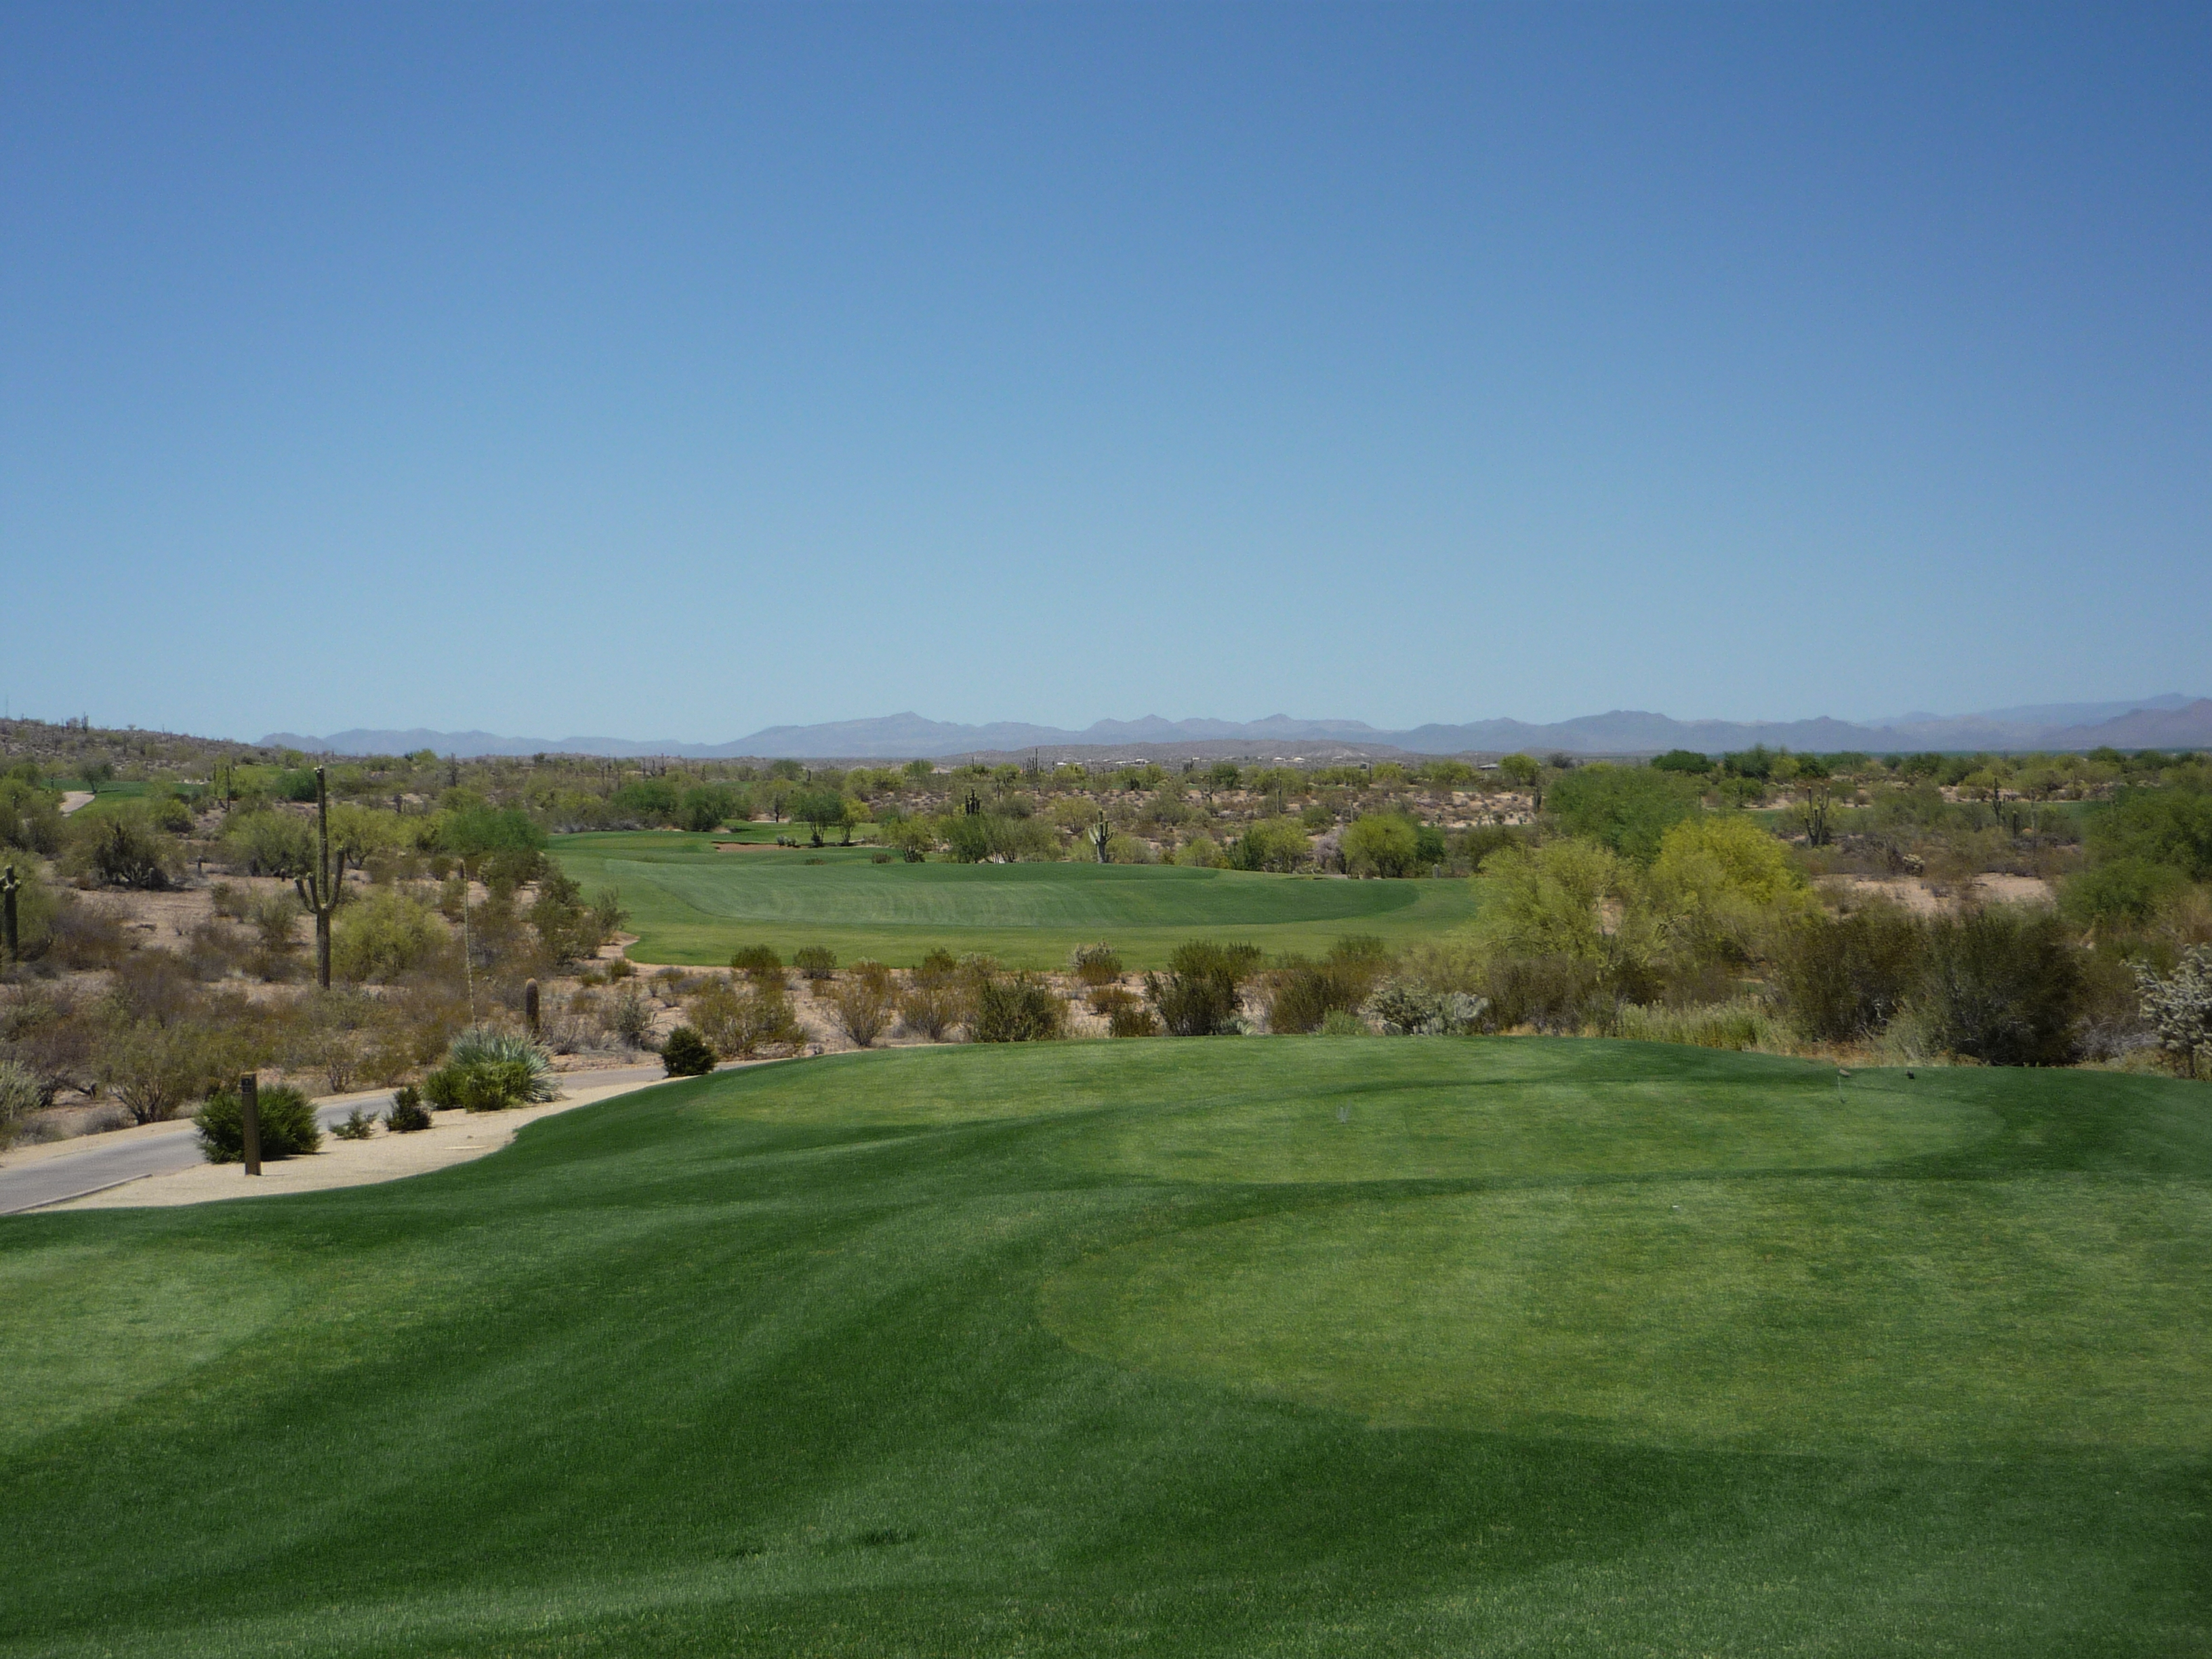
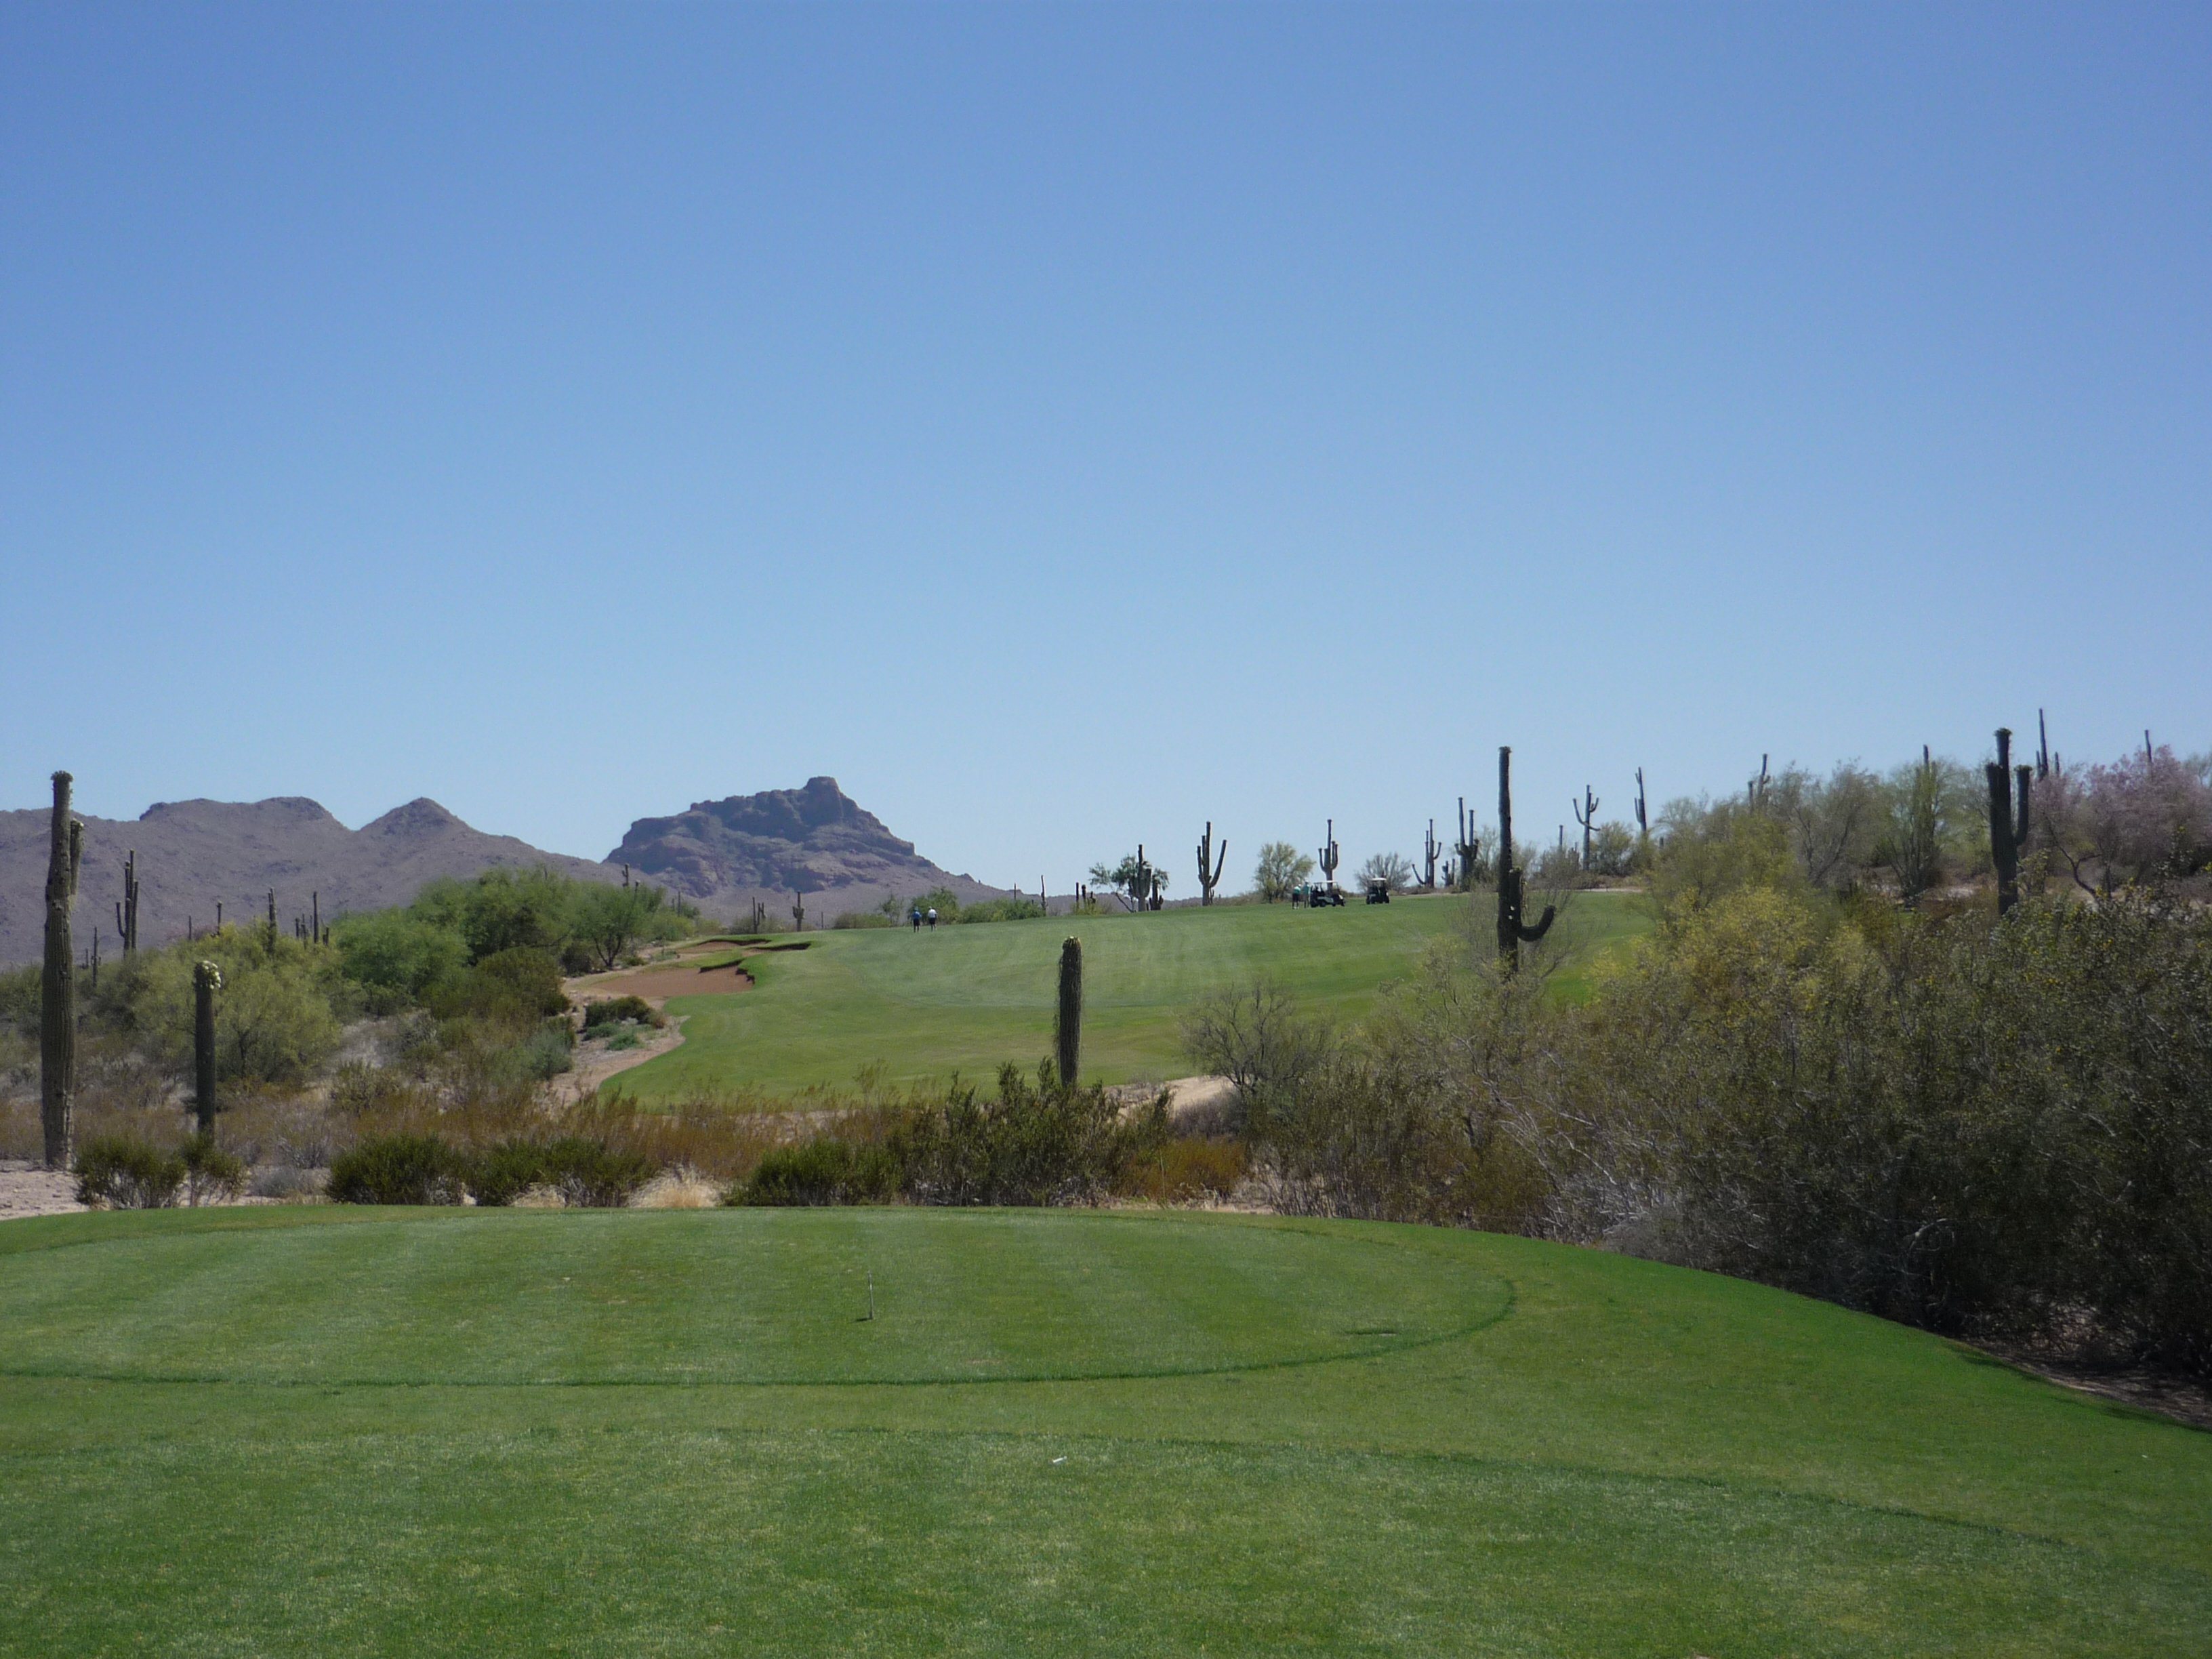
Hole 4 – 609 yards – Par 5
You can let it all out here. At over 600 yards, driver is the play. There is a down-slope in the fairway that will add some roll if reached.

Here is a look at the second shot. You can make out the hill I mentioned a few yards ahead of this spot.
The green is bordered by a single bunker, but features runoffs on multiple sides. It is on the smaller side as the intent is to approach it with a short club.

Hole 5 – 159 yards – Par 3
The tee shot here goes over a desert wash that isn’t really in play. The front bunkers are a different story.
As seen below, the green has a false front and subtle internal contouring. You have to focus on these putts.

Hole 6 – 406 yards – Par 4
This is a visually tough driving hole. It is a slight dogleg that plays uphill off the tee. An aggressive line is just right of the bunkers on the left.
The approach plays to a green that is not protected by anything except slope. The left side does run away towards the desert though and is not the preferred side to miss.
The green has a slight turtleback quality to it. Notice the tightly mown areas around the putting surface. This presents plenty of options for short game shots.
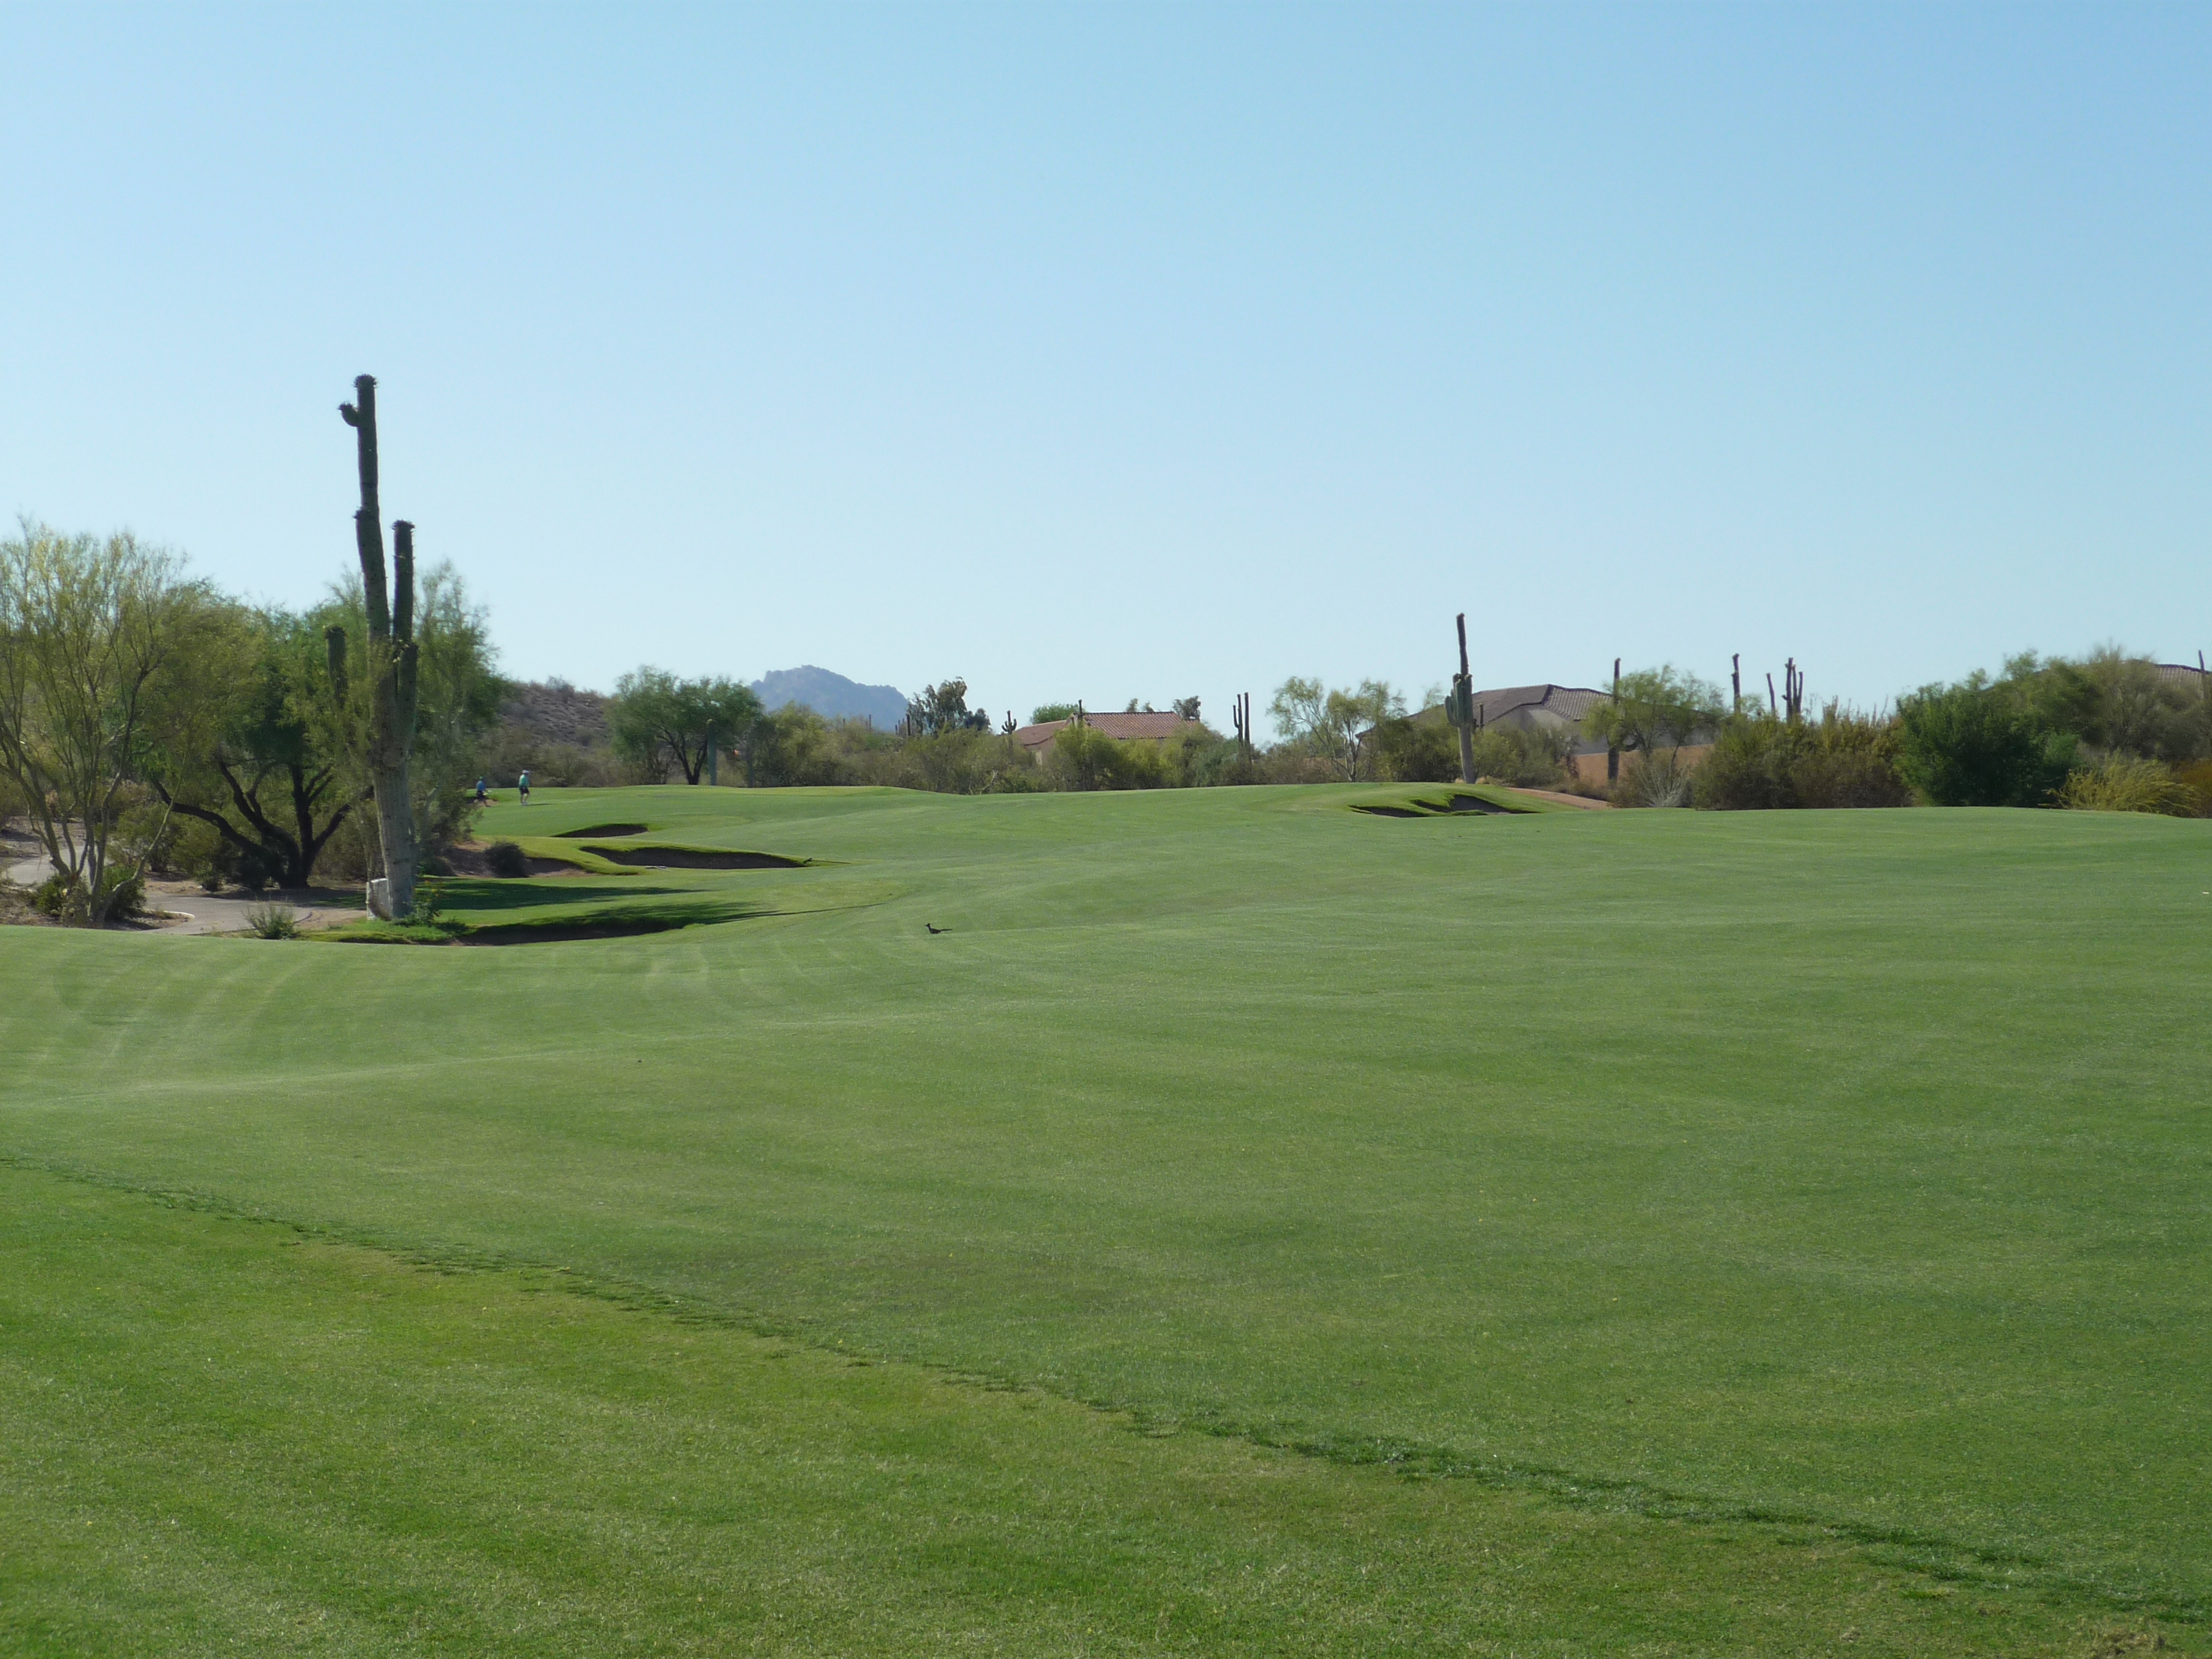
Hole 7 – 305 yards – Par 4
Driver is not necessary here. You play to a raised fairway that tilts from right to left. If going for the green, beware of two bunkers in front.
The approach is seen below. The green is where the two guys are standing past the two bunkers.
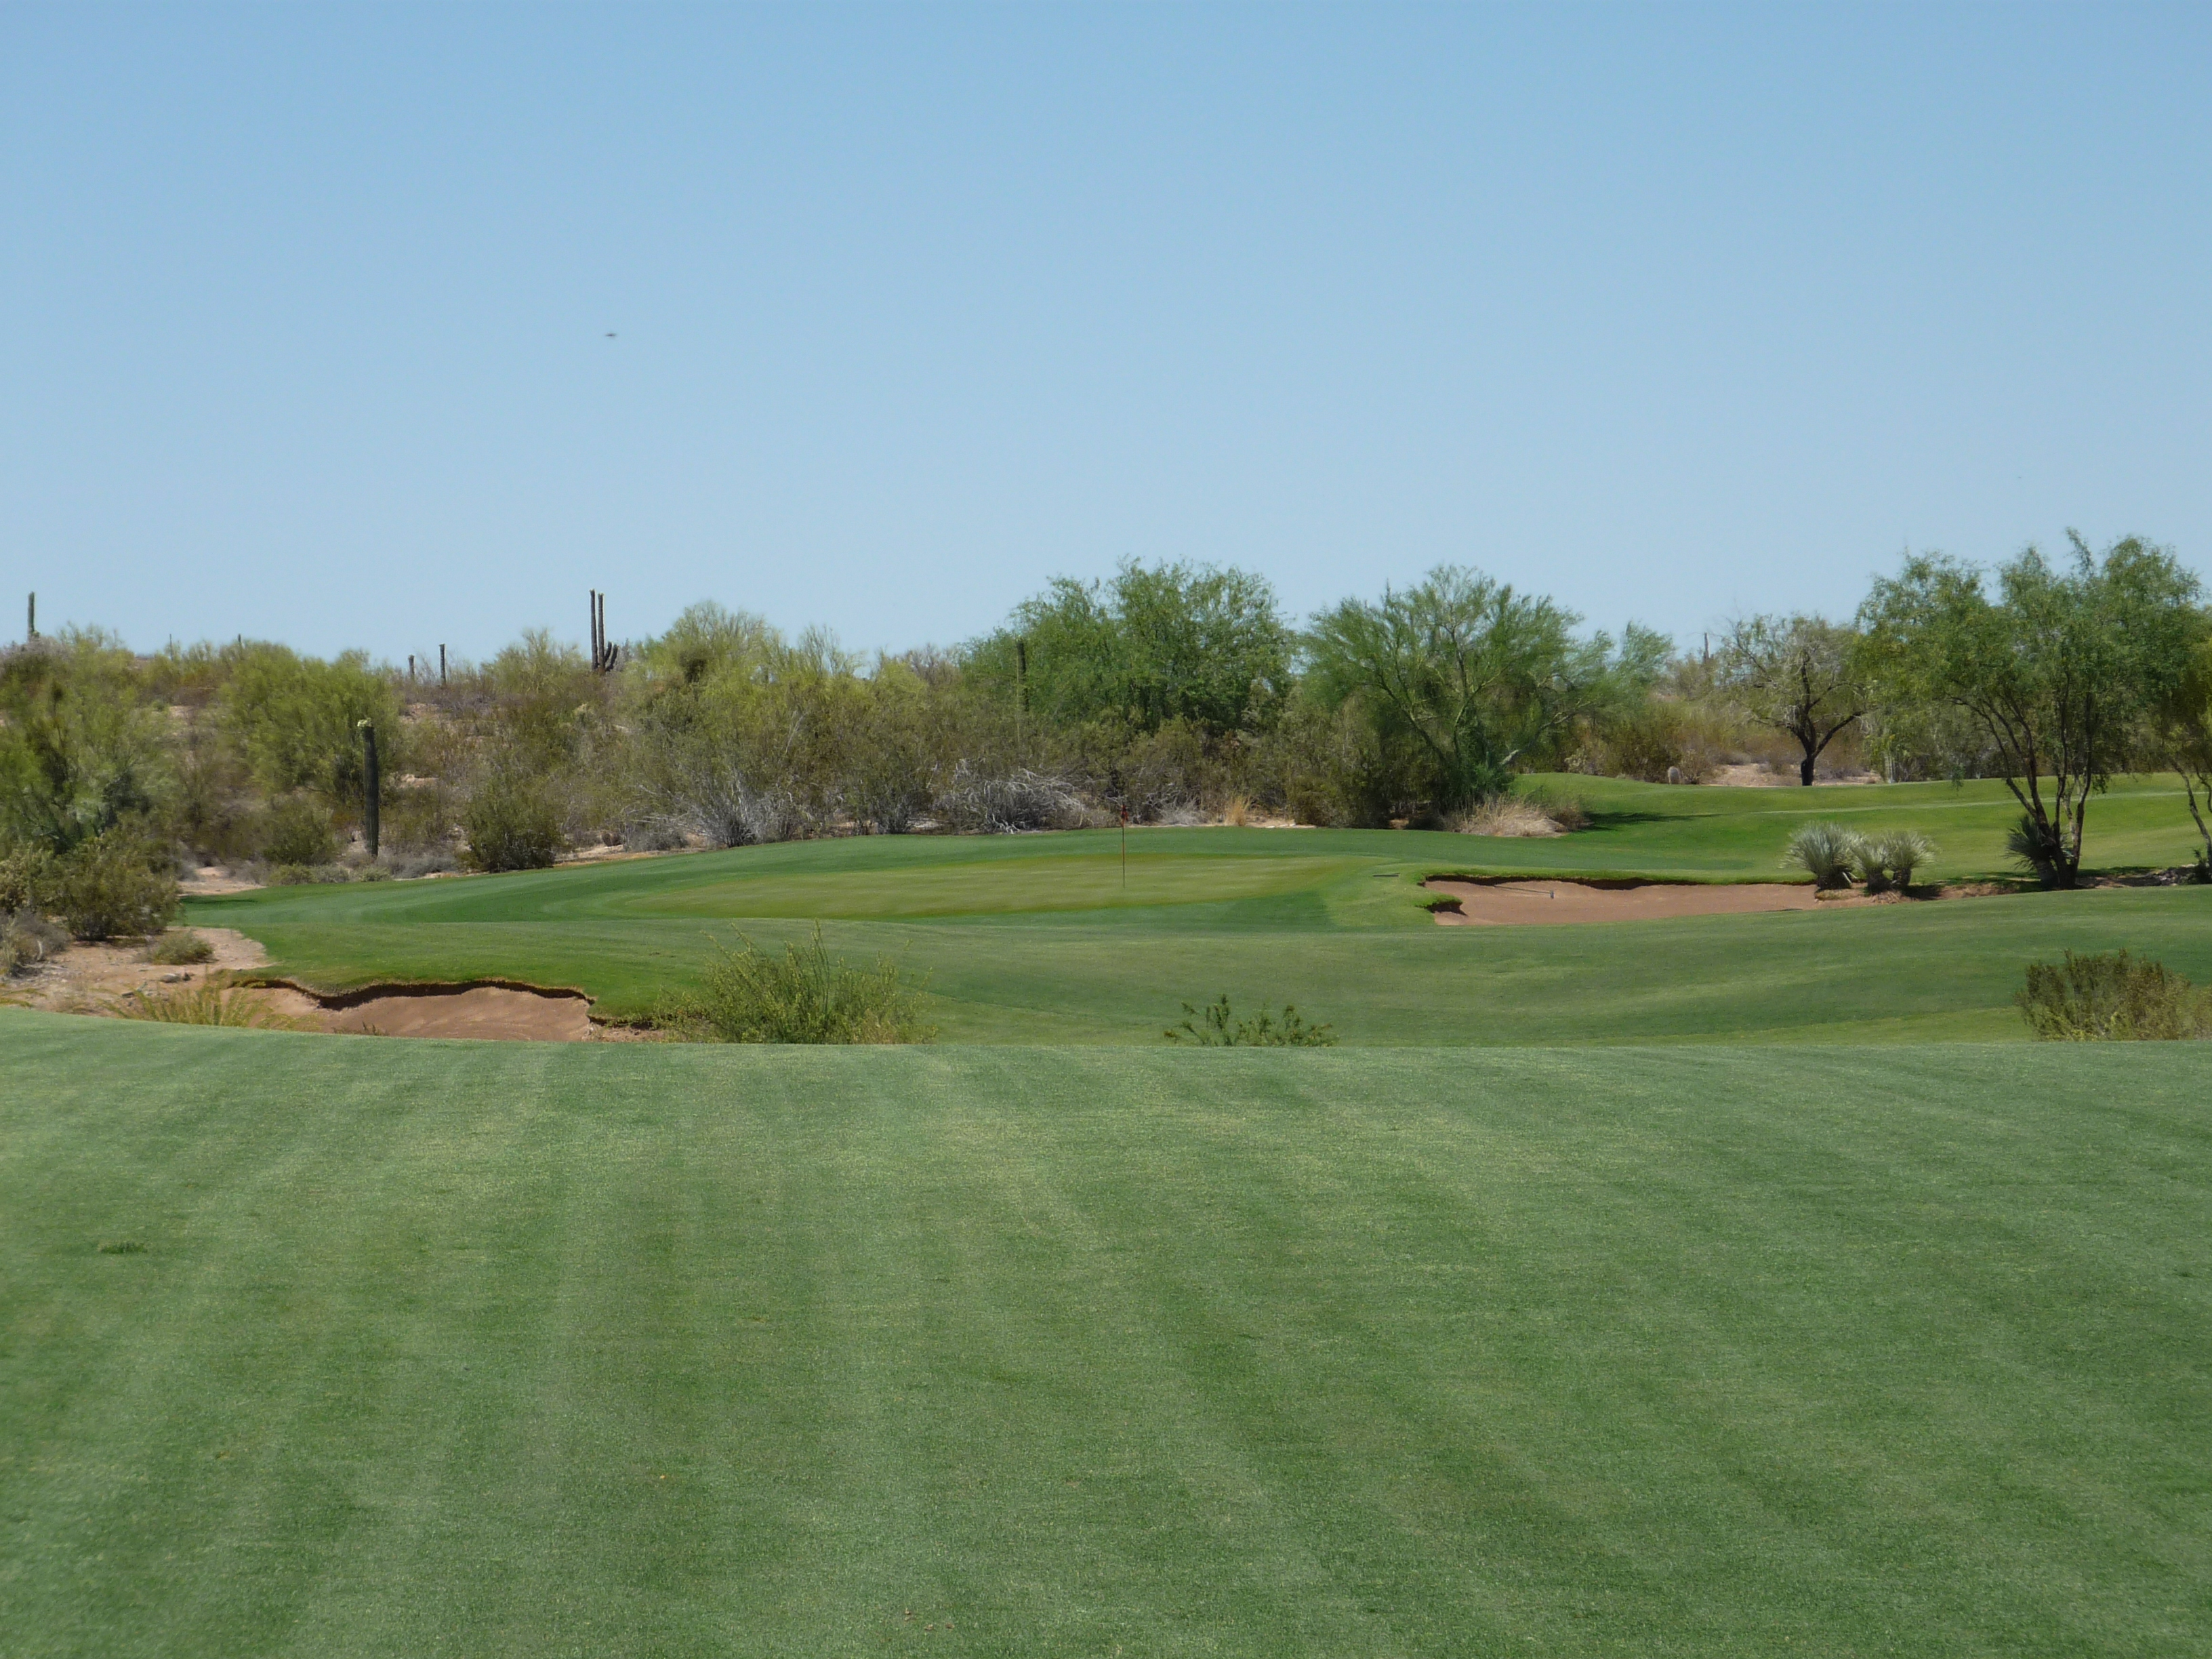
Hole 8 – 498 yards – Par 5
Birdie time here! This is reachable in two. A draw works best here to maximize distance.
Here is a look at the semi-blind second shot.
The shot into the green is open in the front. Veer offline and you will likely find a bunker.
This view from behind the green highlights the slopes you face when putting.
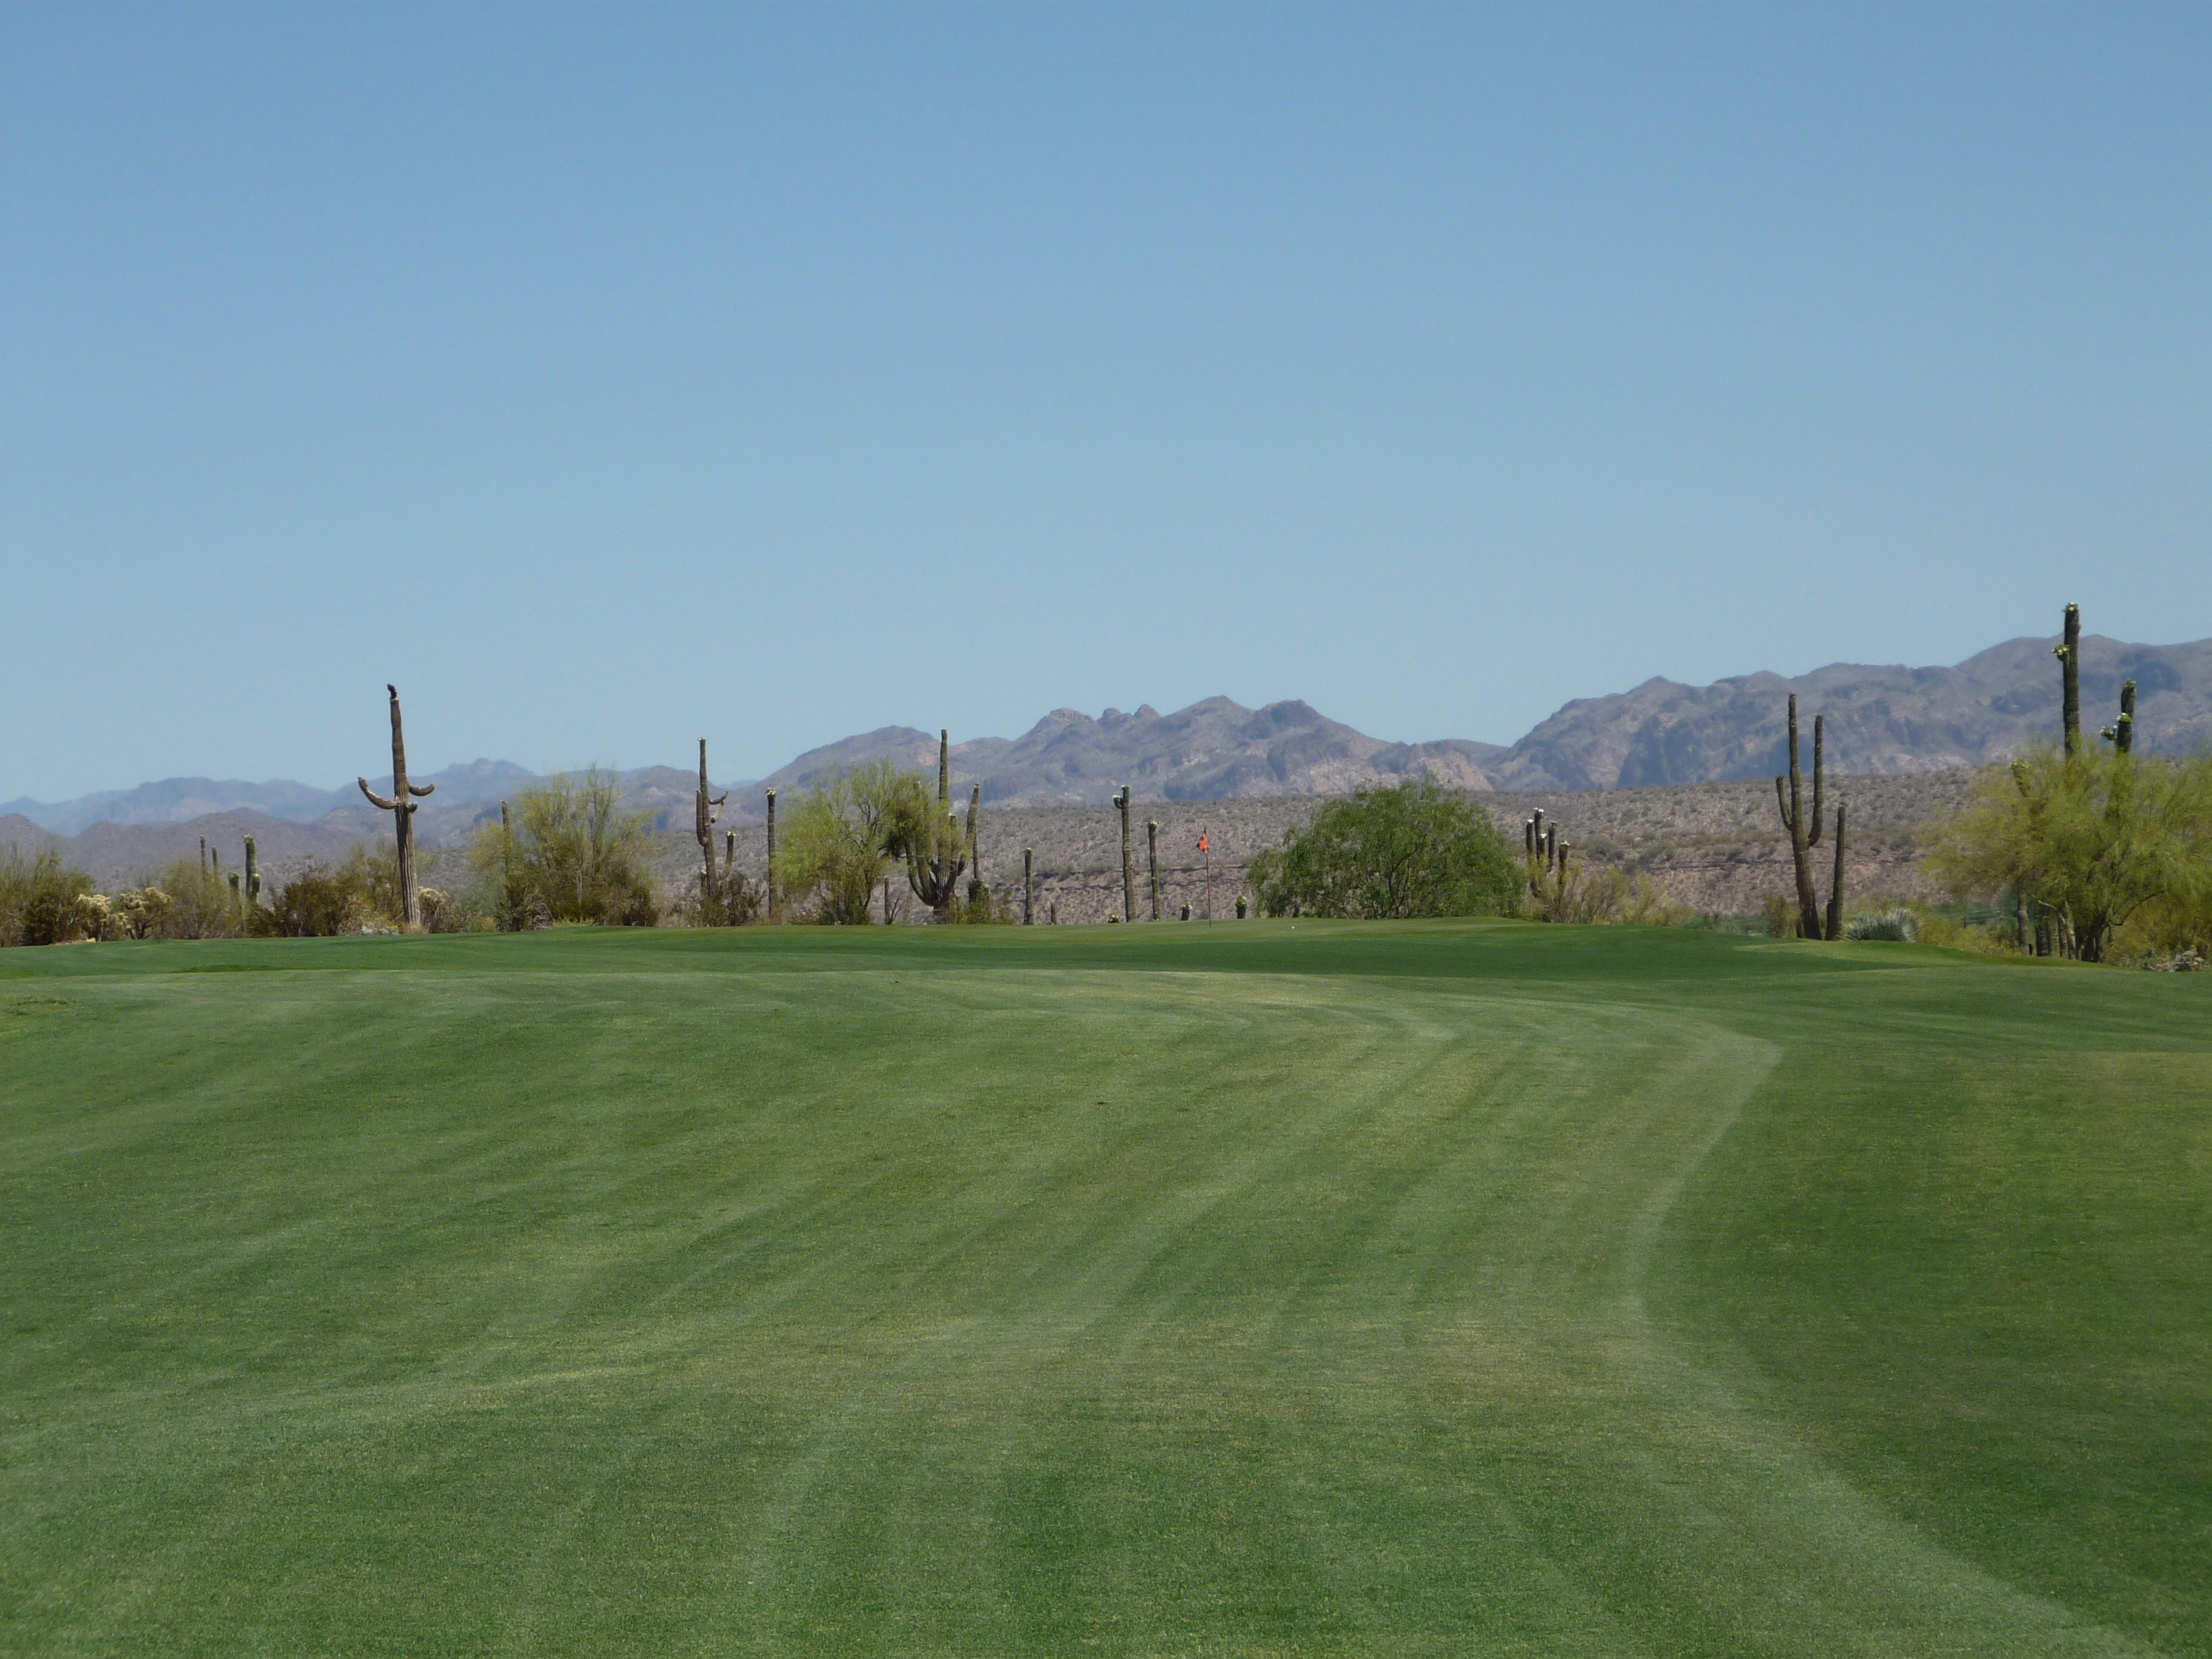
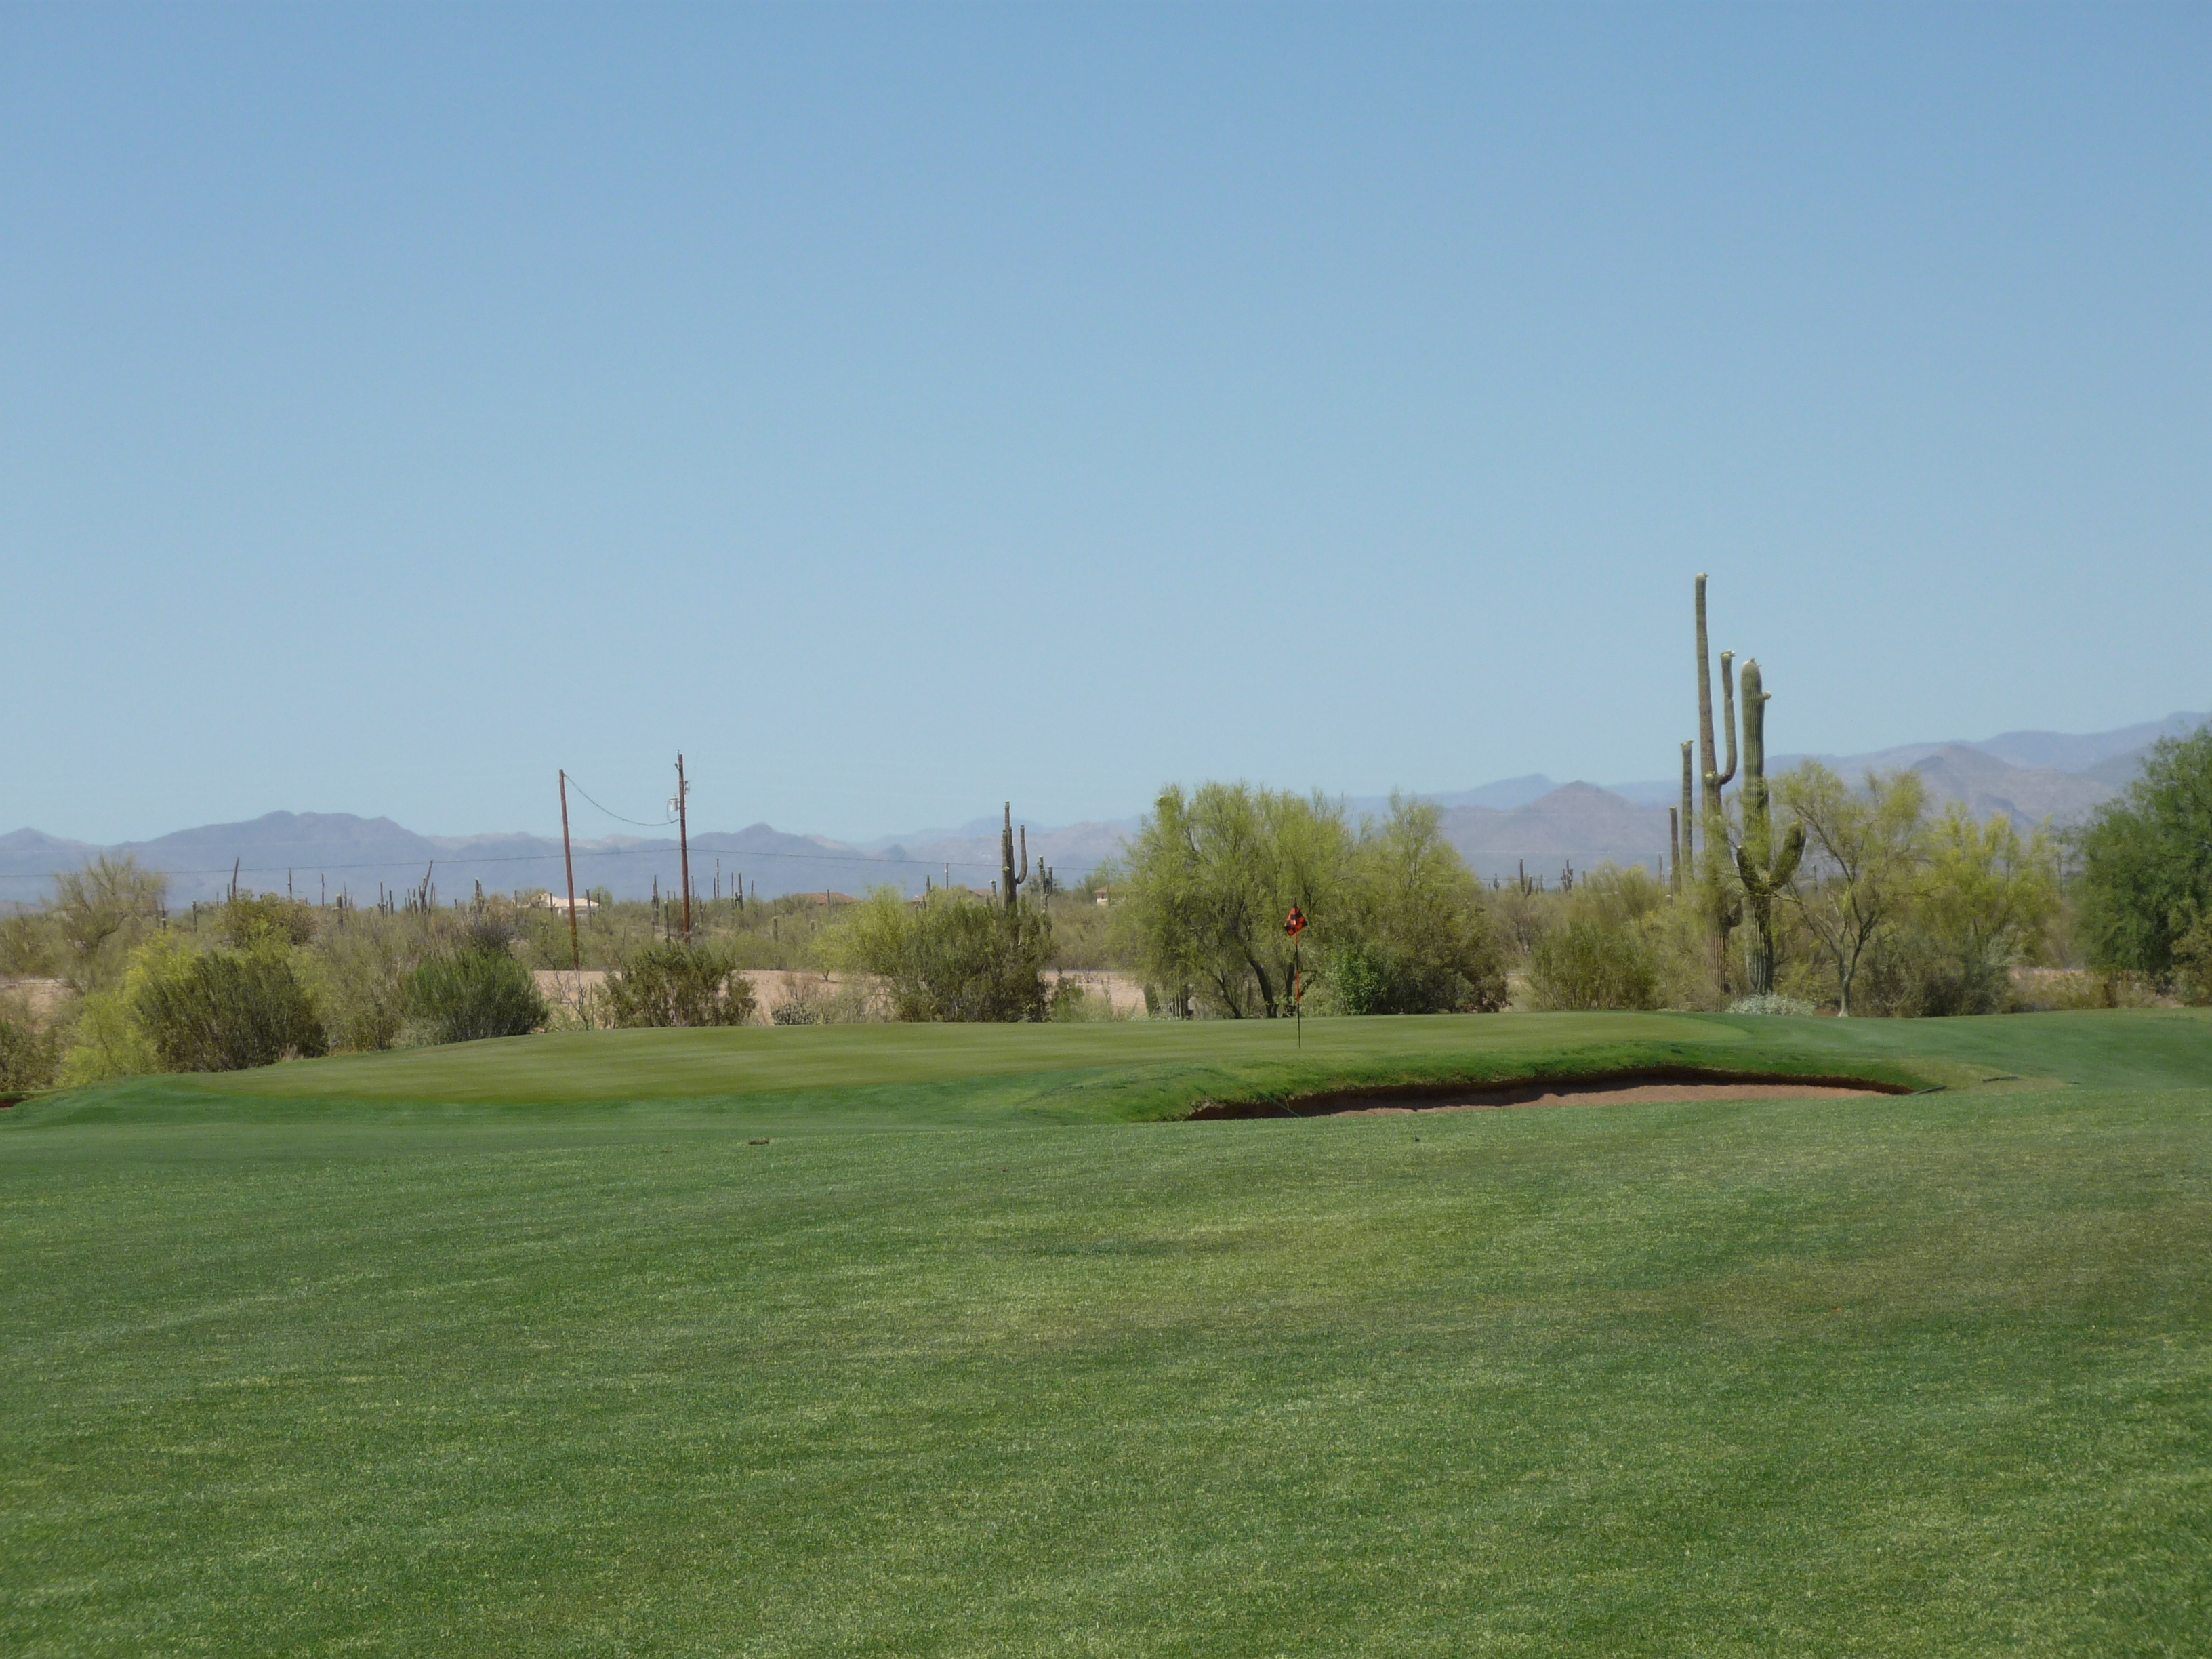
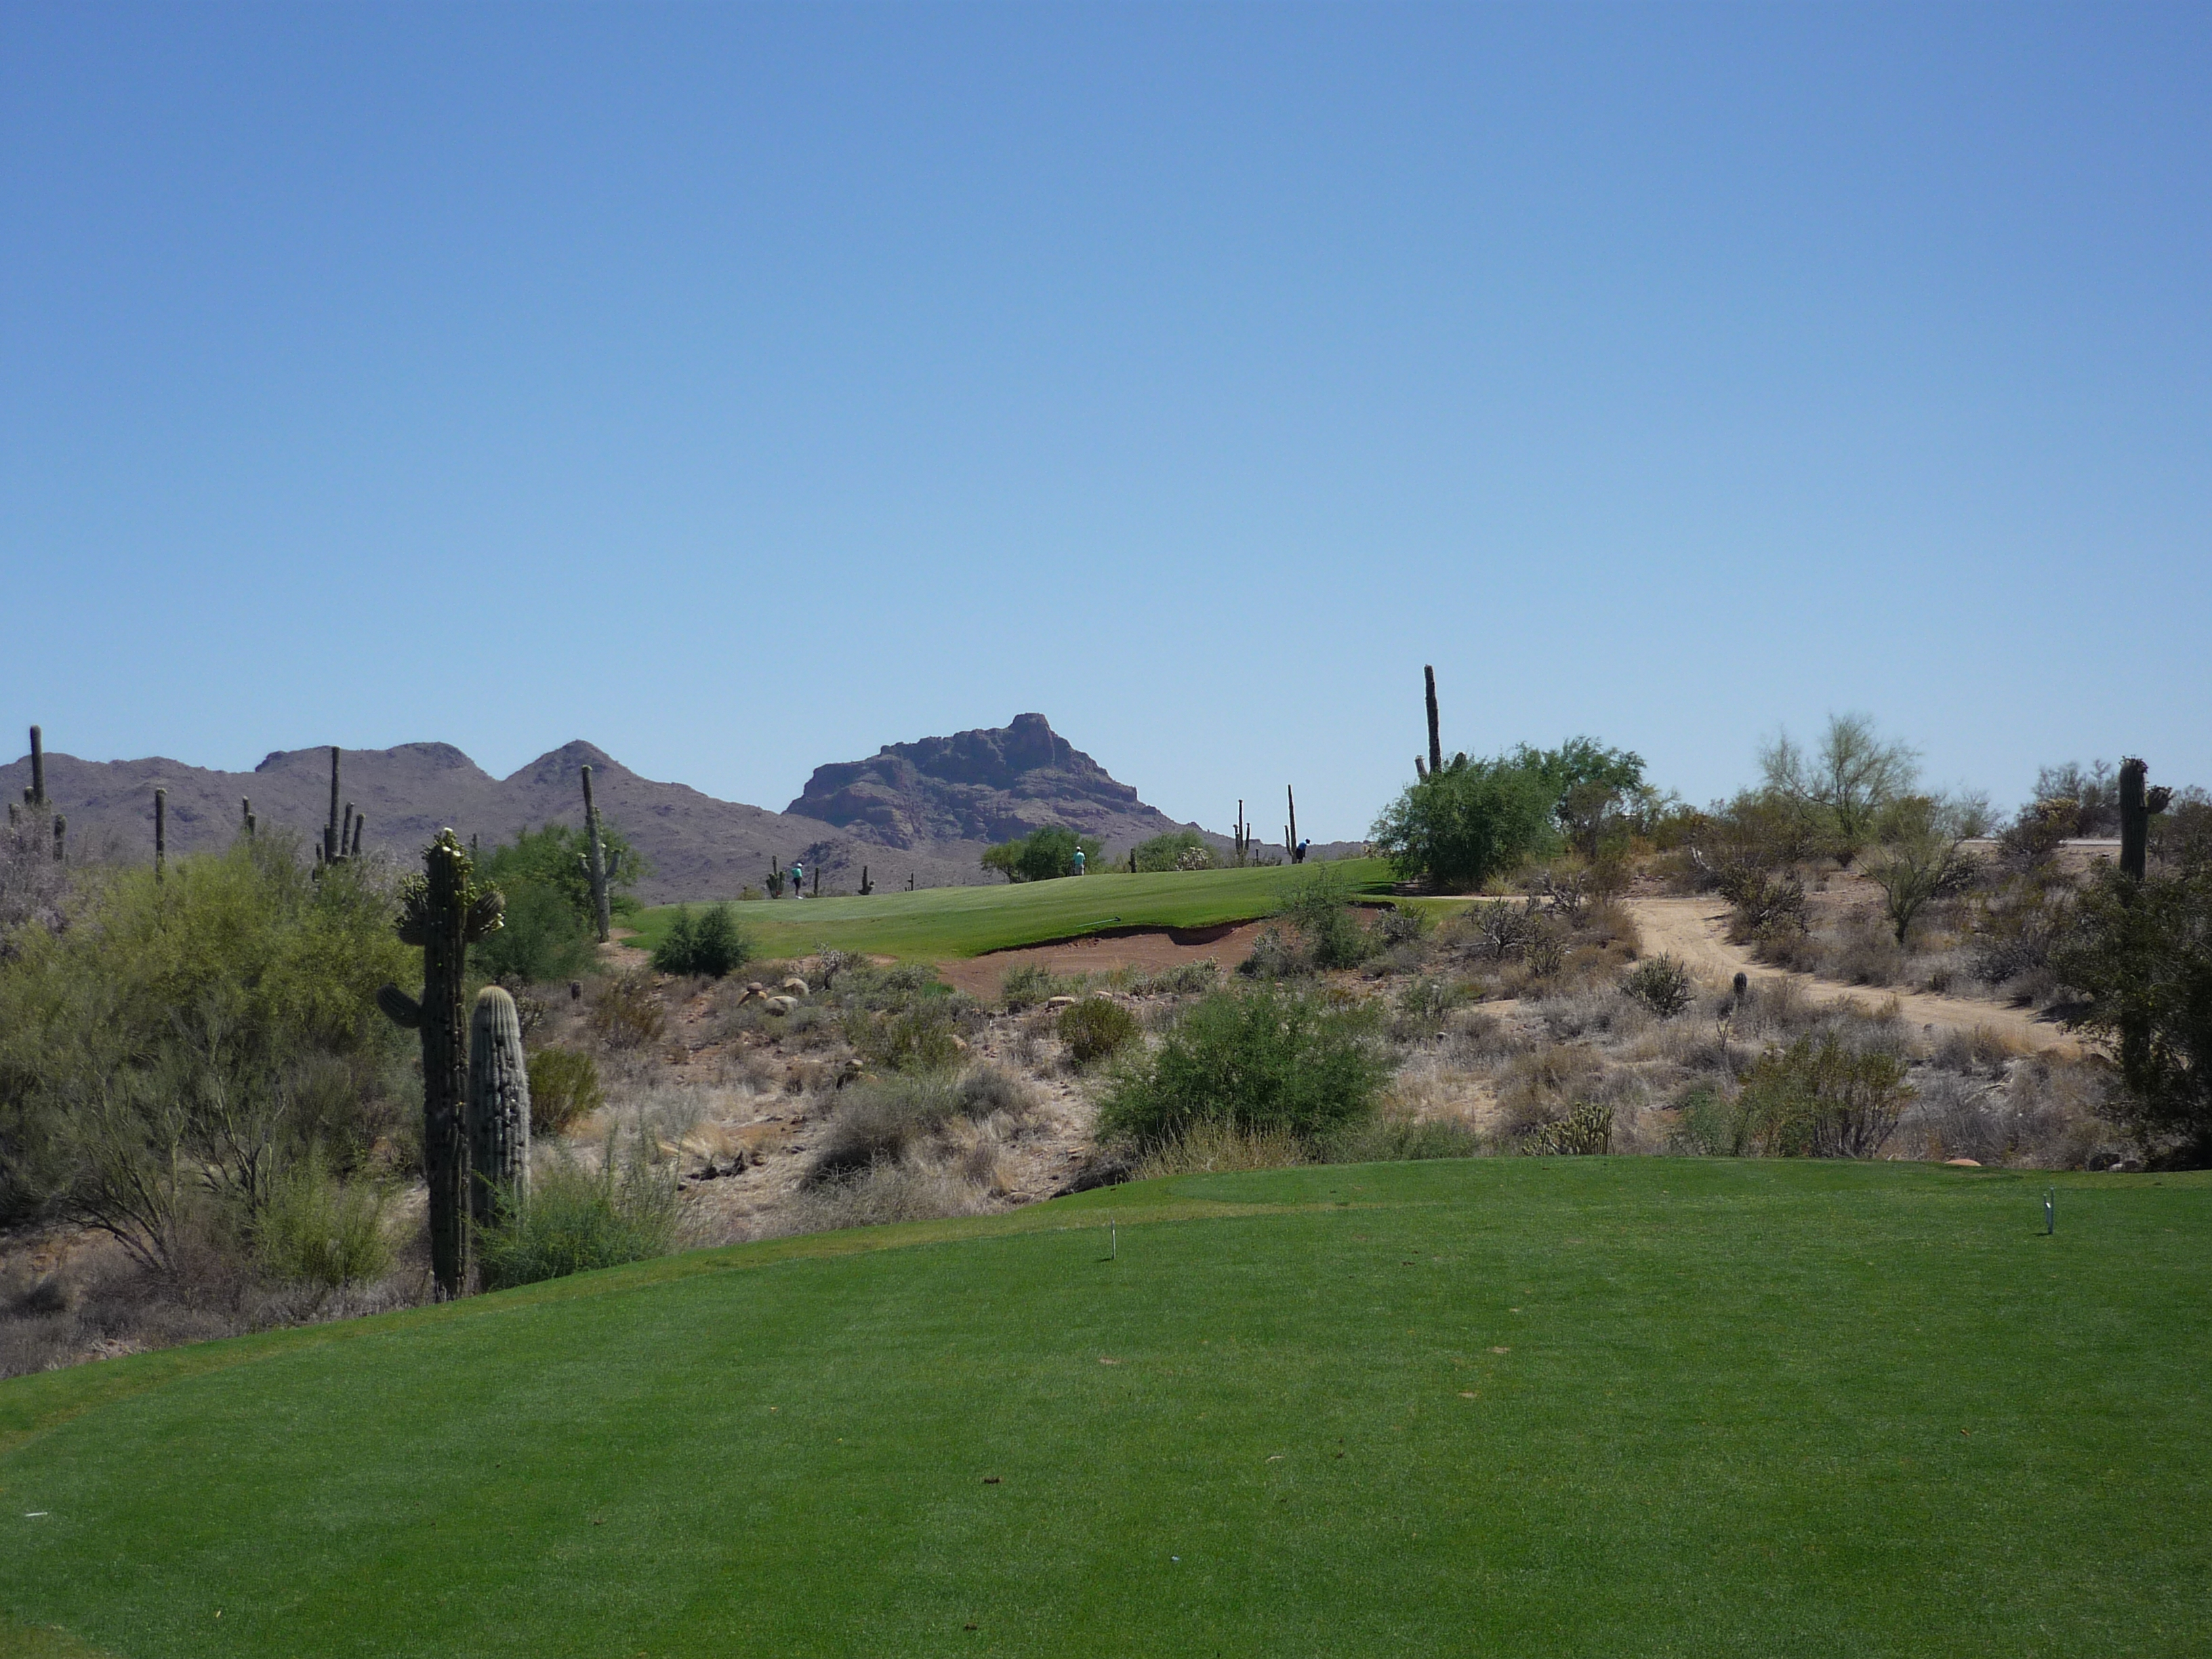
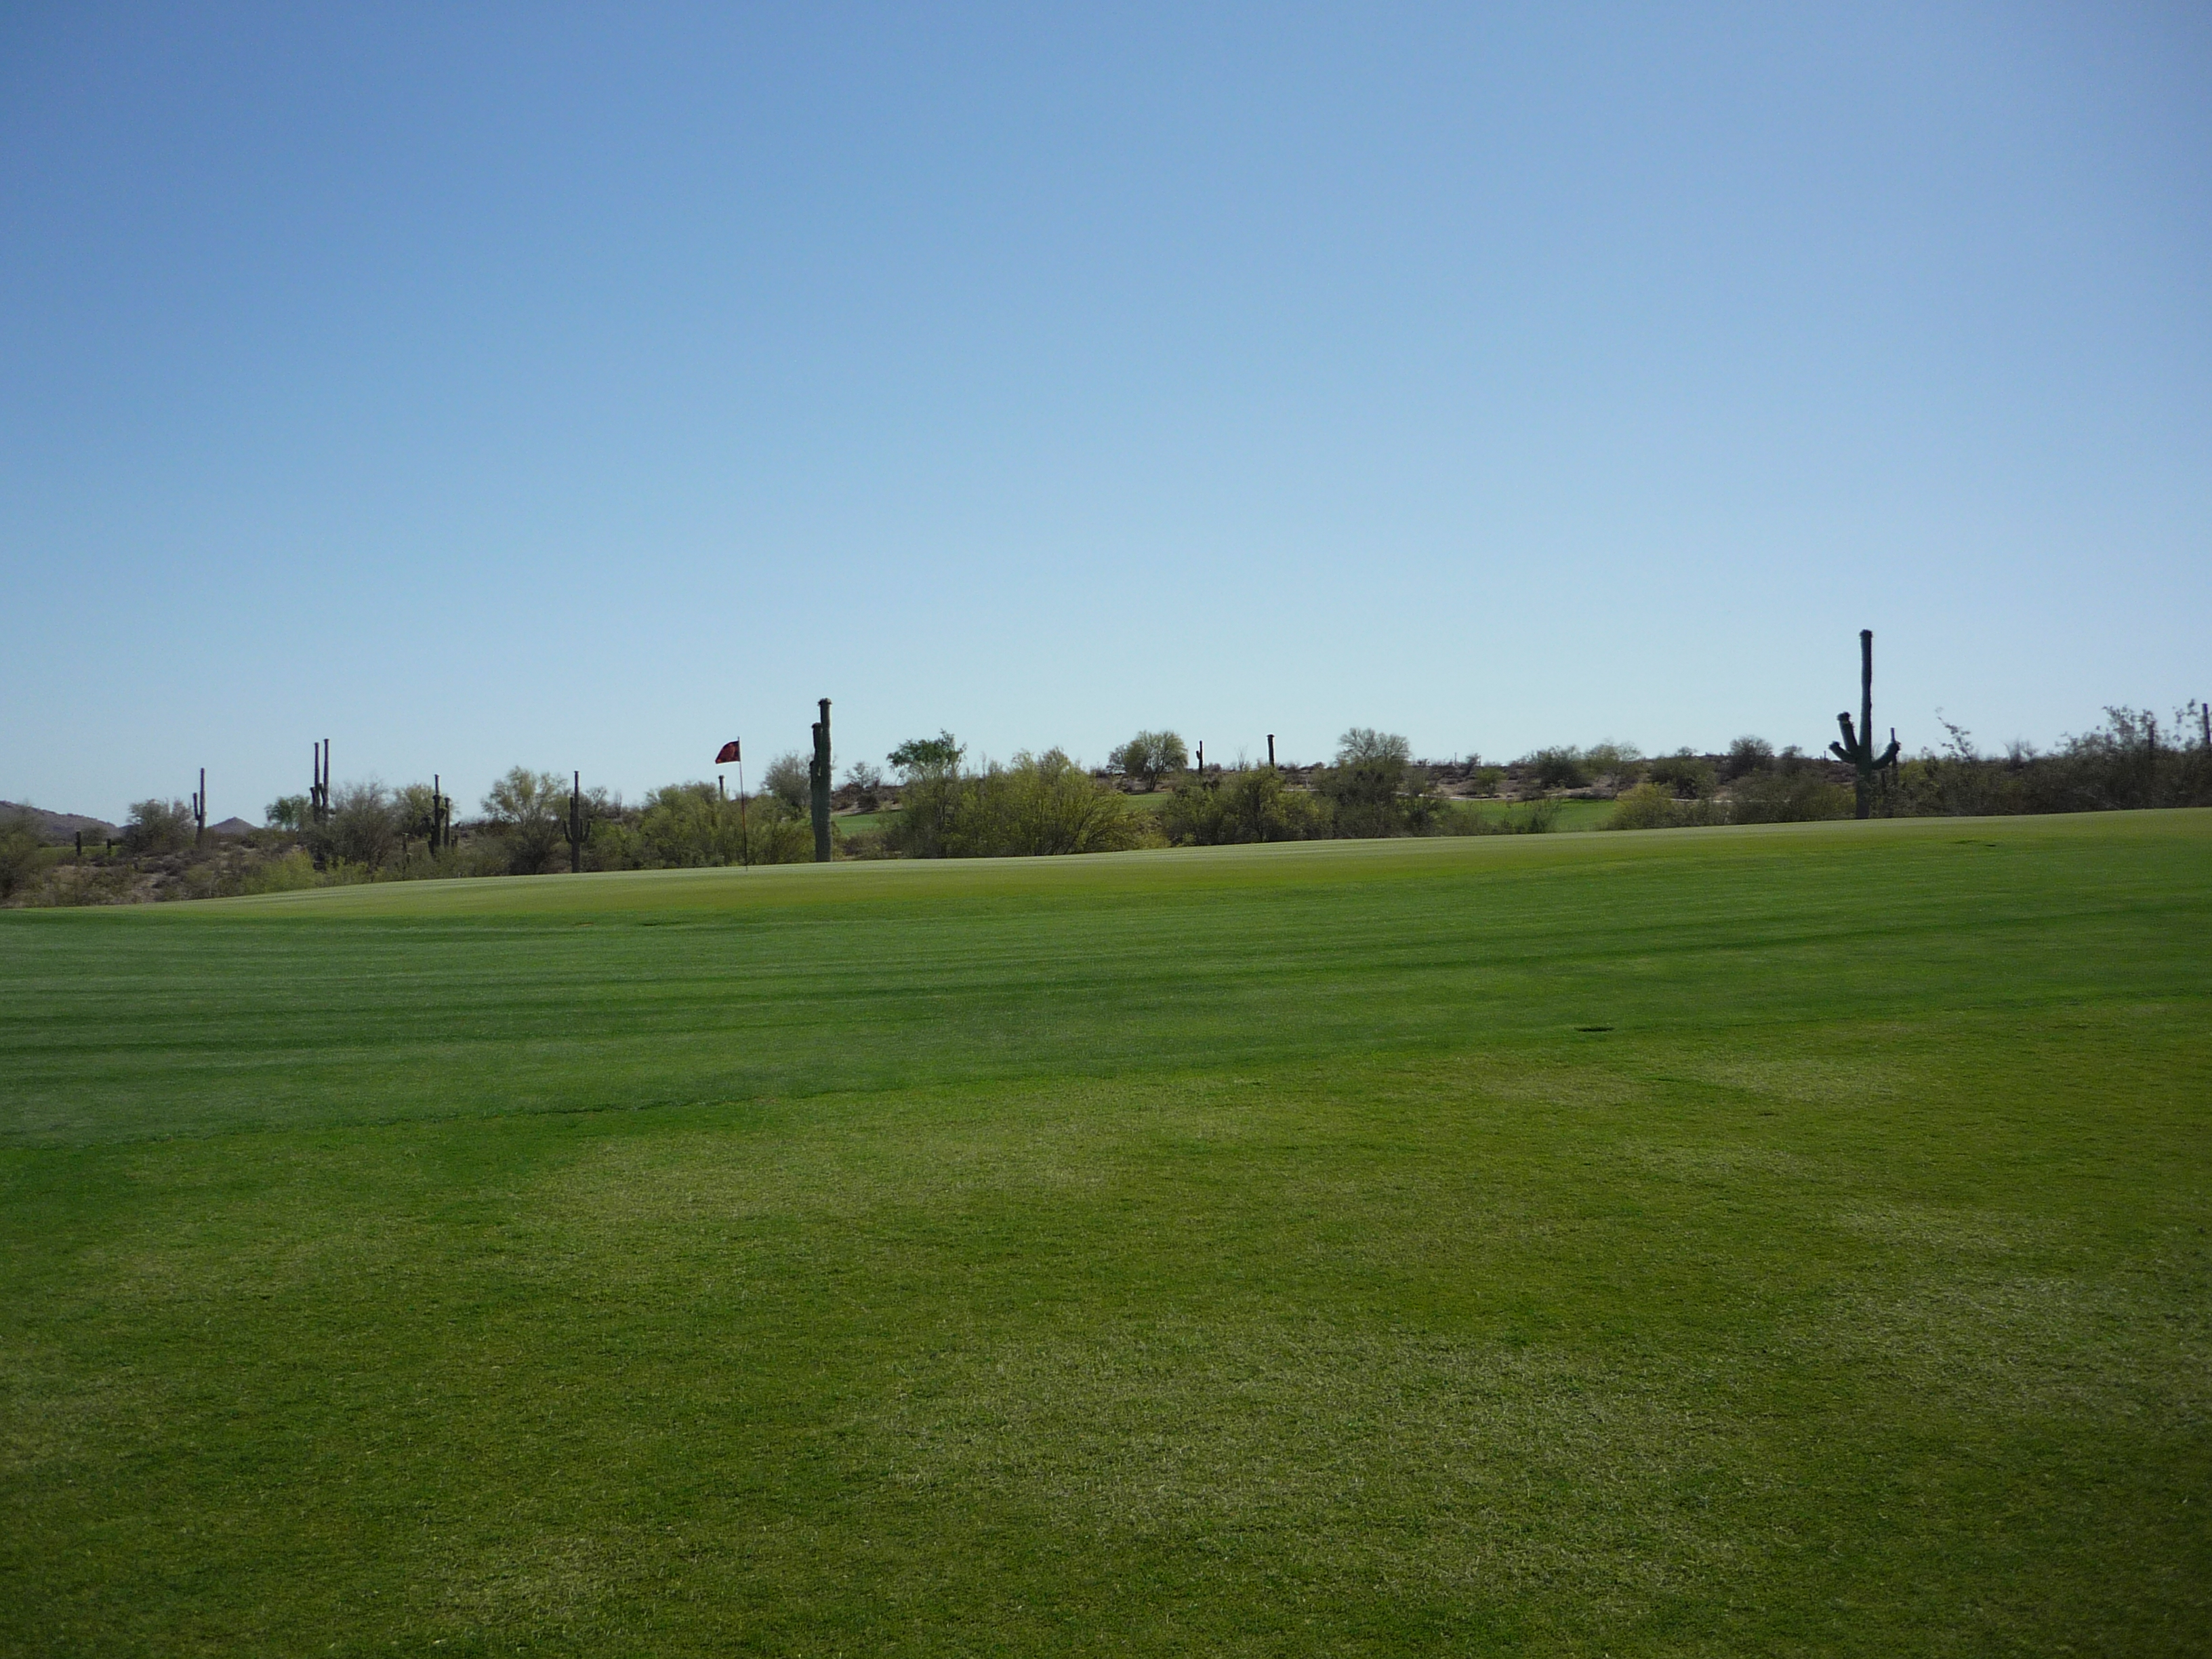
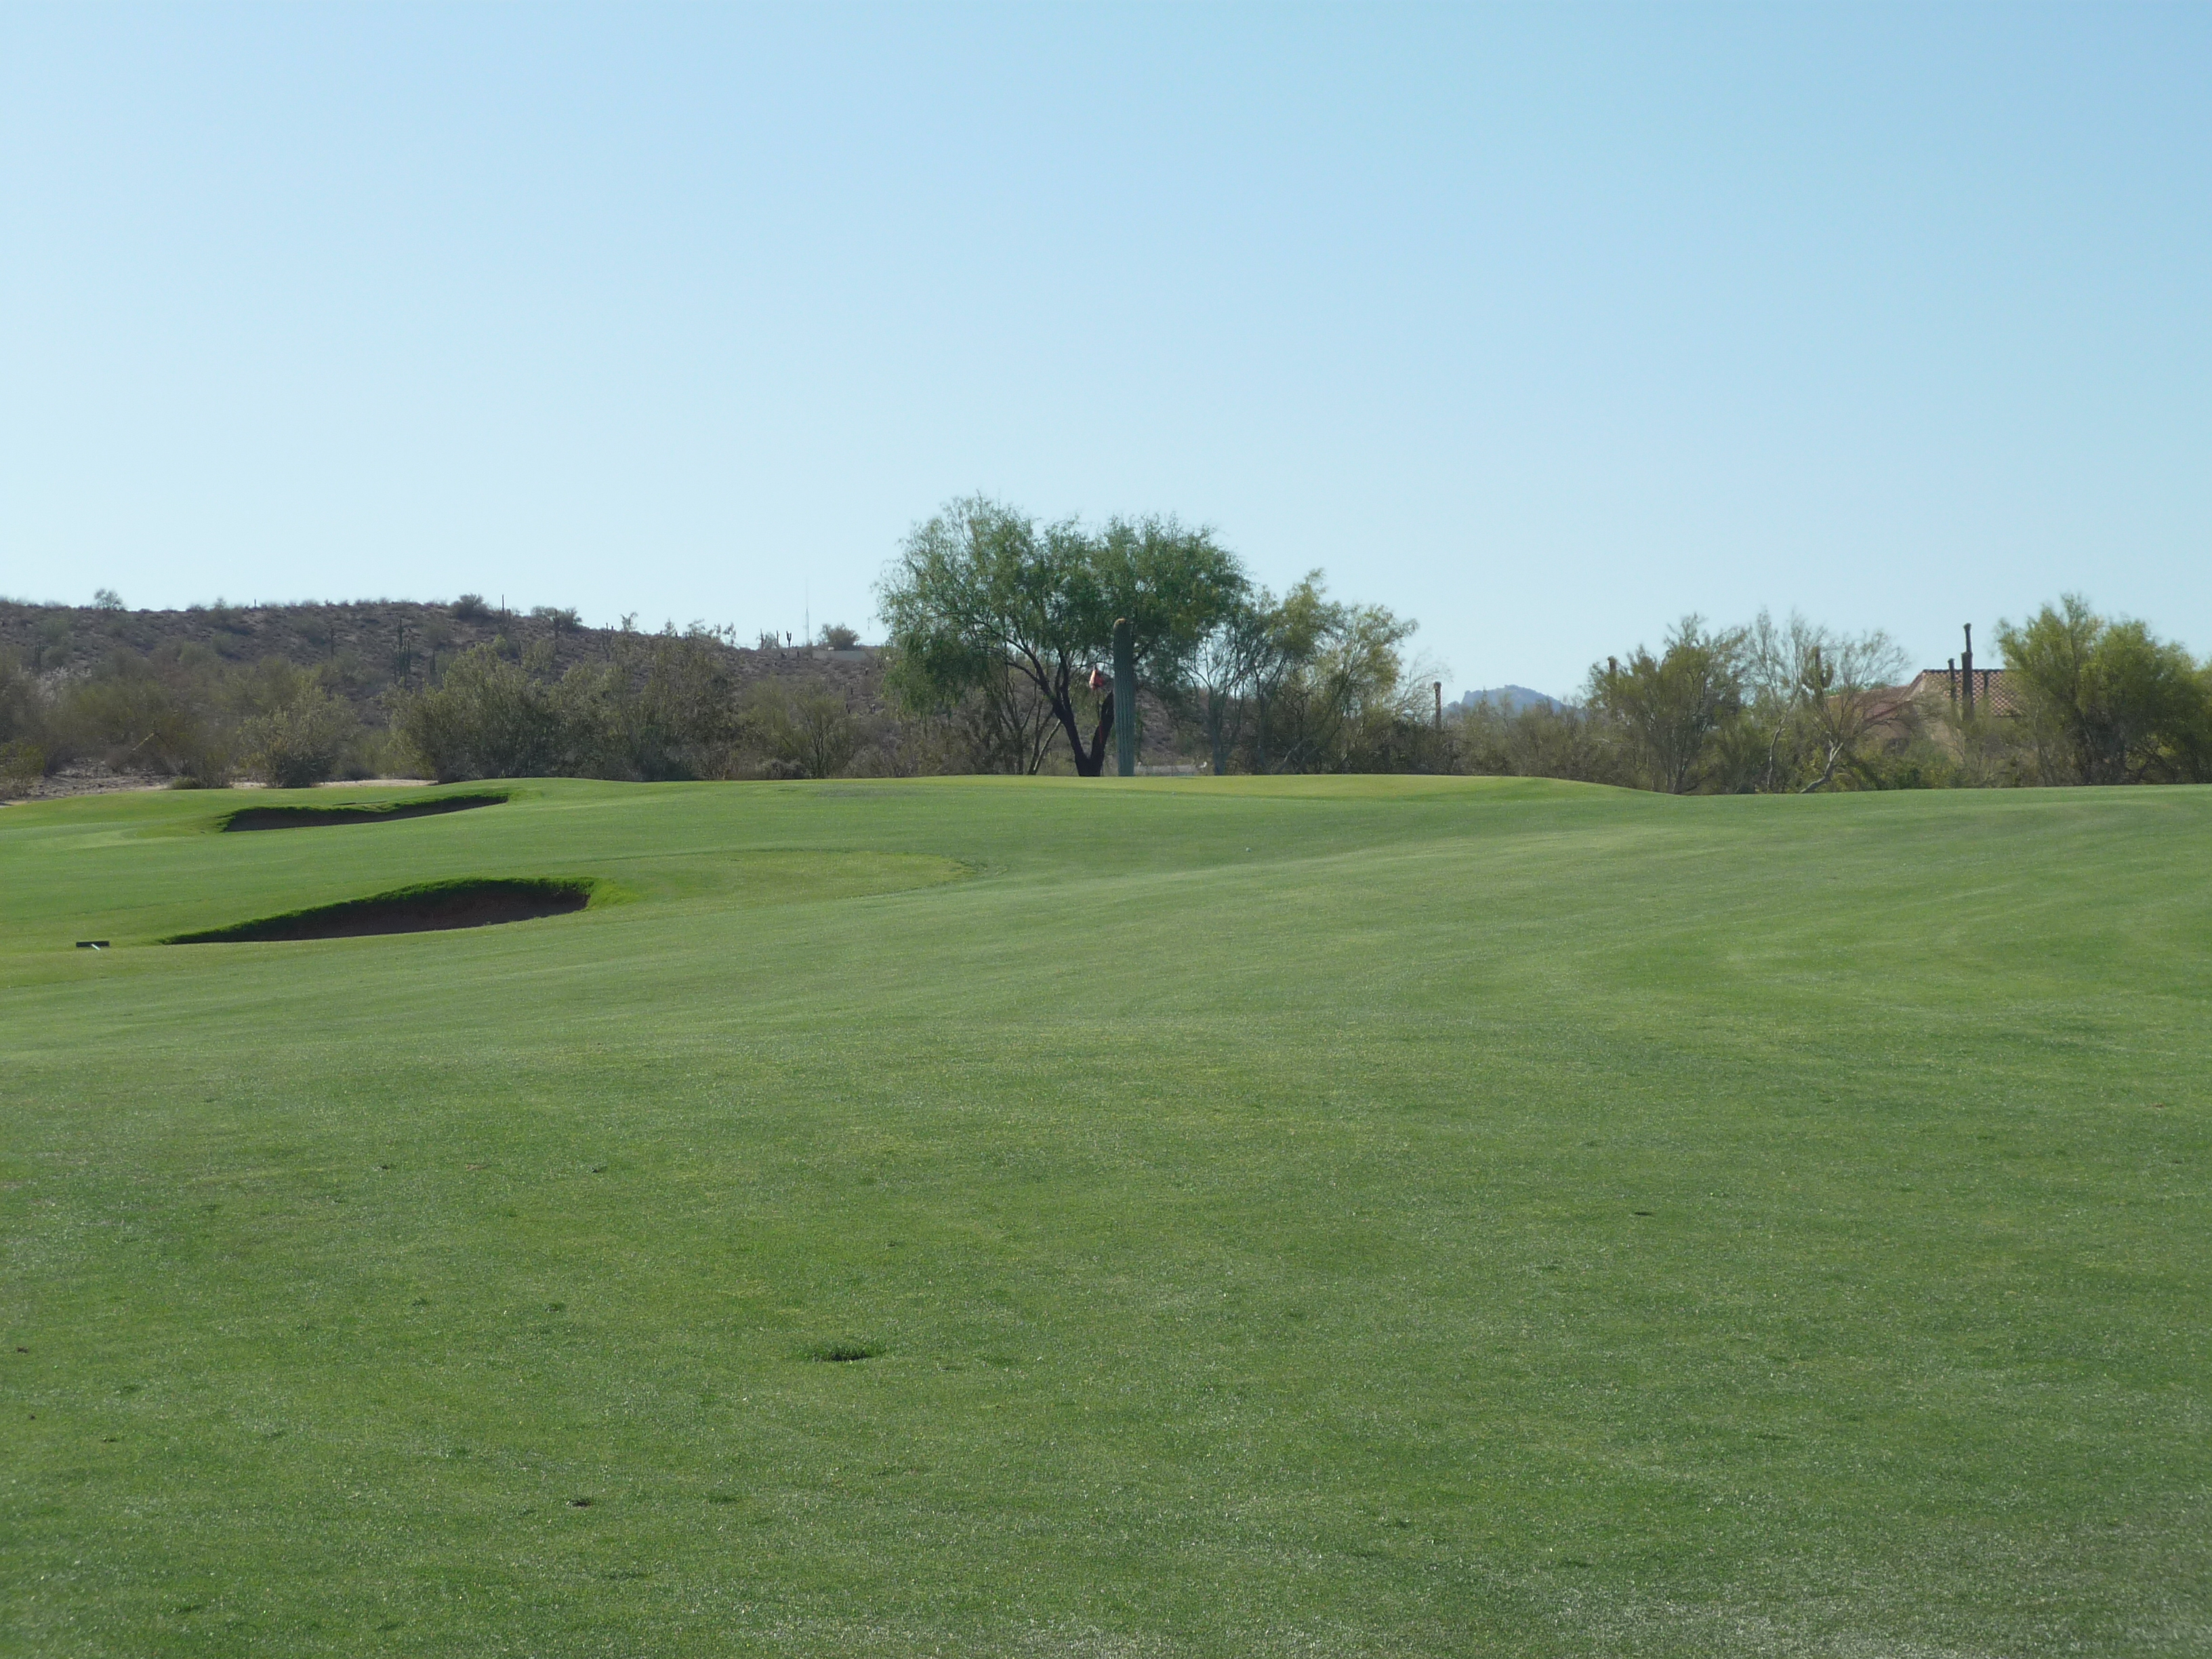
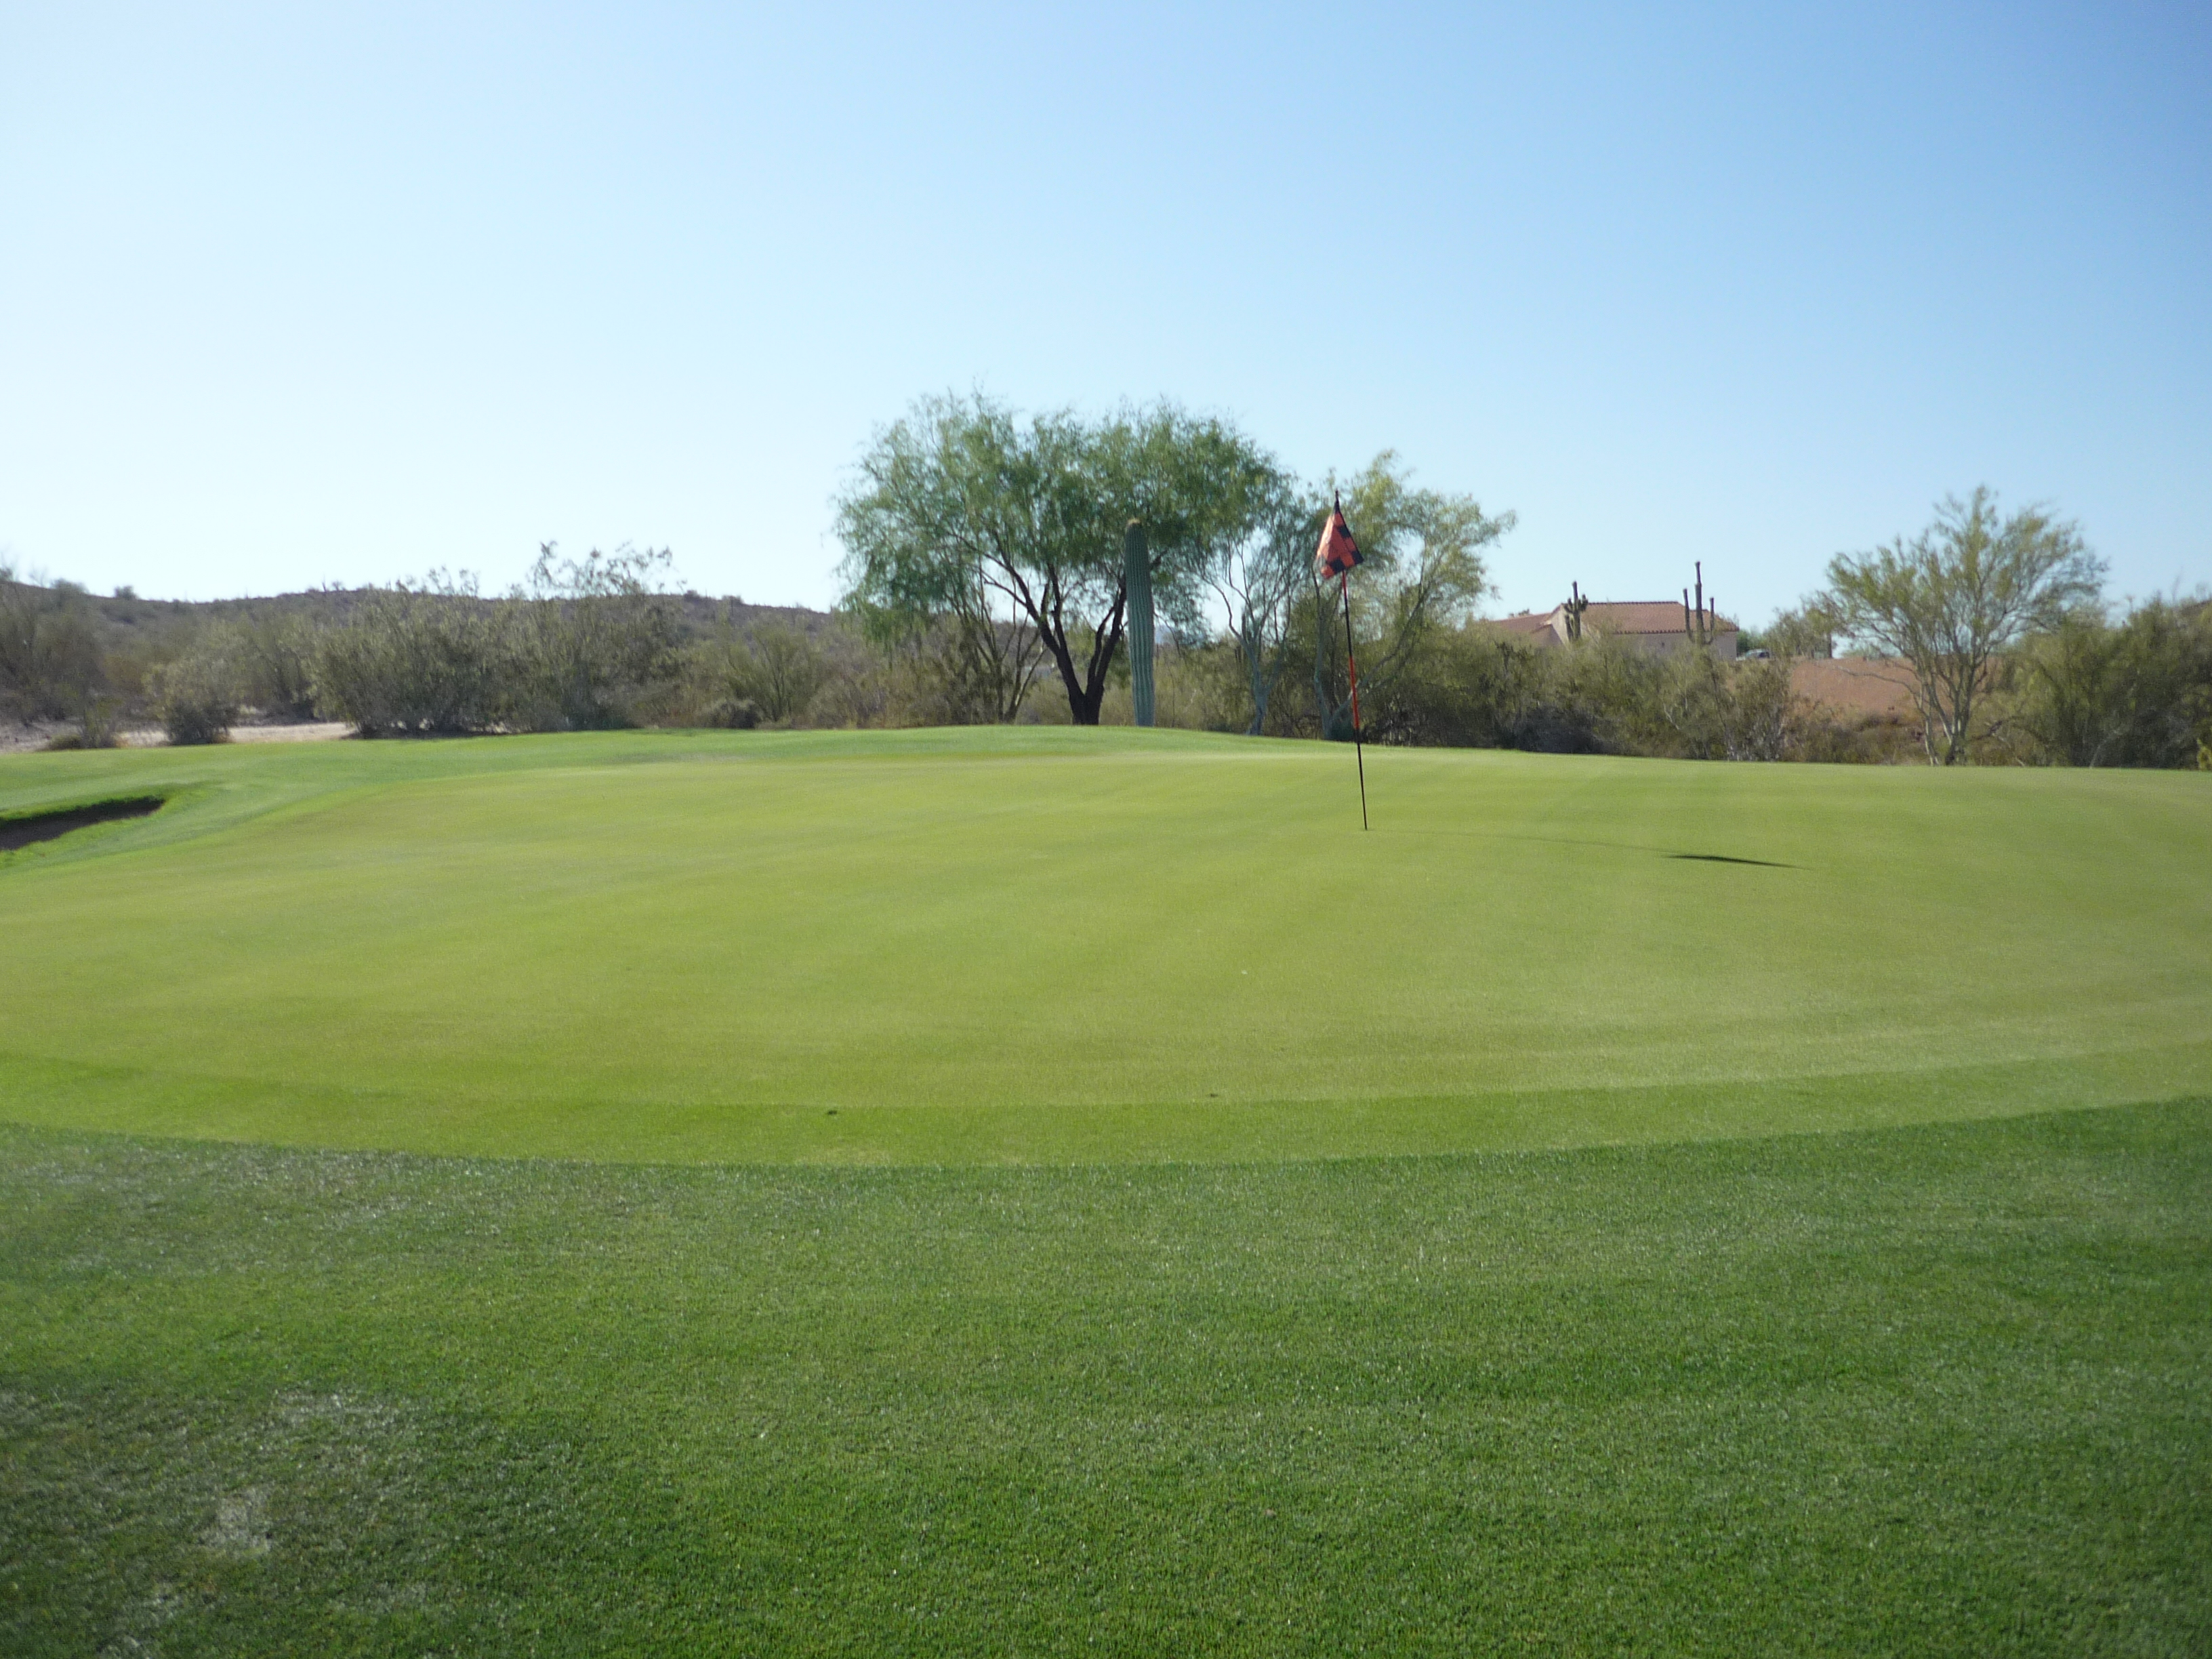
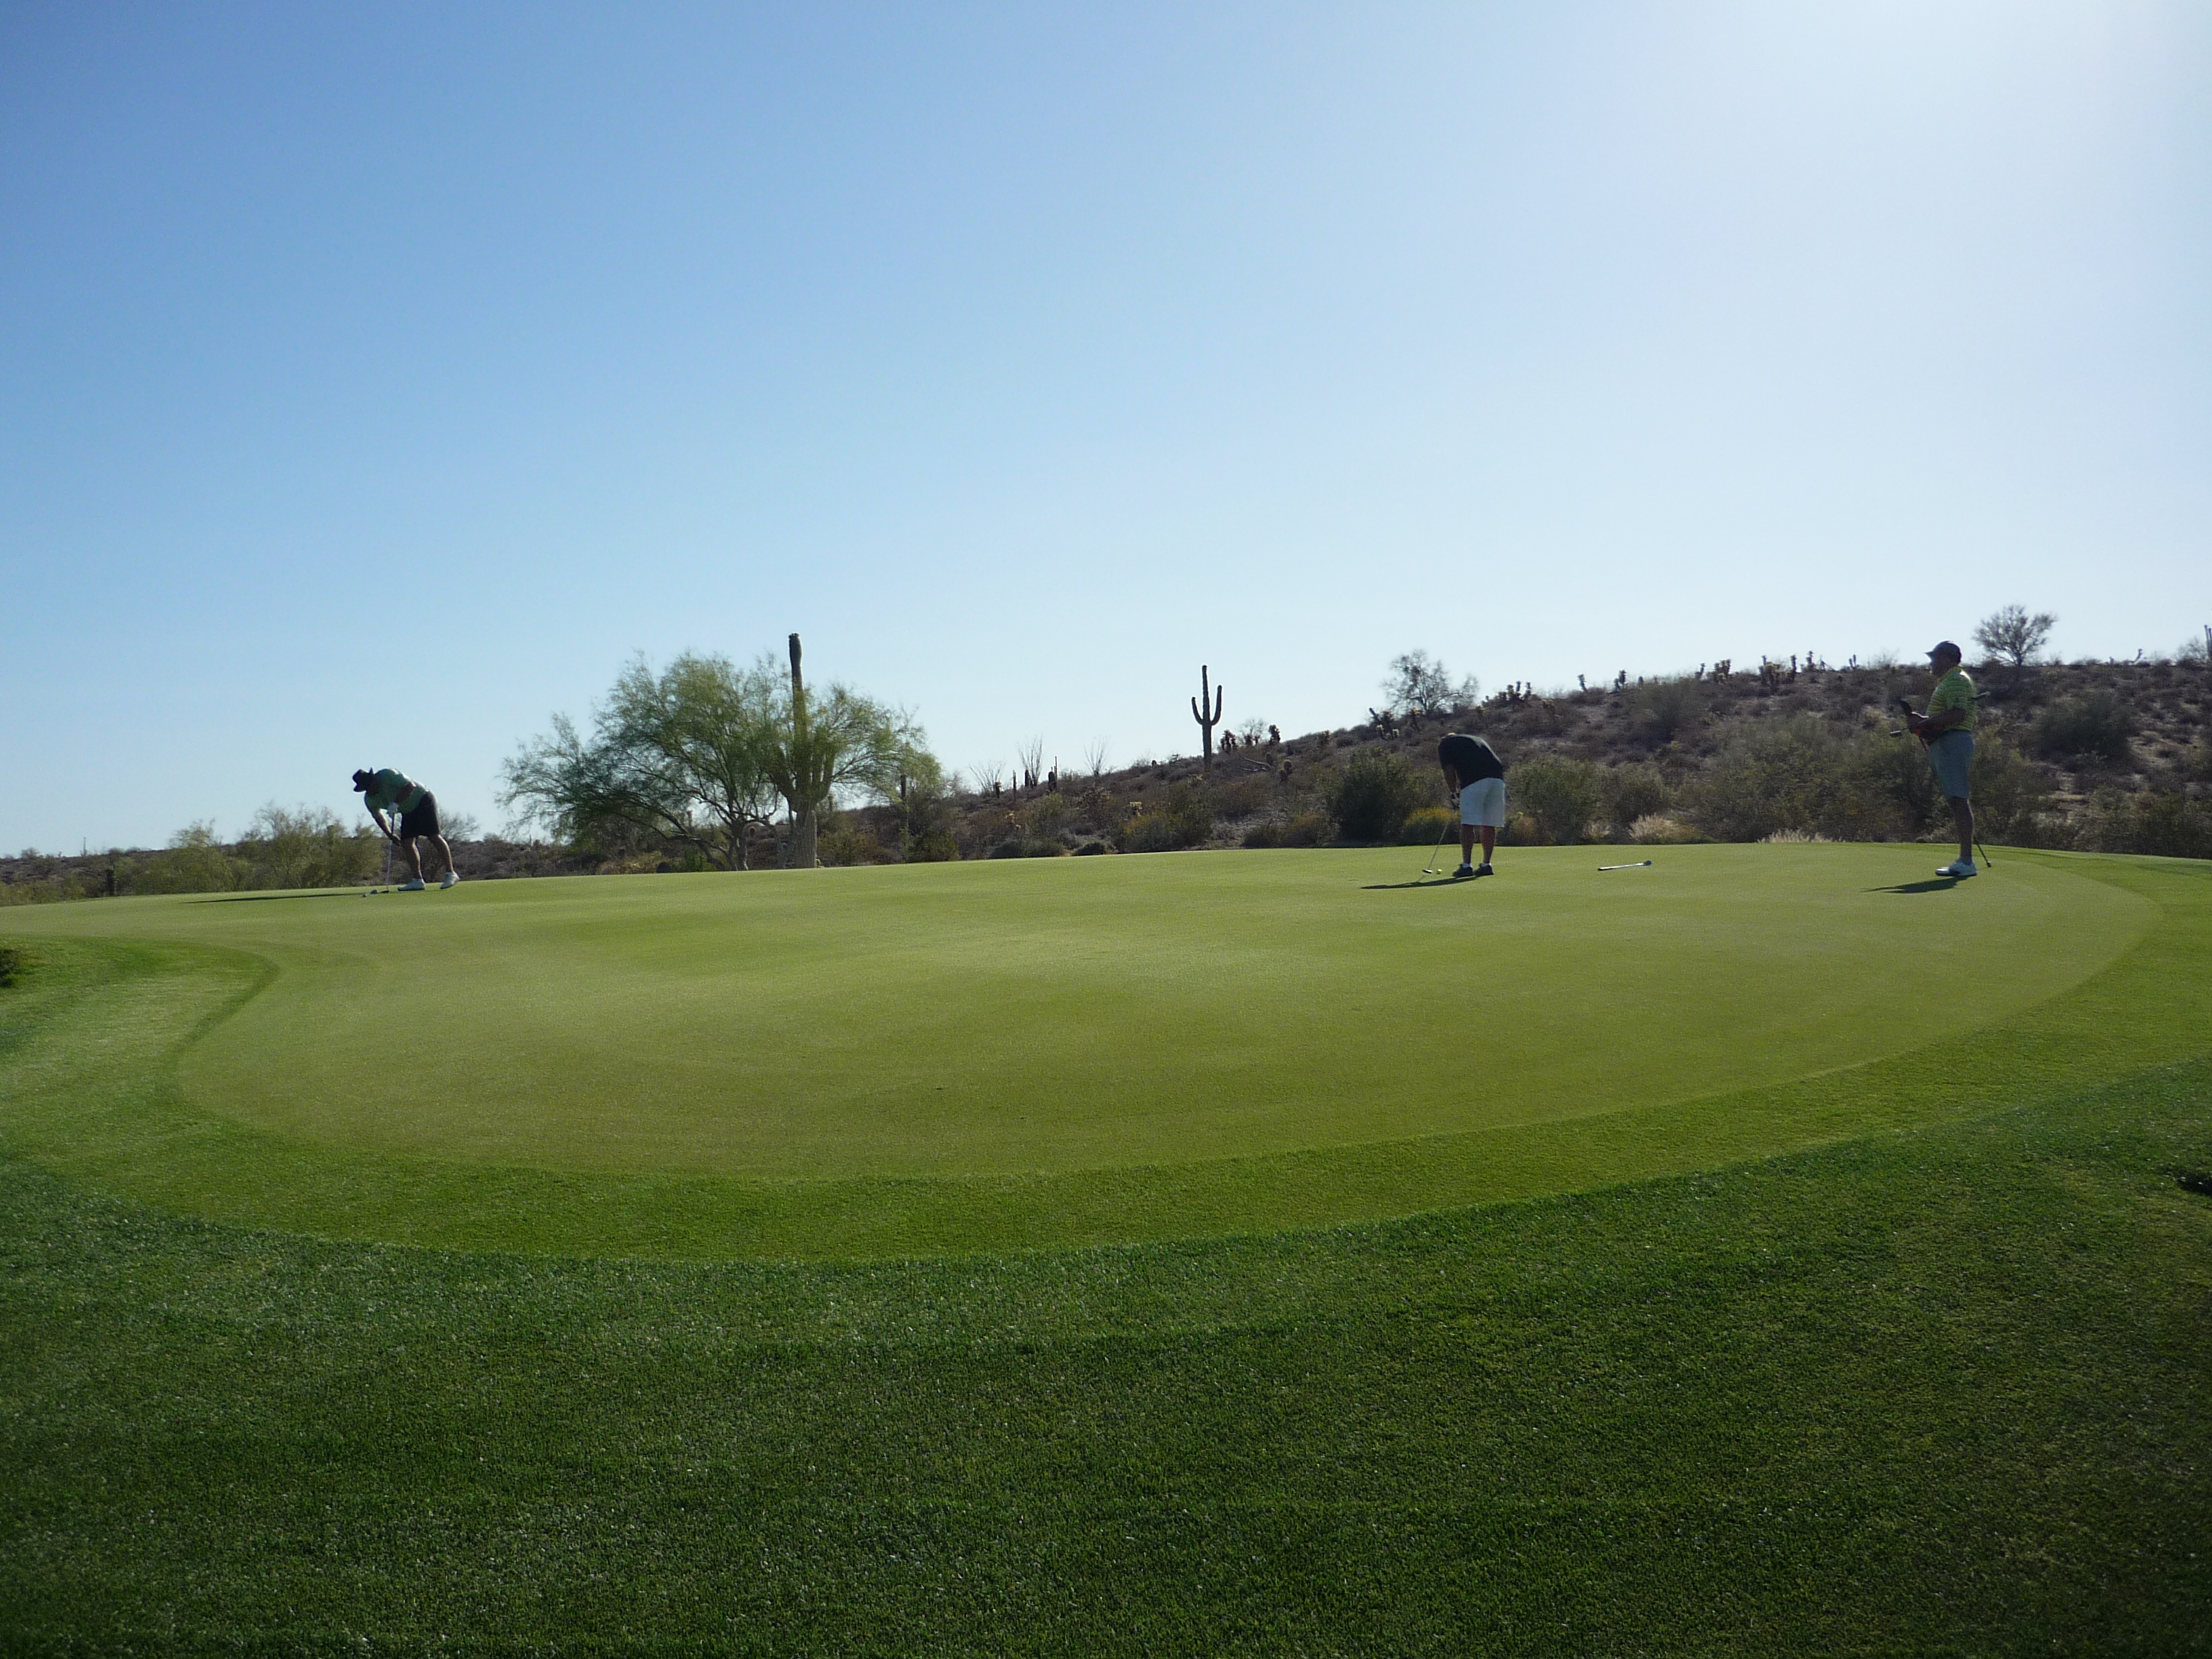
Hole 9 – 130 yards – Par 3
Another design feature that C&C love is the short par 3. You can count me in that group as well. This green is guarded by three large bunkers. Only the back is sand-free.
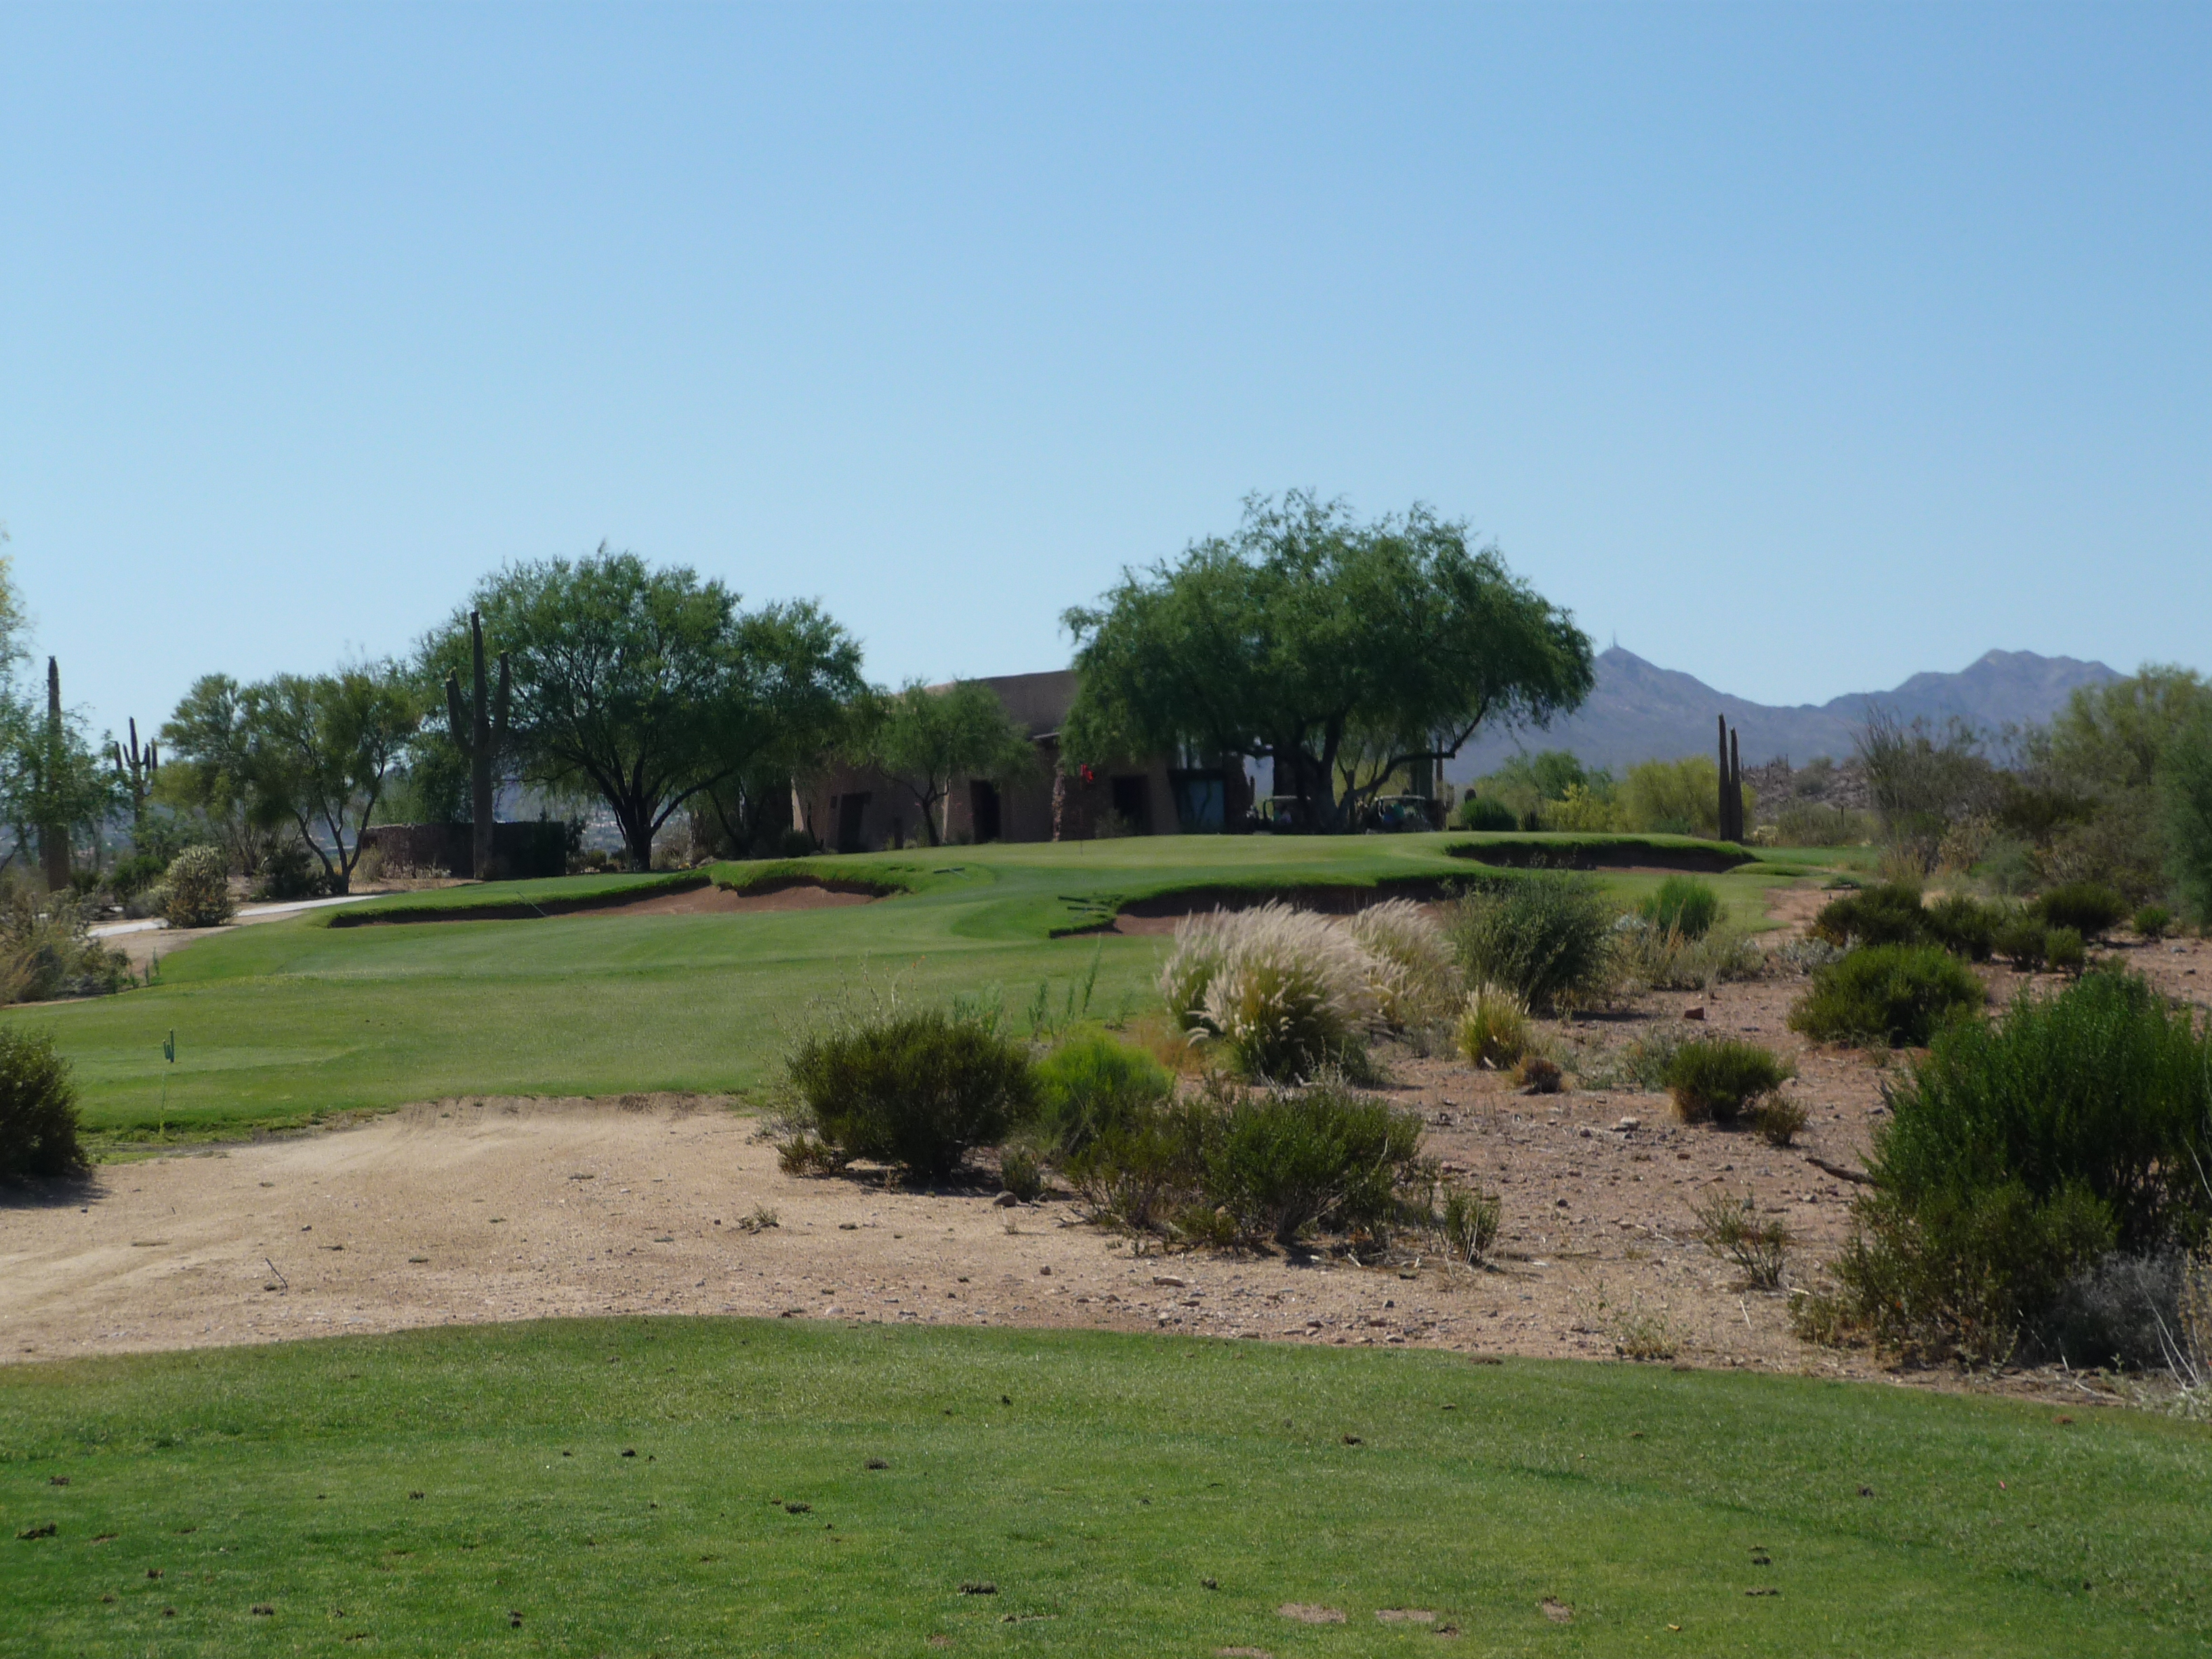
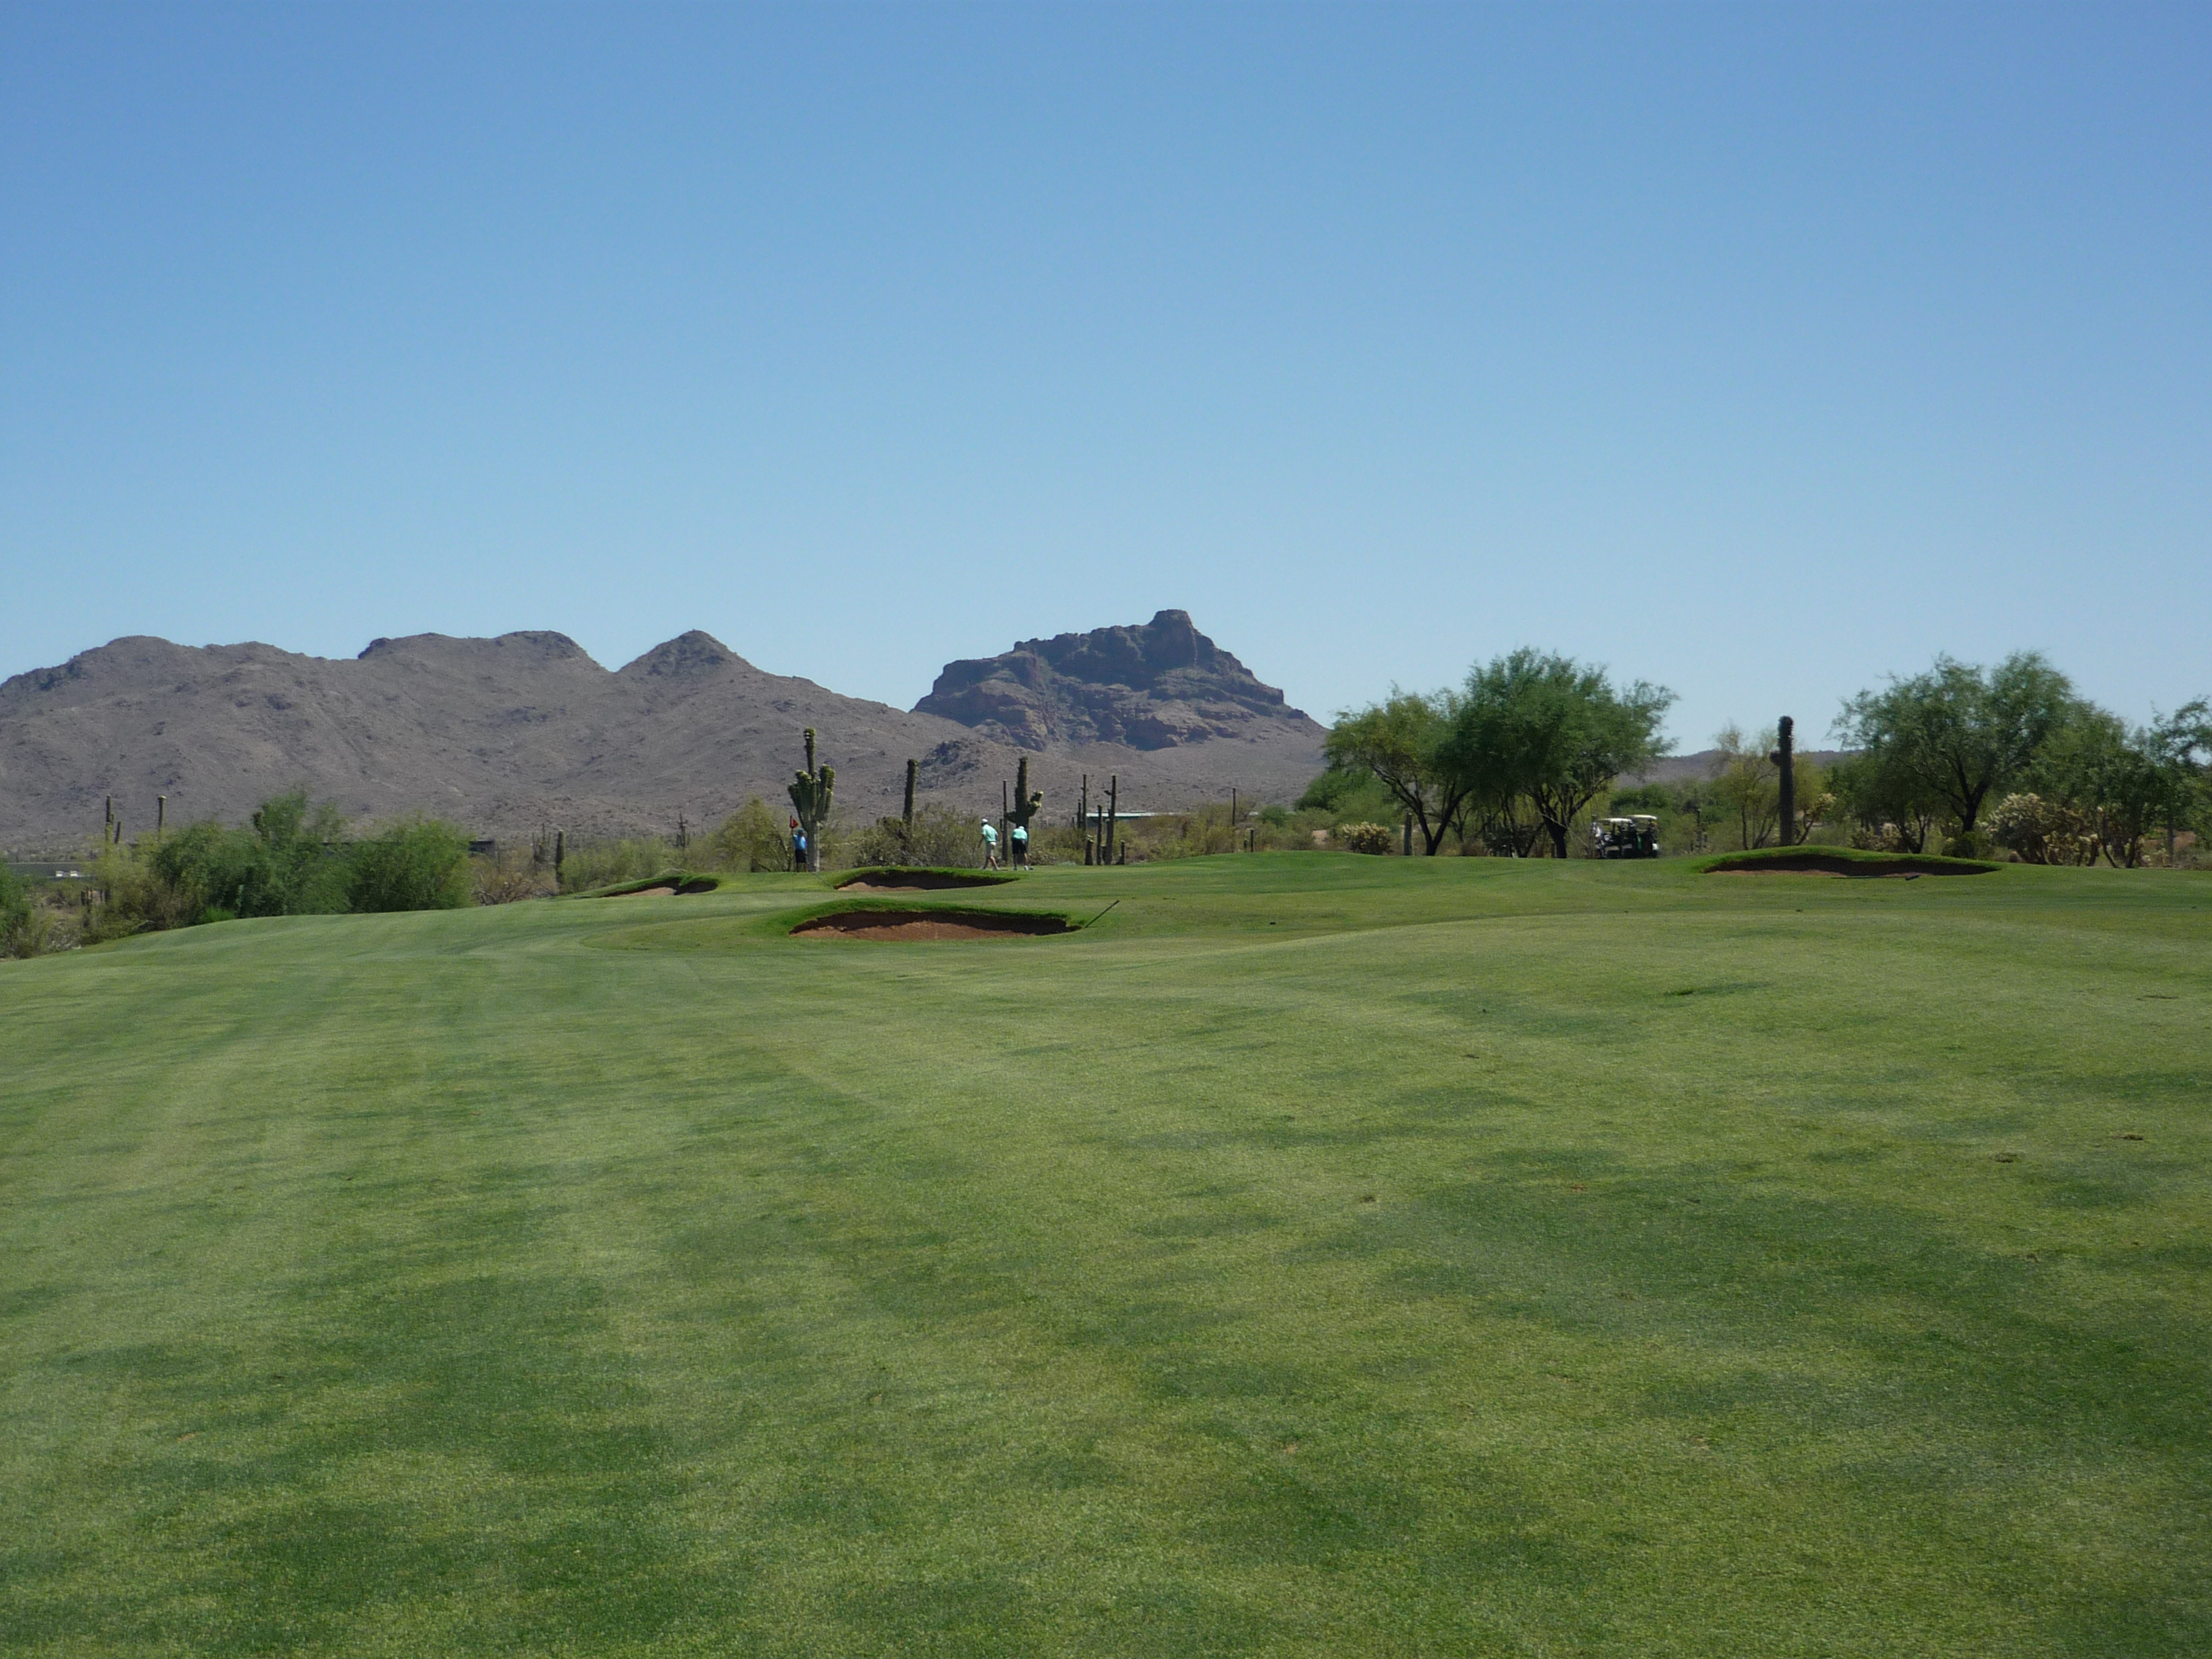
Hole 10 – 322 yards – Par 4
This short hole is a dogleg right. A massive sand trap guards the corner and must be accounted for when picking a line.
The green is slightly elevated with a tiny pot bunker in the front. Bunkers also ring the backside making long no good either.

 Hole 11 – 194 yards – Par 3
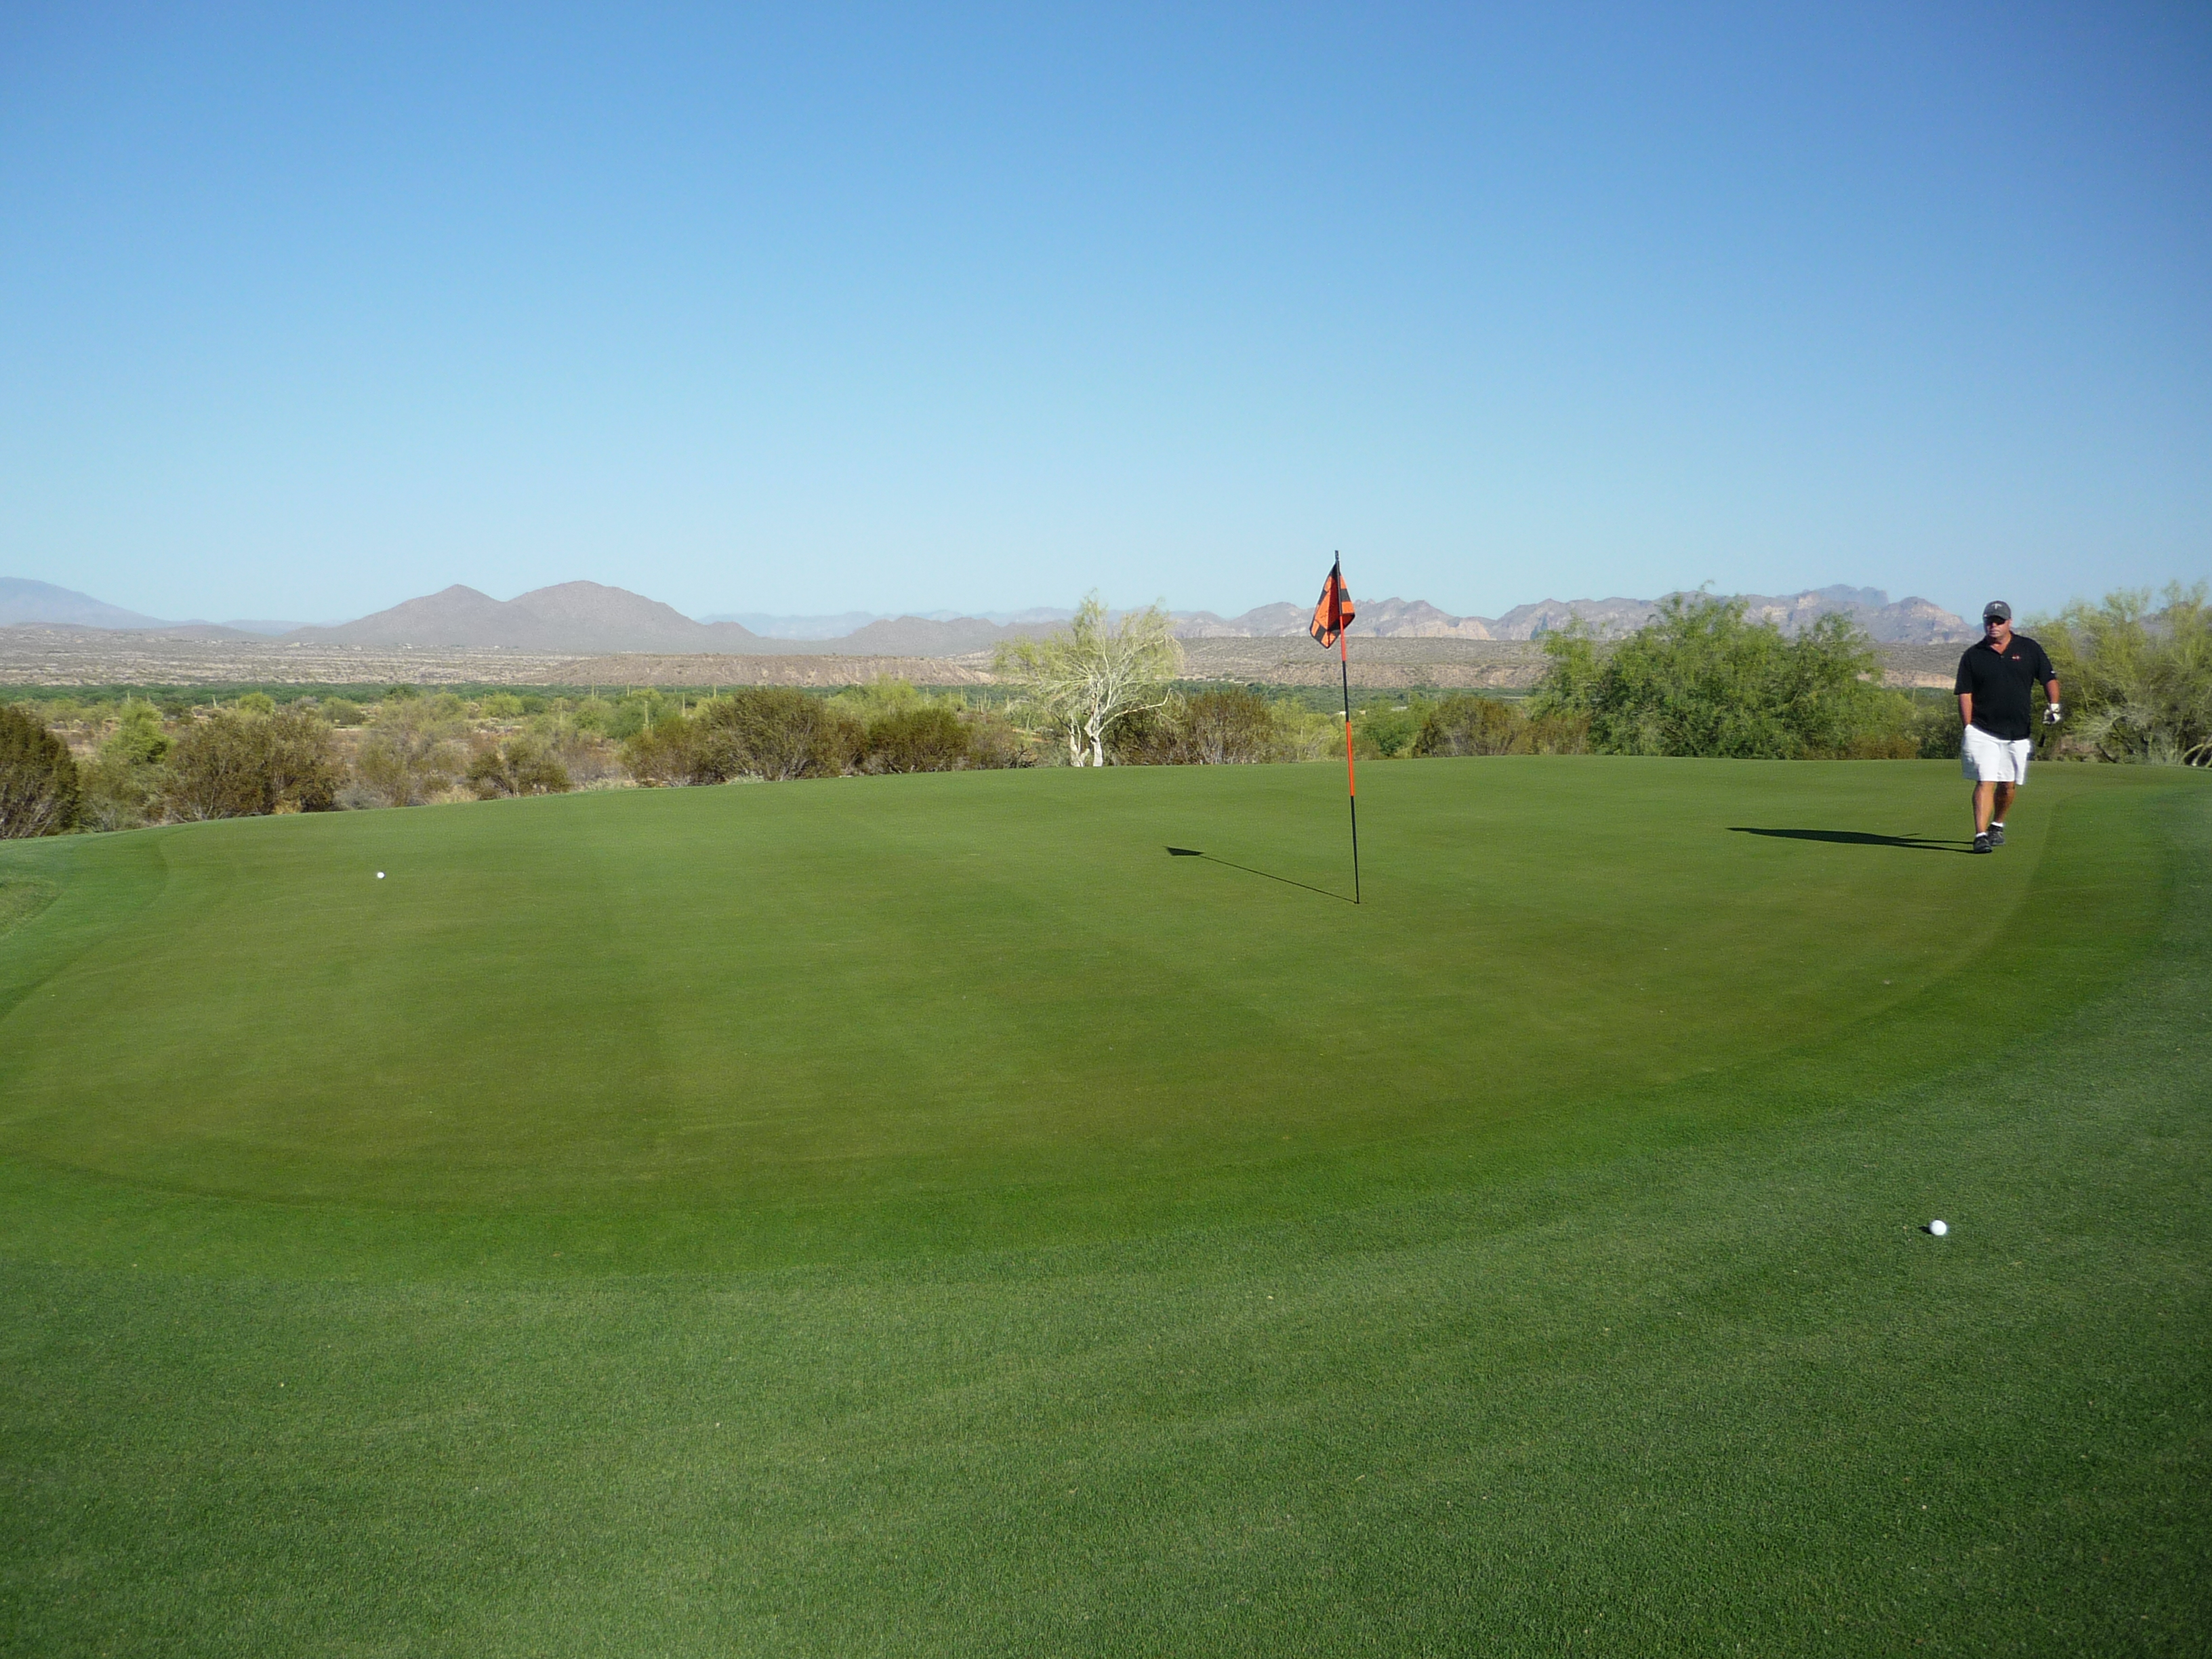
Nothing much to see here, just a longish par 3. Two bunkers (one large, one small) protect the right side. The bunker on the left is well short of the green.
Hole 12 – 461 yards – Par 4
You need a good tee shot on this hole. The fairway is generous on this long par 4, but if you get wild the desert awaits.
The approach is played over mostly flat land. The bunker you see if a bit of an illusion as it is well short of the green.
There is plenty of grass around the green if you miss. You may be faced with some longer recovery shots though.
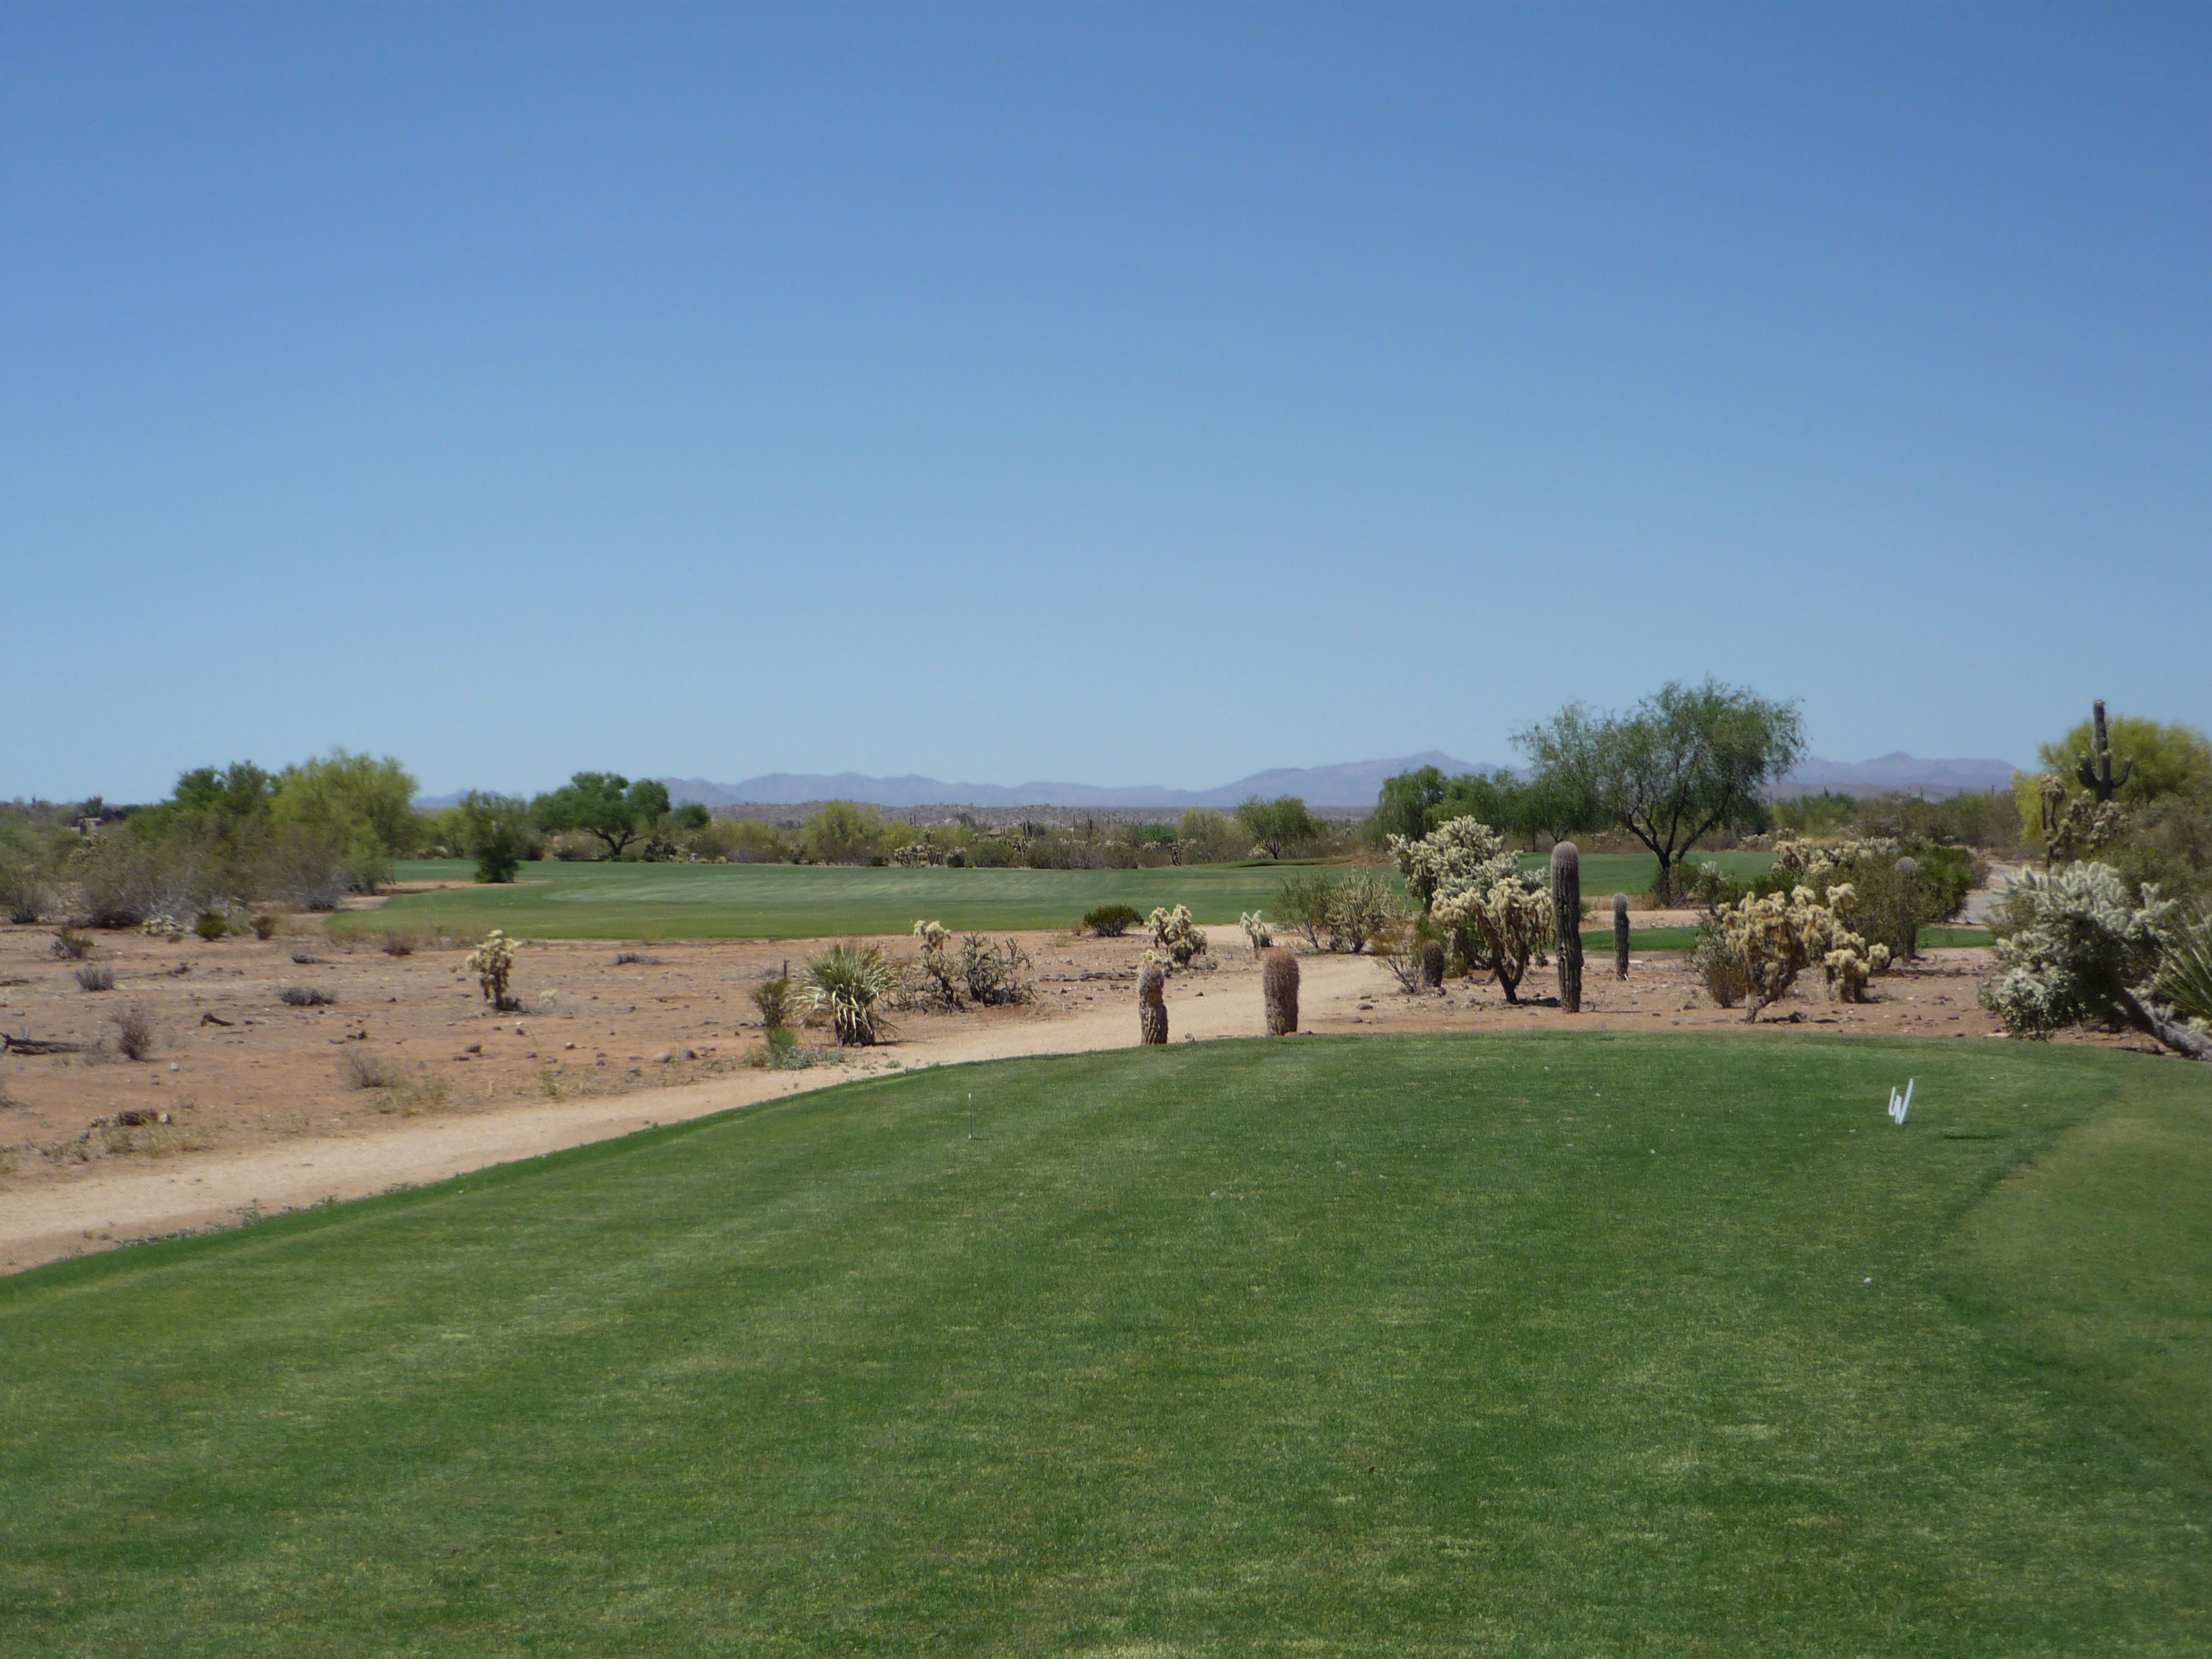
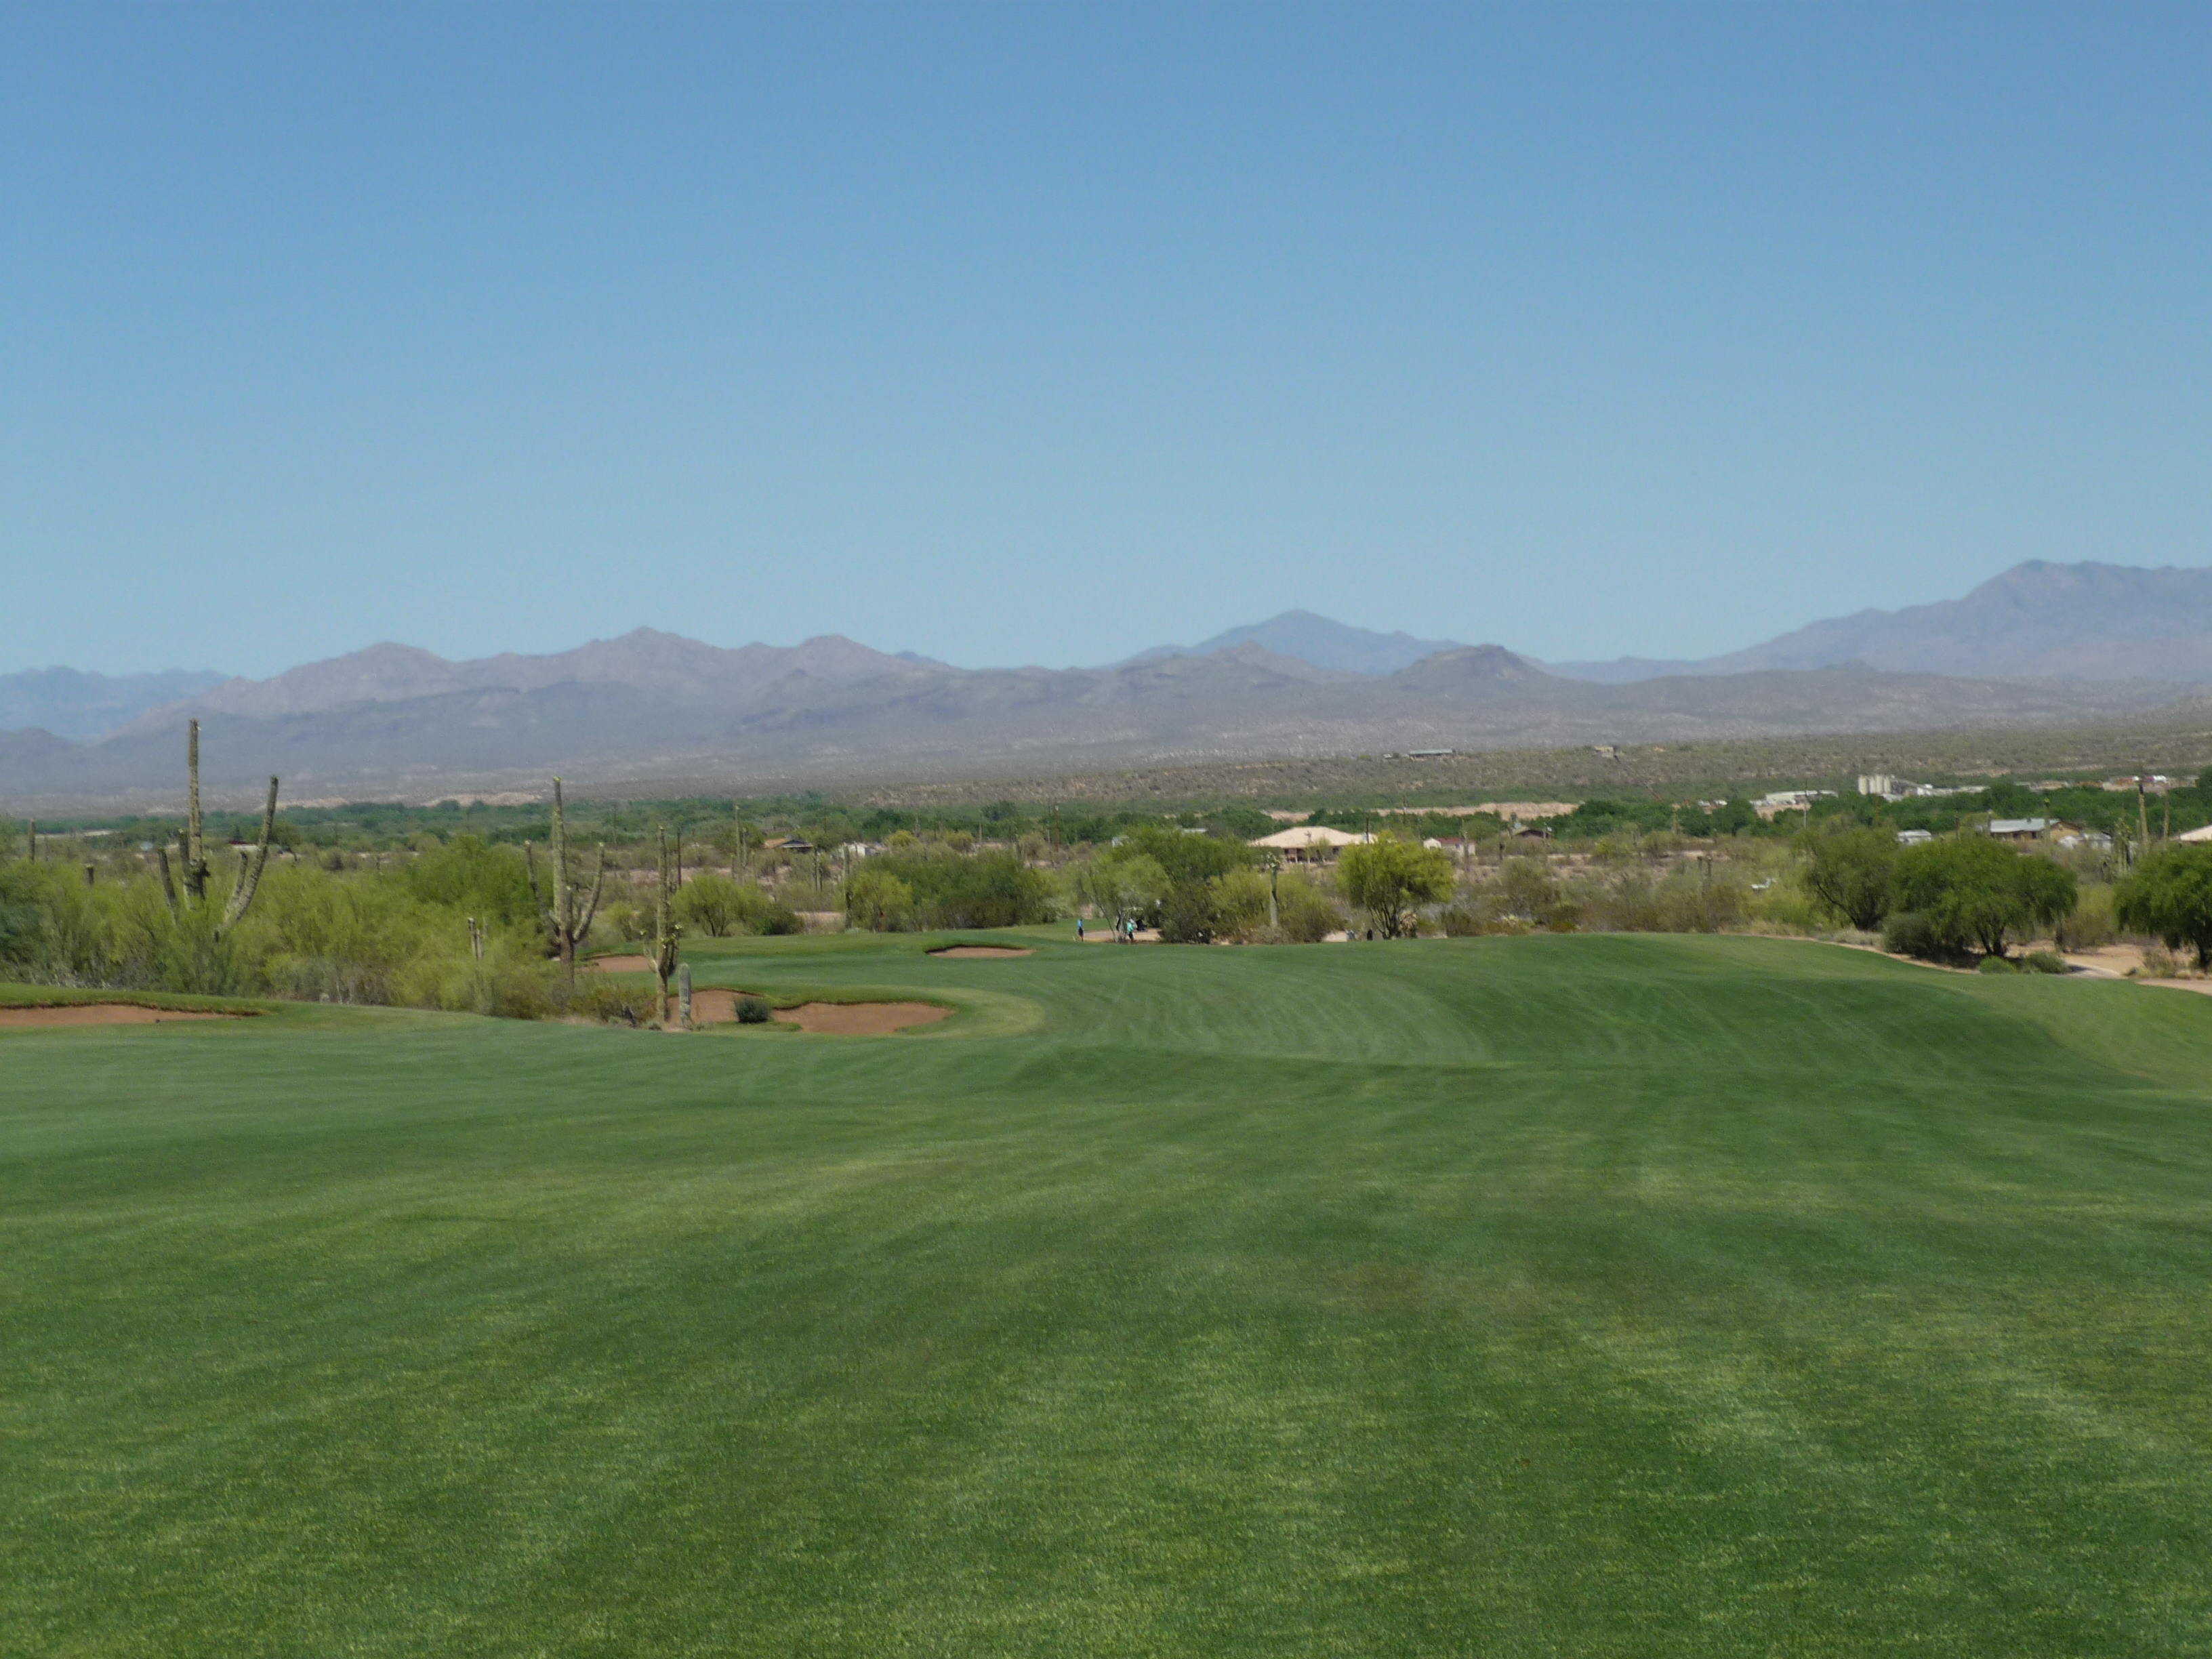
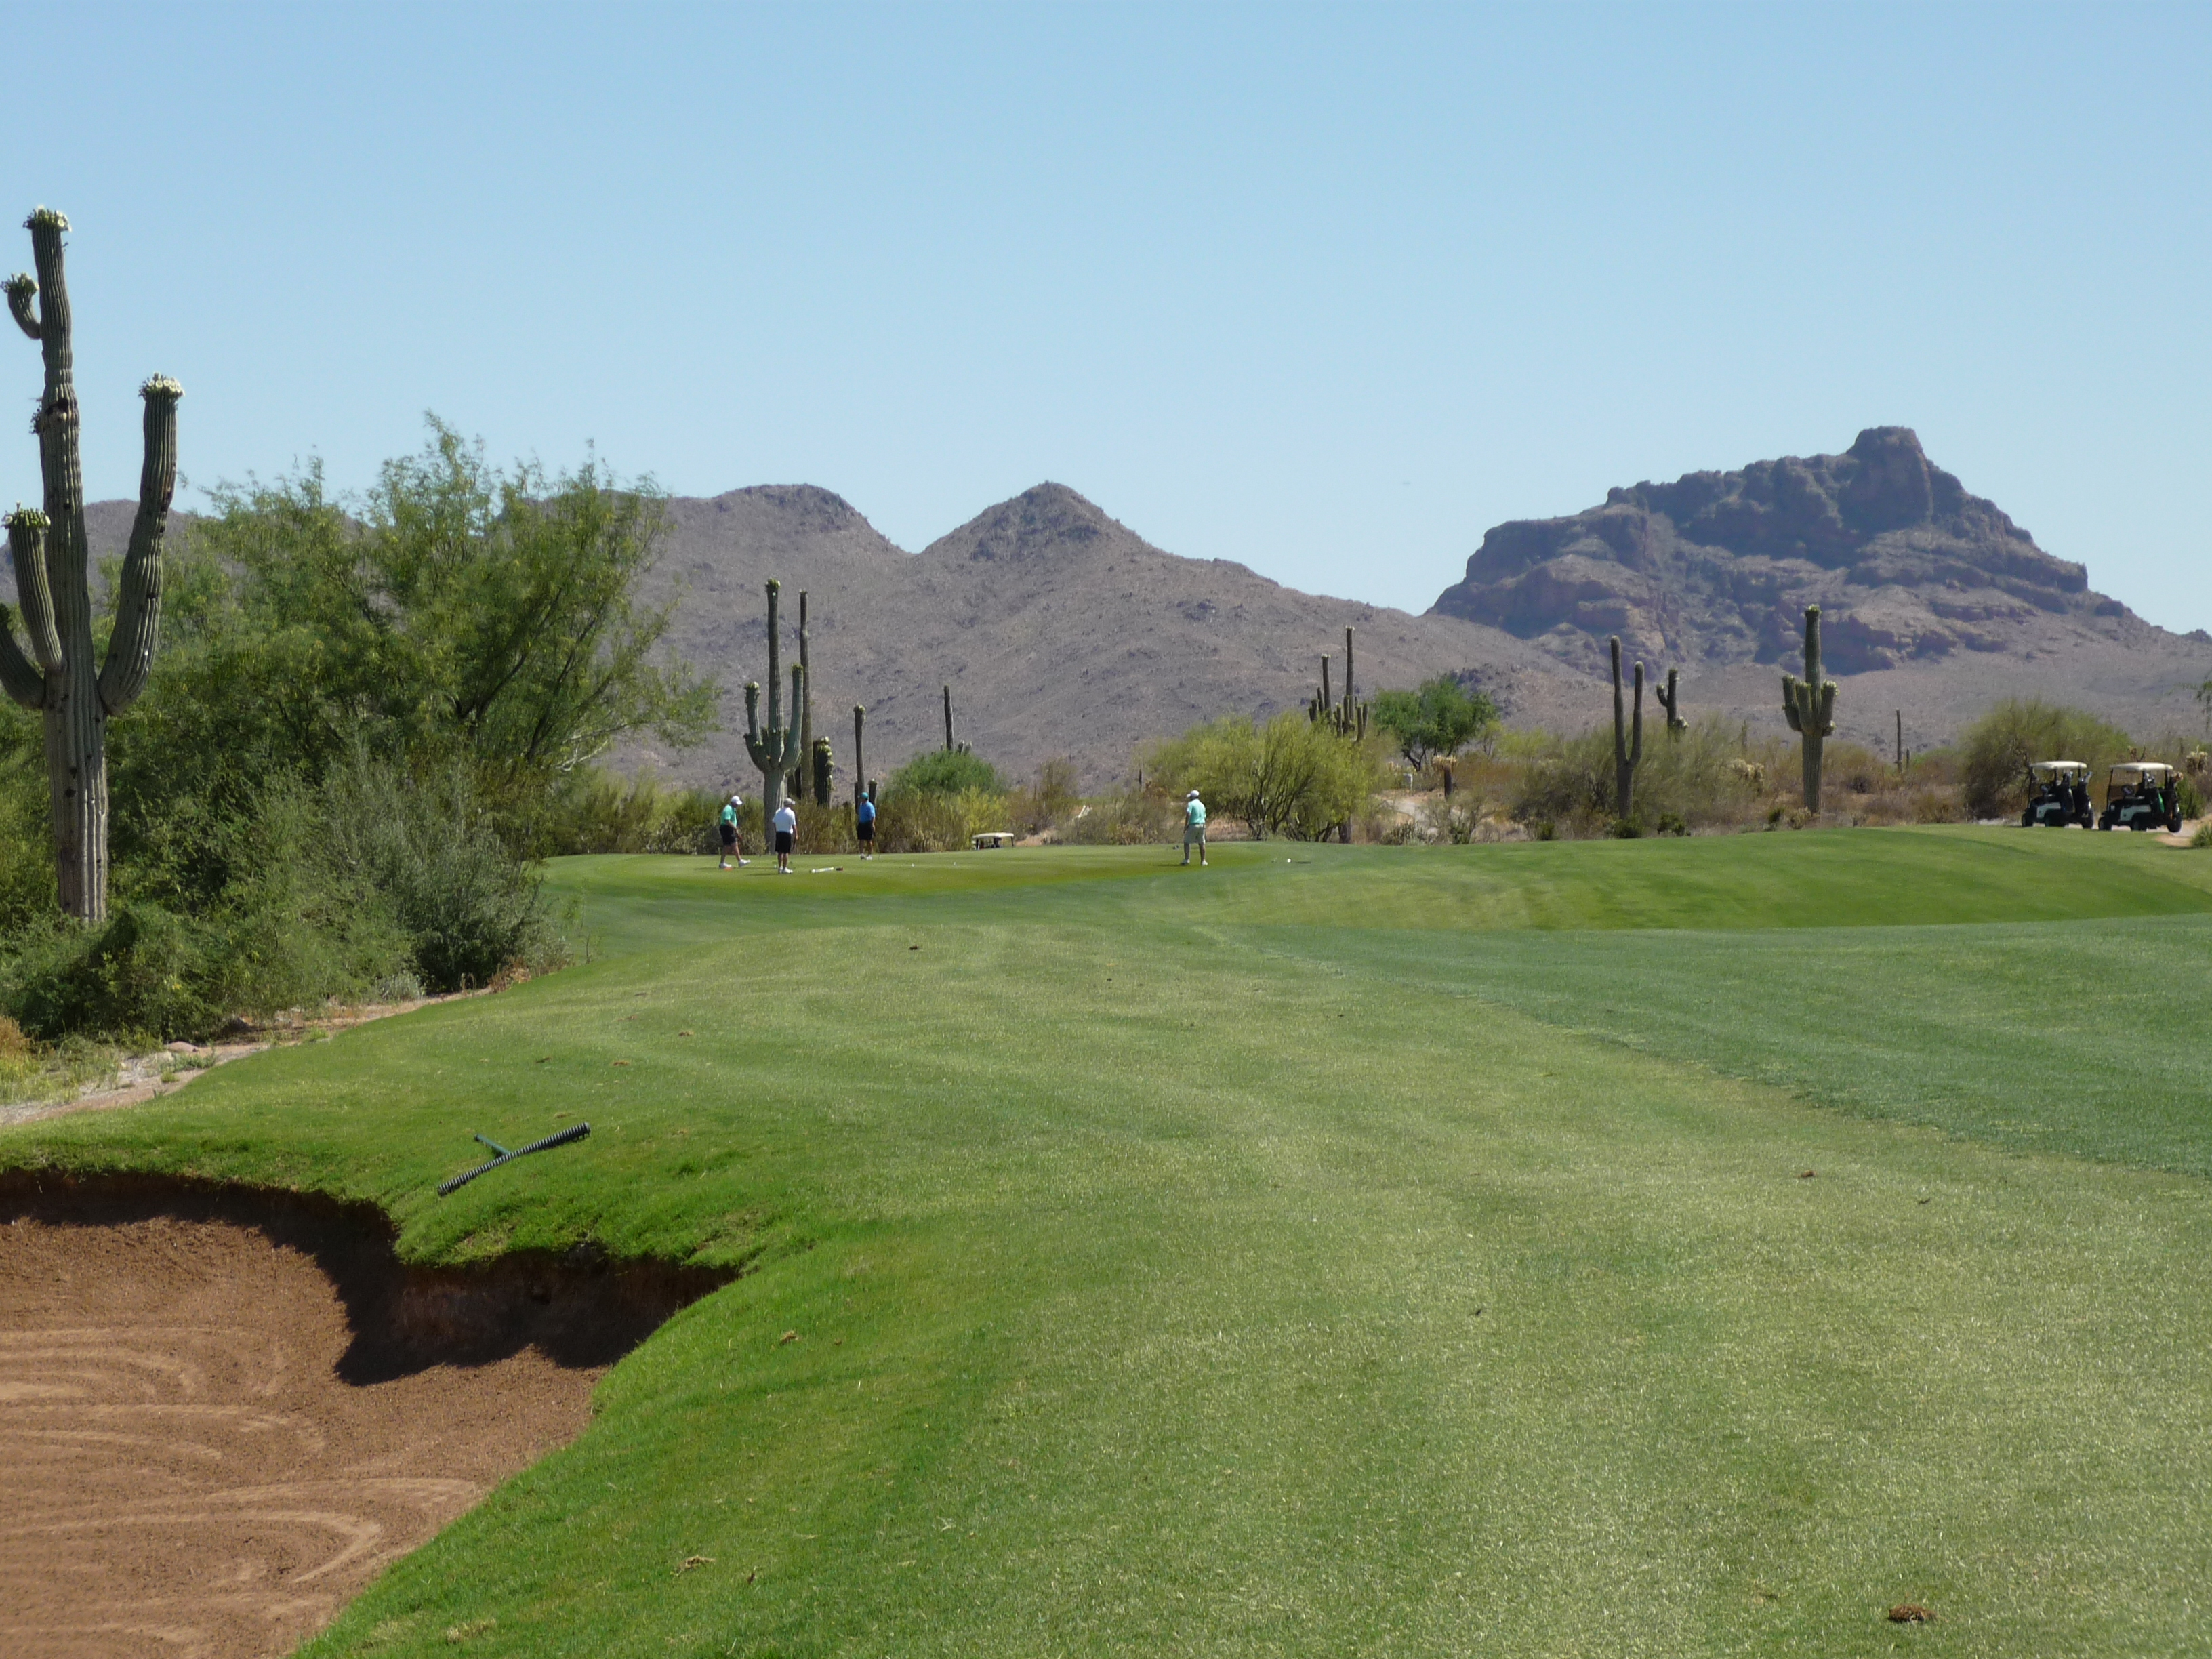
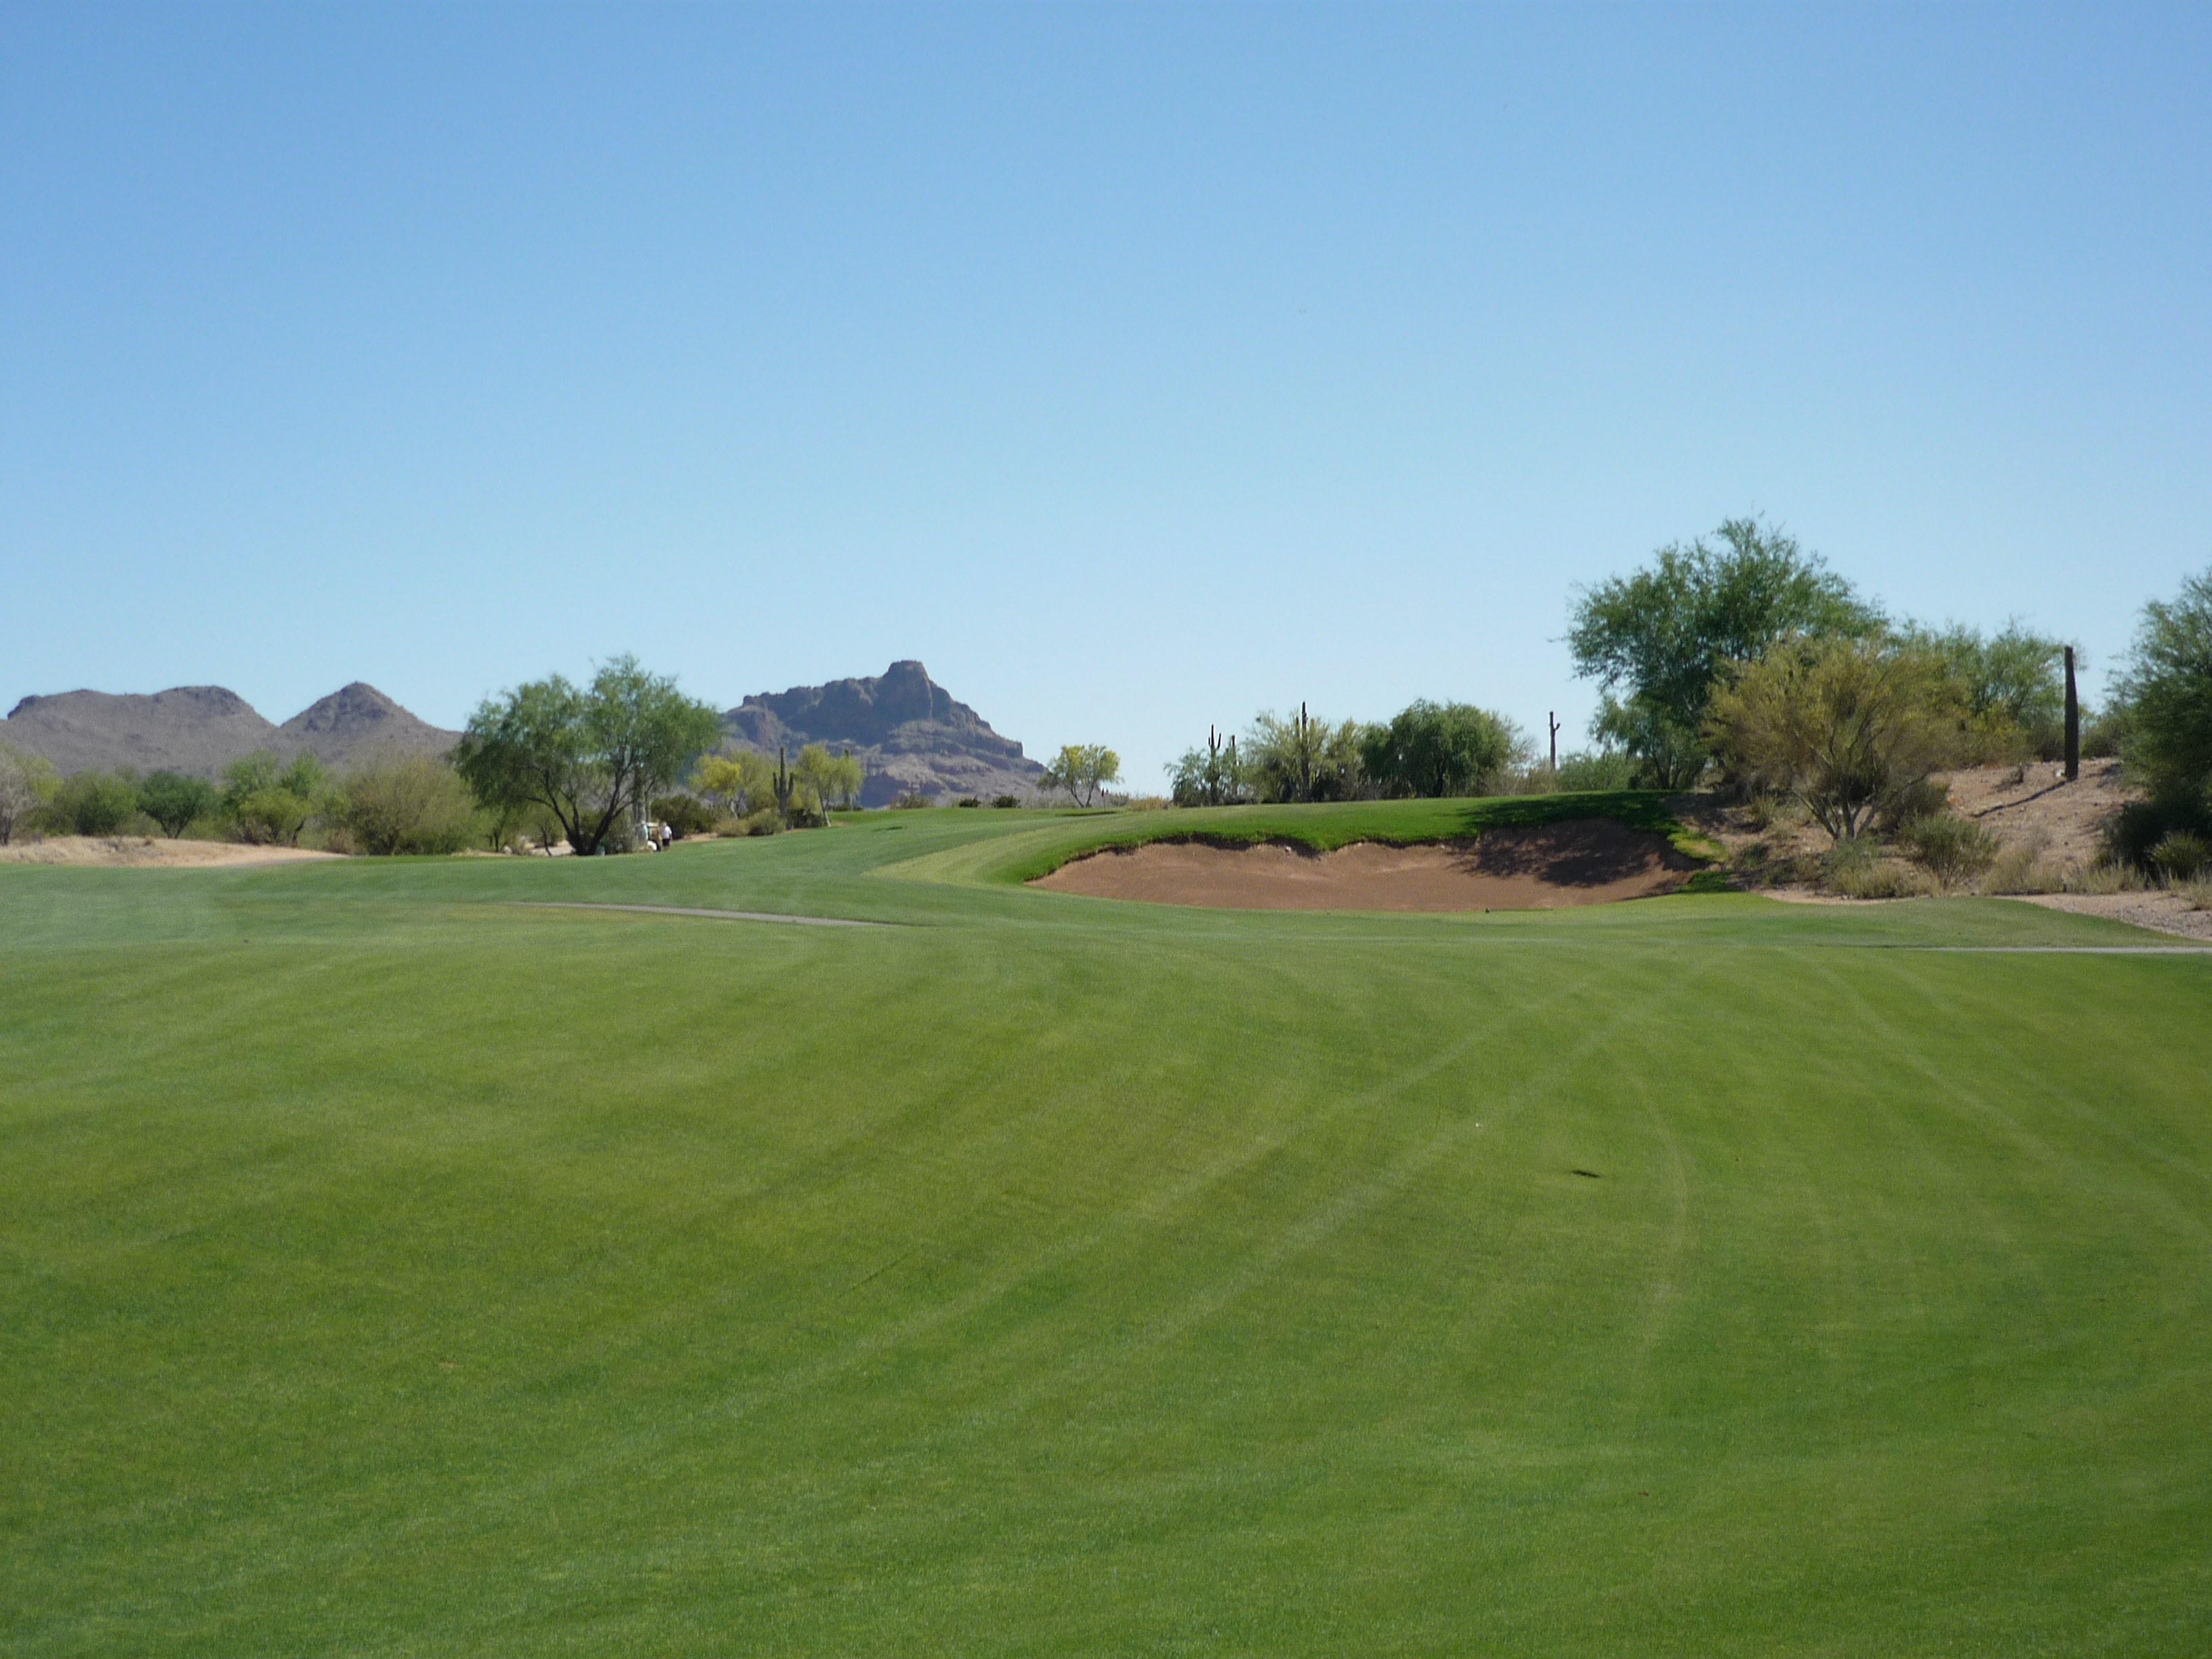
Hole 13 – 457 yards – Par 4
You have a huge landing area here. A small bunker guards the middle of the fairway at the turn of this dogleg left. Wail away with the old number 1.
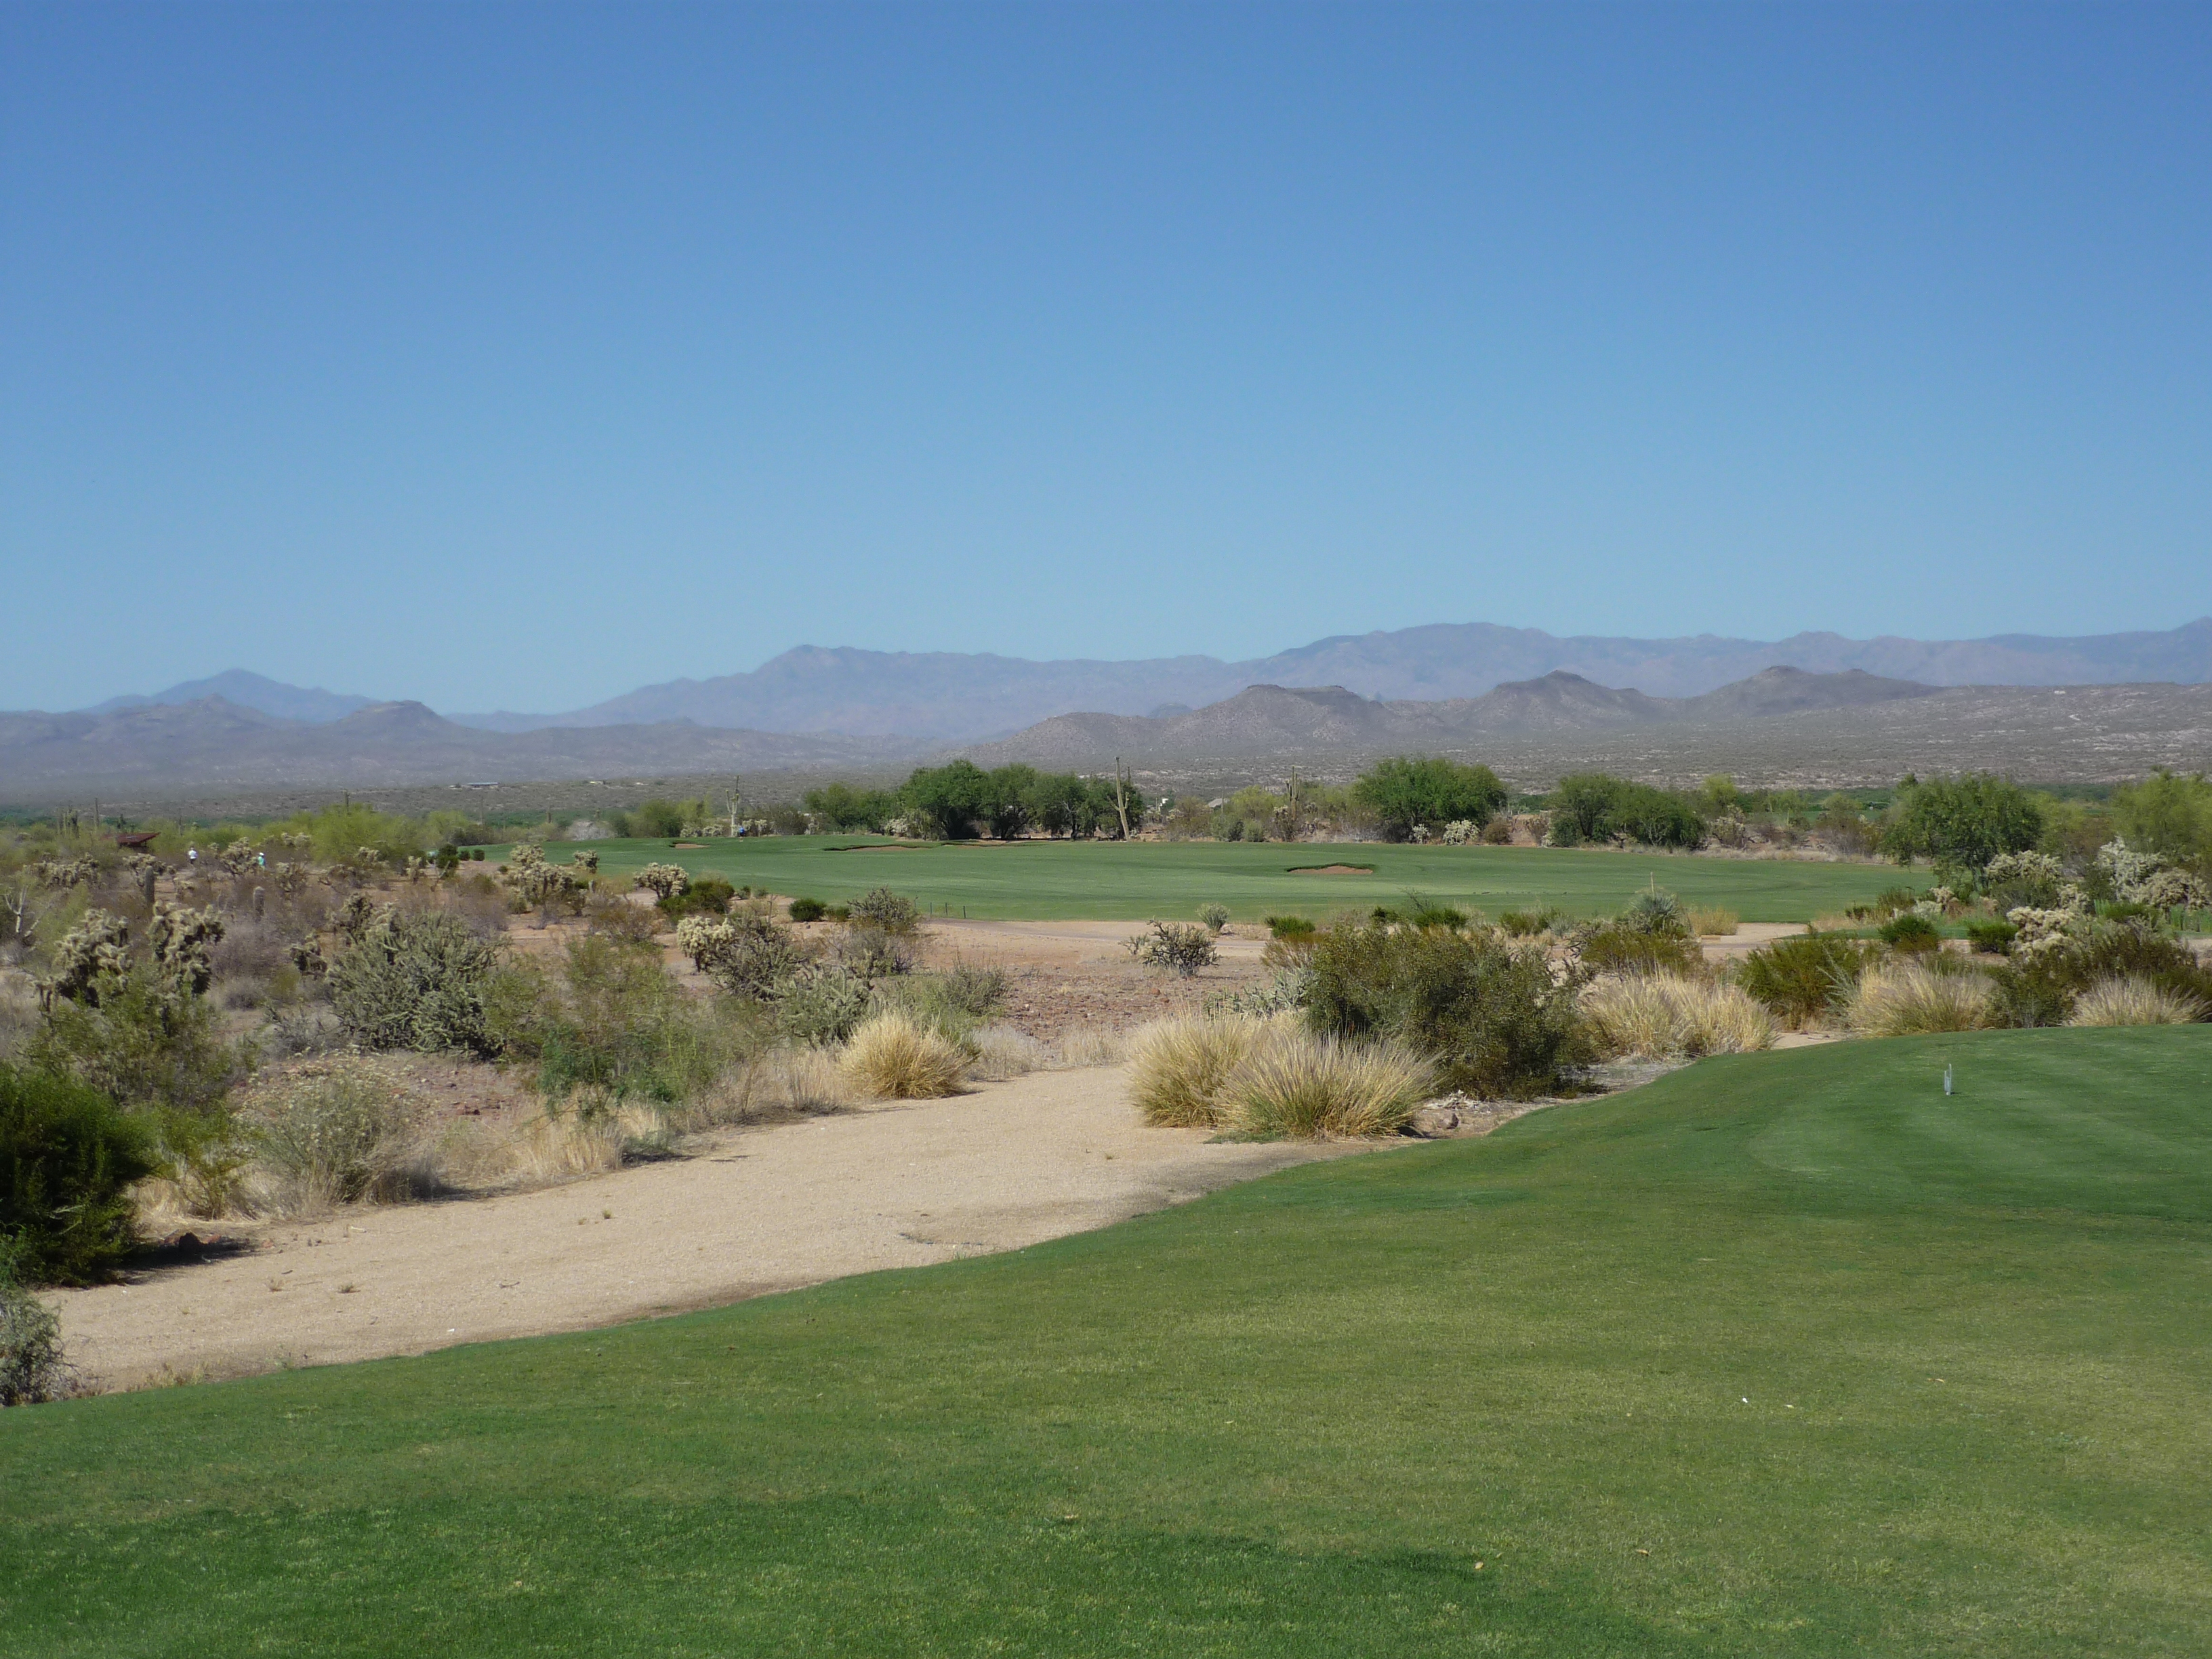
Flatter land can play tricks on your vision in the desert. I found it difficult to get the perspective I get at home. I like the challenge. Below is an example of what I am talking about on the approach shot.

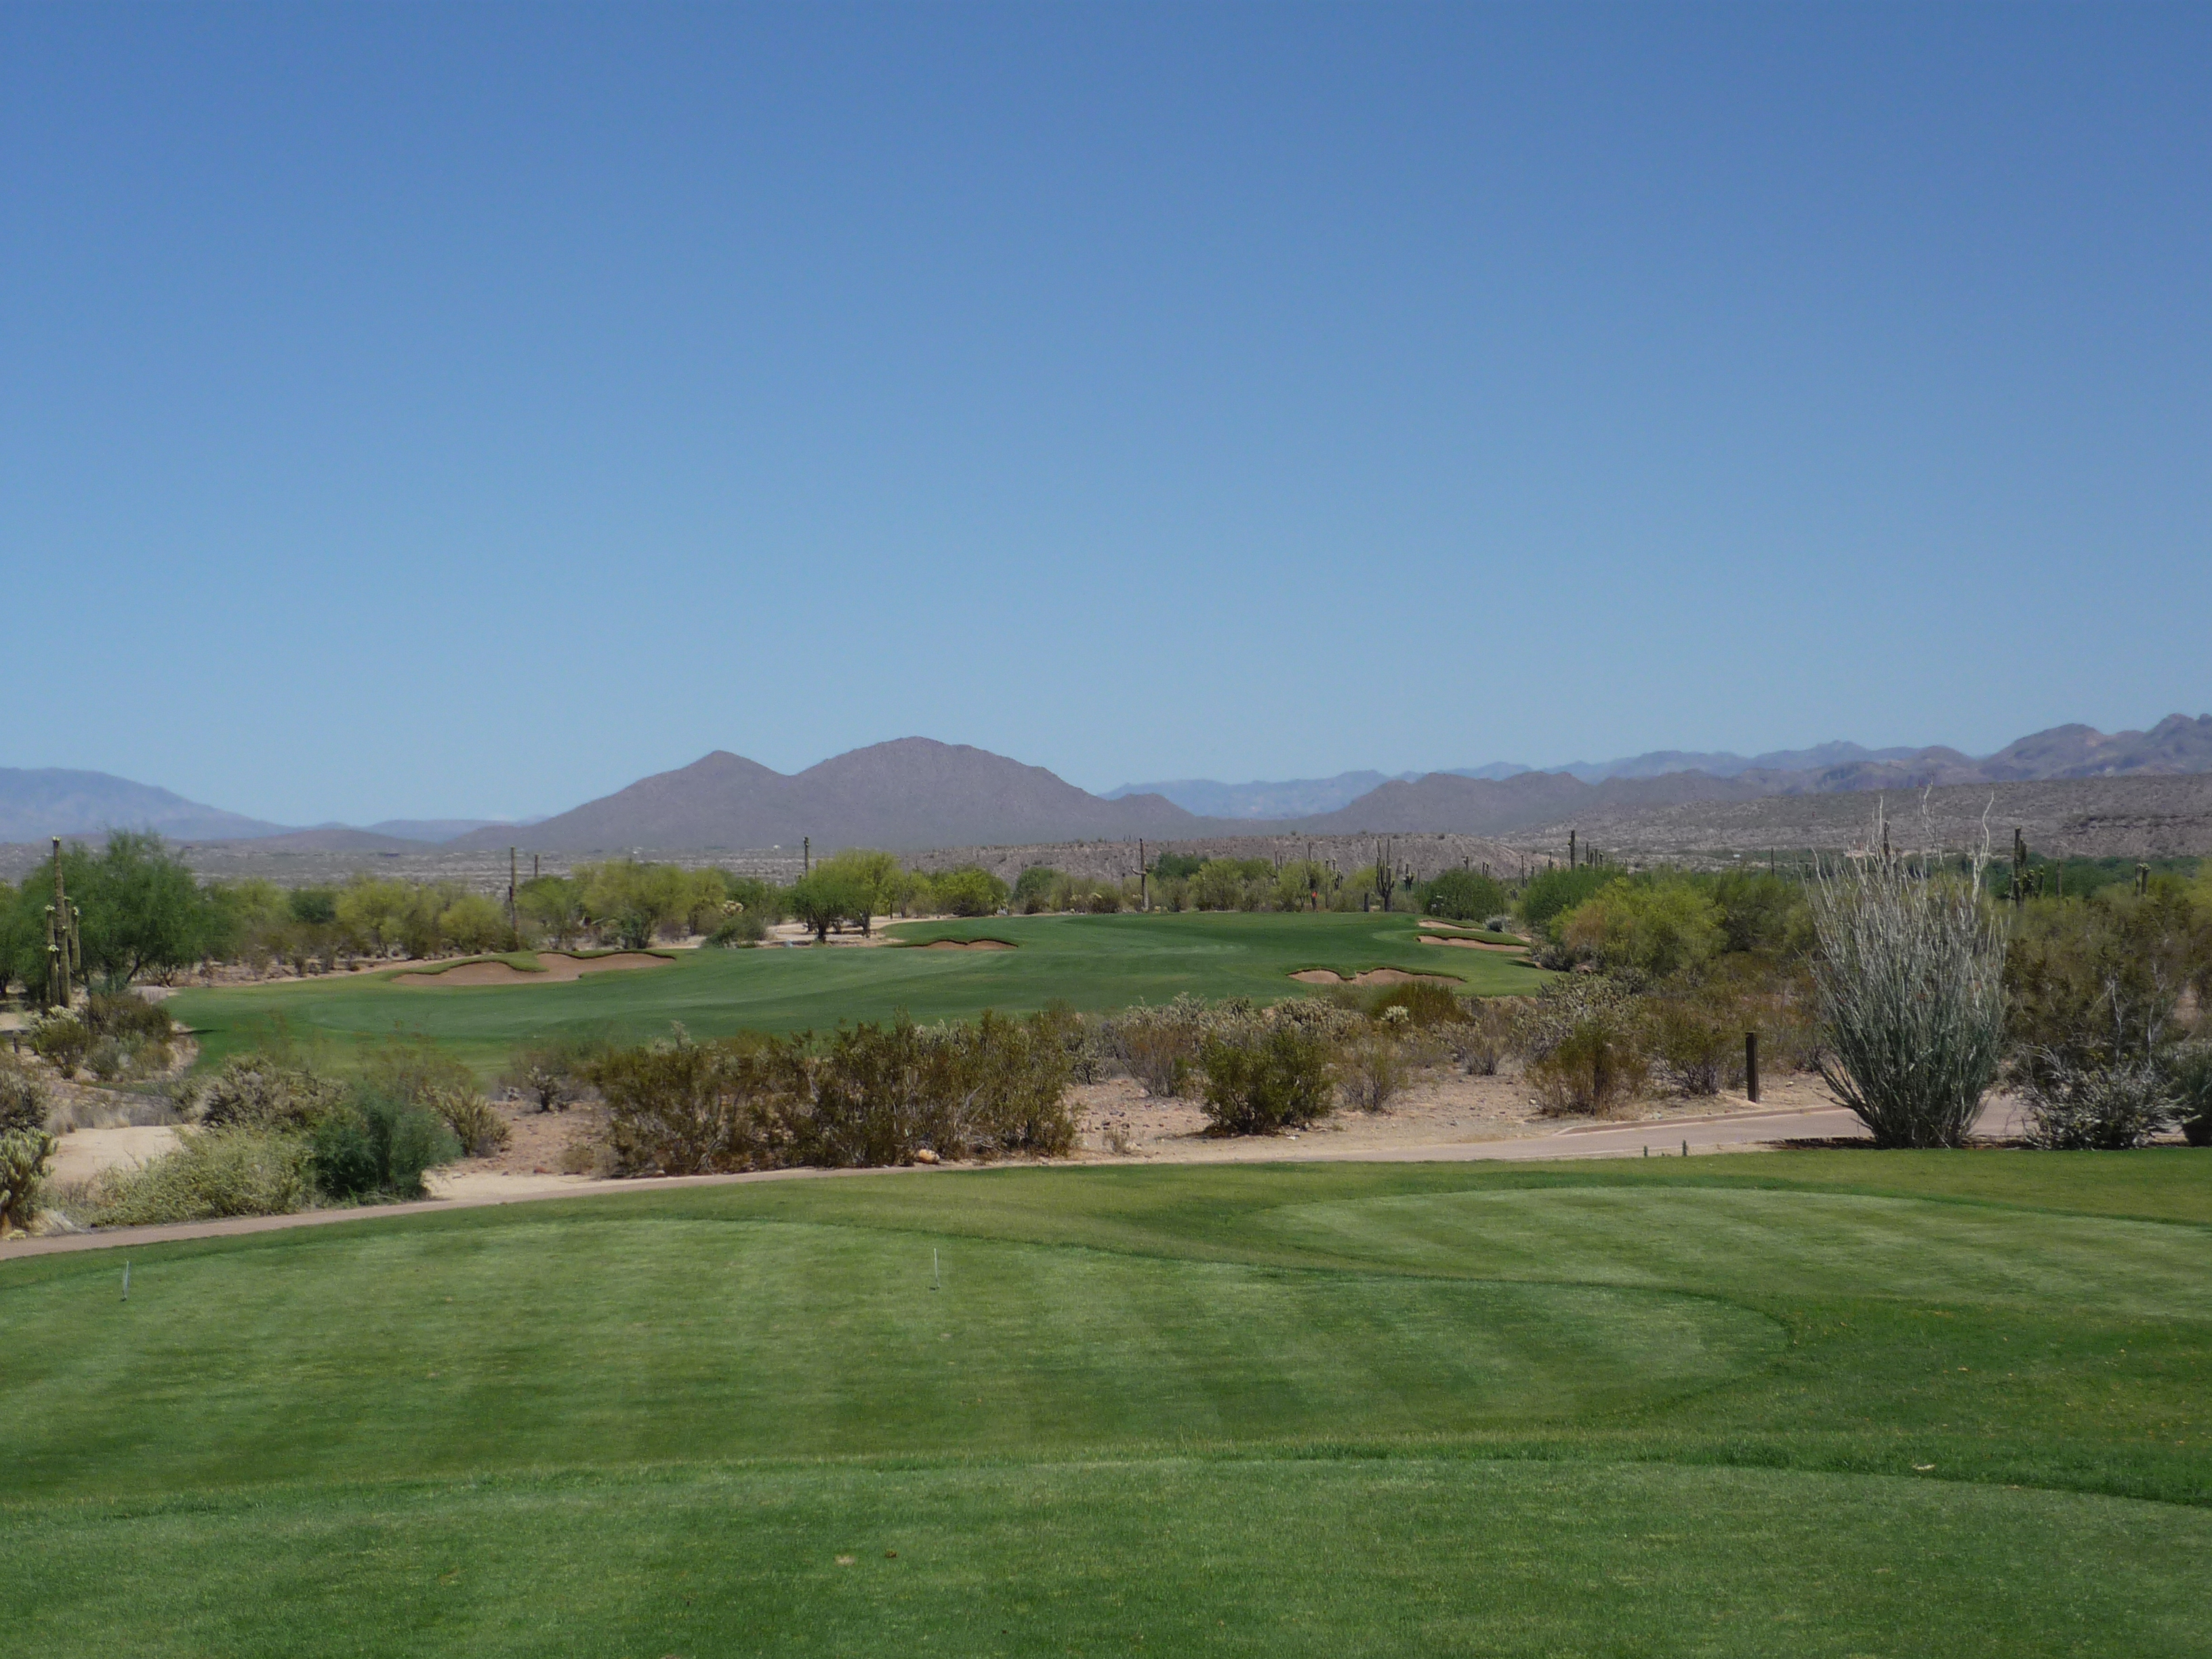
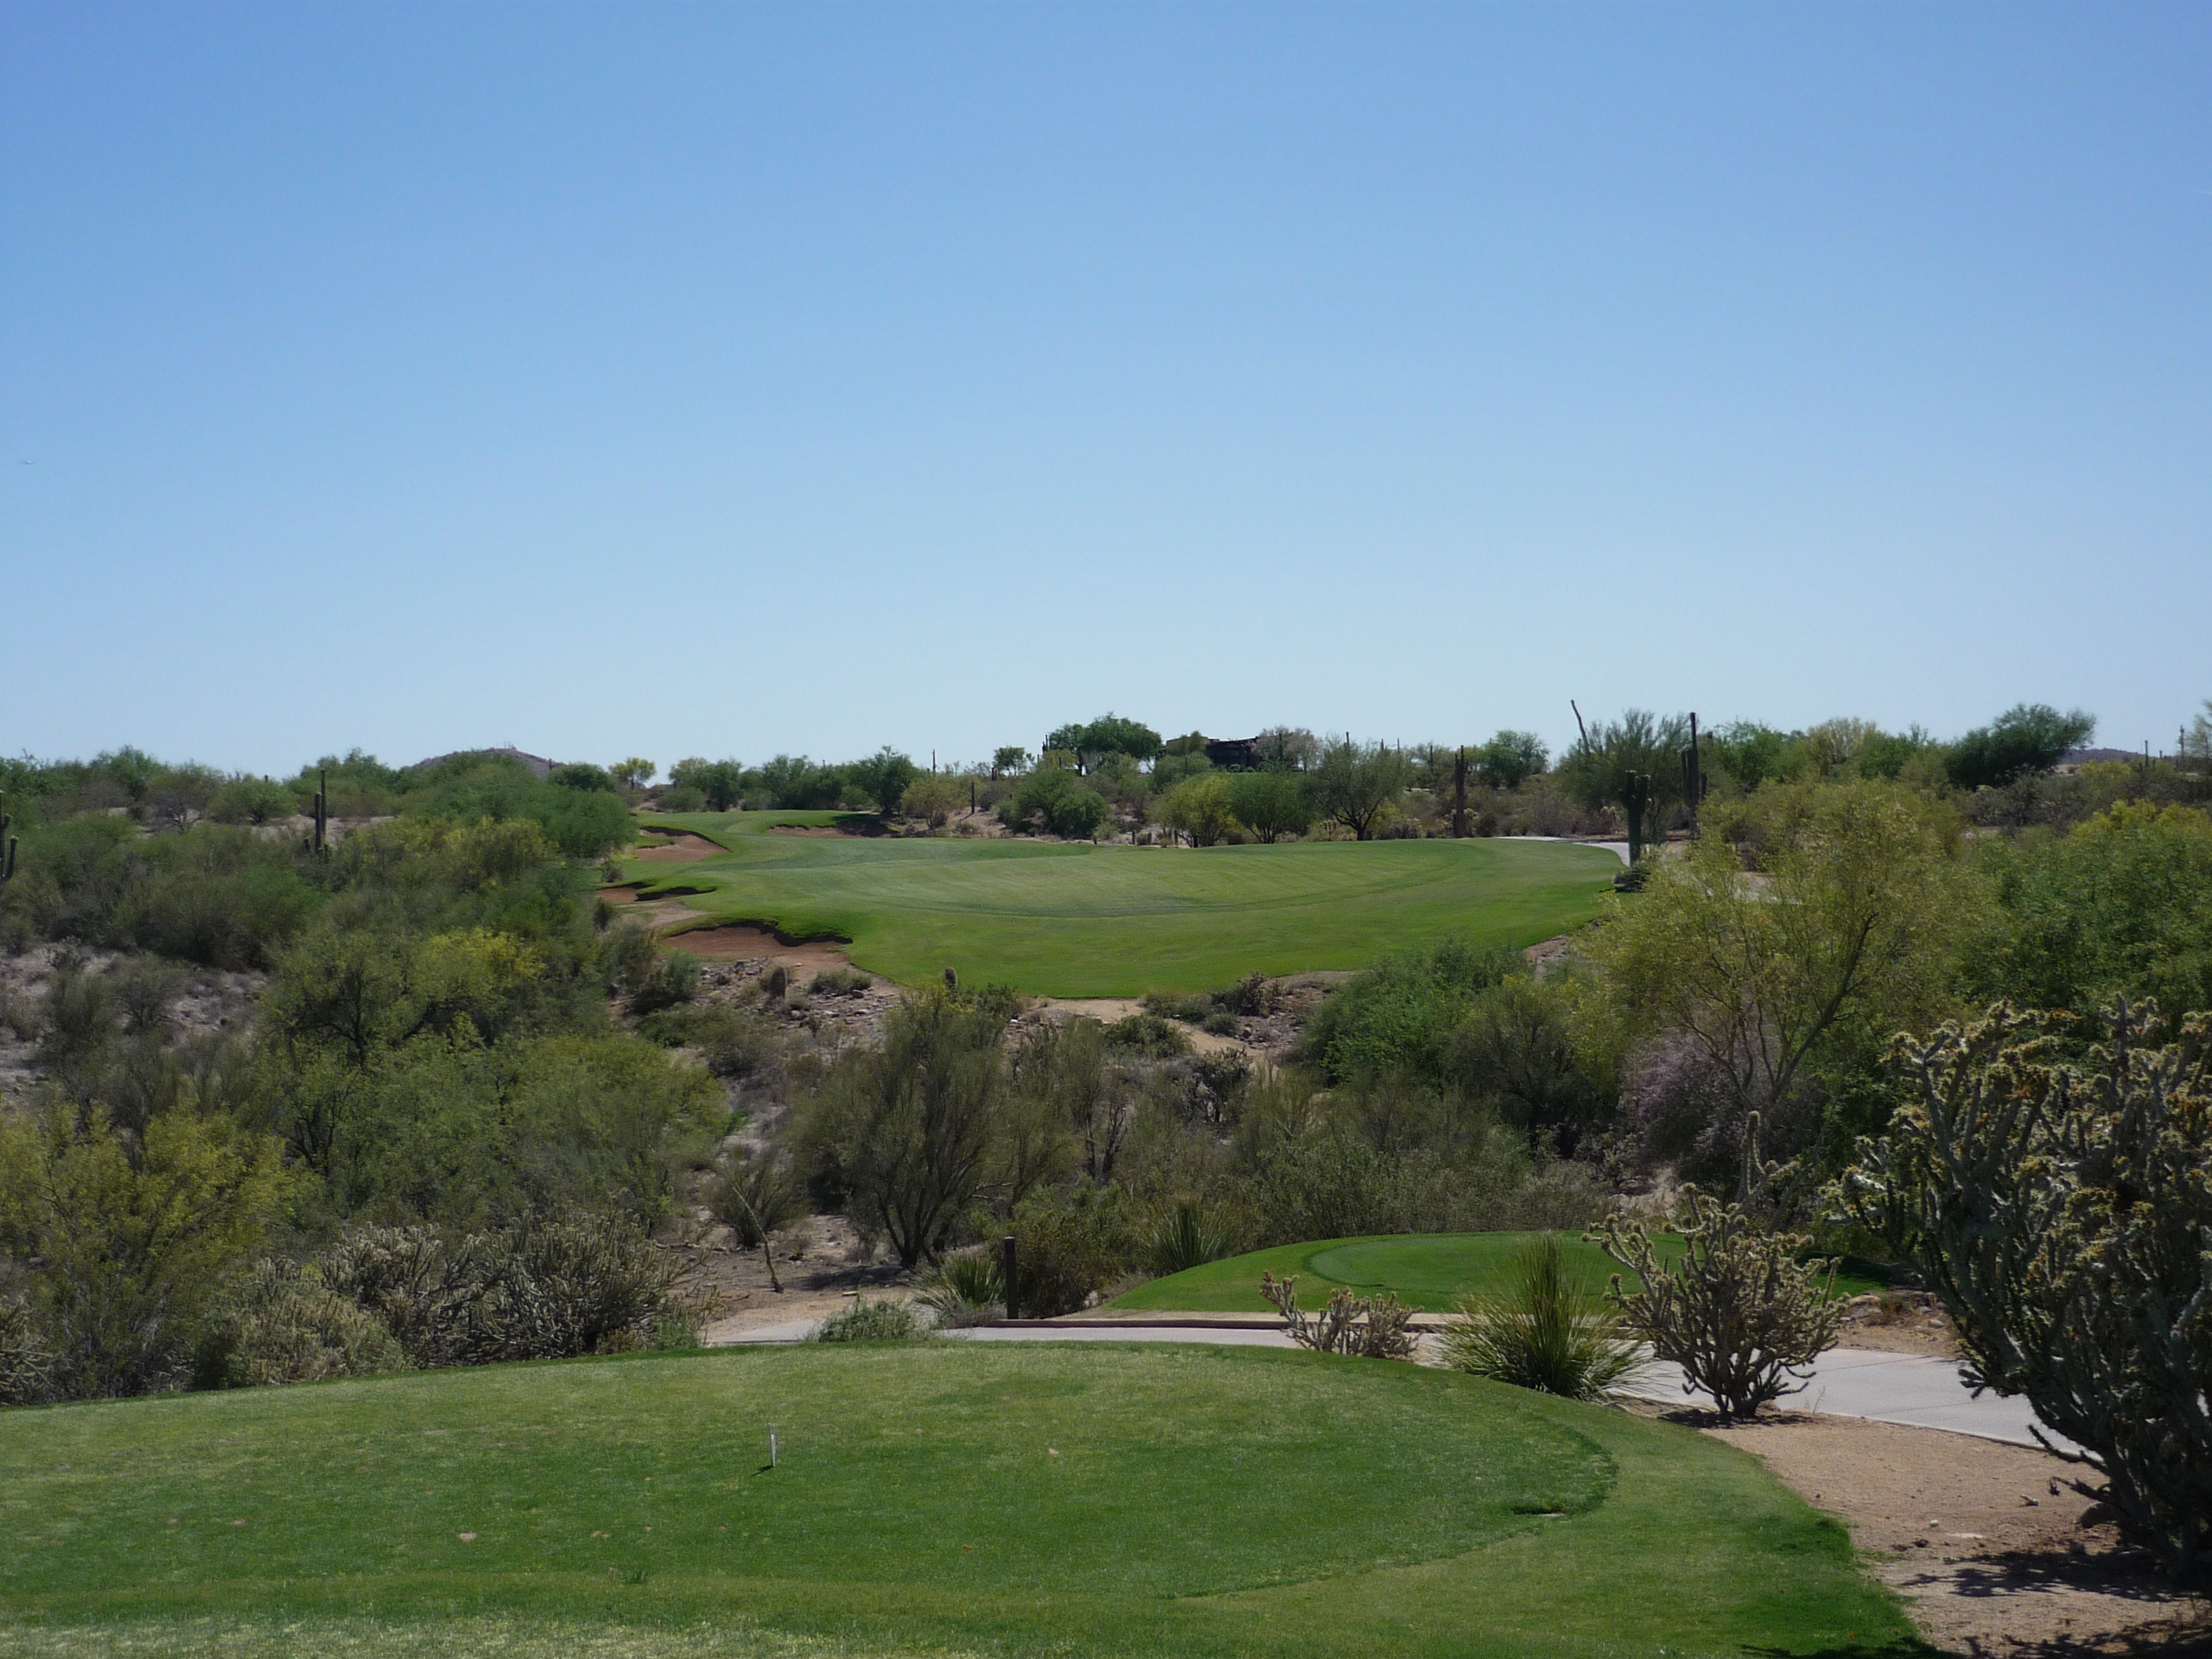
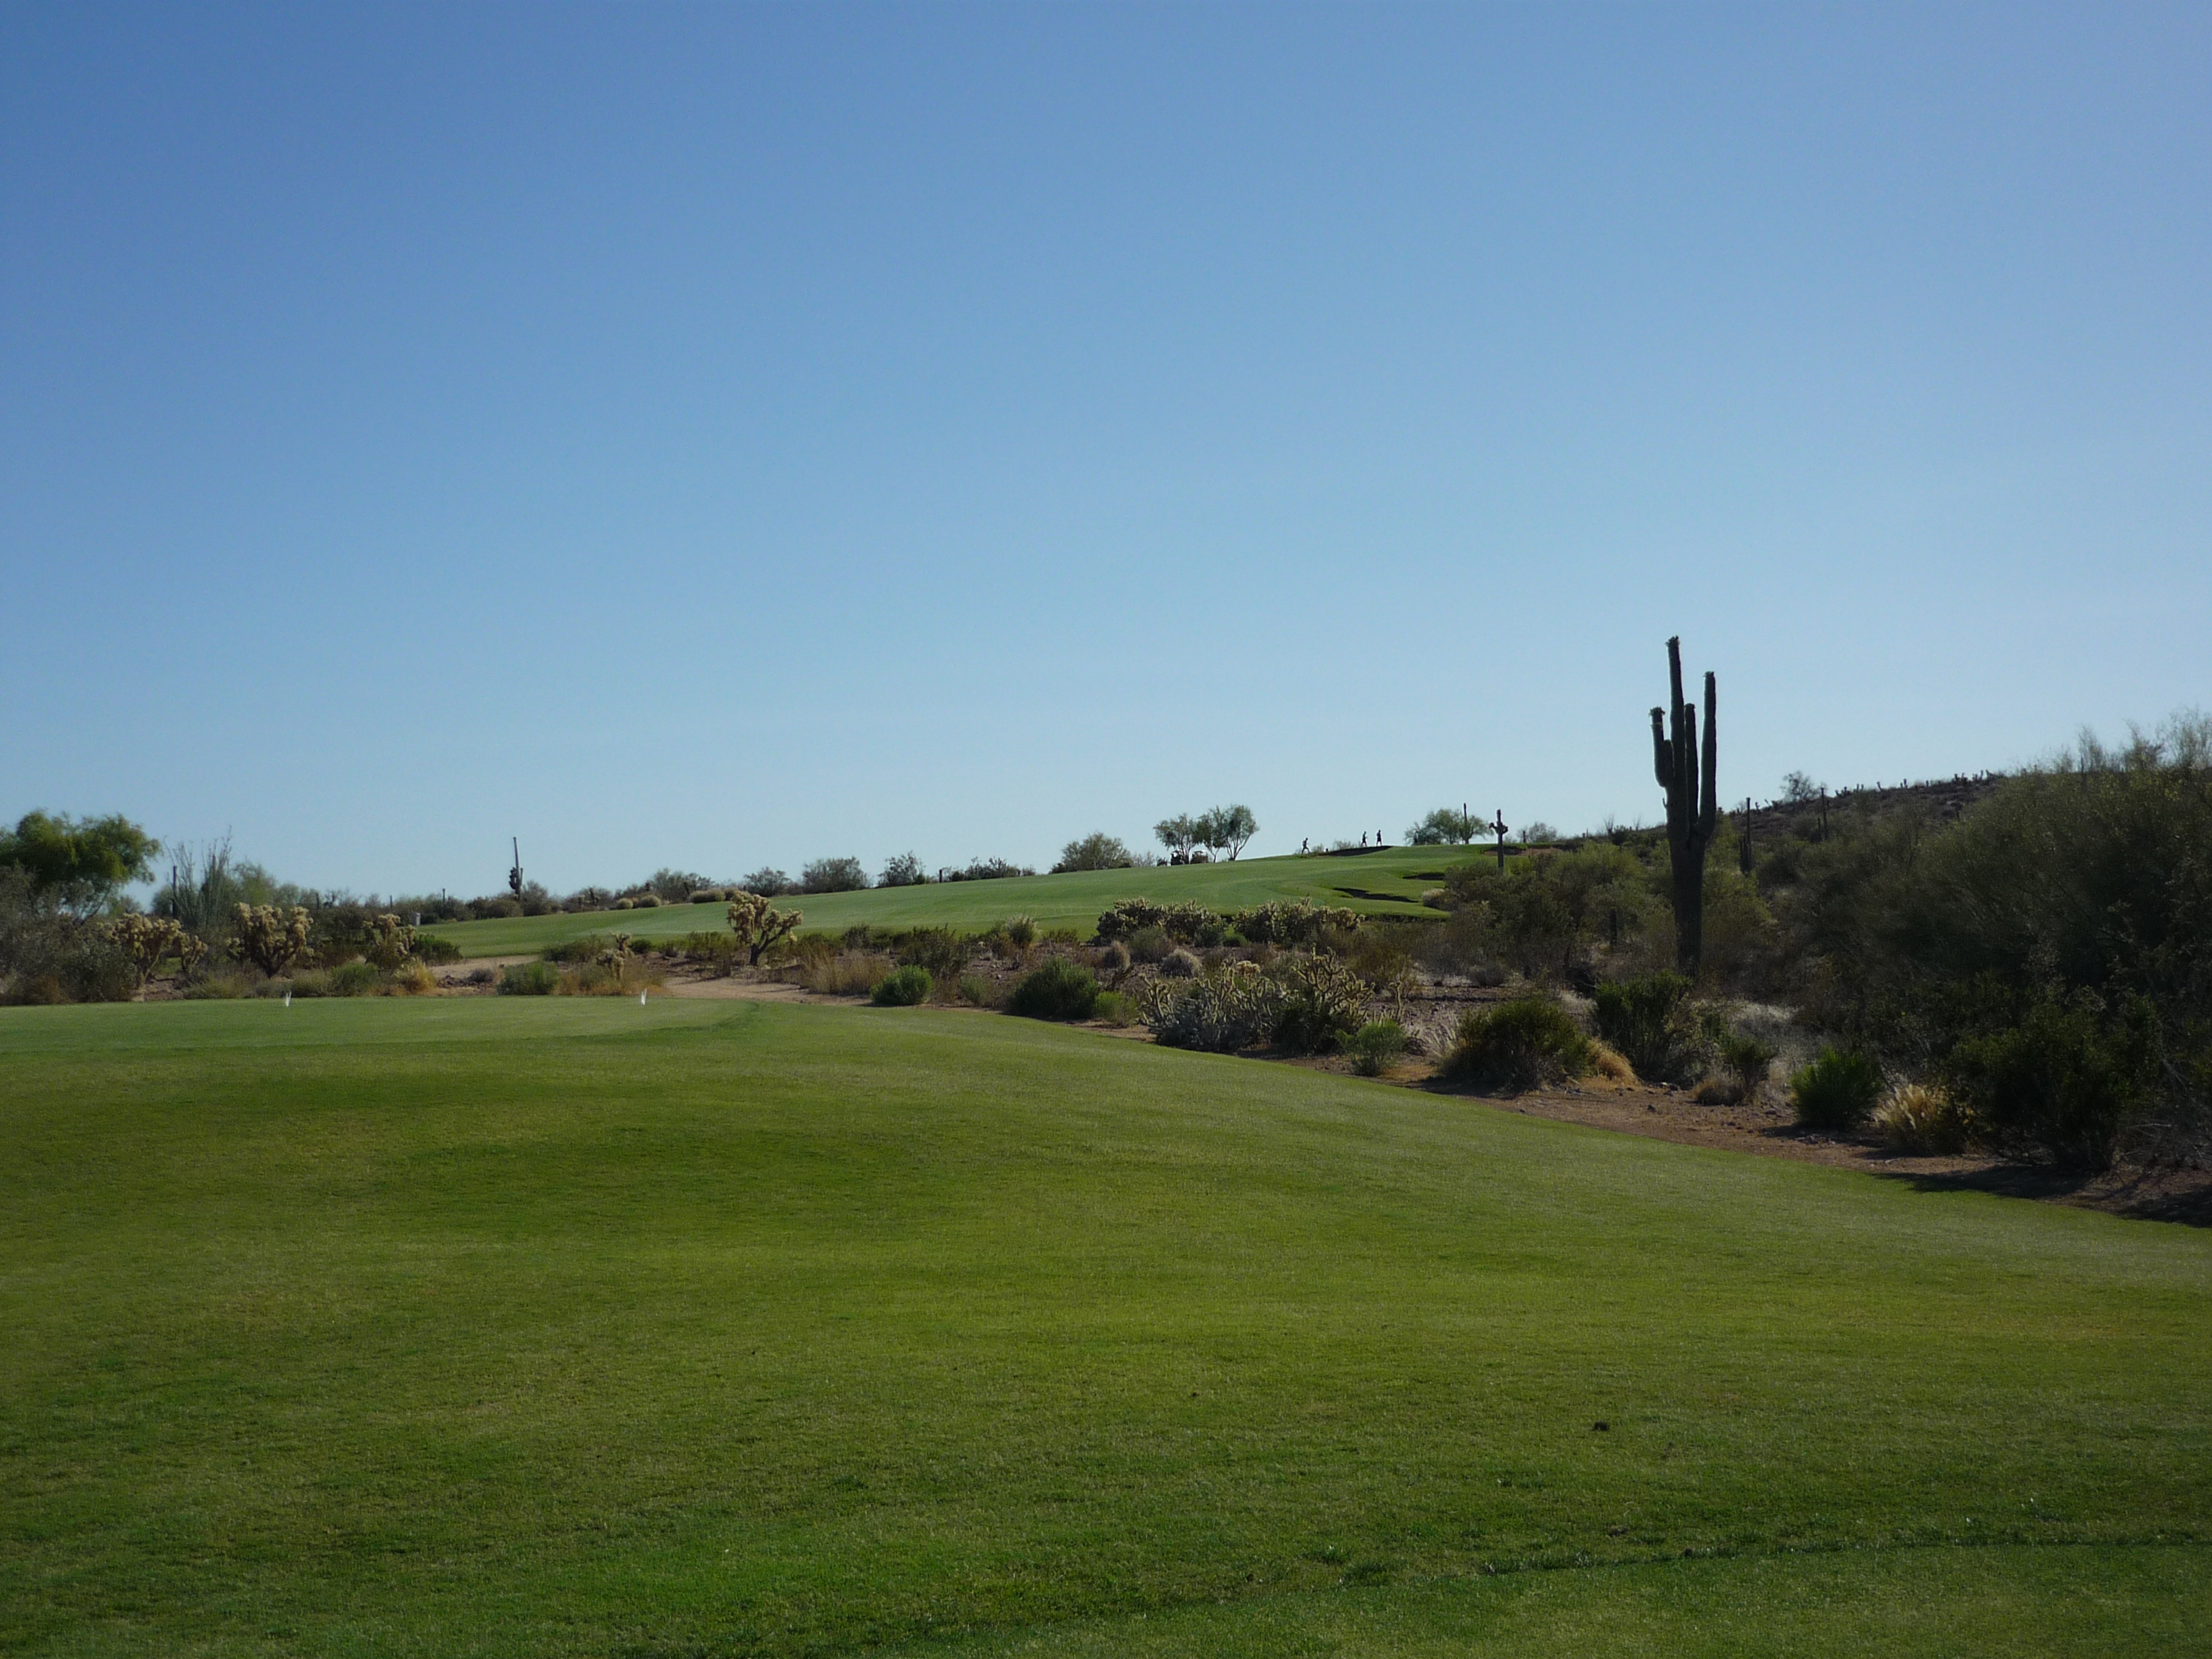
Hole 14 – 527 yards – Par 5
You have two options here. A double fairway forces a choice. The one on the right is smaller, but gives a more direct route to the green. Left is obviously a more circuitous route.
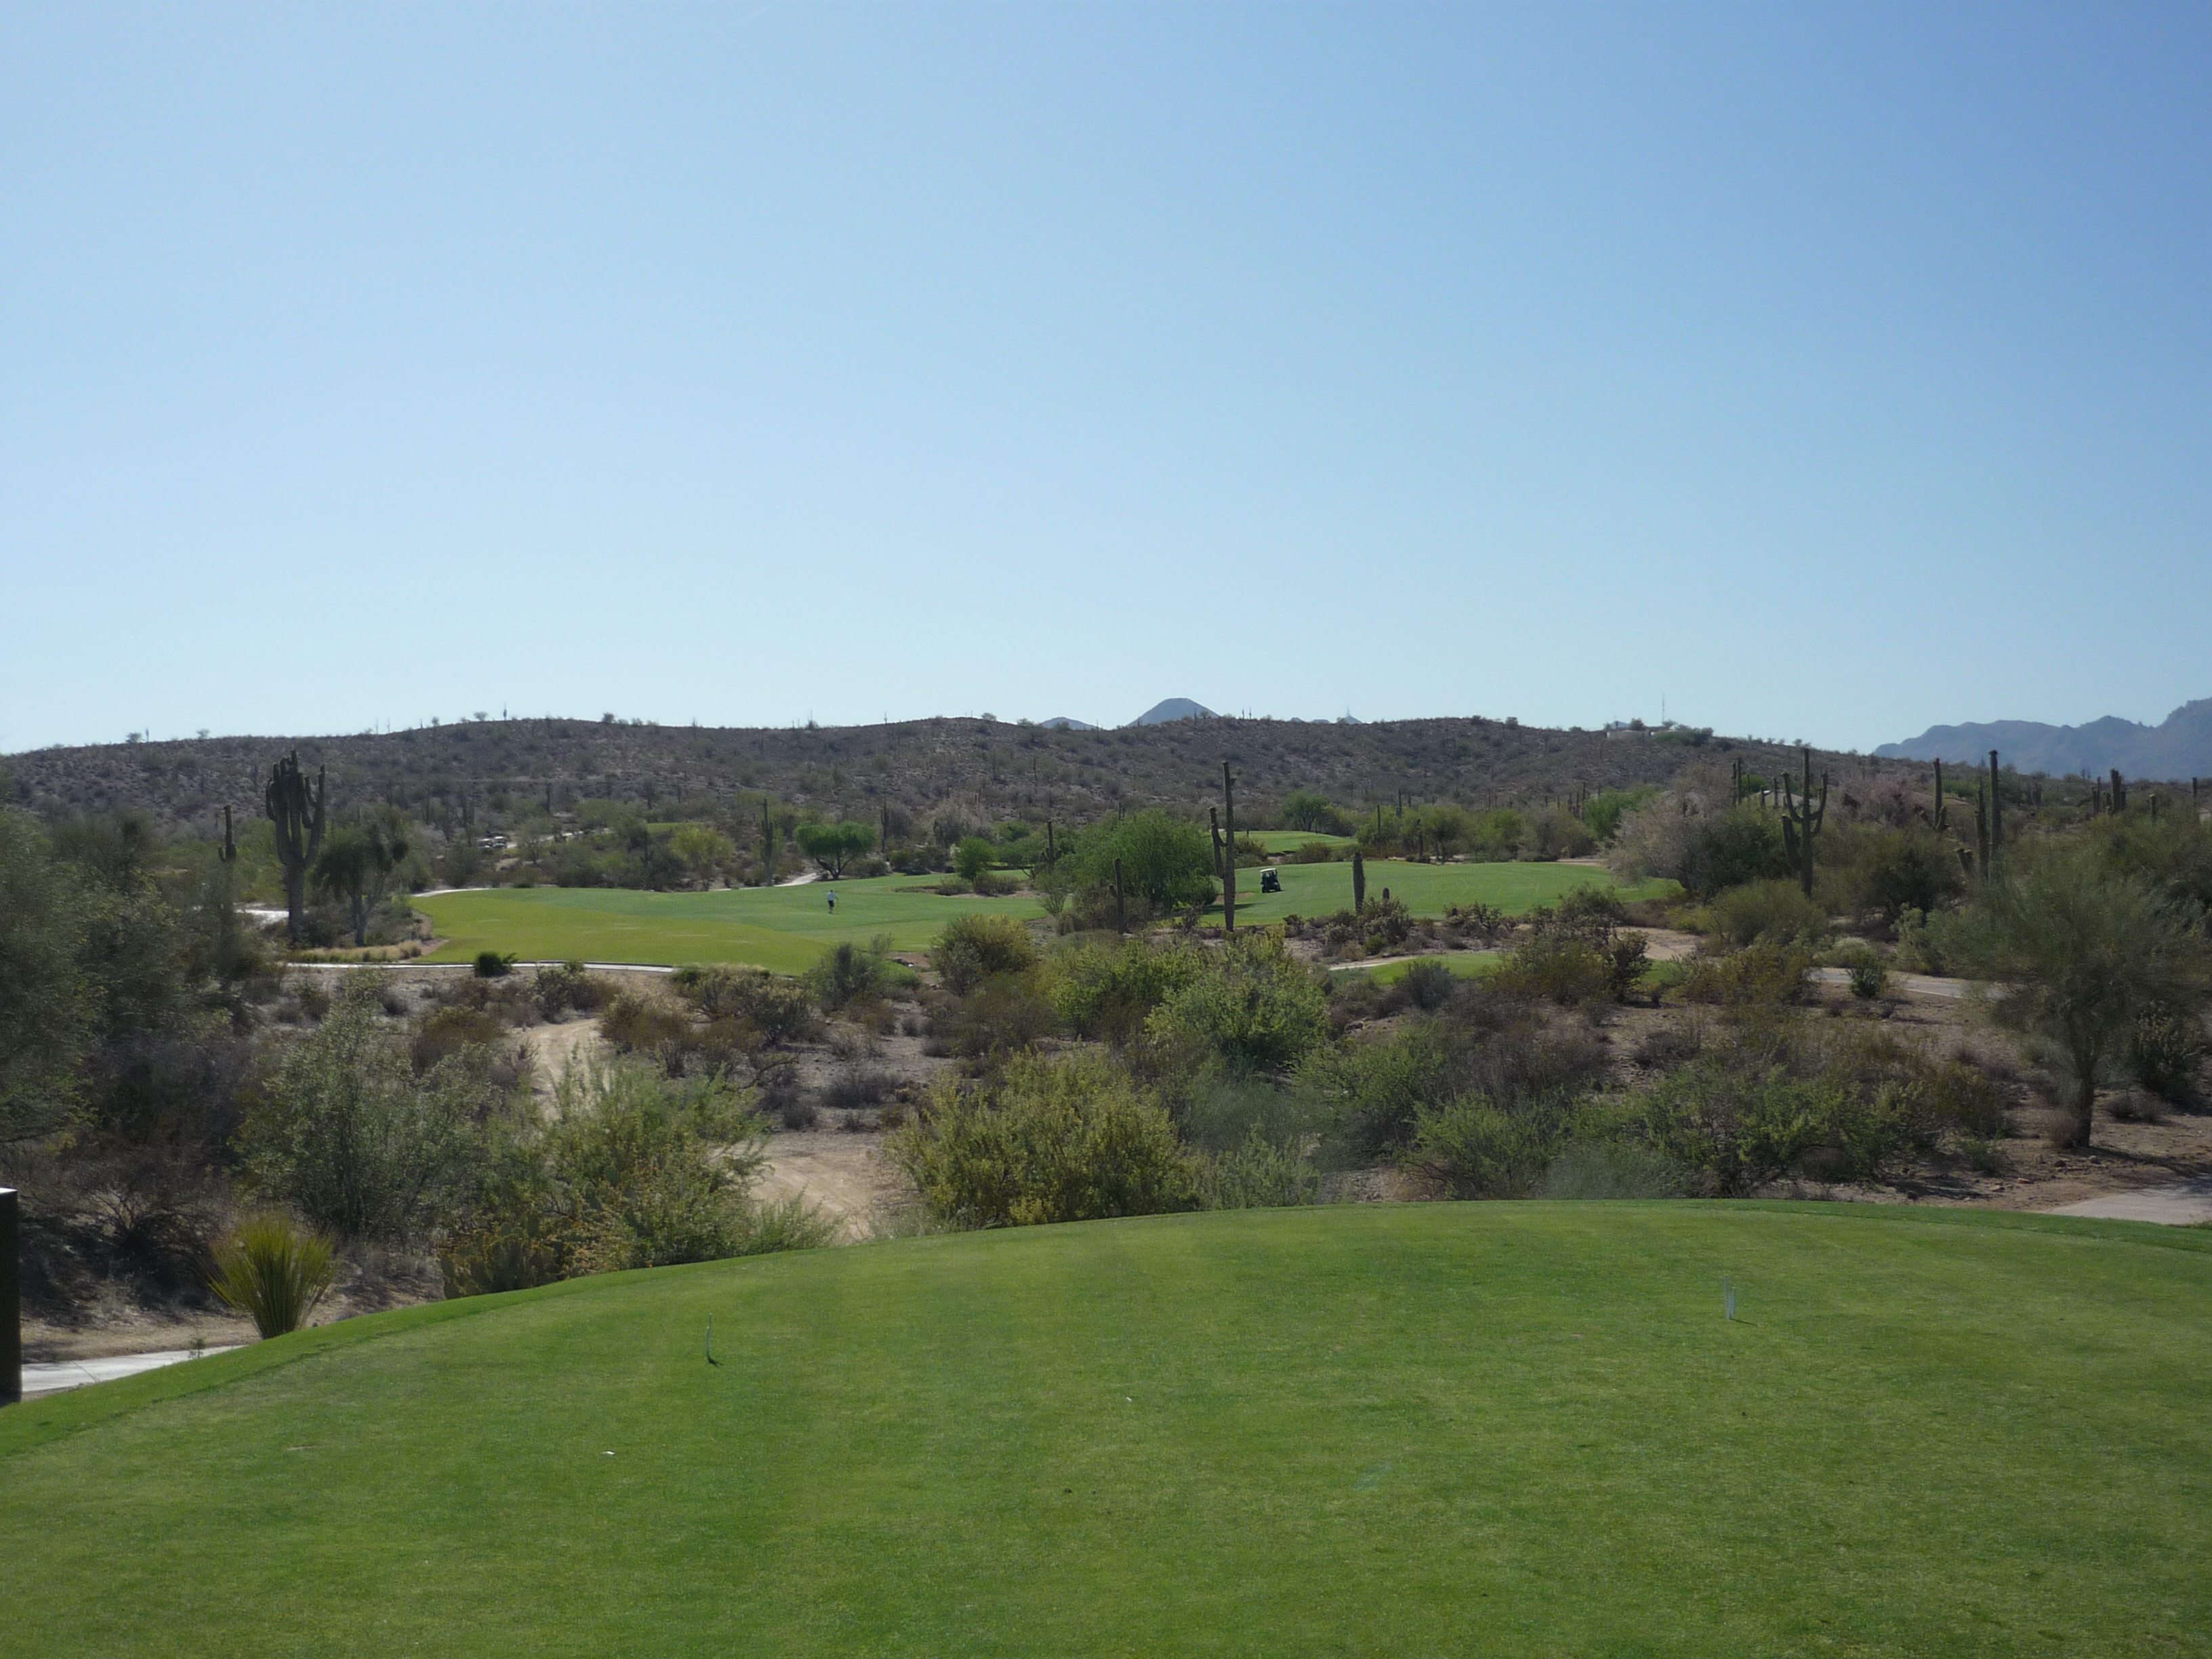
A look from the fairway.
The green sits slightly perched with the desert coming in hard on the right. If you miss, do it on the left side.
Below is a look at the flat putting surface.
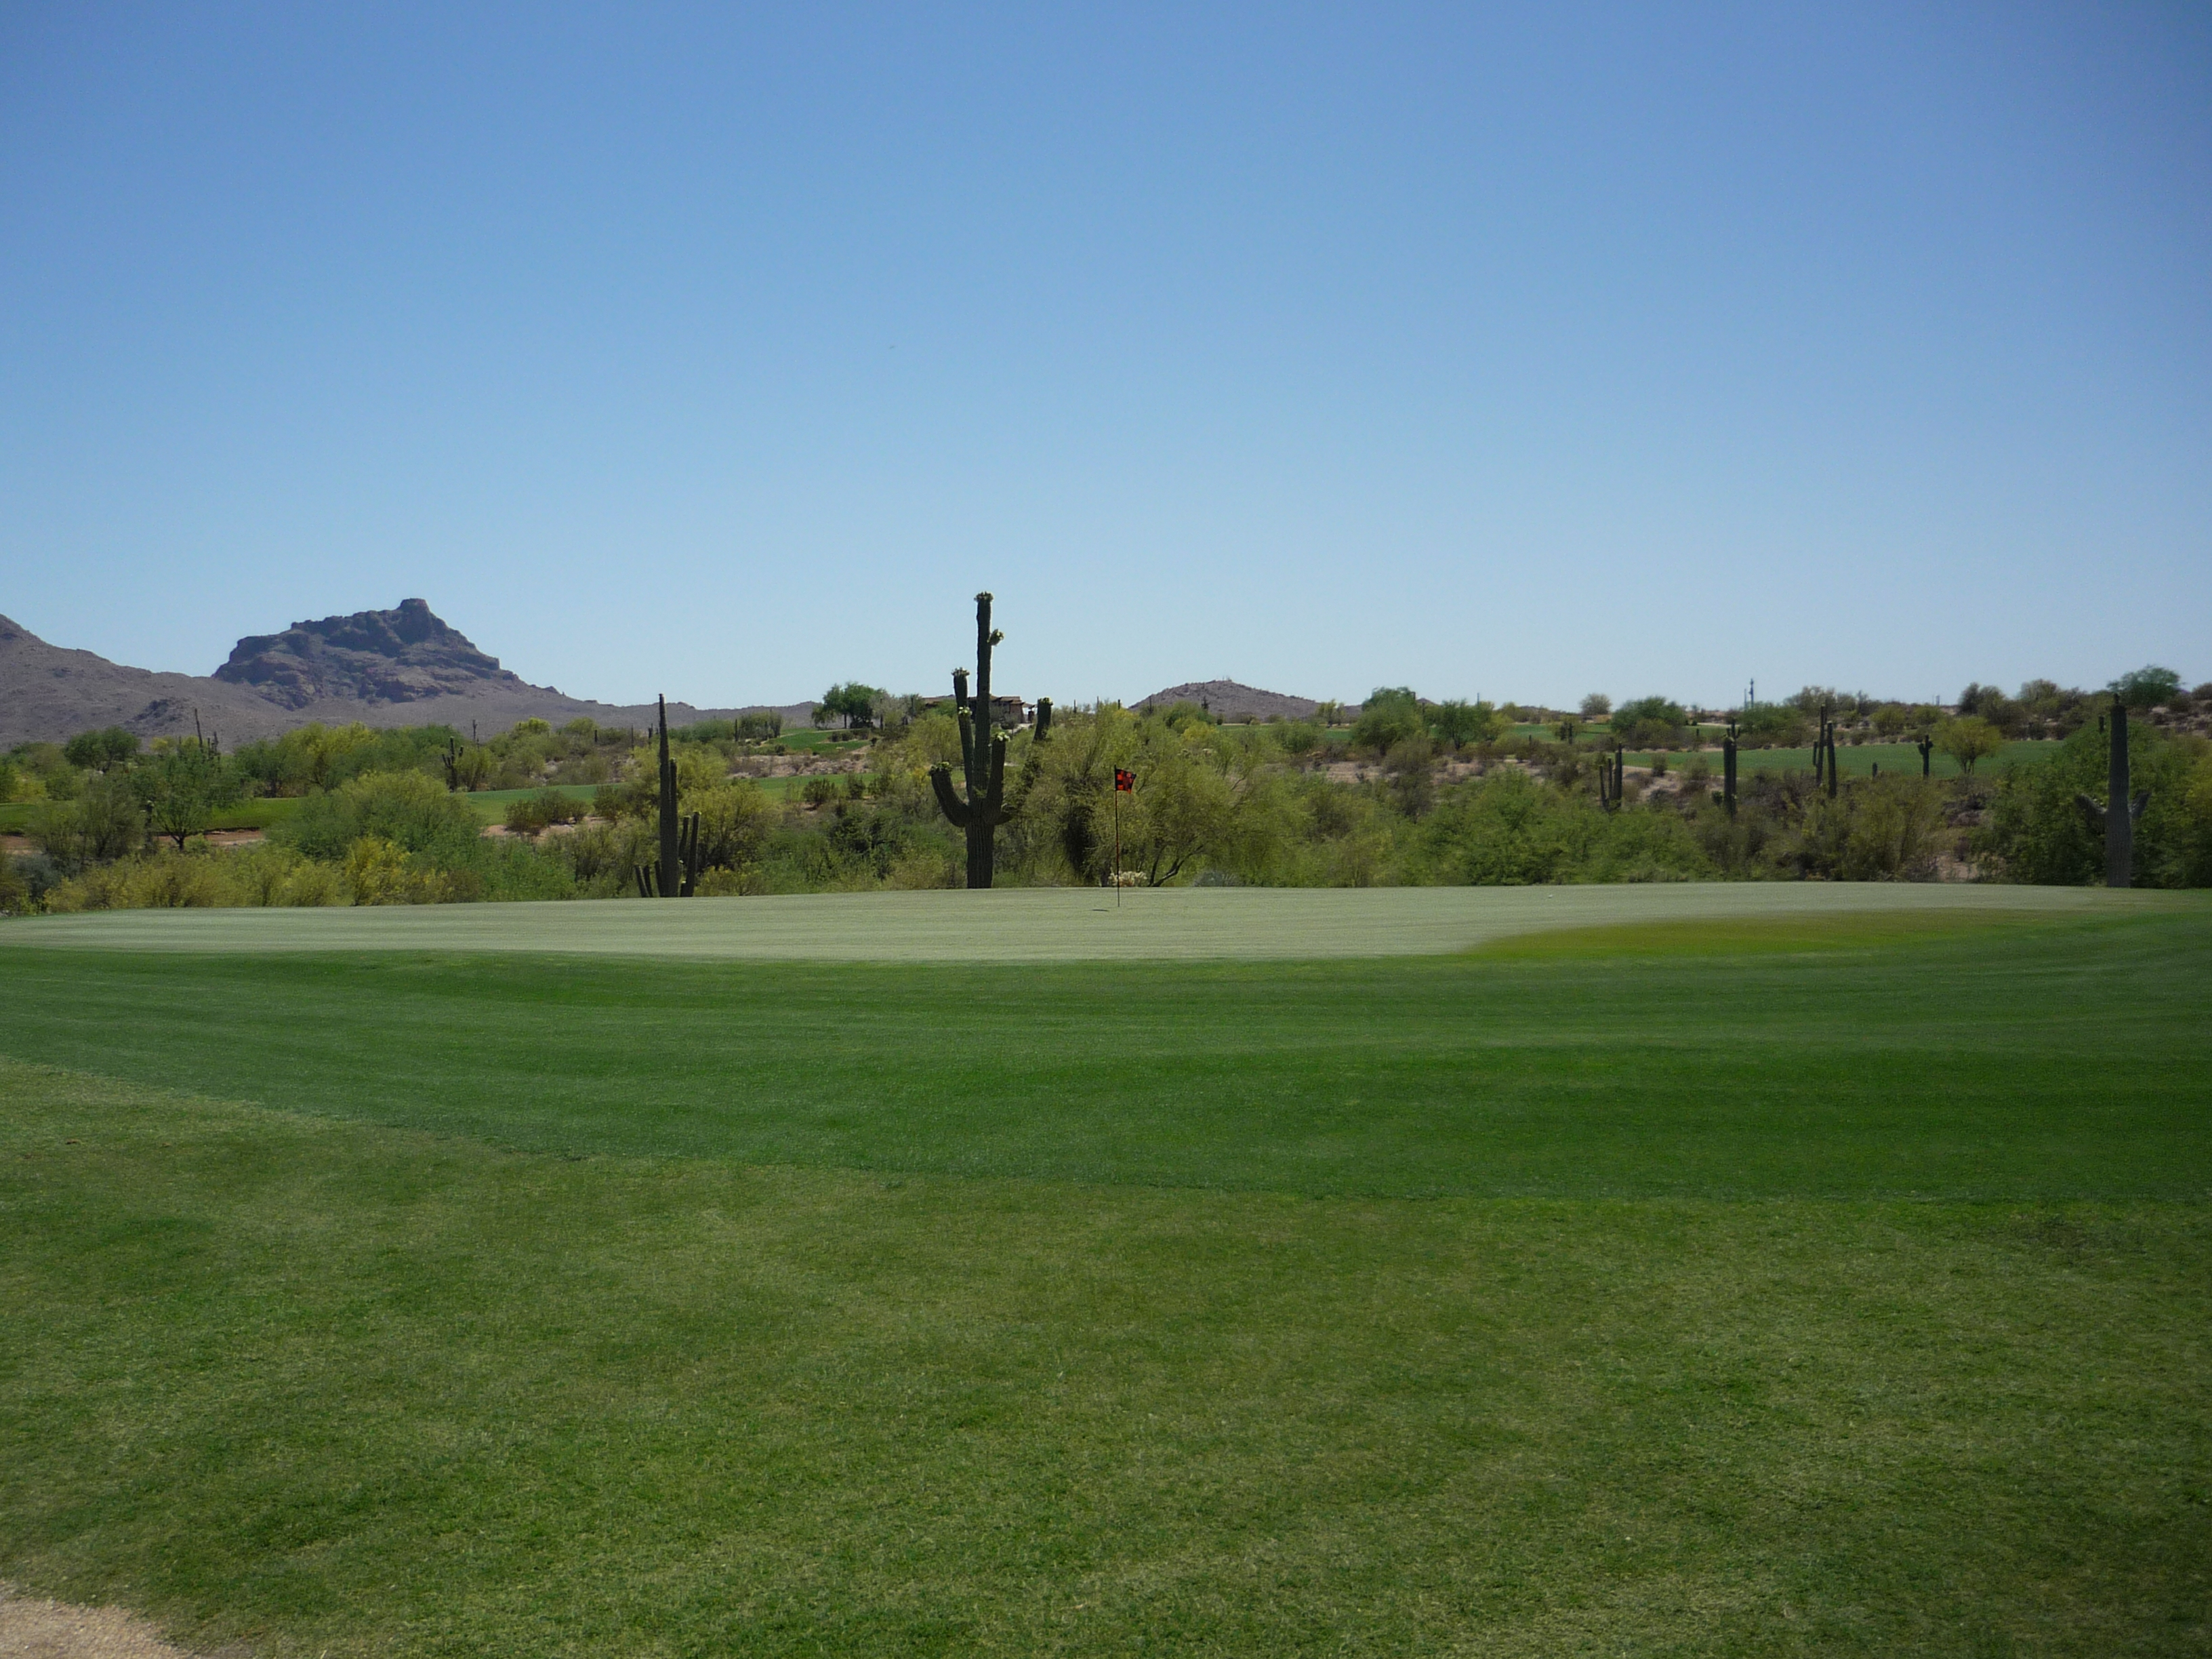
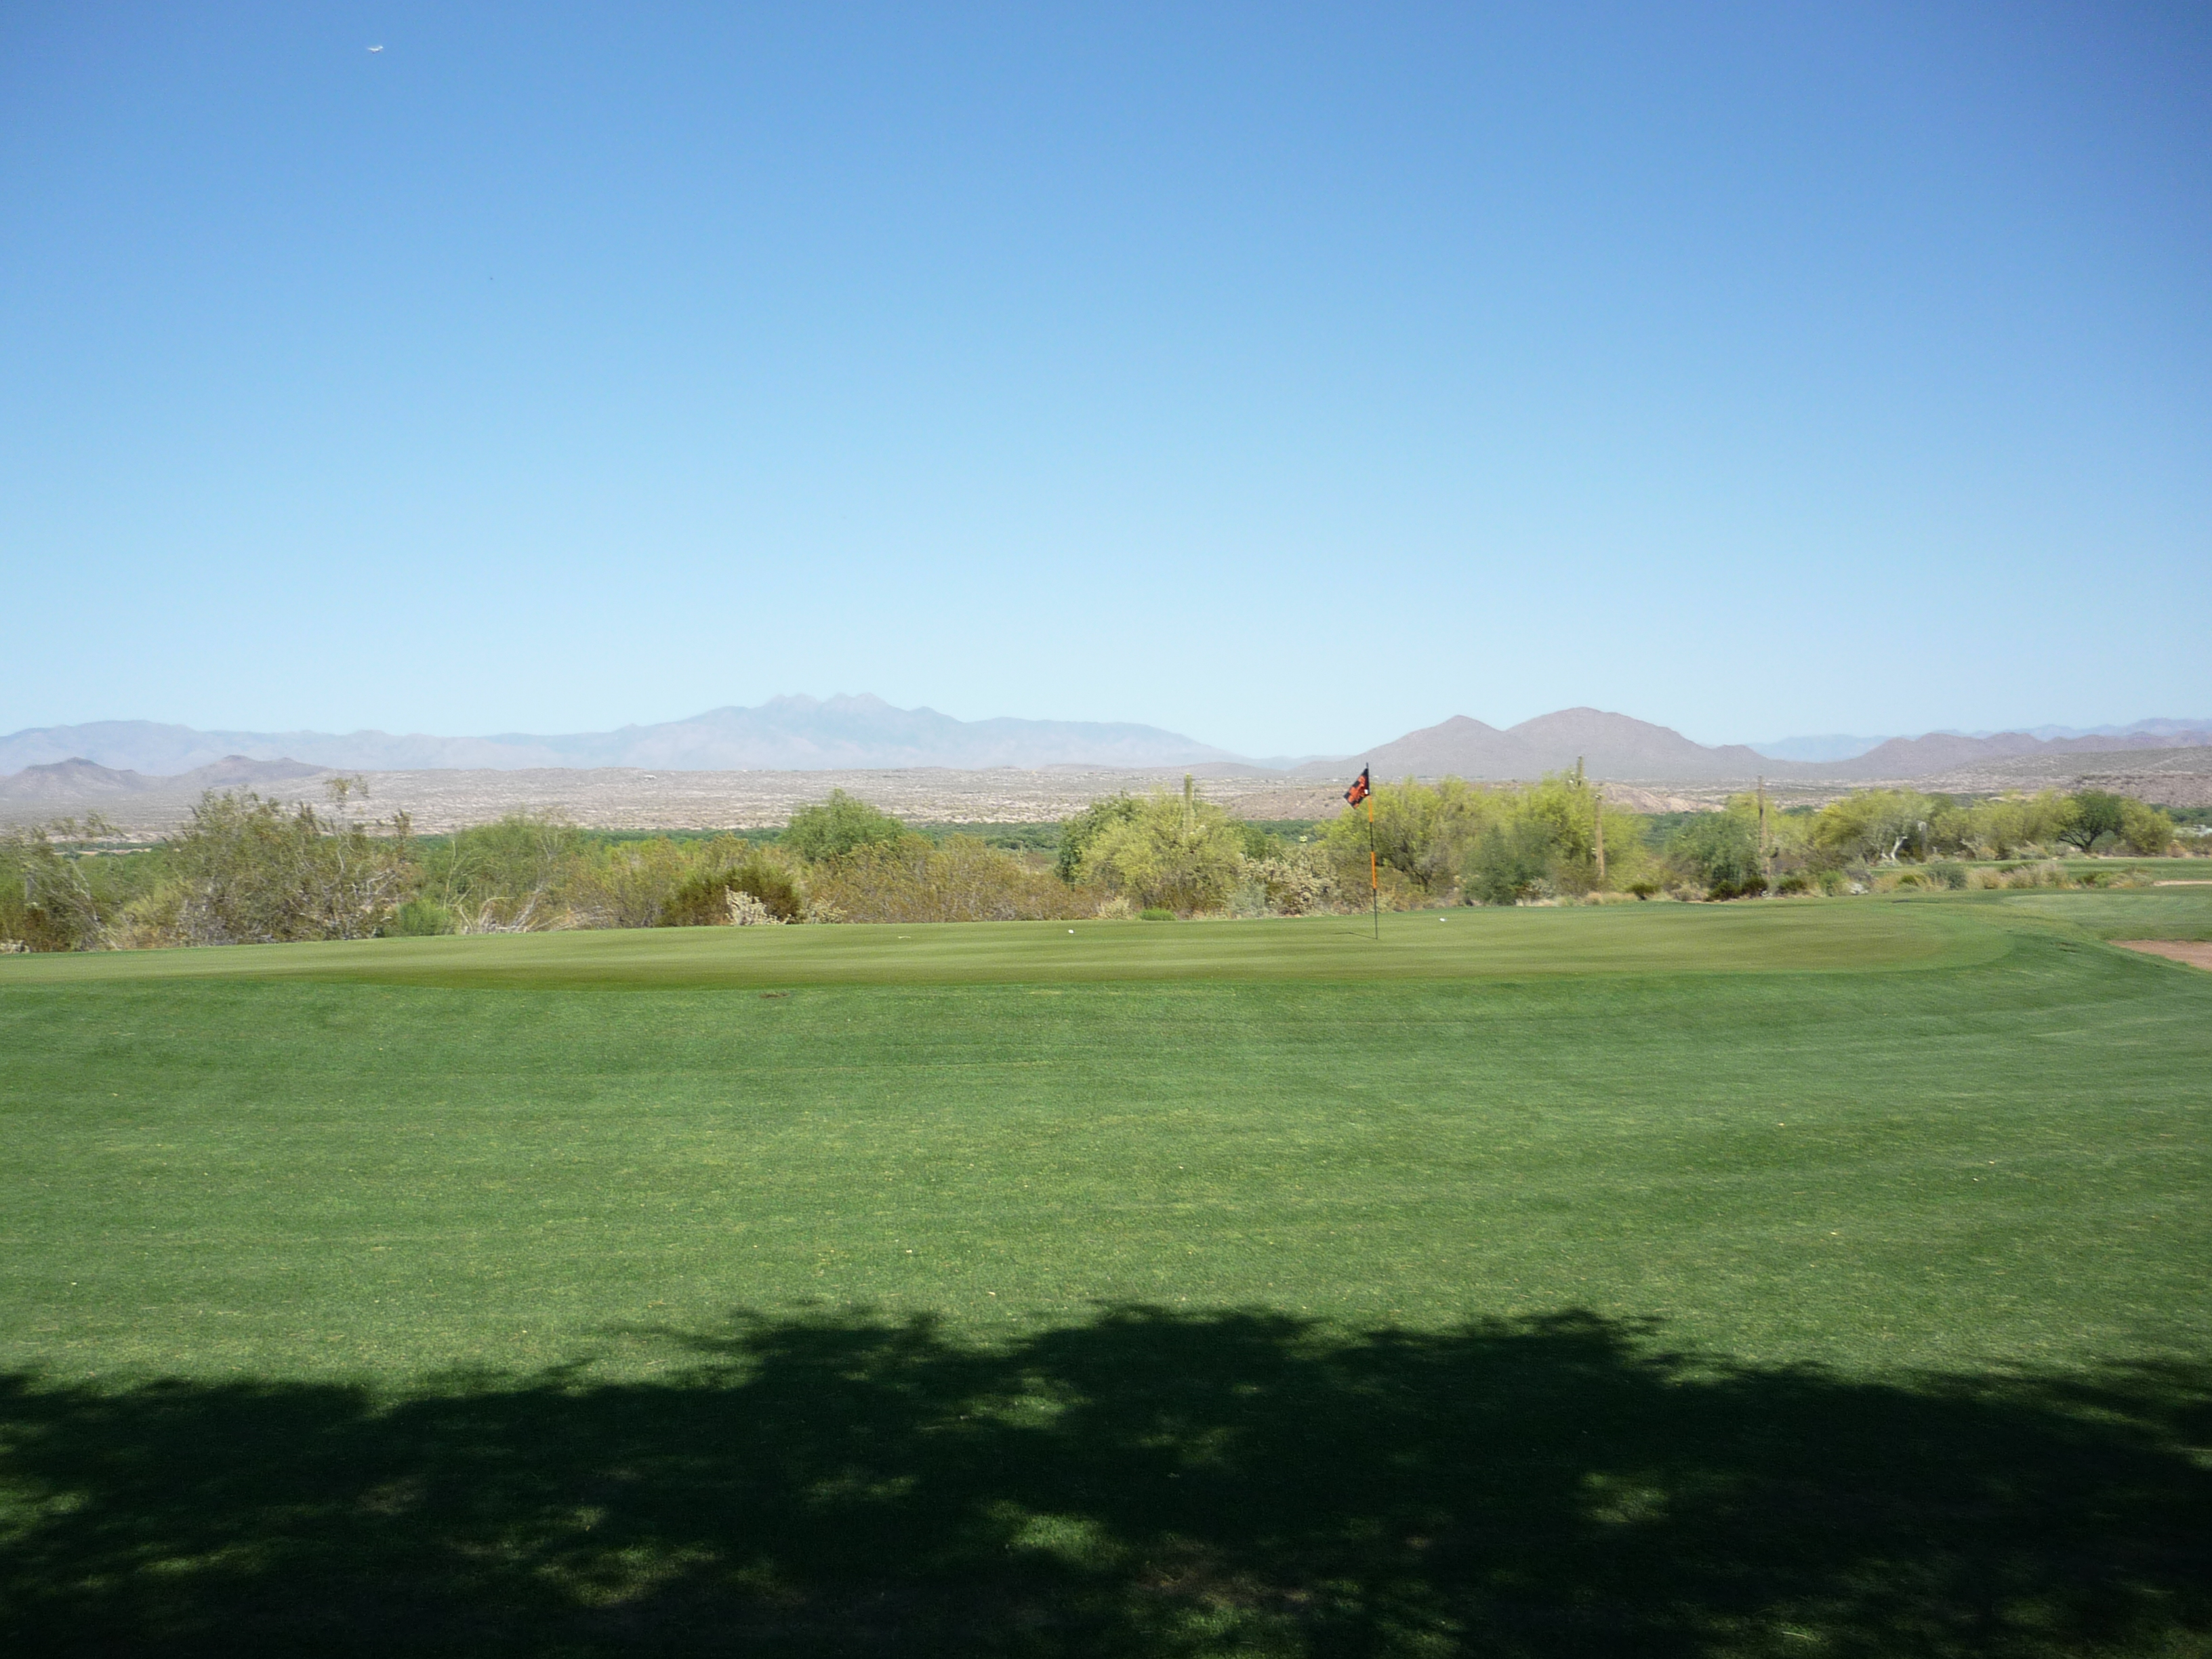
Hole 15 – 233 yards – Par 3
This long par 3 plays to a large green. That green is situated slightly left of the tee. A draw fits the shape of the hole.
Here is a closer look at the expansive putting surface.

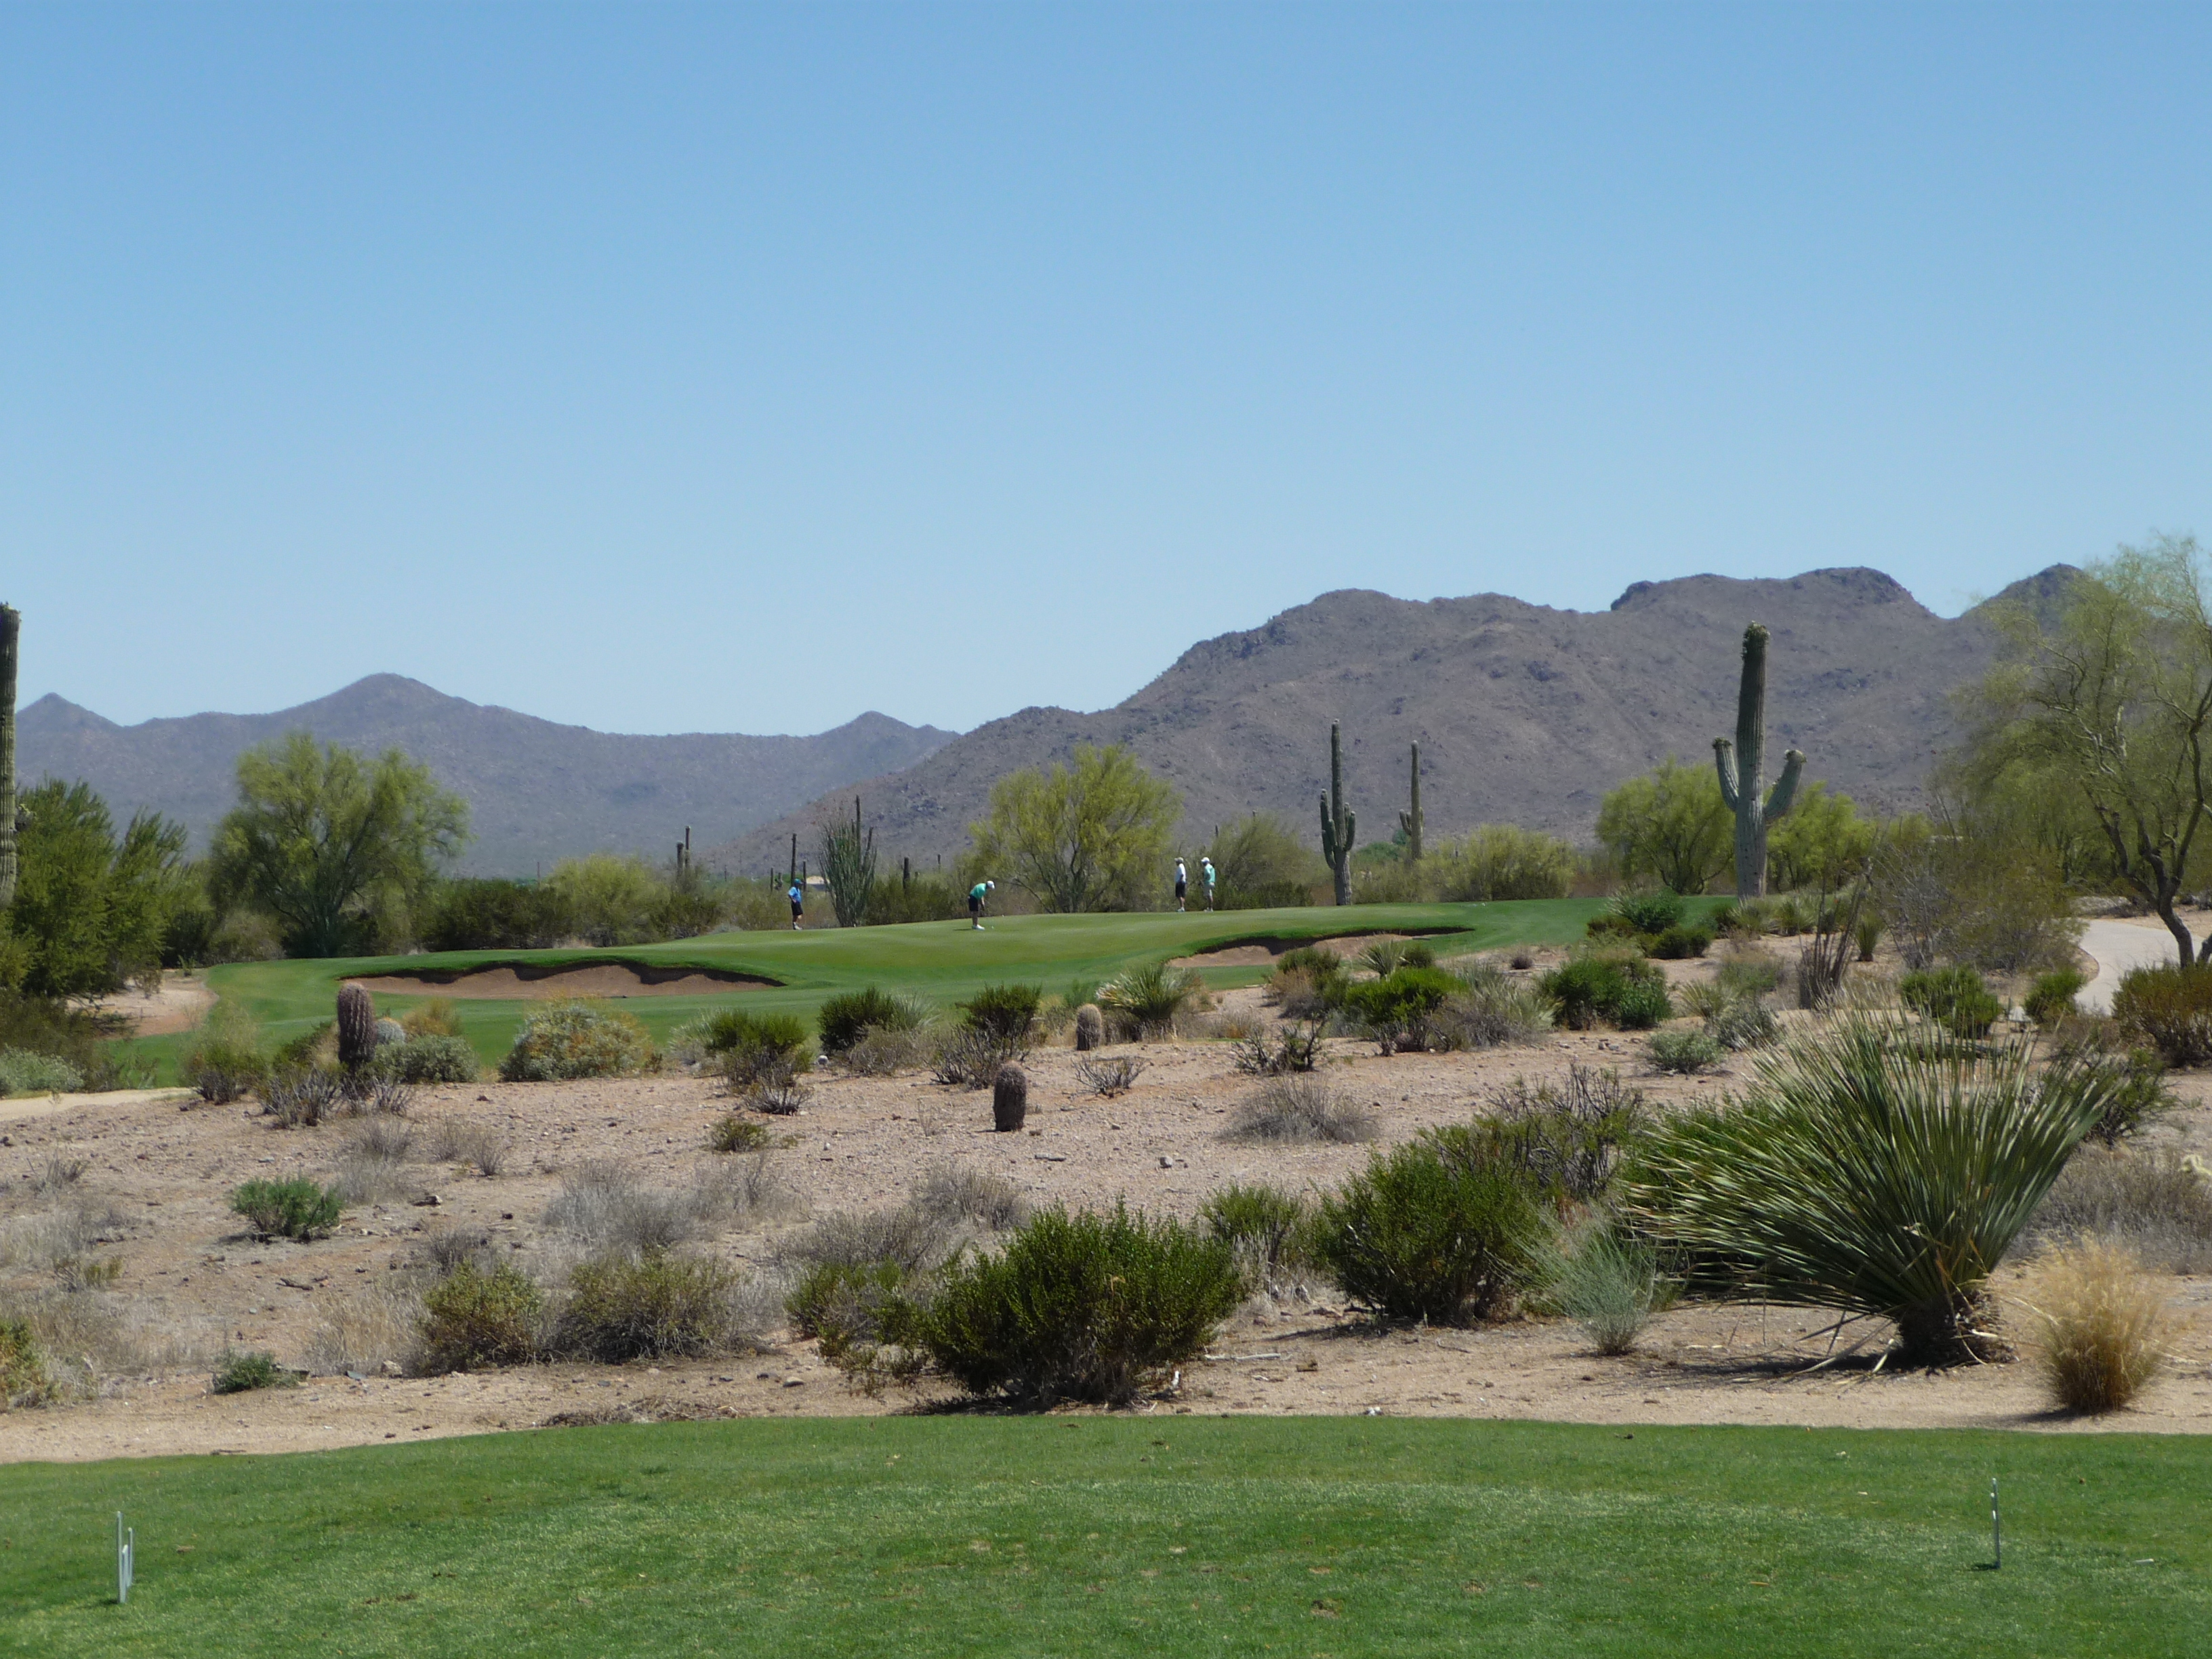
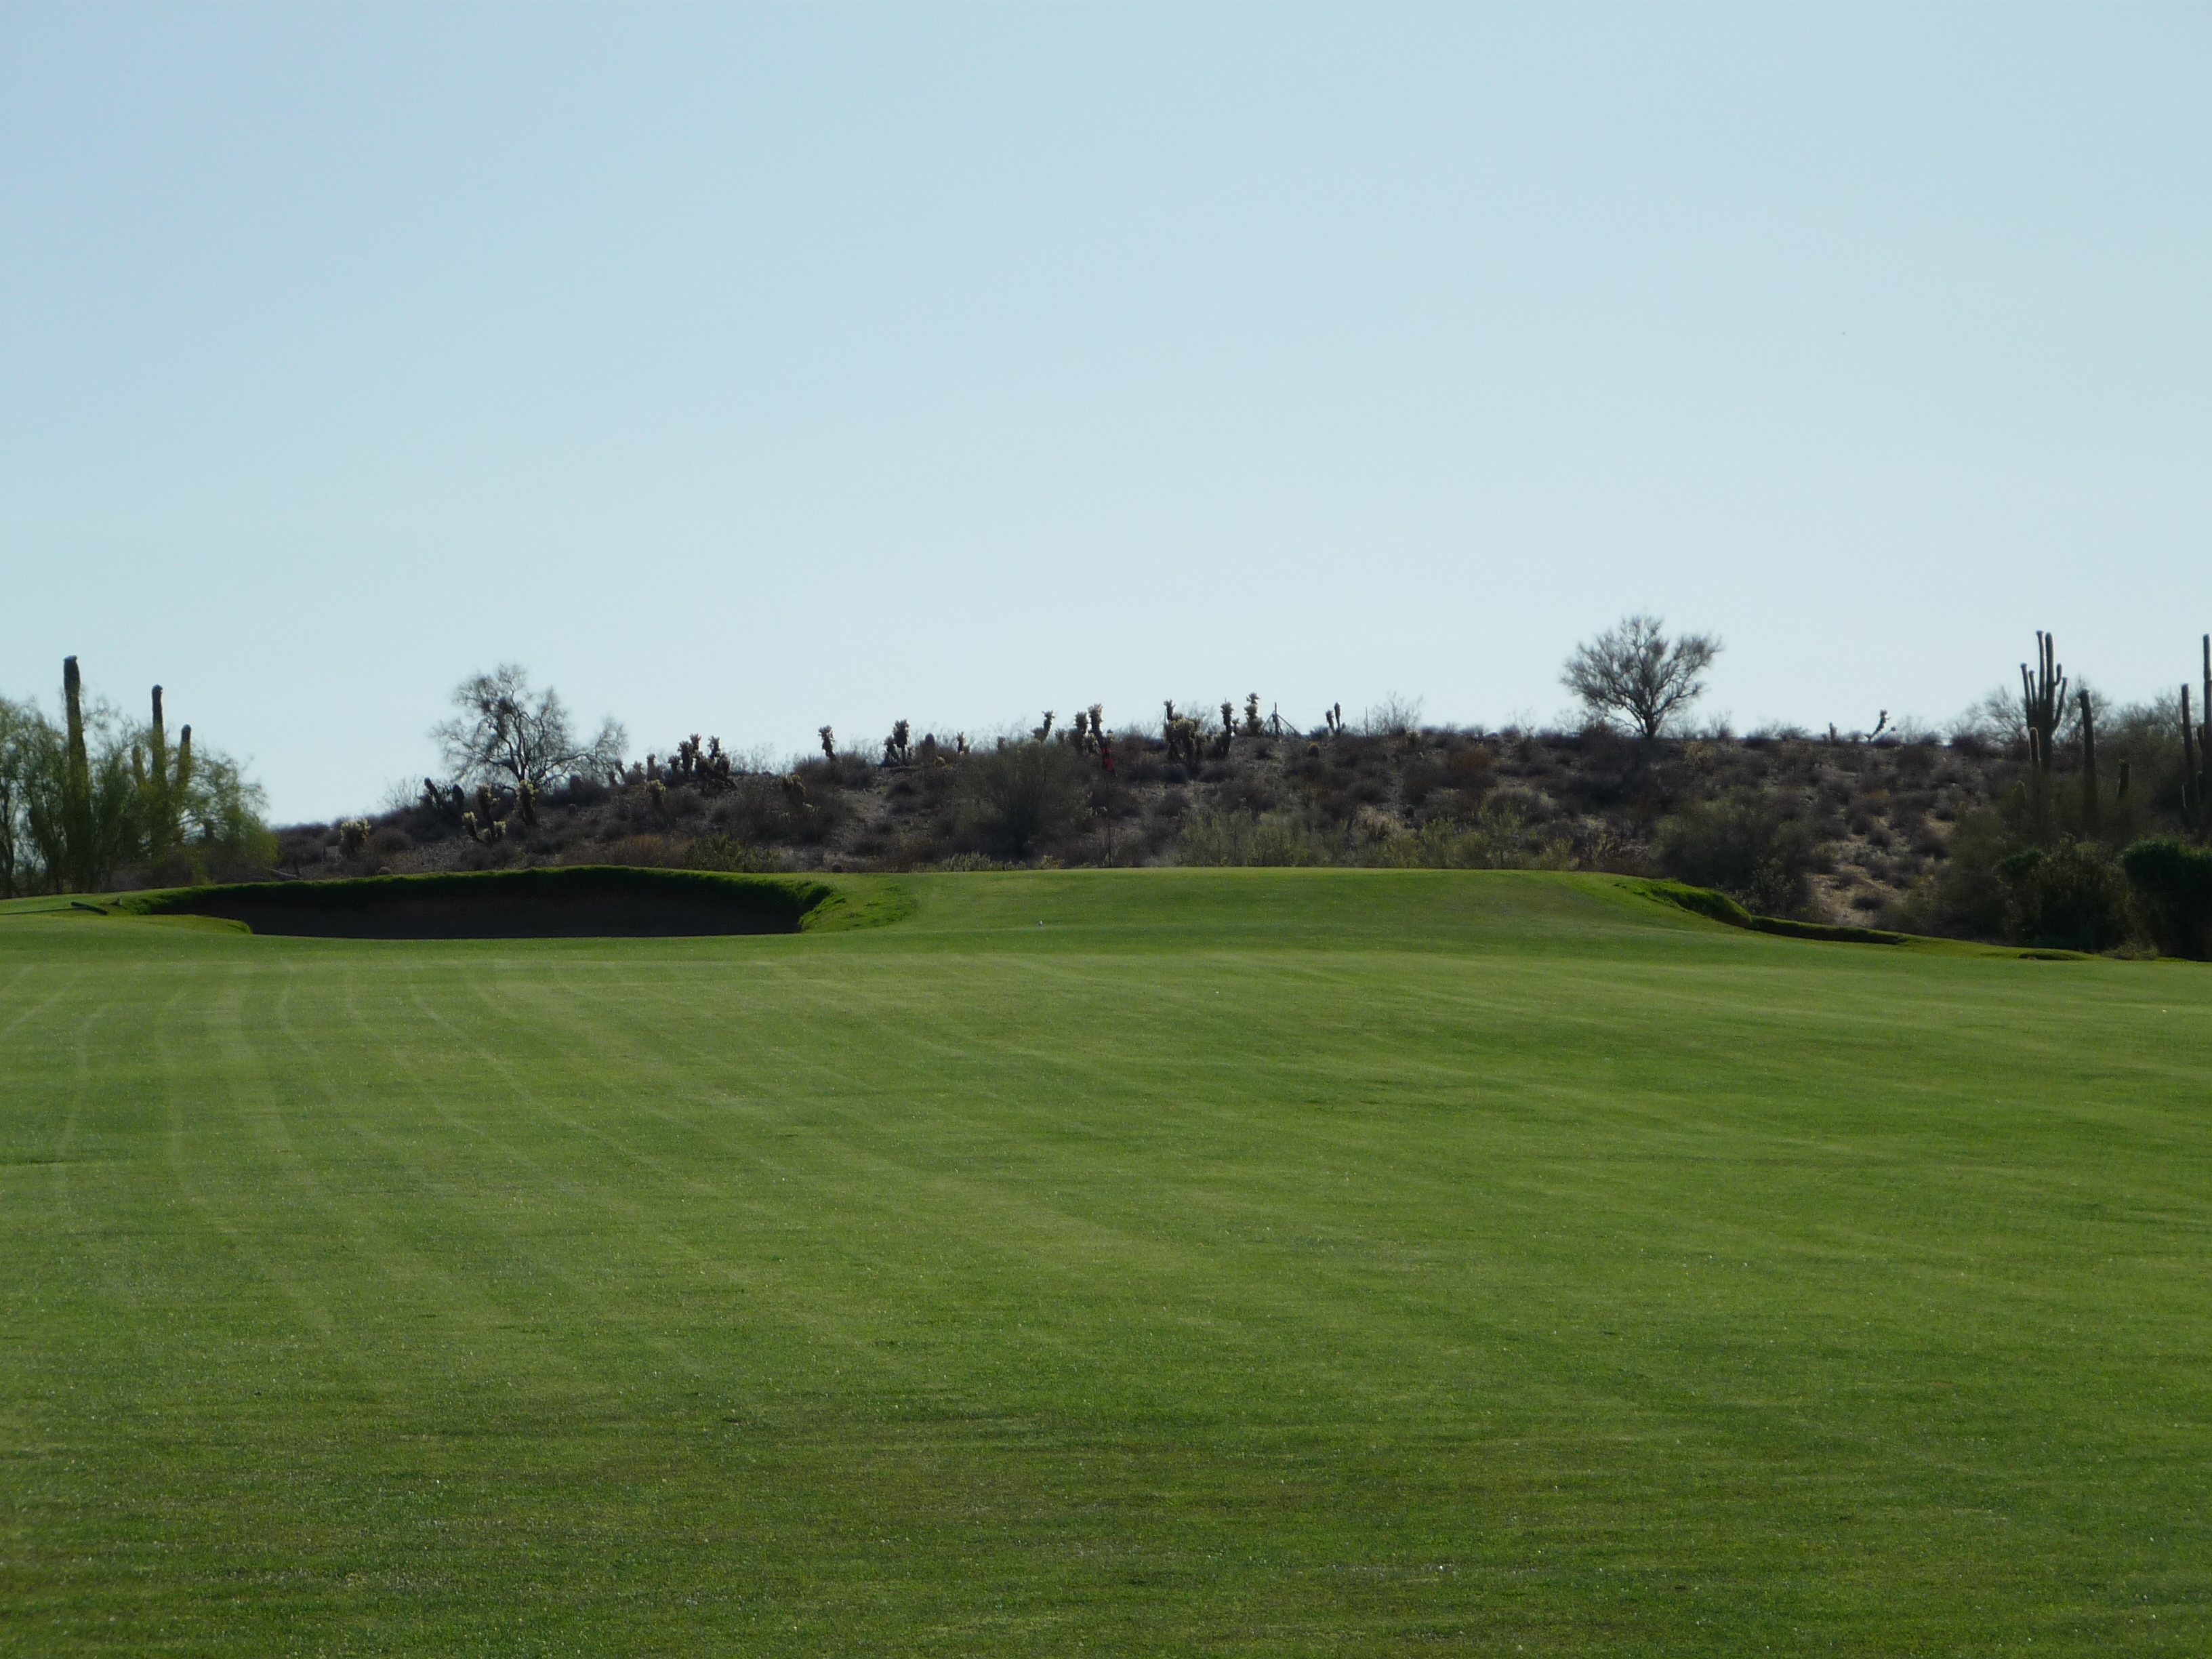
Hole 16 – 315 yards – Par 4
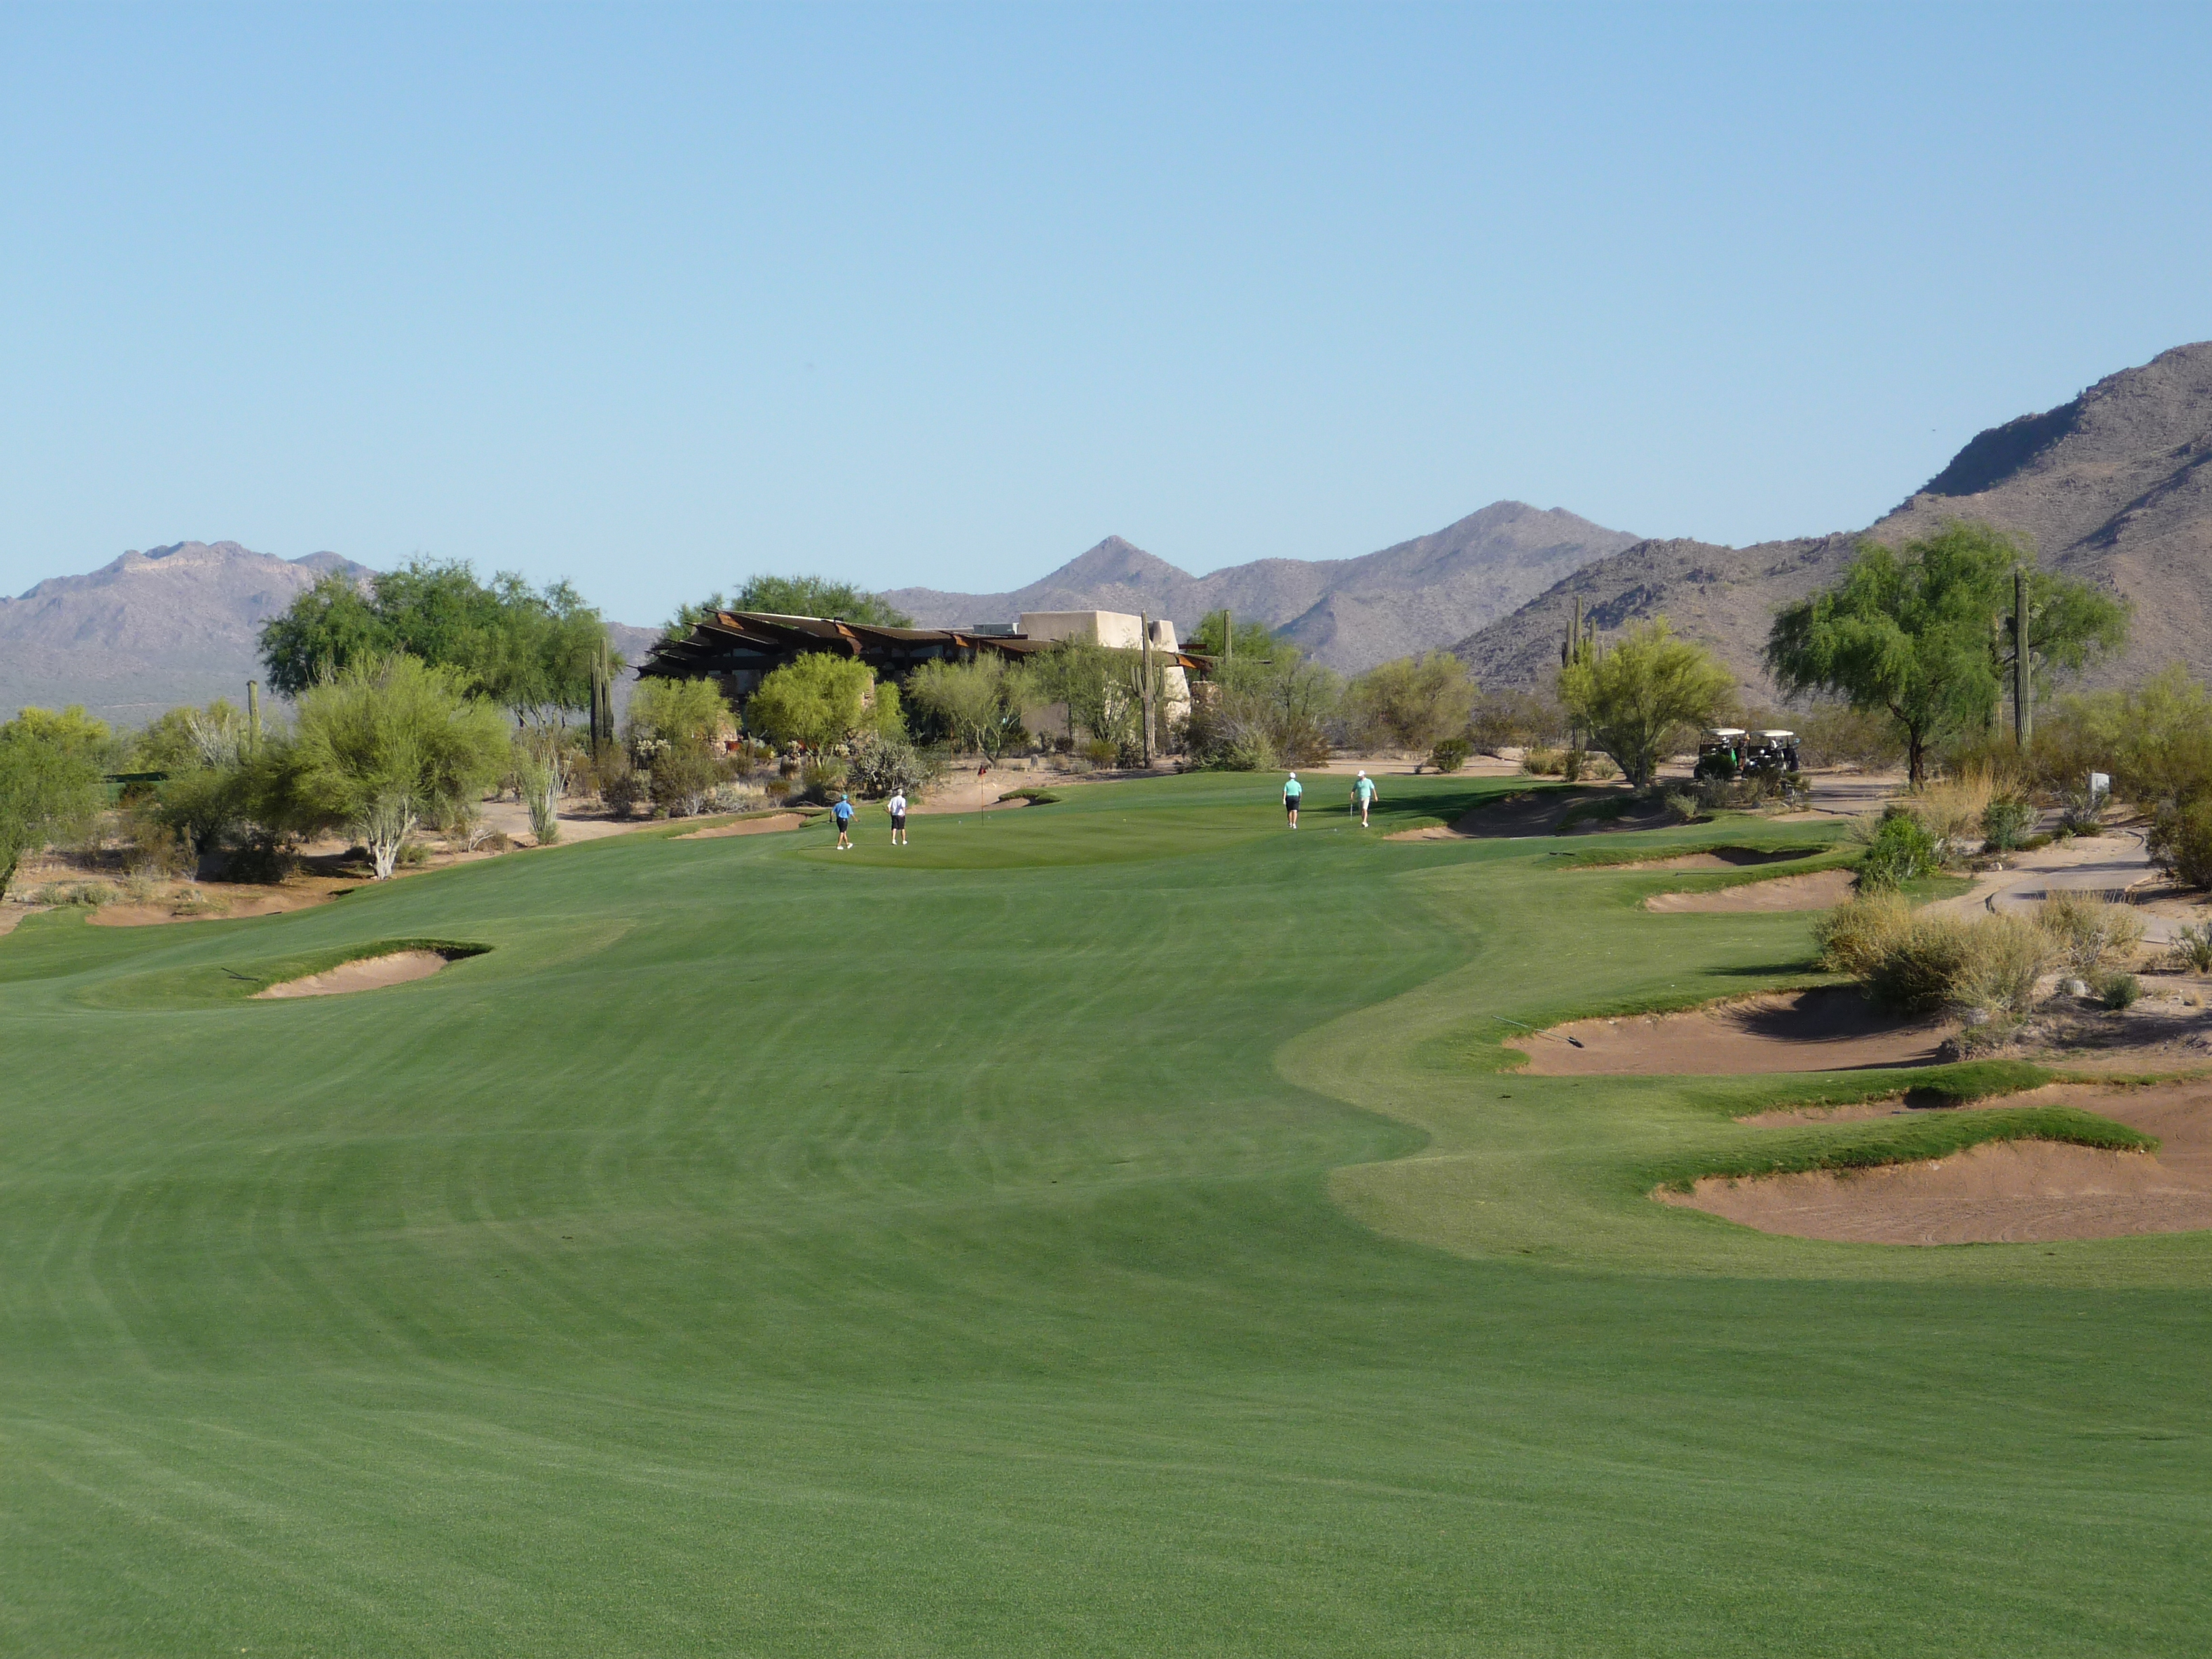
Adventurous players can take on the green, which is to the right on this dogleg. The sensible play is to the fairway with a shorter club.
The approach plays uphill to the green seen below. The front bunker is large and deep, not the place to be.
The green slopes from back to front overall. You can see this below.
The photo below shows the look back down the hole. You can see just how much the hole has gone uphill.
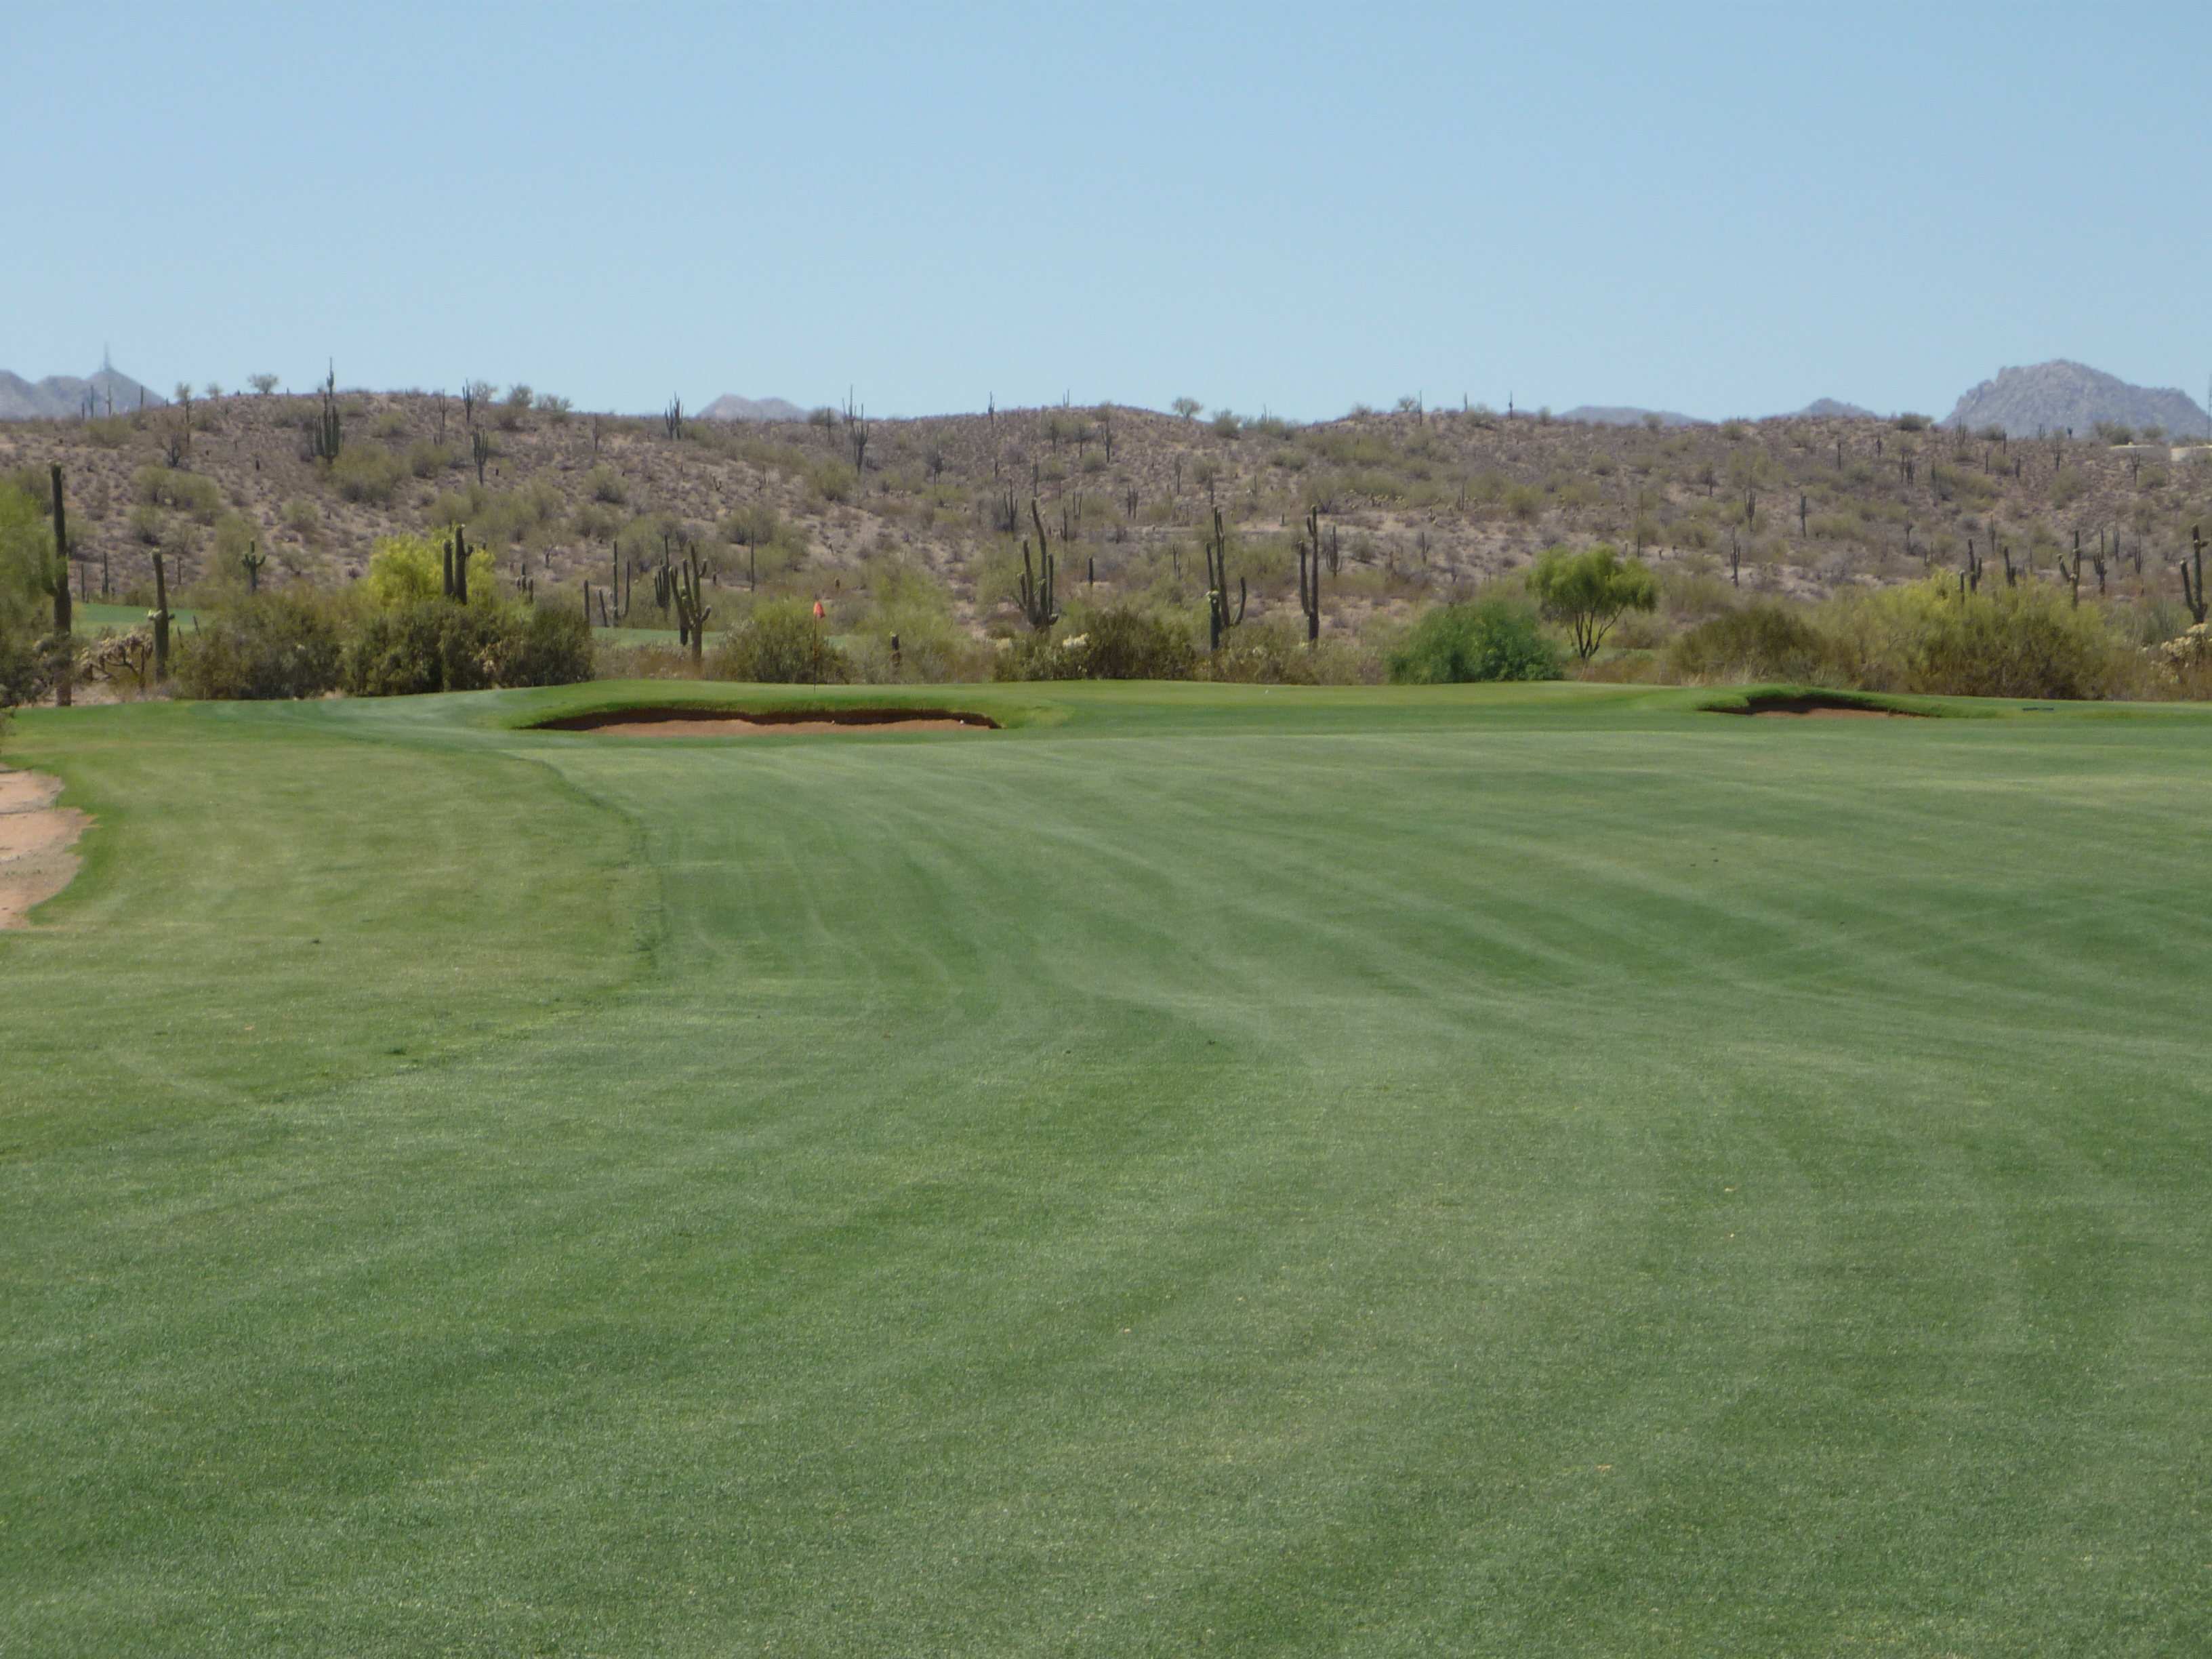
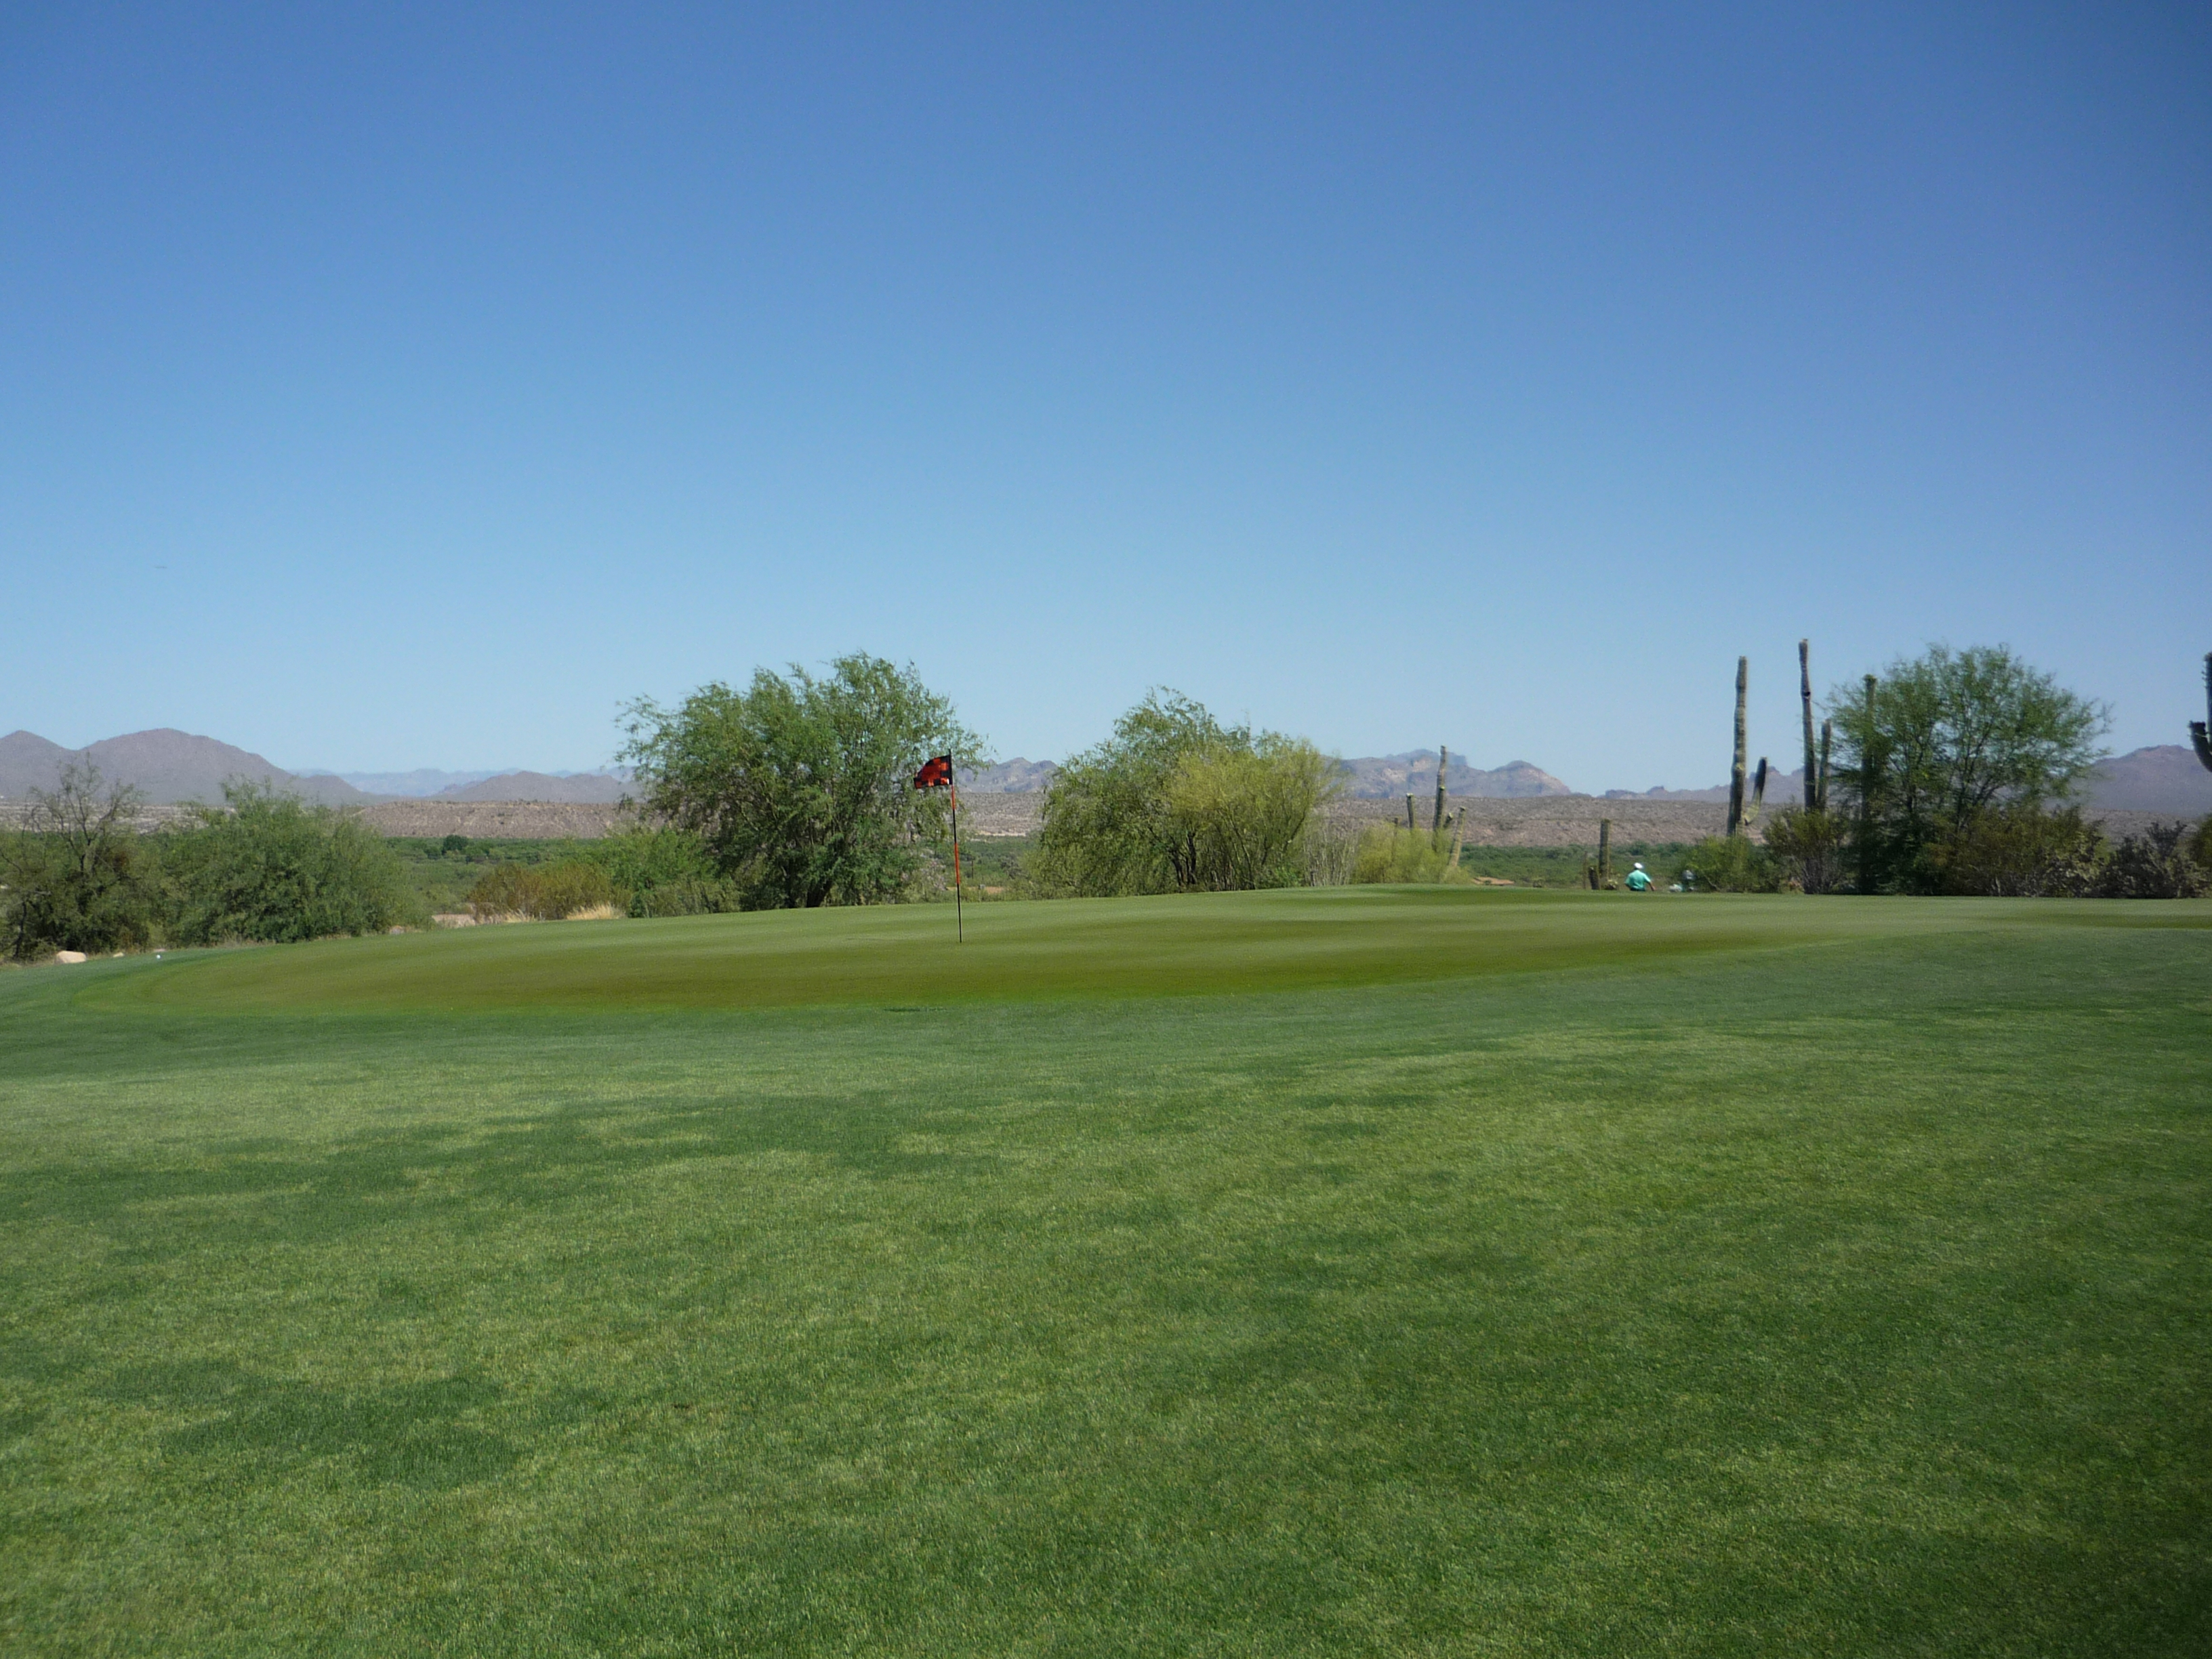
Hole 17 – 372 yards – Par 4
The fairway is generous. It cants from right to left, but at this width, you can play any shot shape you like.

The fairway contours continue to the green. Bunkers occupy the left side. Long is not the best place to miss.
This closer look at the green shows the slightly capped shape.
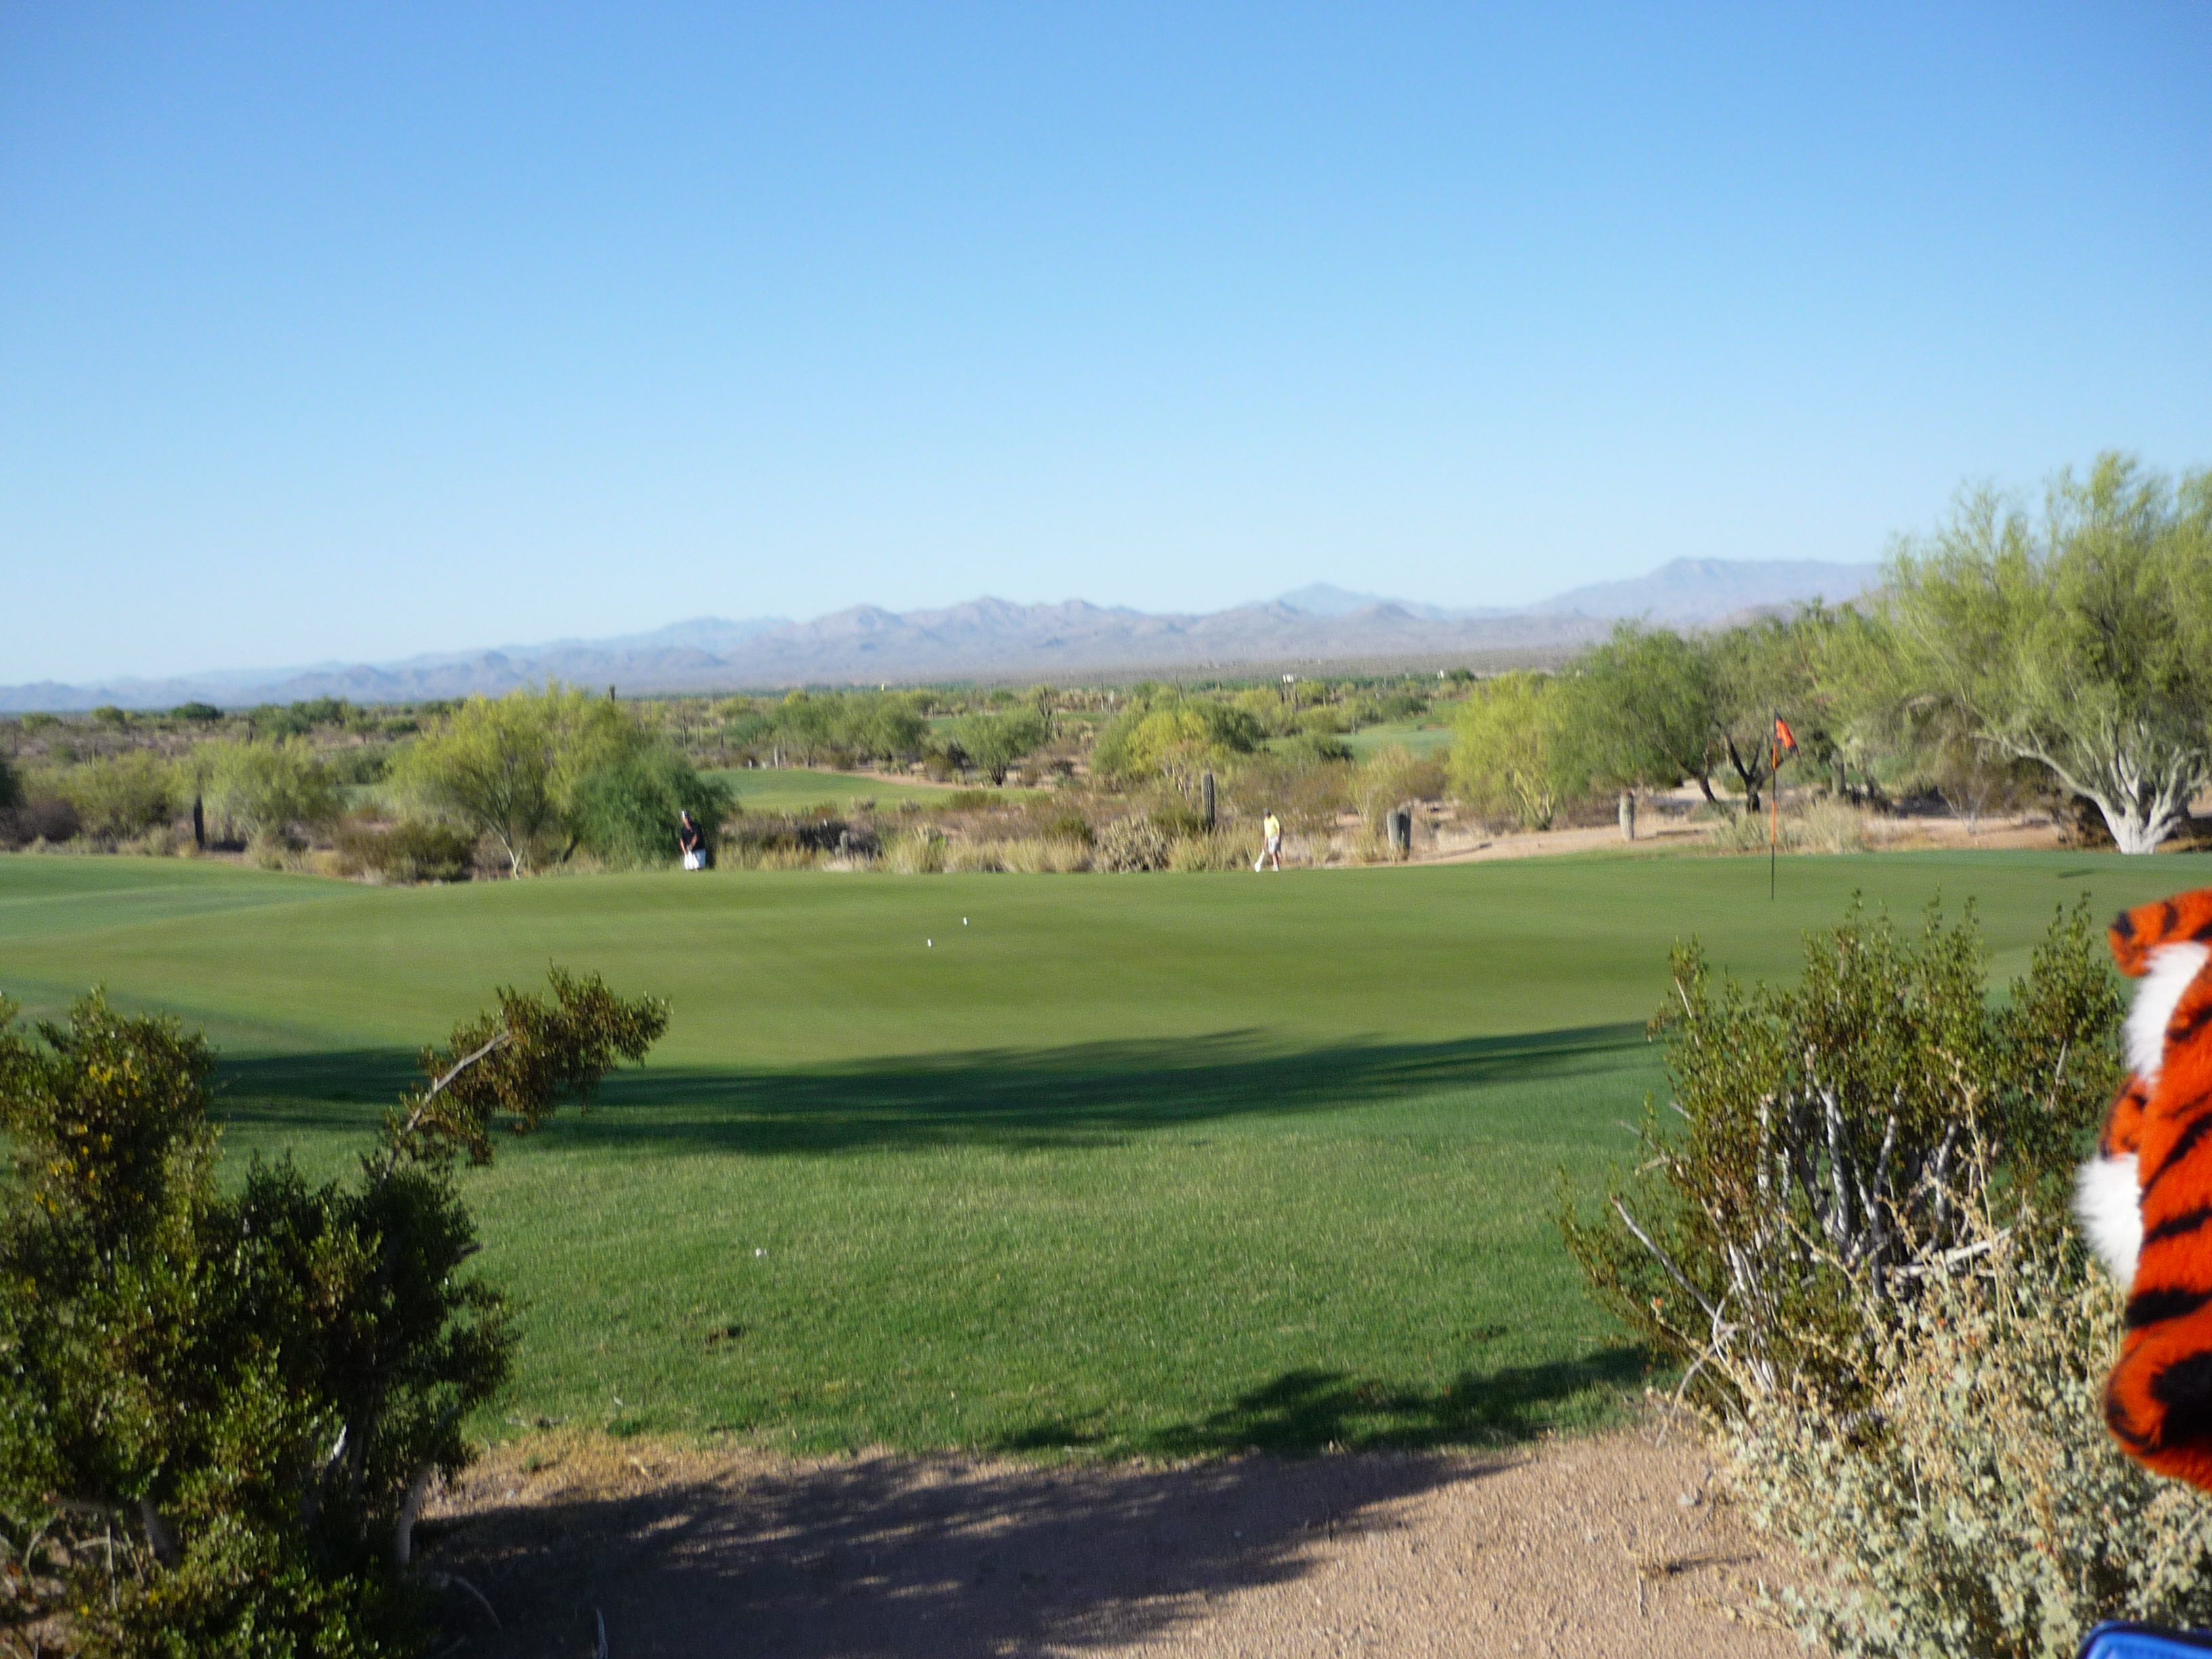
Hole 18 – 490 yards – Par 4
The last hole makes you earn your score at close to 500 yards. The hole doglegs to the left. At this length, the target is very large to give you a chance to rip driver.
Below is the view into the green from the second shot. Left is dead here as the desert encroaches quickly.
The green is large and on the flatter side. My tiger headcover snuck in this photo.
I thought the Saguaro course was solid from start to finish. It has plenty of width and angles as the architecture buffs like to say. There is plenty of opportunity for choice on the player’s part from the tee shots on. All that being said, the course didn’t speak to me. I can’t quite explain it, but I just like Cholla better.
As I say that, not playing it would be a mistake. I’m sure many architecture experts and desert golf aficionados can explain it more than me. I do know that it is consistently ranked as one of the best courses in AZ, so what do I know?